Search models, users, collections, and posts

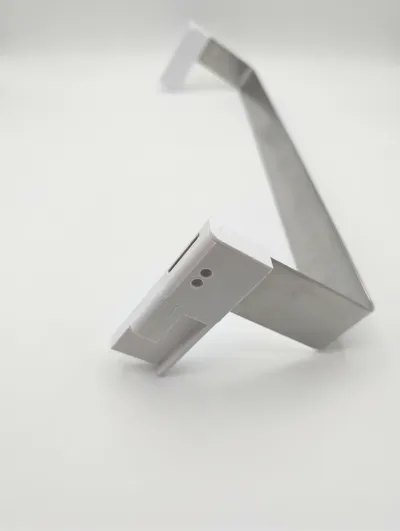
Miele Fridge Shelf Support Bracket (7432632 LH/RH)
IP Report
Print Profile(1)
0.2mm layer, 2 walls, 50% infill
Designer
1.3 h
1 plate
Open in Bambu Studio
Boost
1
7
0
0
12
5
Released
Description
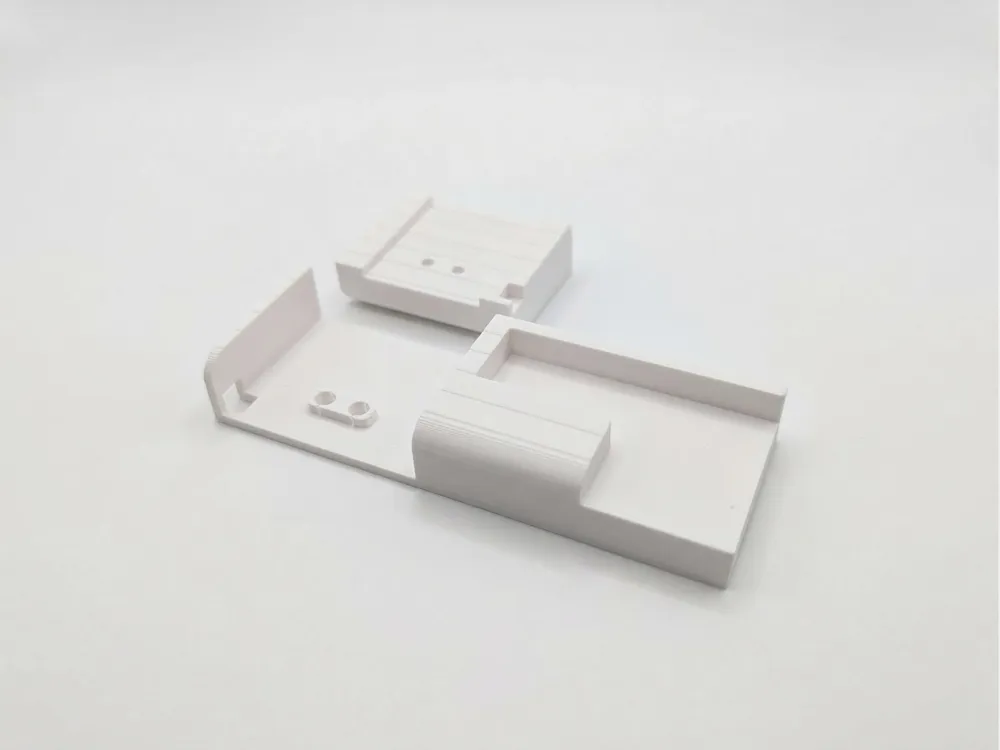
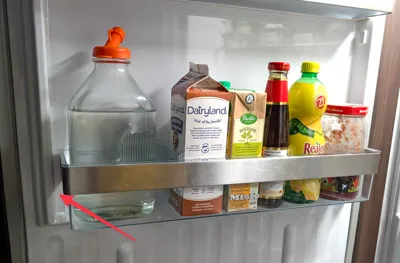
Replacement shelf support bracket for Miele refrigerators, designed to replace broken part number 7432632 (LH/RH).
Disclaimer
Please be careful when placing heavy objects on this shelf. While this bracket holds up well in testing, 3D printed parts have different load-bearing characteristics than the injection-molded originals. Use at your own risk.
Design Details
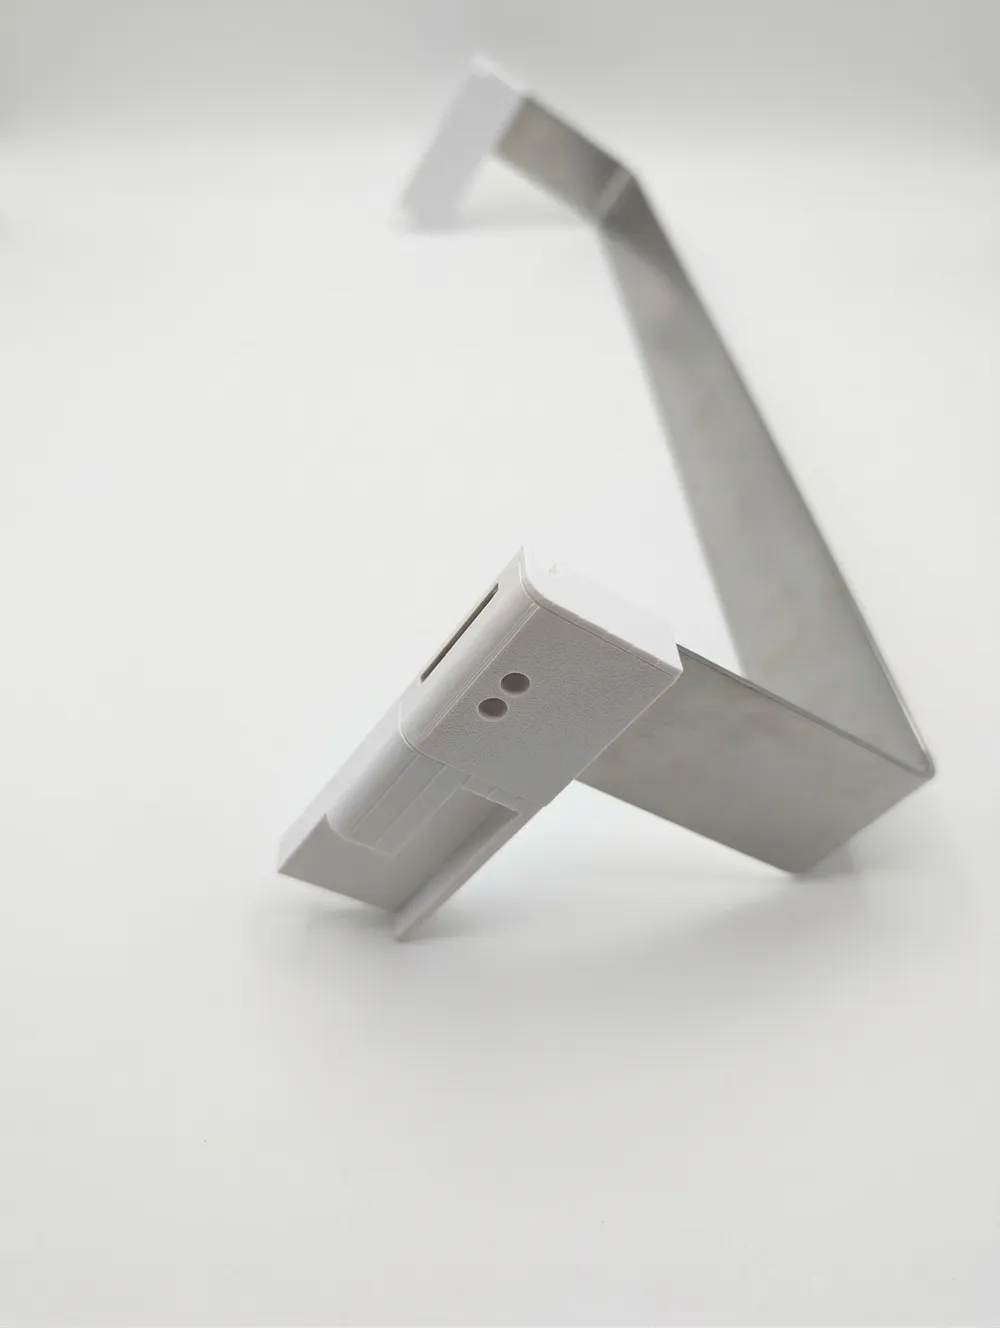
Instead of a single piece with messy supports, this design is split into two interlocking halves. This approach makes it incredibly easy to print flat on the build plate and vastly simplifies the installation process around the existing metal support rail.
Features
- Split Design: Two-part construction allows for a hassle-free installation and easy printing.
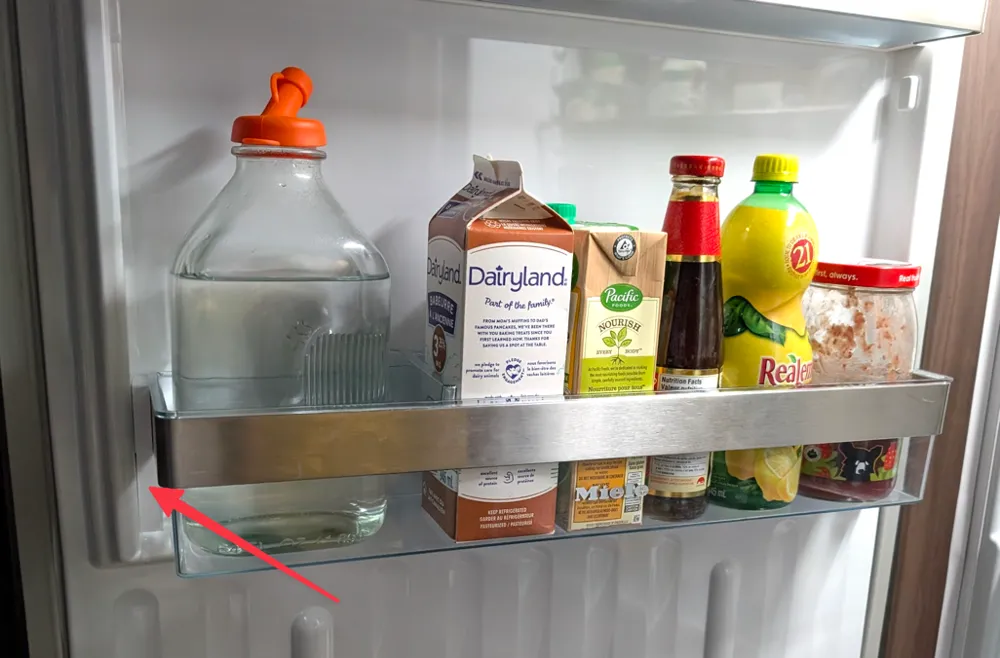
- Hardware Optional: Includes integrated holes for M3x4x4 brass threaded inserts and M3x6mm screws. However, in testing, the bracket holds itself together perfectly without fasteners, as it naturally gets trapped between the side of the fridge and the shelf's plastic "bucket."
- No Supports: Geometry is optimized to print completely flat without requiring any support material.
Print Settings
- Material: PETG (recommended for cold environments and load bearing), PLA.
- Infill: 50% (This higher infill is recommended for holding heavy fridge items).
- Supports: None required.
Installation
- Remove Broken Part: If you look at the metal bracket where the tongue is recieved into the OEM plastic part, there is a small “hill” that the part interlocks with the metal bracket. Use a soft mallet against the plastic OEM piece to nudge it free.
- Prep (Optional): If you choose to use hardware, melt the M3x4x4 brass threaded inserts into the designated holes on the rear half. The front half also feature's a 1 layer thick surface to assist with bridge during print. This can be punctured using a small tool if using screws for installation.
- Position: Place the rear half behind the metal fridge rail, then slide the front half over the rail so the two printed pieces interlock.
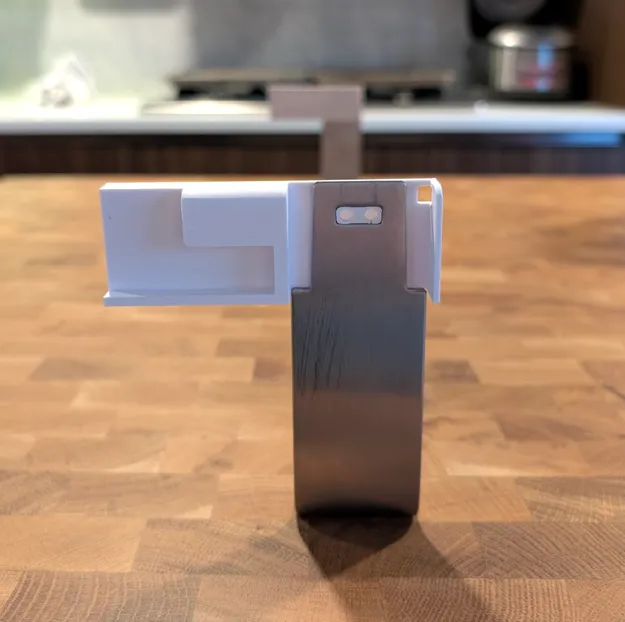
Match the peg into the hole present on the metal bar. The L shaped slot must be facing outside for correct orientation with the top of the metal bracket lined with the edge of the part. 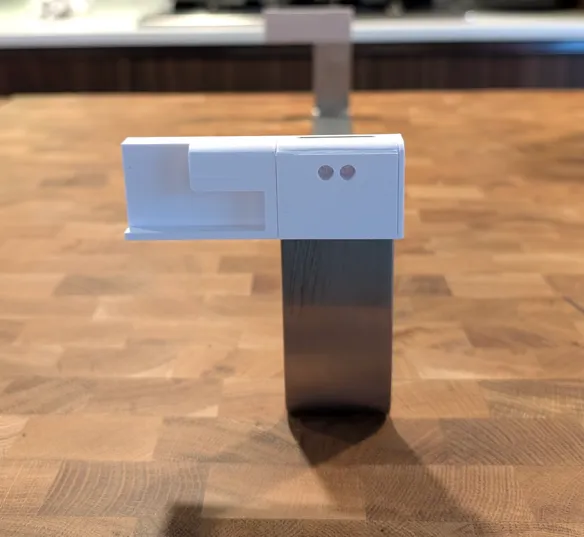
Press the face cover over top. - Lock: Fasten the two halves together with M3x6mm screws. If going hardware-free, simply slide the plastic shelf bucket into place over the bracket. The assembly will be safely trapped and secured against the inner wall of the fridge.
Boost Me (for free)
A Boost is greatly appreciated and helps me bring more designs to the community!
License

This user content is licensed under a
Creative Commons Attribution-Noncommercial-Share Alike


Comment & Rating (0)