
Stackable Sliding Tray Vial Storage 2x2-Infinite
Print Profile(4)
Description
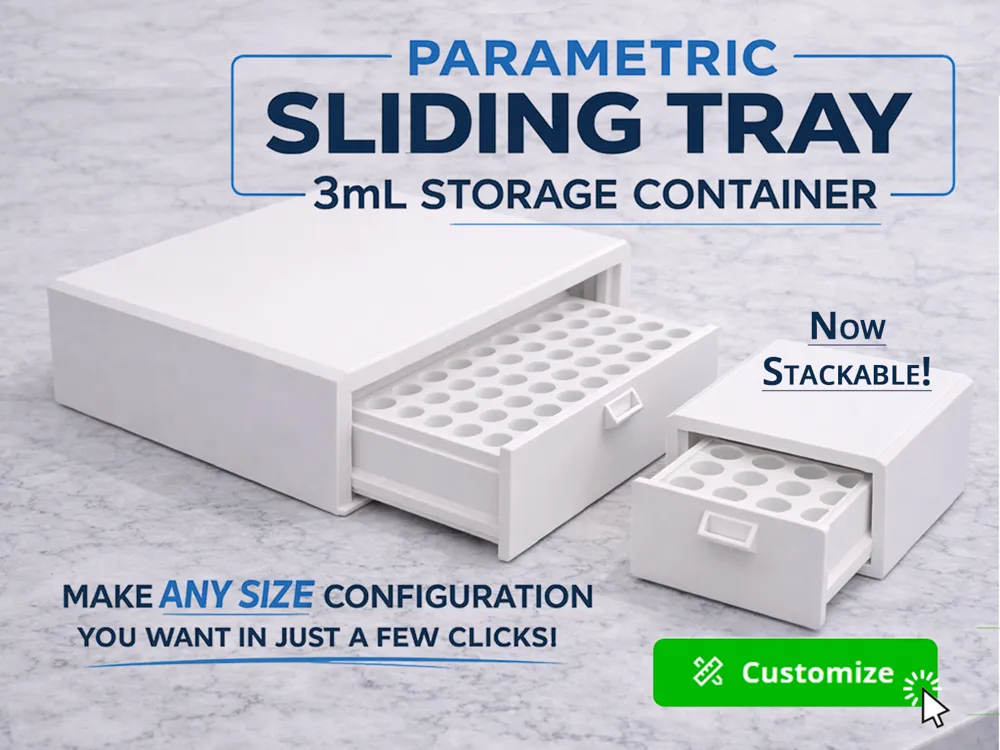
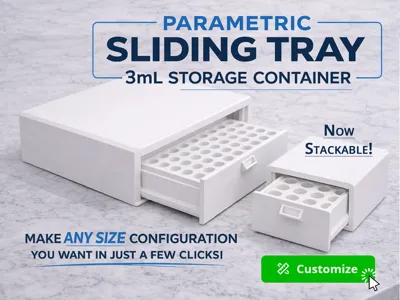
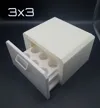
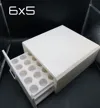
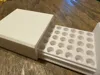
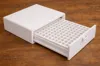
Sliding Tray Storage Case for 3mL Vials
4/4/2026 - Added new Customize option for stackable trays! These are fully compatible with existing prints. Print the new stackable outer shell and another vial tray. The tray and new shell will always be the bottom/middle (if building a 3+ stack) of the stack.
Fully Parametric Design
(click the Customize button to build your own layout!)
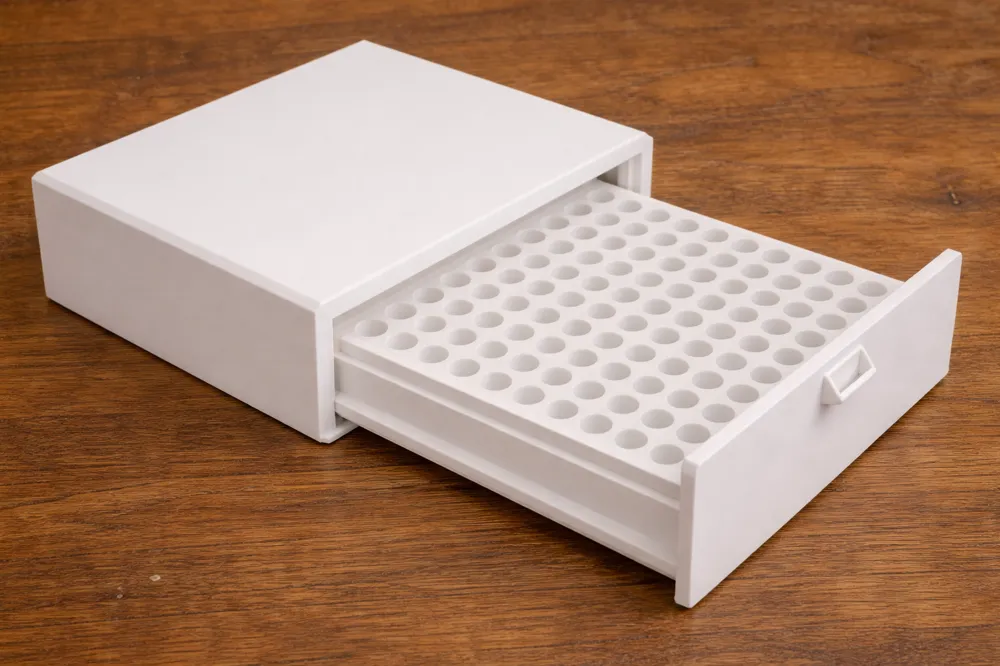
This case is designed to make all of your 3mL vials easily accessible and safely stored.
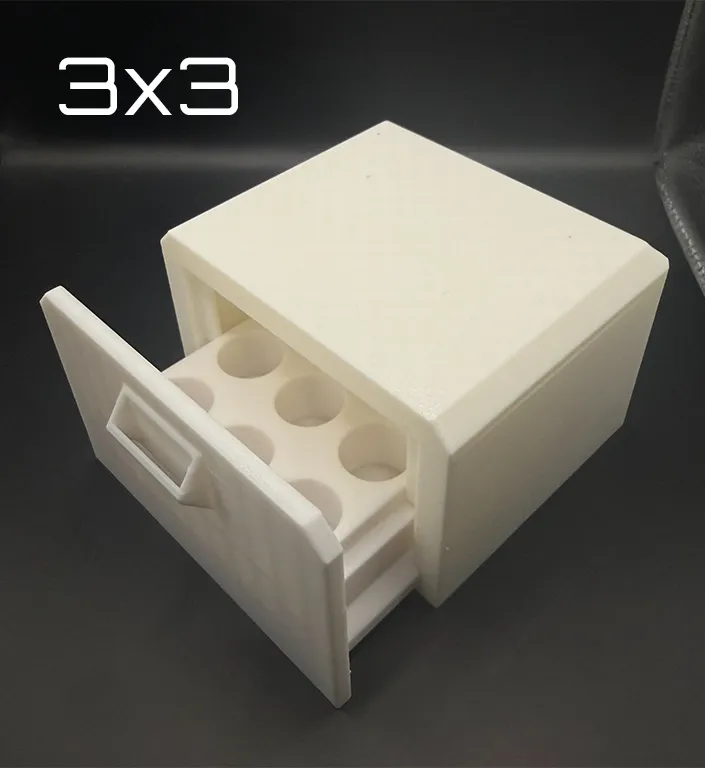
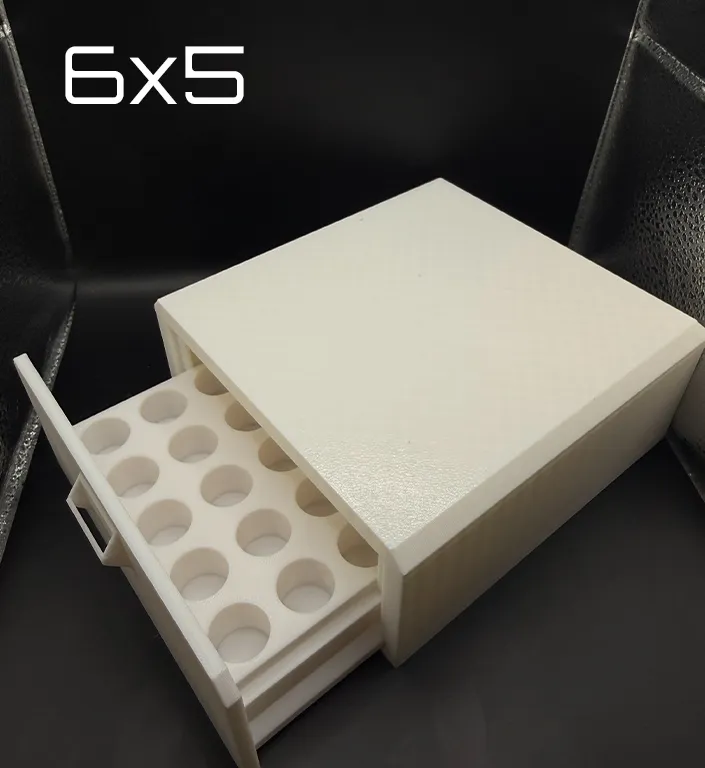
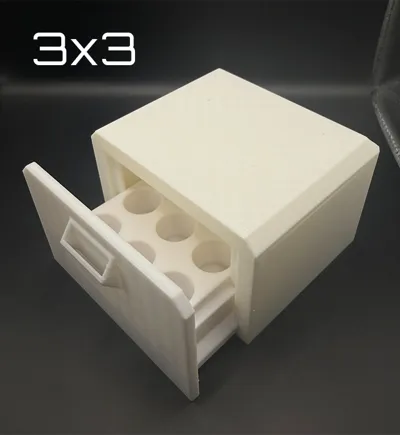
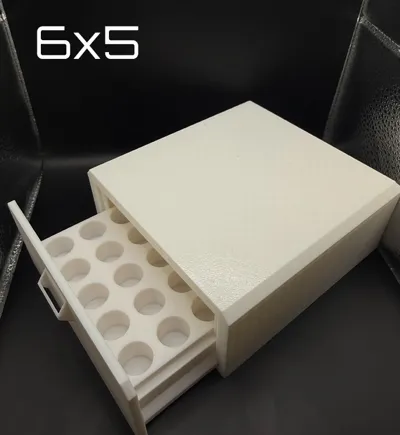
You can configure any layout desired, with a minimum size of 2x2!
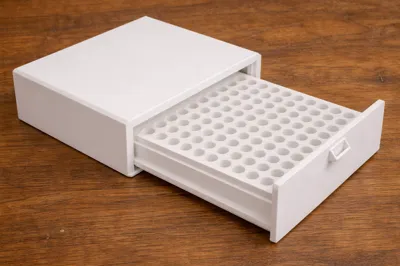
X1/A1/P1/P2 can fit up to 10x10. H series can fit up to 13x13 (as tested so far)
The model comes in 3 parts:
Outer shell
Inner Tray
Base
Print Instructions
The Outer Shell needs to be printed on its top, flat surface (upside down!)
The Inner Tray and Base can be printed normally on their bottom surfaces.
If printing the stackable model, you'll need a vial tray insert for each level of the stack.
The model with the chamfered top edges is always the top of the stack.
Assembly
To assemble angle the sliding tray about 45 degrees and insert into the outer shell, line up the bottom rails and it should slide in.
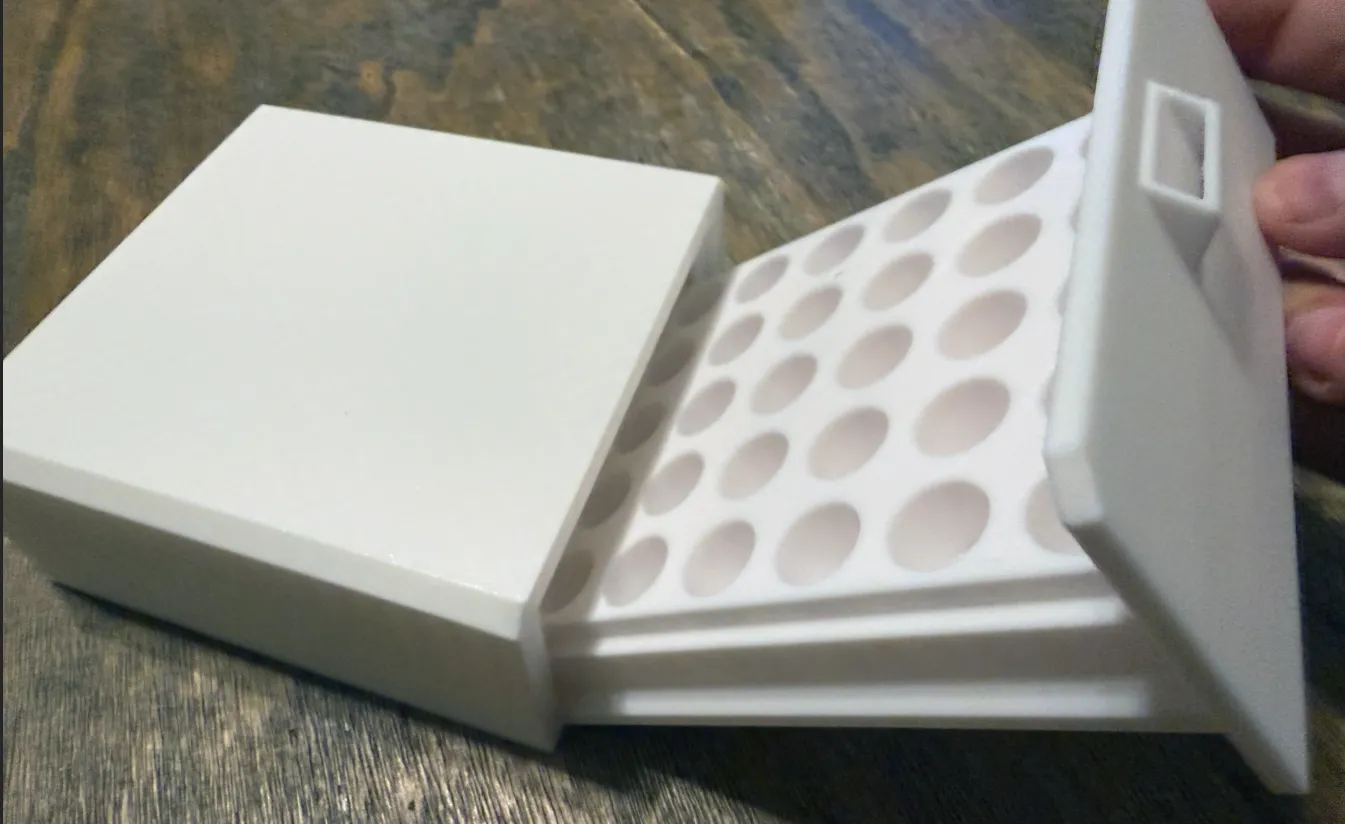
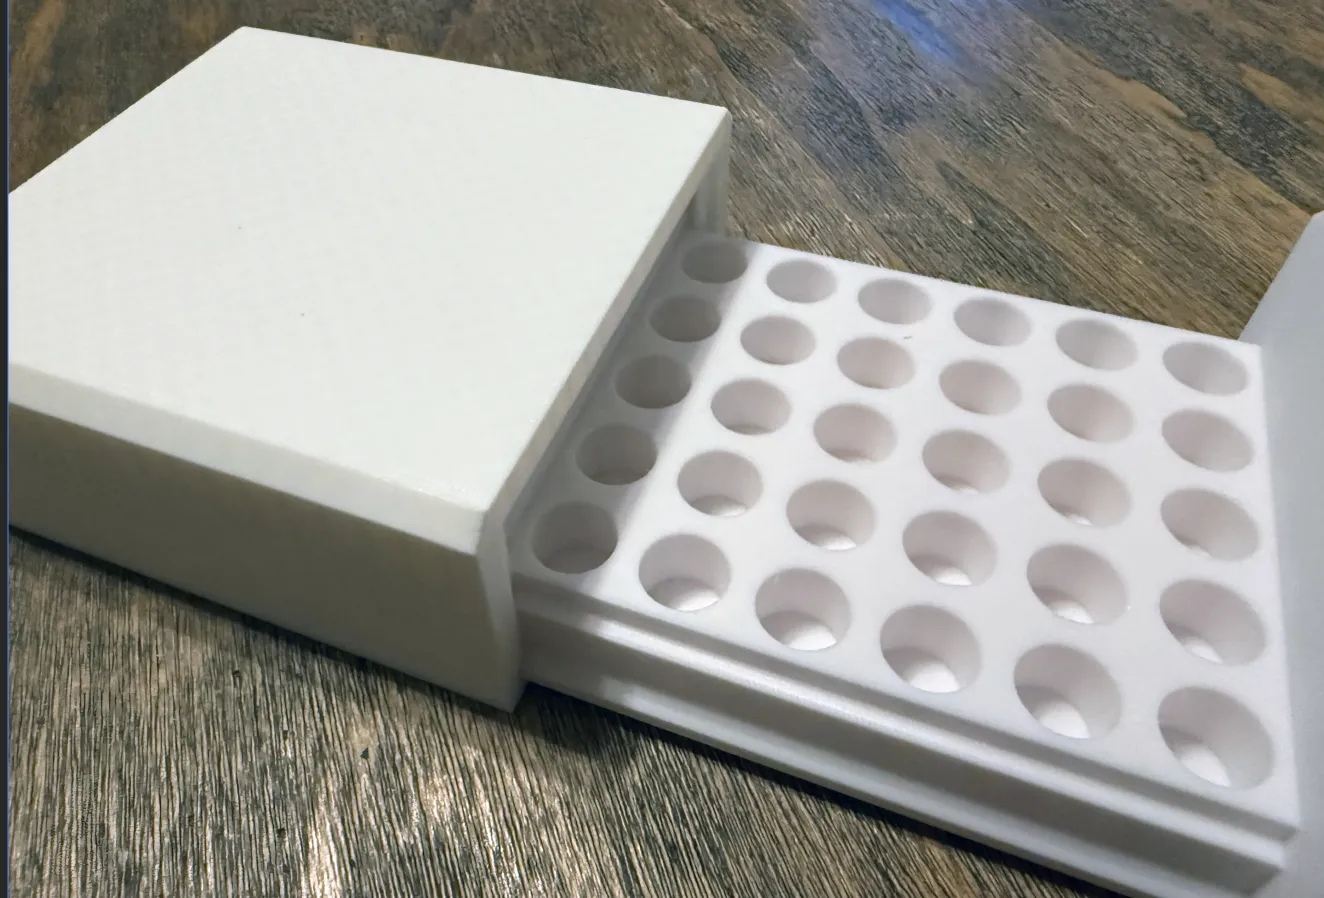
Once the Inner Tray and Outer Shell are combined, slide the base into the shell and flip it over.
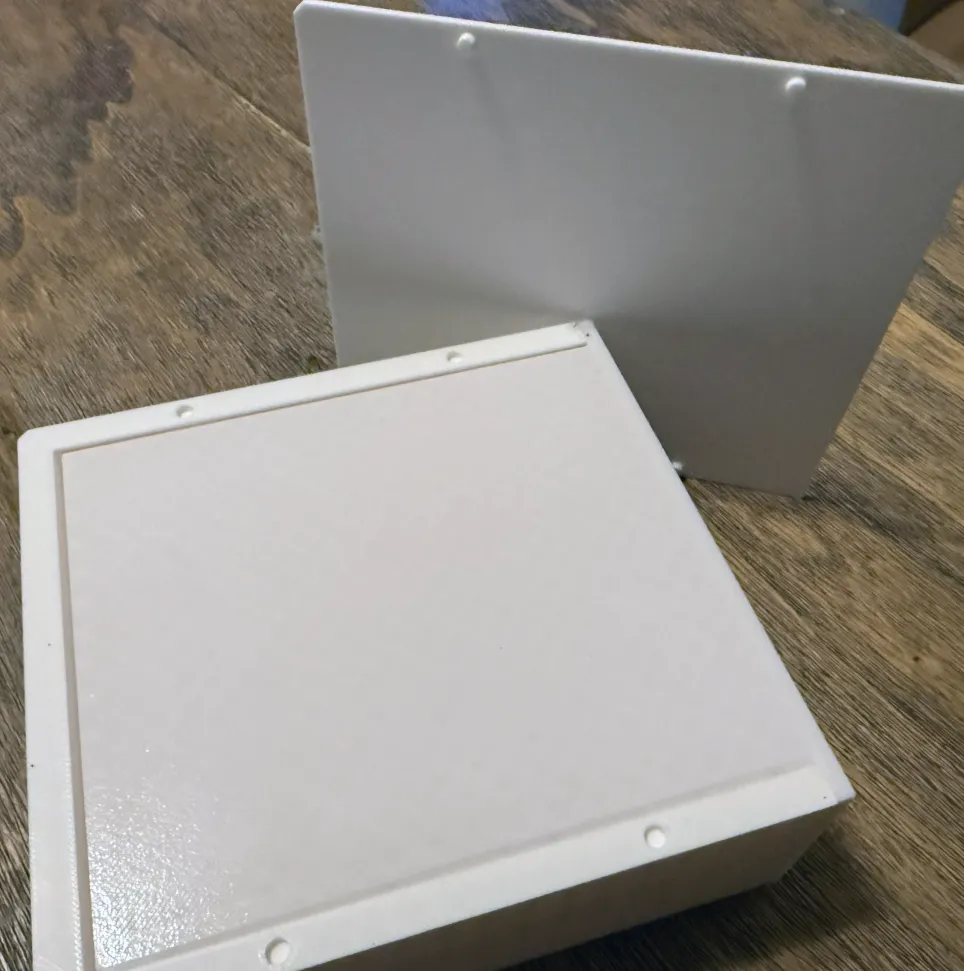
Here you will see the base snap holes. Place the base onto the bottom of the case, line up the angled corners with the rear of the case. Press firmly on each hole to snap it into place*.
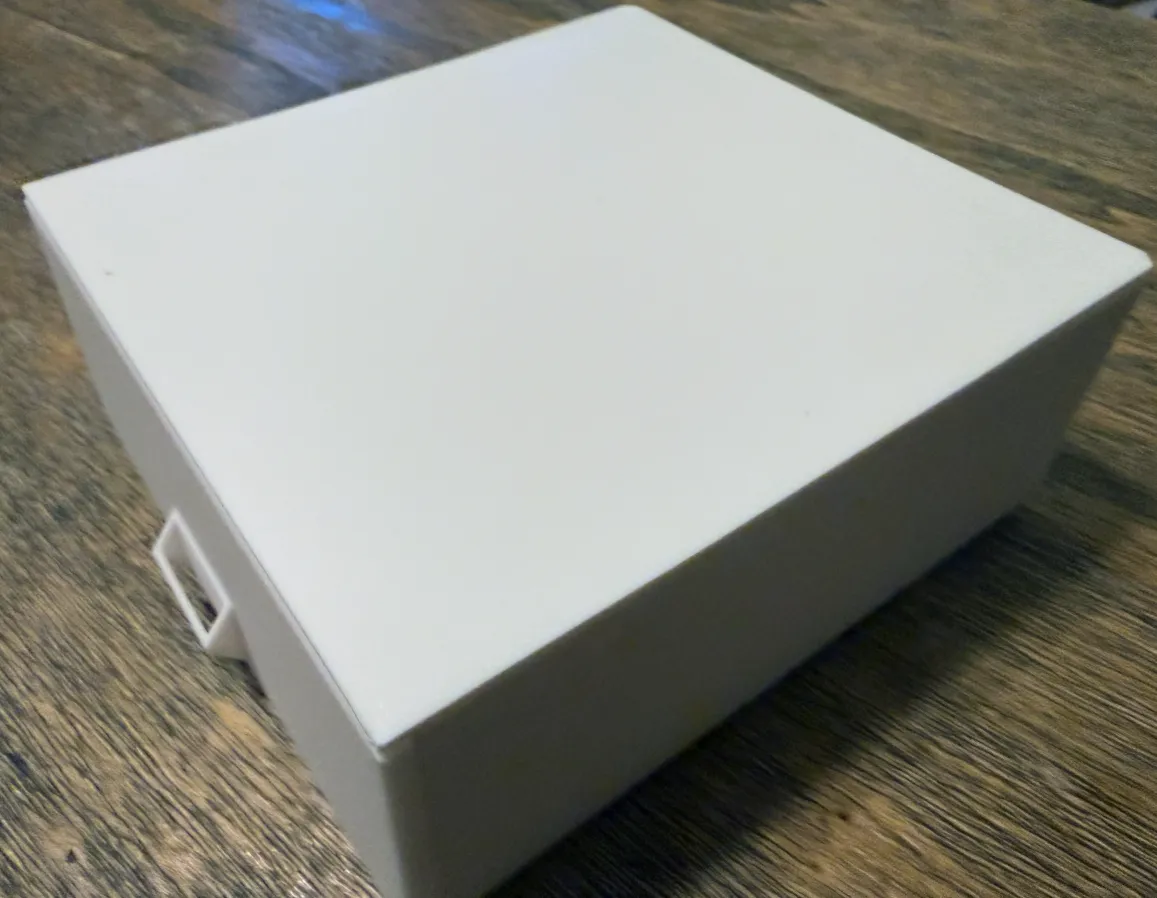
*Note: If you plan to keep this constructed, you can glue the small snap tabs to make the connection permanent.
Boost Me (for free)
If you like this model or just want to help support my design efforts, give me a boost! It's very much appreciated!
You are welcome to 3D print these models for personal use but the design files themselves may not be copied, remixed, redistributed, or resold in any form. The digital models remain the intellectual property of the creator.
If you are interested in a commercial license for this printed design, please contact me for details.
License

You shall not share, sub-license, sell, rent, host, transfer, or distribute in any way the digital or 3D printed versions of this object, nor any other derivative work of this object in its digital or physical format (including - but not limited to - remixes of this object, and hosting on other digital platforms). The objects may not be used without permission in any way whatsoever in which you charge money, or collect fees.


Comment & Rating (55)