
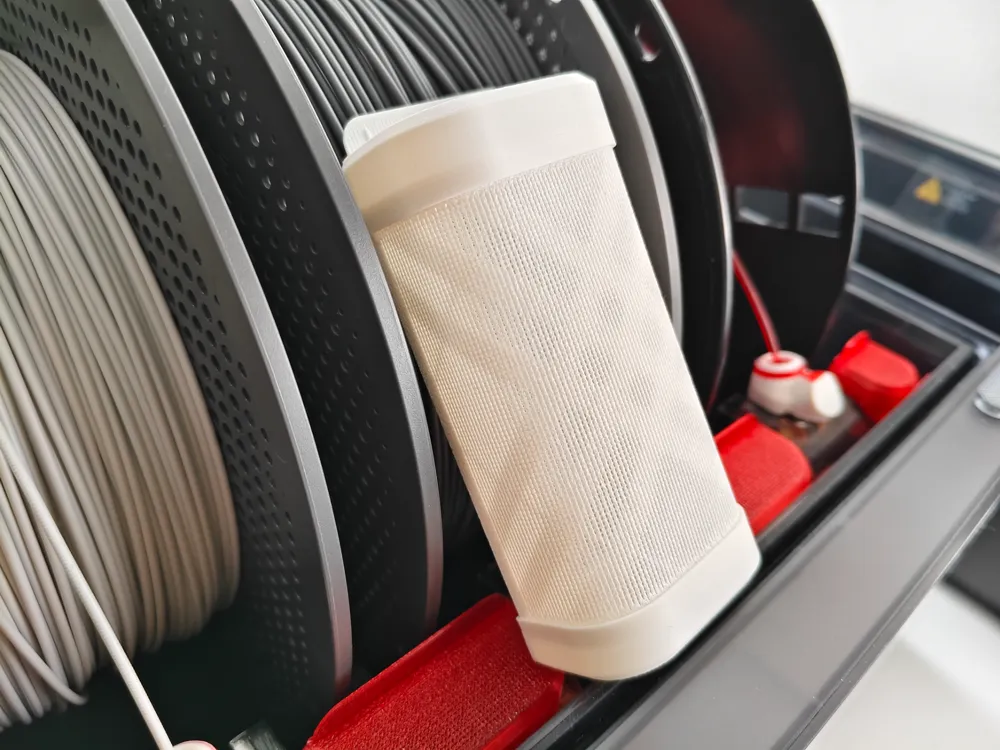
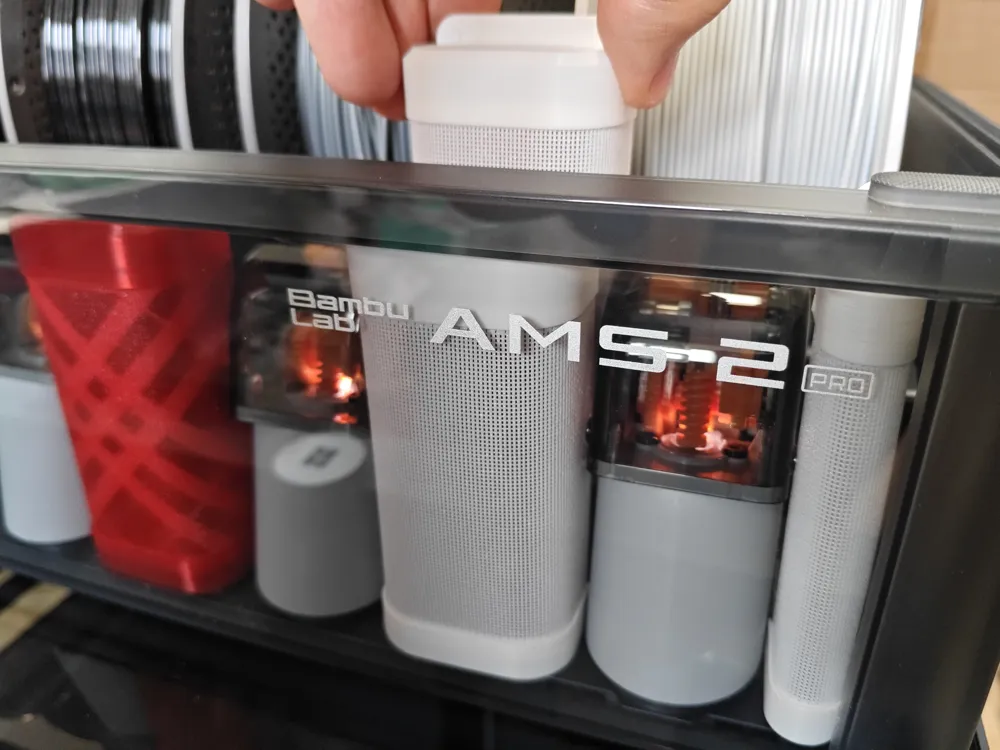
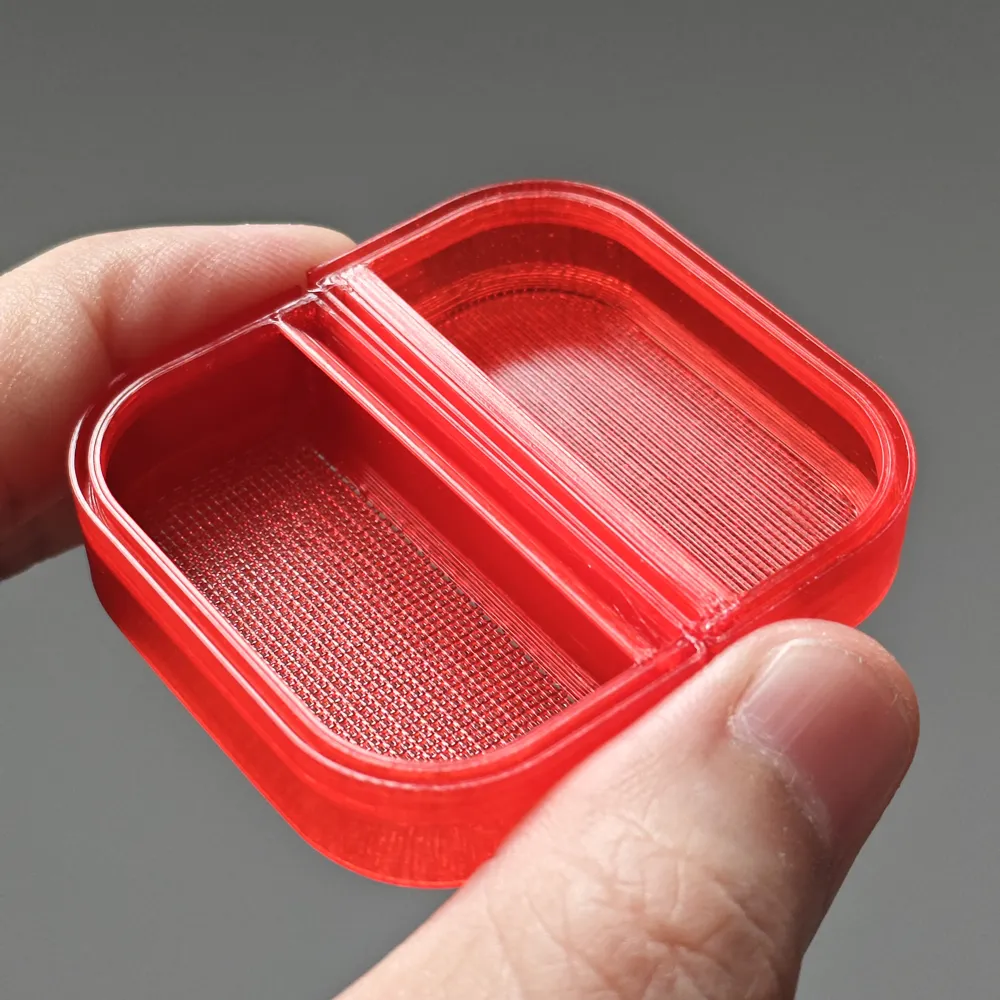
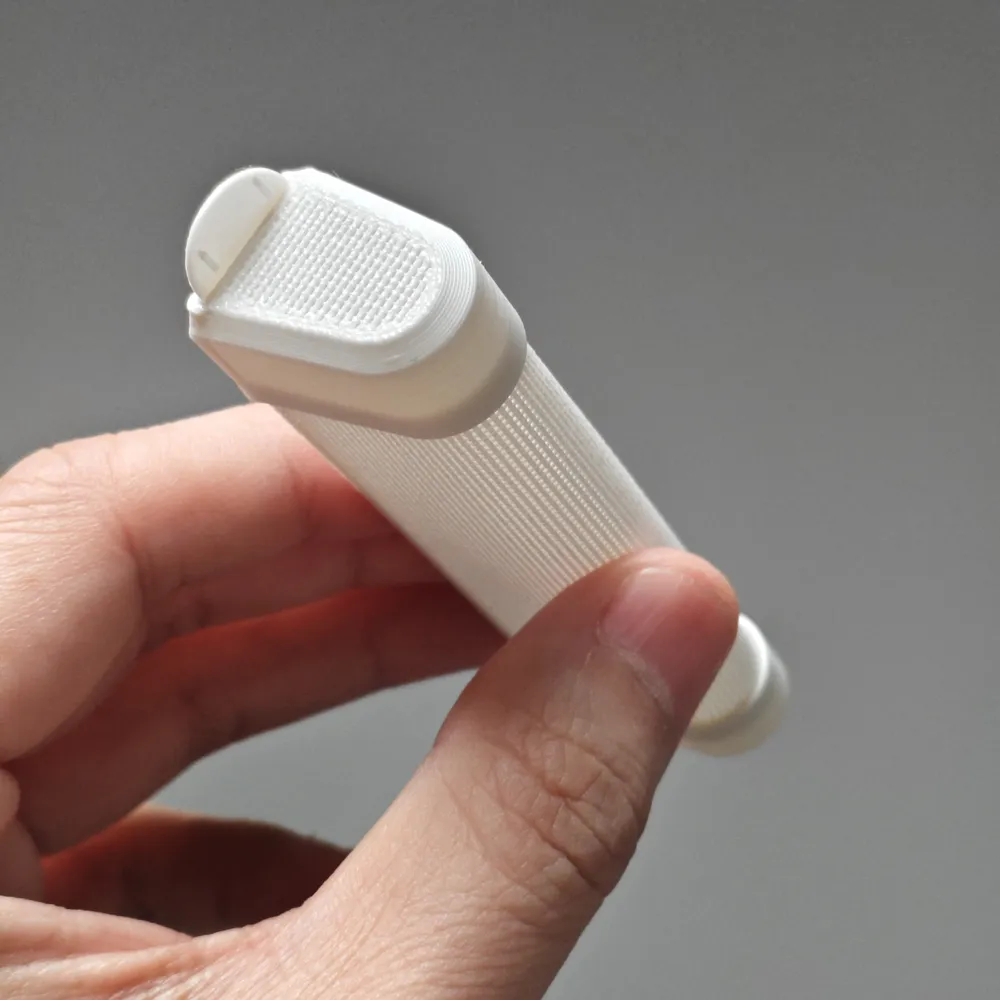
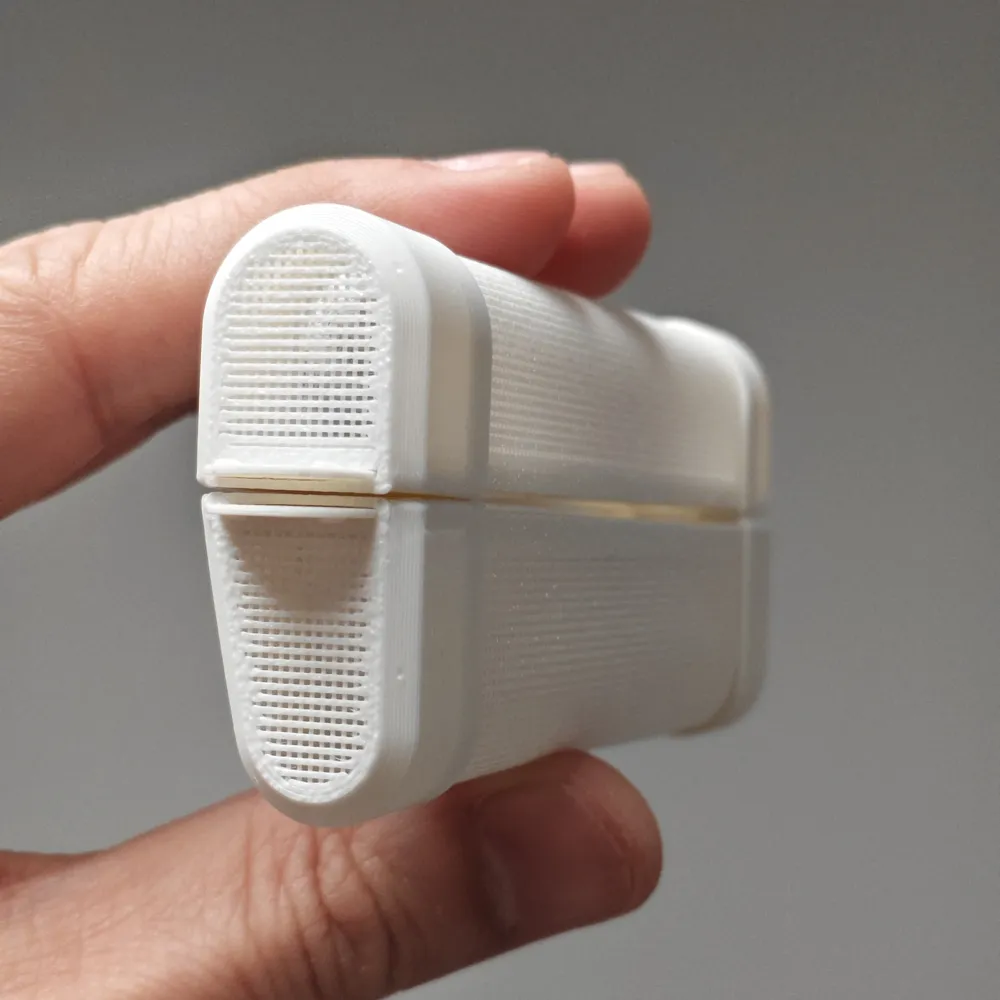
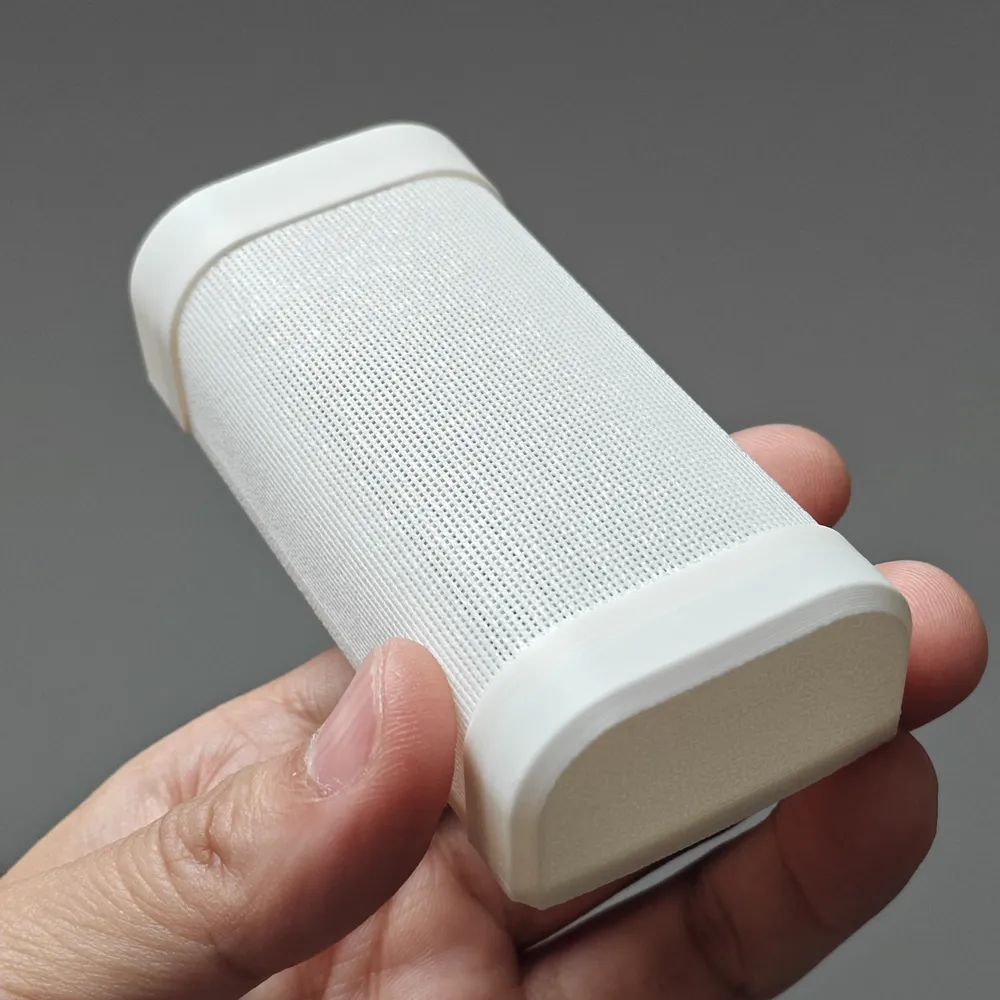
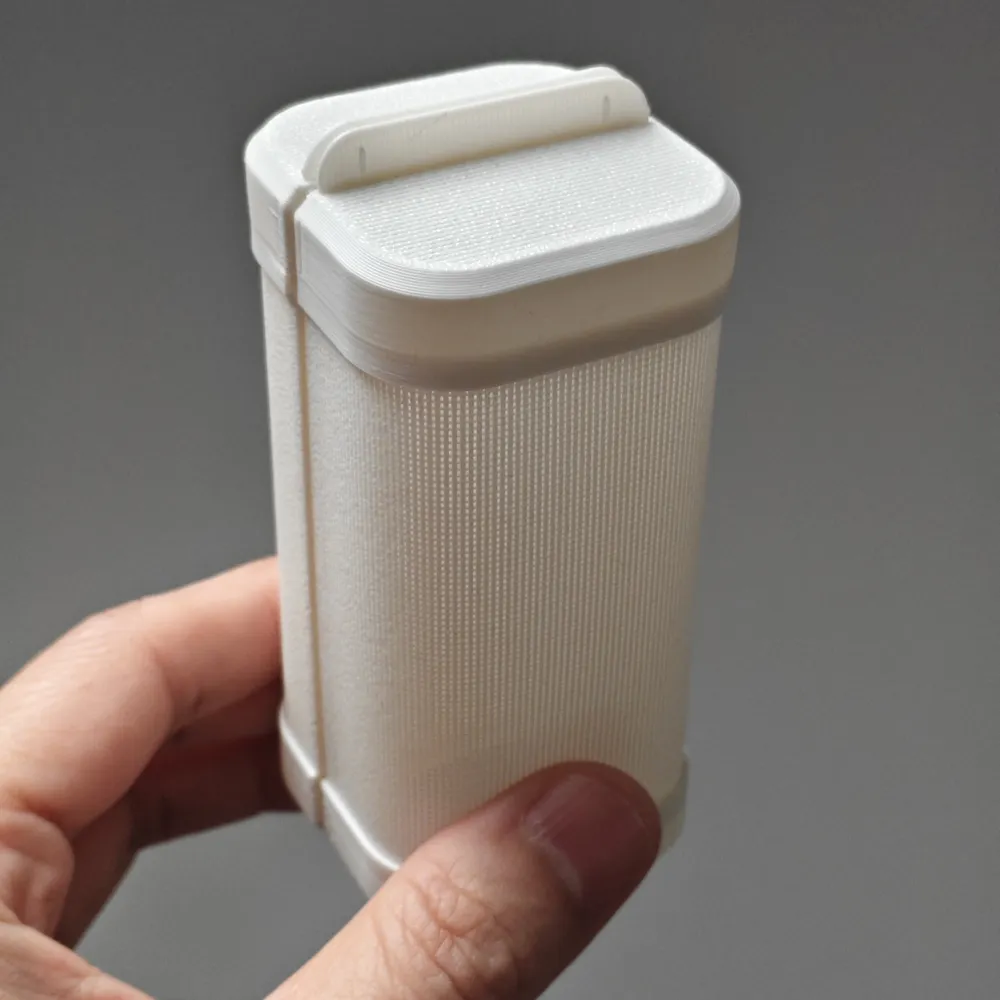
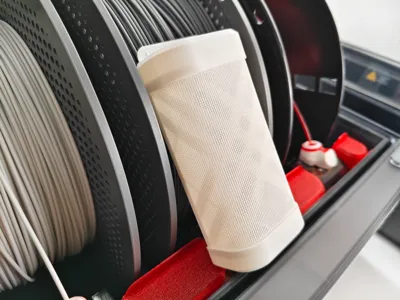
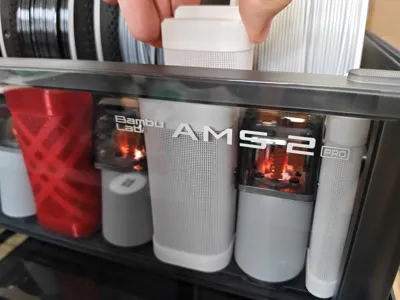
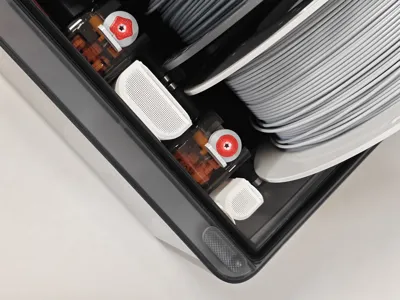
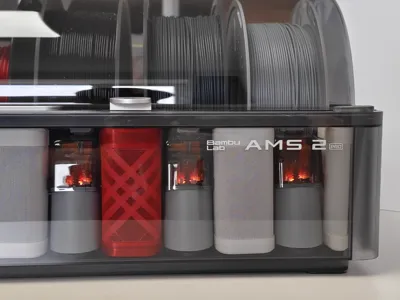
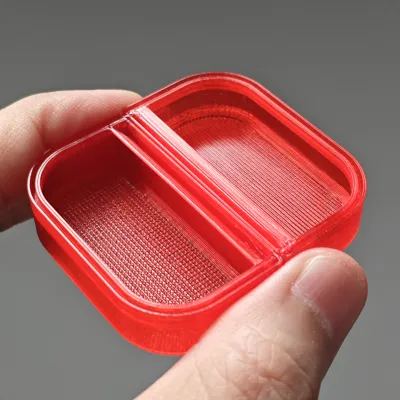
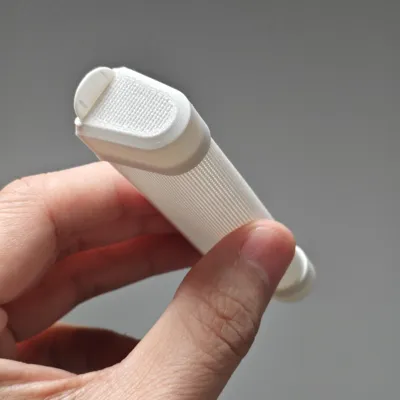
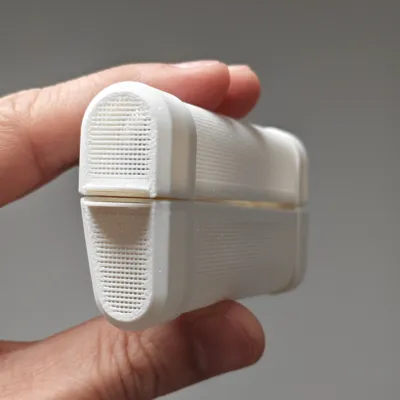
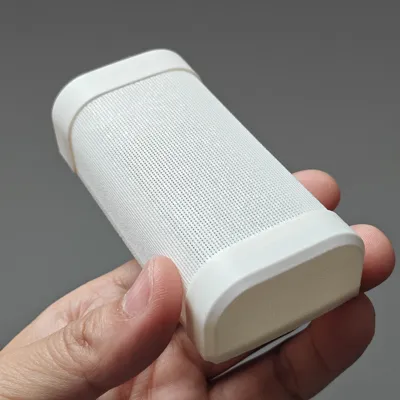
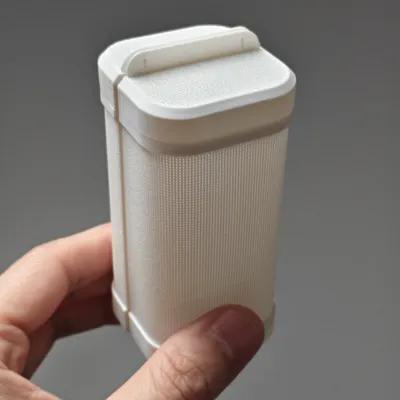
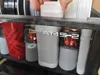
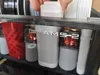
AMS2Pro Drybox 3.6 hours/77 grams, lightweight and leak-proof, brand new and original
Print Profile(10)
Description
Boost Me (for free)
Keep going! Keep going! Keep going!
Original model! No splicing! No derivative works! No plagiarism!
X2D users must currently print via the app to avoid the shrinkage bug in local slicer software, which will make model installation extremely difficult. App printing currently does not support printing one by one for series other than the A series, which is another MakerWorld bug
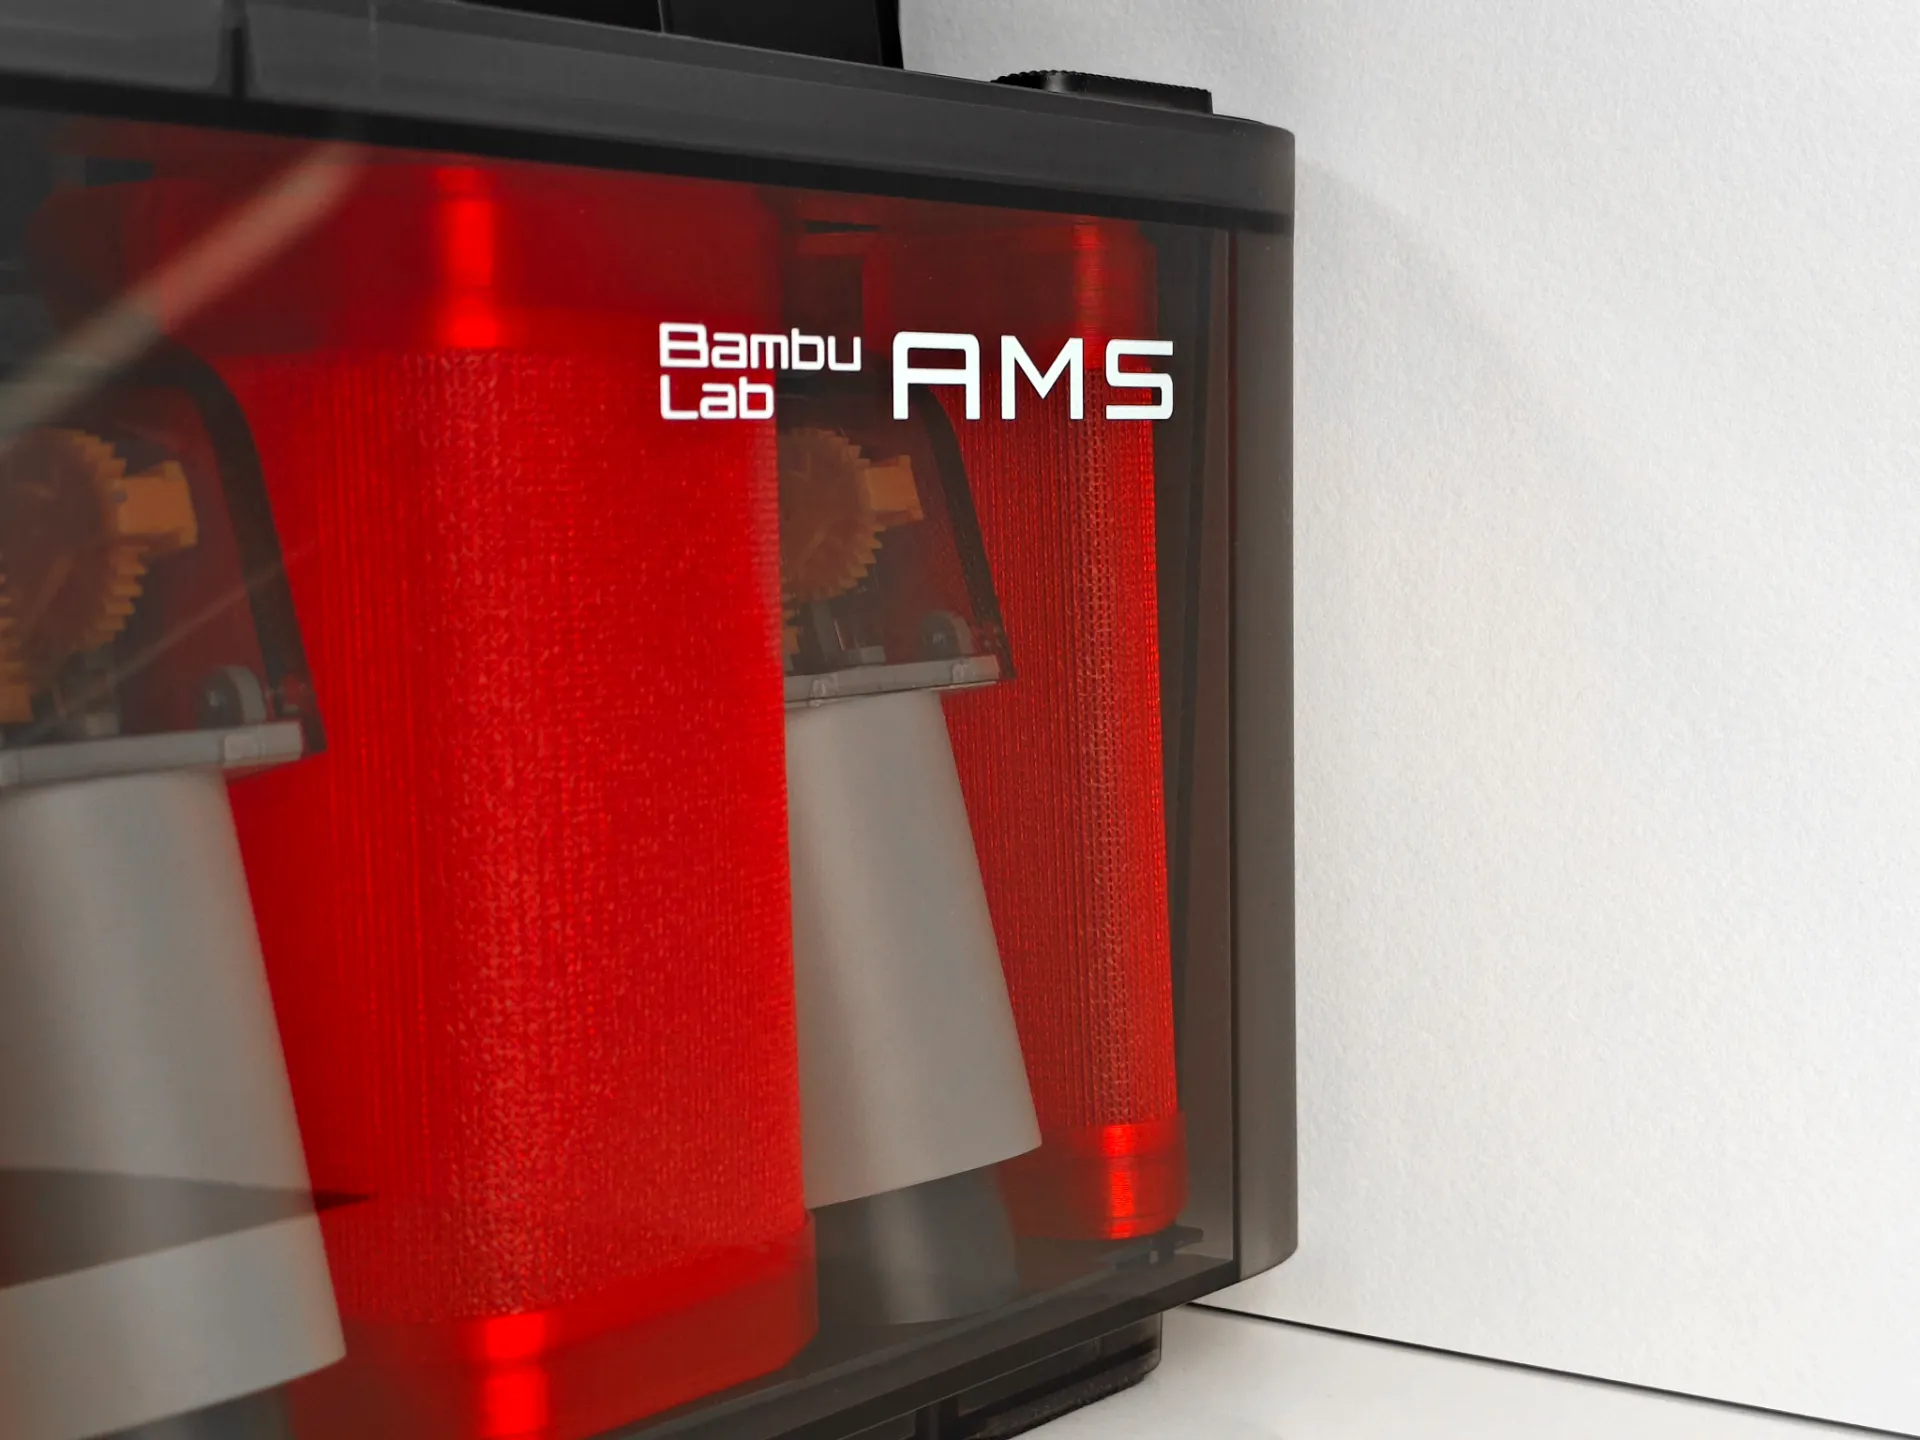 | AMS Drybox, fastest in just 21 minutes 38 seconds, 5.88g filament, light and leak-proof |
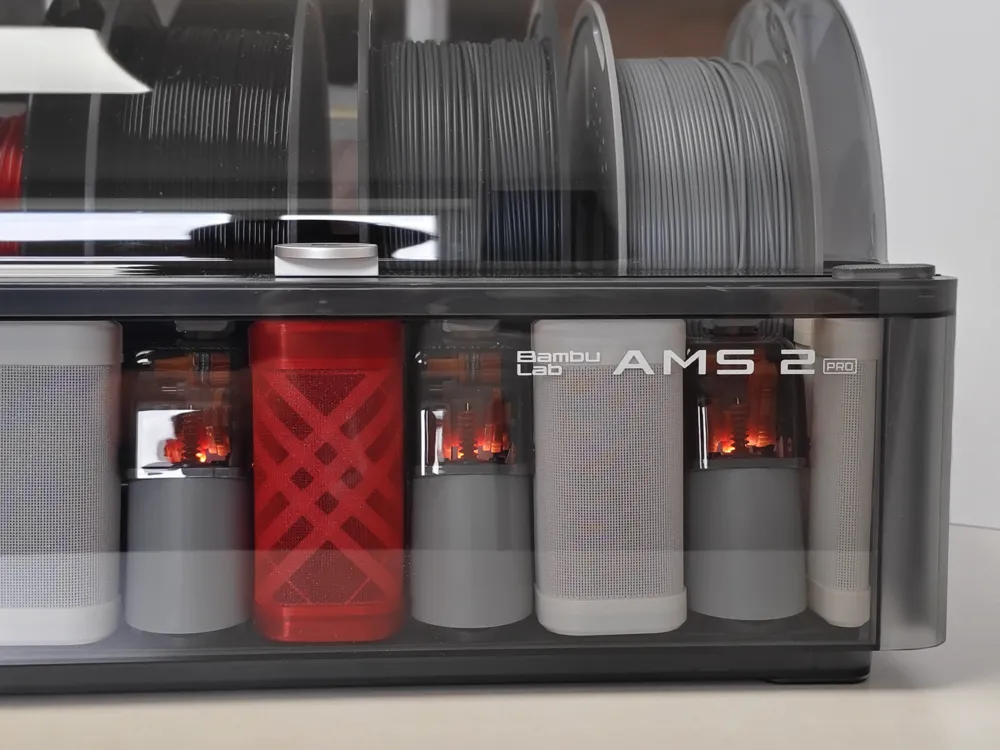
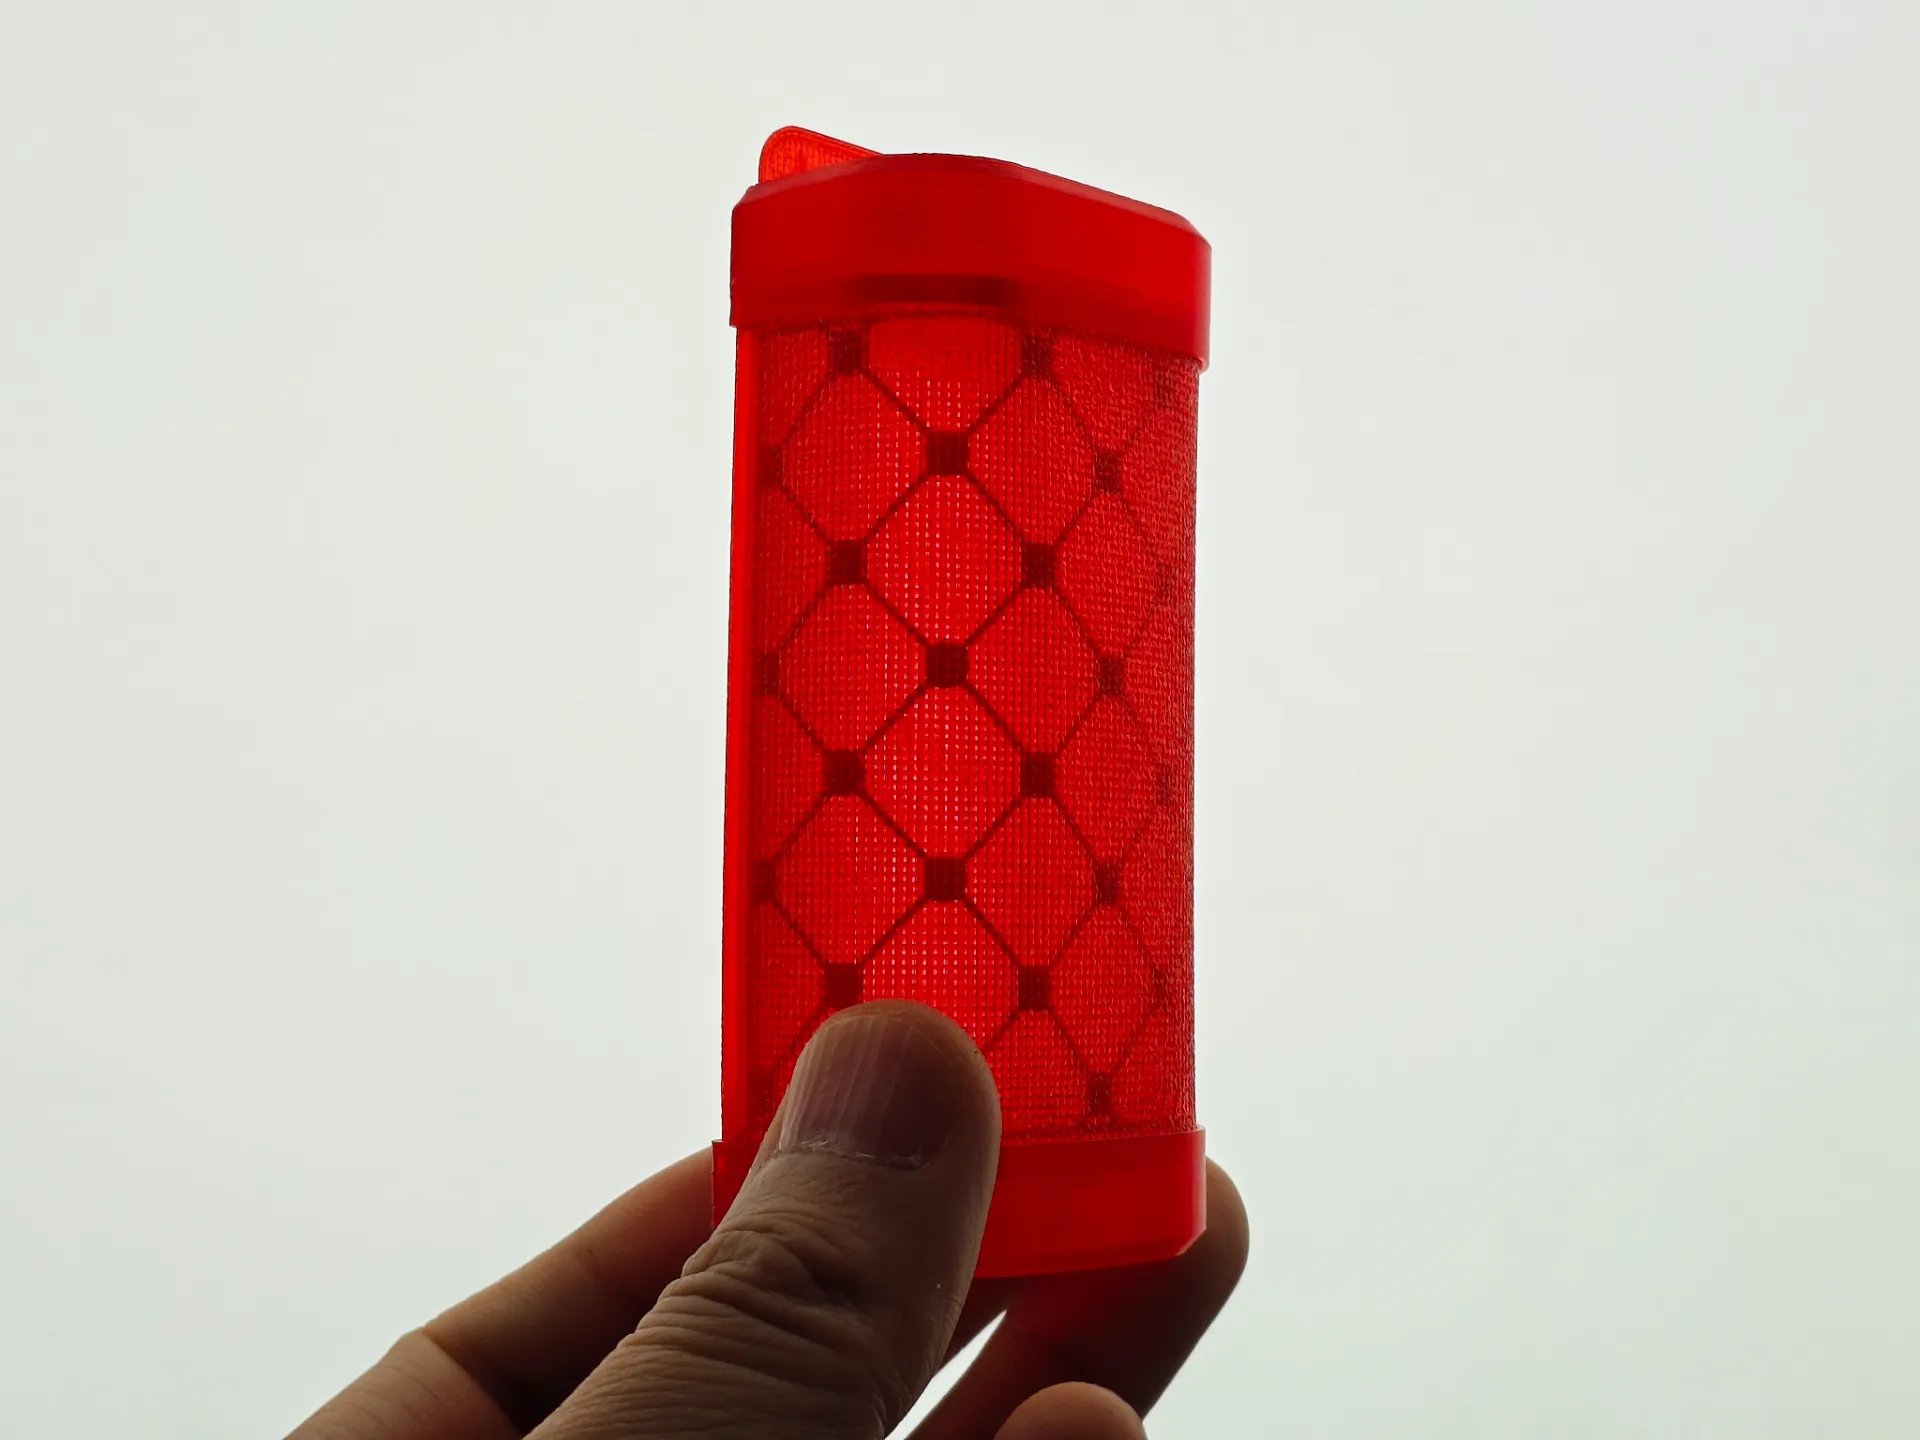 | AMS & AMS2PRO Drybox Theme Texture |
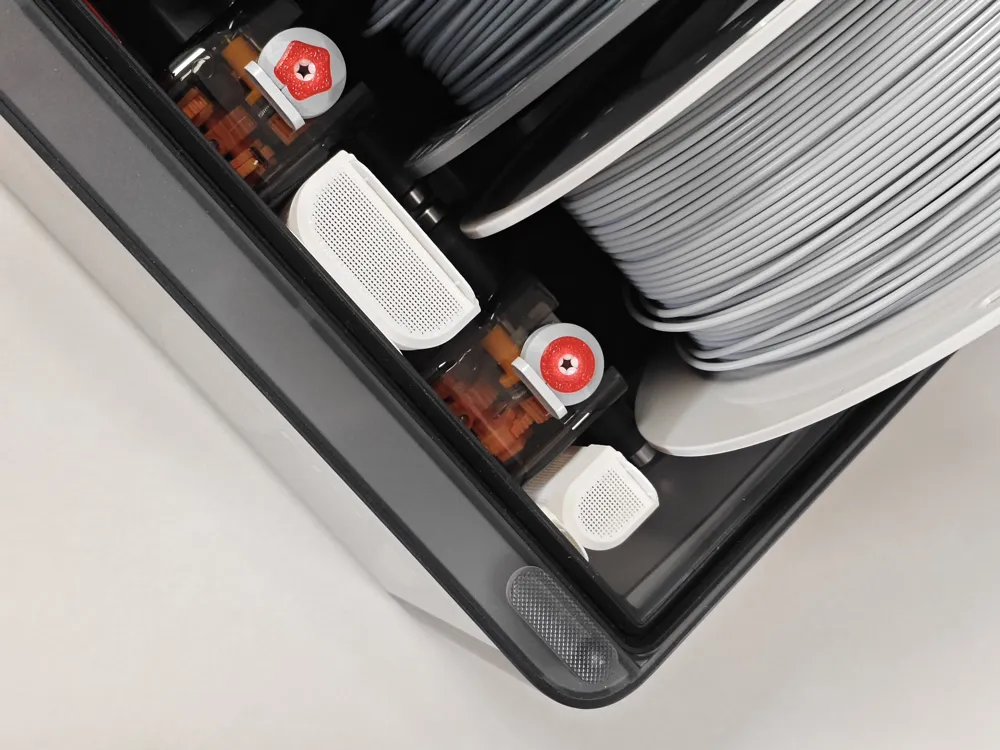
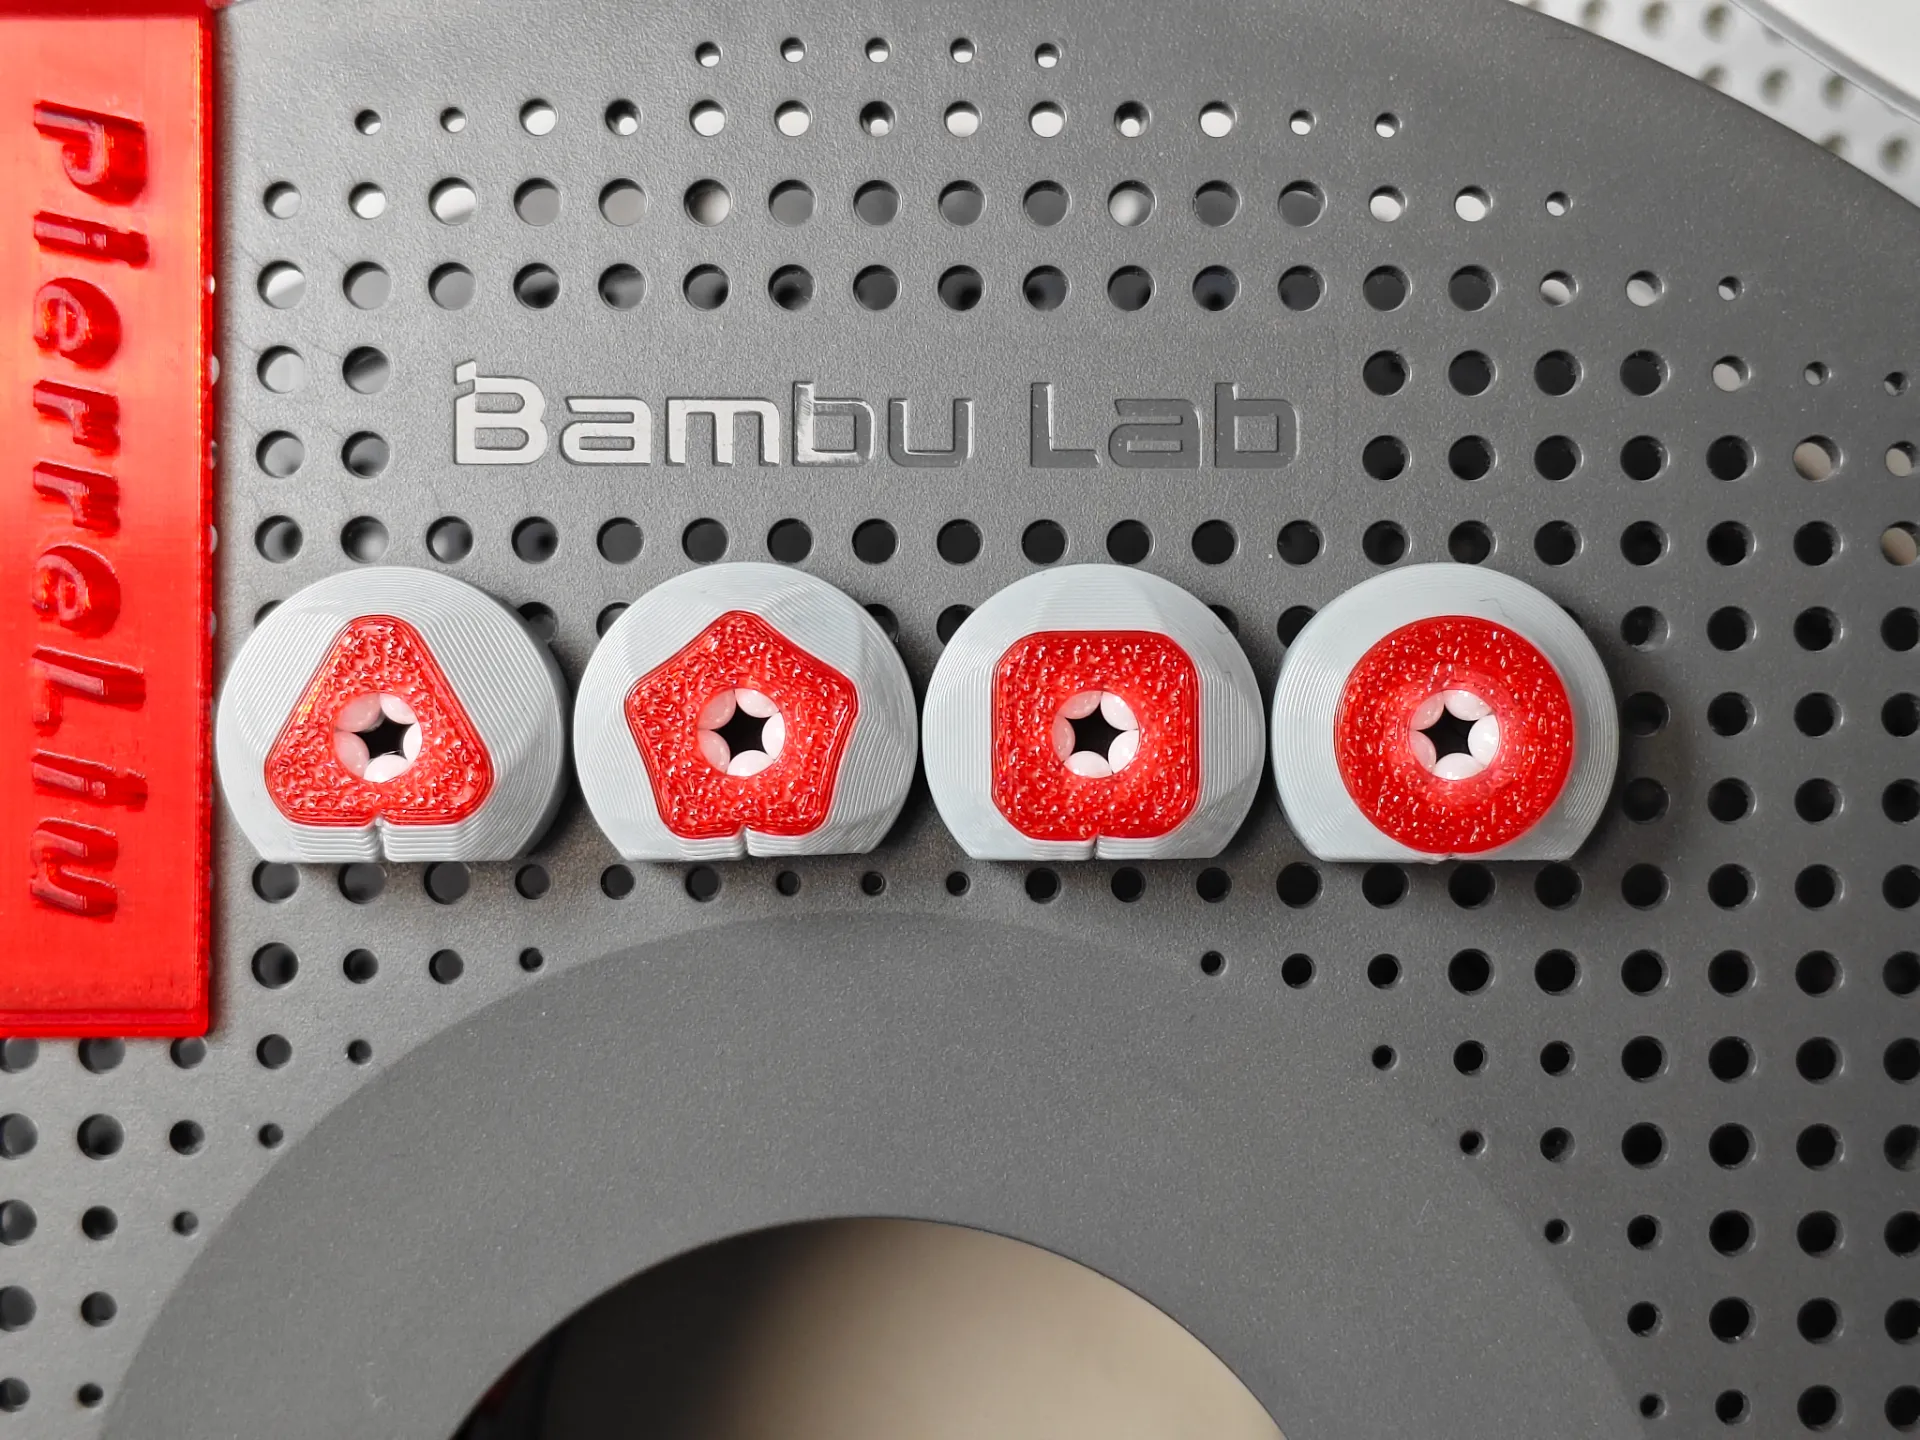 | AMS2PRO Feeder Port Protector V1 Anti-Chewing Ceramic Ball Version |
Why design a drybox
Because I need a desiccant box that is stylish and beautiful, uses less filament, saves printing time, and has a large capacity
How can the word "stylish" be related to a drybox? It can! It definitely can! Later, I will open source the versatile theme models for this drybox
Must Read Before Printing
Materials:
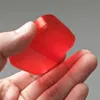
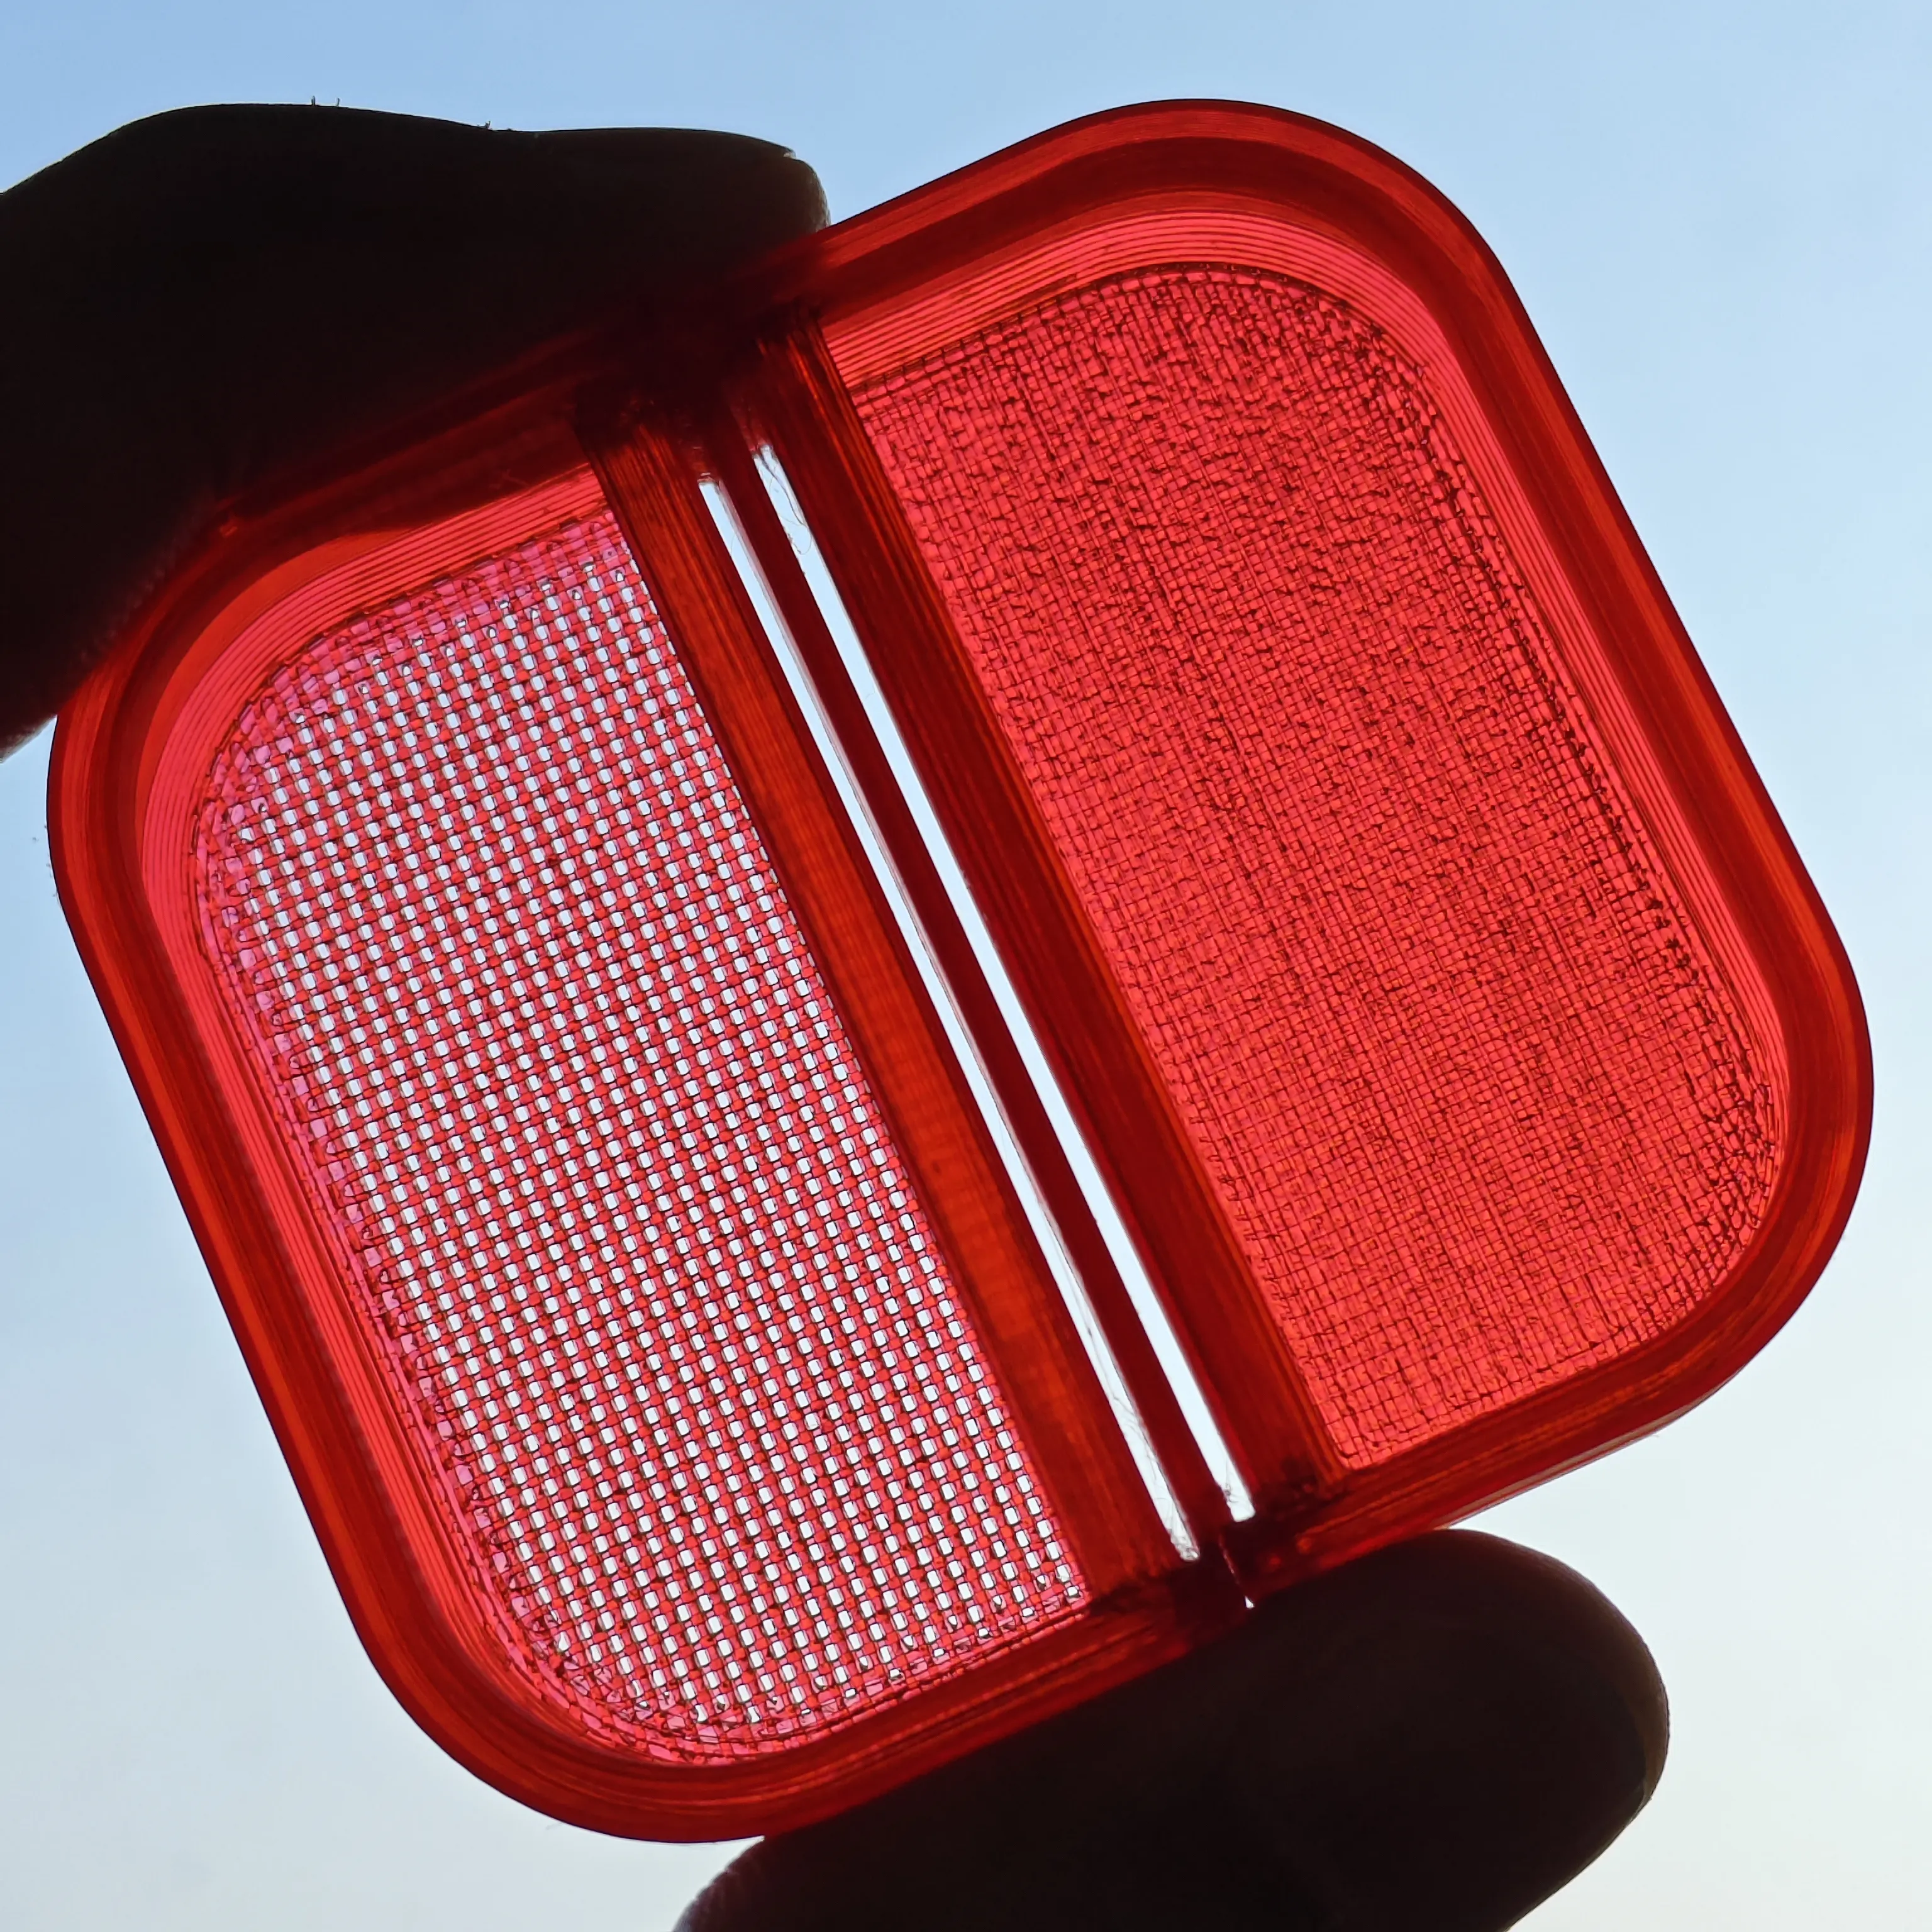
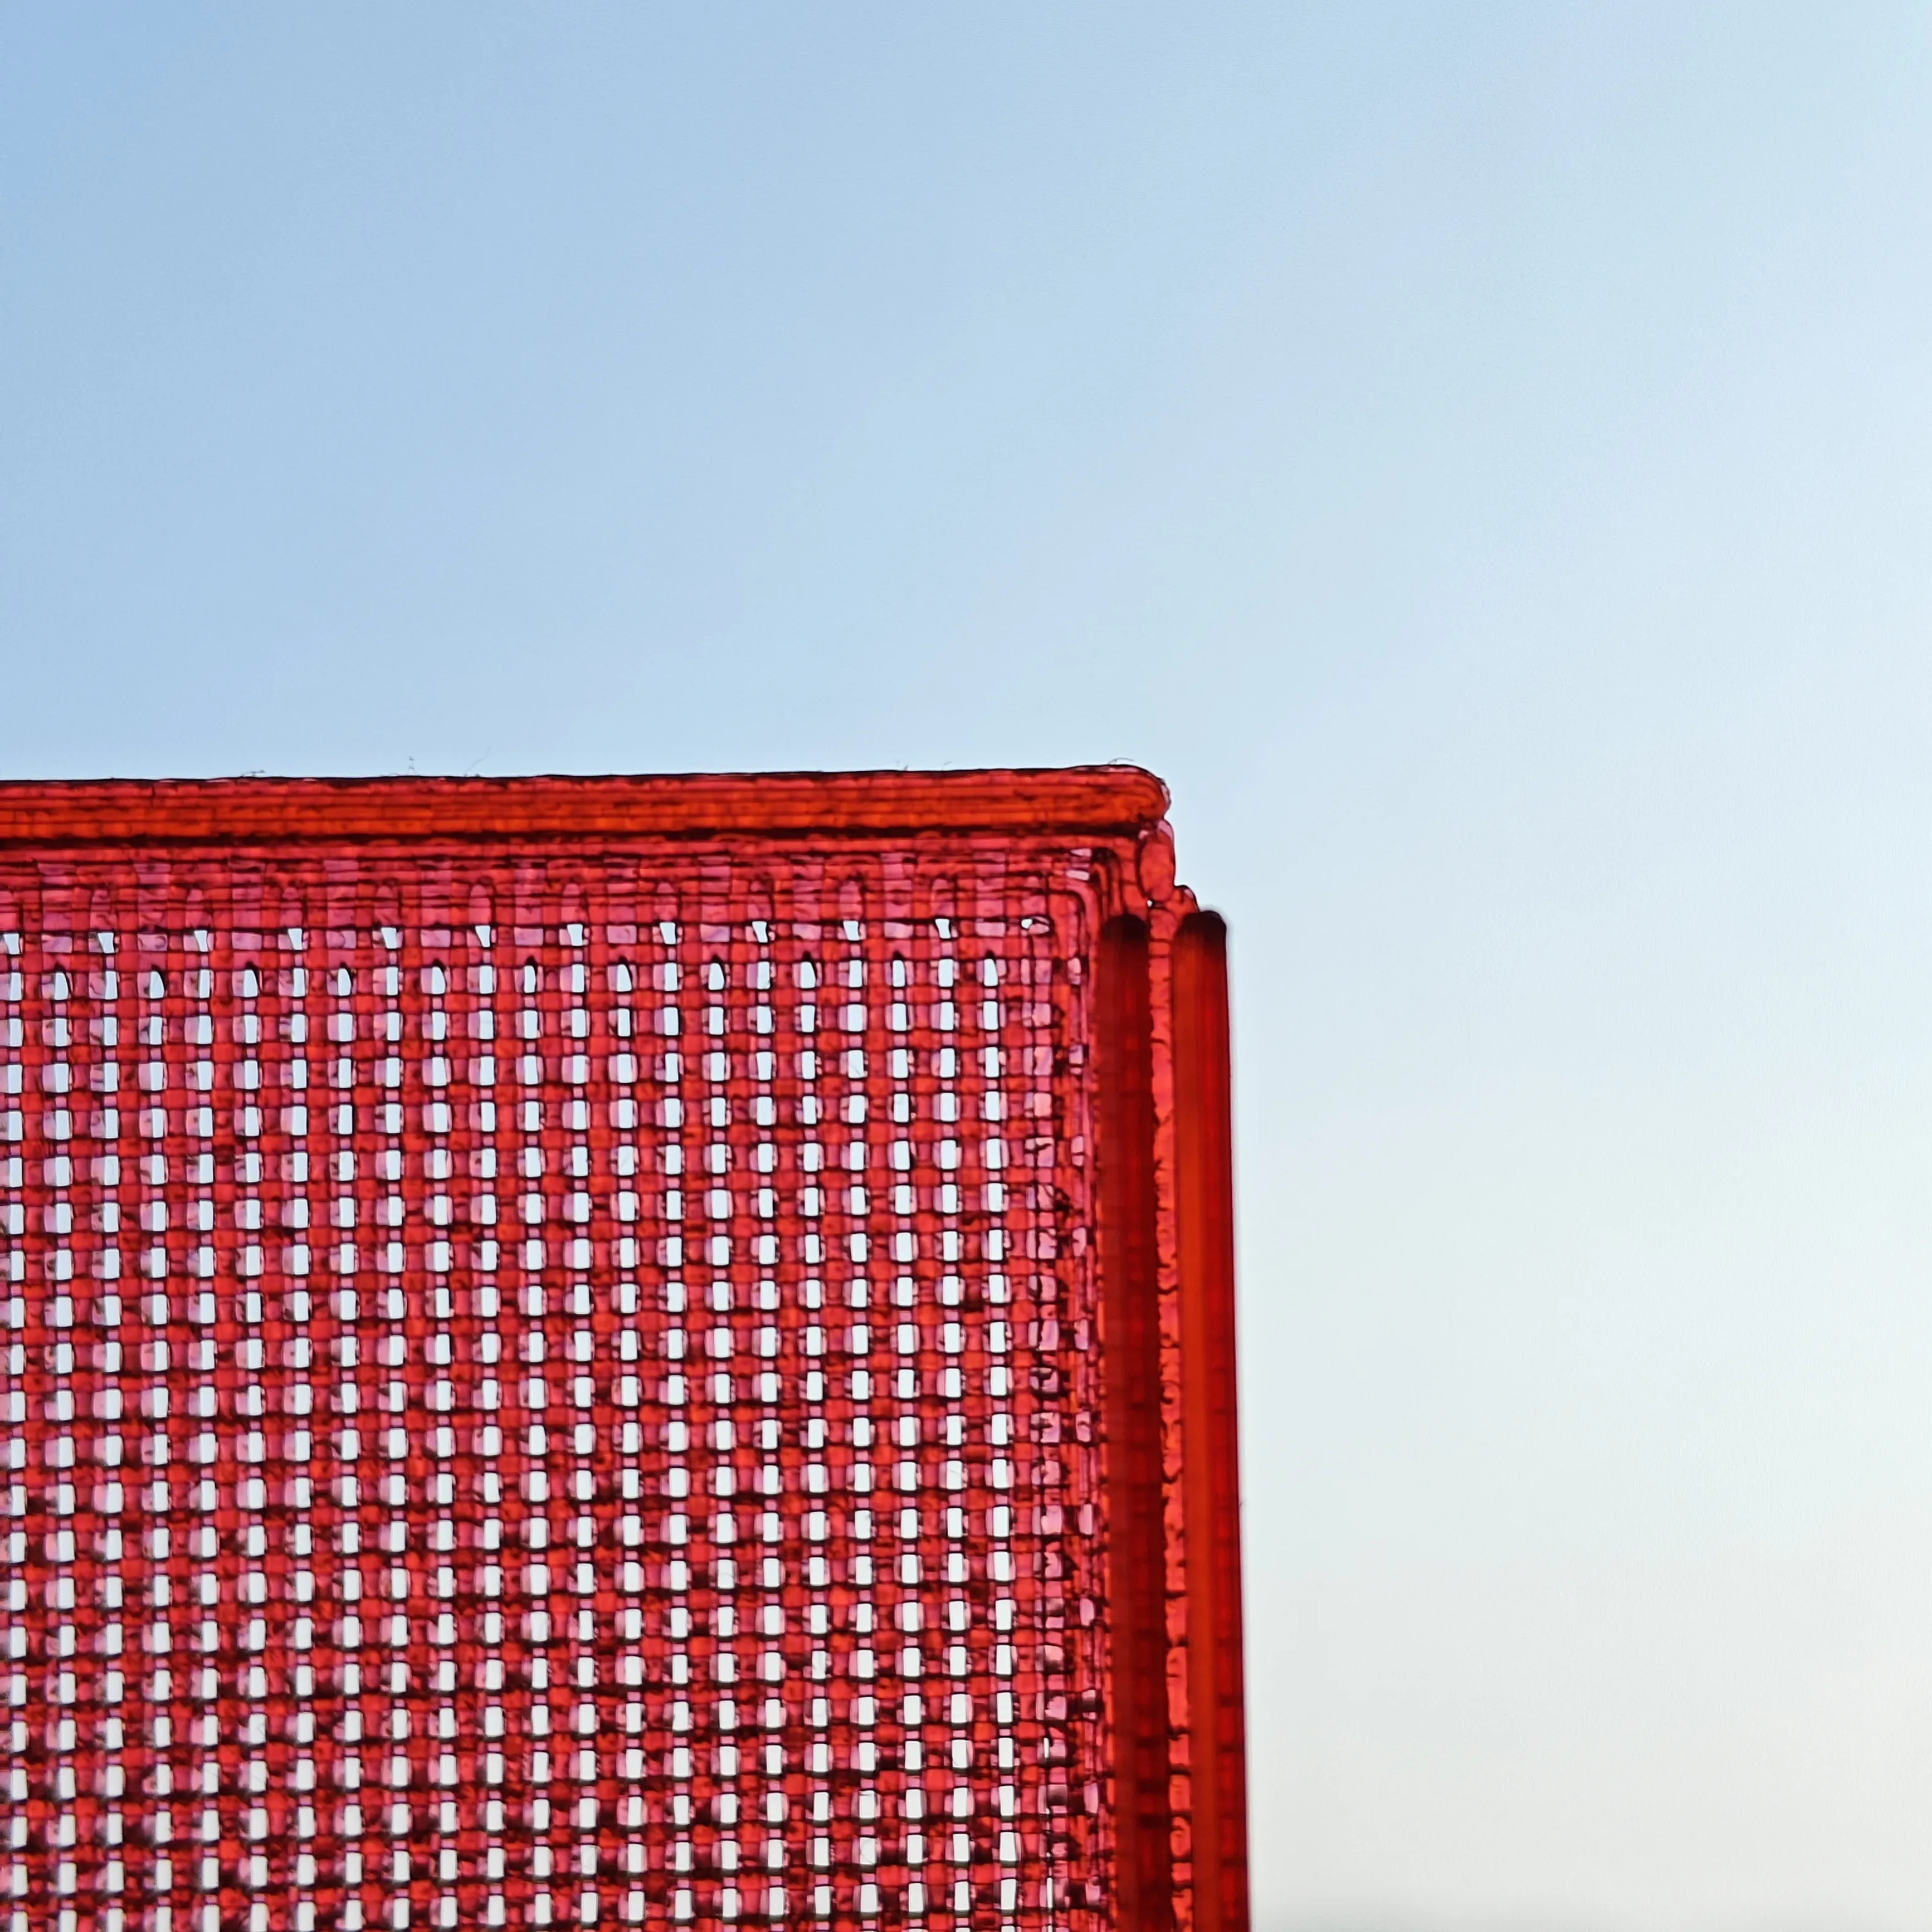
It is recommended to use PETG Translucent because translucent materials not only have a mirror-like reflective texture but are also high-purity materials. If printing with matte PETG, the difficulty will increase significantly (bed adhesion issues can be solved by lowering the bed temperature, but poor layer adhesion cannot be changed)
Due to its decomposition properties, PLA is not recommended. Imagine an entire box of silica gel desiccant breaking apart in the corner of the AMS; that would be a huge cleaning job. Furthermore, PLA's flexibility is relatively poor, which increases difficulty during curved surface installation
build plate:
Be sure to thoroughly wash off oil stains from the build plate with dish soap; this is crucial
If an older build plate is not adhering, it is recommended to apply glue to increase model adhesion
If the build plate is too sticky, you can try lowering the bed temperature
Before printing, please complete the official hardware and software calibration (dynamic flow calibration, flow rate calibration)
After printing, be sure to wait for natural cooling before removing the model (removing it prematurely can easily cause the top and bottom covers to warp and deform)
Model:
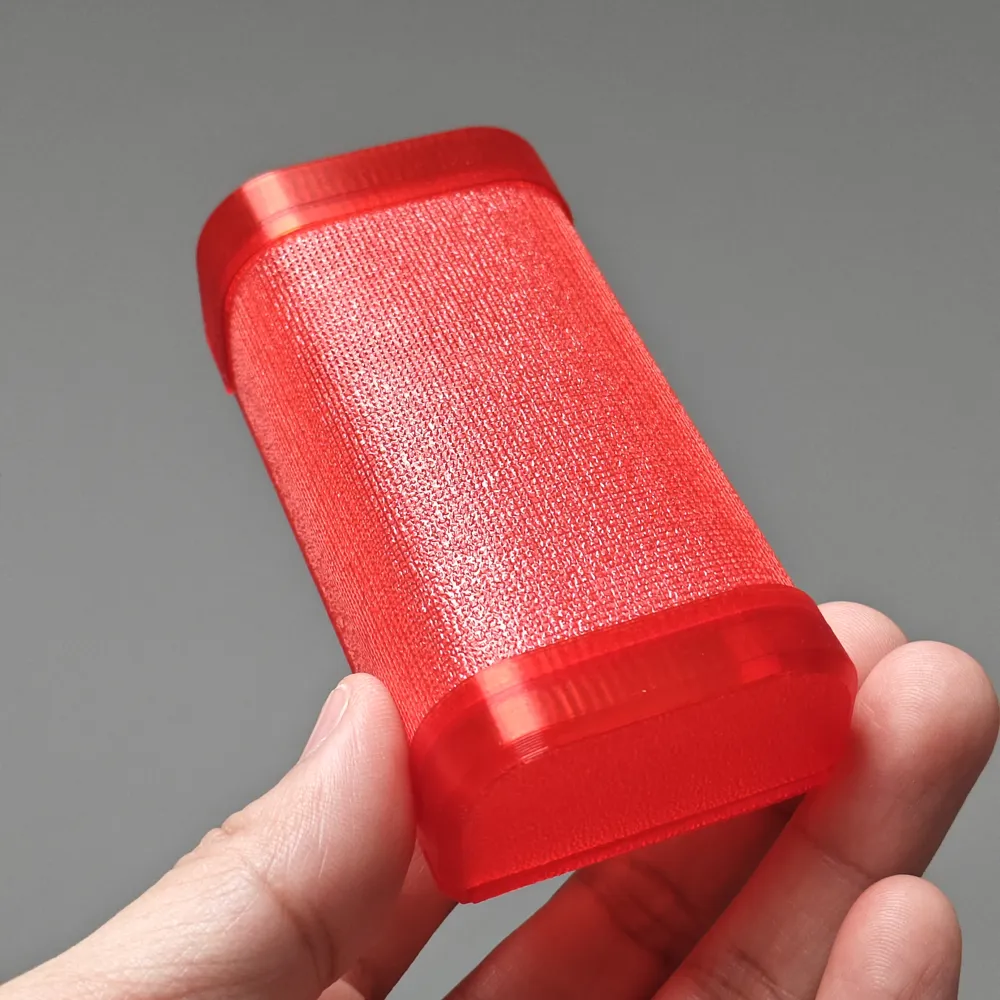
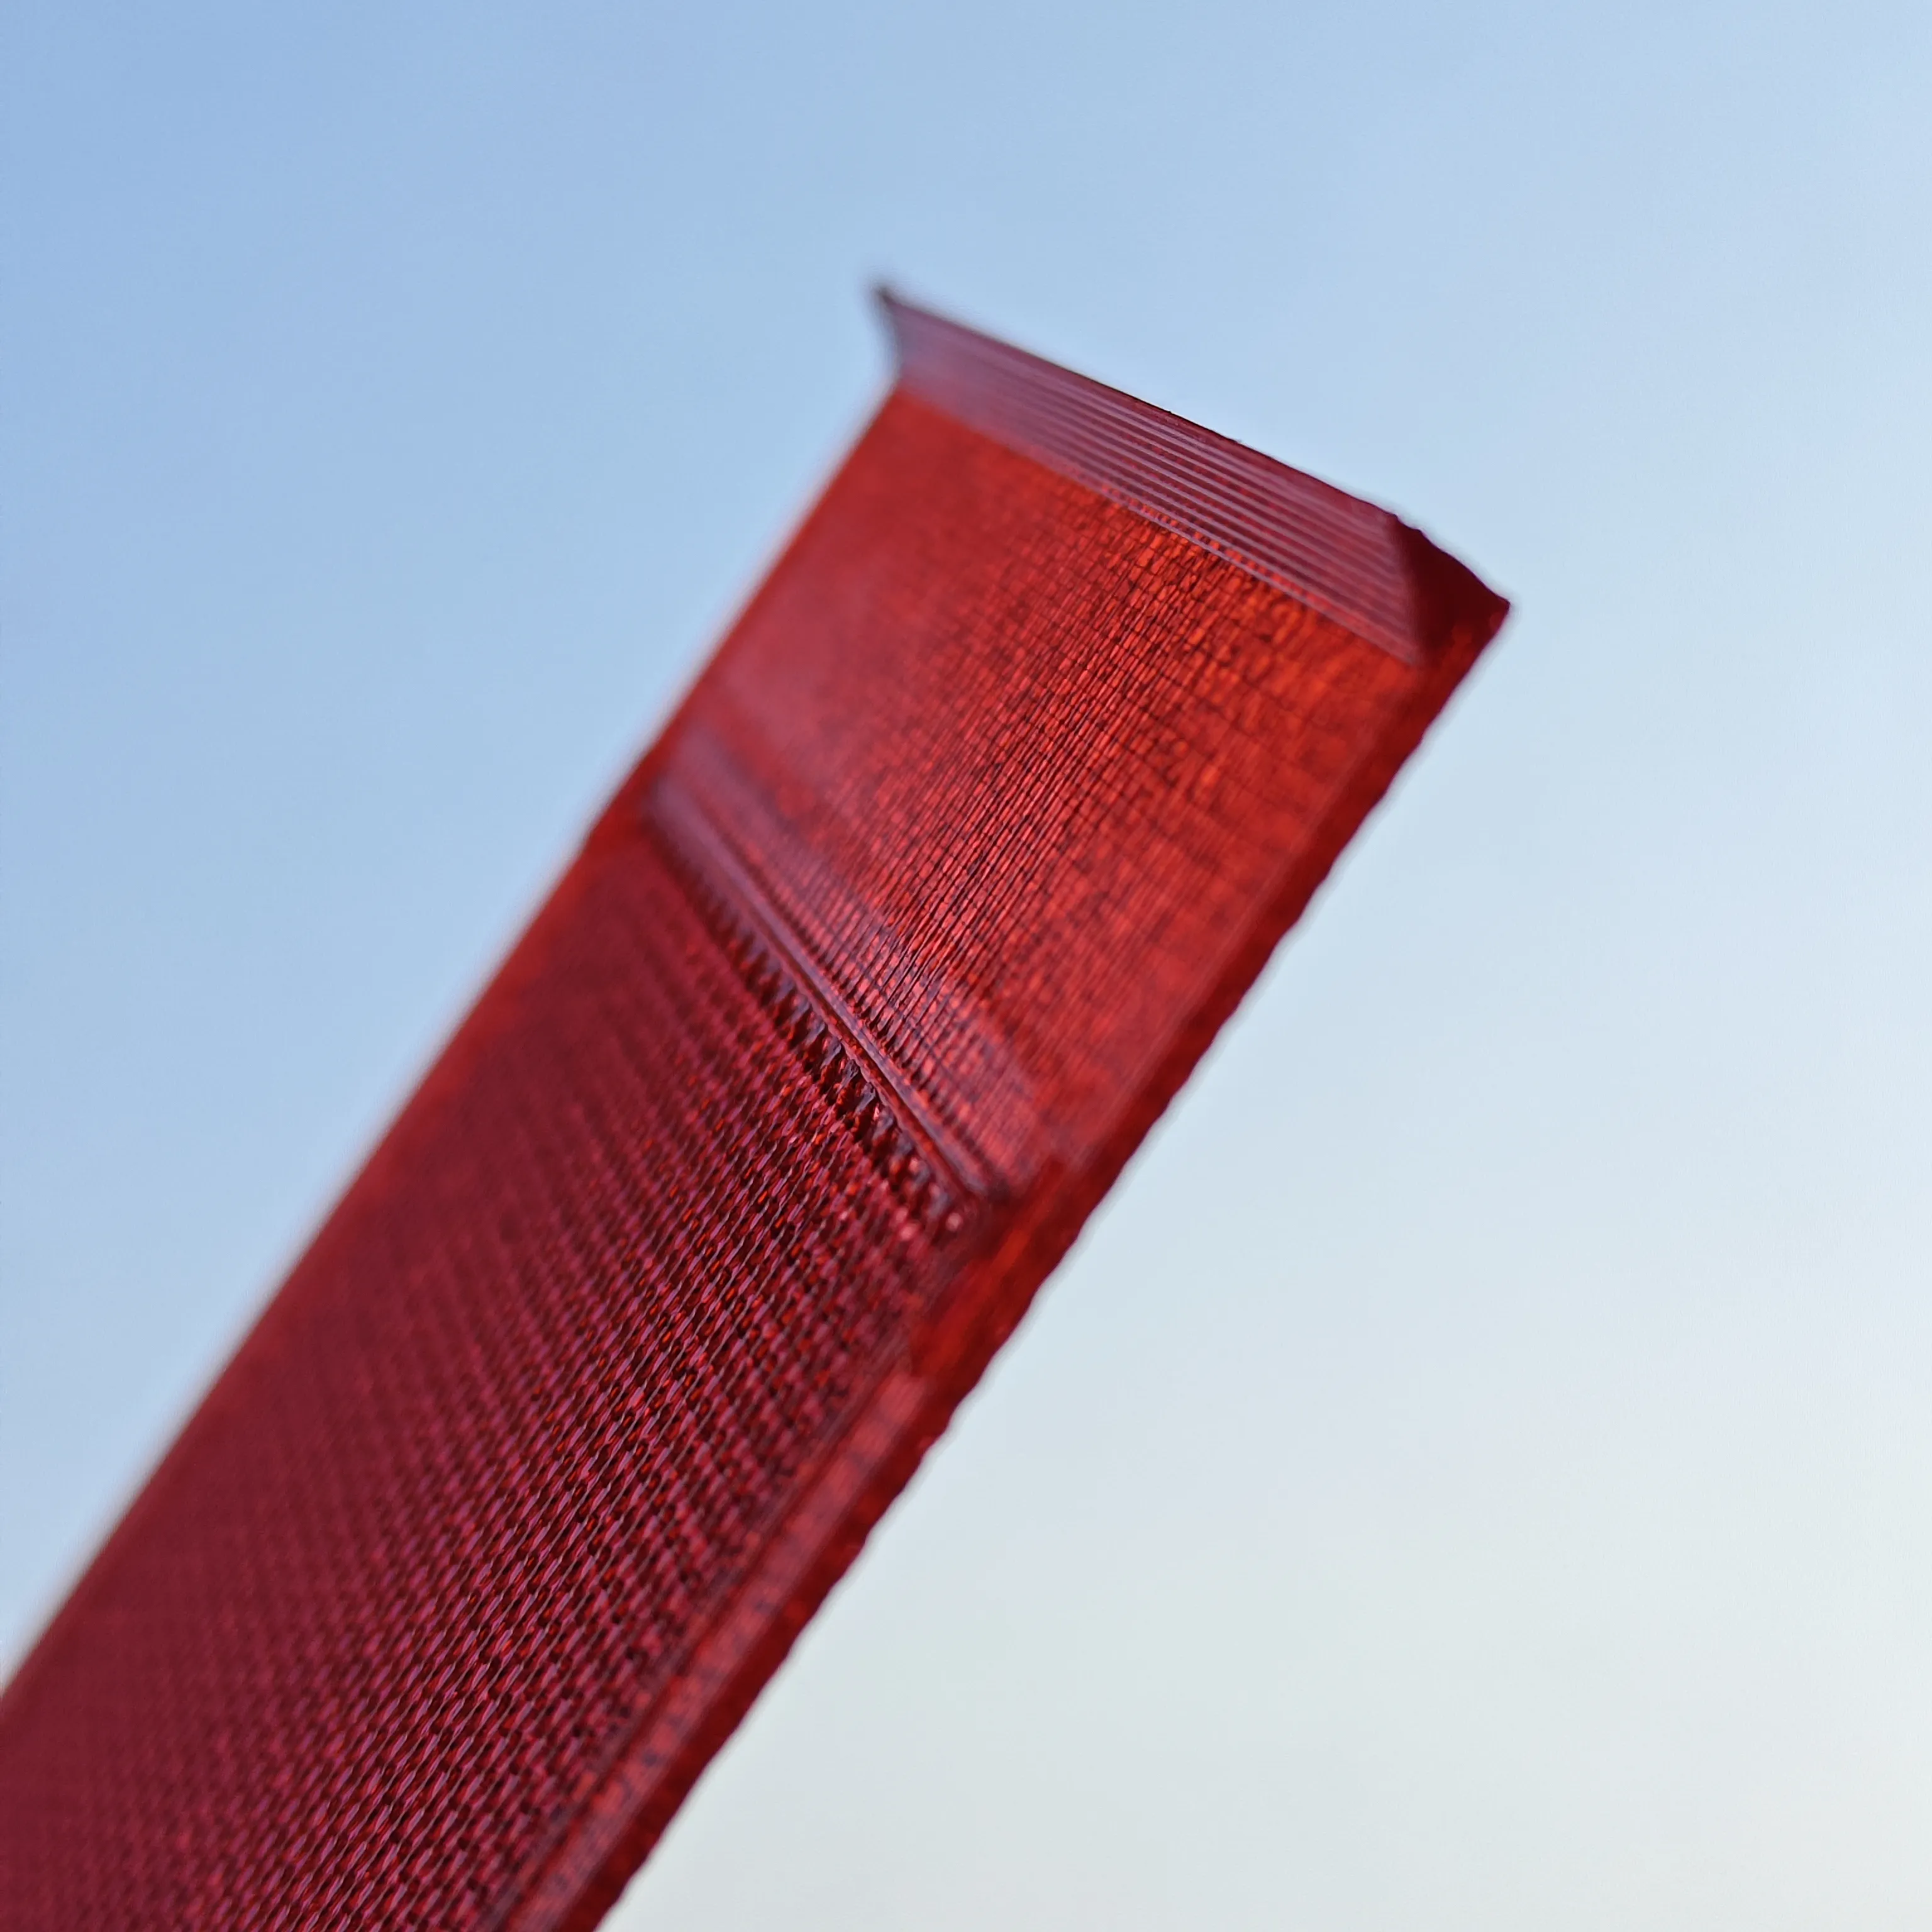
Do not change the print path direction and model orientation, as this may prevent the curved model from being installed
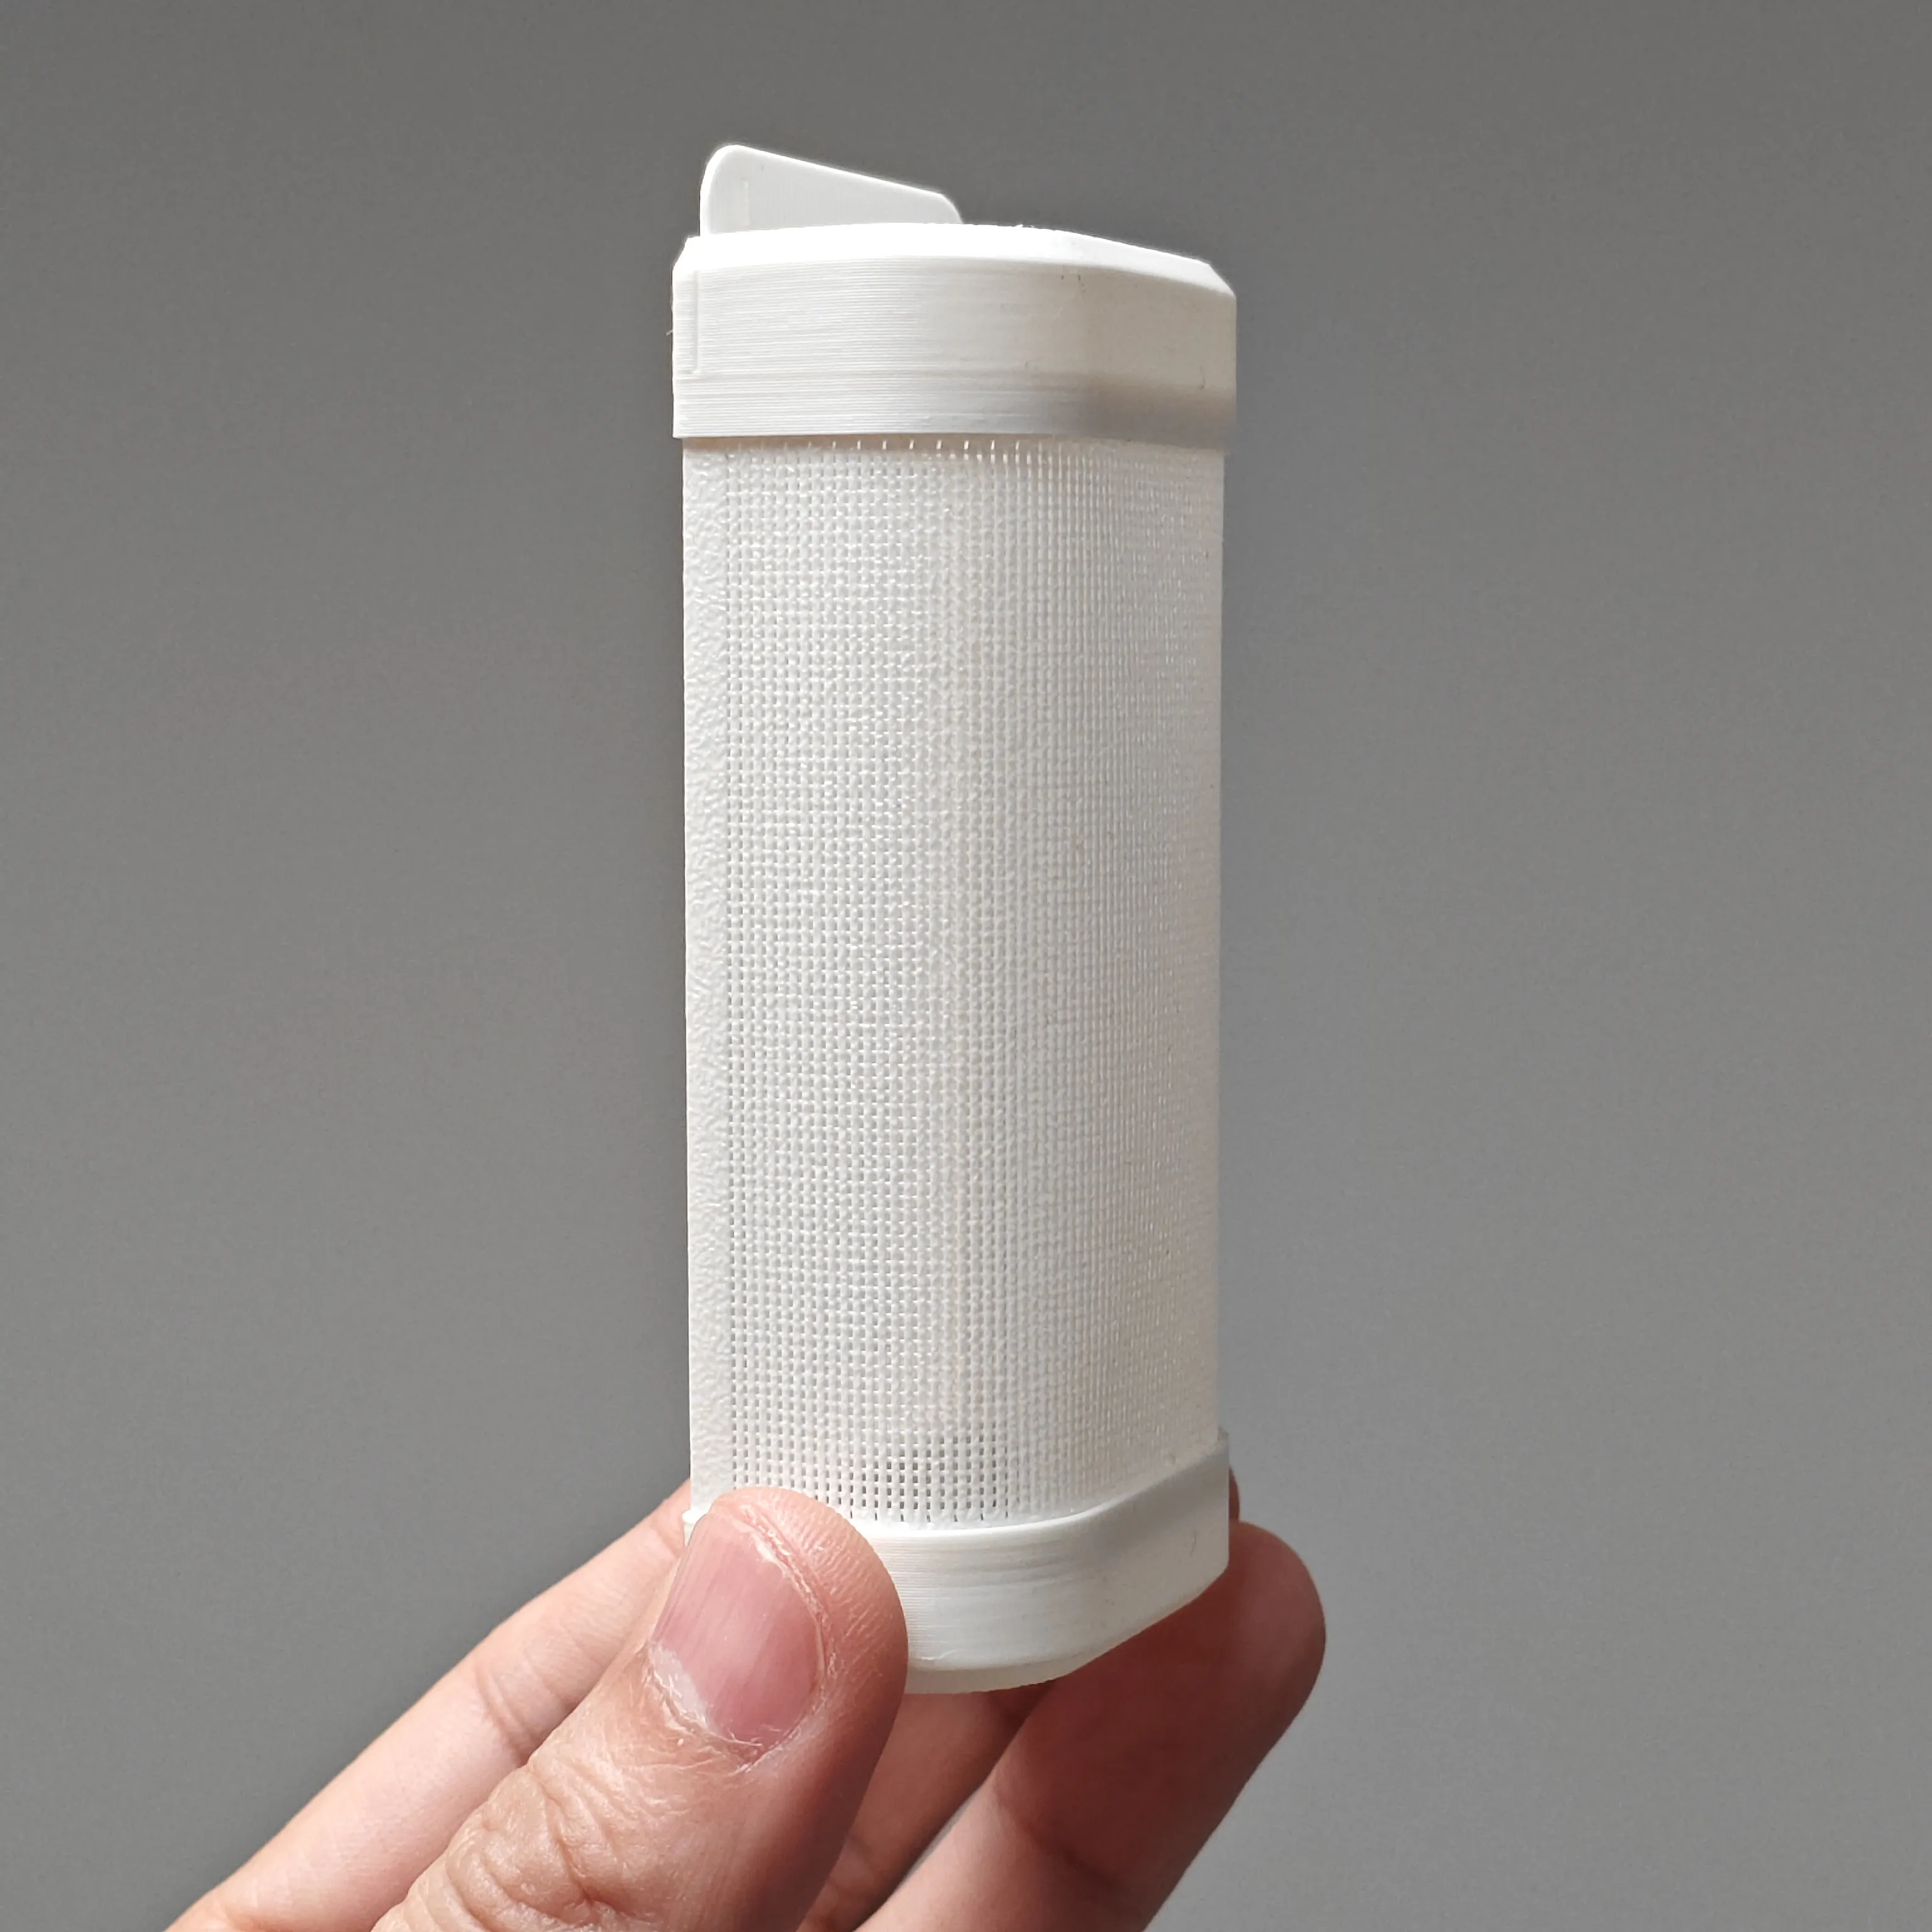
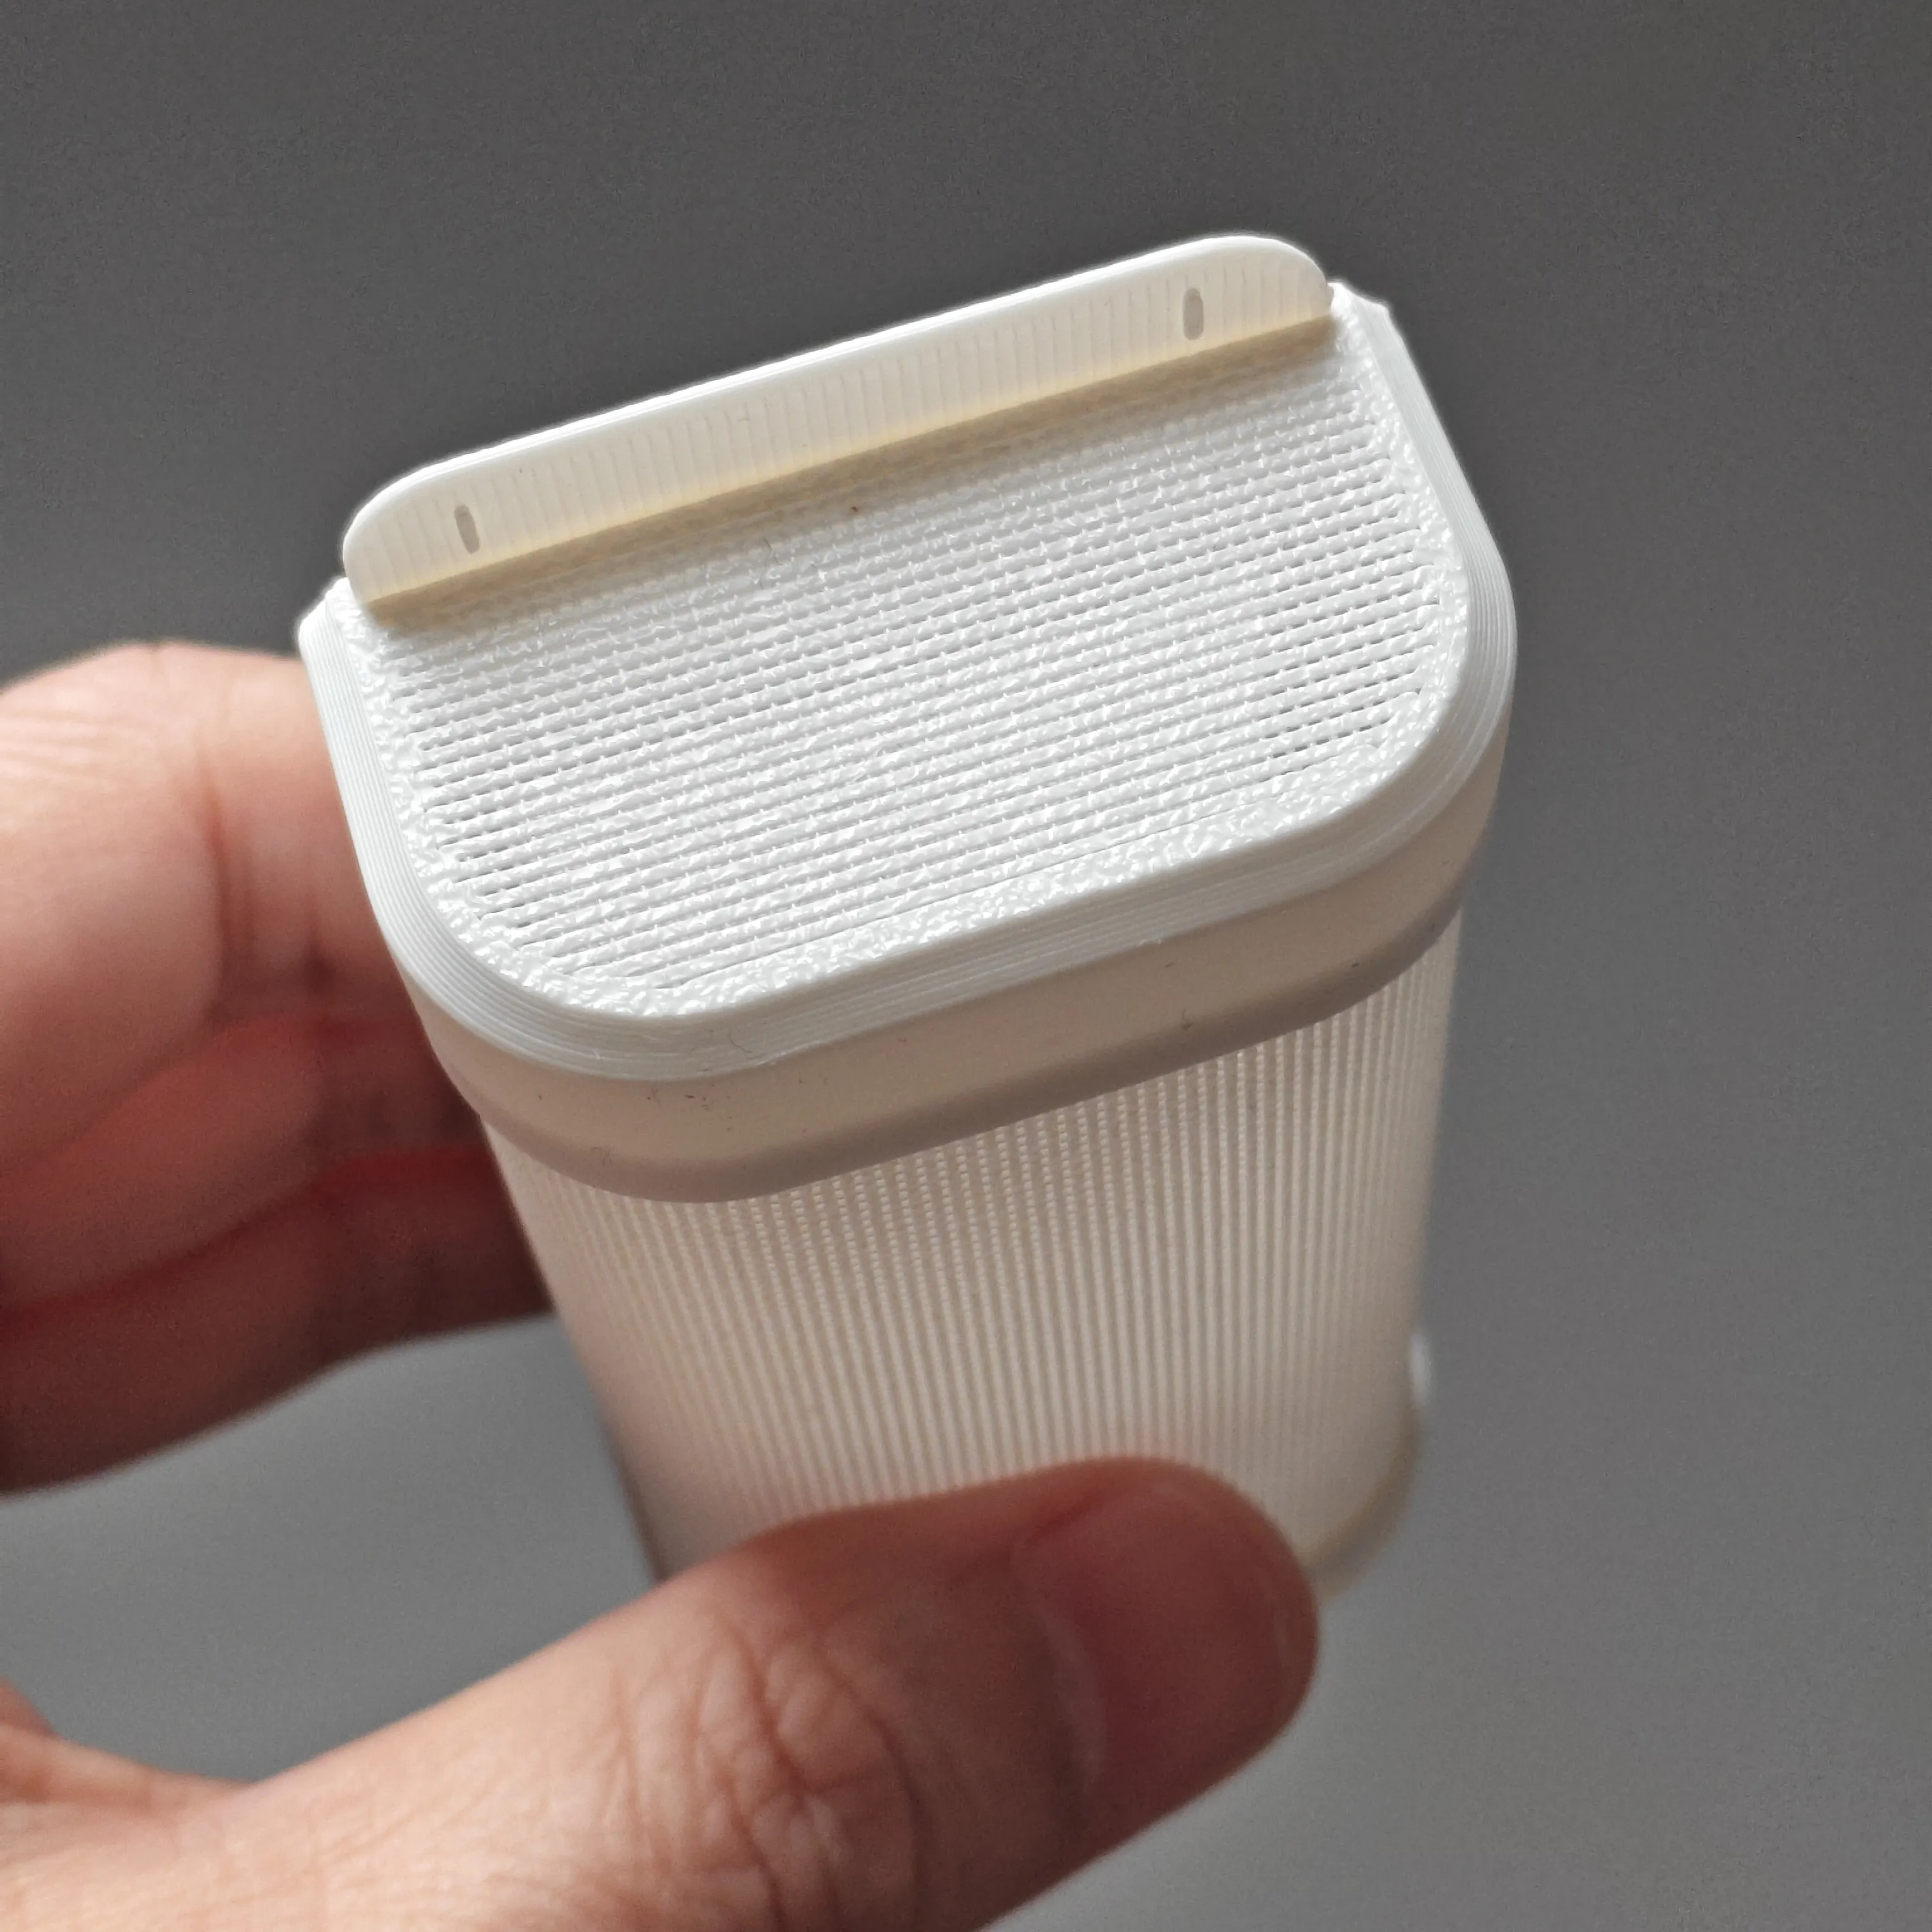
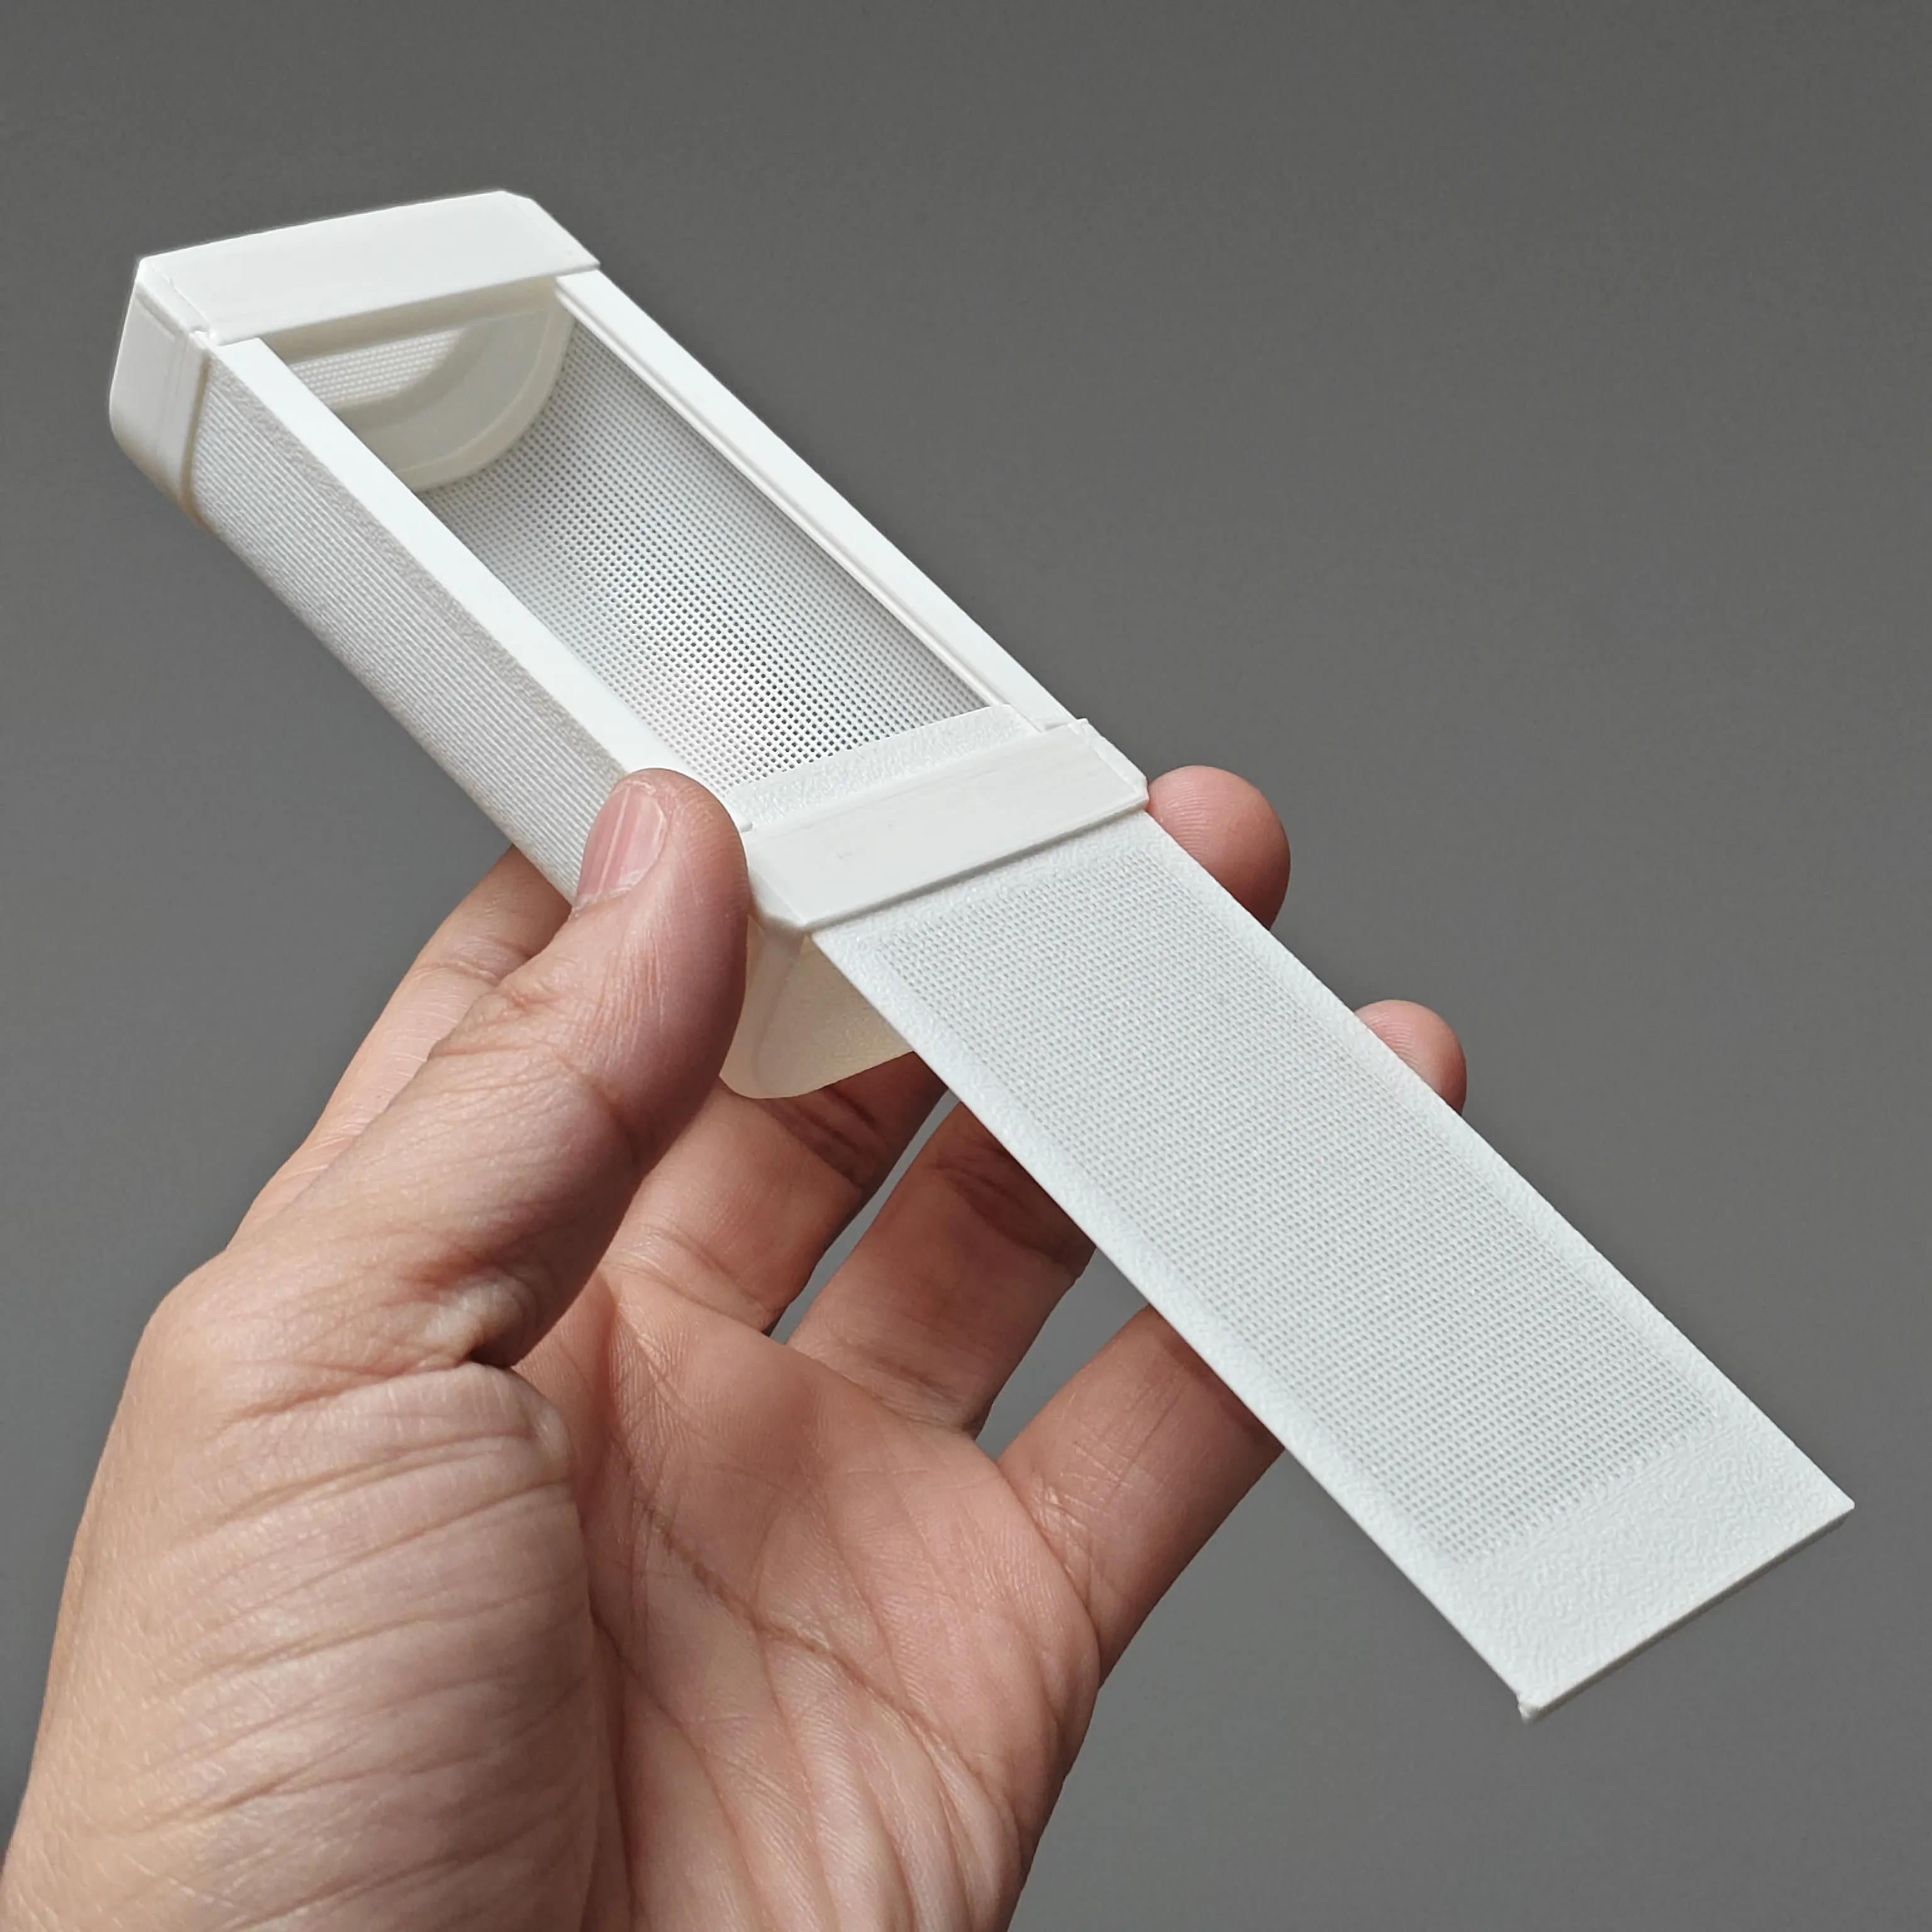
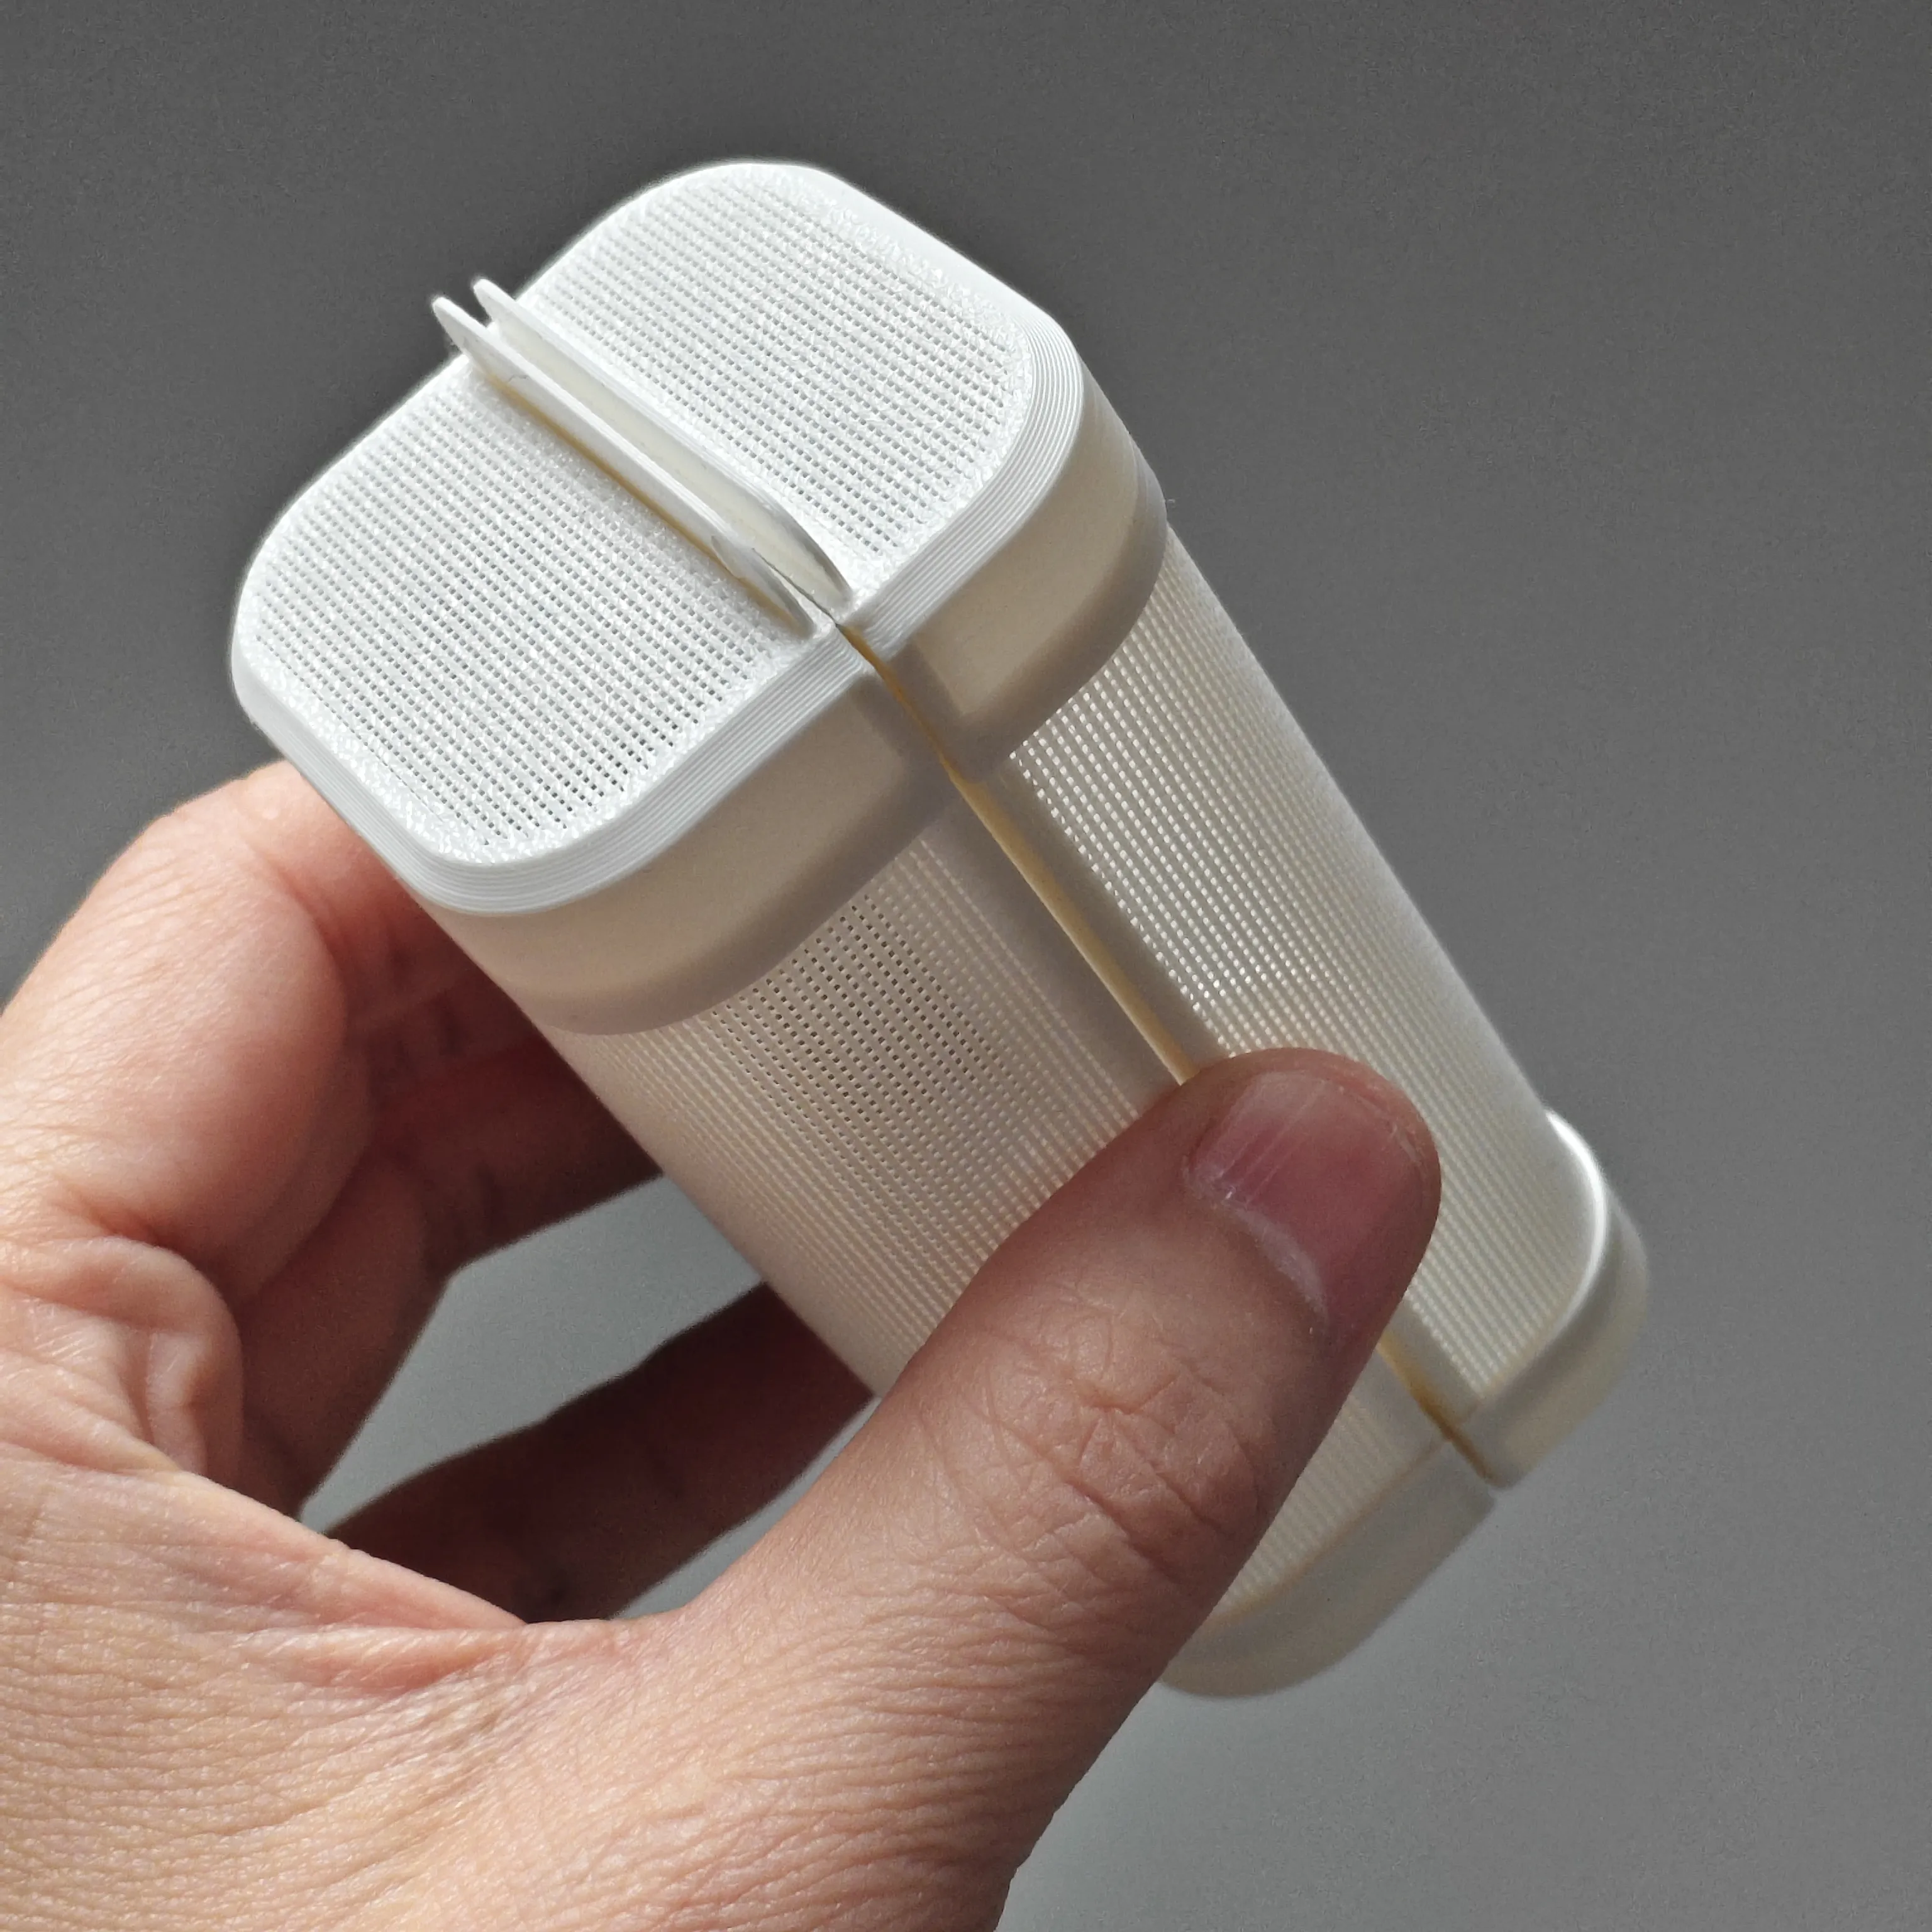
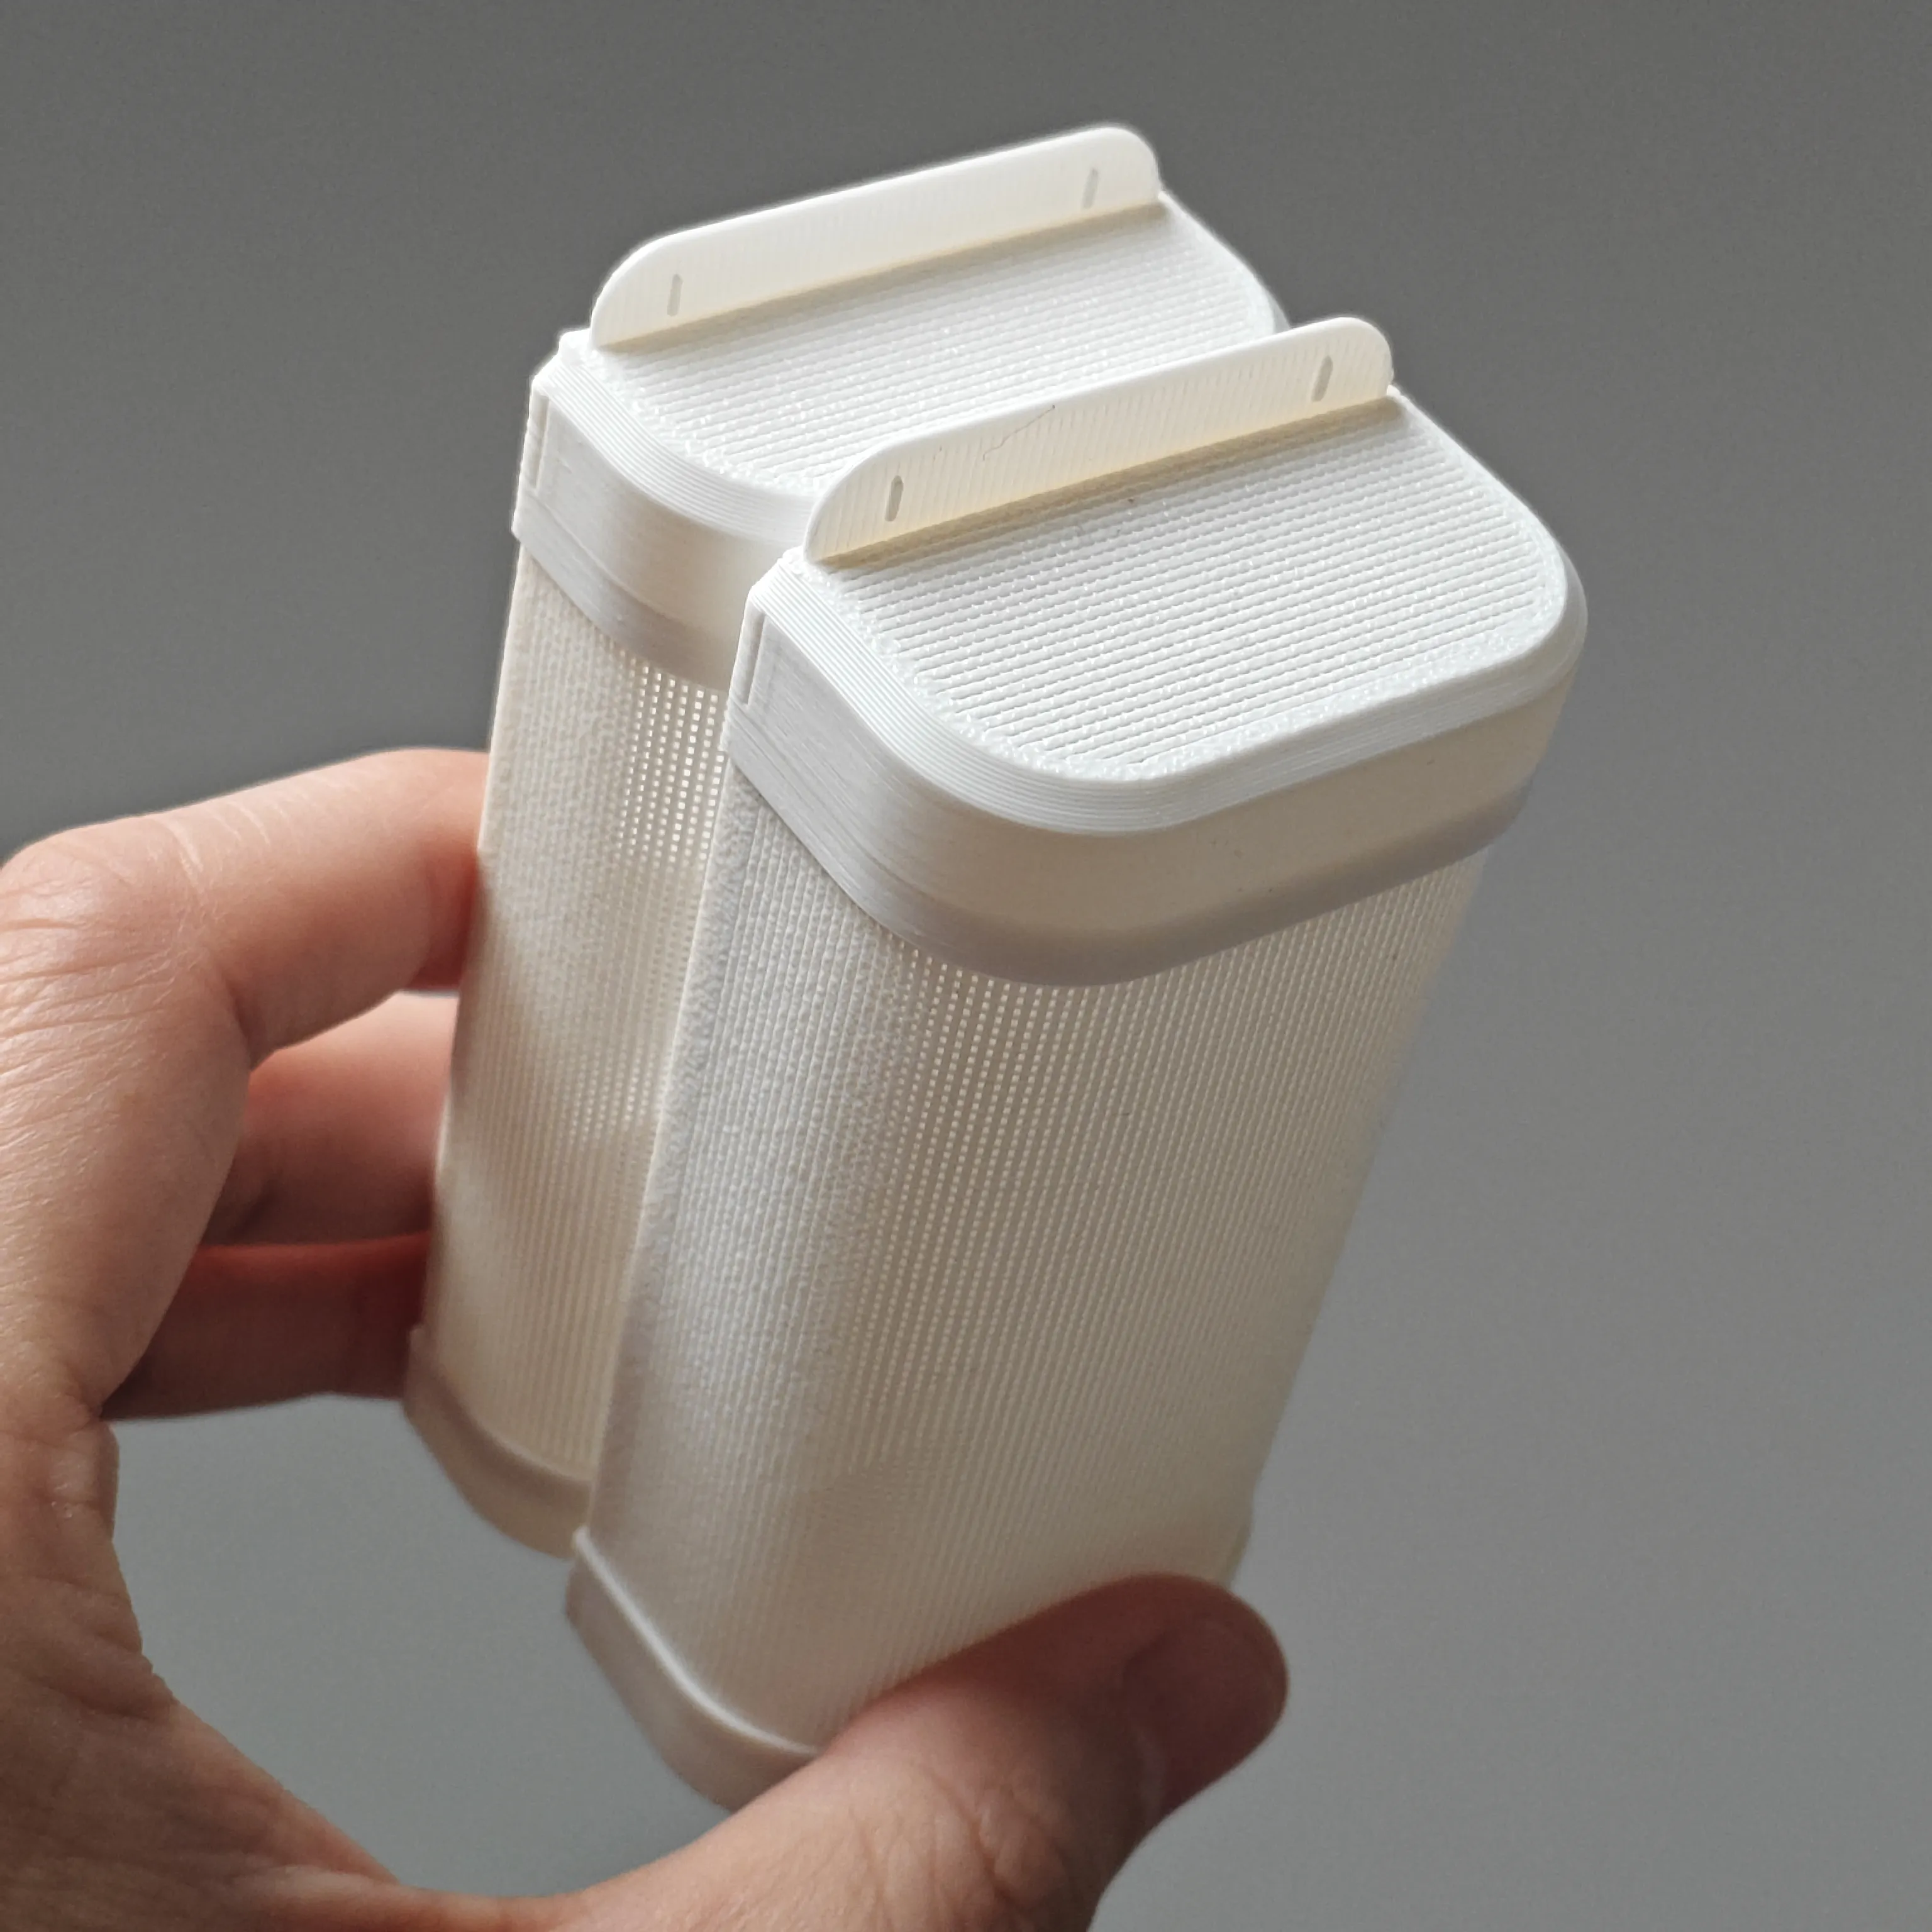
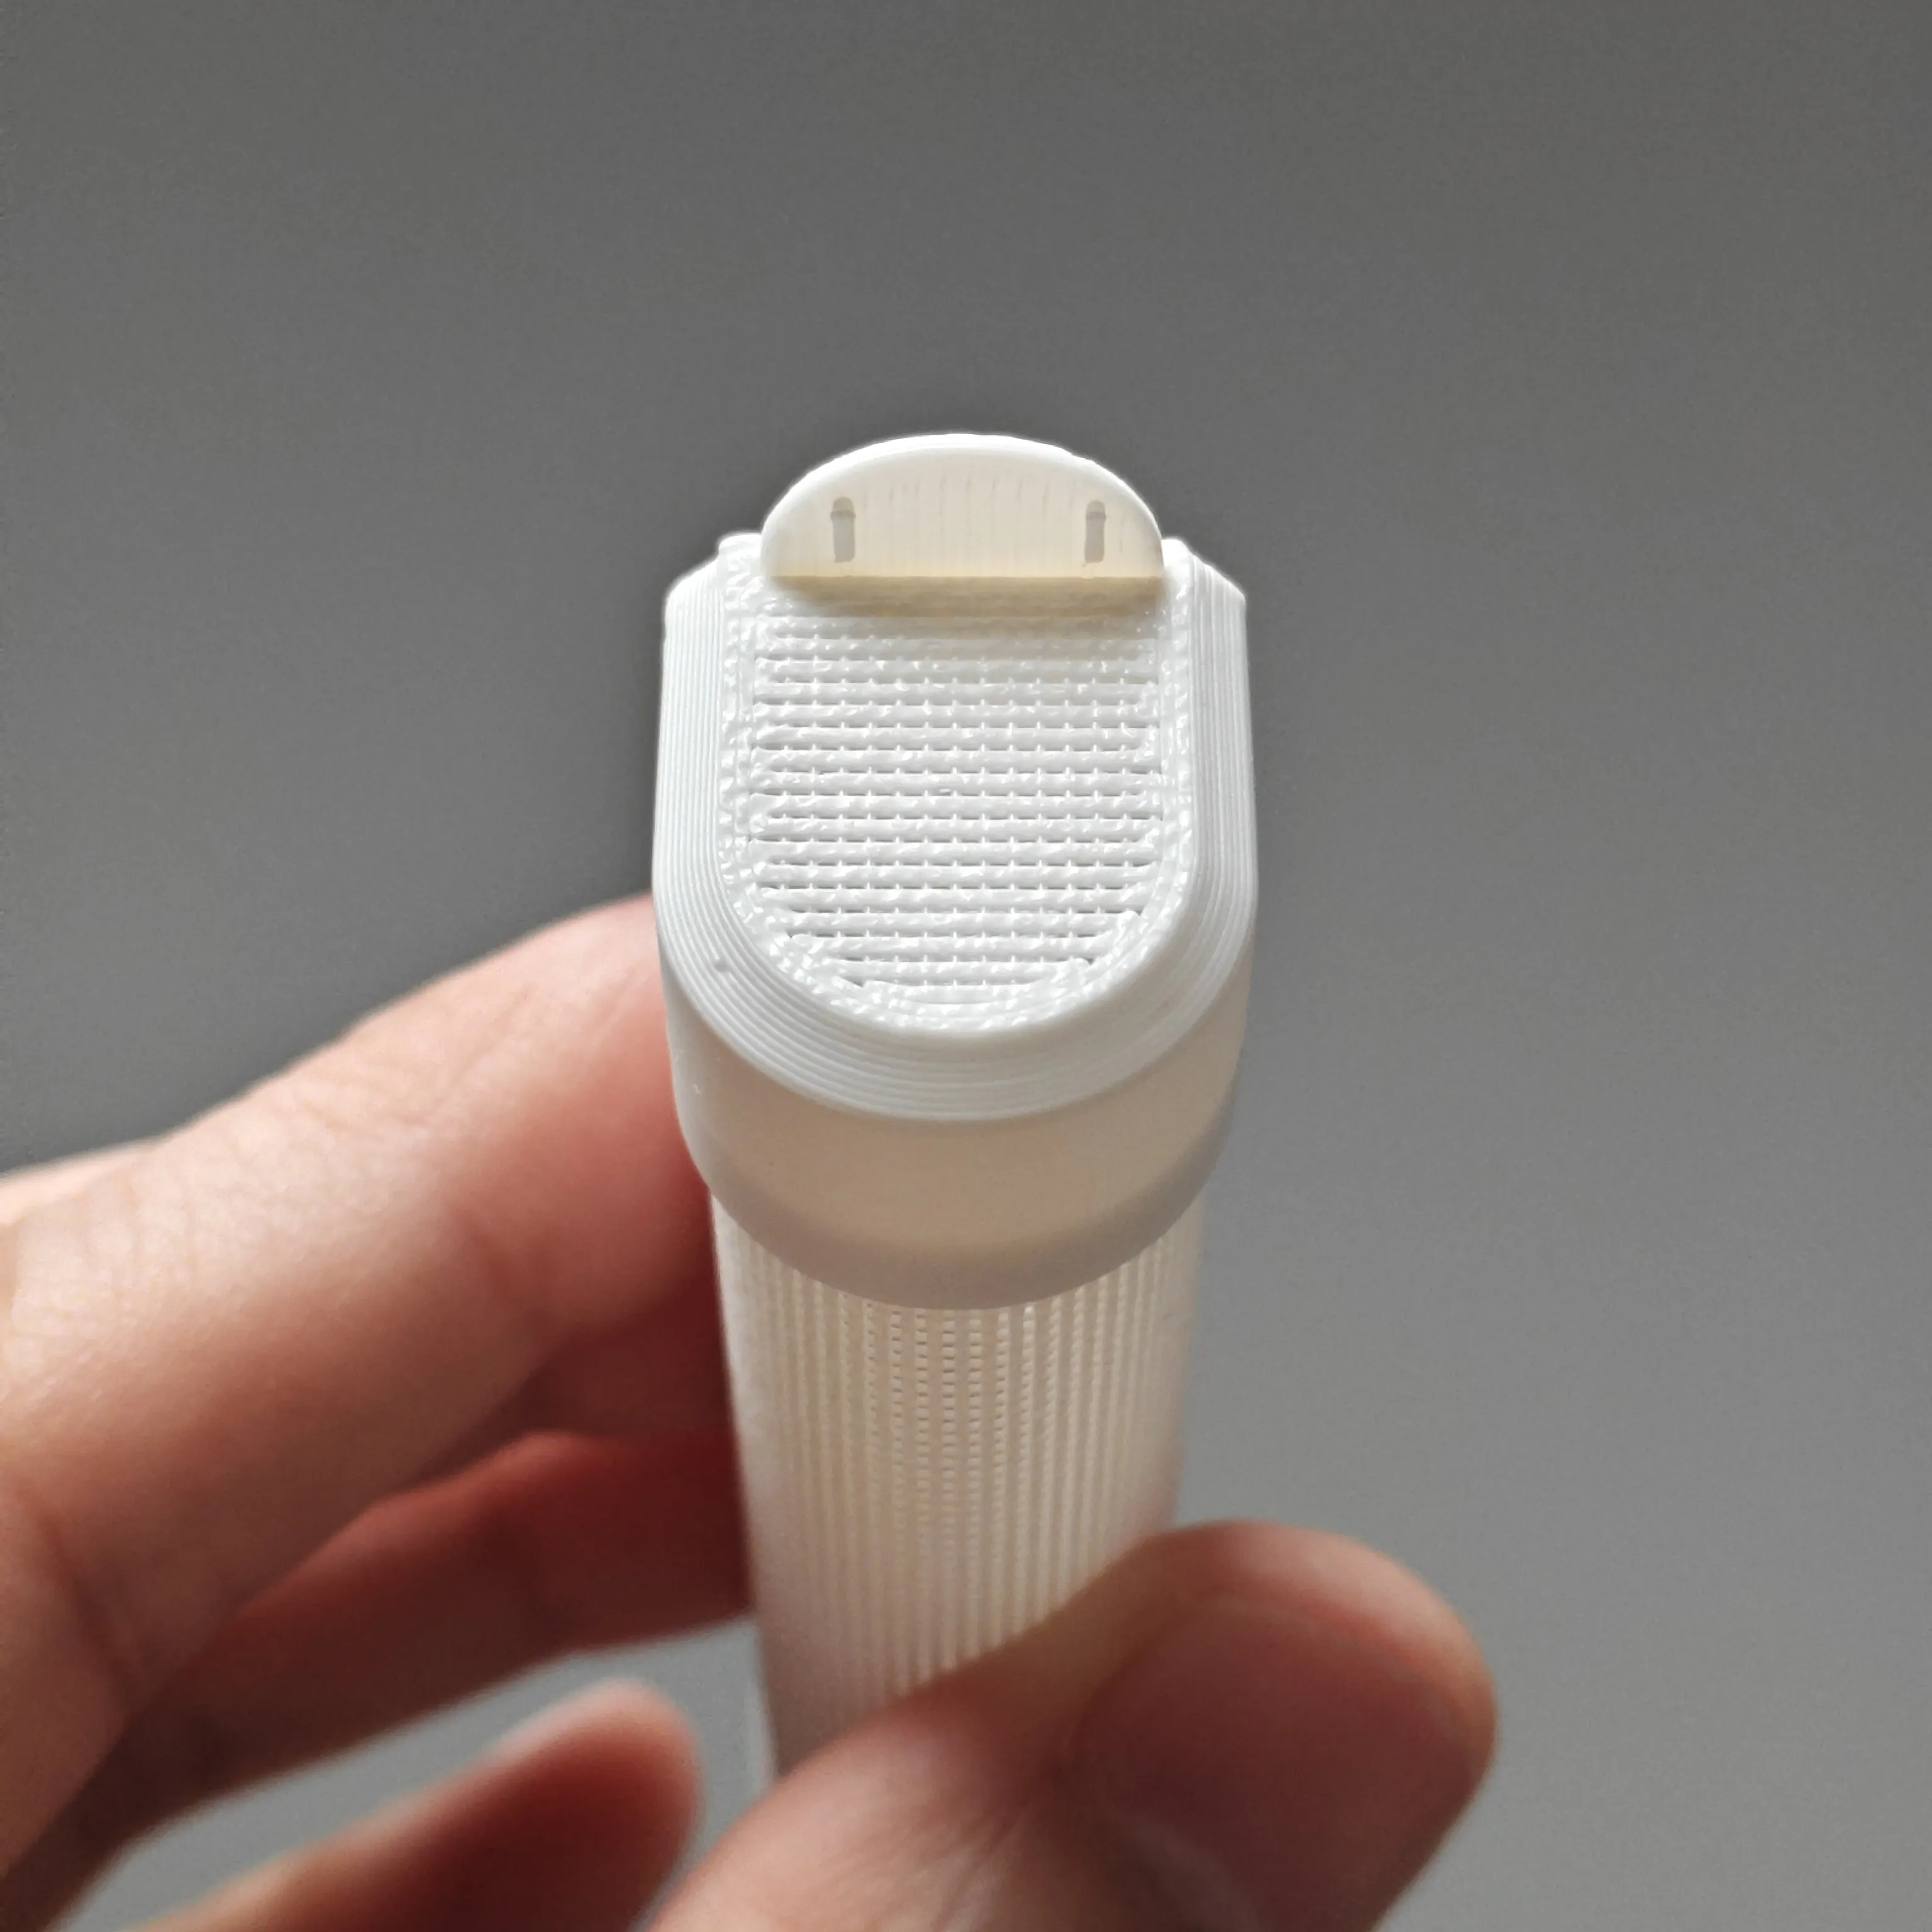
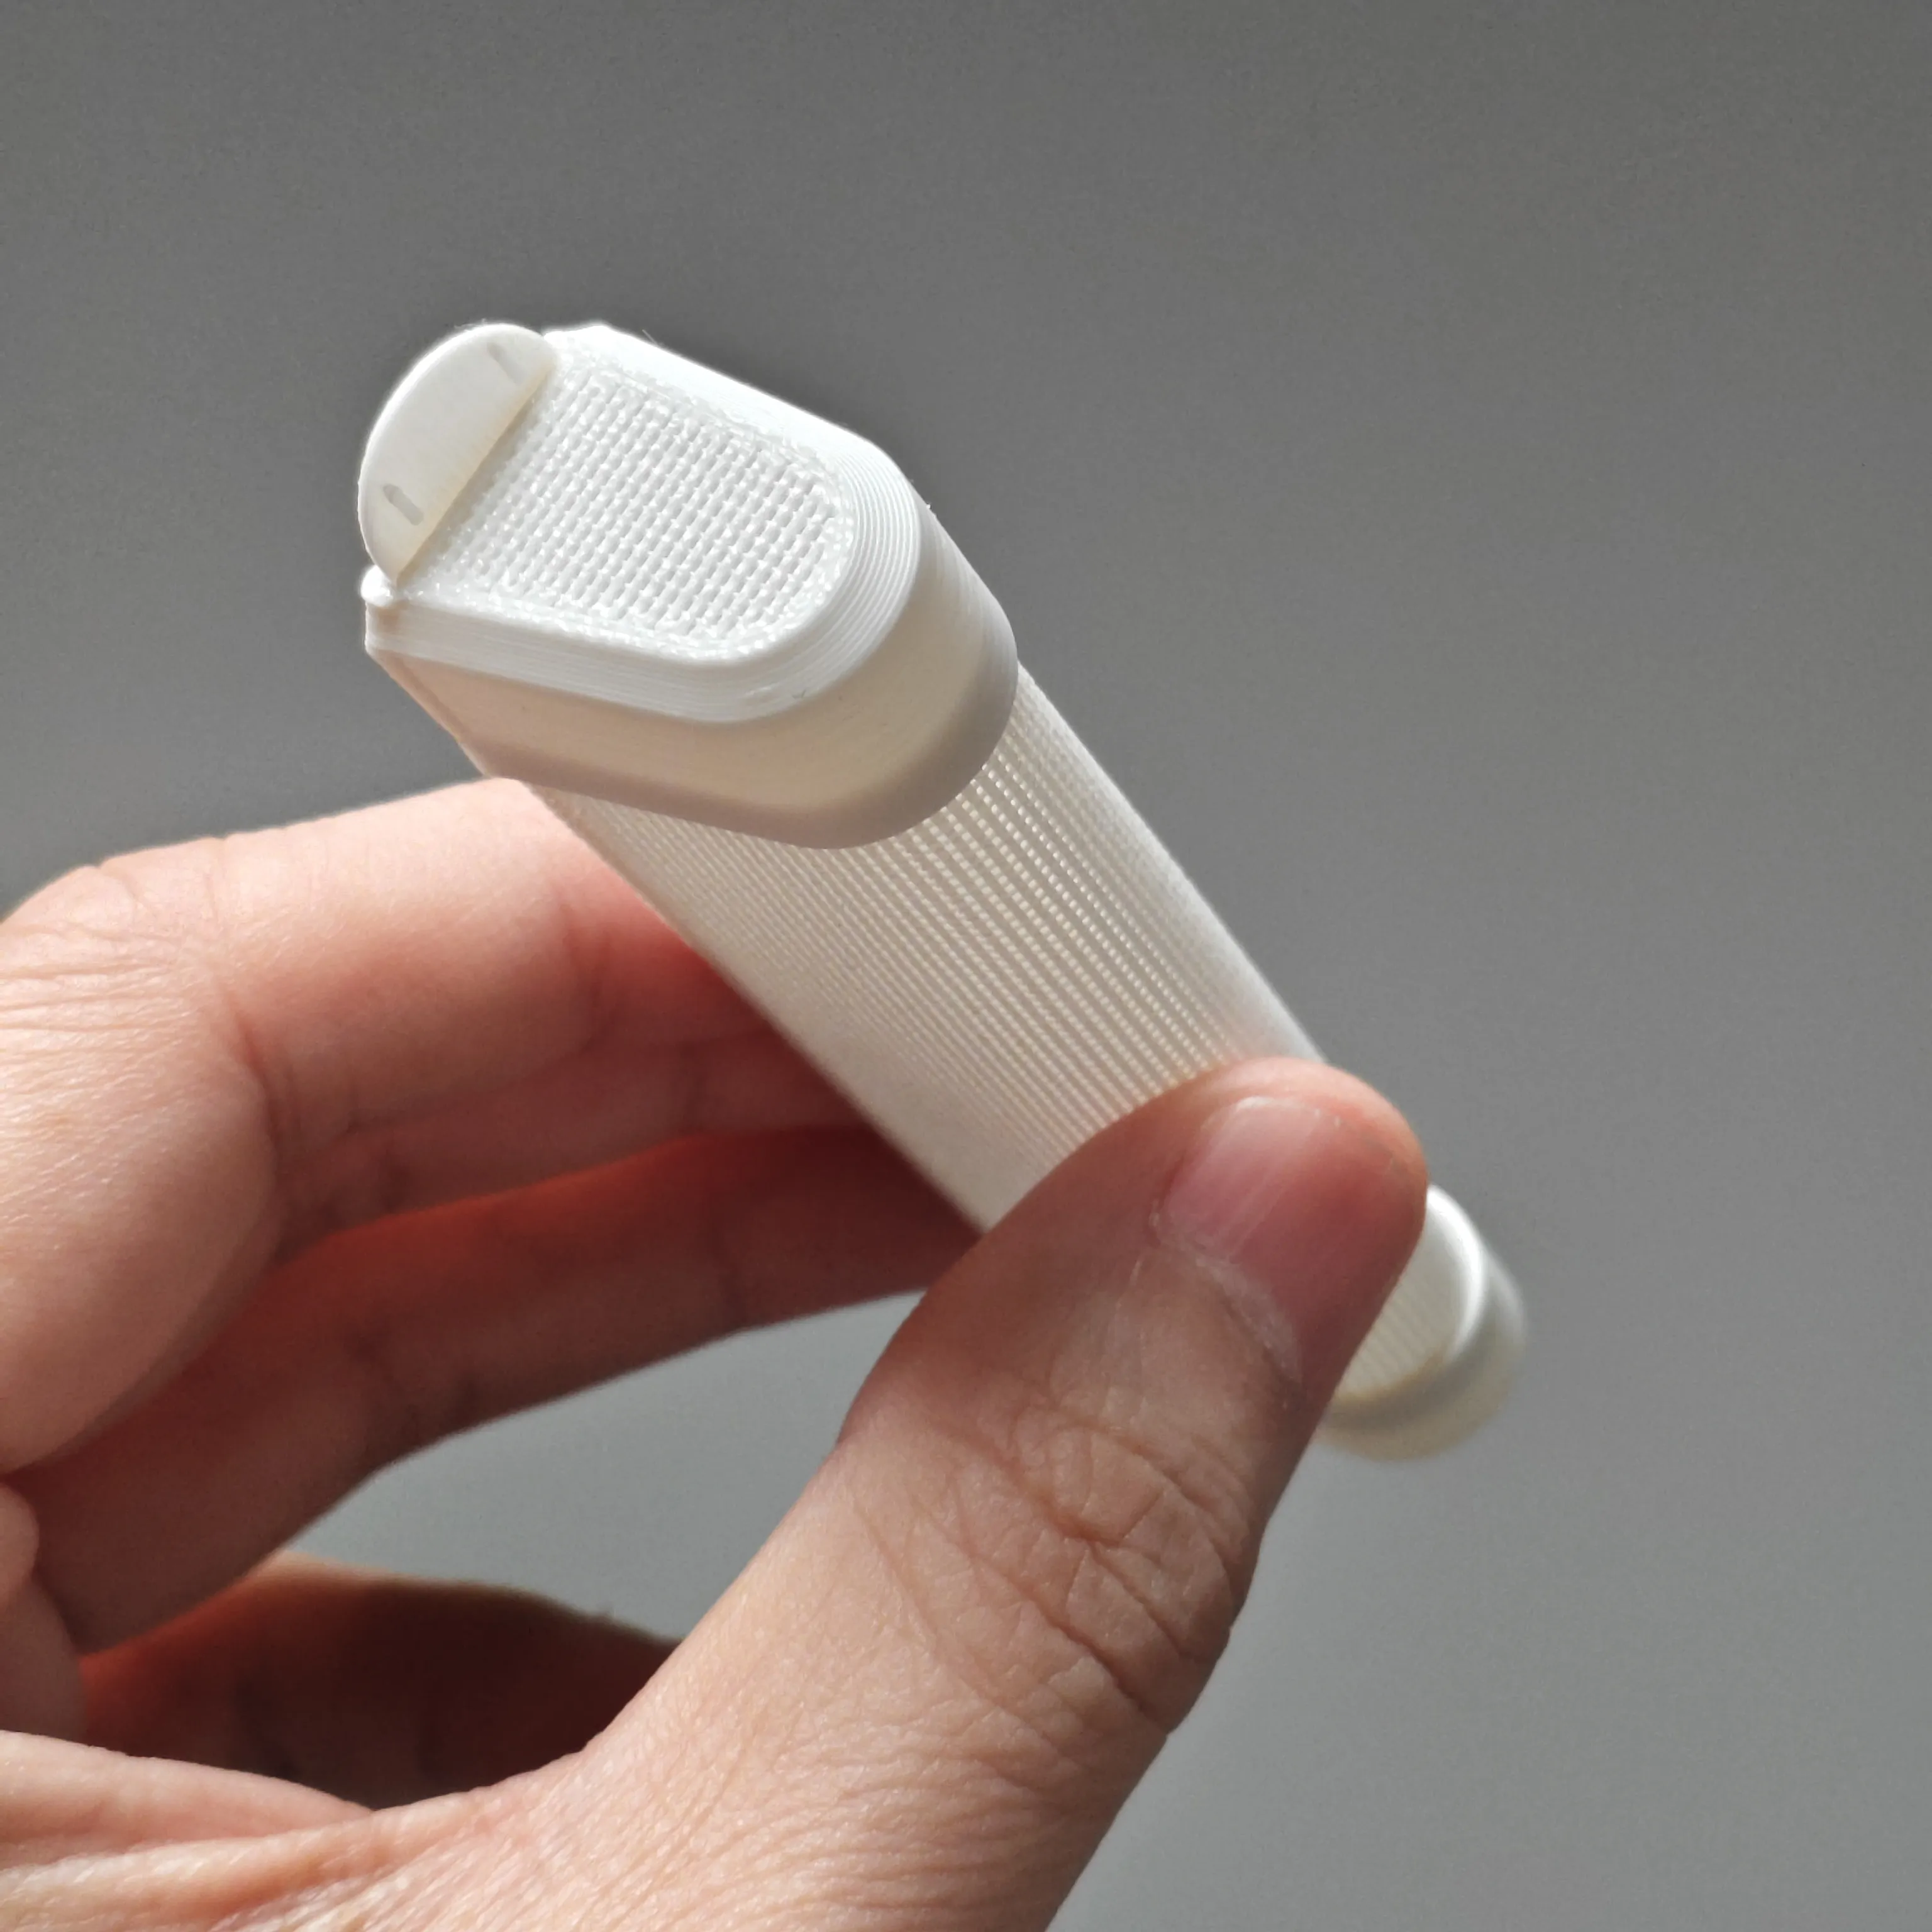
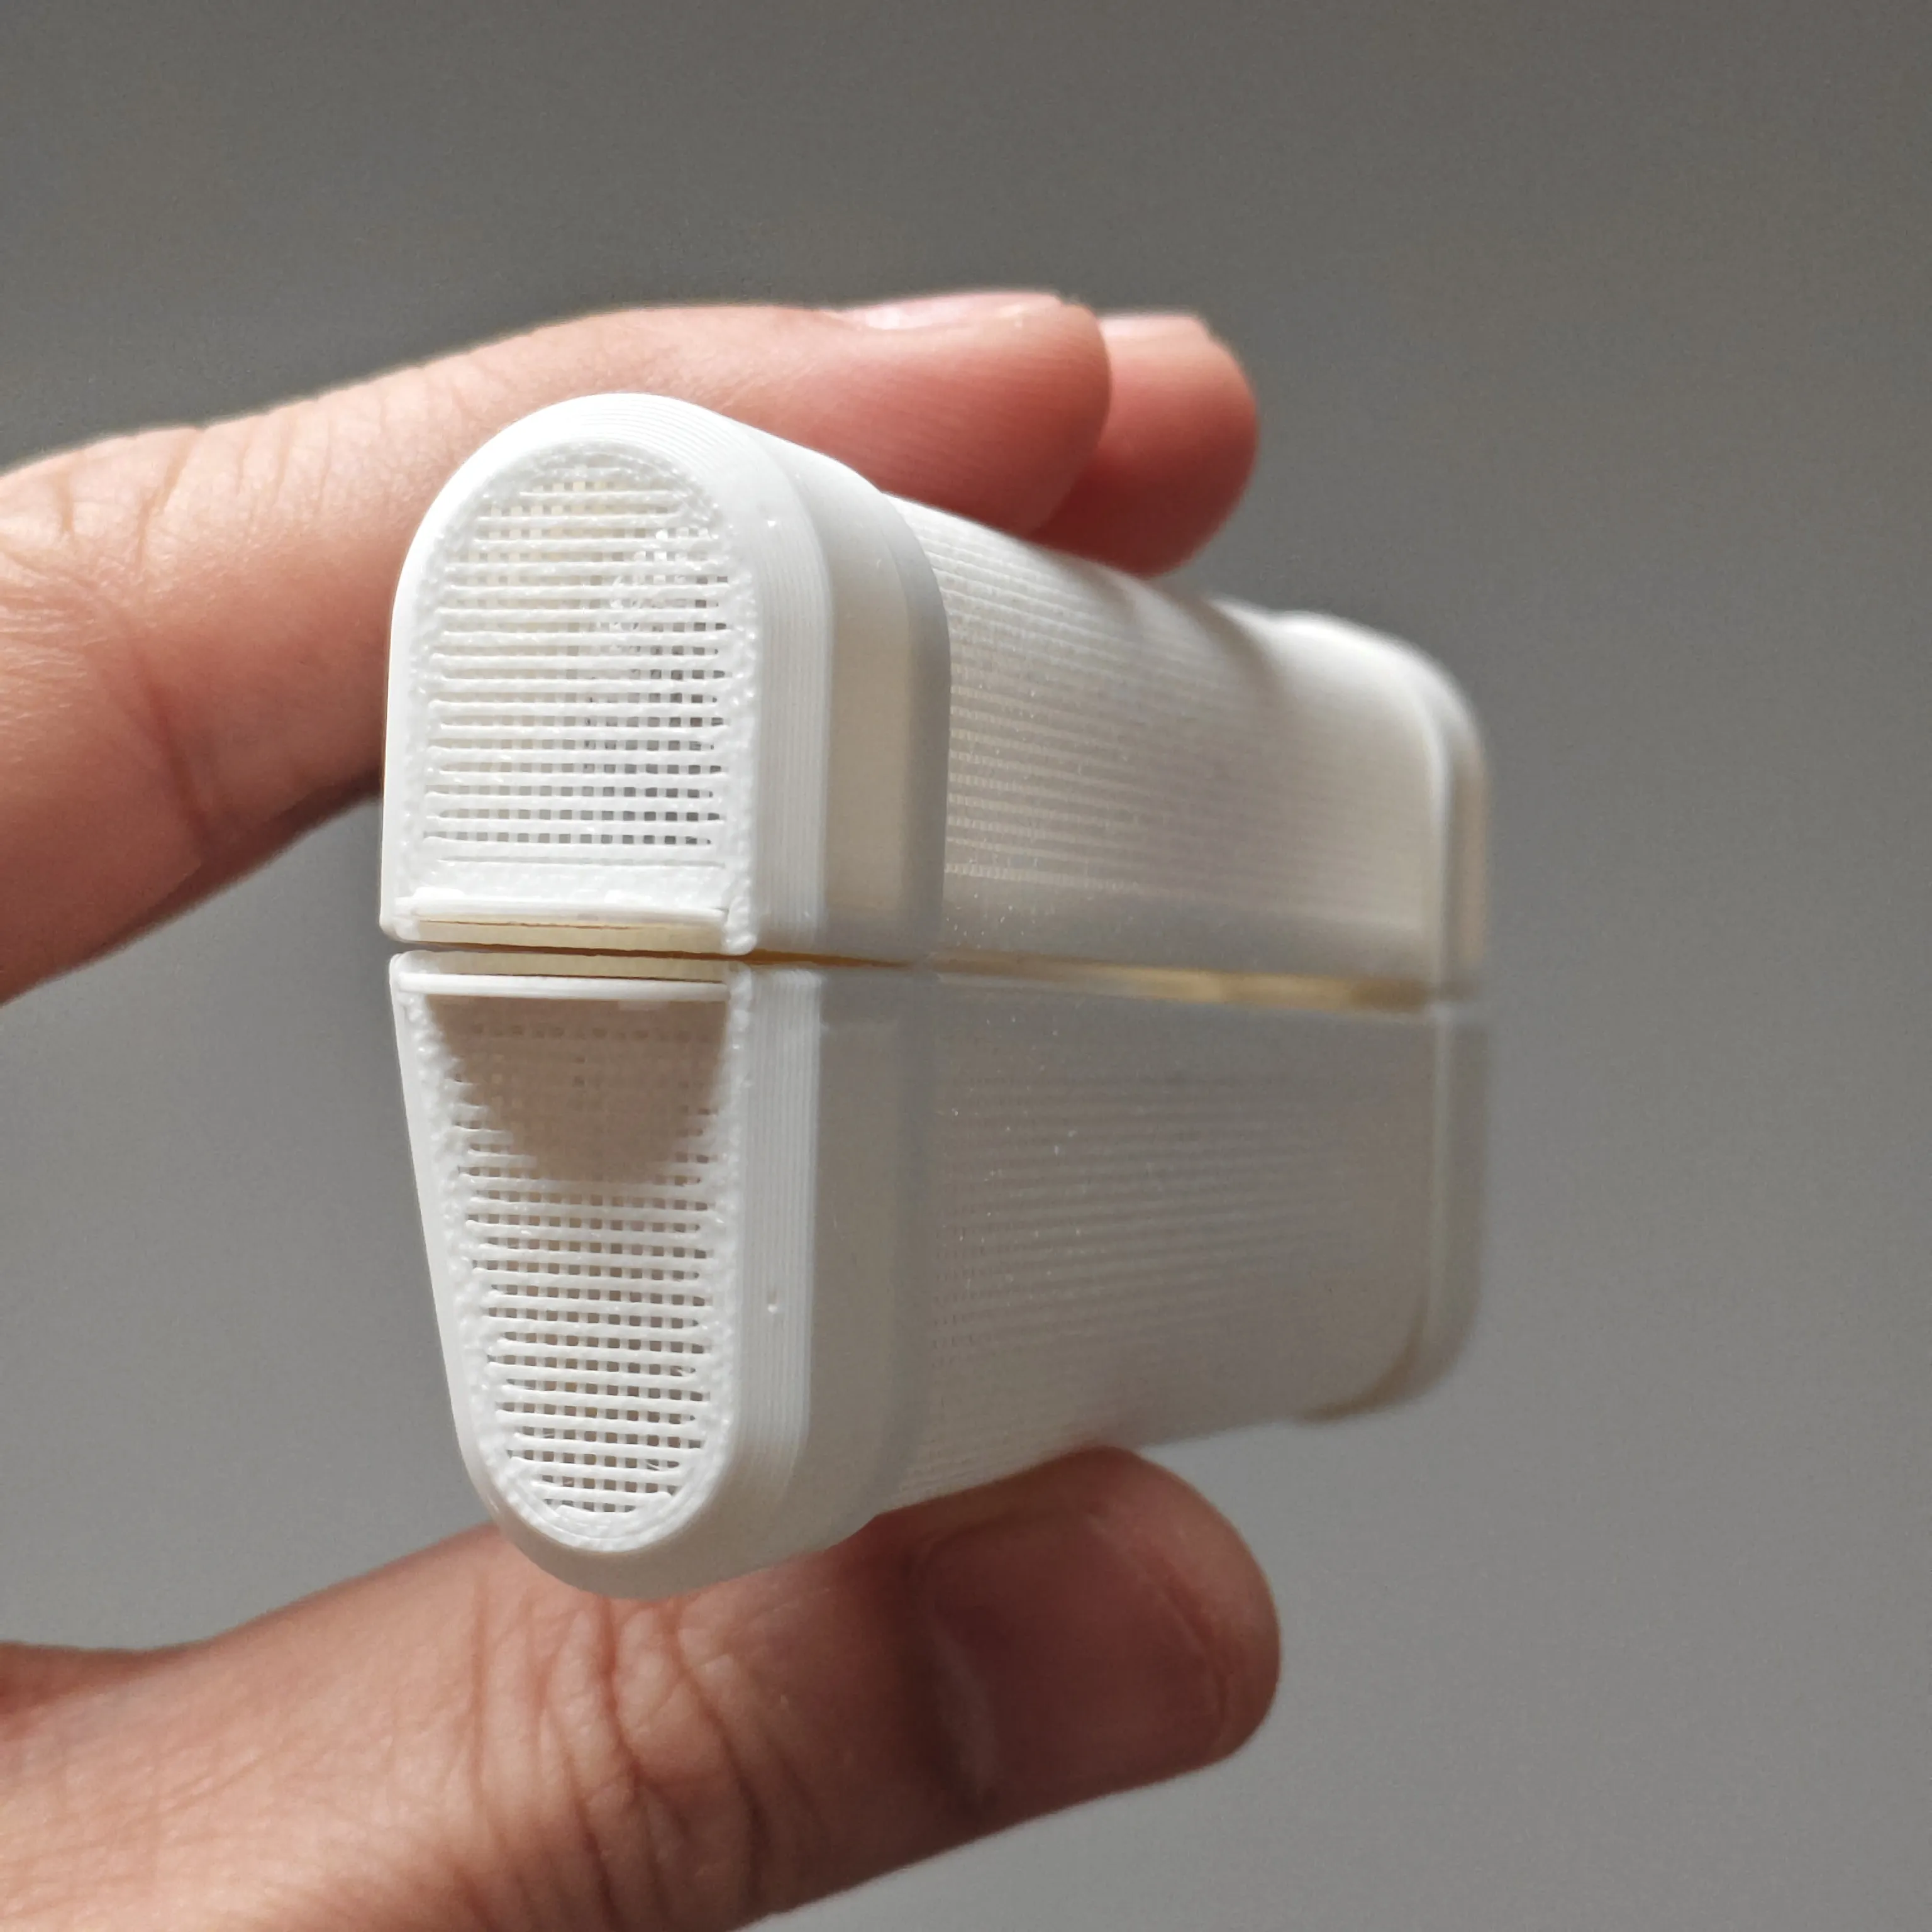
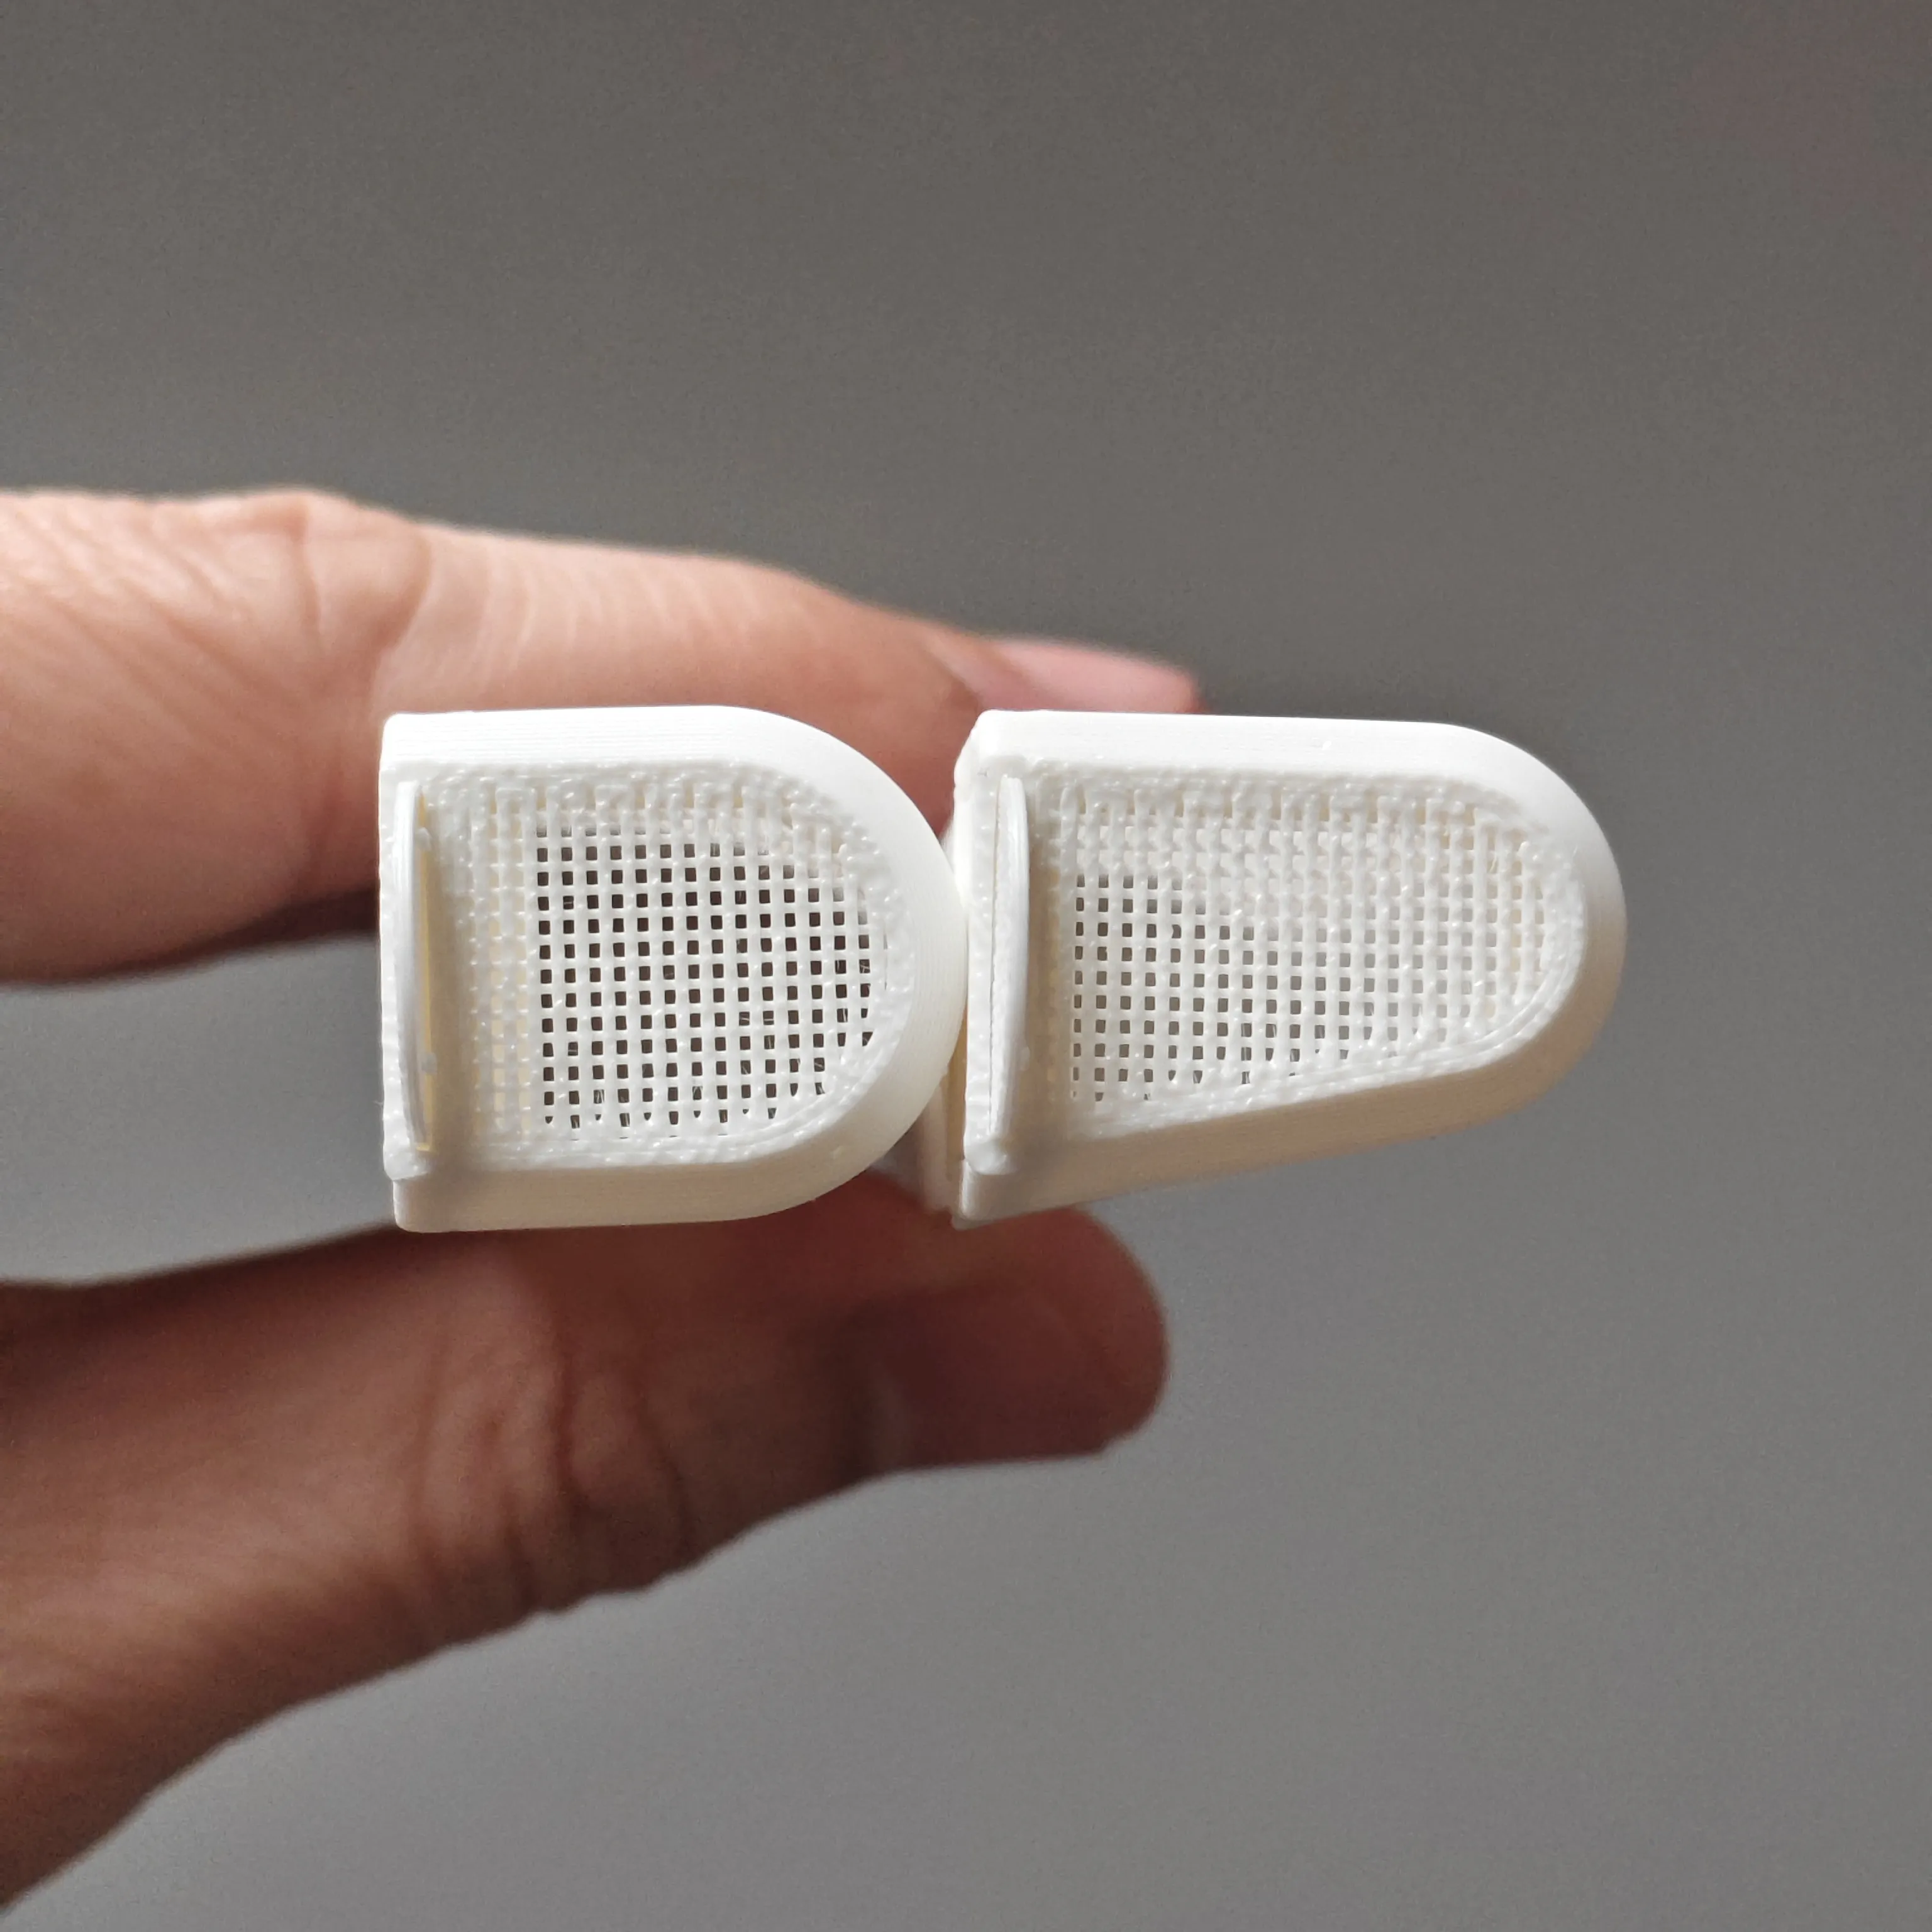
accessories
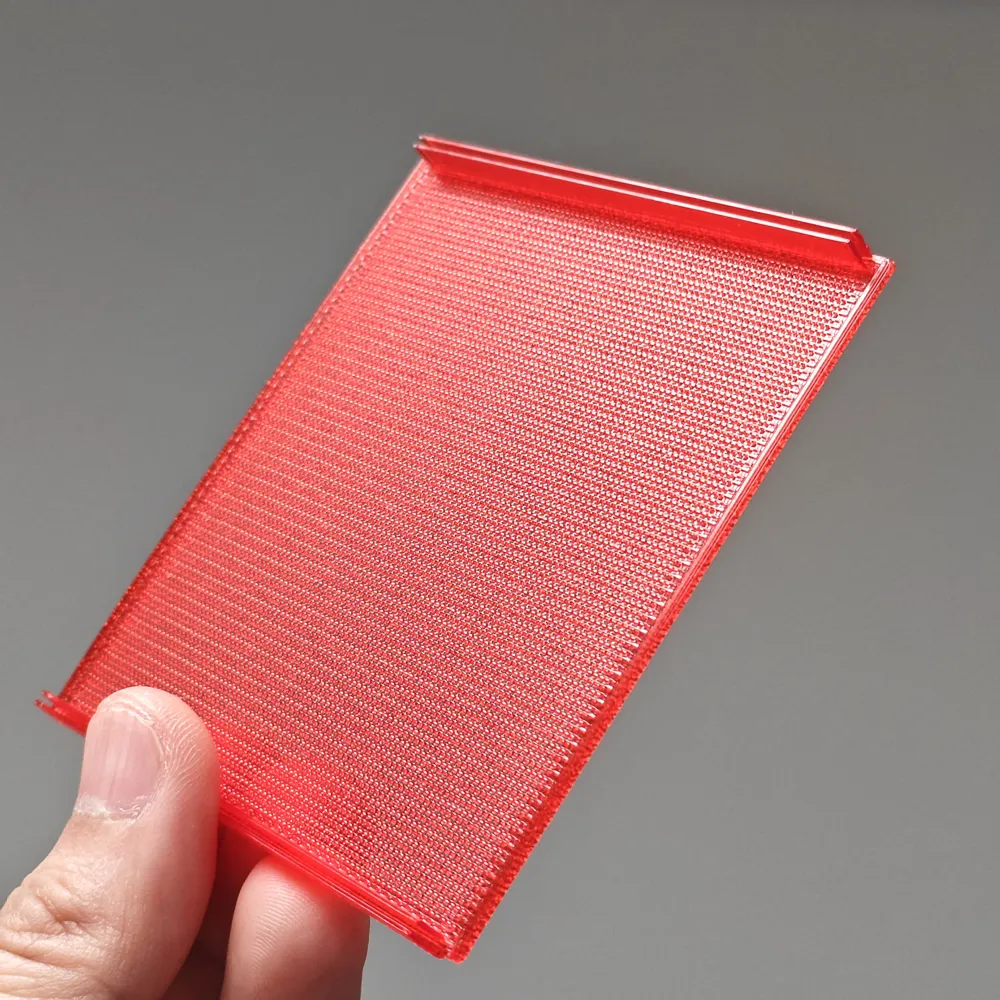
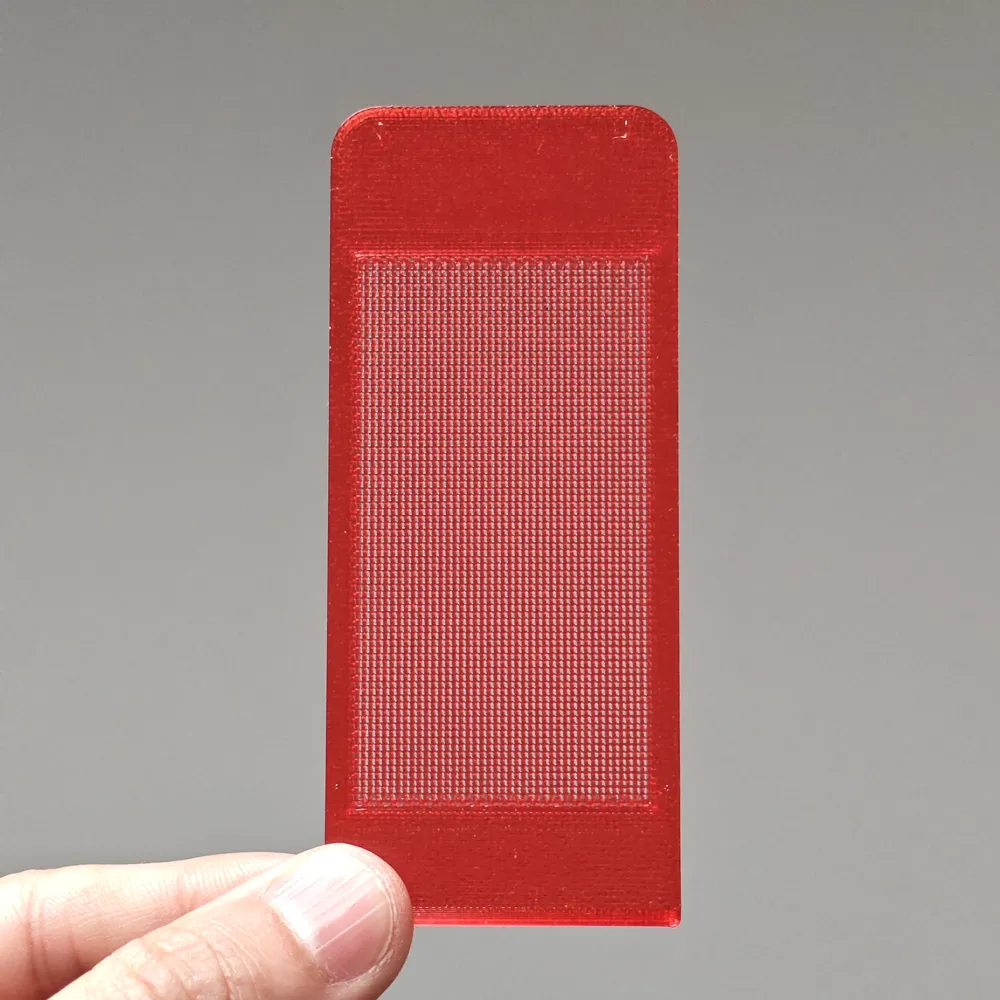
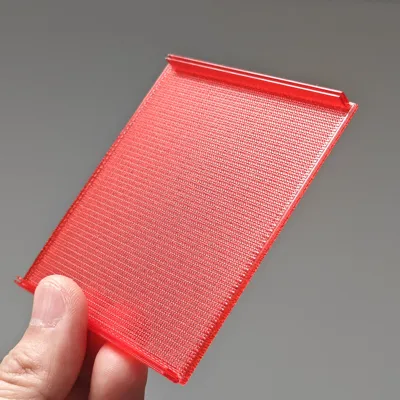
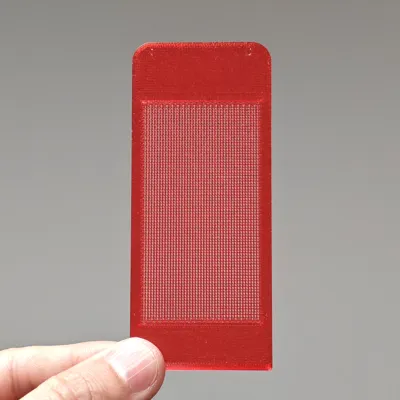
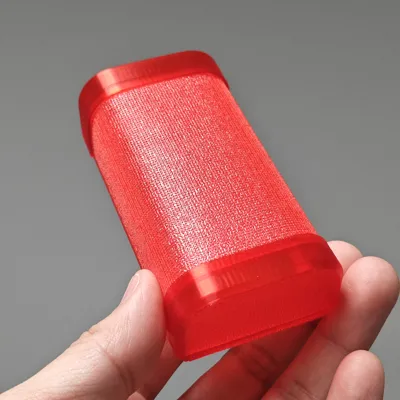
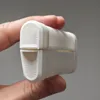
Each drybox consists of 4 accessories
Installation
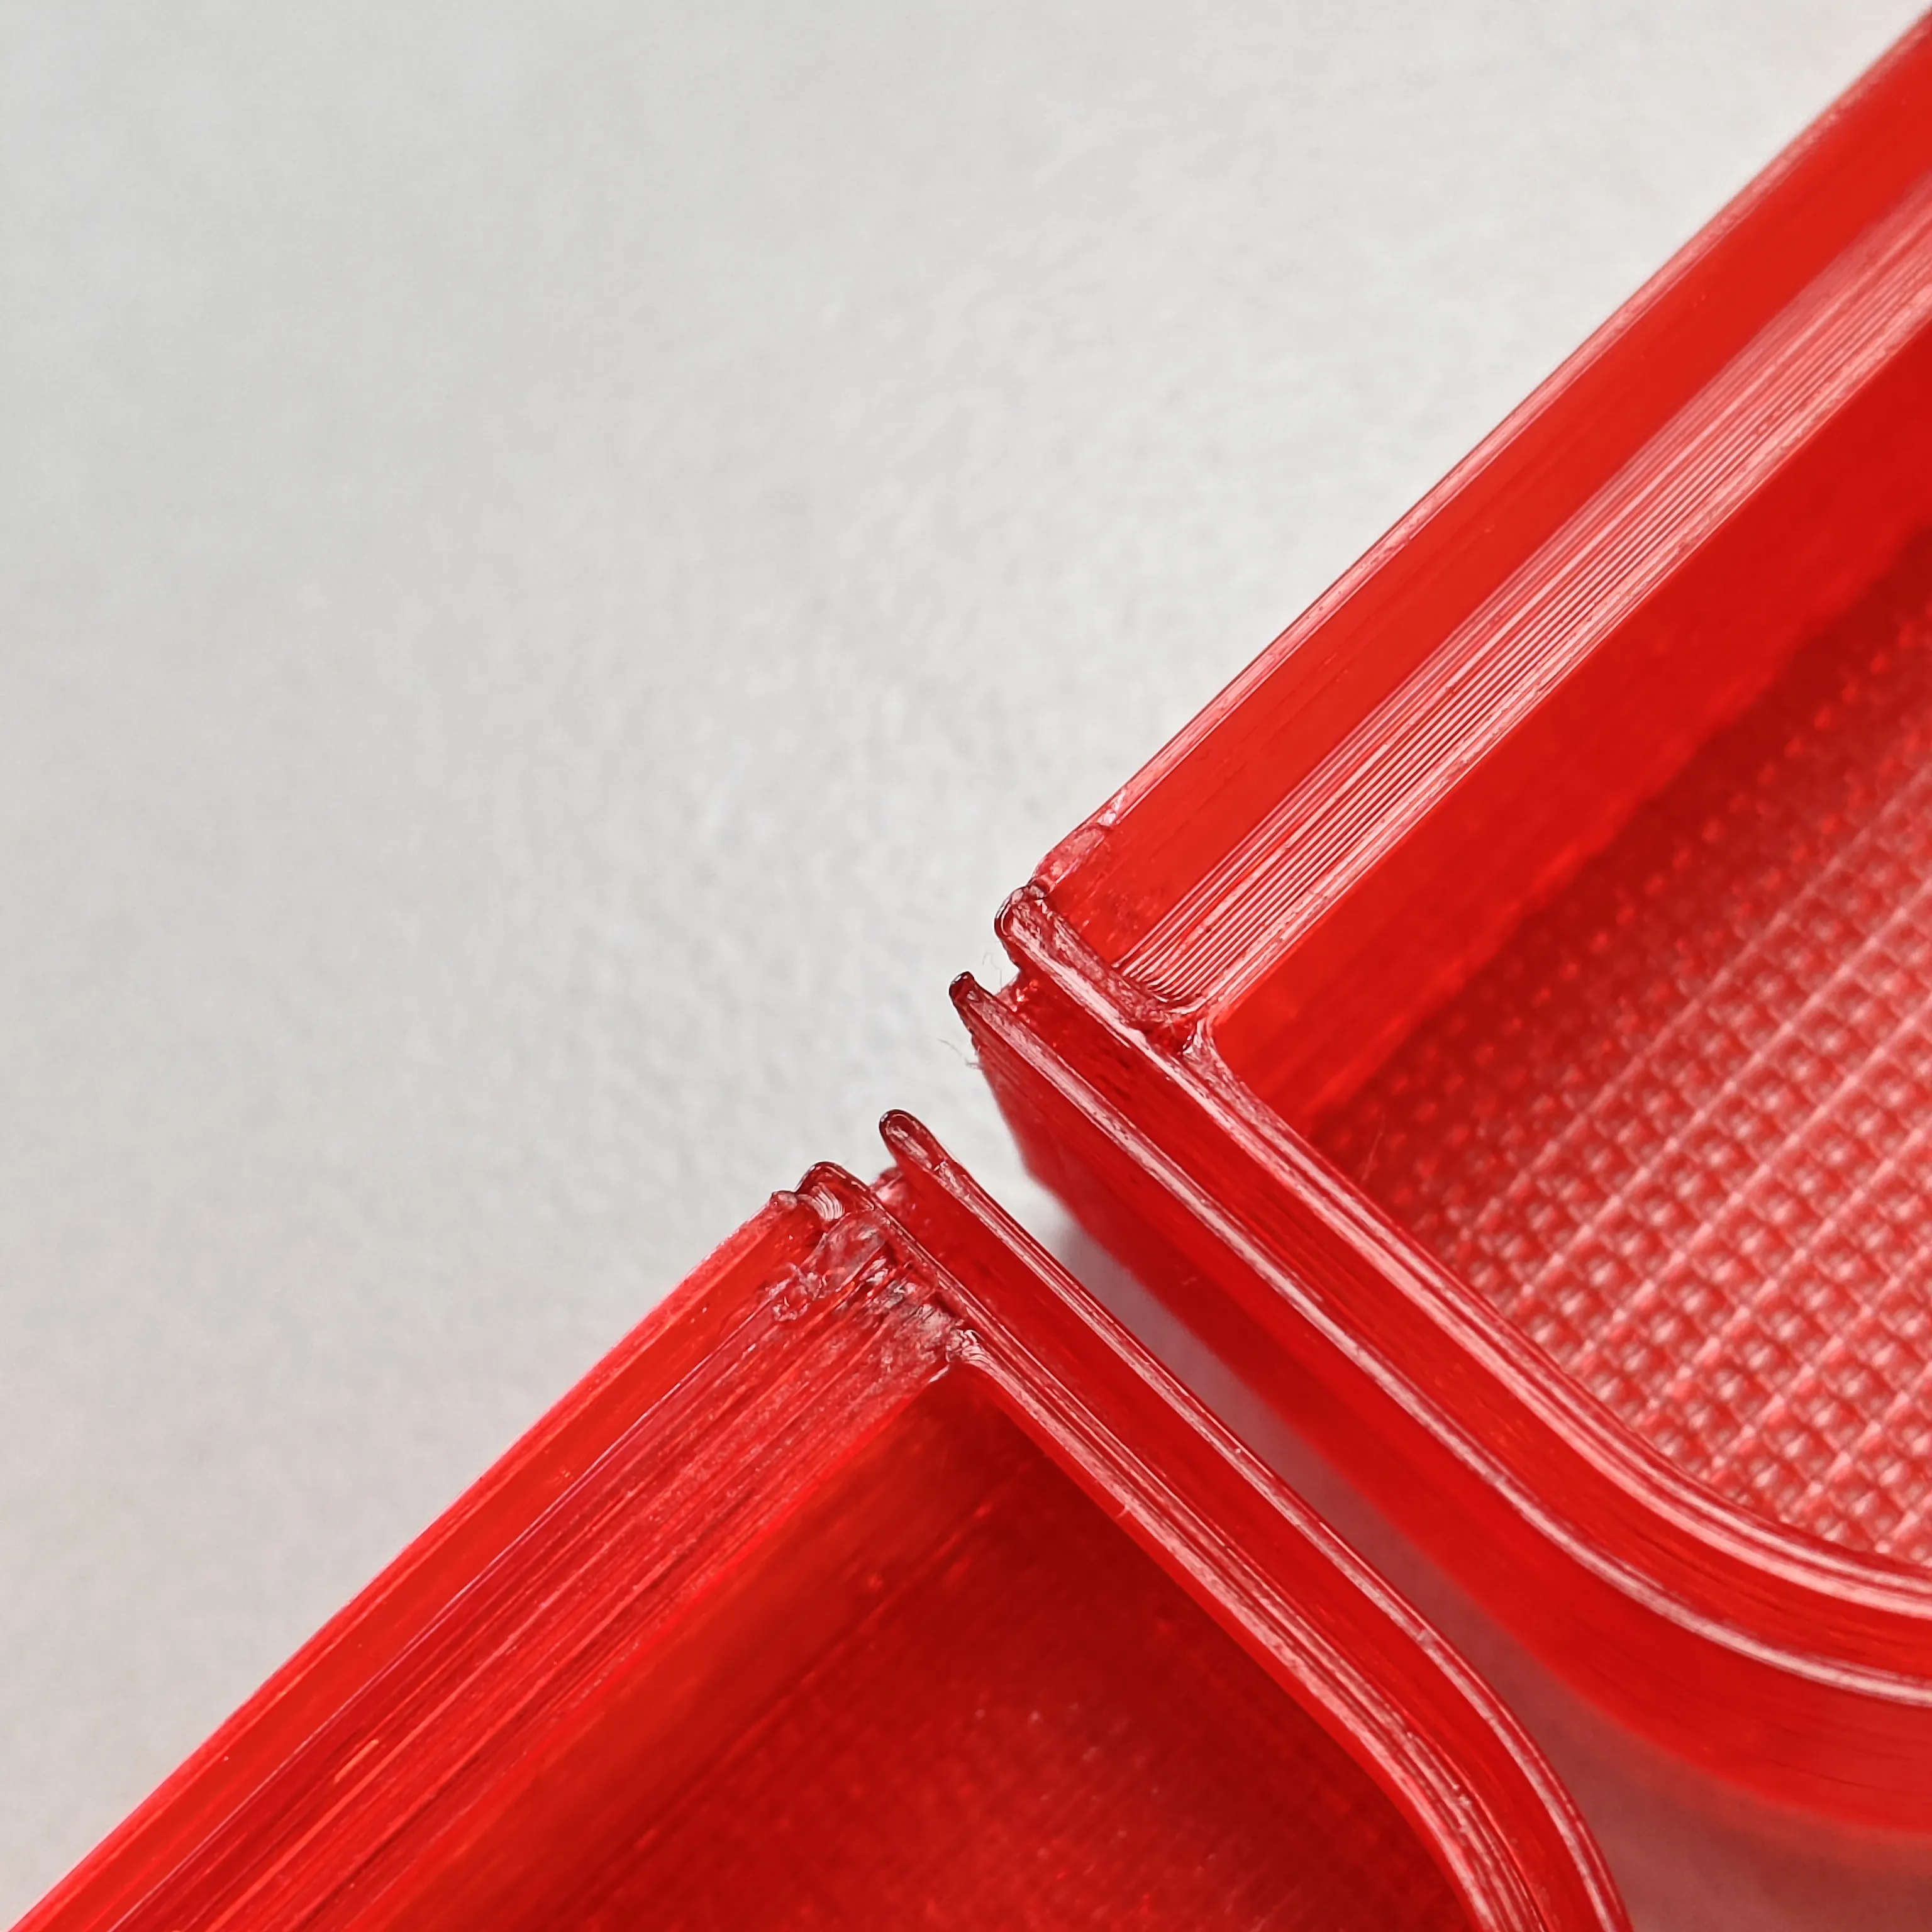
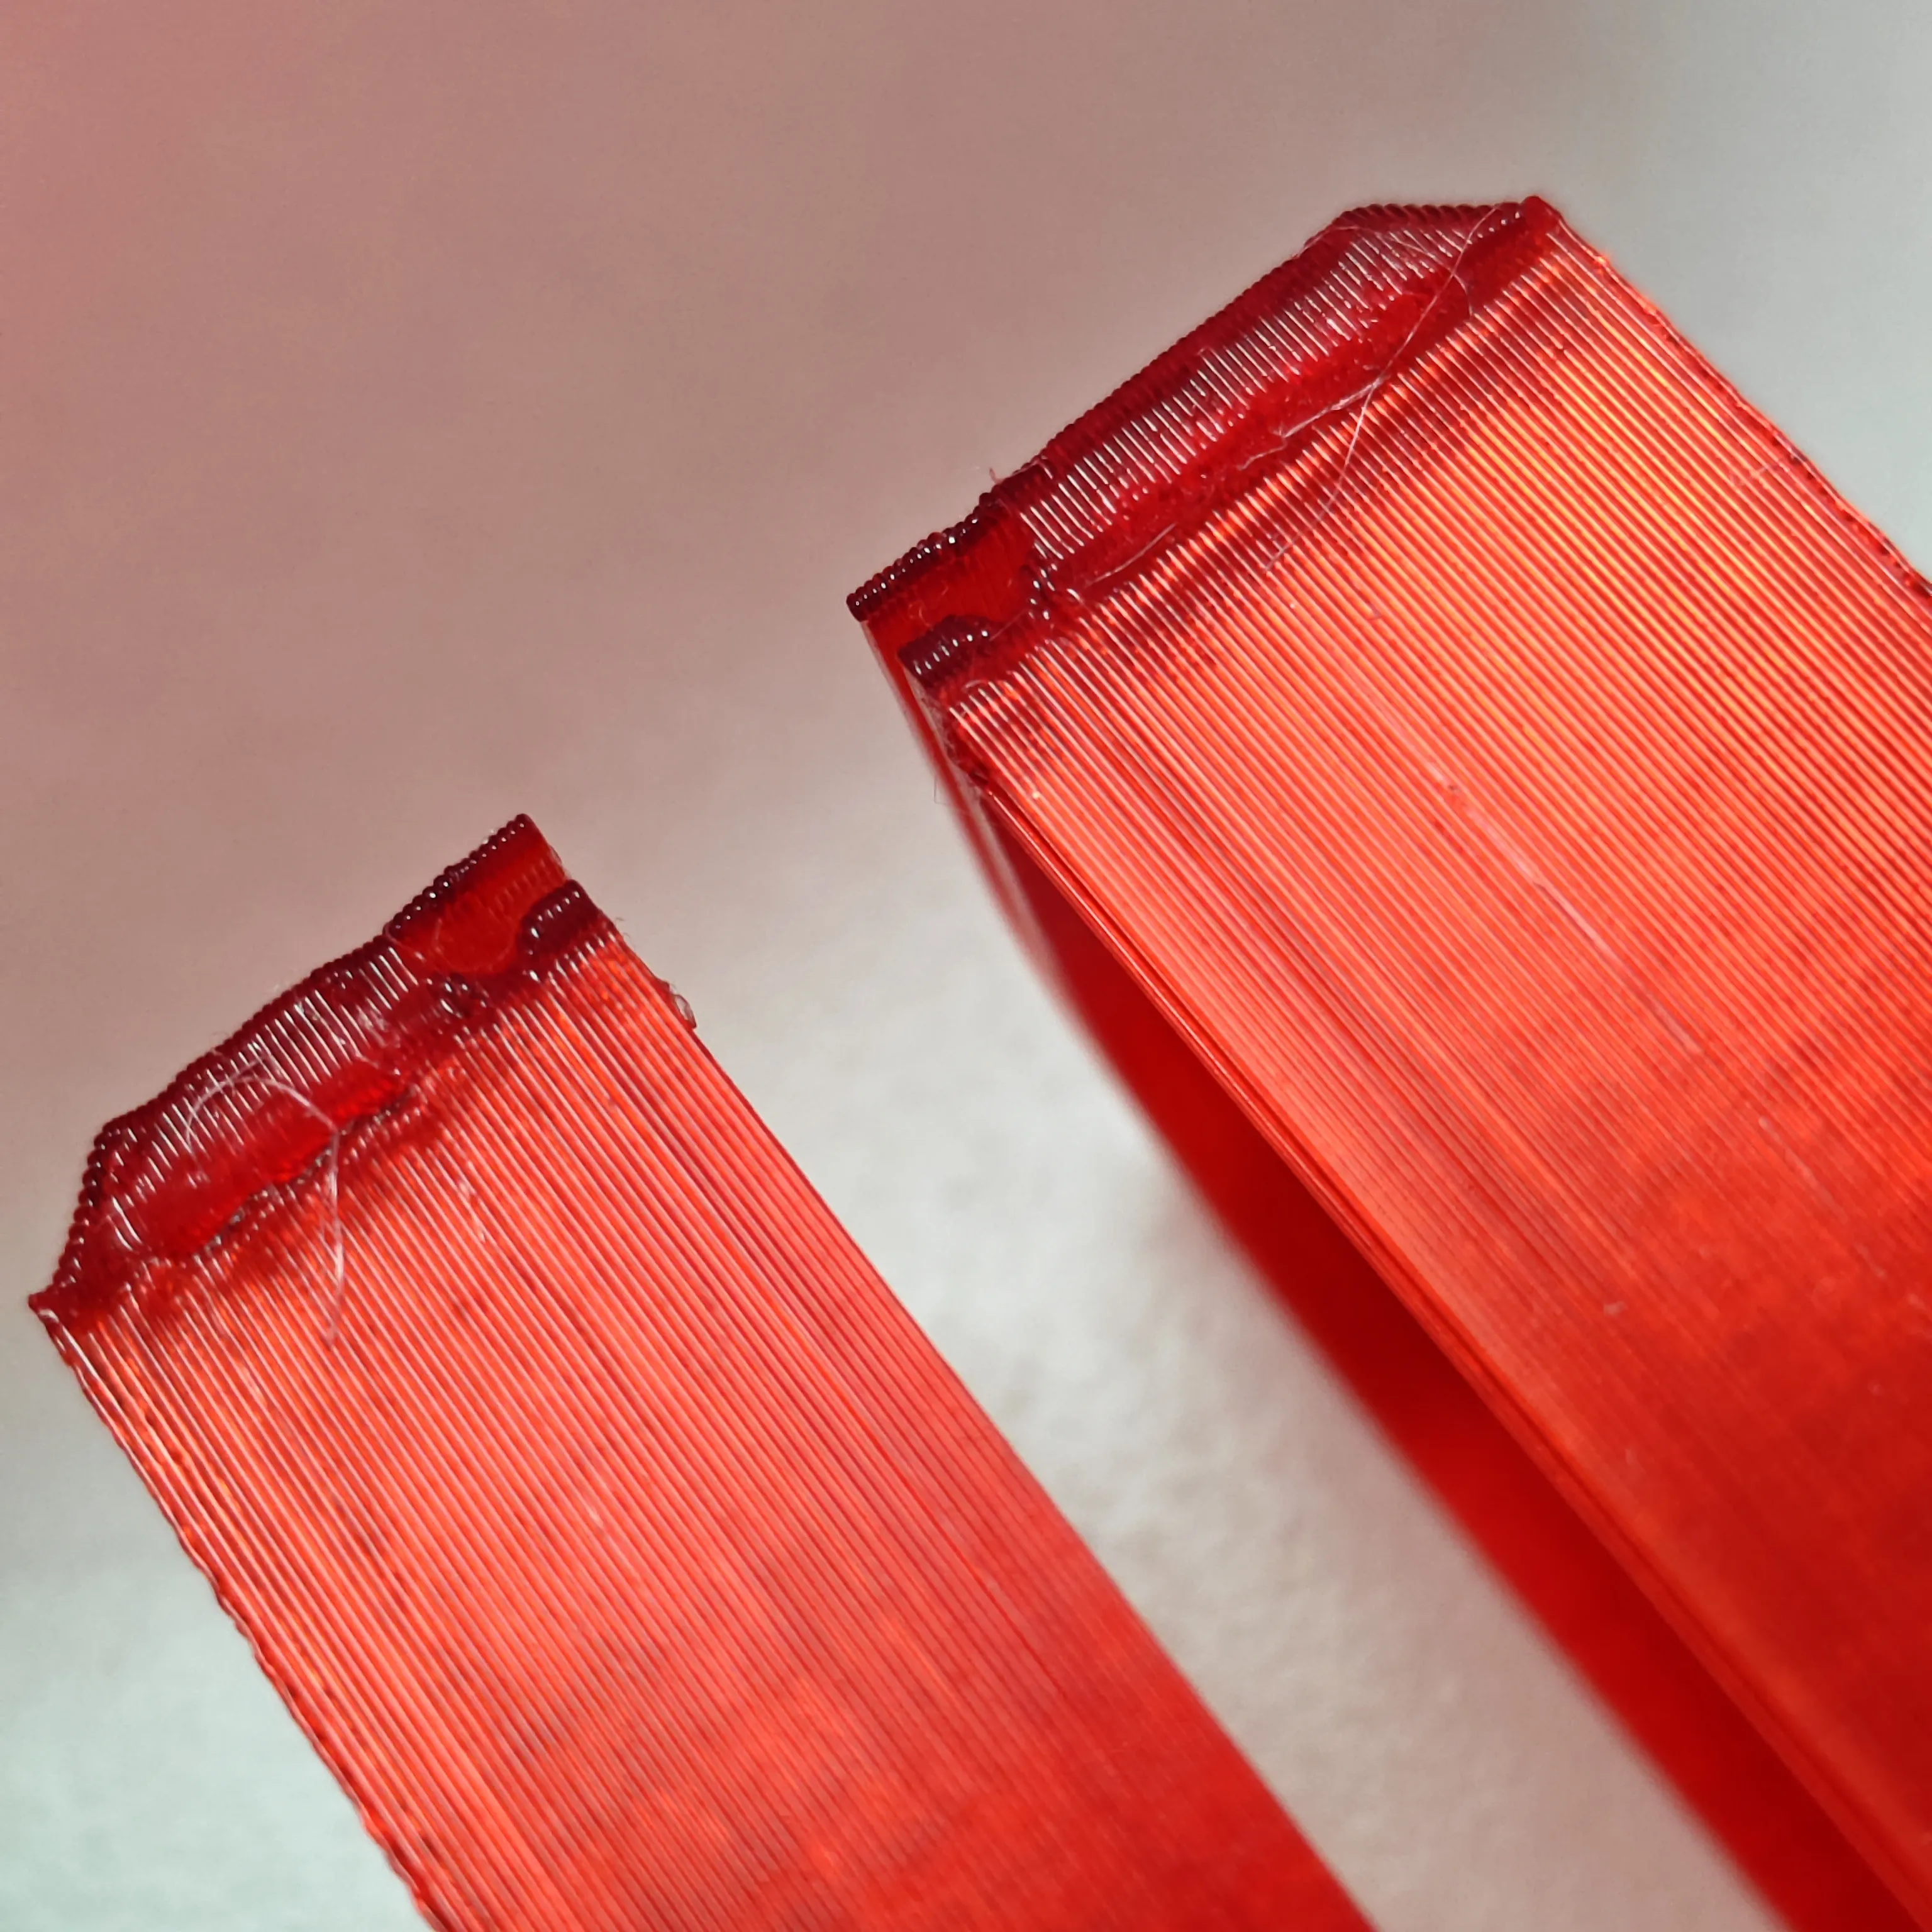
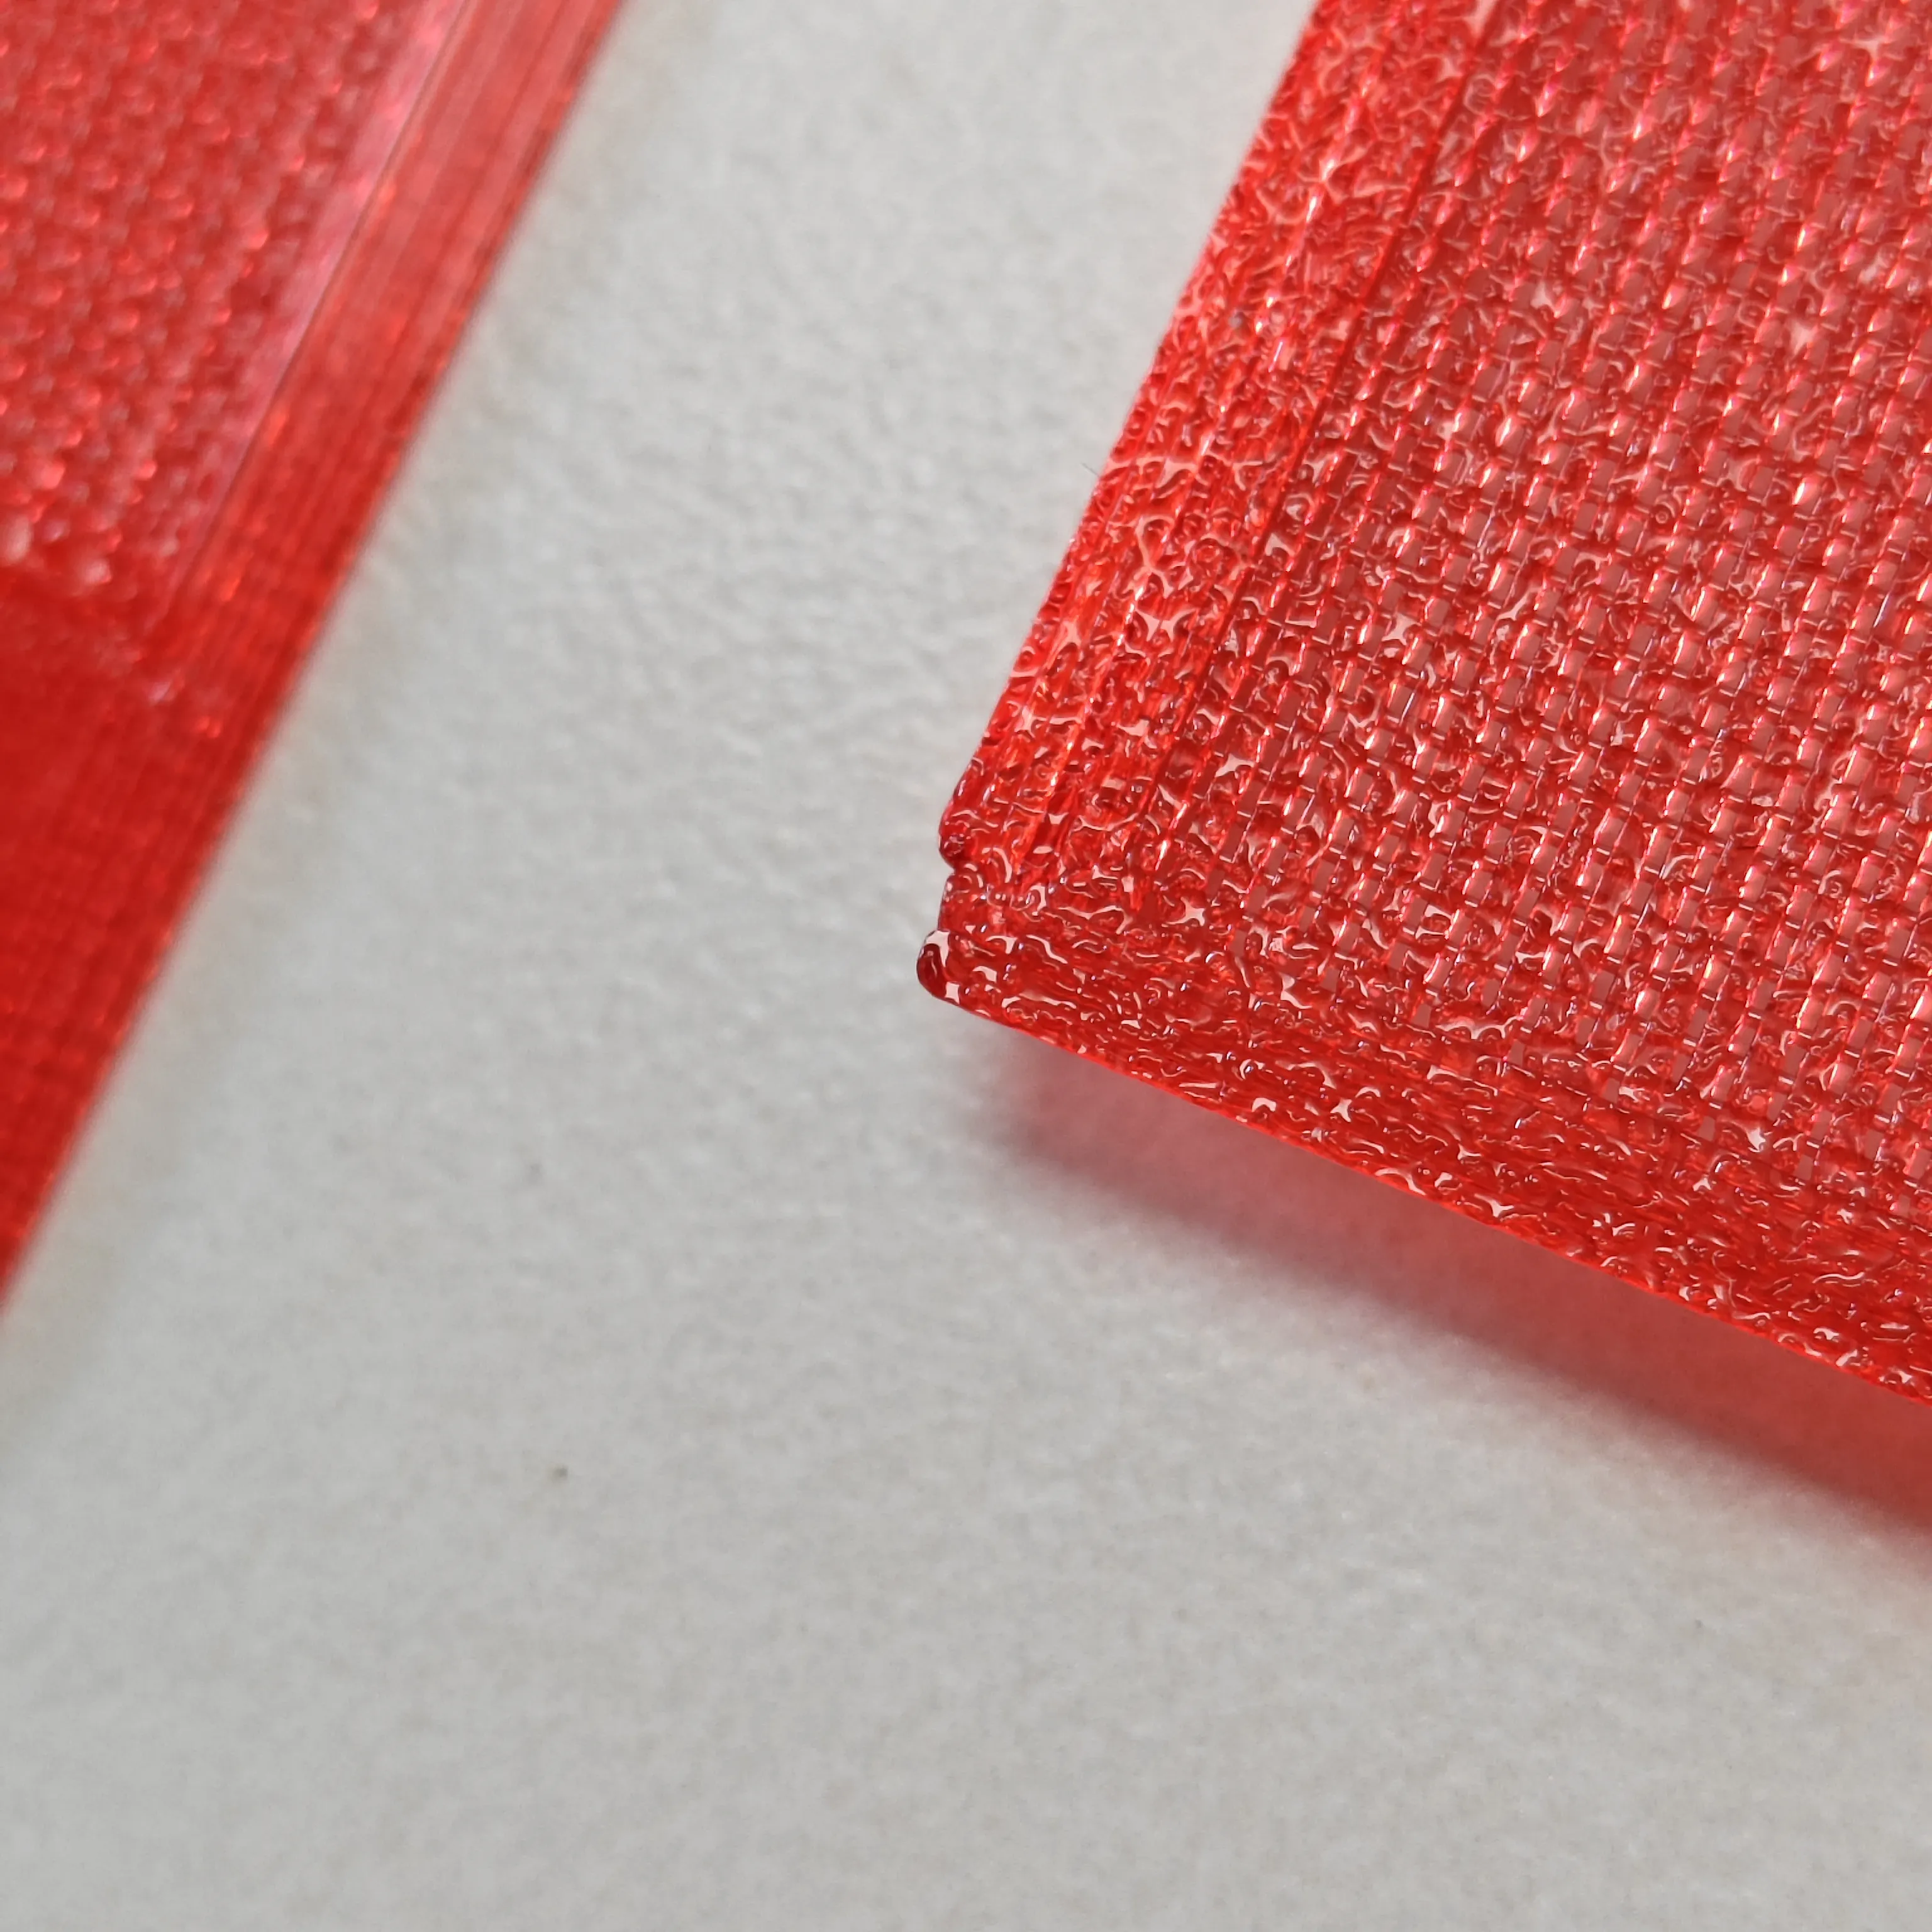
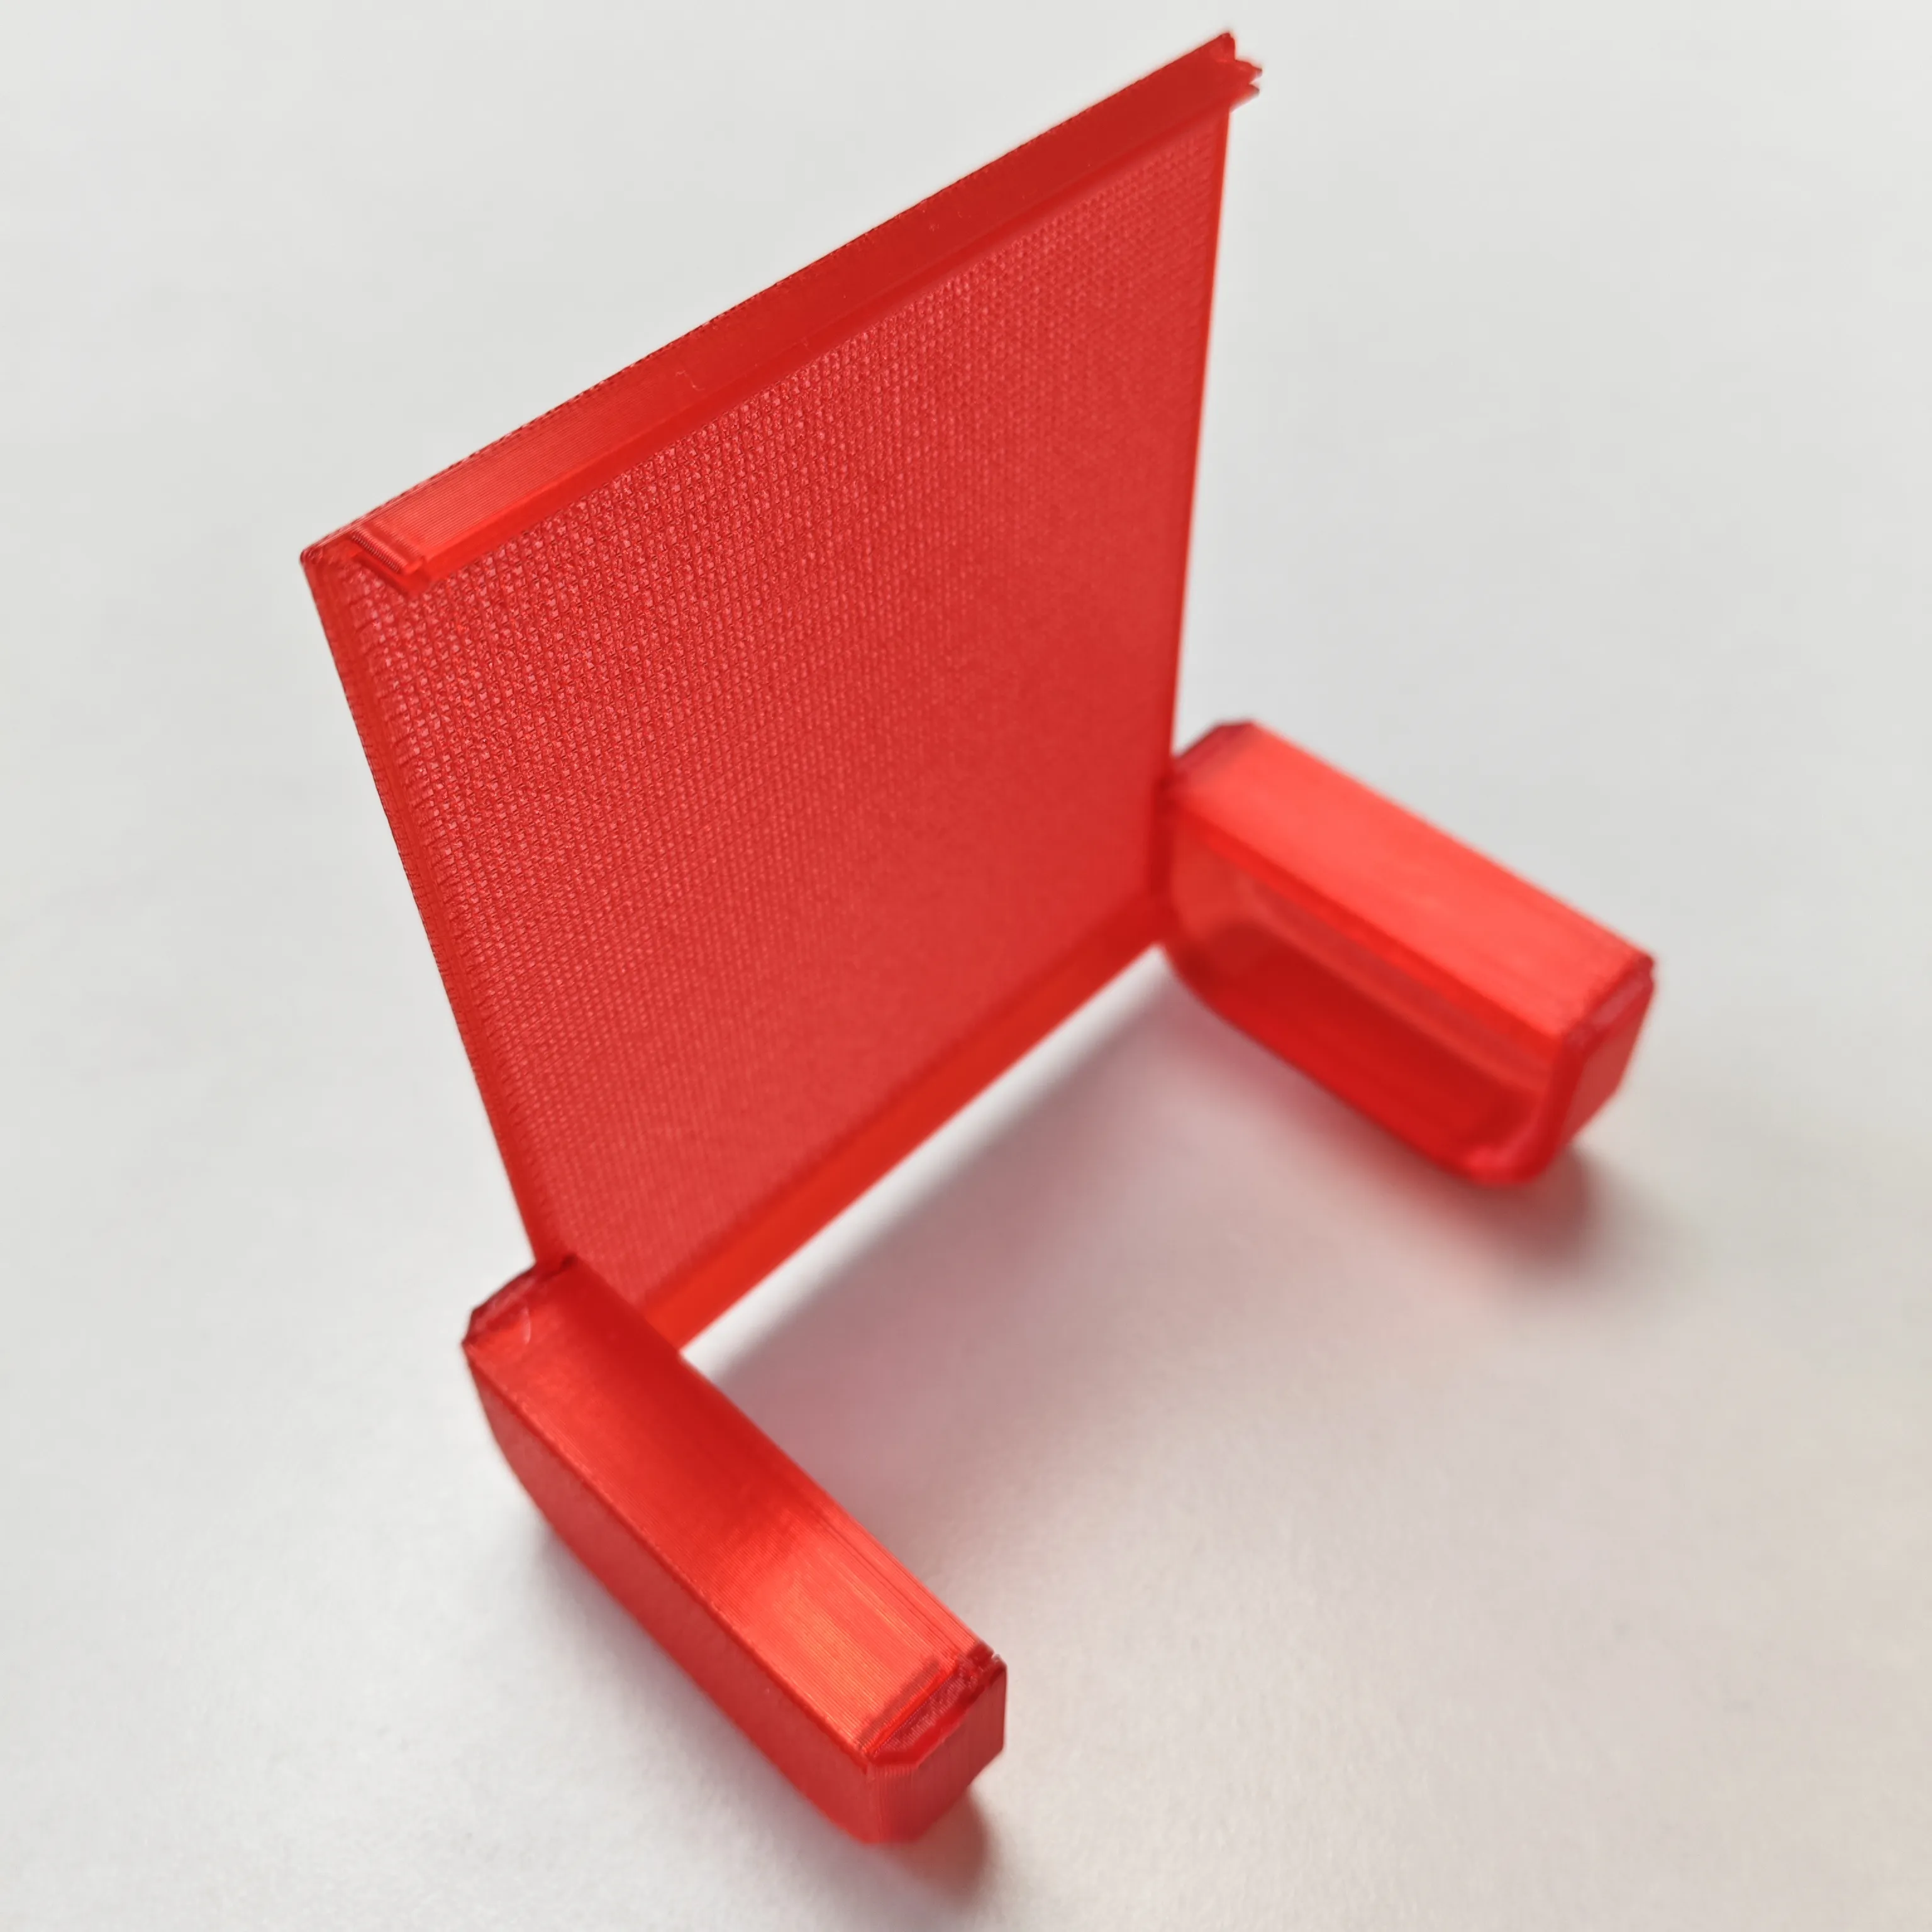
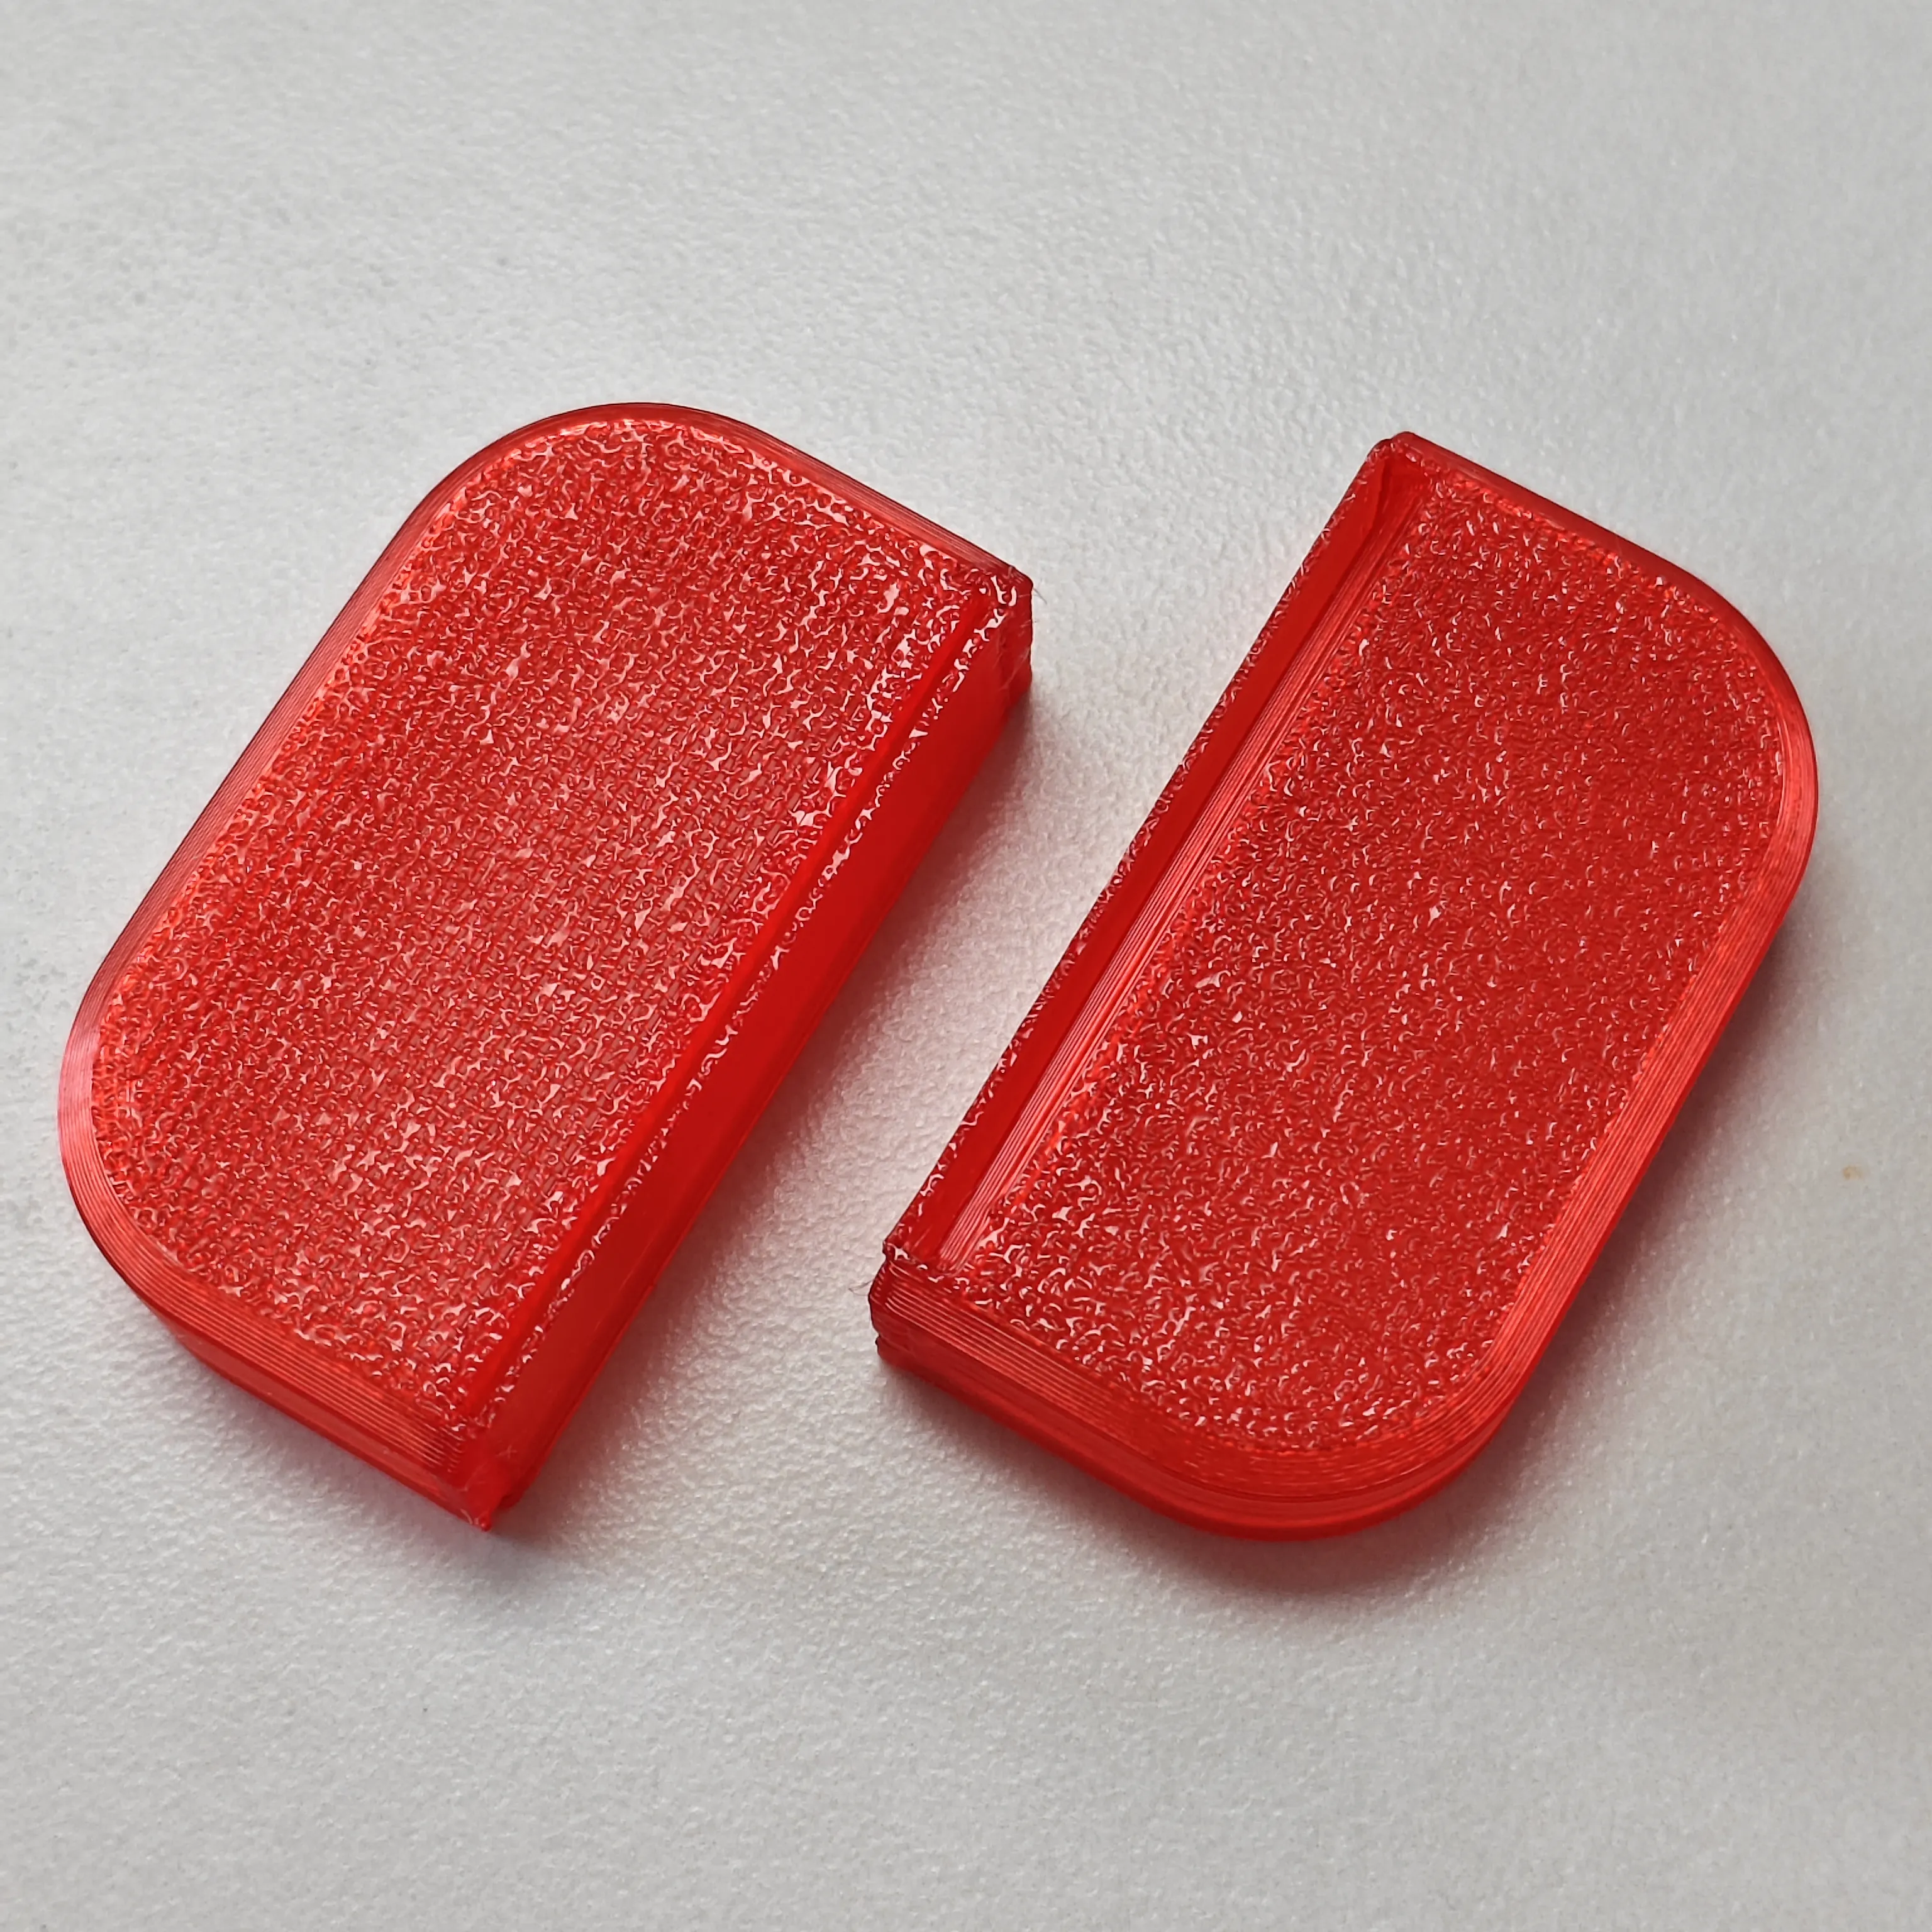
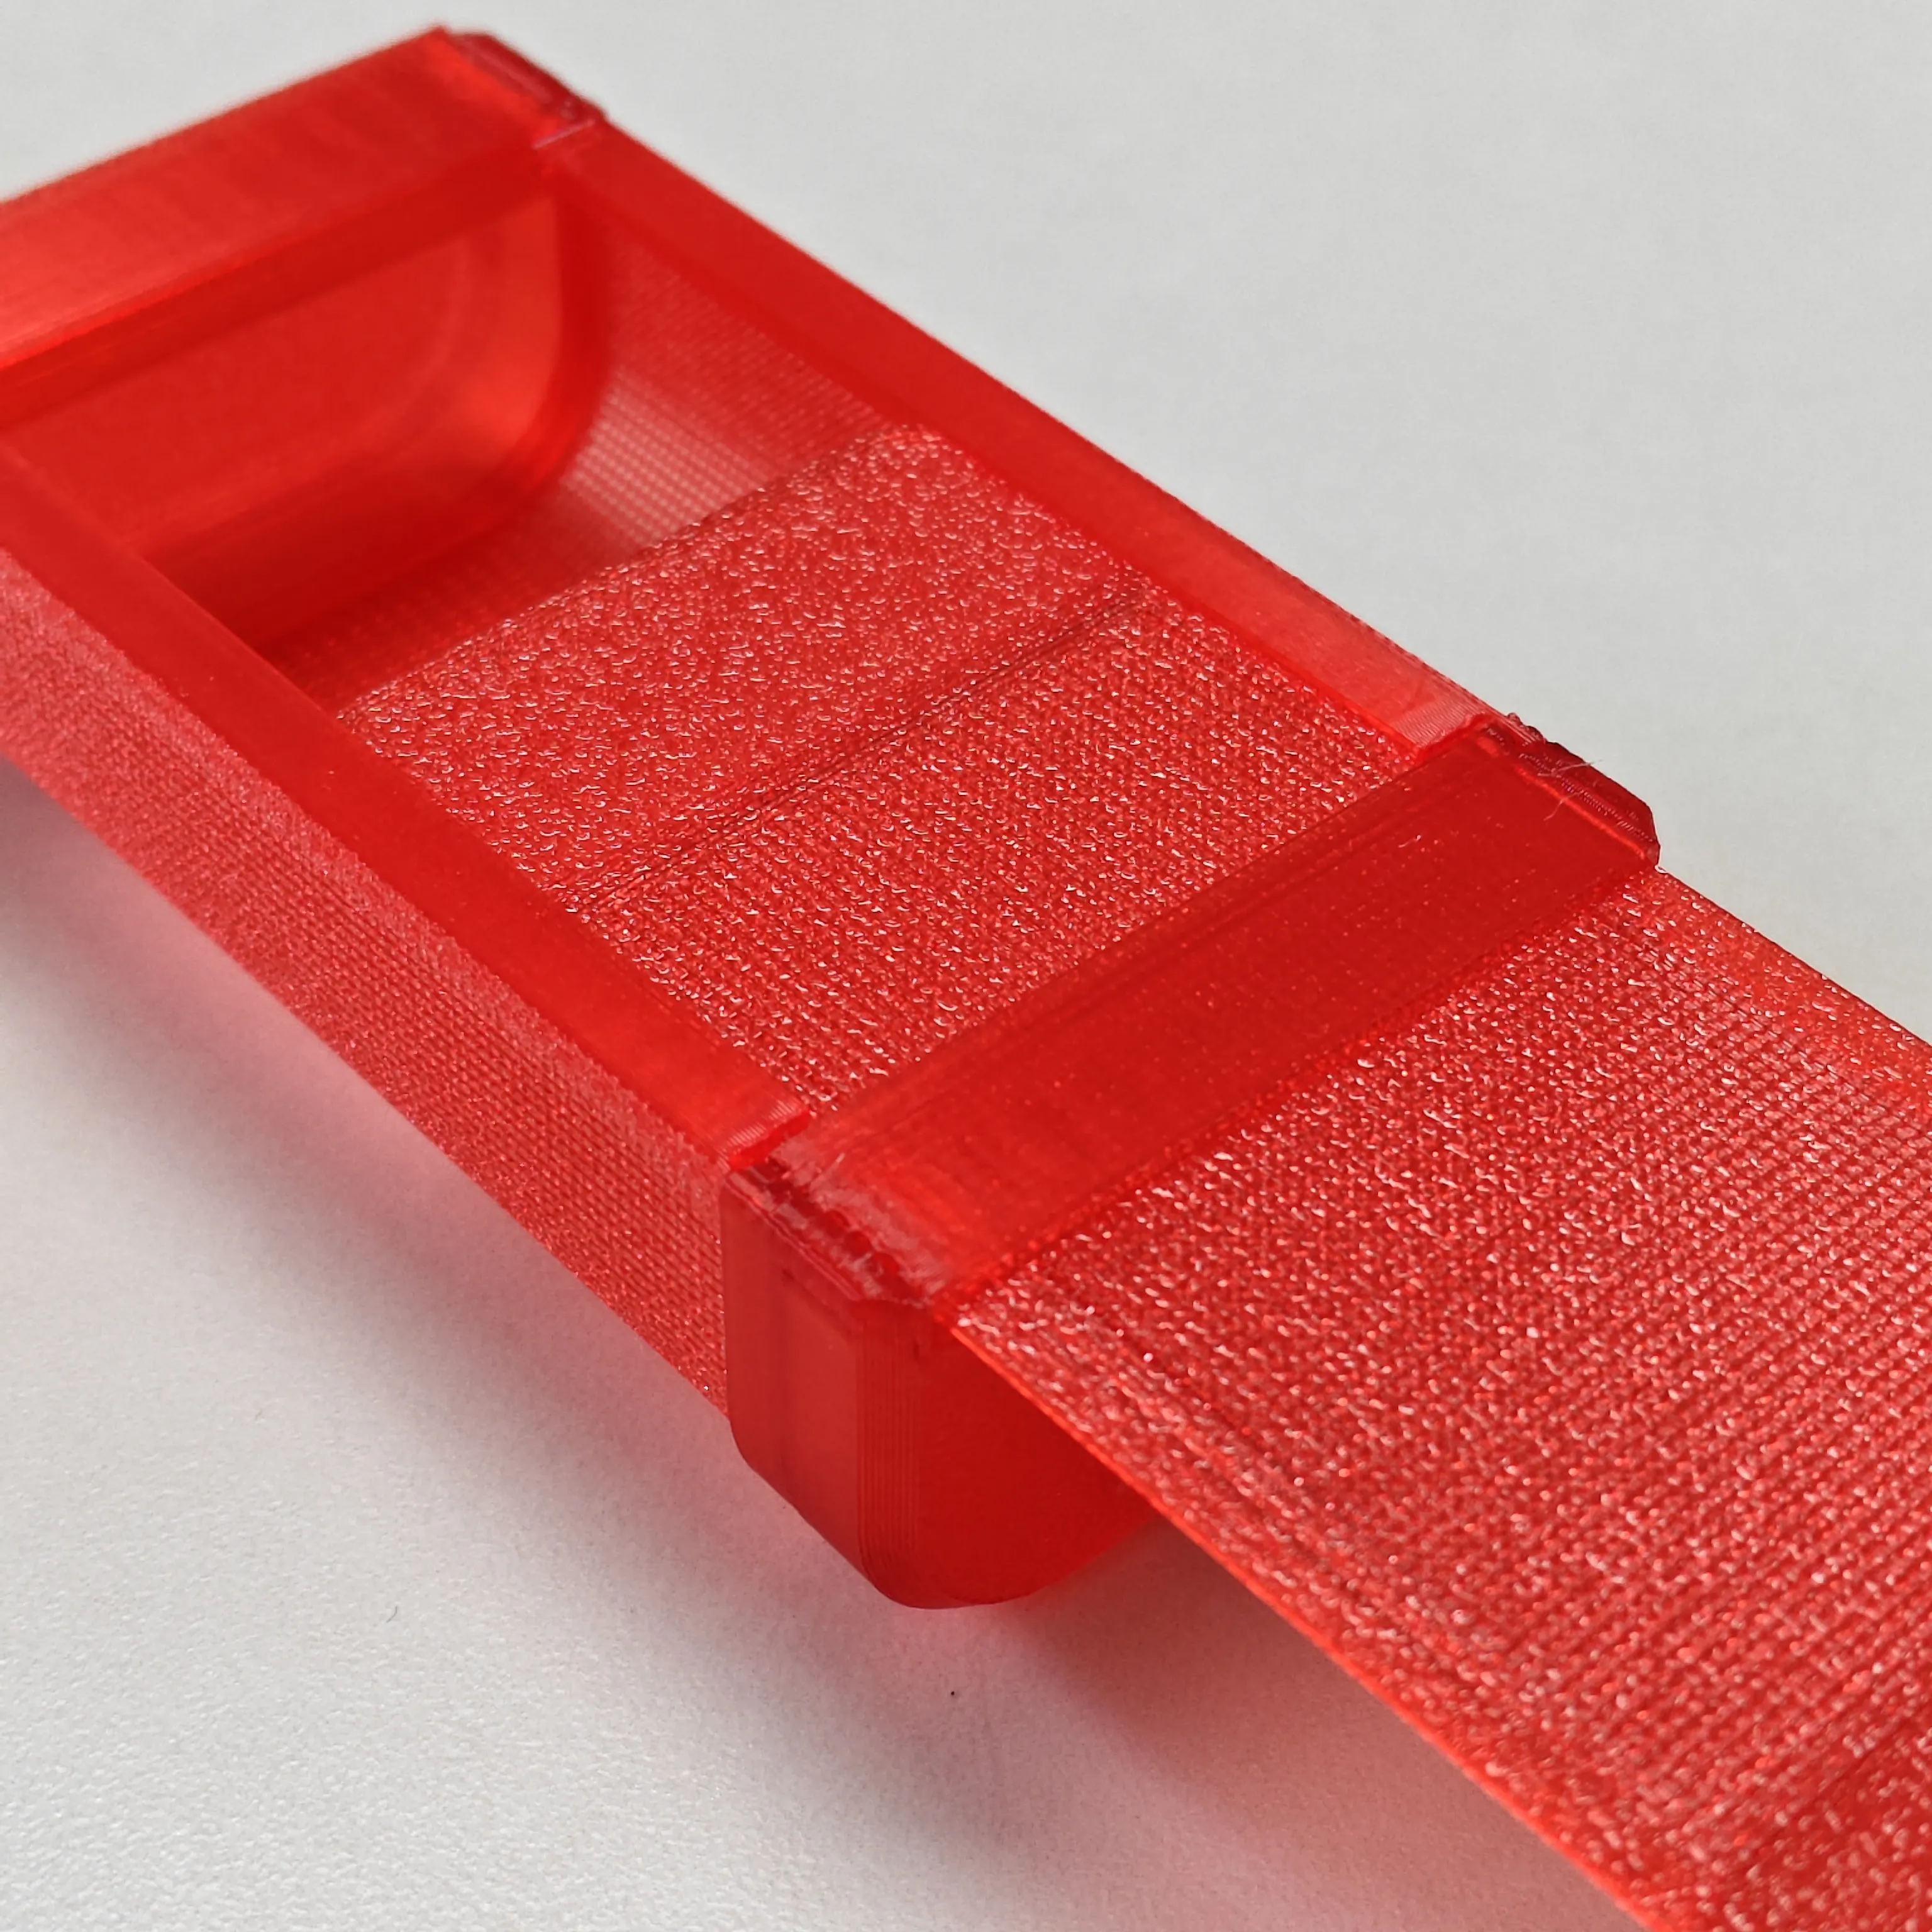
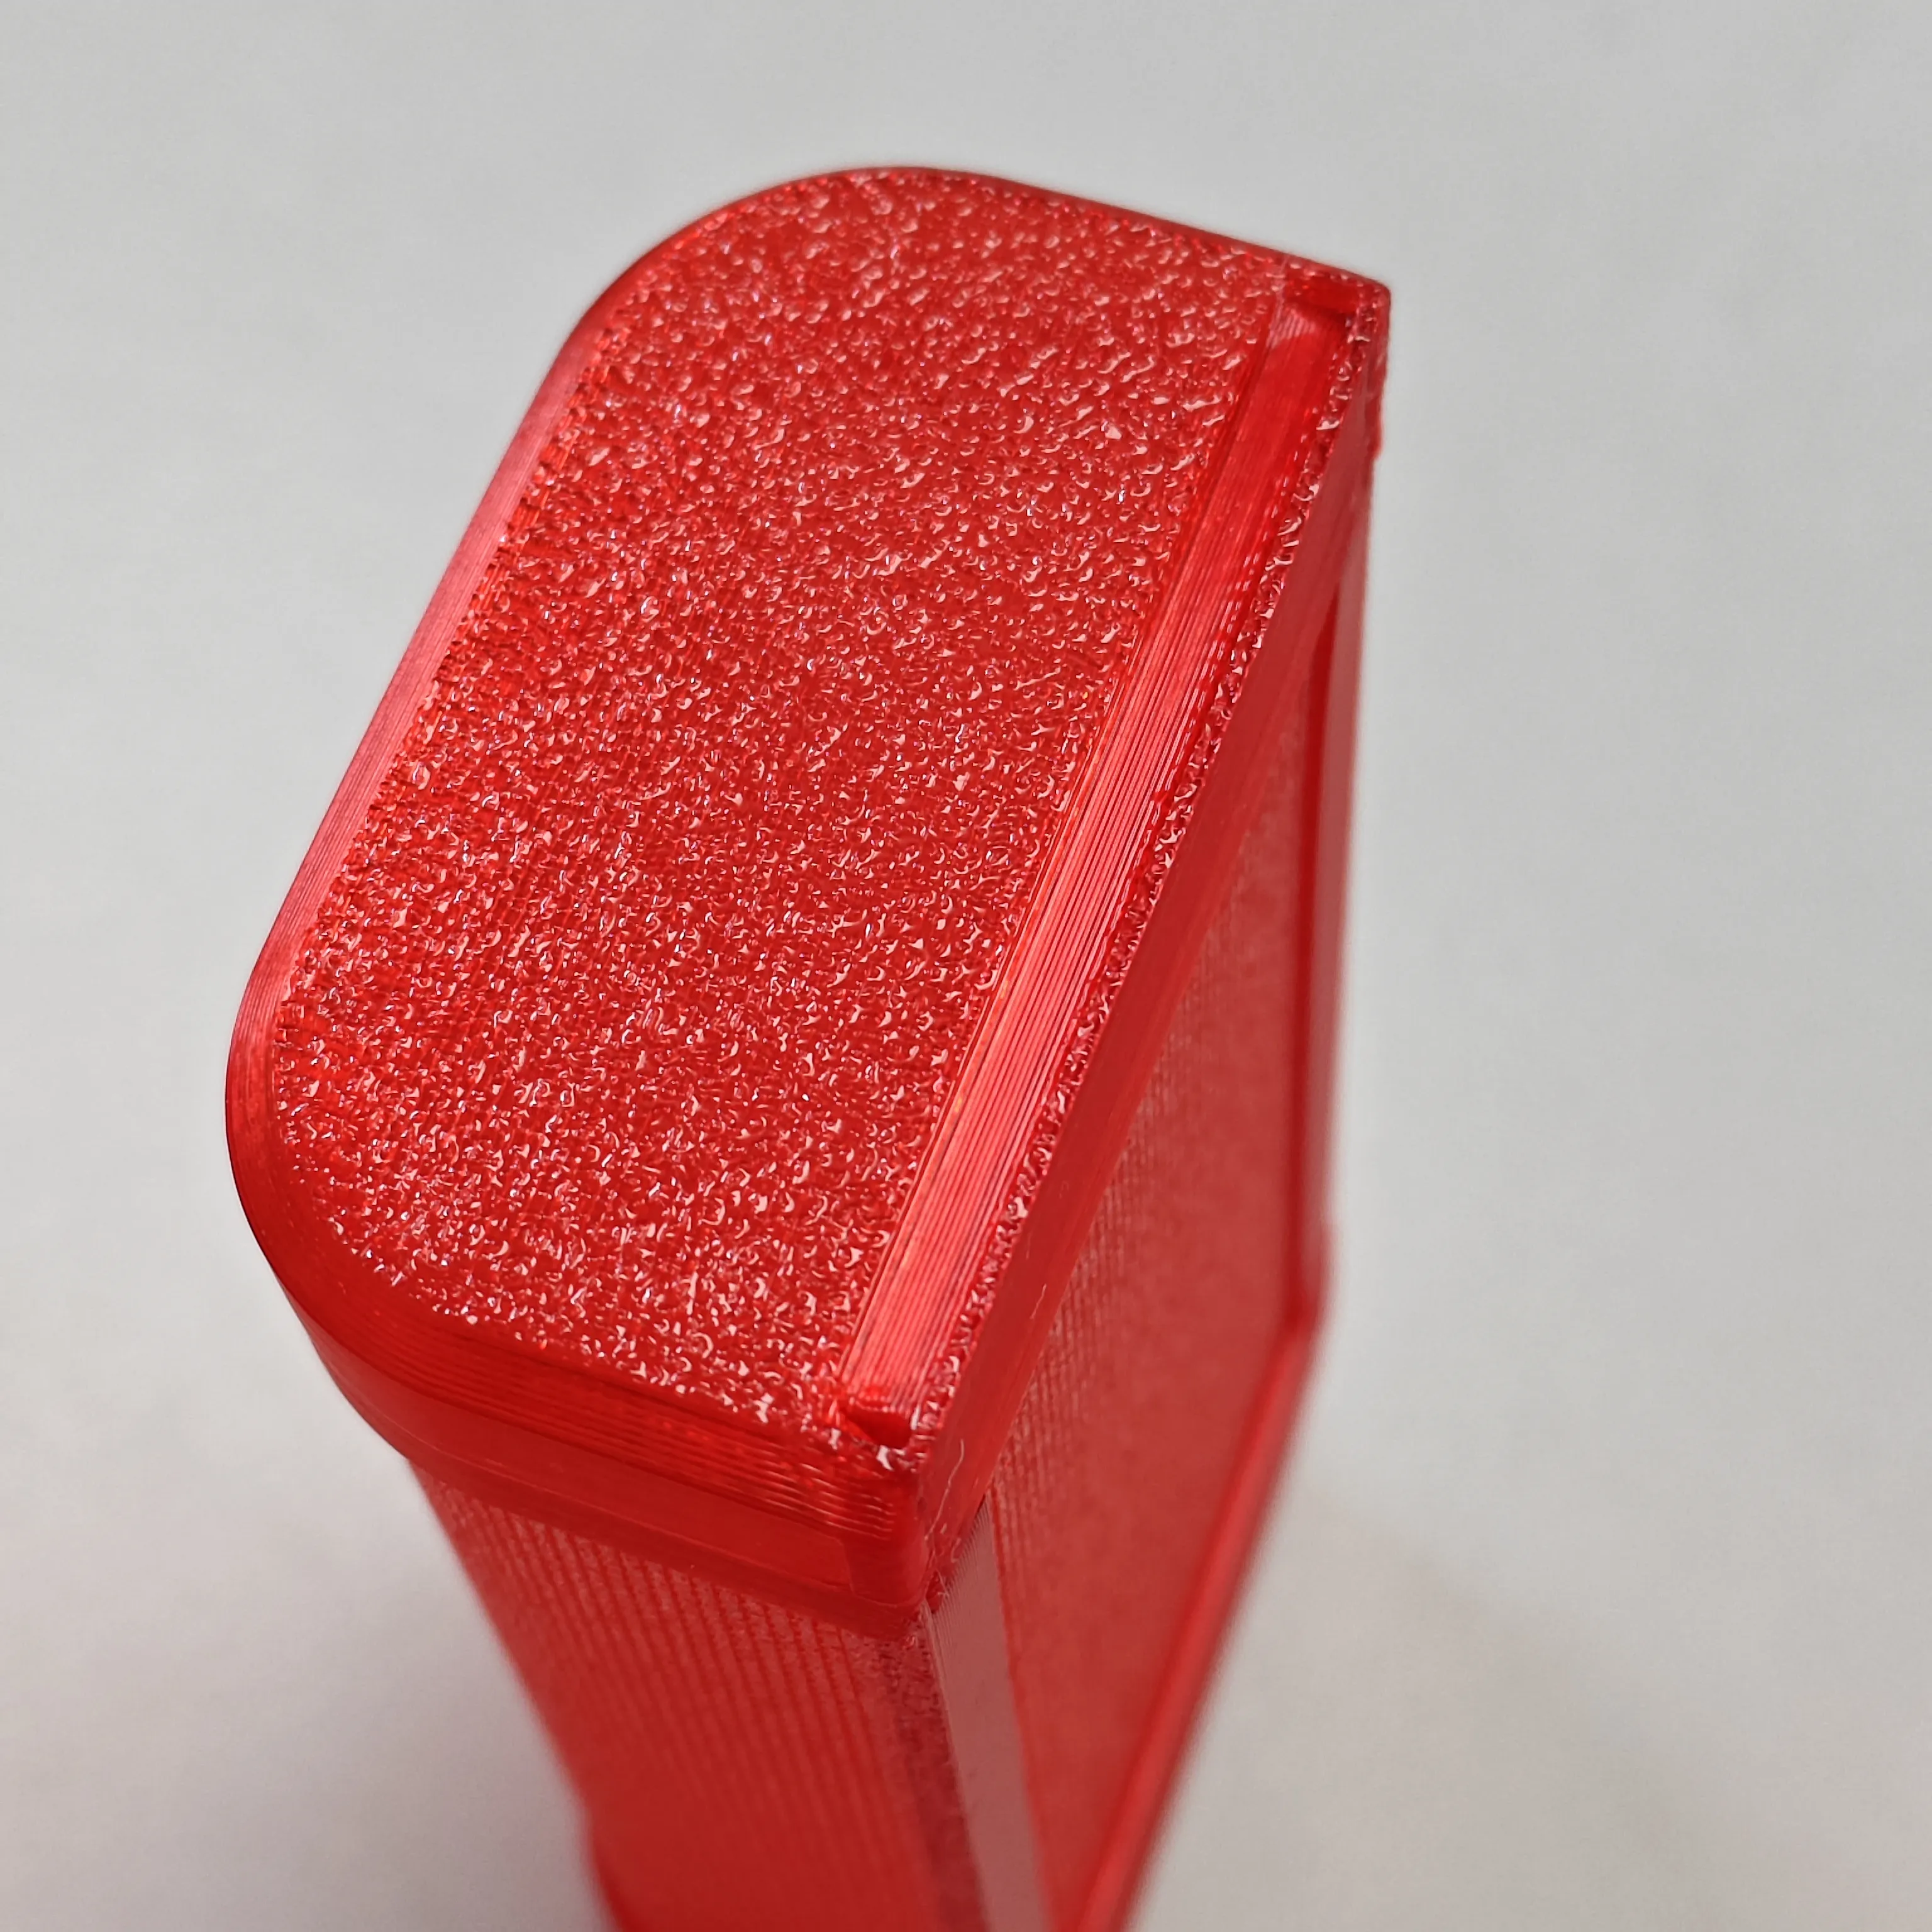
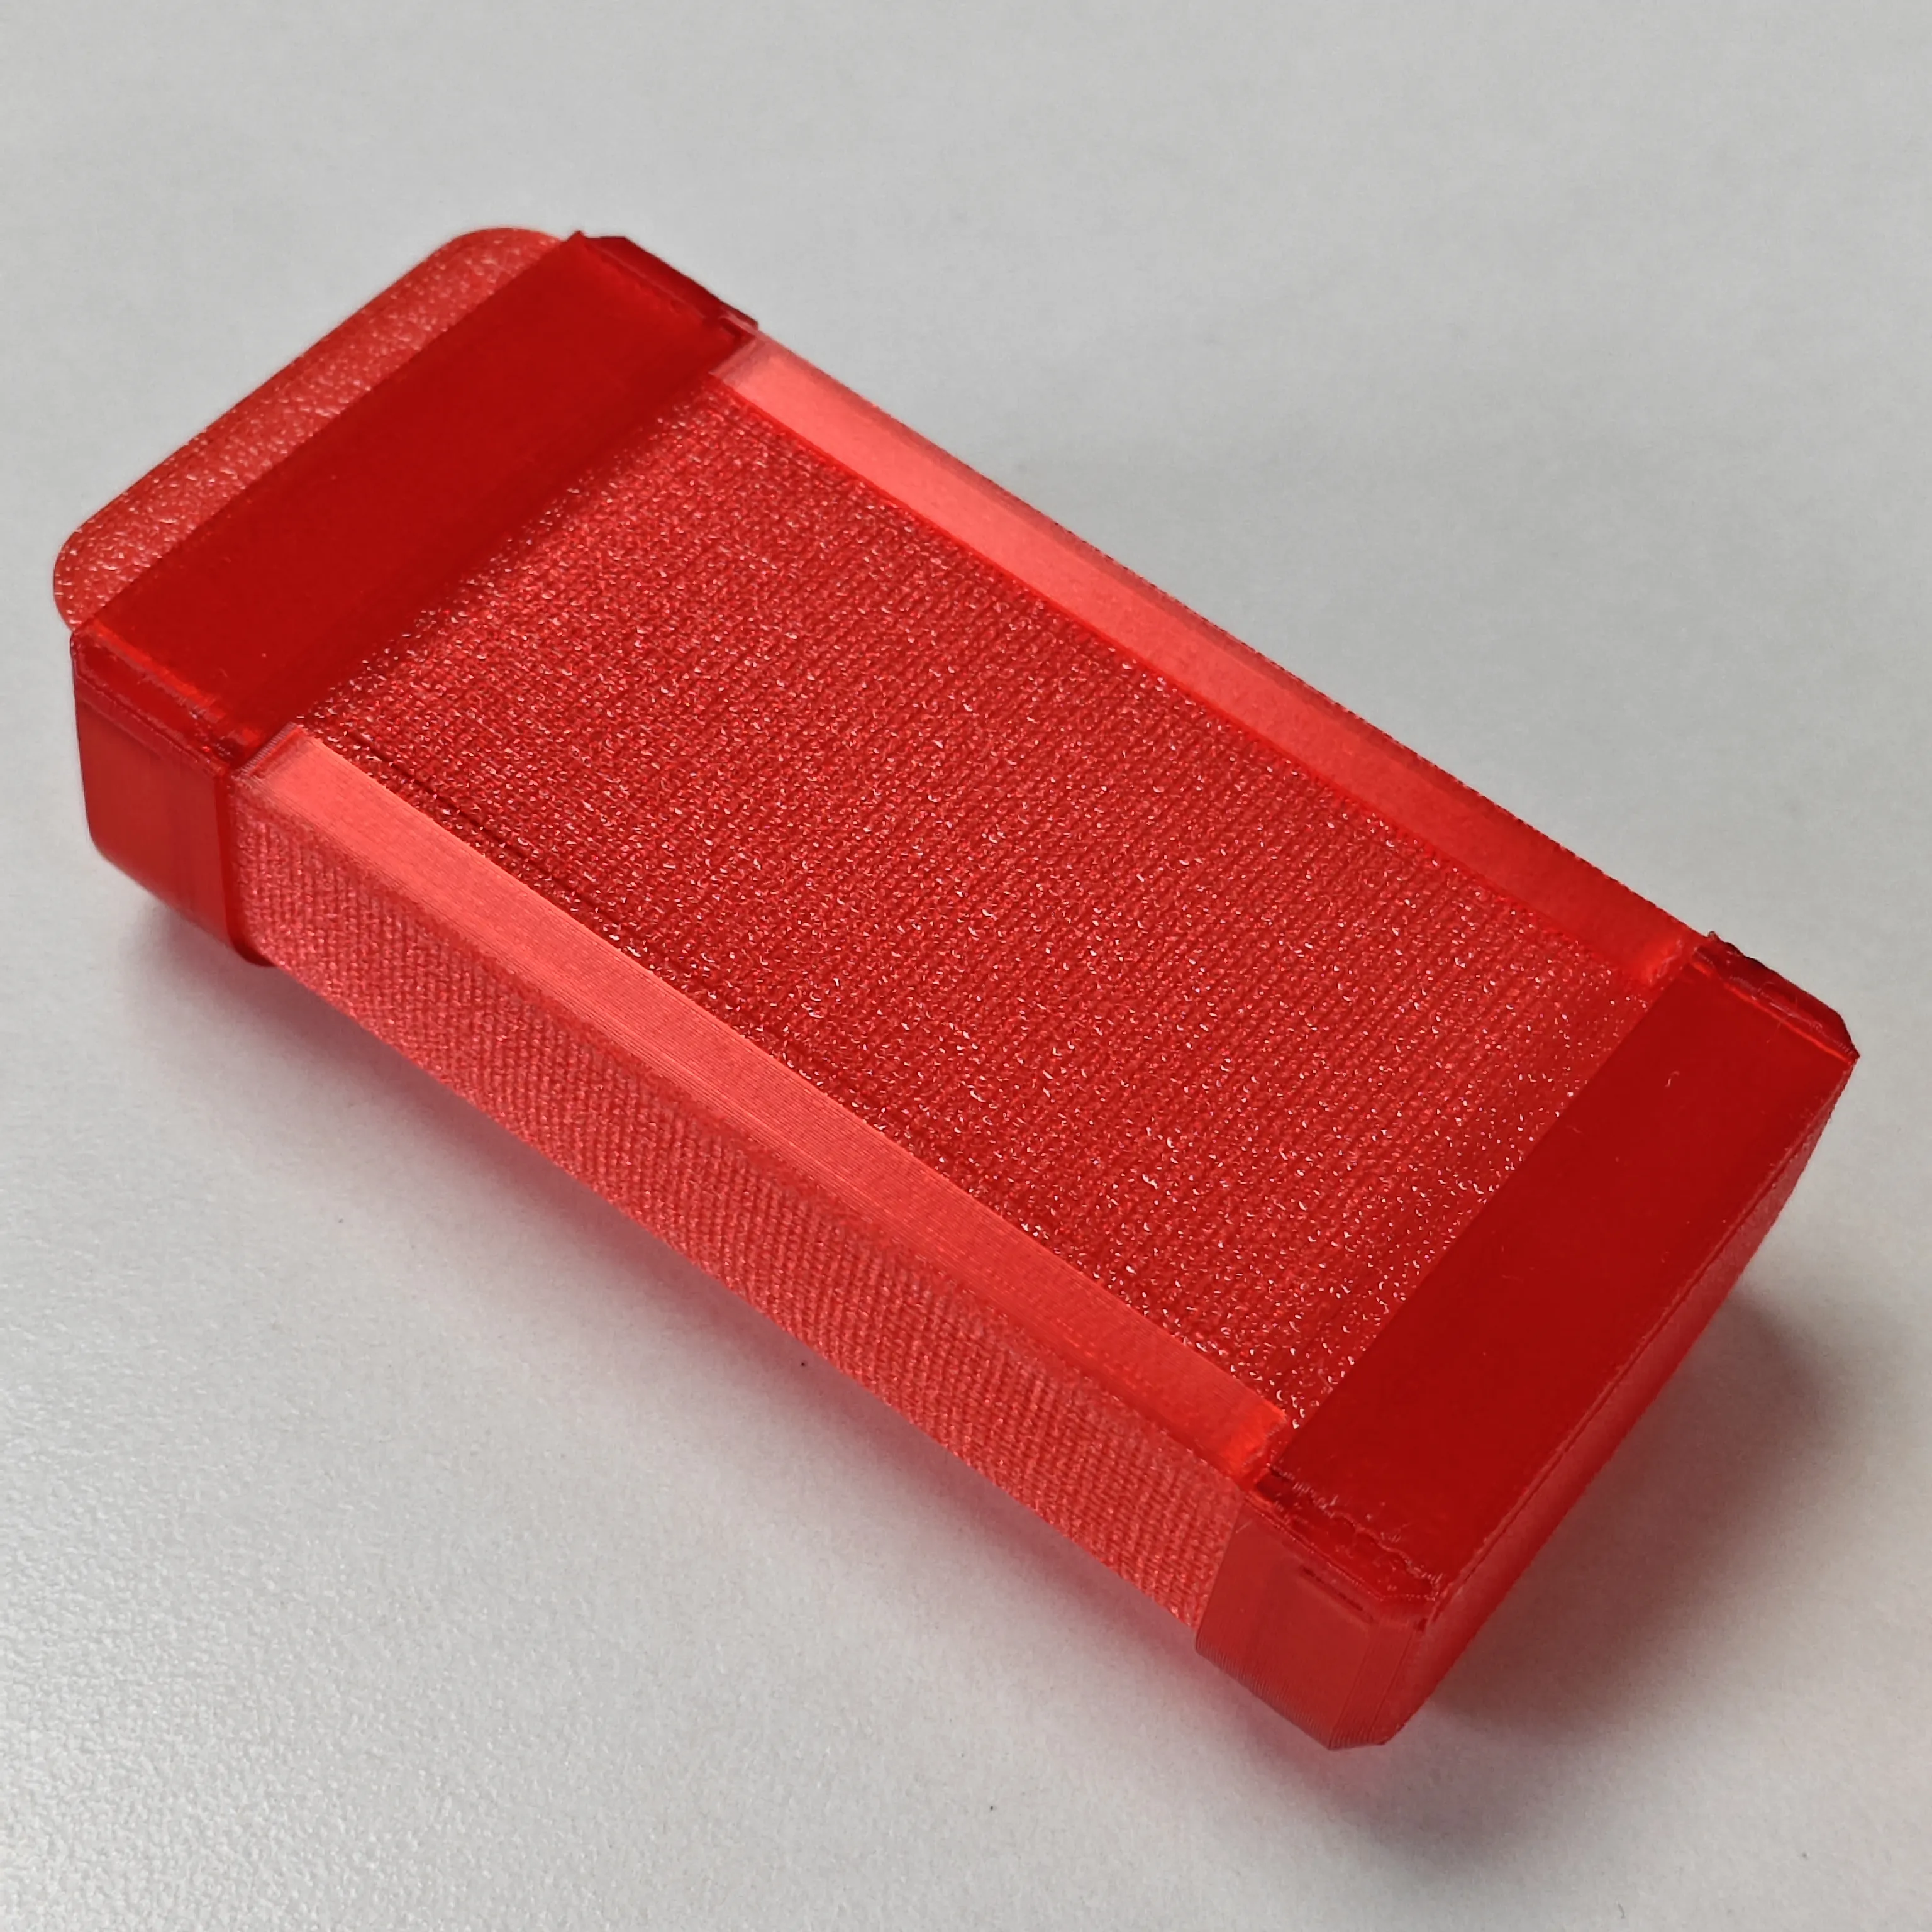
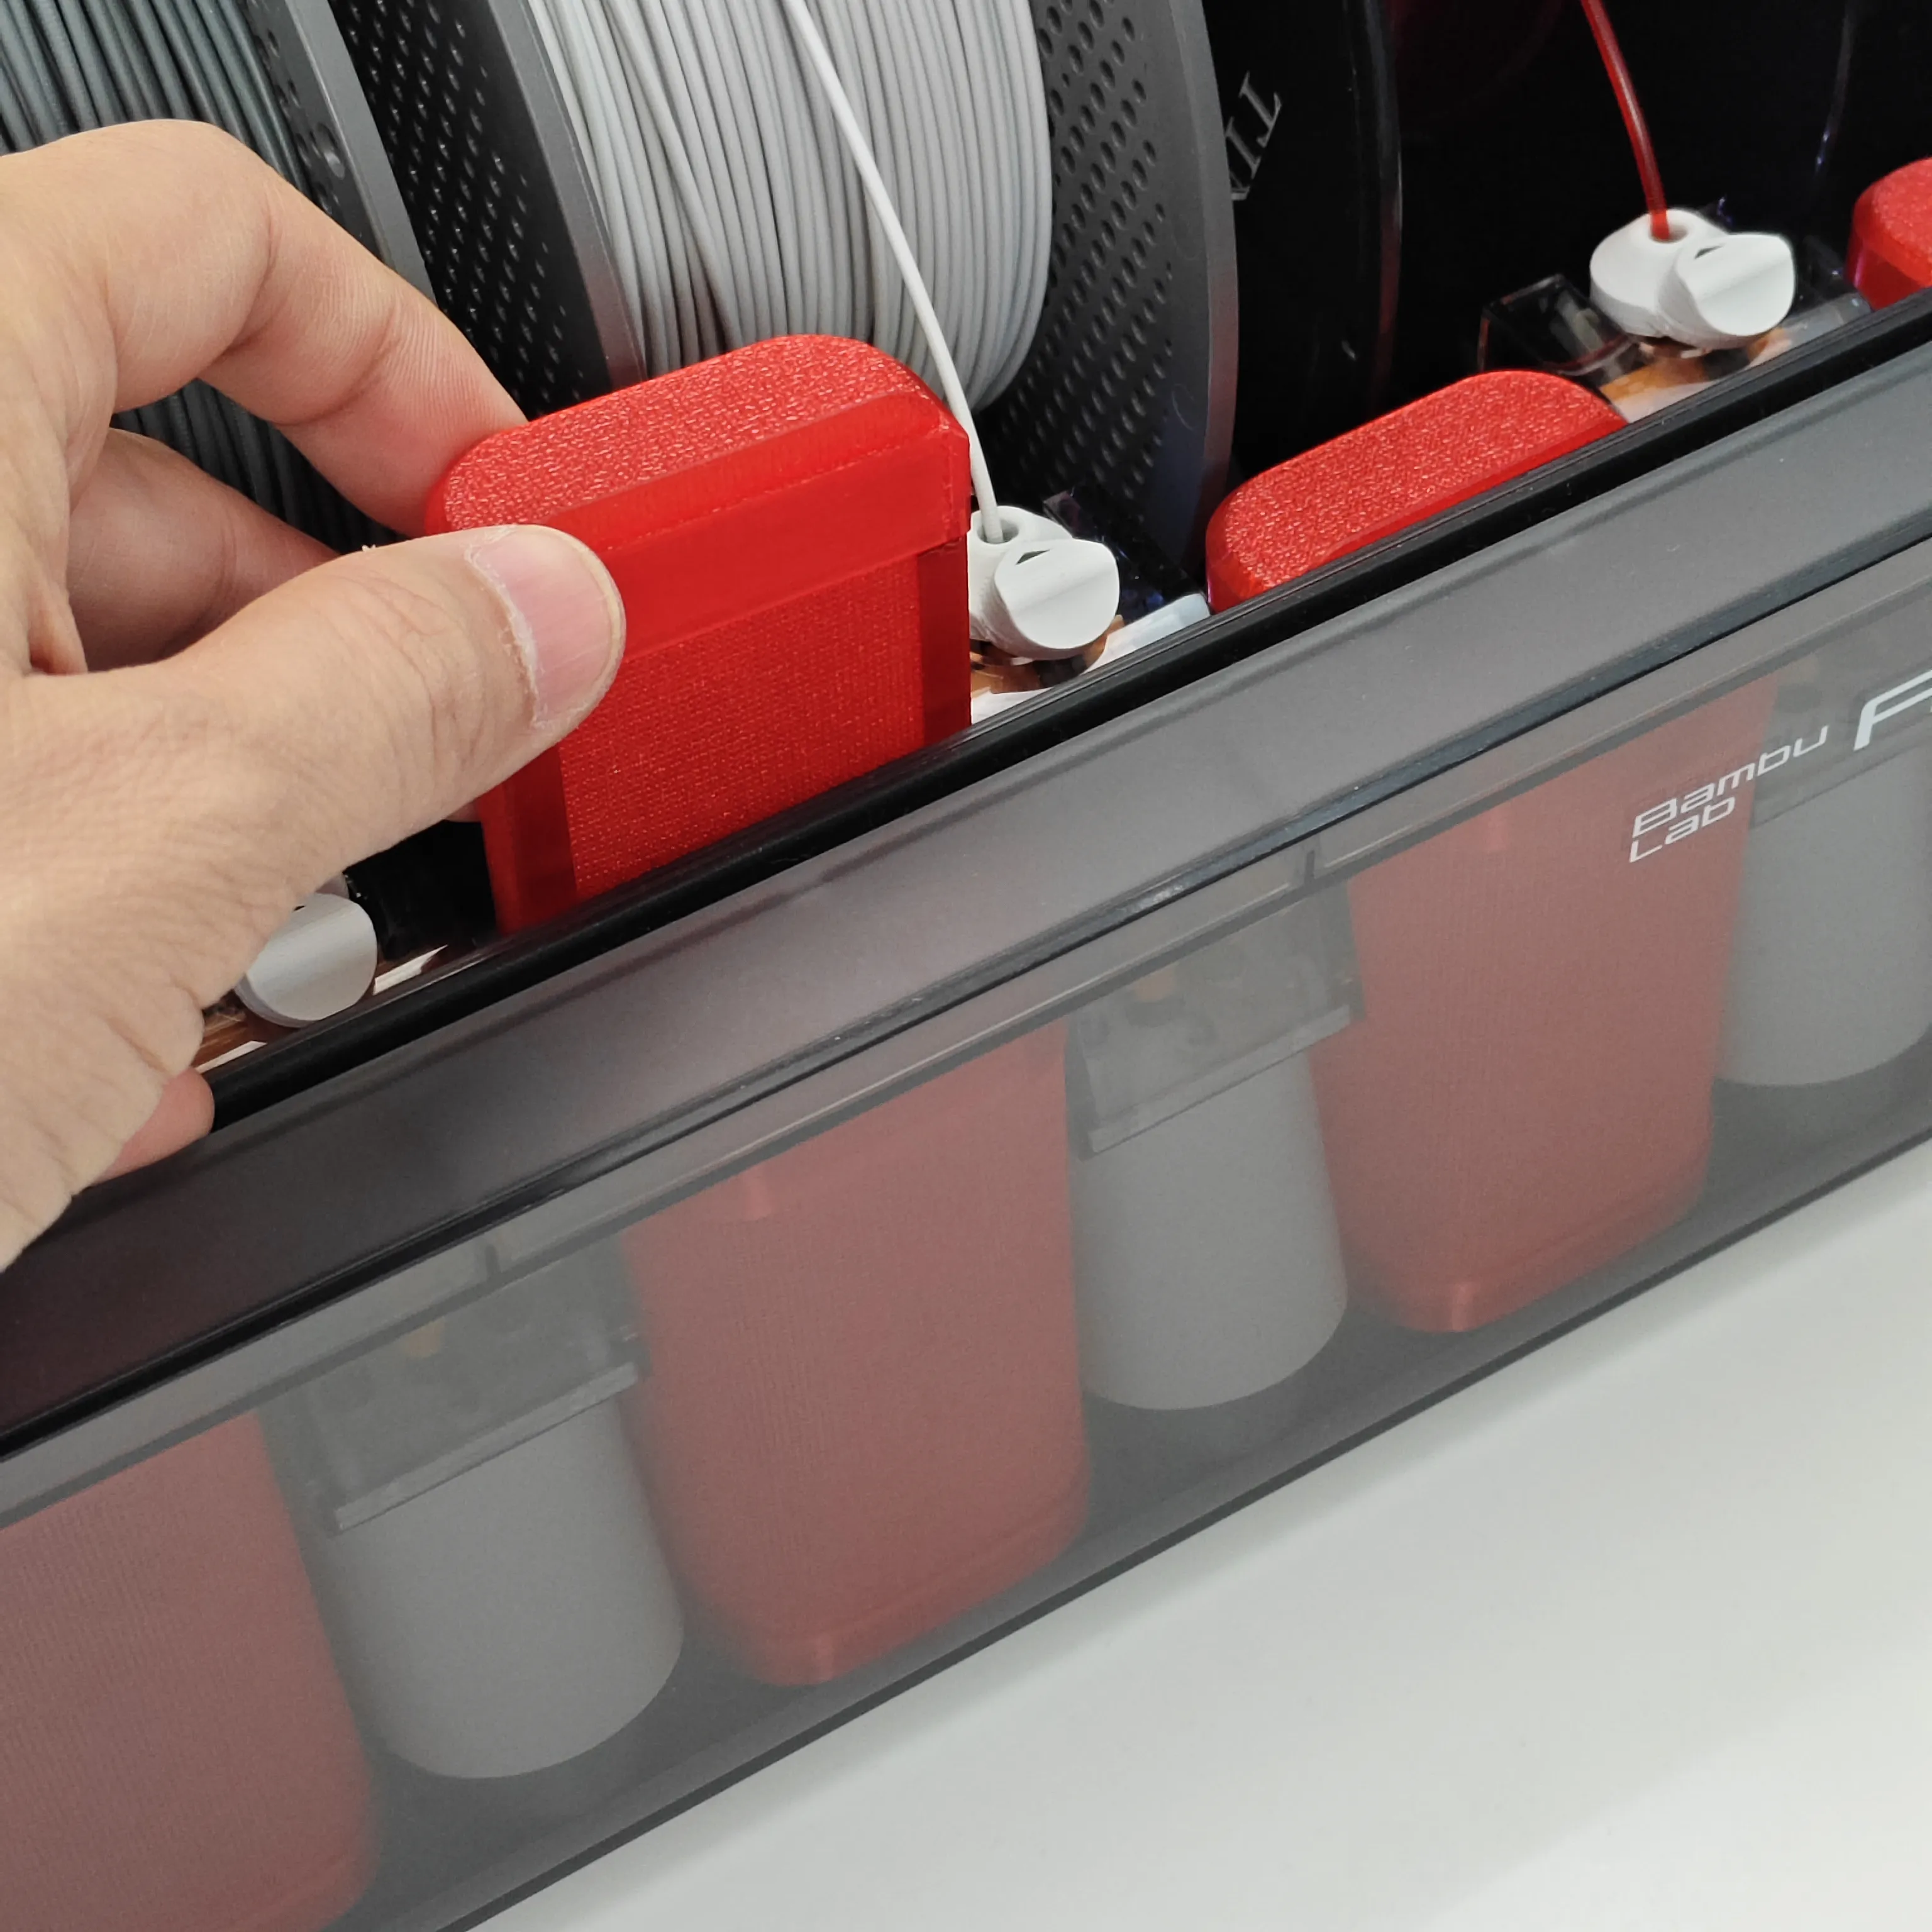
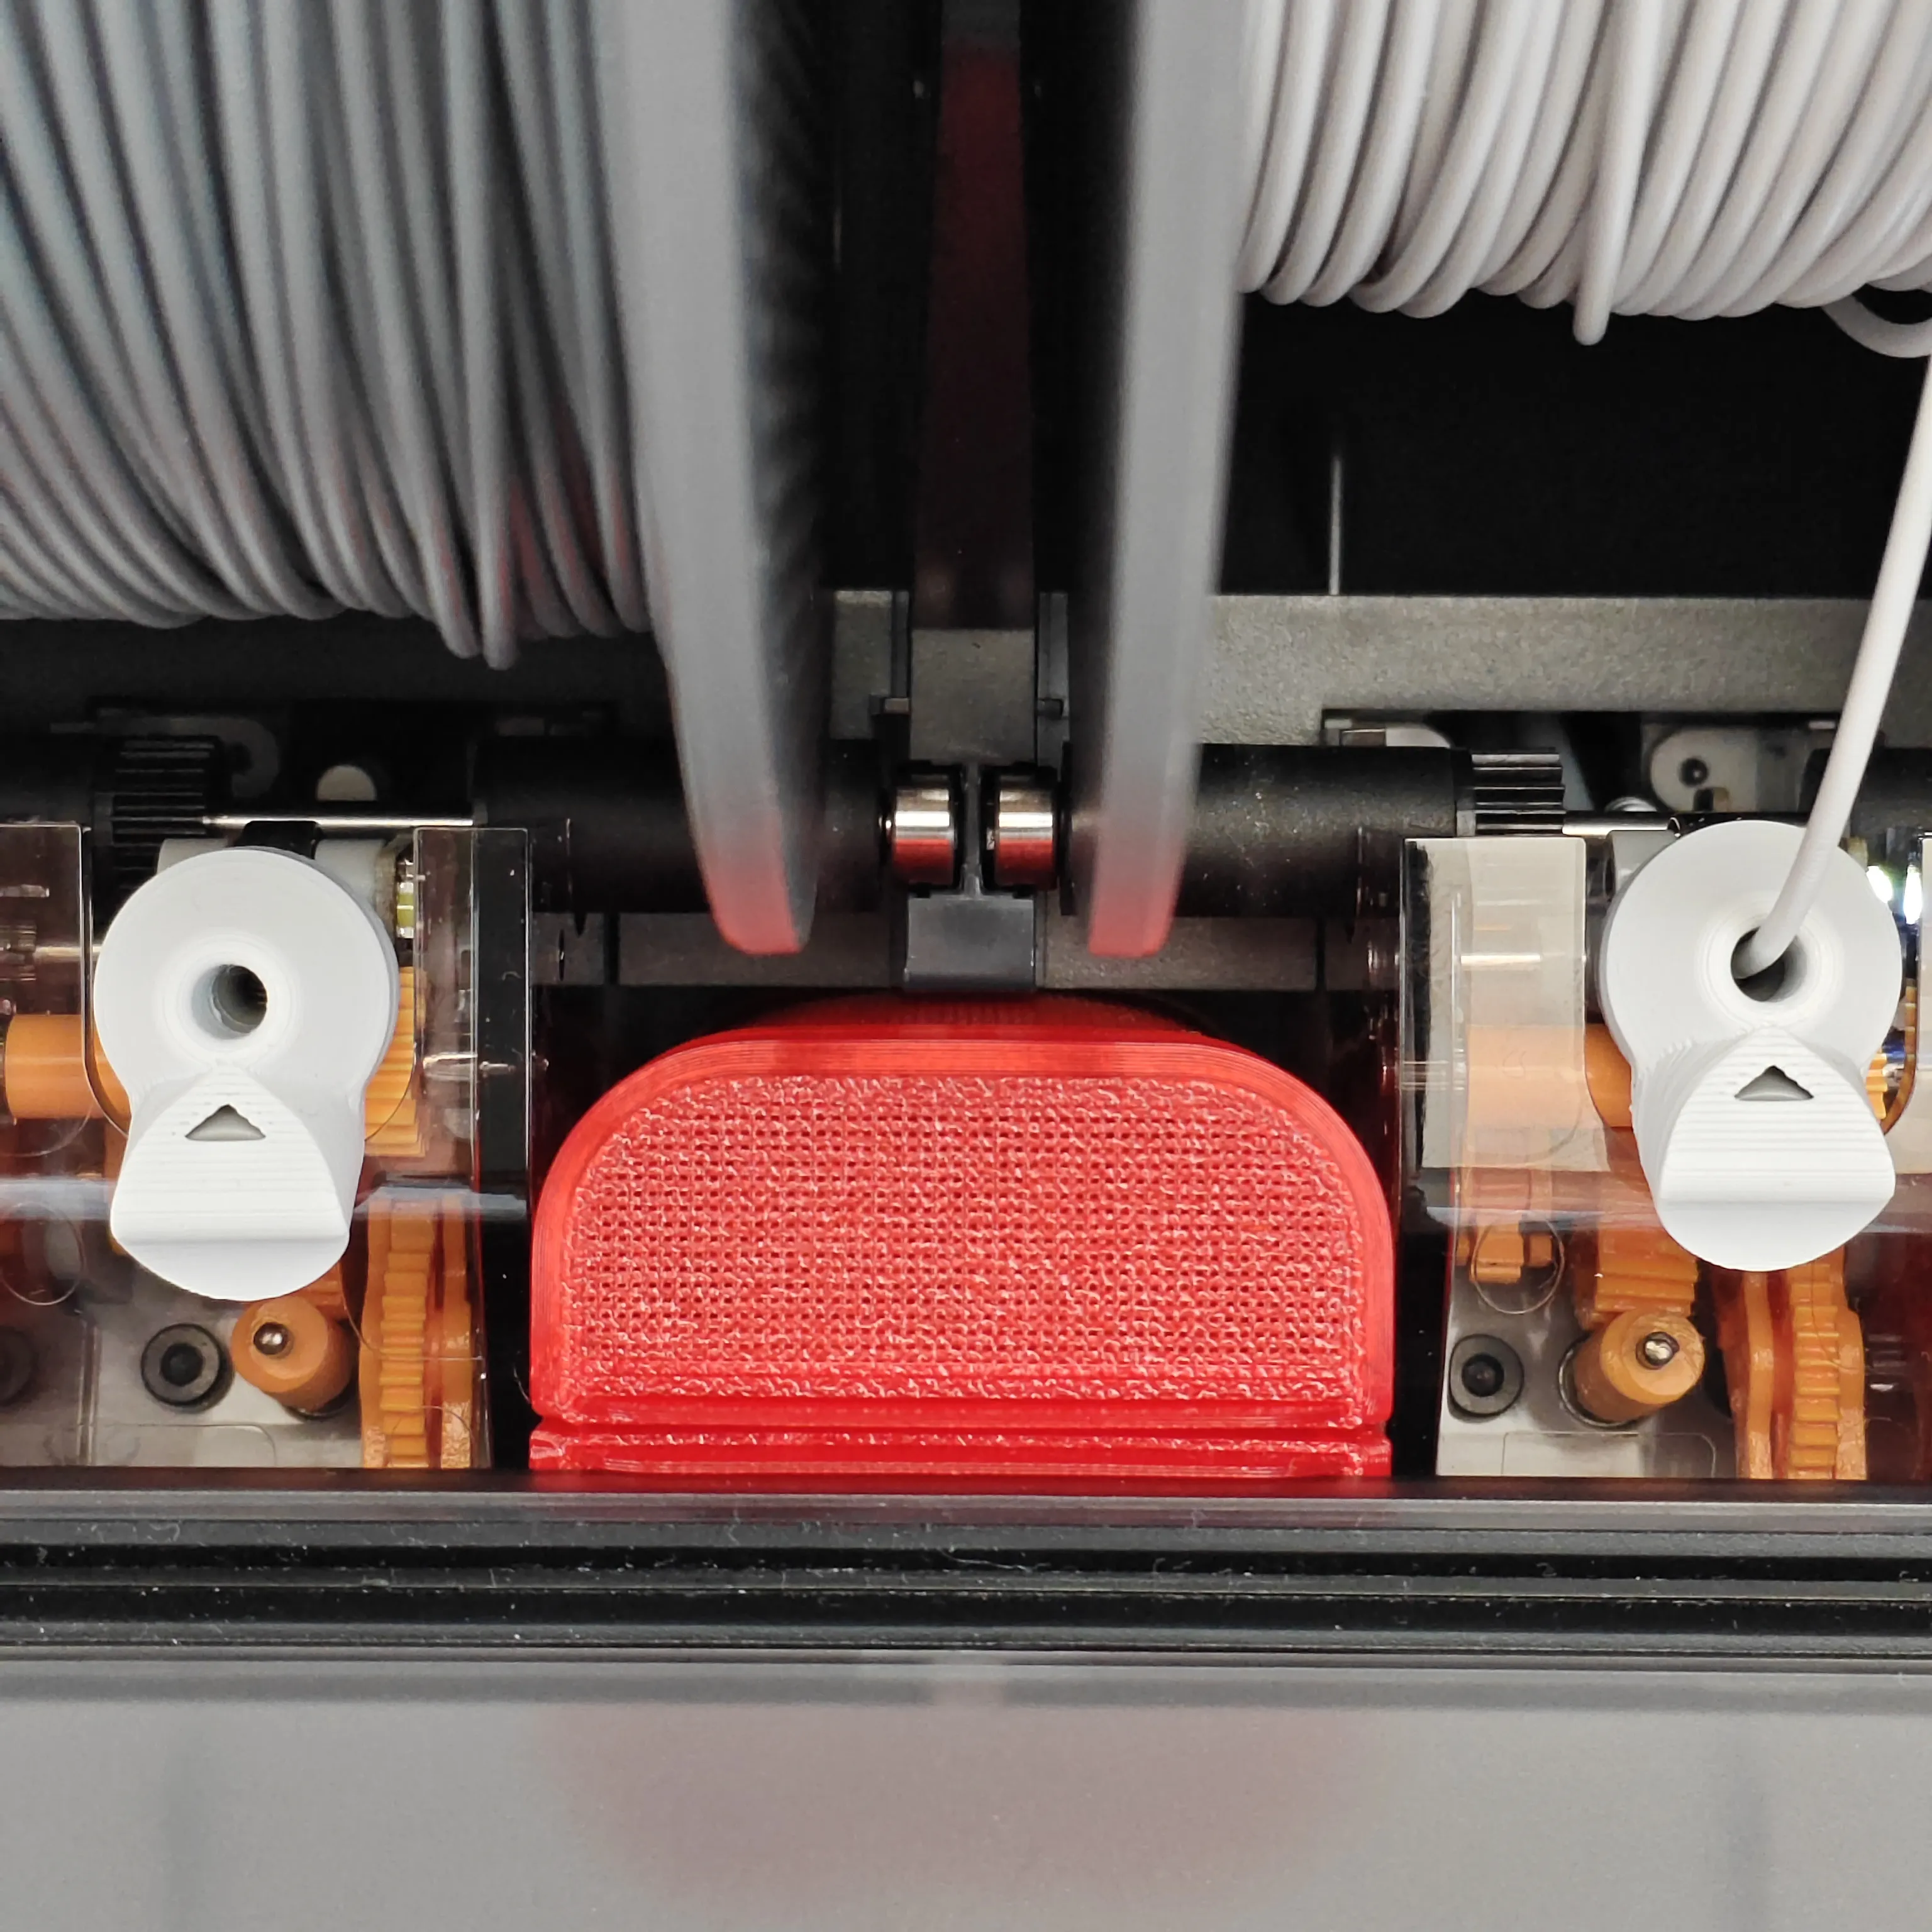
Must Read Before Installation
During installation, be sure to confirm that the notch on the curved wall aligns with the notches on the top and bottom shells
During installation, you can locally spray silicone lubricant or alcohol; lubrication will make installation easier
Wishing everyone no spaghetti ~
Update Log
2026.04.23 Redesigned the sliding back cover routing to fix the issue of easy rigidity breakage
Boost Me (for free)
Request updates! Request updates! Request updates!
License

You shall not share, sub-license, sell, rent, host, transfer, or distribute in any way the digital or 3D printed versions of this object, nor any other derivative work of this object in its digital or physical format (including - but not limited to - remixes of this object, and hosting on other digital platforms). The objects may not be used without permission in any way whatsoever in which you charge money, or collect fees.


Comment & Rating (7)