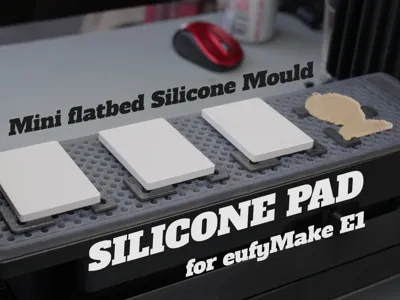
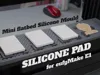
eufyMake E1_ Mini Flatbed Silicone Mould


Print Profile(1)
Bill of Materials
- Silicon x 1:
Description
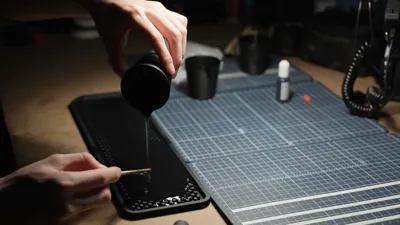
Note: This is a mould, not the final product. You need to purchase the silicone!!!
Note: This is a mould, not the final product. You need to purchase the silicone!!!
The eufymake E1 uses visual positioning, which often results in ink overflow at the edges. UV ink printed on the platform is nearly impossible to remove. Although replaceable build plate films are available, the cost and the time required to replace them are frustrating; a silicone mat is a great way to avoid this.
The eufymake E1 uses visual positioning, so there is often ink overflow at the edges. UV ink printed on the platform is almost impossible to remove. Although replaceable print platform films are available, the cost and efficiency are annoying, and a silicone mat can avoid this very well.
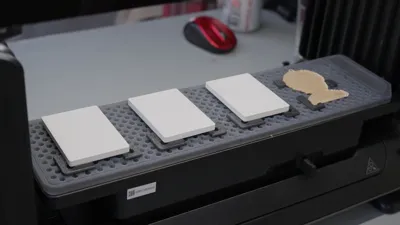
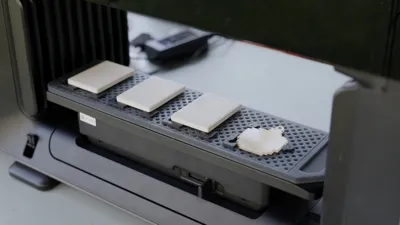
My model based on the positioning holes, has added the display of the printing area. At the original position of the flatbed QR code, a slot has been reserved for placing an acrylic nameplate.
My model, based on the positioning holes, has added the display of the printing area, and at the original position of the platform QR code, a slot has been reserved for placing an acrylic nameplate.
The mold has been split into two parts, so you can print it using machines with a 256×256 platform (such as the A1/P1S/P2S/X1C) without needing a large-format printer. Simply align and bond them with super glue. You can achieve the required seal for the mold very easily and quickly by applying single-sided tape or masking tape over the seams.
The mold has been divided into two pieces, so you can print it using machines with a 256×256 platform (such as the A1/P1s/P2s/X1c), eliminating the need for a large-format printer. Simply align and bond them with super glue. You can achieve the required mold seal very easily and quickly by applying single-sided tape or masking tape over the seams.
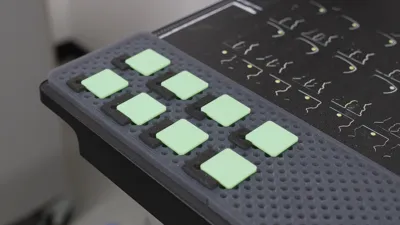
The remaining plates consist of positioning jigs in various sizes, which you can print as needed.
The remaining plates are positioning jigs of different sizes, which you can print as needed.
Regarding the silicone, I personally recommend buying a relatively firm version, as it is easier to place and offers better durability. For the volume, I used approximately 300 ml / 10 oz (this is a redundant amount).
Regarding the silicone, I personally recommend purchasing a relatively firm version, as it will be easier to place and offer better durability. For the volume, I used approximately 300 ml / 10 oz (this is a redundant amount).
Comment & Rating (23)