
RC Setup Tool – Toe & Camber Gauge (1/10 Scale)
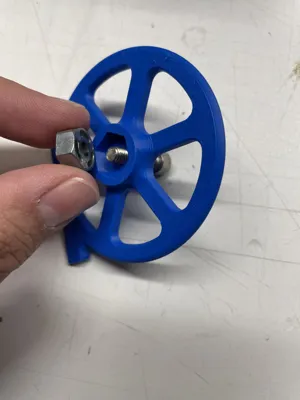
Print Profile(2)
Description
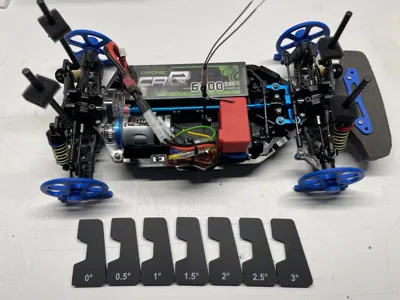
I designed this tool to accurately set up my RC chassis after assembly, without having to buy an expensive setup system for occasional use.
And as always, designing and printing it is part of the fun!
🎯 Main feature – Toe adjustment
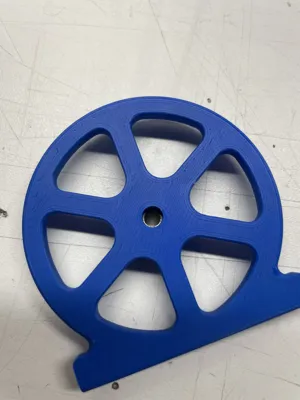
The geometry of the setup wheels is designed for simplicity:
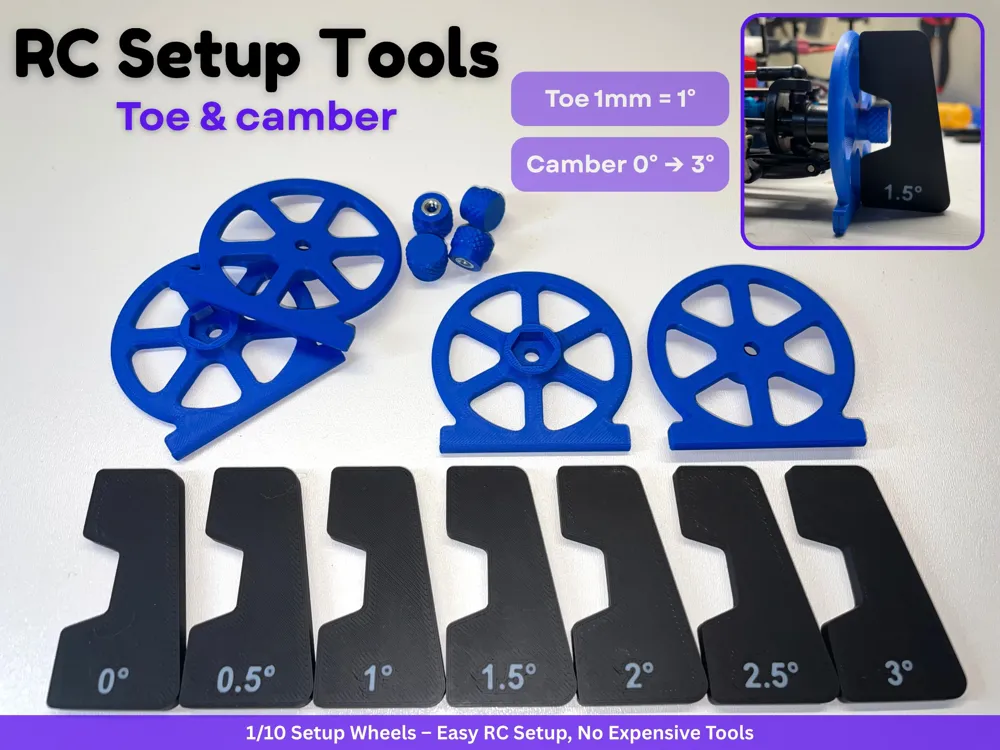
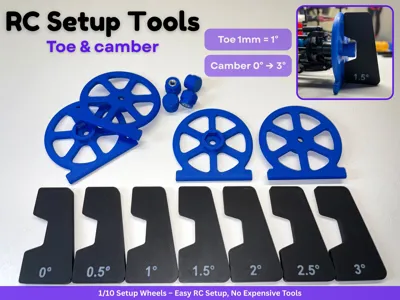
- 1 mm difference between front and rear = 1° of toe
- With symmetrical link adjustment, this equals 0.5° per side
📐 How to measure toe
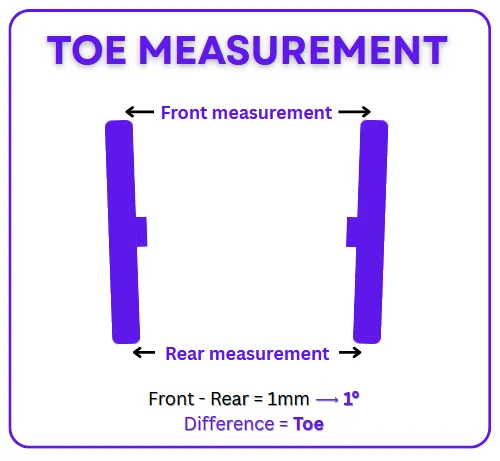
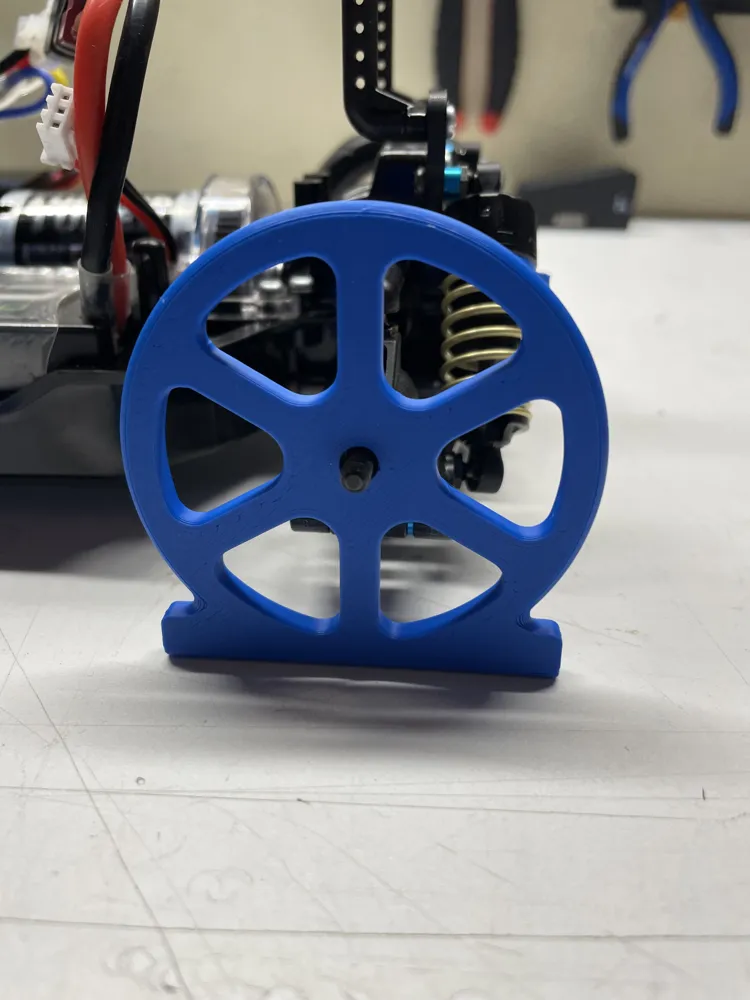
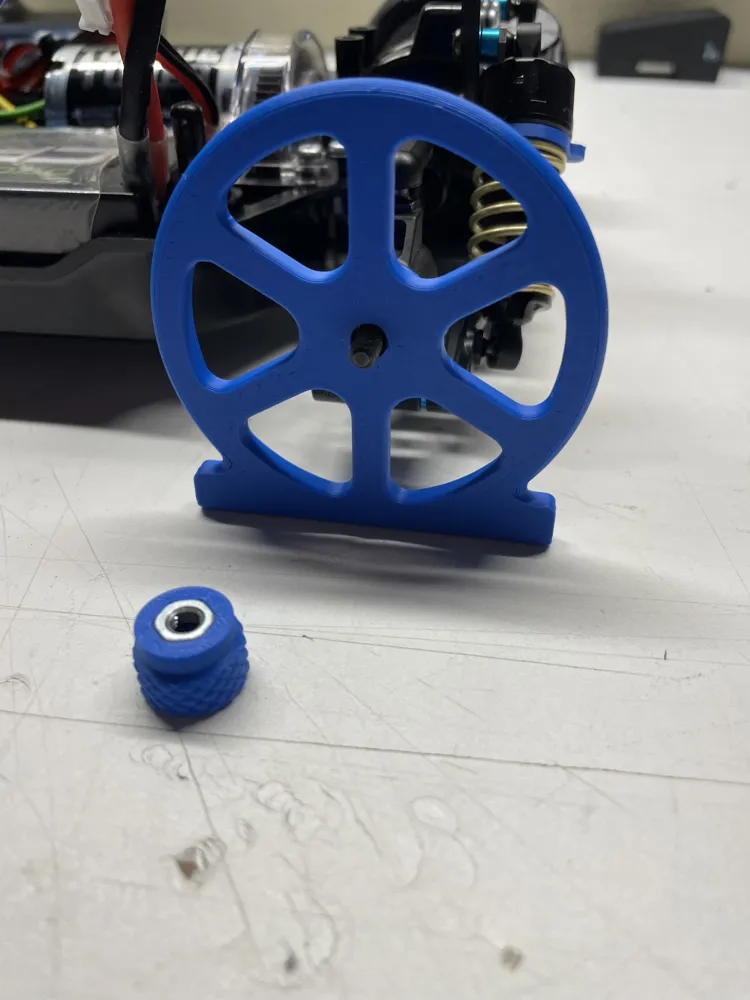
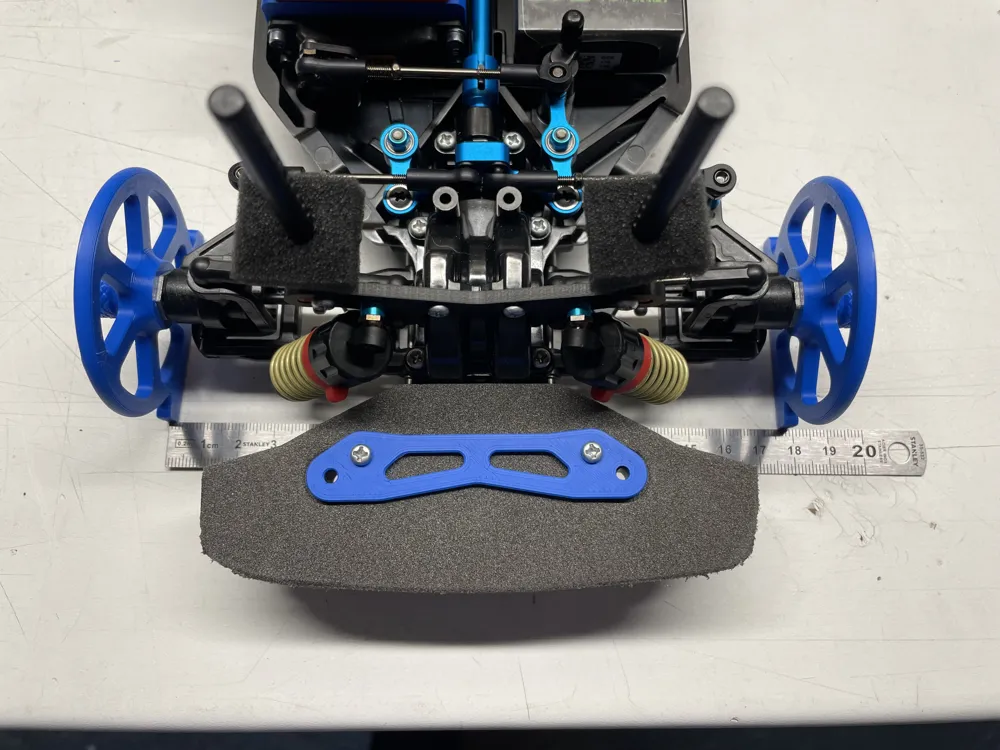
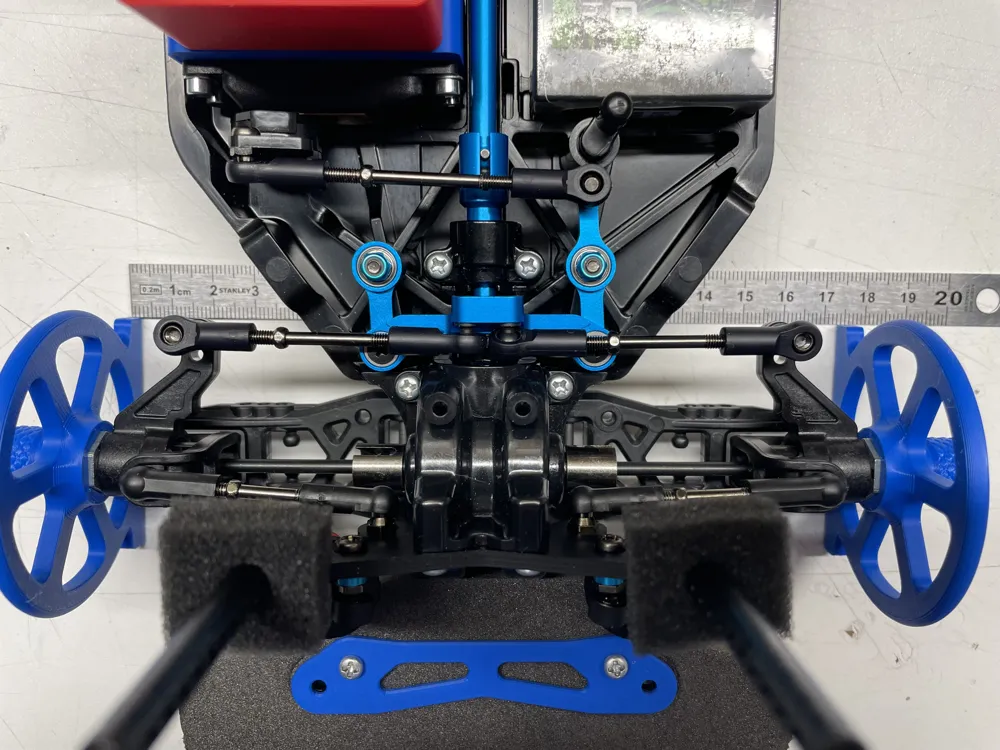
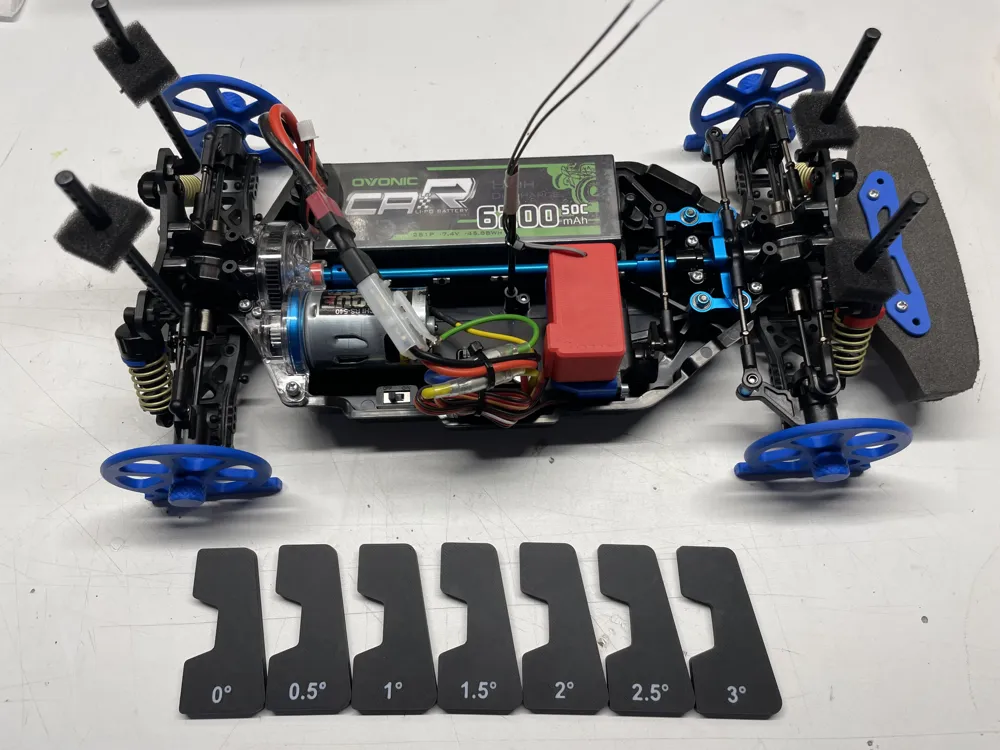
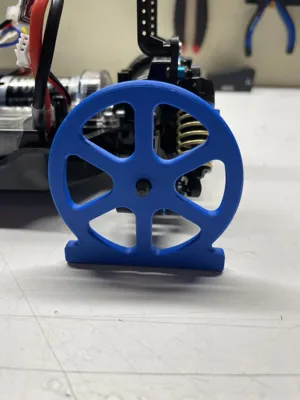
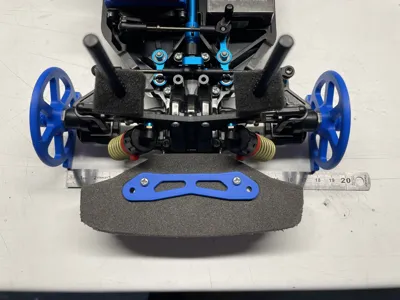
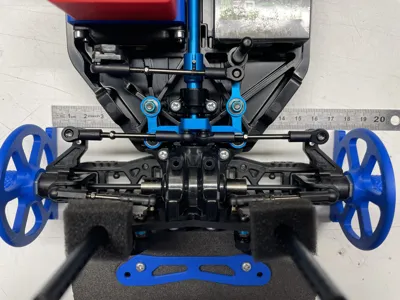
- Install the setup wheels on your car
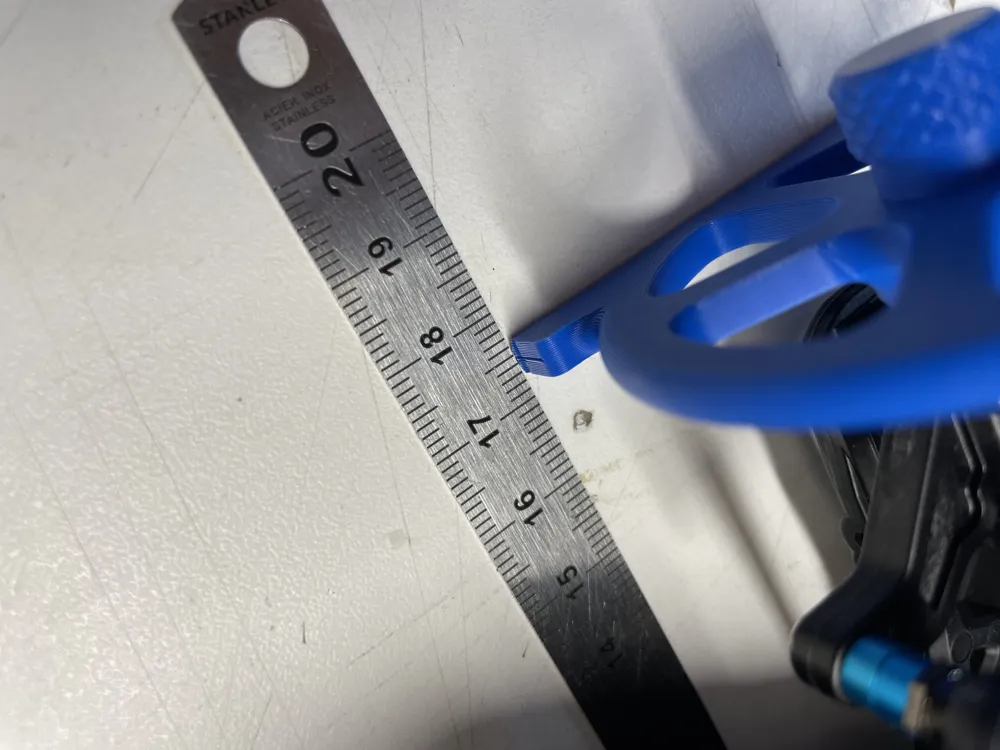
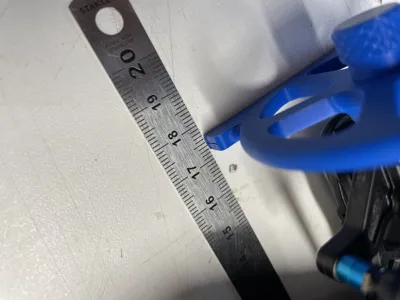
- Measure the distance between the front edges of the wheels
- Measure the distance between the rear edges of the wheels
- Calculate the difference between front and rear measurements
➡️ 1 mm difference = 1° of toe
💡 Use a caliper or ruler for best accuracy
📐 Camber adjustment
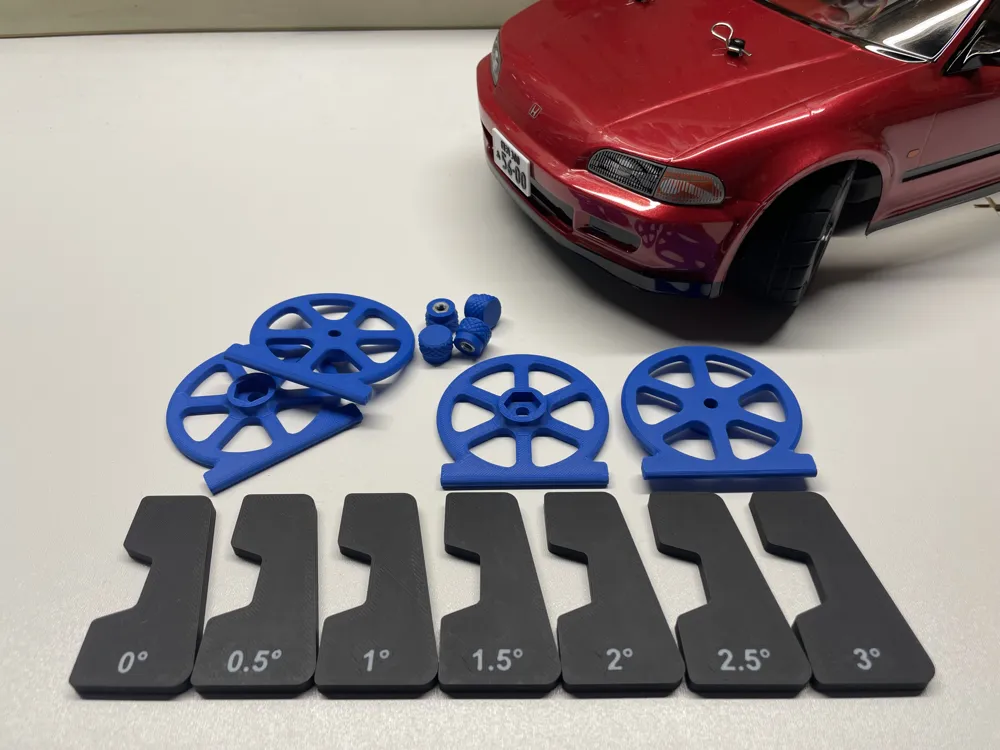
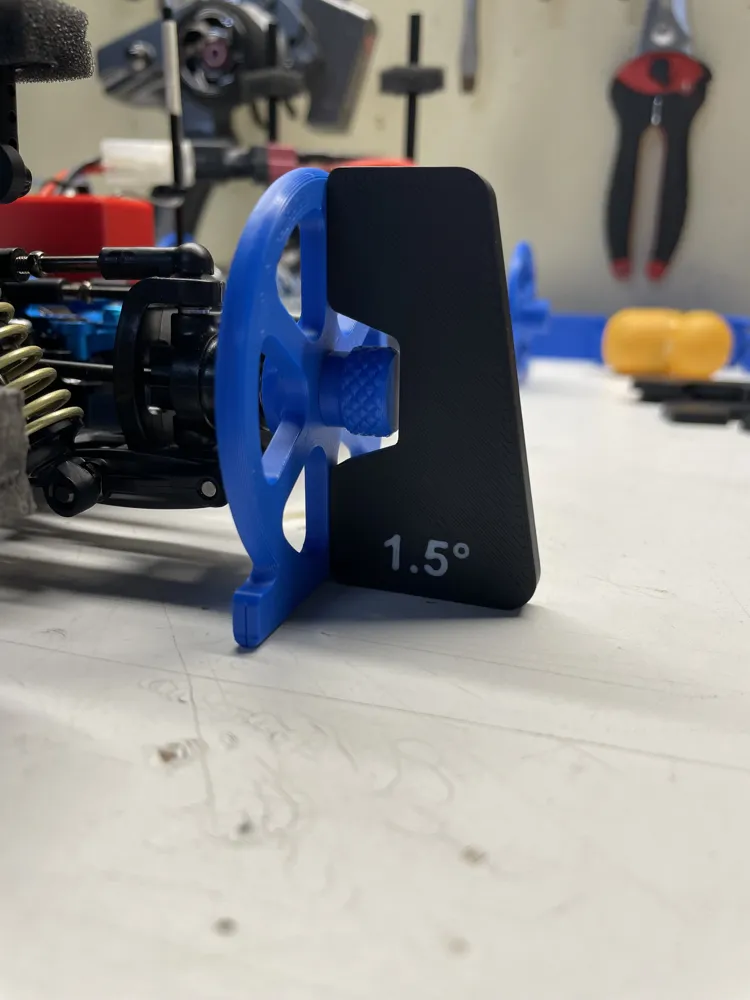
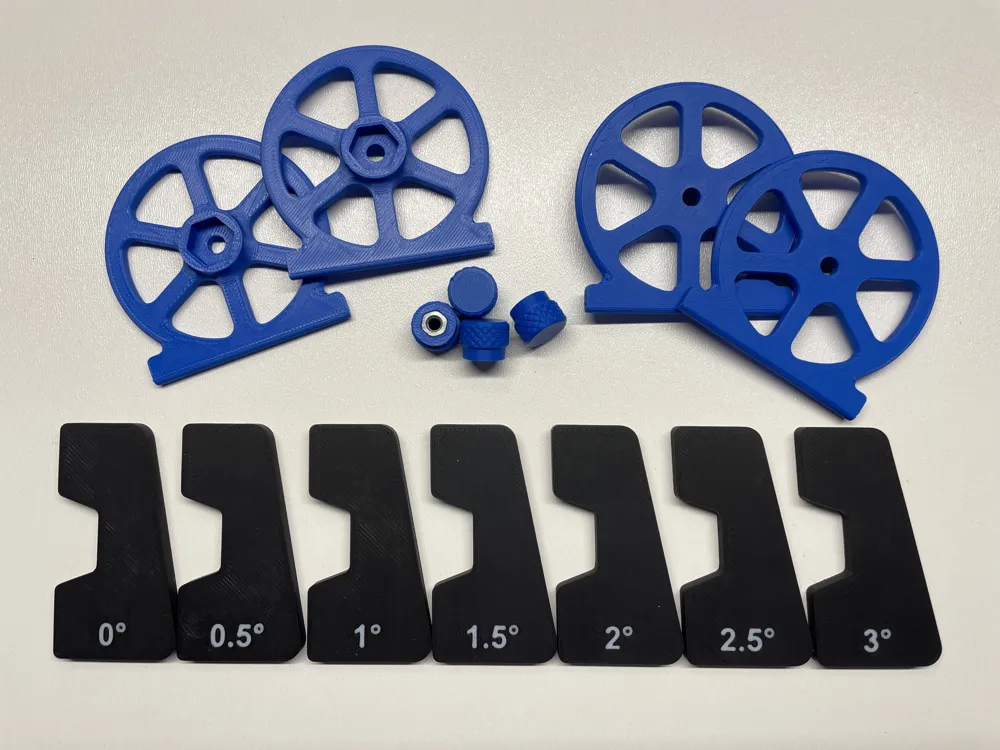
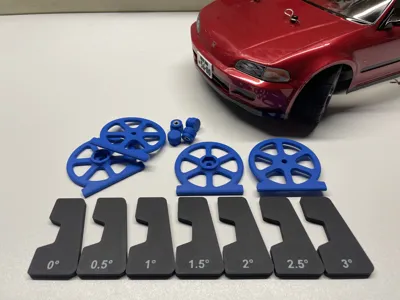
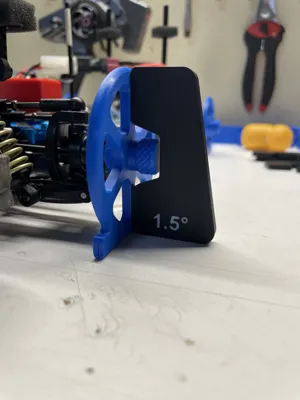
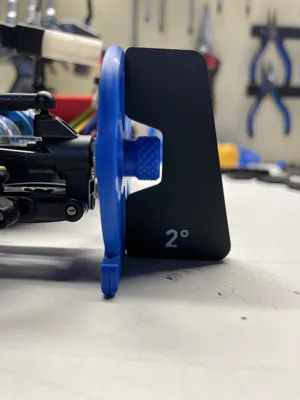
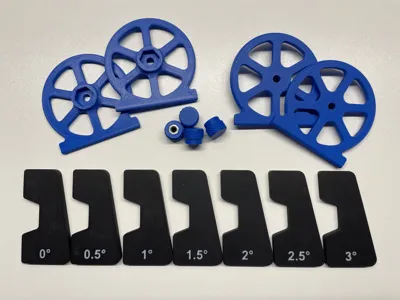
Included shims allow precise camber tuning:
- From 0° to 3°
- In 0.5° increments
📏 How to set camber
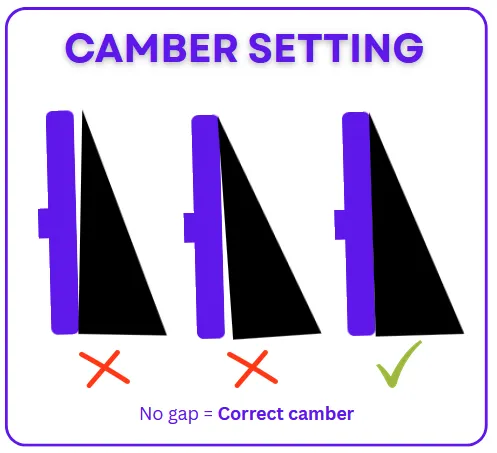
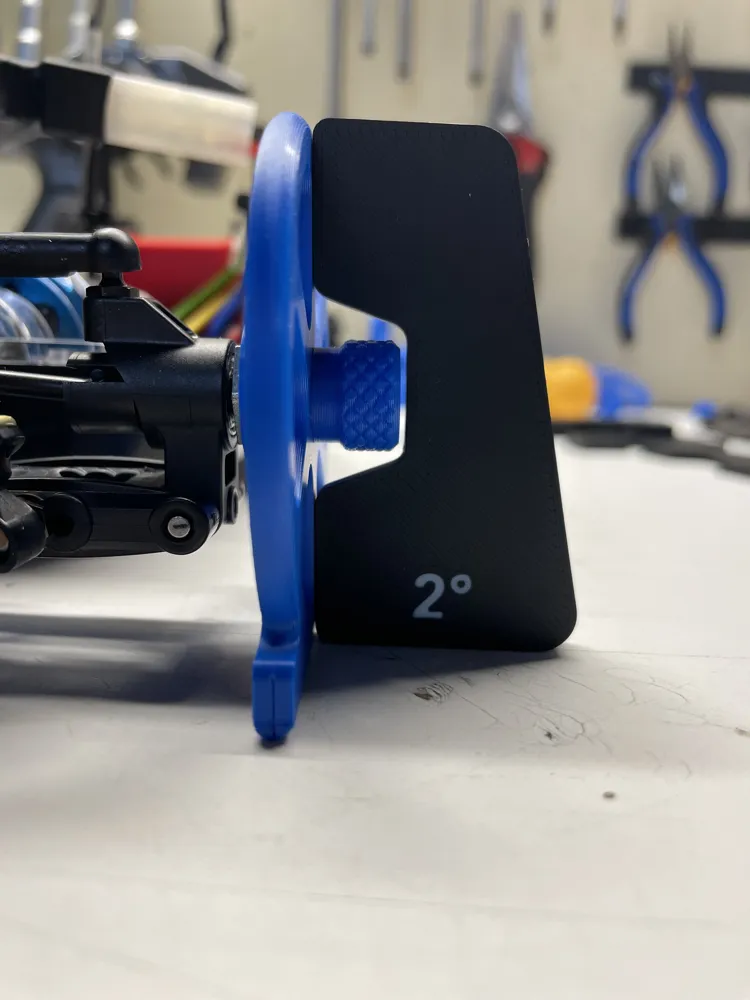
- Place the appropriate shim against the setup wheel
- Adjust your suspension link until the shim touches both the top and bottom of the wheel
- Ensure full contact without gaps for accurate alignment
➡️ This ensures your camber angle matches the selected shim
📏 Dimensions & compatibility
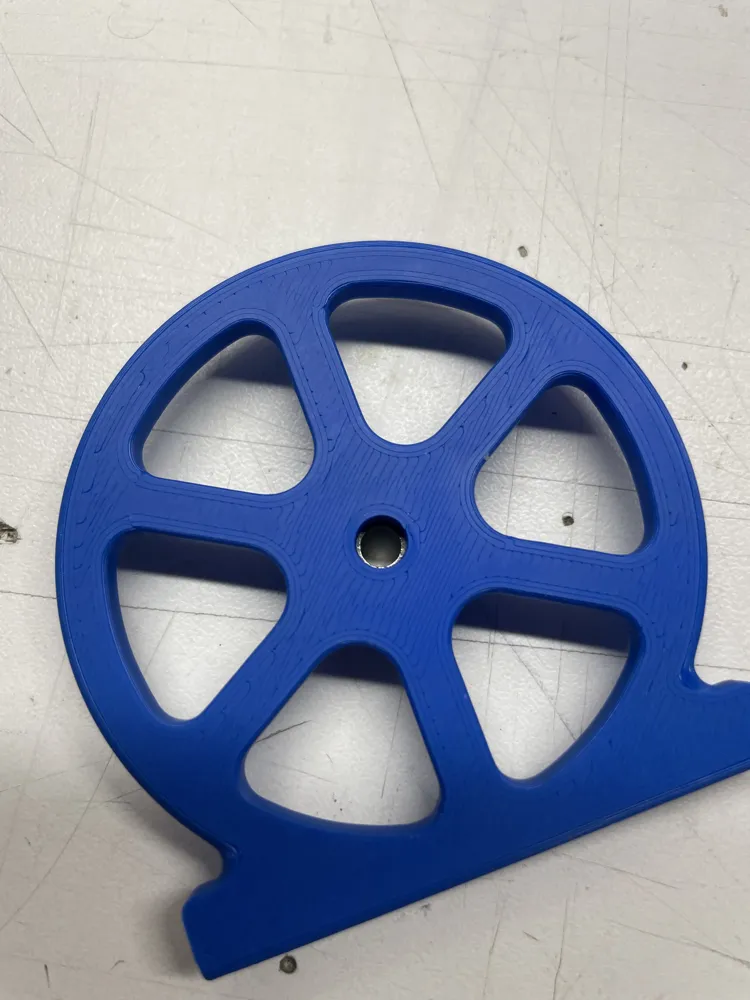
- Setup wheel diameter: 64 mm
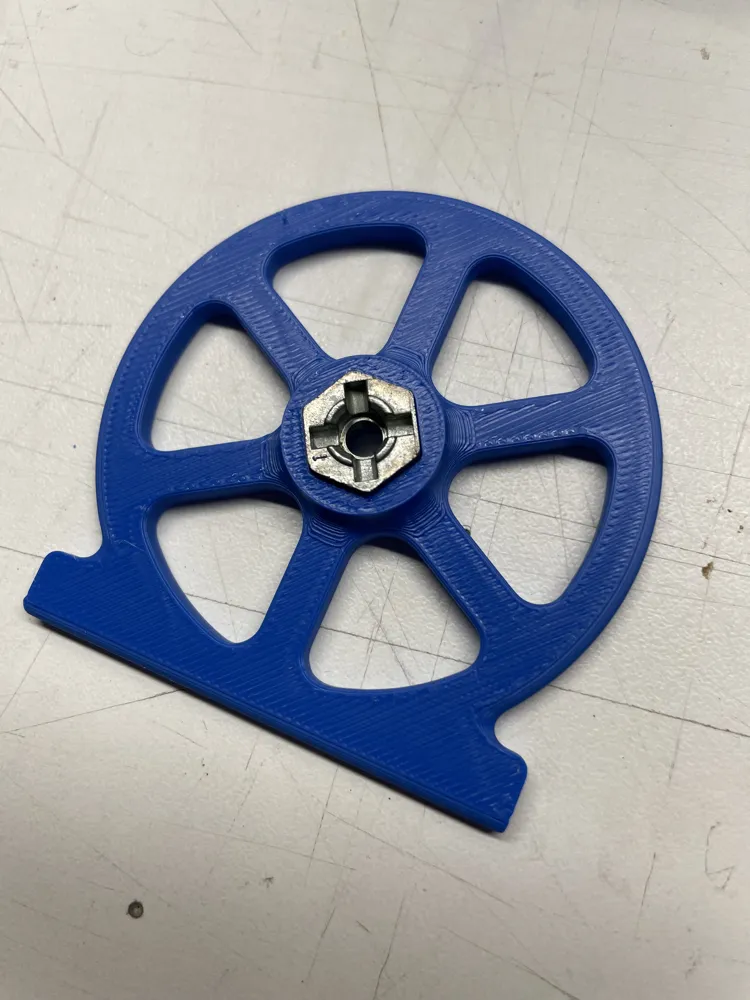
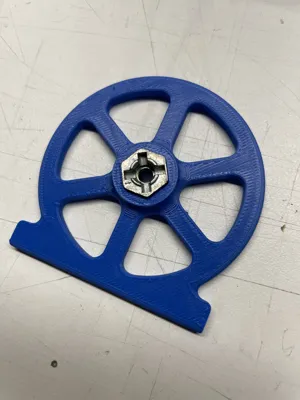
- Hex size: 12 mm
- Designed for most 1/10 RC cars
Make sure to check dimensions before printing to ensure proper fit with your setup.
⚙️ Precision design
- Tight hex fit to minimize play
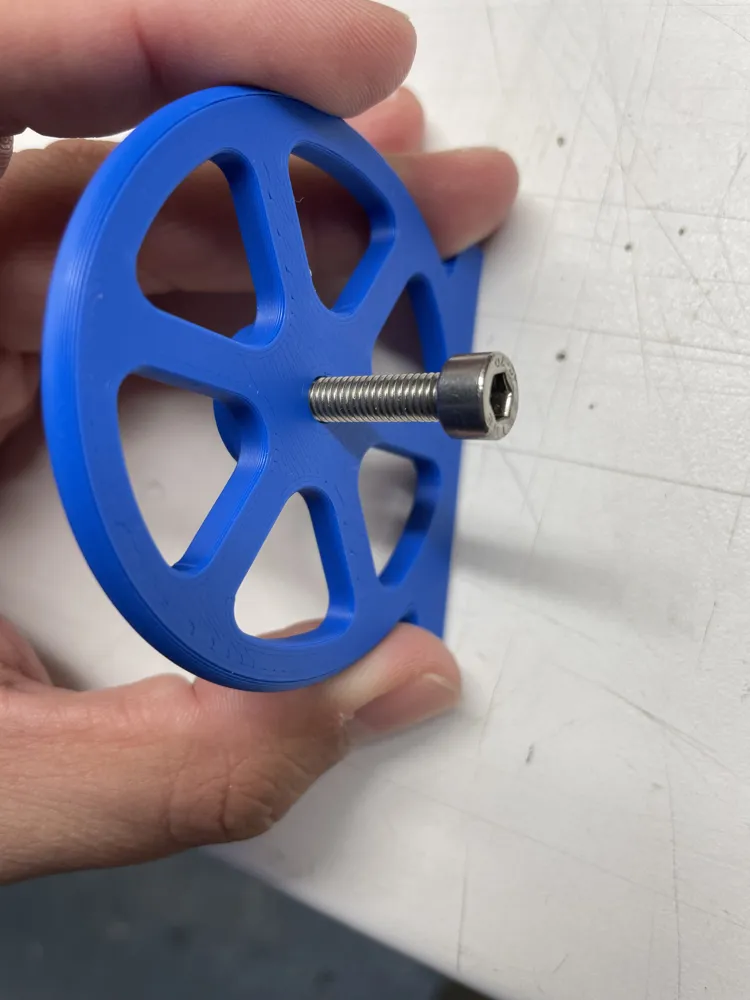
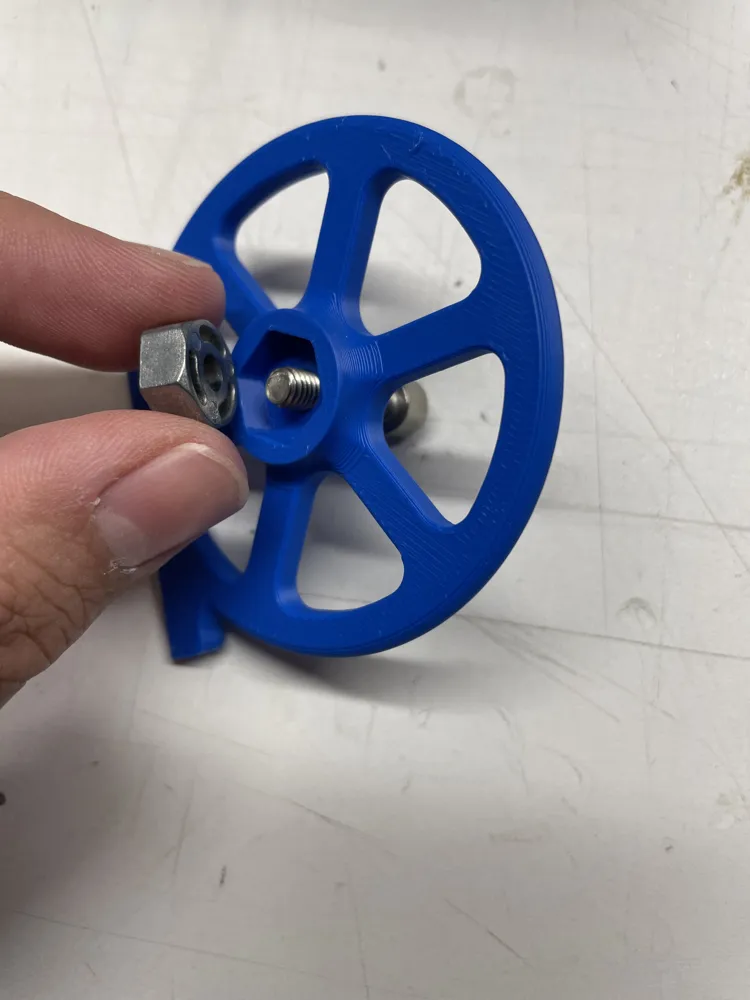
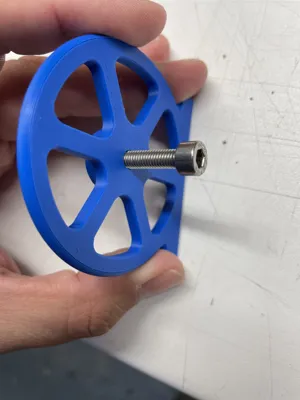
- If the hex gets stuck, you can use an M5 screw to push it out (built-in feature)
🔩 Hardware needed
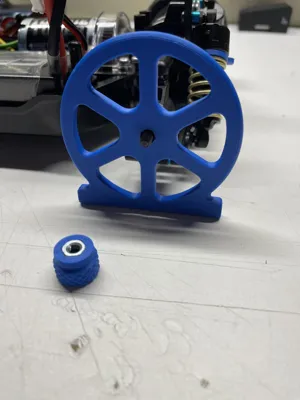
- M4 nuts for the tightening knobs
✅ Benefits
- Simple and quick to use
- Accurate without expensive tools
- Perfect for occasional setup
- Fully 3D printable
💡 Need a specific angle?
If you need different camber angles, feel free to ask in the comments.
I can upload additional files based on your needs.
Boost Me (for free)
If you like this model and find it useful, feel free to boost it 🚀
It really helps support my work and future designs!
License

You shall not share, sub-license, sell, rent, host, transfer, or distribute in any way the digital or 3D printed versions of this object, nor any other derivative work of this object in its digital or physical format (including, but not limited to, publishing derivative works outside the Makerworld platform or hosting on other digital platforms). The objects may not be used without permission in any way whatsoever in which you charge money or collect fees. Subject to the above restrictions, derivative works may be published only within the Makerworld platform, and all such derivative works must be licensed under the same SDFL‑C license, without modification or additional terms. You may download the digital versions of this object, 3D print it, and display images, videos, or usage demonstrations of 3D printed versions of the object on personal social media platforms or Makerworld official channels, provided that no digital versions of the object are shared or distributed.


Comment & Rating (8)