
Articulated Hand
Print Profile(1)
Description
Boost Me (for free)
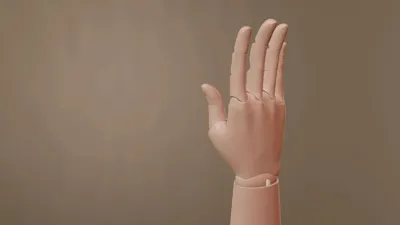
Here's how it is with pure elastic band tensioning. (I feel like using aluminum wire might be better... I've tweaked the joint catches so much I'm tired of it, so I don't want to change it again anytime soon. Minor details can only be compensated for with sanding or gluing, etc., using small manual skills).
0.2 nozzle is too slow, all printed with 0.4. But if you want a smaller size, you still need a smaller value to avoid wall breakage.
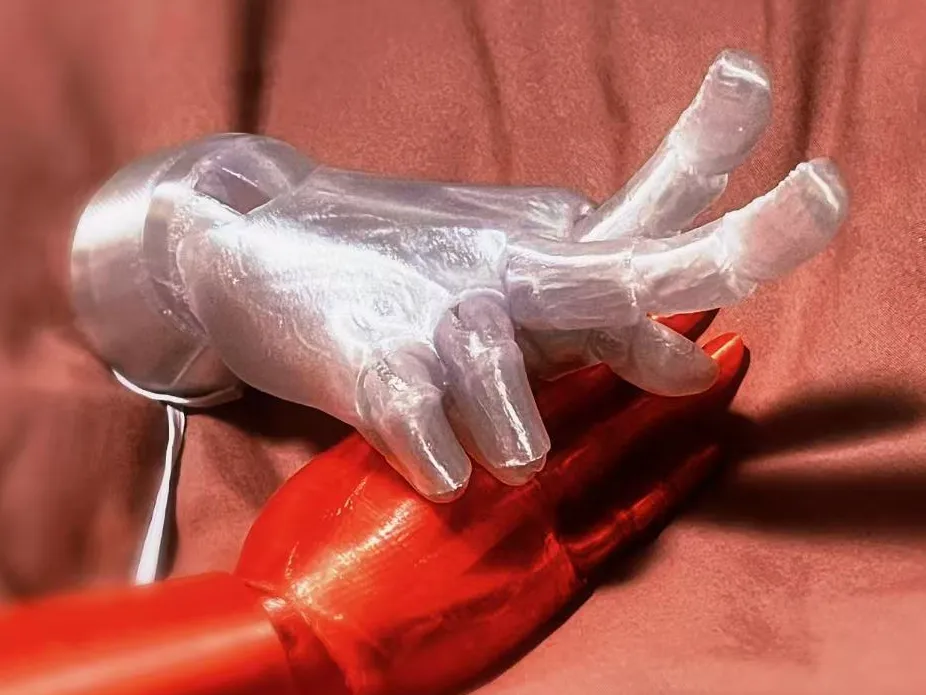
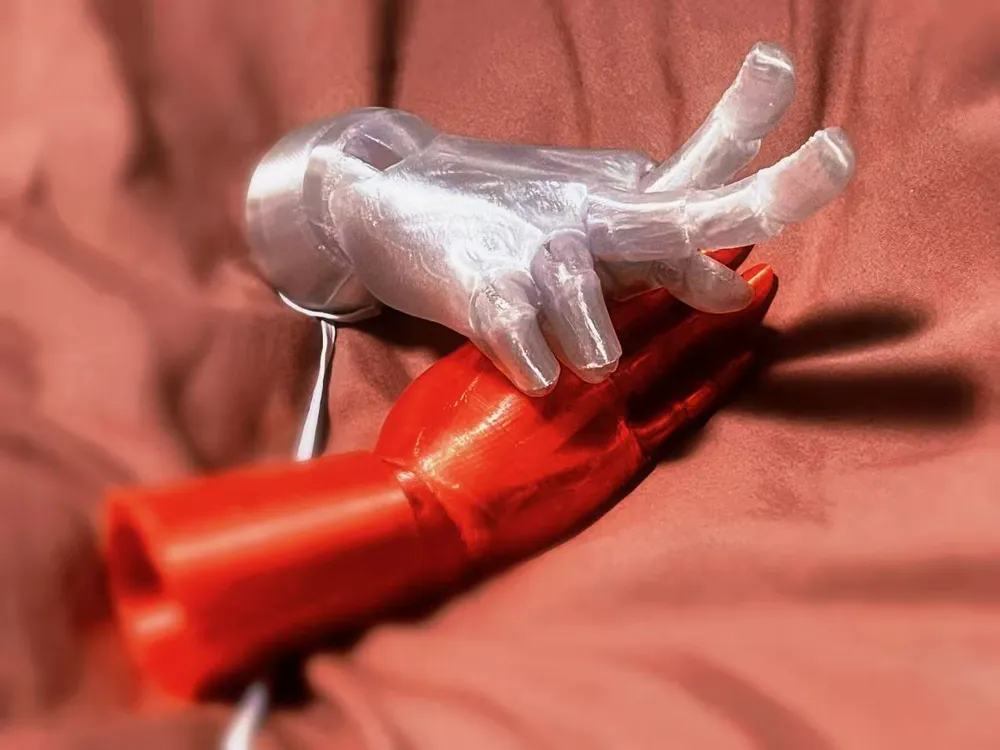
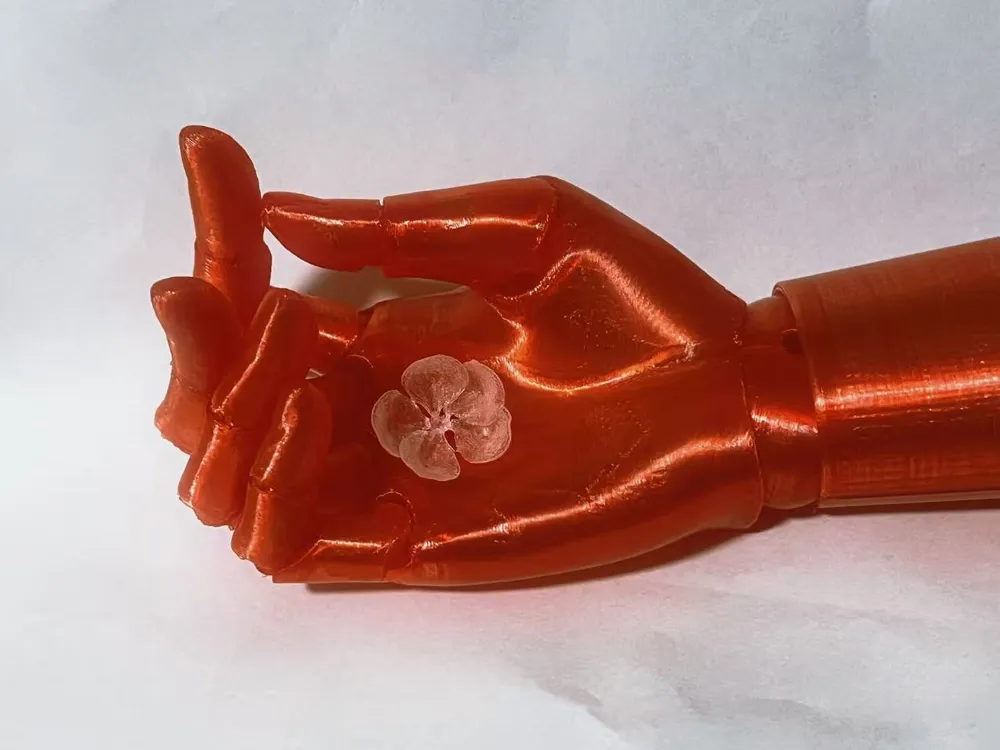
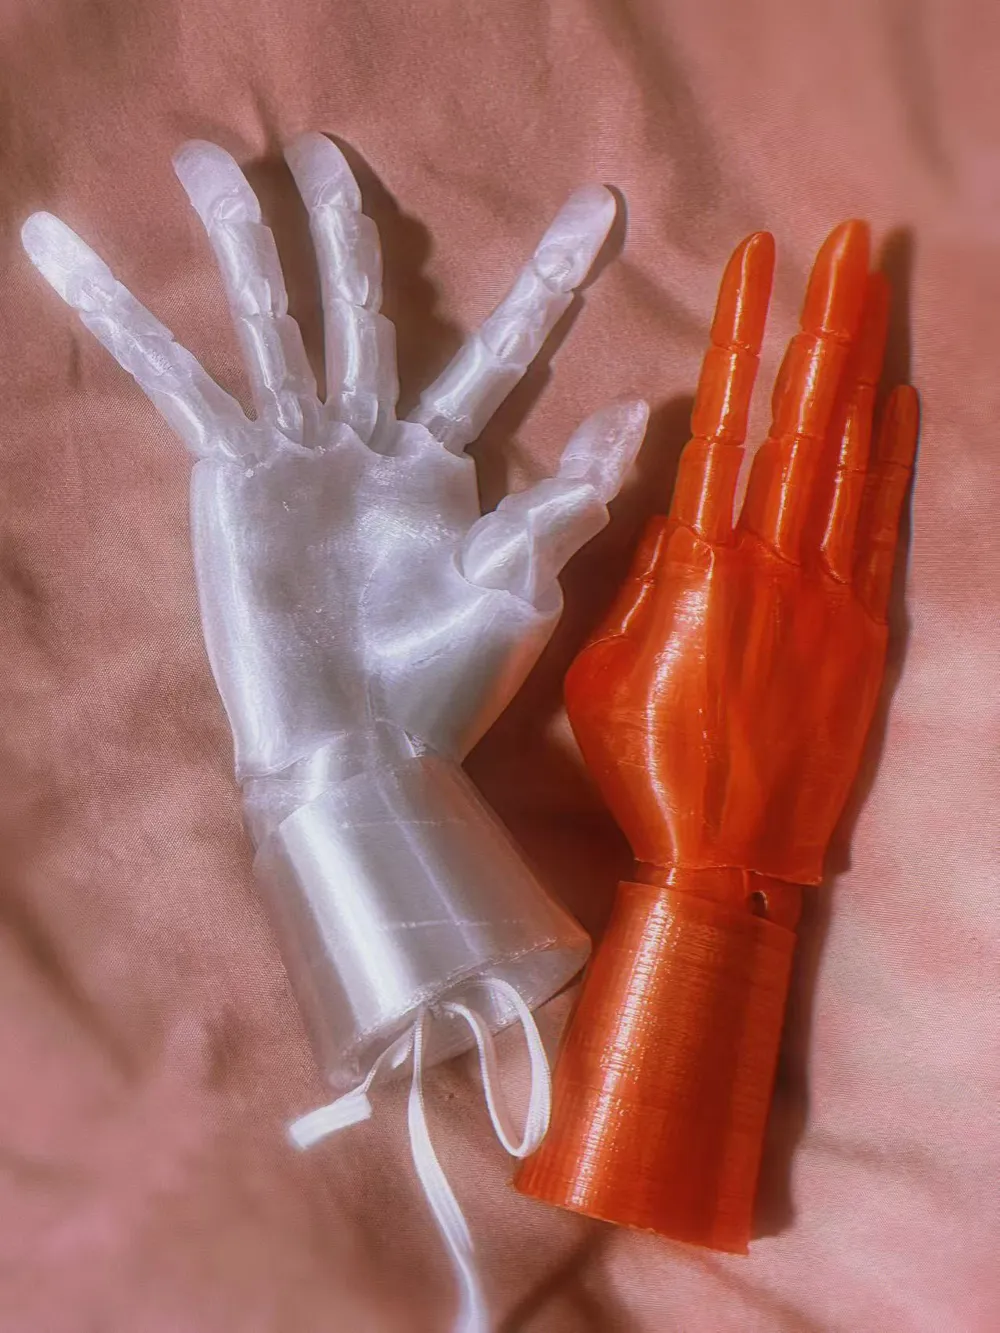
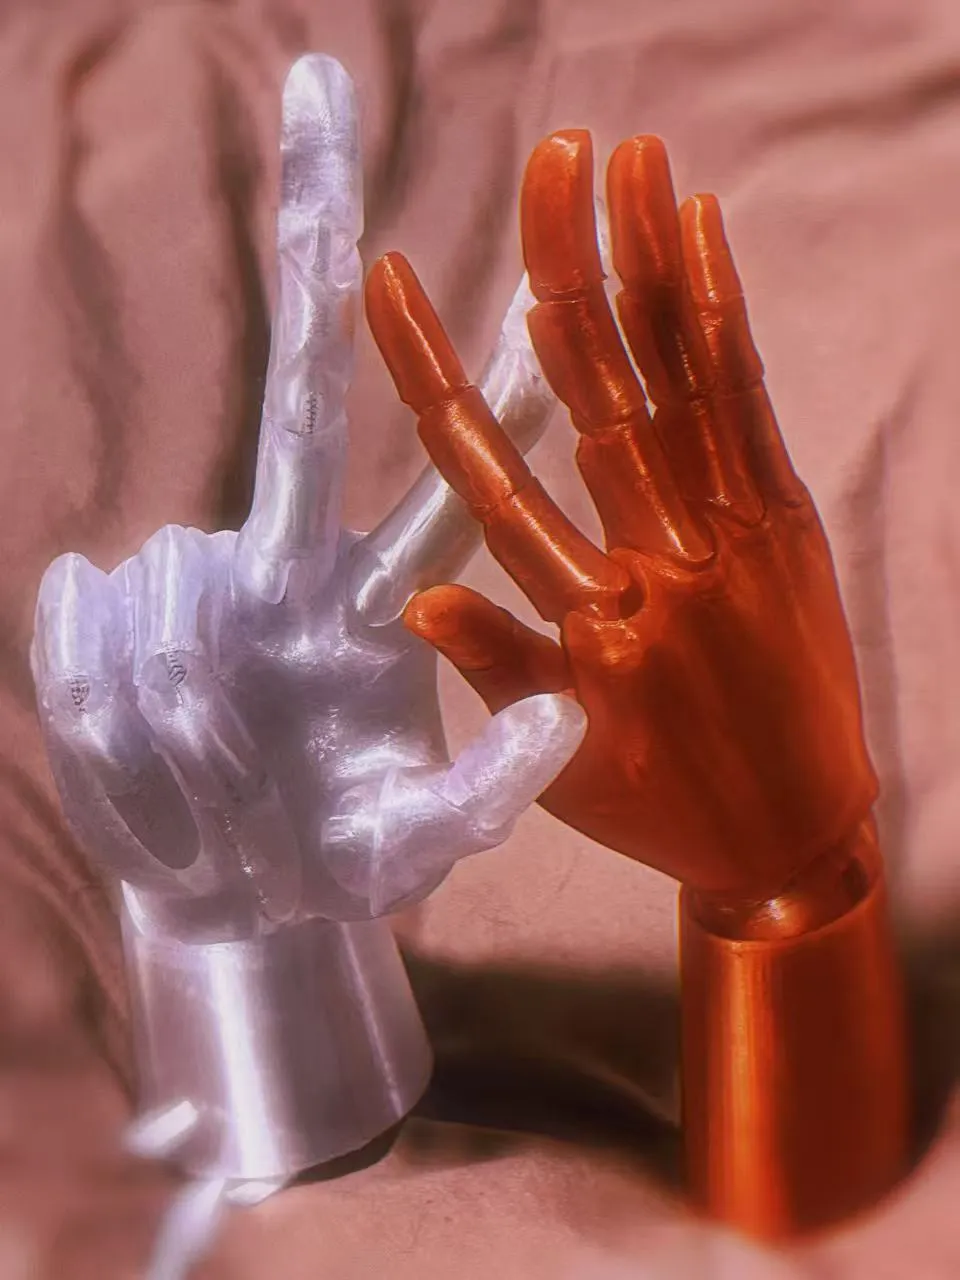
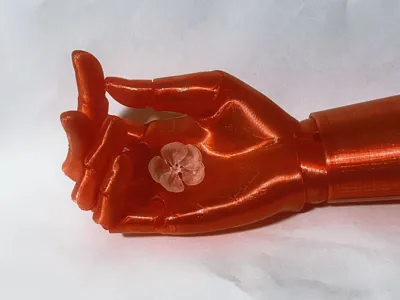
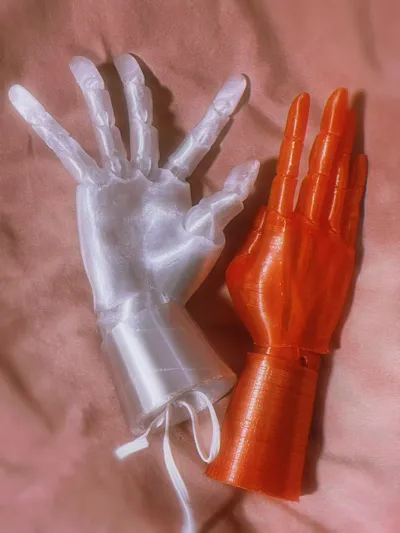
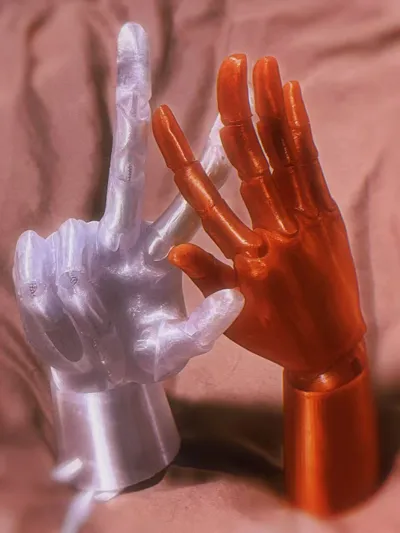
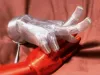
The red hand with an oval wrist is from the initial batch, the catches are okay but flexibility is low.
The clear white hand with a round wrist is the latest version (printed on the inside of the palm, I originally wanted a transparent color with varying thickness for a translucent effect, but it's not very transparent). The catches are not ideal, but flexibility is high (fixing the catches with aluminum wire through the hooks should be much better).
Aesthetically, I personally prefer the overall backward curved arc of the fingers.
Filament print time: red hand is small (PETG transparent red, about 60g, 4-5 hours), white hand is large (PETG transparent white, about 90g, 5-6 hours).
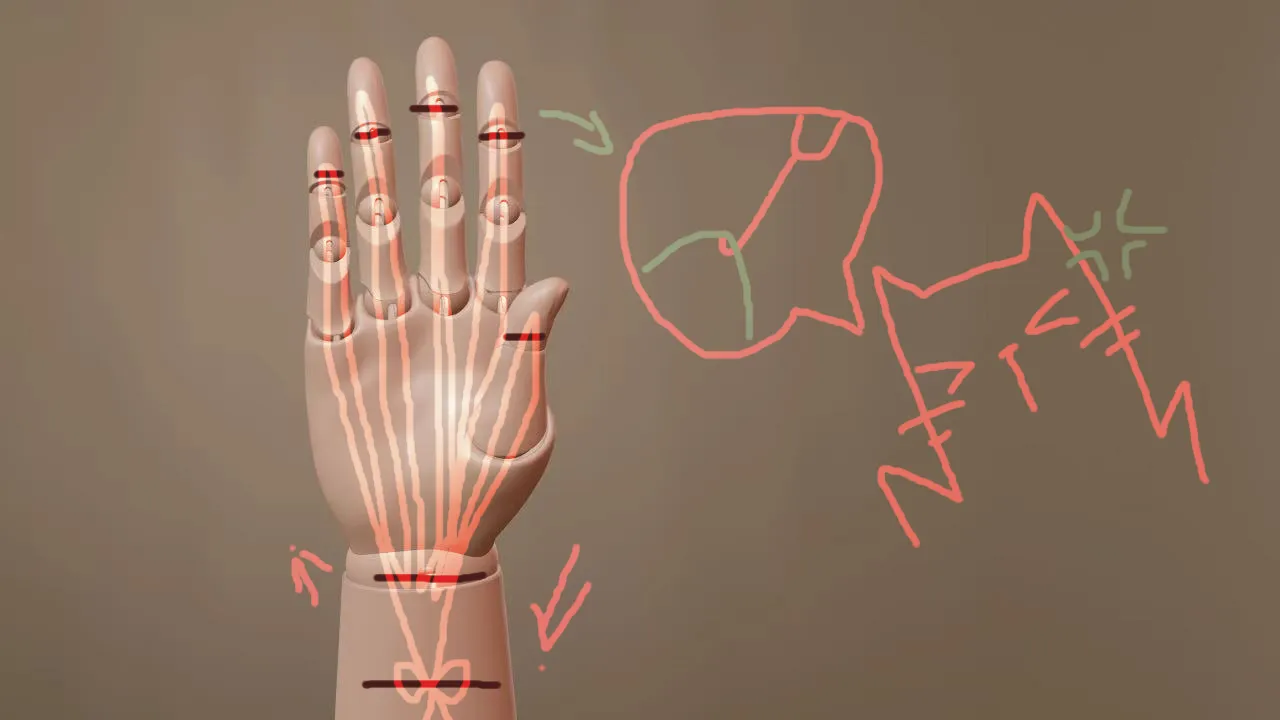
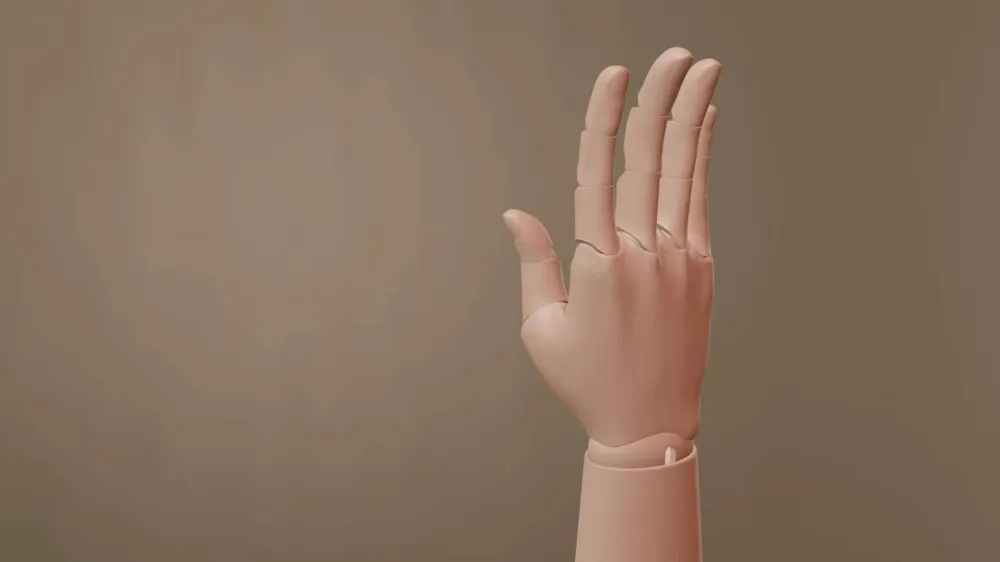
This is a rough diagram of threading the elastic bands (my method is rather lazy, threading one continuous band). Threading the band through the fingertips is more troublesome because the hook position is relatively deep. I used a crochet hook to poke and pull to solve the problem. In fact, if there was thin metal wire to make a curved needle to assist in threading, it would be better. There might be some resistance when the proximal finger joints fit into the palm. If there's no thickened wall adjustment, just use a bit of force.
The photos are real shots, basically just removing supports and threading fabric elastic bands (3-5mm wide, a bit thicker or thinner should also be fine). Details haven't been sanded yet (lazy).
(If printed scaled down, thin wall areas may have a risk of breakage, so pay attention to adjusting settings.)
License

You shall not share, sub-license, sell, rent, host, transfer, or distribute in any way the digital or 3D printed versions of this object, nor any other derivative work of this object in its digital or physical format (including - but not limited to - remixes of this object, and hosting on other digital platforms). The objects may not be used without permission in any way whatsoever in which you charge money, or collect fees.


Comment & Rating (1)