Funny-Bunny-Rex (no AMS)


Print Profile(2)
Description
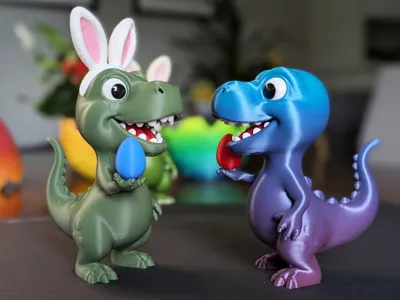
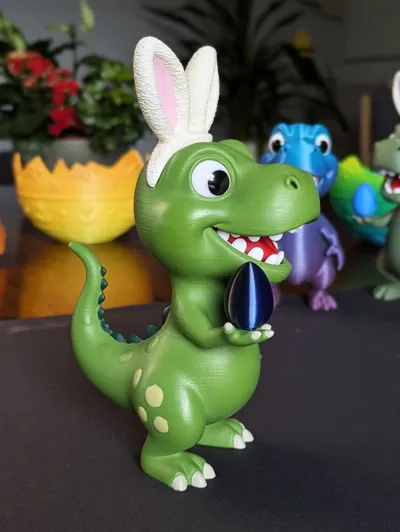
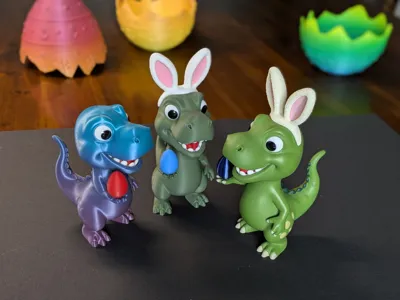
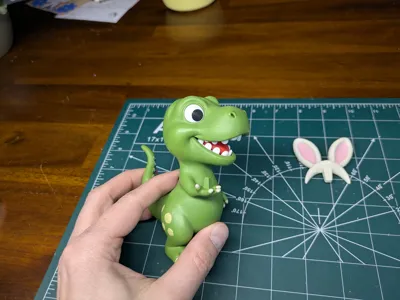
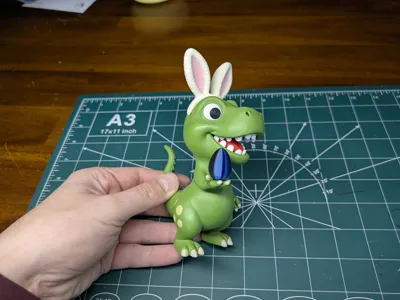
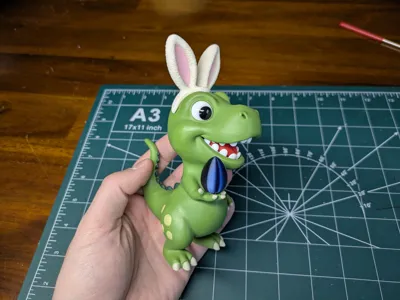
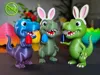
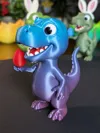
Who says dinosaurs can’t celebrate Easter? Meet the Funny-Bunny Rex the fiercest (and fluffiest) addition to your spring decor! This little guy decided to trade his roar for some hop, sporting a pair of adorable bunny ears while carefully guarding his precious Easter egg.
Makes for a great decor piece for the kids.
✨ Modell features
- Two versions: With bunny ears, without bunny ears (pick your print profile)
- Size: height with ears 15cm, without ears 12cm
- No AMS needed: Multipart Print
- (If you like to push it further you can easily print the body with AMS. Nails, spots and spikes are separate objects, which can be assigned different materials.)
- A1 Mini ready
🛠️ Assembly
- Use a hobby knife and some sanding to remove leftovers of the supports and brim on the teeth. Especially for the teeth some cleanup is recommended for an improved fit.
- Plastic glue recommended
- UV Nail coat for extra shiny eyes recommended
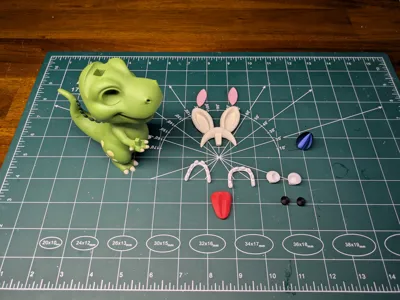
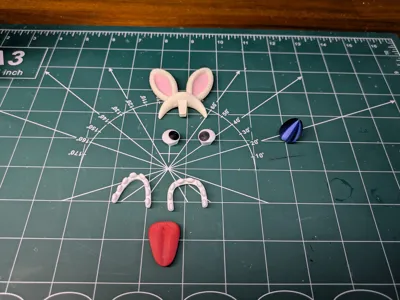
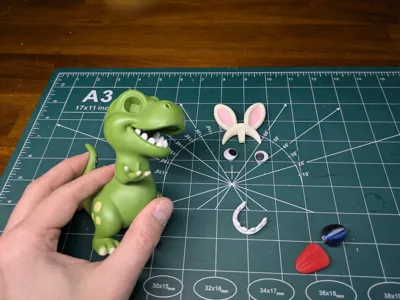
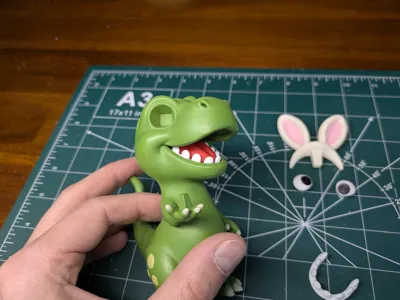
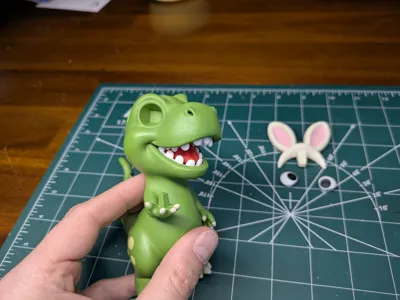
Parts Overview

Gently press the inner ears into the bunny ears, add the pupils to the eyeball

start by adding the lower teeth, make sure to gently push them inside the cavity

place the tongue in the mouth. Gently press from the above down on the tongue. Best to use a little screwdriver.
The tongue should snap into place.

now add the upper teeth, again make sure to nudge them into the cavity of the upper mouth

Time to add the eyes with some glue.

attach the bunny ears and the egg. The egg has a preferred orientation where it looks best.

here I've added some UV nail coat for lively and shiny eyes.

And it's already done,
Happy printing :)
Boost Me (for free)
If you enjoy this model I'd be very happy to receive a boost. Thank you
Membership
You can also obtain a commercial license or if you like to support me beyond boosts. Thank you
License
You shall not share, sub-license, sell, rent, host, transfer, or distribute in any way the digital or 3D printed versions of this object, nor any other derivative work of this object in its digital or physical format (including - but not limited to - remixes of this object, and hosting on other digital platforms). The objects may not be used without permission in any way whatsoever in which you charge money, or collect fees.
Comment & Rating (4)