
RM GX12 Stick removal tool
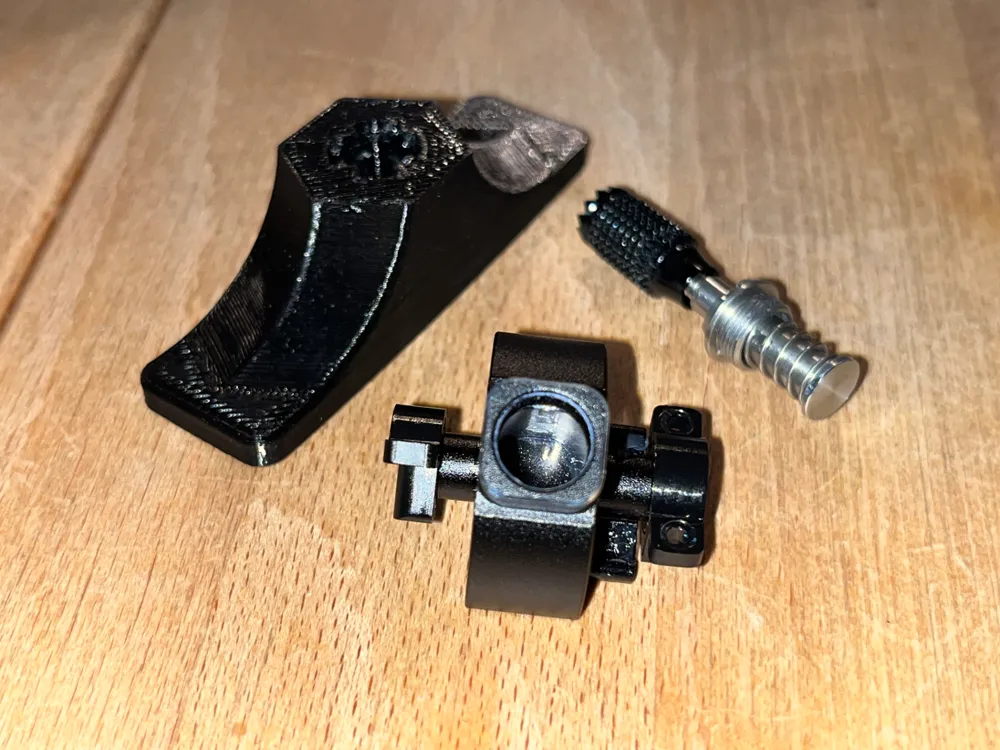
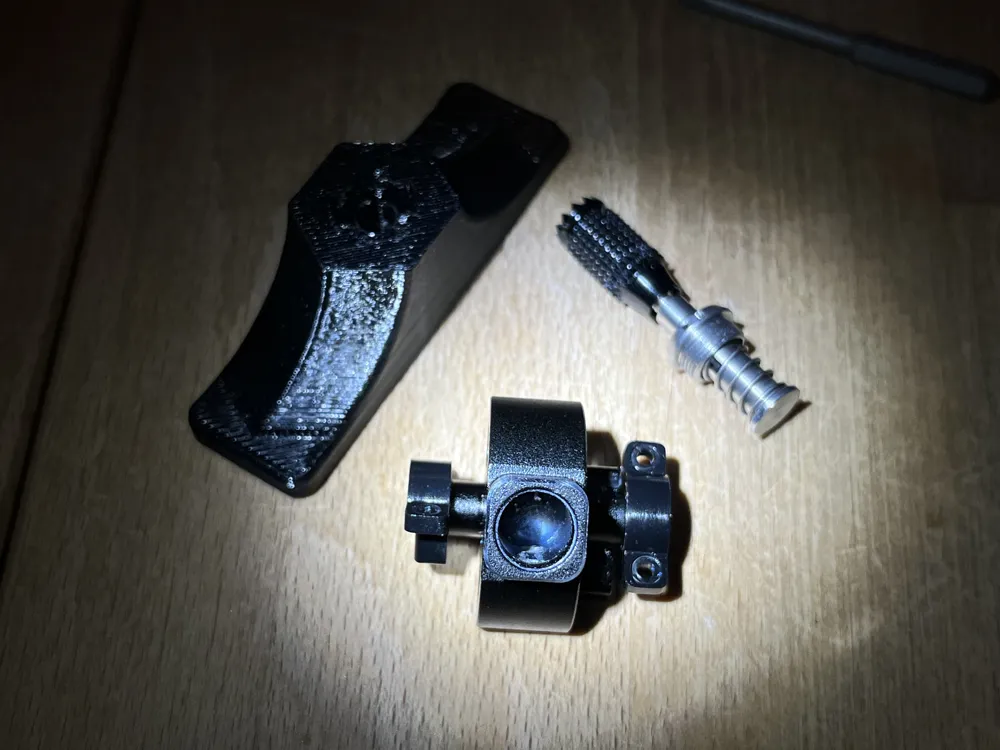
Print Profile(1)
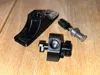
Description
!!! PLEASE READ CAREFULLY !!!
You can destroy the gimbal stick housing if it is handled incorrectly.
Personal Note / Background
I dropped my Radiomaster GX12 from seating height and, as a result, the folding function of the right stick stopped working.
I disassembled the transmitter completely, down to the very last gimbal part — which later turned out to be completely unnecessary.
Still, during the process I learned a few important things that I want to share, so others hopefully don’t make the same mistakes.
Boost Me (for free)
What I Did Wrong
I designed a tool to remove the stick.
In my case, this meant applying rotational force to the gimbal stick, which was a fairly stupid idea.
As you can see in the pictures, this resulted in a stick that now rotates freely all the time, because the inner housing was damaged.
Important Insight
The stick is not meant to rotate freely while fully seated!
To remove the stick without damaging this interface, you must:
- Pull the stick slightly outward
- Keep it pulled out
- Only then rotate the threaded screw section
If you rotate it while fully seated, you will wear out or destroy this interface,
which results in a stick that spins freely and loses its function.
If Your Stick Is Also Stuck
(You can neither rotate nor pull it)
Method 1 – M3 Nuts and Pliers (Try This First)
- Remove the stick end.
- Screw several M3 nuts onto the thread.
- Counter-tighten two nuts against each other.
- Grab the nuts carefully with pliers.
Try to rotate the stick gently:
- Try both directions
- See if it frees up in one direction
If this works, congrats — you’re done.
Method 2 – Tool Method (If Method 1 Fails)
- Carefully place the tool onto the stick
- Make sure the printed tool’s mating profile is aligned correctly
- Thread an M3 nut onto the stick
- By tightening the nut, carefully pull the stick outward
If the stick moves outward:
Congrats — the critical part is done
Removing the Stick Unit Completely
If the stick is already pulled out:
- Leave the M3 nut on the thread
- Add a second M3 nut and counter-tighten it
- Rotate the tool counterclockwise
- Unscrew and remove the stick unit
There are two versions, one with a 623zz Ball bearing and one without, i highly recommend the bearing version, due to the lower friction while turning the tool.
The interlocking parts of the tool is prone to get deformed, so print more than one tool at one.
Warning
❌ Never rotate the stick while it is fully seated
✔ Always pull first, then rotate
Otherwise you will destroy the internal mating interface,
which results in a stick that spins freely and loses its function.
If you have ideas for improvement or feedback of any kind, please leave a comment!
License



Comment & Rating (3)