Rosalina Estela Mario Multipart AMS Easy assembly


Print Profile(1)

Description
Instagram: CanariasPrinter3D
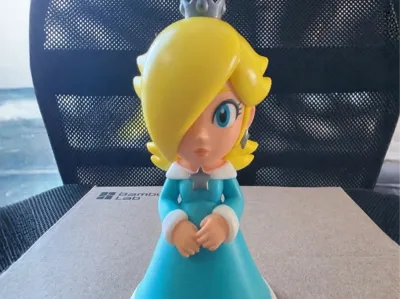
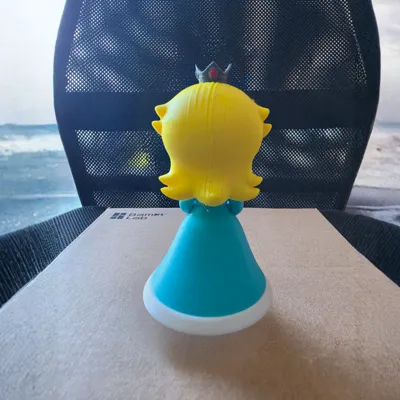
Print your own Rosalina (Estela) with Minimum AMS Waste!
I present to you this definitive Rosalina (Estela) design, optimized for maximum filament saving. I have strategically divided the model into logical pieces so that most of the figure can be printed with minimal purge waste.
This design allows AMS users to print in color efficiently, eliminating unnecessary purging wherever possible.
Why is this design the most efficient?
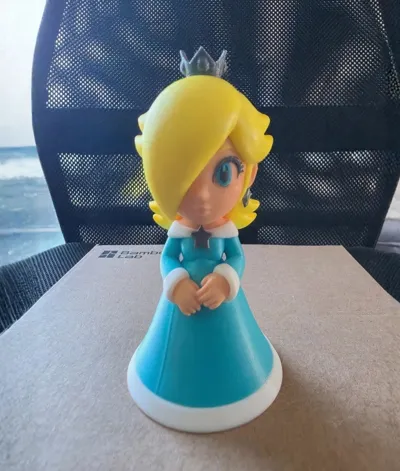
- Crisp Colors: Each piece has its own crisp and clean color. There are no color mixtures at the edges.
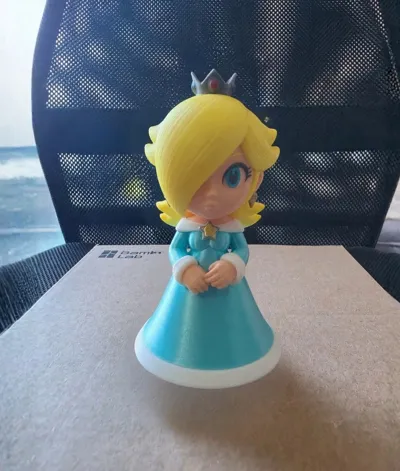
- Easy Assembly: The pieces are designed to fit together and glue easily.
Model Structure (Multipart):
- White Skirt: Part 1 (White, no purging).
- Body: Part 2 (Cyan, White, and Skin).
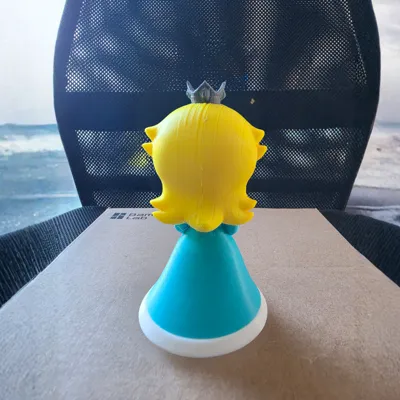
- Star: Part 3 (Silver/Gray, no purging).
- Head: Part 4 (Yellow, Skin, Turquoise, and Gray or Black).
Filament and Assembly Recommendations:
- Suggested Filaments:
- Body: PLA Cyan or Turquoise
- Base: PLA White (Standard or PLA Matte)
- Star/Crown: Silver or Gray PLA Silk
- Head (with AMS): Yellow PLA Silk, PLA Skin, Turquoise, and Gray or Black.
- Assembly: Glue (e.g., cyanoacrylate) is required to fix the pieces. The fit is simple.
Share your result! I'd love to see how your Rosalina turns out. If you print this model, please upload a photo to the "Makes" section and leave your rating. It helps the community a lot!
Boost Me (for free)
Thank you for your support!
🔧 Printing Tips
Before printing, please clean your printer's bed for better results. I recommend using a 3D printing stick or spray for firm and secure adhesion. This will prevent adhesion problems and ensure a better finish from the first layer.
📸 Share Your Result
Each printer and every setting can greatly change the final finish. How did your figure turn out? I would love to see it. Upload it and share your photos with the community so we can all continue to grow!
ENJOY!!!
License
You shall not share, sub-license, sell, rent, host, transfer, or distribute in any way the digital or 3D printed versions of this object, nor any other derivative work of this object in its digital or physical format (including - but not limited to - remixes of this object, and hosting on other digital platforms). The objects may not be used without permission in any way whatsoever in which you charge money, or collect fees.
Comment & Rating (29)