
Goku SSJ - dragon ball


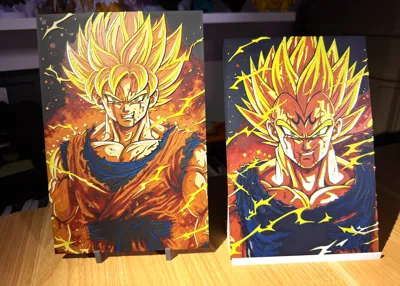
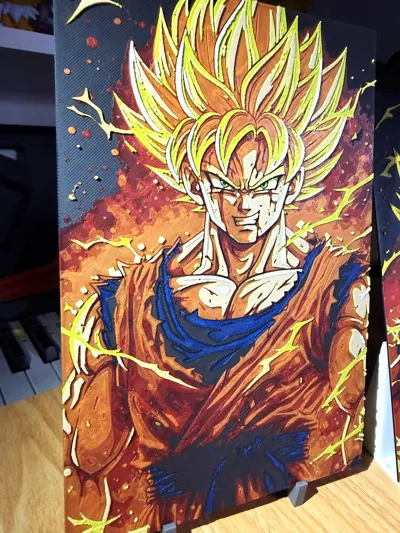
Print Profile(2)

Description
🧩
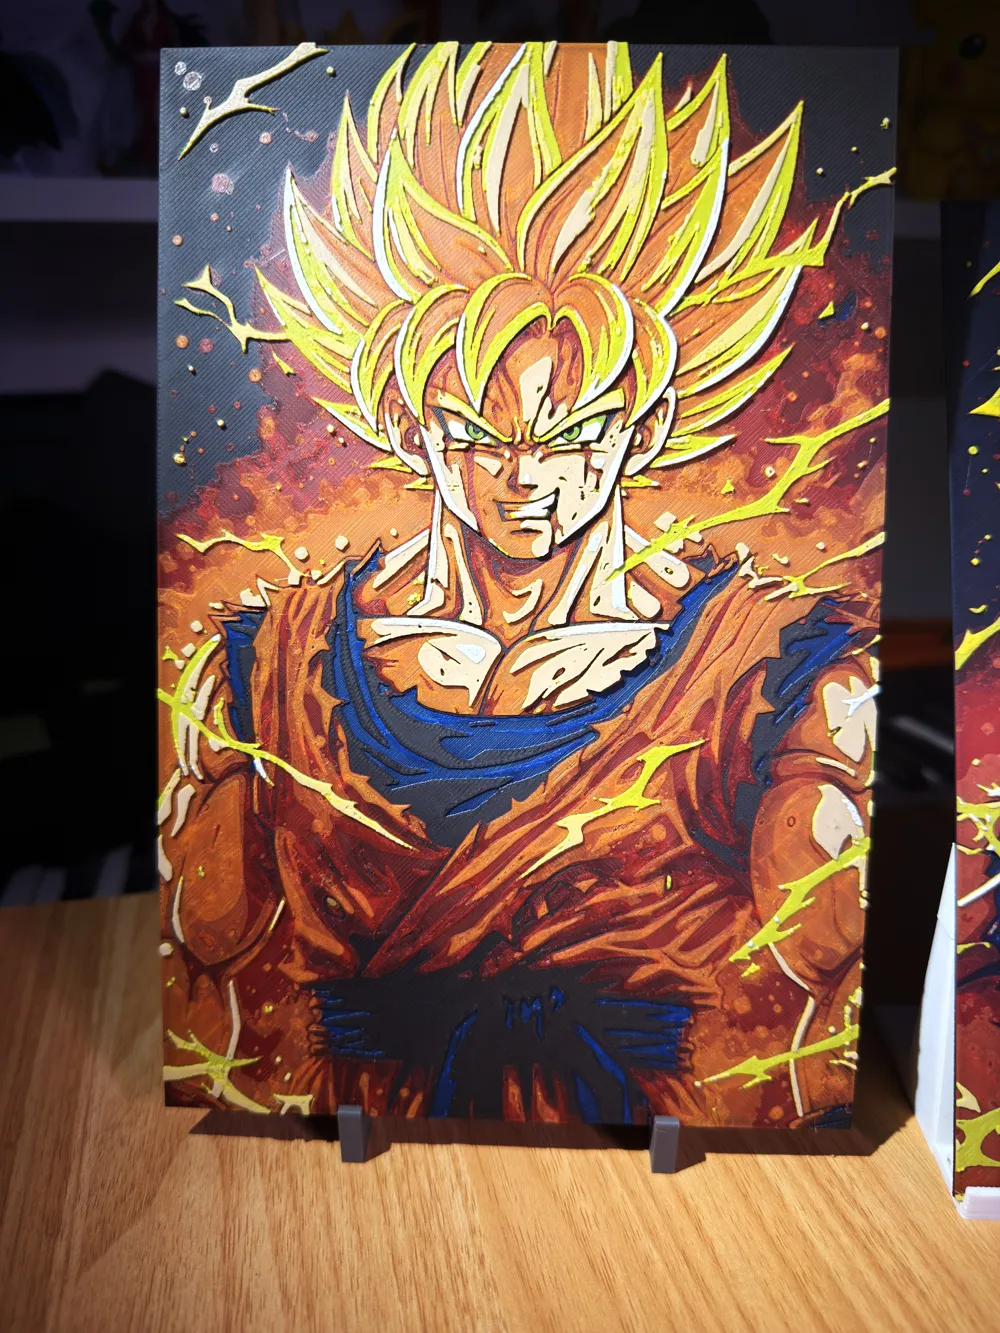
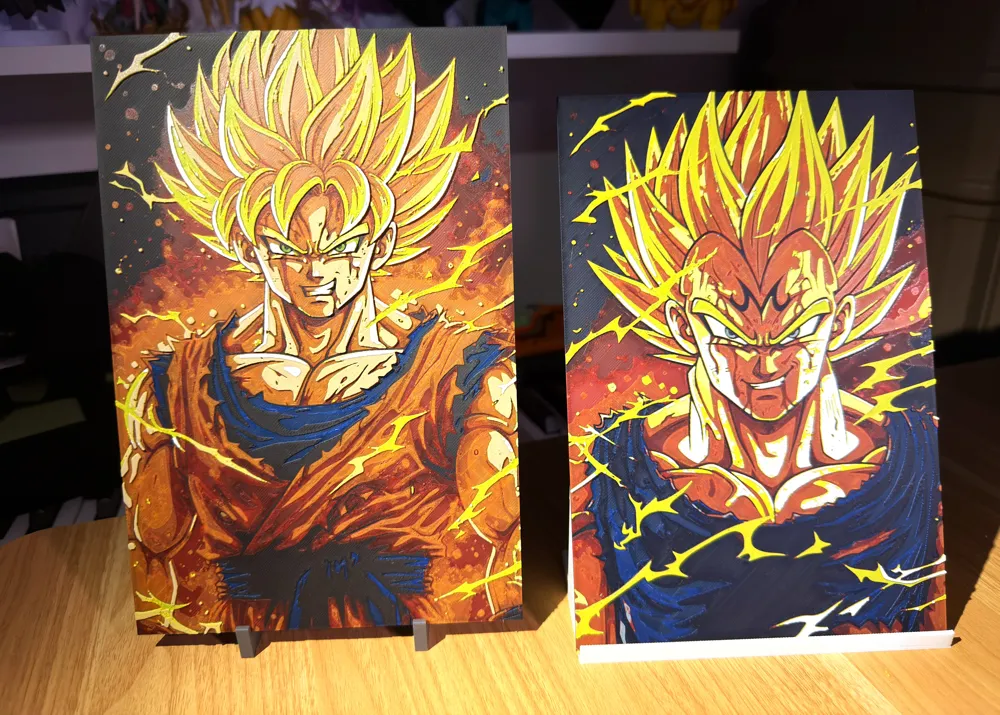
Goku SSJ – Ultra Detailed Edition
Dive into the legendary intensity of Goku, the legendary super warrior, with this unique creation
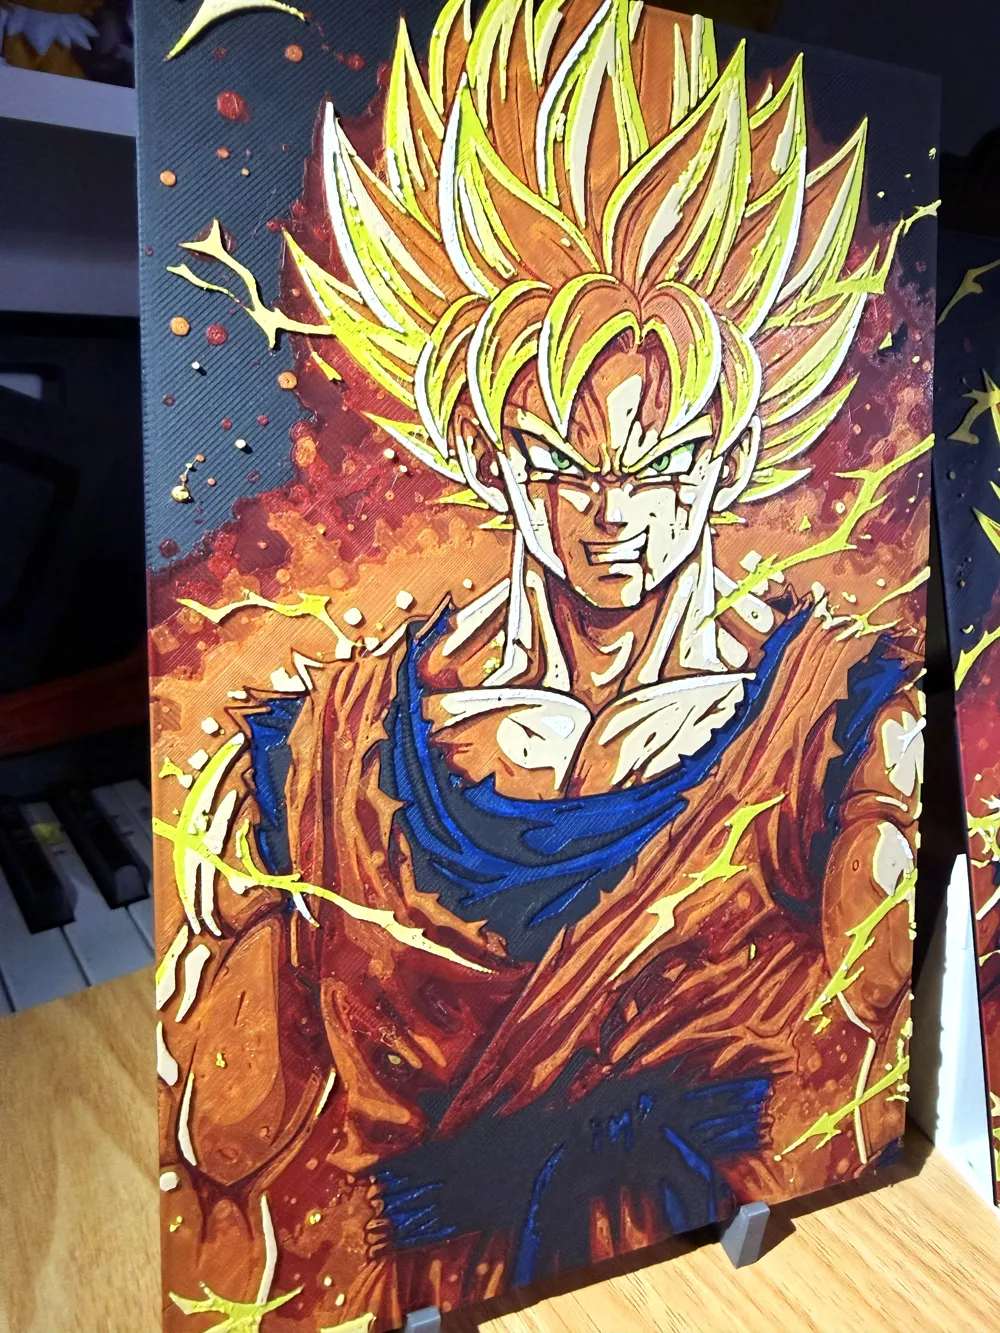
Every detail has been meticulously crafted to capture all the power and determination of the character in an impressive 3D print rendition
This model highlights contrasts and volumes for a striking visual effect, perfectly suited for Hueforge technology
To support my work, you can send me a PayPal donation of any amount you wish (even 1 or 2 € or $ is appreciated) via this link:
Boost Me (for free)
A simple click on “Boost” helps me a lot — and it costs you nothing! Thanks for the support ❤️
🔥
Highlights
- Ultra-precise facial details (gaze, scars, expression)
- Exceptional depth effect thanks to Hueforge mapping
- Optimized contrasts for a crisp and clean rendering
- Design specifically conceived for multicolor printing
🎨
Recommended Configuration
Number of colors used: 8
For those without an AMS
- Pause at 7th layer, 55 min, to add blue
- Then 11th layer, 1h37min, to re-add black
- 12th layer, 2h00min, for red
- 14th layer, 2h56min, for orange
- 16th layer, 3h37min, for green
- 18th layer, 4h02min, for yellow
- 22nd layer, 4h45min, for oak or beige
- 25th layer, 5h01min, for white
For those with an AMS
You'll need to make 2 changes in your AMS, but it's nothing complicated, I'll explain
Start by placing black in slot 1 of your AMS, blue in 2, red in 3, and orange in 4
Set an alarm for around 3 hours and wait for it to print the orange. As soon as it switches to orange, remove the black, blue, and red from the AMS and replace them with green in place of black, yellow in place of blue, and oak or beige in place of red
And as soon as the orange is finished and the green starts, remove the orange and add the white. Then, just let it print until the end
It sounds complicated, but it's actually very simple
⚙️ Recommended Print Settings
- Layer height: 0.08 mm (top quality)
- Total thickness: ~2 to 2.4 mm
- Good calibration recommended
🧠
Tips
For optimal results:
- Use quality filament (Bambu / Sunlu / eSun)
💥
Why this model is special
This Hueforge is not just an image:
it's an artistic piece that brings one of Dragon Ball's most iconic characters to life with a stunning embossed effect once printed
🙌
Support
If you like the model:
- Leave a like 👍
- Share your print 📸
- Follow me for more Hueforge creations 🔥
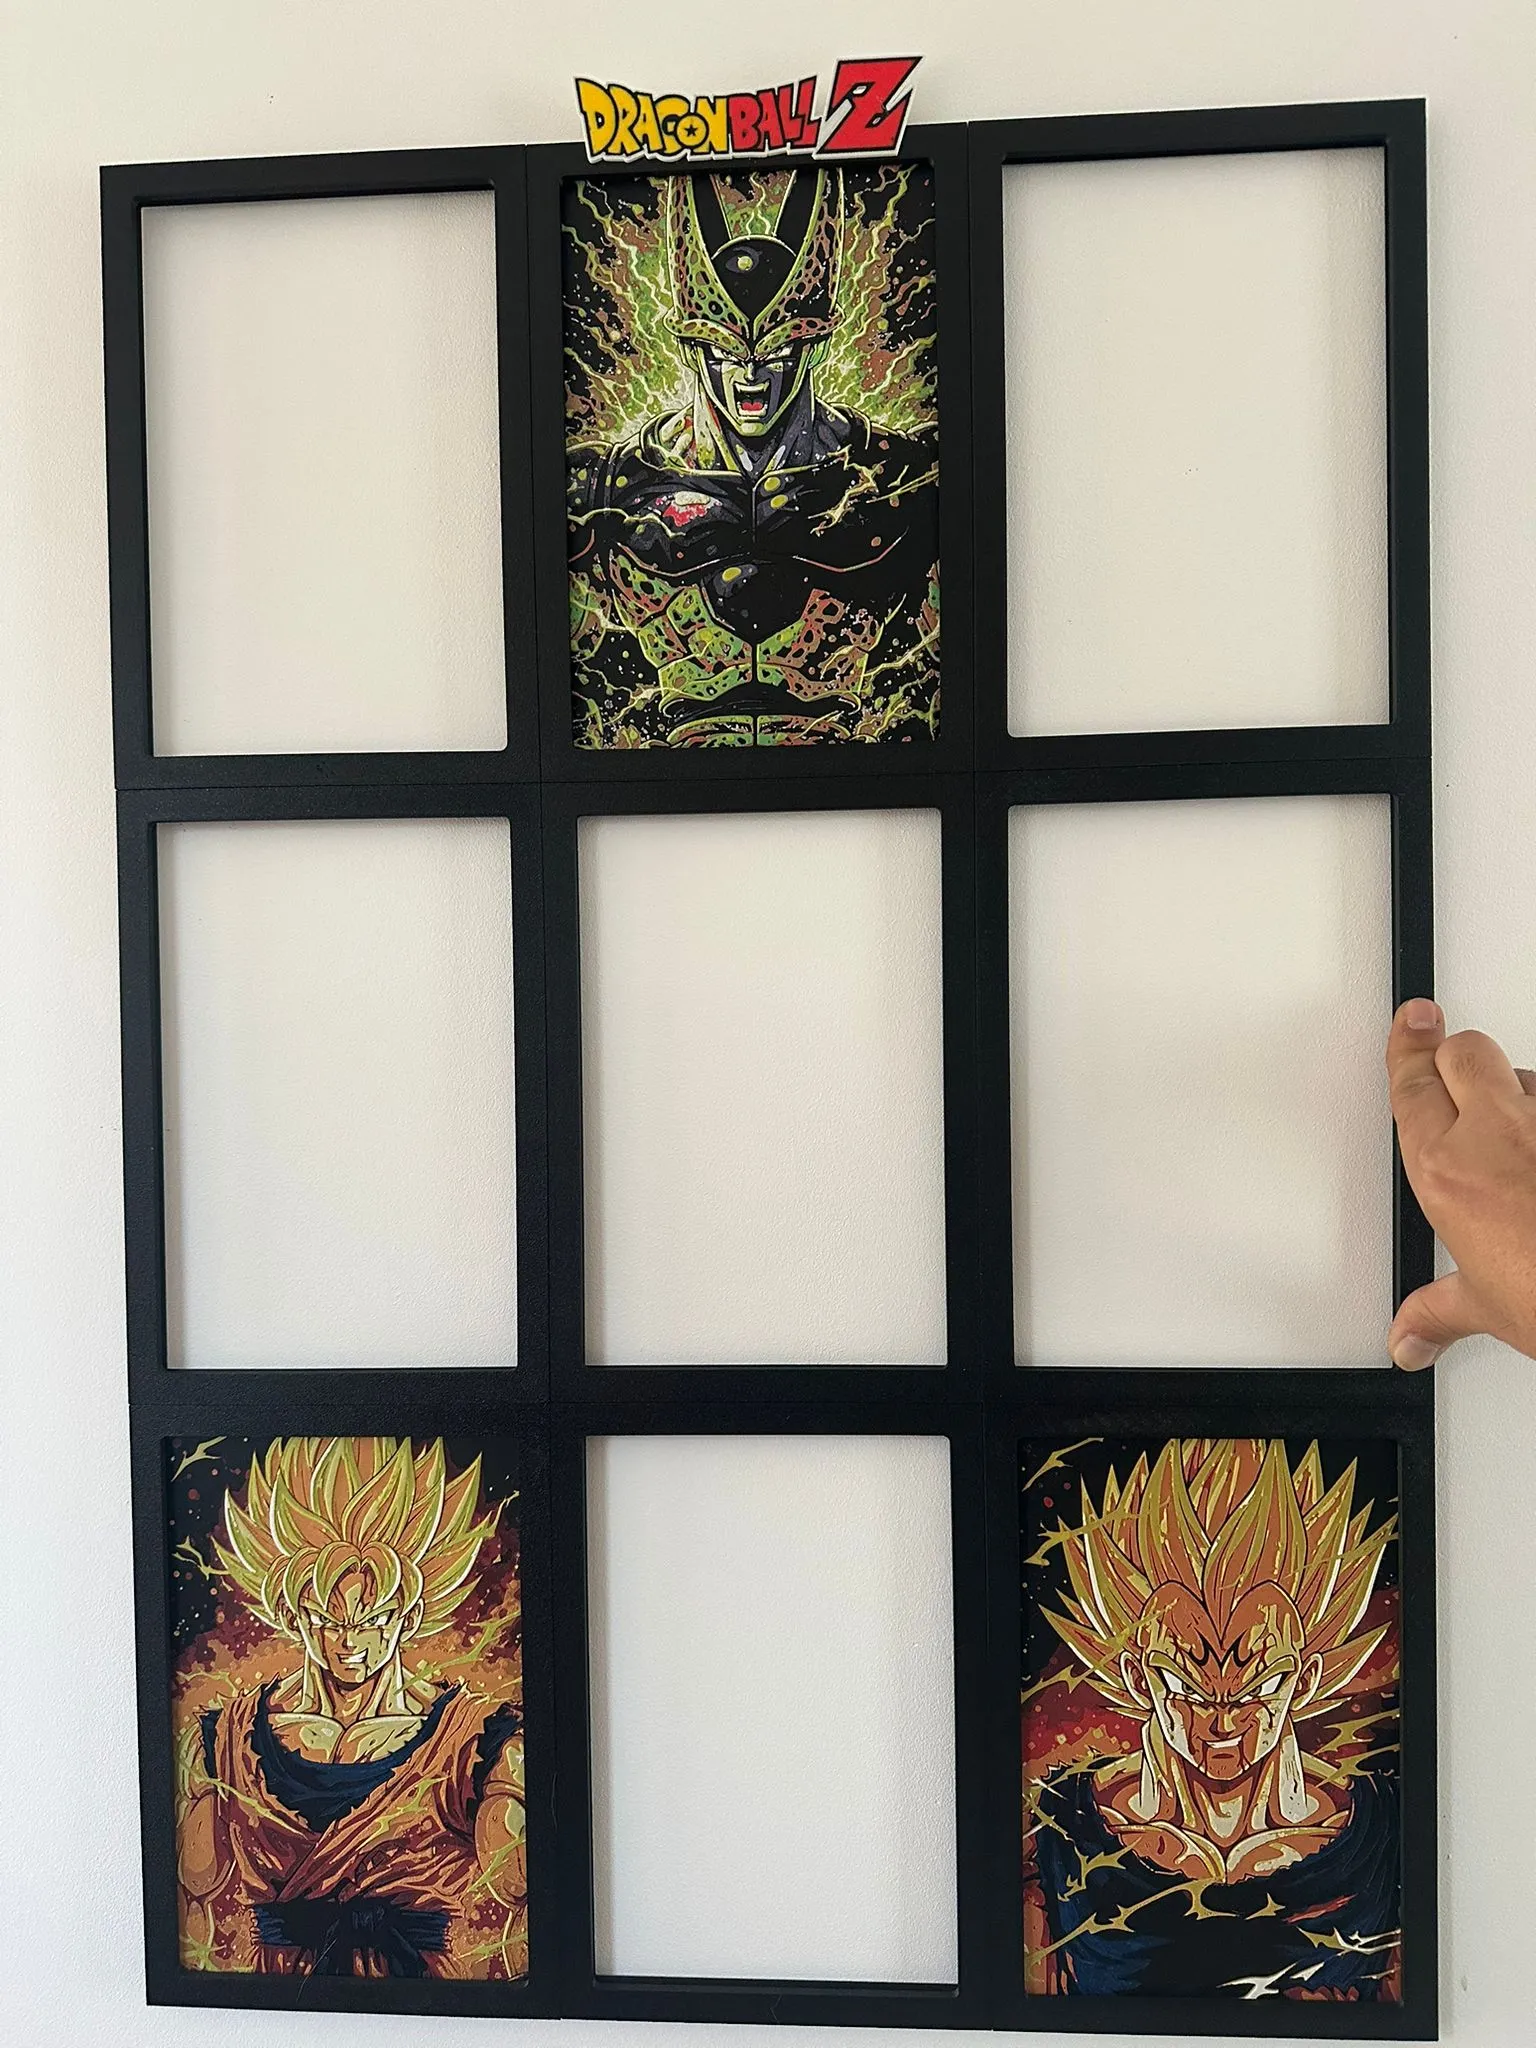
To frame them, I highly recommend the custom Hueforge frames created by yc3ddepannage which are clip-on and connectable to display the entire series. Don't hesitate to support him, as his work complements mine well
Here is the link:
Modular Dragon Ball Z Hueforge Frame - Free 3D Print Model - MakerWorld
License

You shall not share, sub-license, sell, rent, host, transfer, or distribute in any way the digital or 3D printed versions of this object, nor any other derivative work of this object in its digital or physical format (including - but not limited to - remixes of this object, and hosting on other digital platforms). The objects may not be used without permission in any way whatsoever in which you charge money, or collect fees.


Comment & Rating (44)