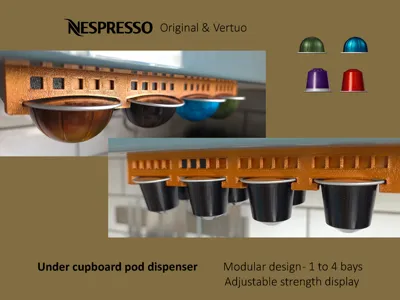
Nespresso cupboard/cabinet coffee pod dispenser


Print Profile(2)
Description
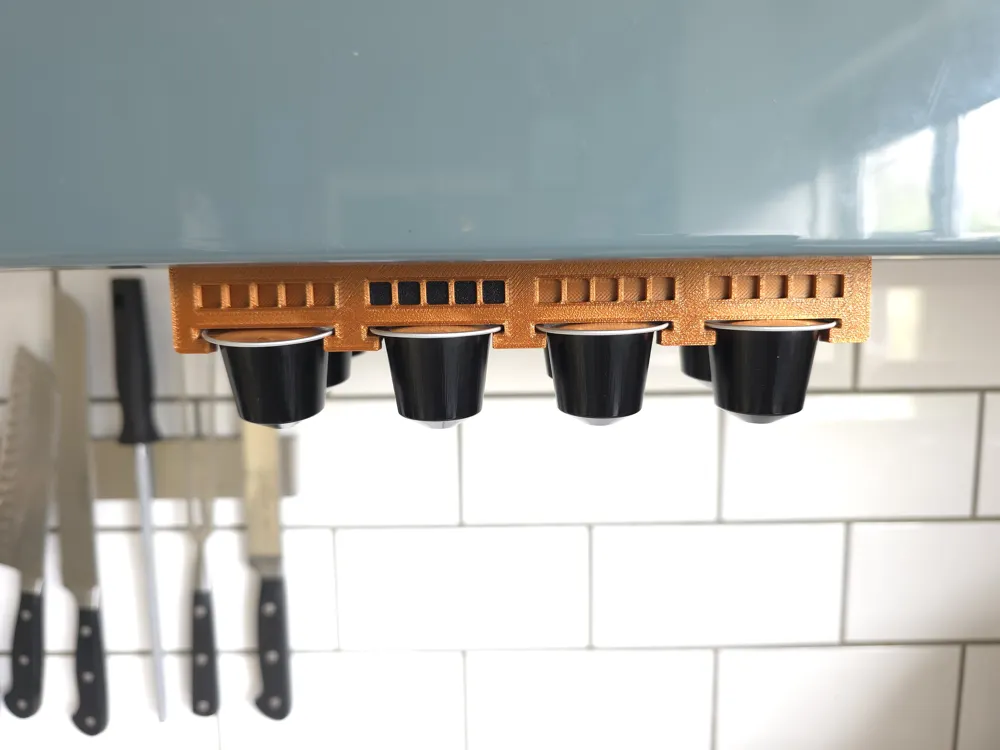
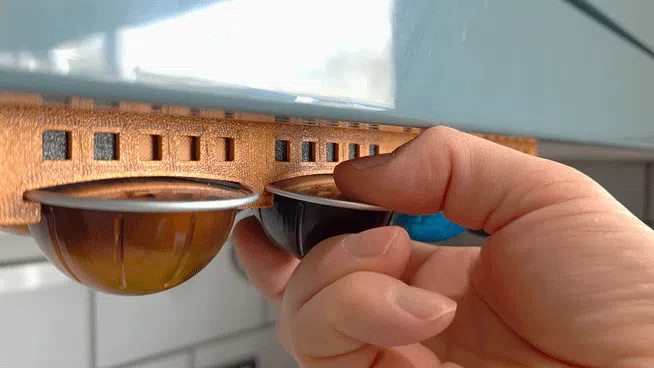
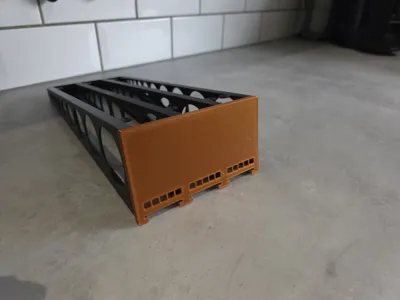
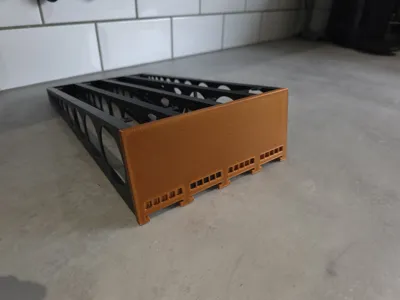
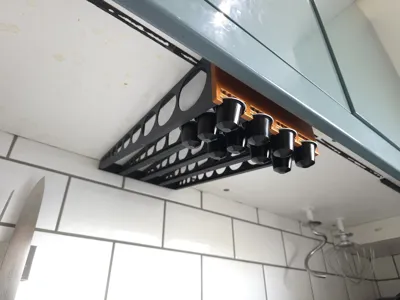
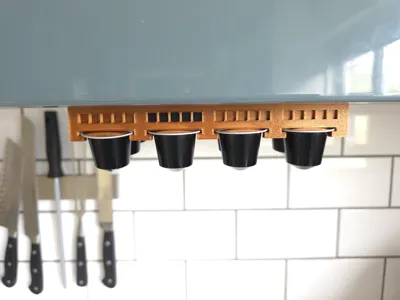
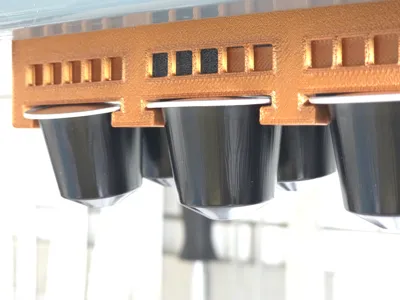
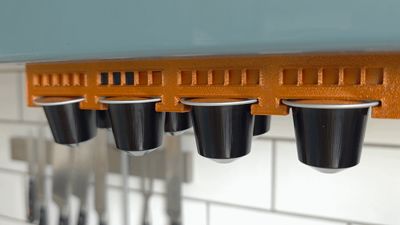
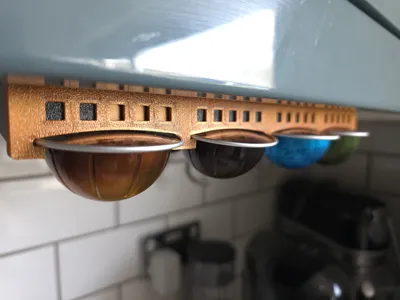
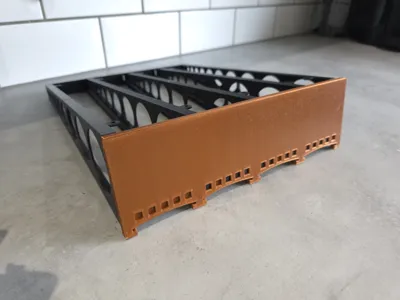
These Nespresso coffee pod dispensers fix to the underside of your kitchen cupboards providing a convenient and discrete place to store your coffee pods.
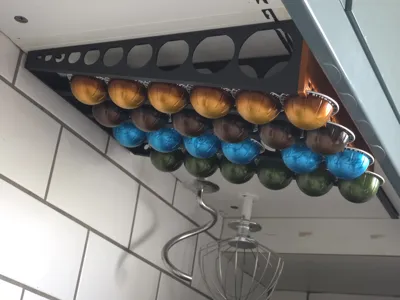
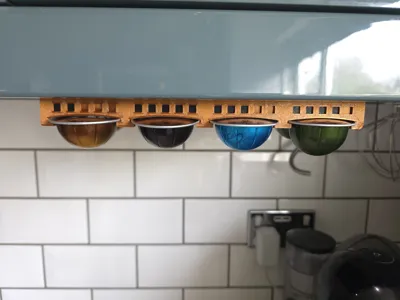
There are two versions to suit both the Original and Vertuo Nespresso pods, please be sure to use the correct print profile.
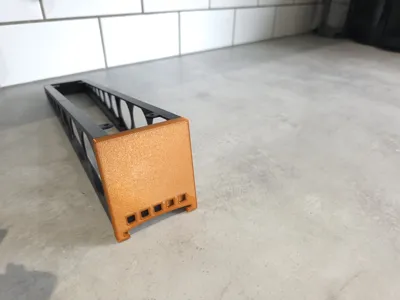
Through modular design, you can choose to make anything from a 1 to 4 bay dispenser.
On each bay there is a display scale that can be customised, you can use this to indicate either the strength, or the cup size.
Boost Me (for free)
If you like this pod dispenser, then please do give it a boost.
Printing instructions
- Choose the correct print profile, depending on whether you use the Original or Vertuo pods.
- Print the first plate, this is needed for every pod dispenser.
- Print plate 2 (intermediate rails) as many times as needed.
1 bay - not needed
2 bay - print once
3 bay - print twice
4 bay - print three times - Print the required rear connector from plate 3. Either delete or set as unprintable the non-required sizes.
- Print the required front cover from plates 4 to 7.
Assembly instructions
The instructions below show the Vertuo pod dispenser, but the steps are exactly the same for the original pod dispenser.
SUPERGLUE REQUIRED
Rails
Glue together the front and back section of each of the rails, the additional joining pieces help to add strength to this joint.


For intermediate rails, glue on the additional rails to the back. Ensure the longer rail is used to overlap the joint which will provide additional strength.


Front cover sliding display
Install the sliding tabs into the slider cover as shown in the images below. Add glue and spread with a cocktail stick to ensure there is no excess that could stick the sliding tab in place. Glue these assemblies to back of the front cover.


Final Assembly
Glue the rails into the front cover and connect the back of the rails with the rear joint piece.


Installation
Use the screw holes provided, or simply attach to the underside of your kitchen cupboard with double sided foam tape. Load up with pods and enjoy!


License
You shall not share, sub-license, sell, rent, host, transfer, or distribute in any way the digital or 3D printed versions of this object, nor any other derivative work of this object in its digital or physical format (including - but not limited to - remixes of this object, and hosting on other digital platforms). The objects may not be used without permission in any way whatsoever in which you charge money, or collect fees.
Comment & Rating (7)