Orbix — Triple‑Motion EDC Fidget Collection


Print Profile(8)
Bill of Materials


Description
Boost Me (for free)
If you enjoy this model, a boost is always appreciated. Thanks for the support!
New arrivals:


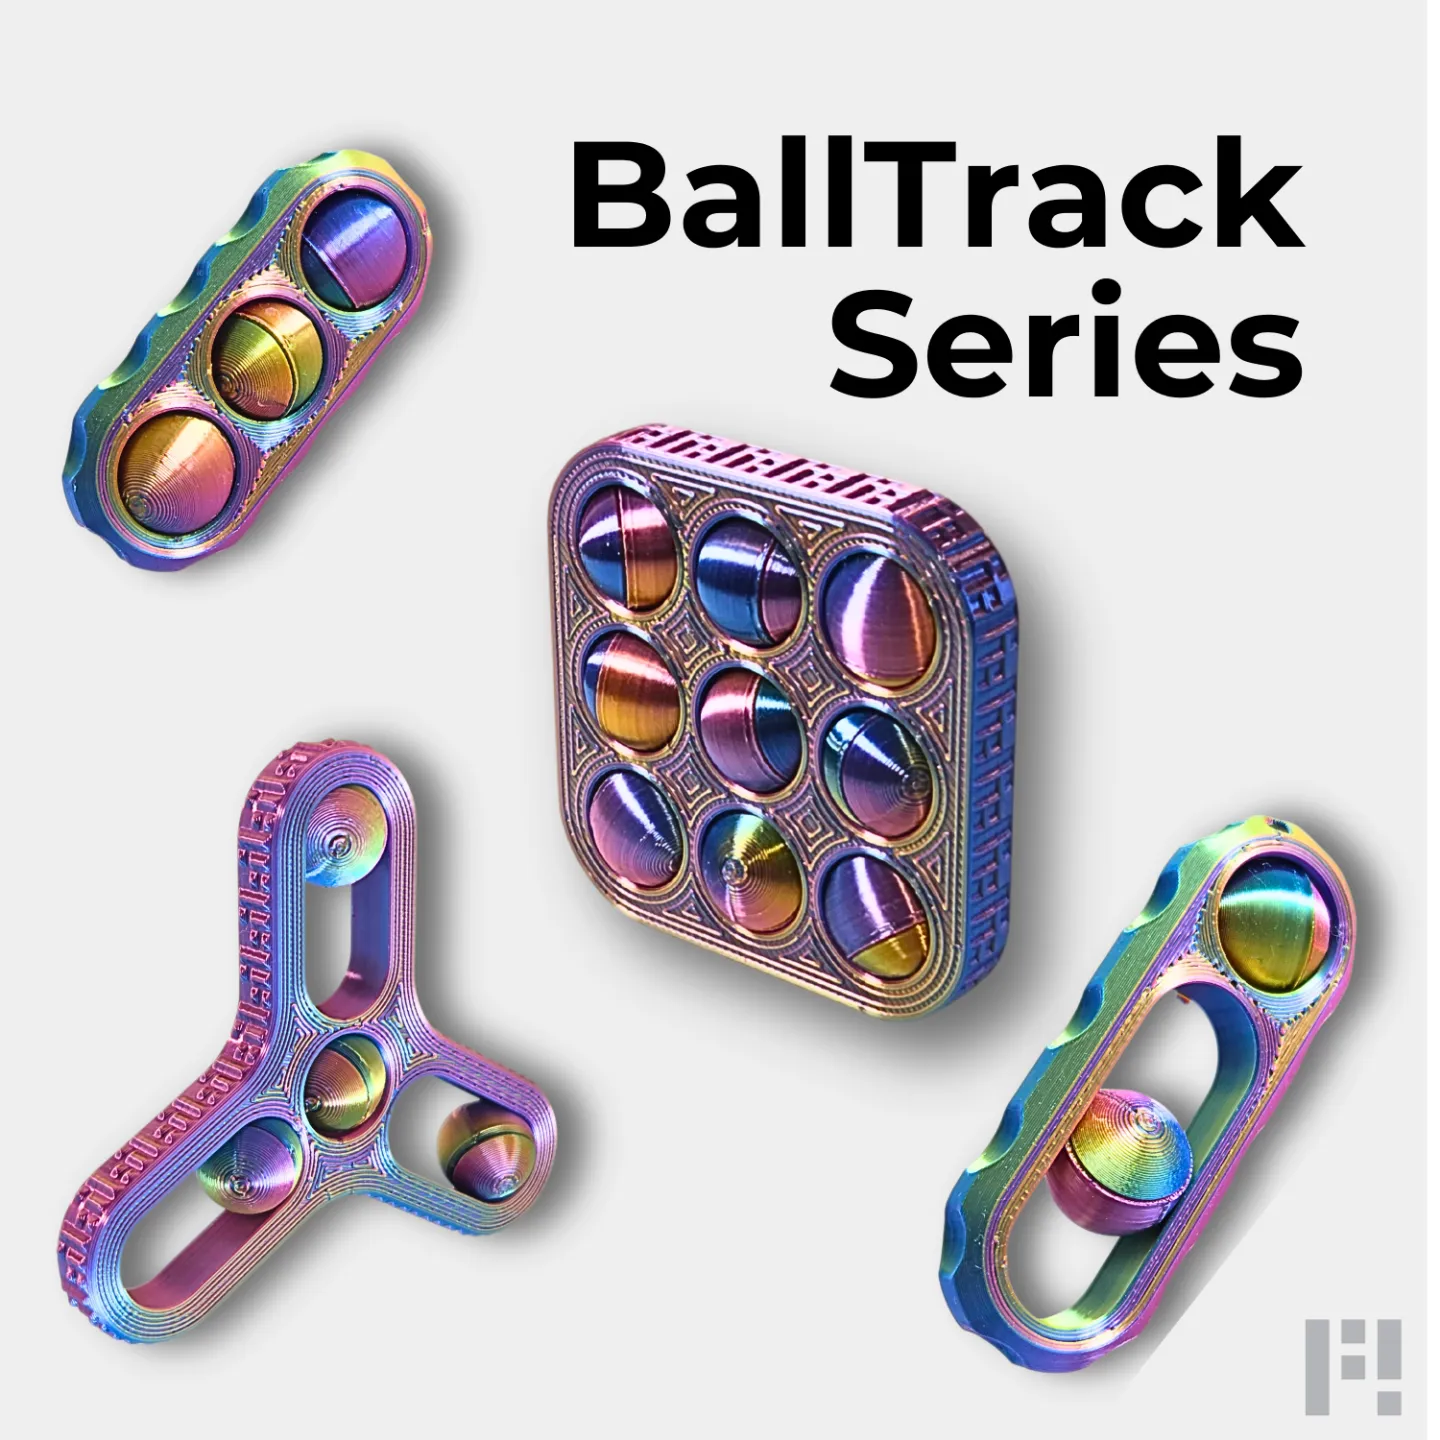
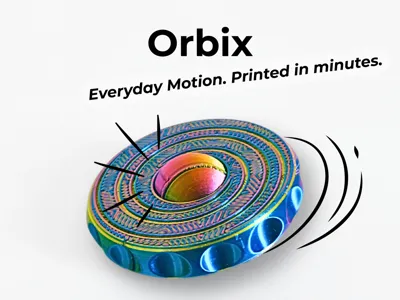
Orbix — Triple‑Motion EDC Fidget Collection
Everyday Motion. Printed in Minutes.
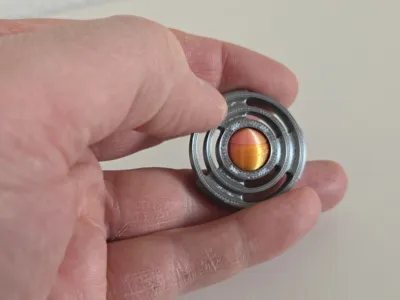
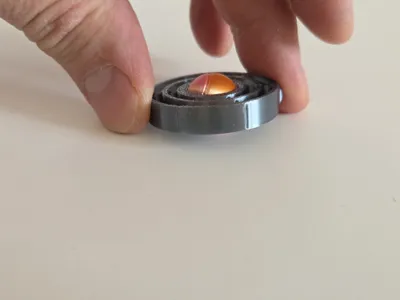
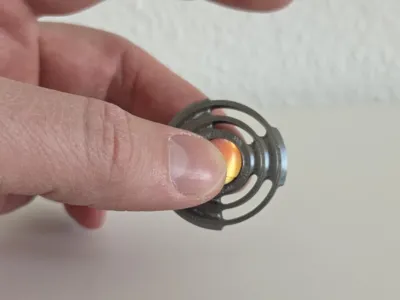
Orbix is a triple‑motion EDC fidget designed for instant satisfaction, smooth mechanics, and fast, support‑free printing. Each model offers a unique tactile experience: orbiting, spinning, and gyroscopic motion. All versions are optimized for clean PLA printing and everyday carry durability.
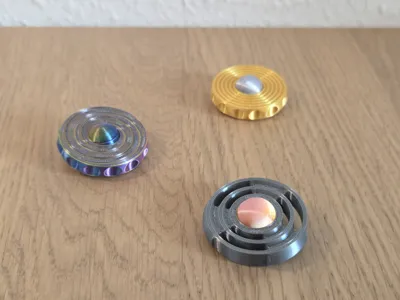
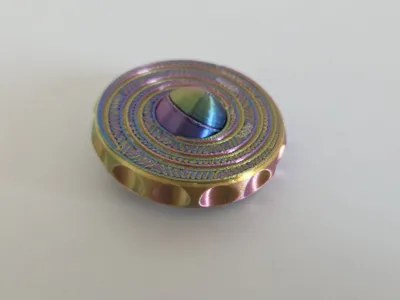
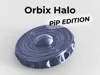
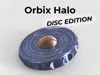
Halo is the premium, visually expressive model — perfect for color effects and layer‑change prints.
Classic is the fast‑print hero — 19:10 pure print time in PLA Galaxy, under 25 minutes including heat‑up.
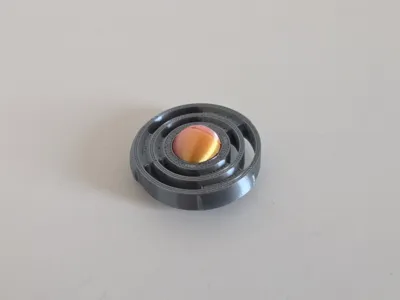
Skeleton is the minimal, technical variant with a lightweight feel.
All models are available as PiP (Print‑in‑Place) or Disc Edition with a separate sphere.
PRINT SETTINGS
- No supports
- 0.2 mm layer height recommended
- 2 perimeters
- PLA Basic, PLA Galaxy, or Silk
- PiP versions print partially assembled (see assembly guide)
- Disc versions print the sphere separately
- Important: Let all parts cool completely before assembly. Warm parts will not fit correctly.
VARIANTS
HALO
- PiP Edition
- Disc Edition (separate sphere, press‑fit)
- Layer‑Change Edition (showcase)
CLASSIC
- PiP Edition (under 25 min total, 19:10 pure print time)
- Disc Edition (separate sphere, press‑fit)
- Fast‑Print Edition (PLA Galaxy)
SKELETON
- PiP Edition
Disc Edition (separate sphere, press‑fit)
ASSEMBLY GUIDE
1. Prepare the Sphere (all variants)
Every version uses a sphere made from two halves that screw together.
- Remove the small brims from both sphere halves (they come off easily).
- Make sure the parts are fully cooled before assembly.
- Screw both halves together until they sit flush.
- Do not overtighten.
2. PiP Versions (Print‑in‑Place)
The sphere is already inside the ring.
- Simply screw the two sphere halves together while they sit inside the ring.
- Check that the sphere rotates freely.
- Done.
3. Disc Versions (Sphere printed separately)
These versions require pressing the finished sphere into the ring.
Important: The ring has one larger opening on the bottom side. Only insert the sphere from this side.
Steps:
- Screw the sphere halves together (fully cooled).
- Position the sphere at the larger bottom opening of the ring.
- Place the ring on a hard, flat surface (stone floor, tile, countertop).
- Press the ring firmly downward onto the sphere, the sphere will pop into the ring.
- It requires force.
- It always works.
- If it doesn’t fit: the parts were still warm or you tried the smaller side.
- Check that the sphere spins freely.
WARNINGS
- Do not assemble while parts are warm.
- Do not use tools to press the sphere in.
- Do not press on soft surfaces (wood, cutting mats, etc.).
- Small parts — keep away from children.
_____________________________________________
SUPPORT THIS MODEL If you like this model — a boost keeps the FloW! Universe growing. More fidgets are coming. Your support makes it happen. Thank you! 🖤🤍
LICENSE 🔒 Commercial license coming soon. Want to sell prints of this model? Stay tuned — a commercial license will be available shortly. Follow me to get notified.
License
You shall not share, sub-license, sell, rent, host, transfer, or distribute in any way the digital or 3D printed versions of this object, nor any other derivative work of this object in its digital or physical format (including - but not limited to - remixes of this object, and hosting on other digital platforms). The objects may not be used without permission in any way whatsoever in which you charge money, or collect fees.
Comment & Rating (62)