Chess board Gothic style


Print Profile(1)
Bill of Materials
.jpg)
Description
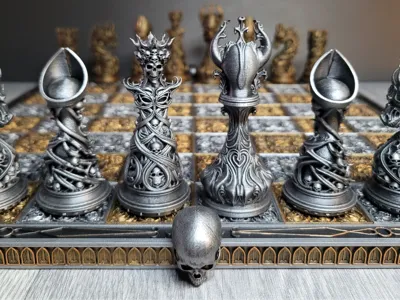
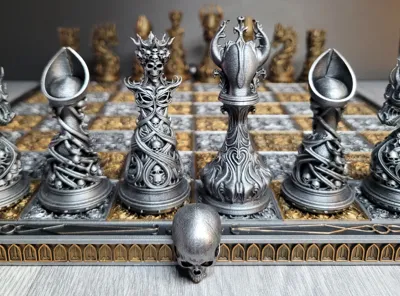
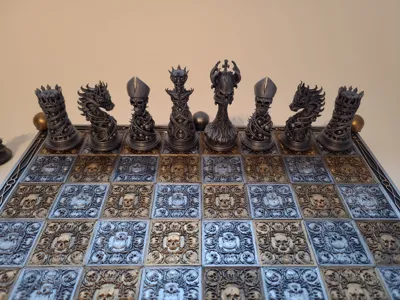
Chessboard
I decided to design and build a chessboard for the chess set I recently printed and painted. Gothic Ornamental Chess Set designed by 29FLO on makerworld, here is link to designer project.
https://makerworld.com/en/models/1805690-gothic-ornamental-chess-set?from=search#profileId-1925892
My chessboard will have many pieces, but assembling them shouldn't be too difficult.
I printed everything on H2c but the dimensions are adjusted to print on a 256x256 build plate
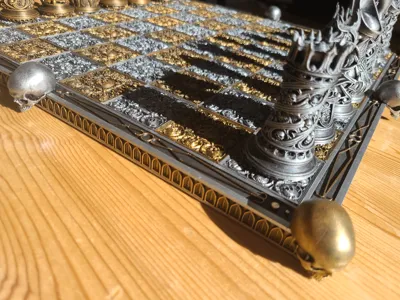
Dimensions of the chessboard 400x400x30mm

I printed everything in black PLA+ with the intention of painting it with acrylic paint, which I did.
If you'd like to print in other colors, choose the ones you like and experiment as much as you like.
Now for the description of each buildplate.
1. plate (or optionally plate 10)
Nozzle 0.2mm, 0.08mm layer height
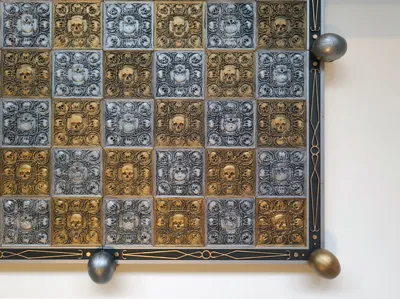
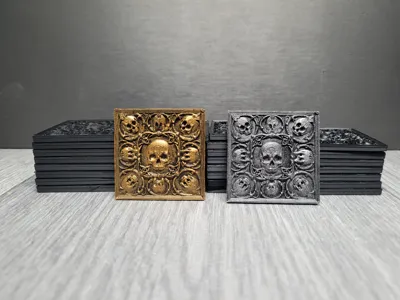
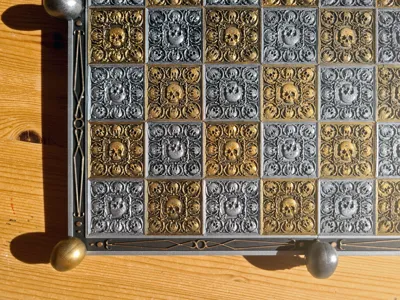
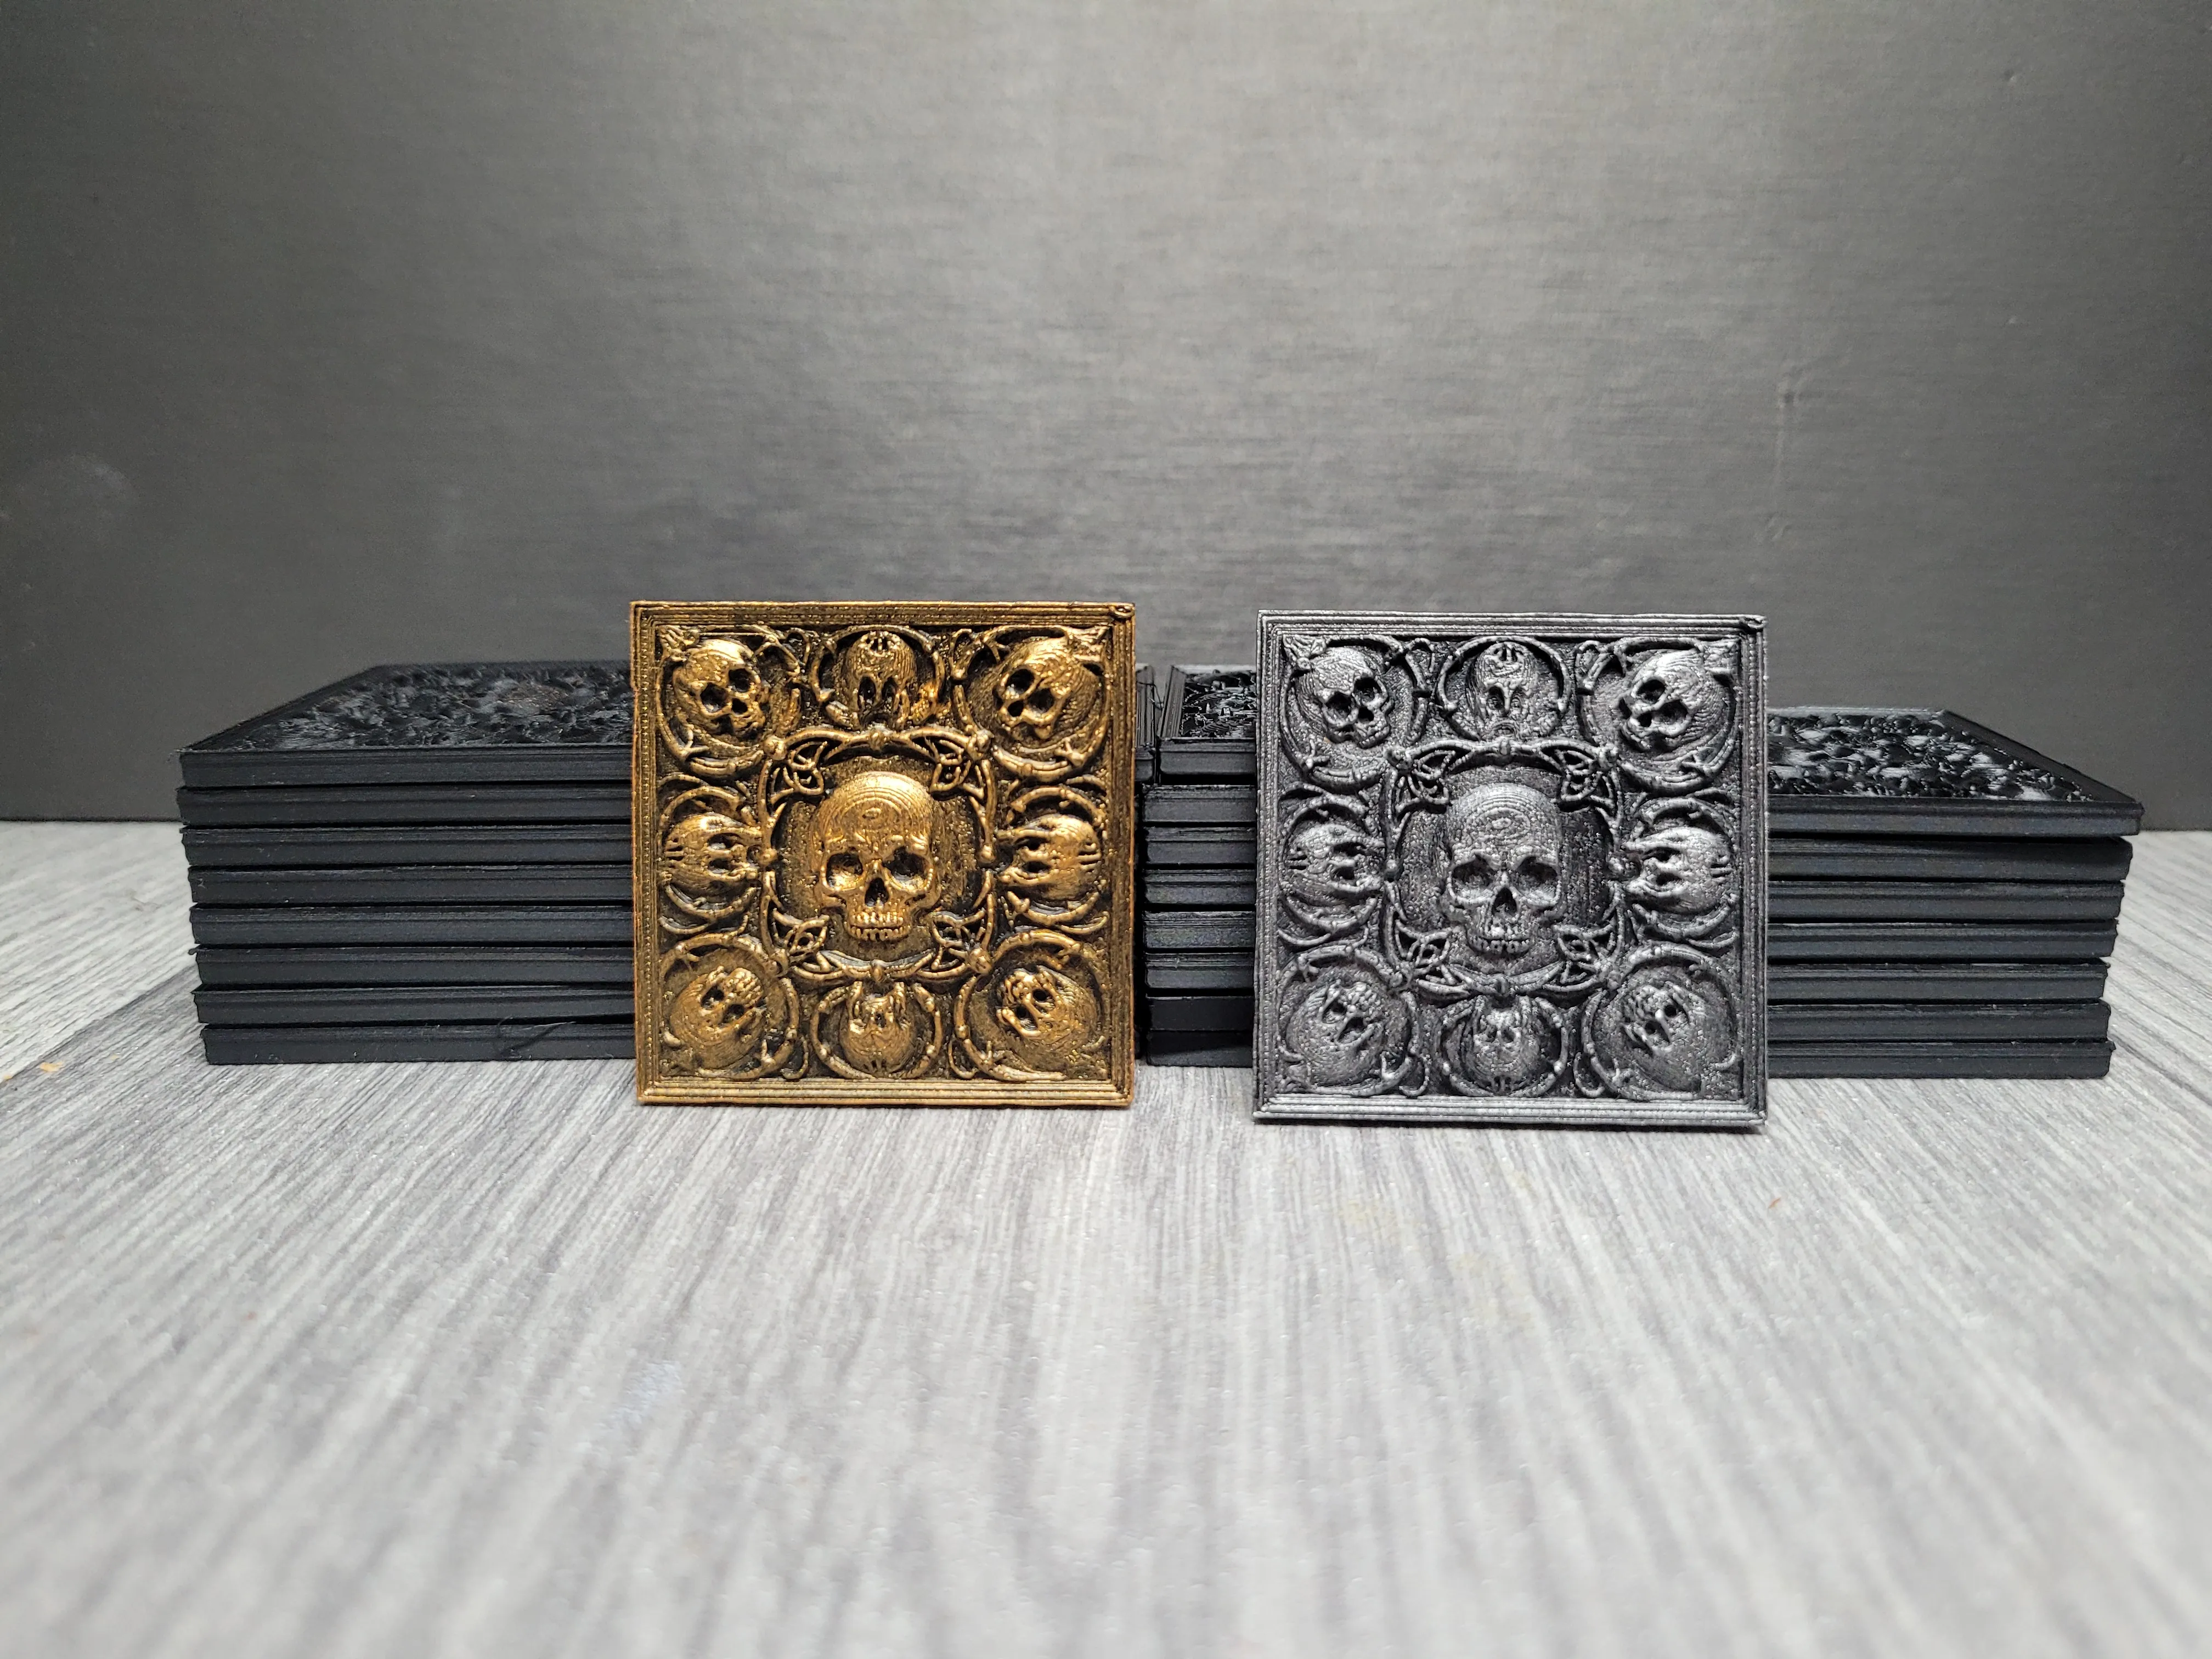
You need 64 tiles, then you will paint them in two colors, 32 and 32. You can also print in two colors, 32 of each color.

2. & 3. plates
You will print each of these parts 4 times
Important!!!
Make sure the build plate is completely cool before removing the object from it. If you do it at the wrong time, the part will bend. You don't want it.
Just WAIT.
0.4mm nozzle, 0.2mm layer height
Support option enabled and you will need support filament


4. & 5. plates
connectors
0.4mm nozzle, 0.2mm layer height


6. plate
side panels with arches - 8 of them
0.2mm nozzle 0.08mm layer height (you can try 0.4mm nozzle - your choice)
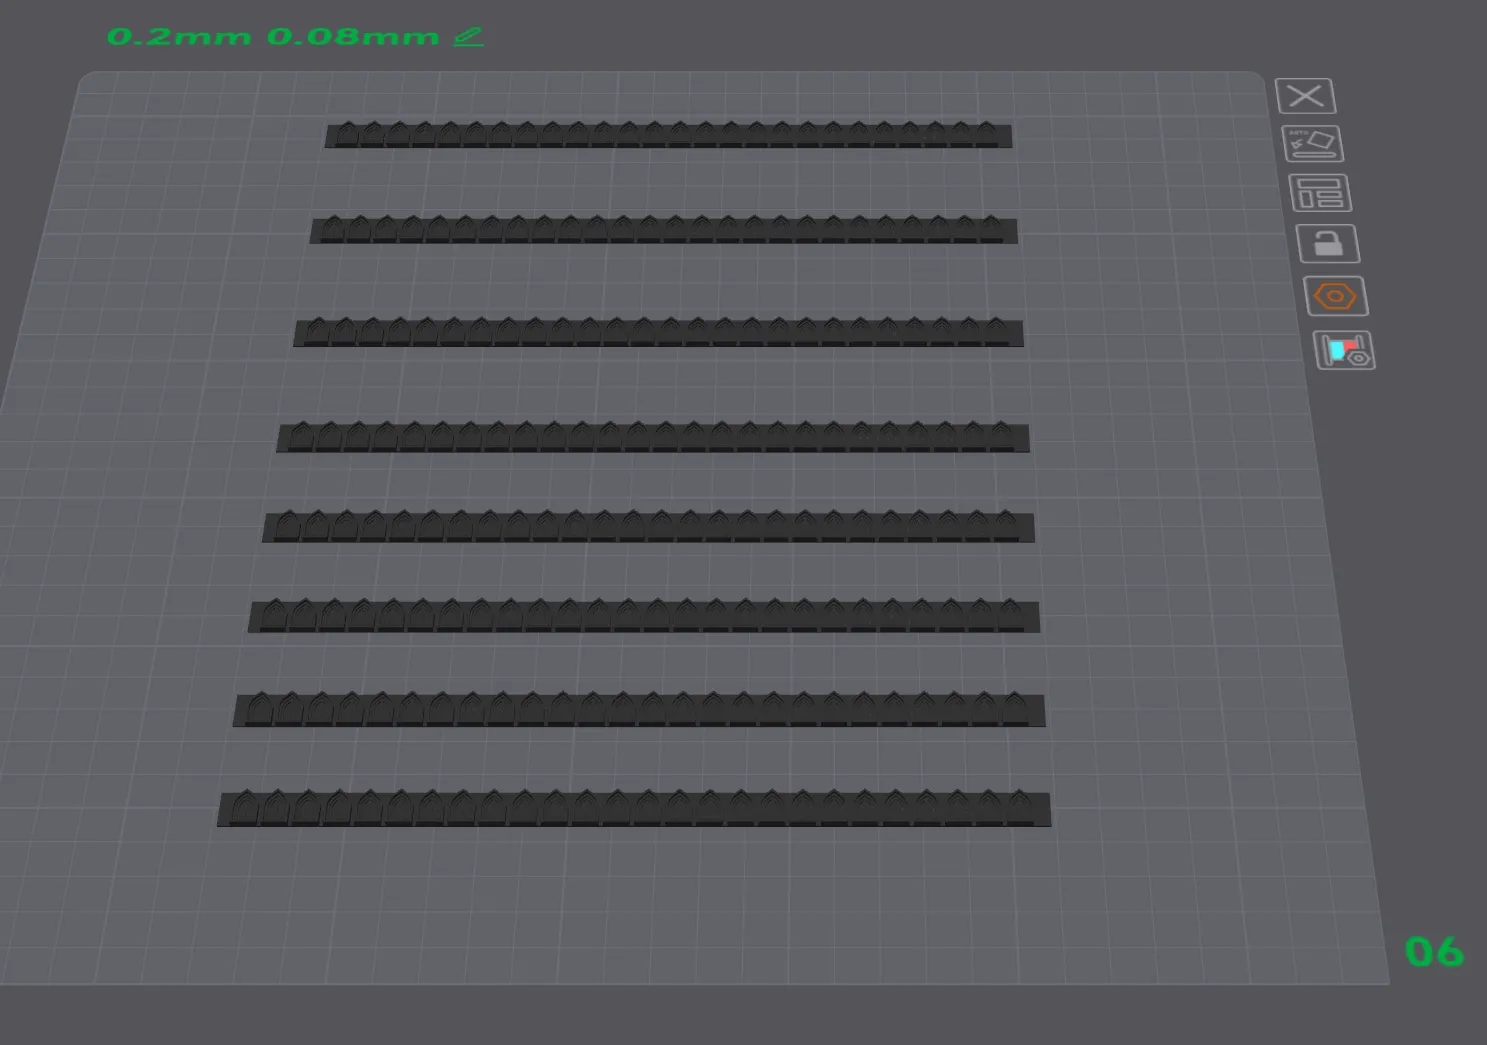
7. plate
top panels - you need 4
0.2mm nozzle 0.08mm layer height

8. plate - optional
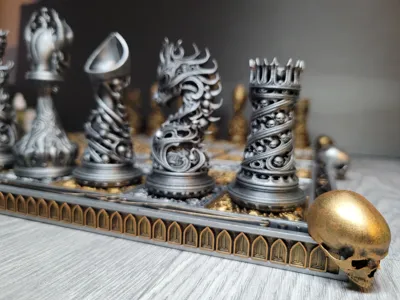
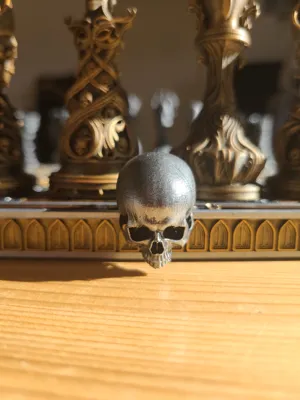
corner skull - you need 4
0.2mm nozzle, 0,08mm layer height
9. plate - optional
middle skull - you need 4
0.2mm nozzle, 0,08mm layer height

10. plate - optional
you need 64 of them
0.2mm nozzle, 0.08mm layer height


If you want to avoid painting, print the parts in the colors that suit you.
As I mentioned earlier, I printed everything in black to paint later.
I only printed the connectors in white to better present them in the photos.
Let's put it all together
Join the parts from boards 2 and 3 with glue and allow time to dry thoroughly.
Make sure there's not too much glue; it can't stick out beyond the edges.


Press firmly to ensure the pins fit perfectly into the end.

Now we will glue the large X connector and 2 small connectors

When gluing the next parts, make sure they are pressed perfectly all the way to the end, this will determine whether the whole thing will fit perfectly.
Once dry, we can test whether the tiles are the perfect size. If the tiles are too tight, you may need to gently sand the edges. Check:


Make sure none of the tiles are in the wrong direction, like in this picture.

While gluing, press the tiles from above, put something heavy on them - I glued 4 tiles at a time, each time checking if they were in the right direction.
If, after gluing tiles together, you find a mistake despite constant checking, don't worry, it's just plastic. I'm sure you can fix it.
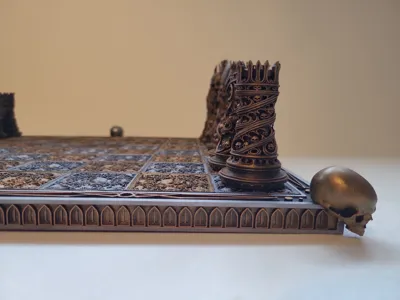
Now we will glue the side panels with the arches - easy job


Time for the top panels


At this point, the chessboard looks fantastic. You'll need to consider whether you want to add skulls to the corners of the chessboard to cover the joints. I decided to add skulls to the corners


Congratulations. You did IT
License
You shall not share, sub-license, sell, rent, host, transfer, or distribute in any way the digital or 3D printed versions of this object, nor any other derivative work of this object in its digital or physical format (including - but not limited to - remixes of this object, and hosting on other digital platforms). The objects may not be used without permission in any way whatsoever in which you charge money, or collect fees.
Comment & Rating (52)