
Cen-Tec System Mounting Bracket - male & female
Print Profile(1)
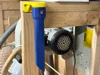
Description
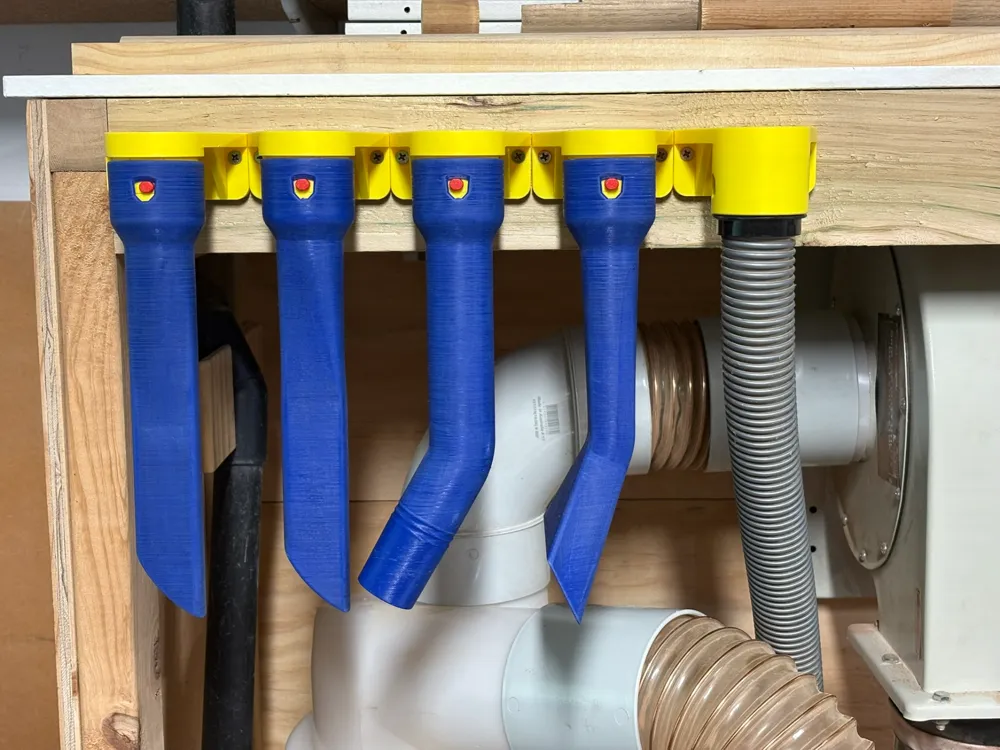
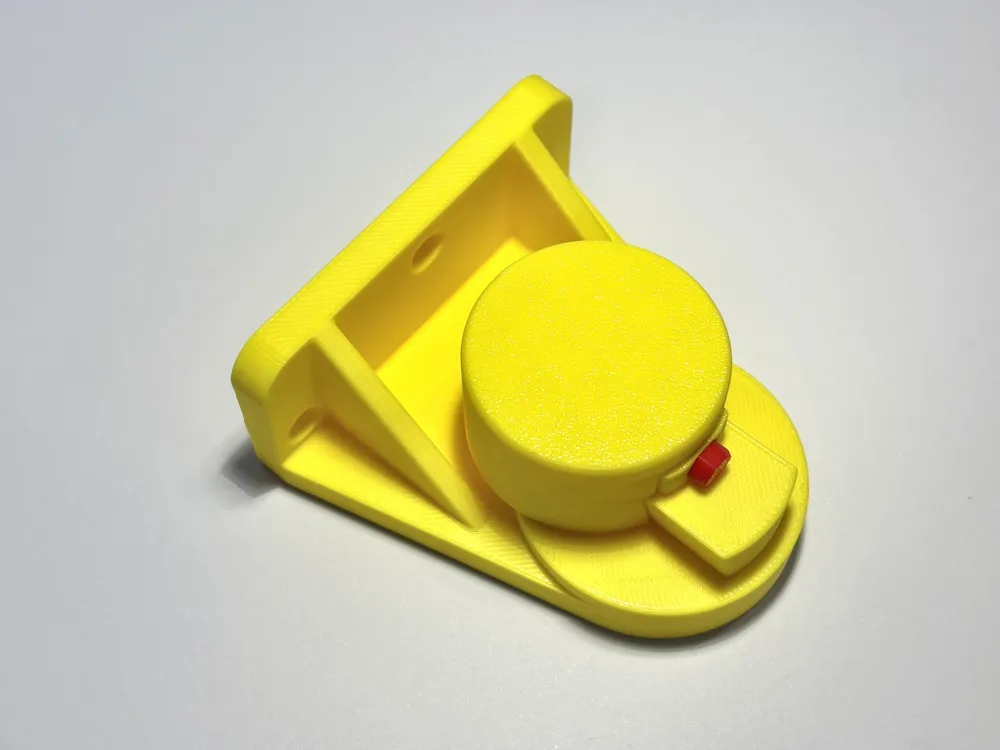
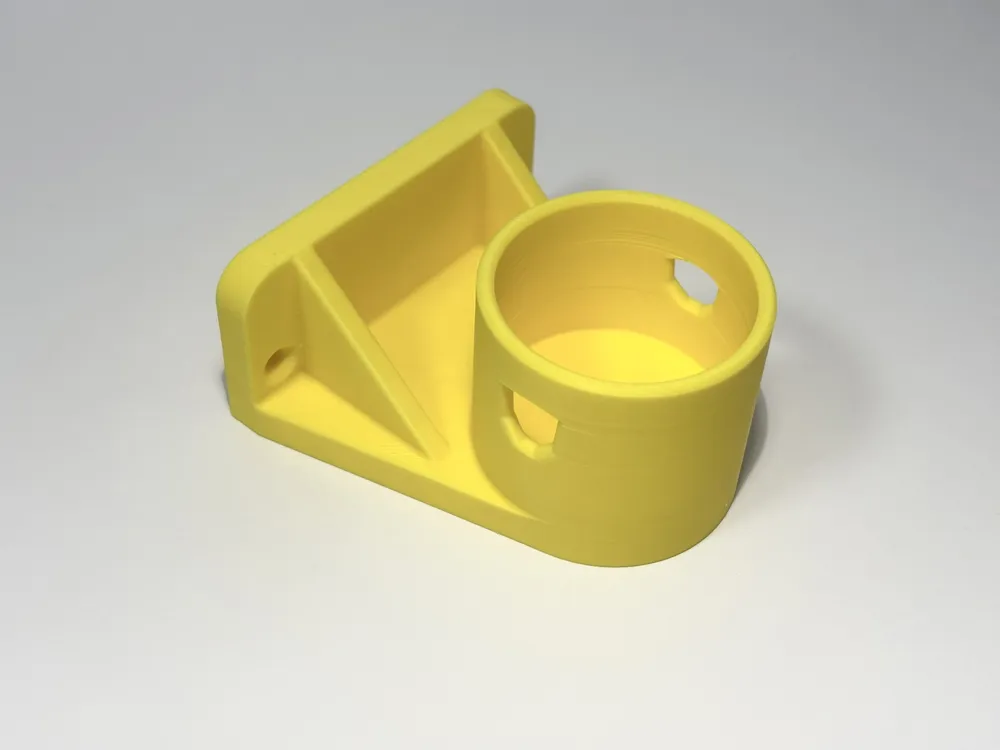
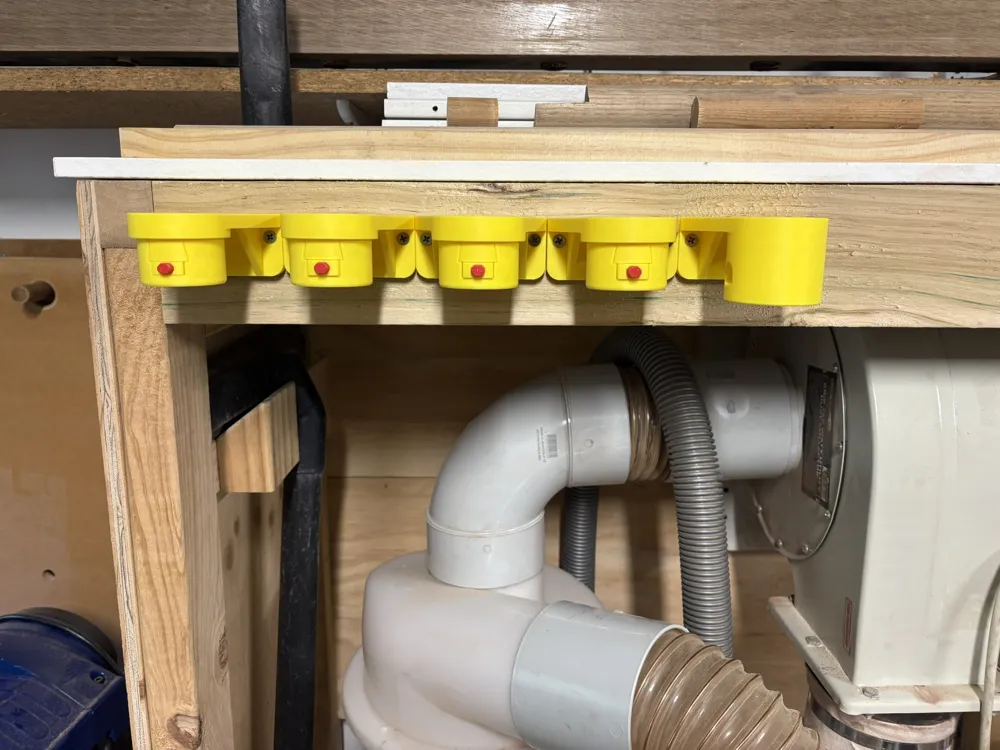
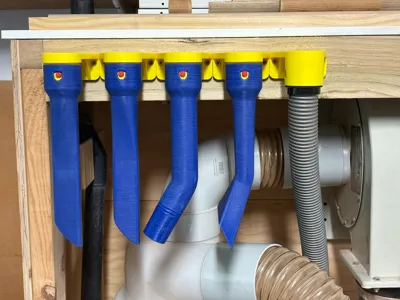
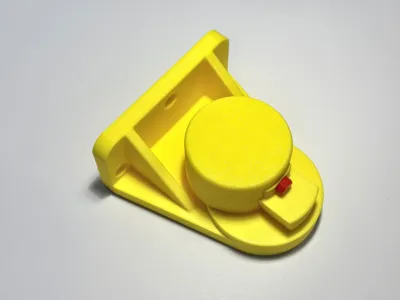
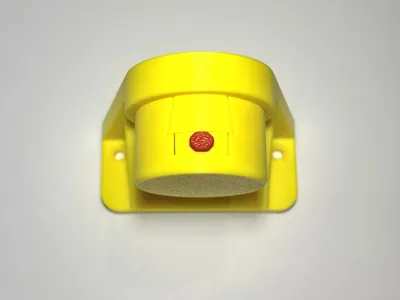
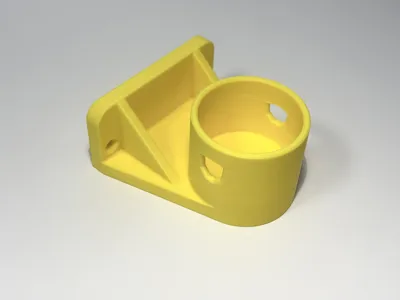
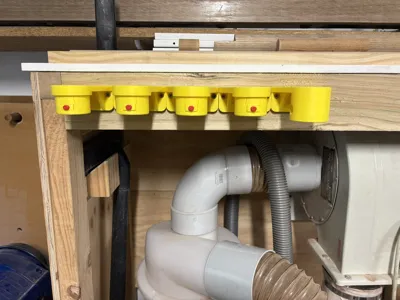
This model is for a mounting bracket that screws onto a wall and lets you hang vacuum accessories and hoses that use the Cen-Tec quick connect system. One bracket has a male Cen-Tec quick connect (spring loaded button) to hold accessories. The other bracket has a female Cen-Tec quick connect to hold hoses.
- No additional hardware needed (apart from screws to mount it to a wall ☺️).
- No AMS needed.
- No print supports required.
- Easy to assemble.
This is designed to work with my printable vacuum accessories and other Cen-Tec compatible accessories.
The female model (for hoses) comes as a single part on its own plate.
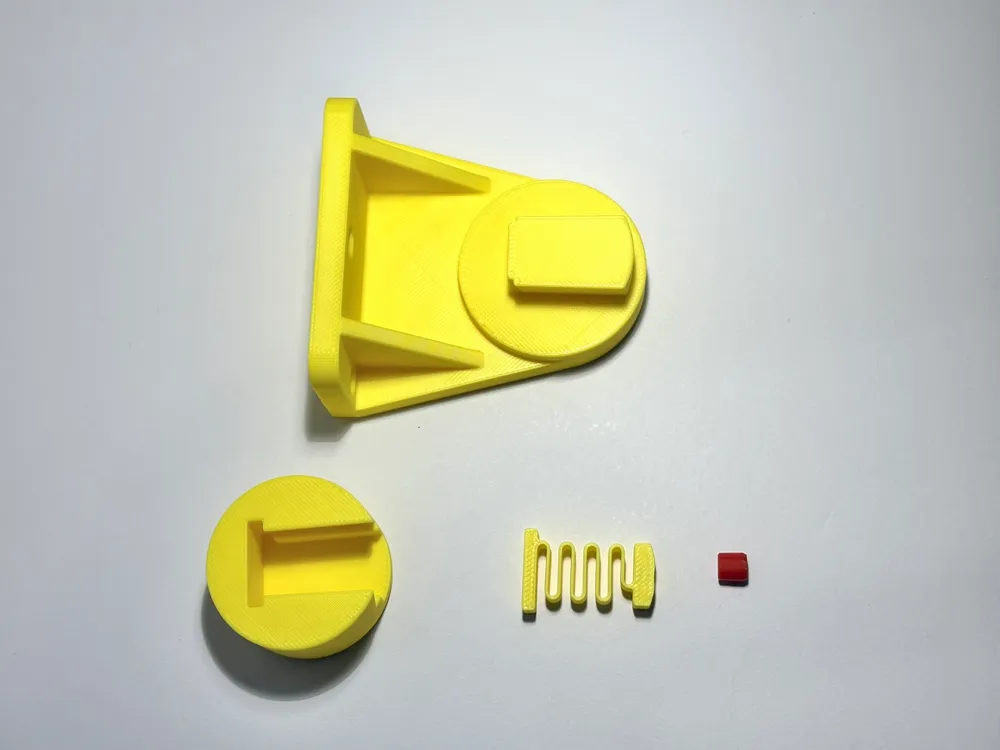
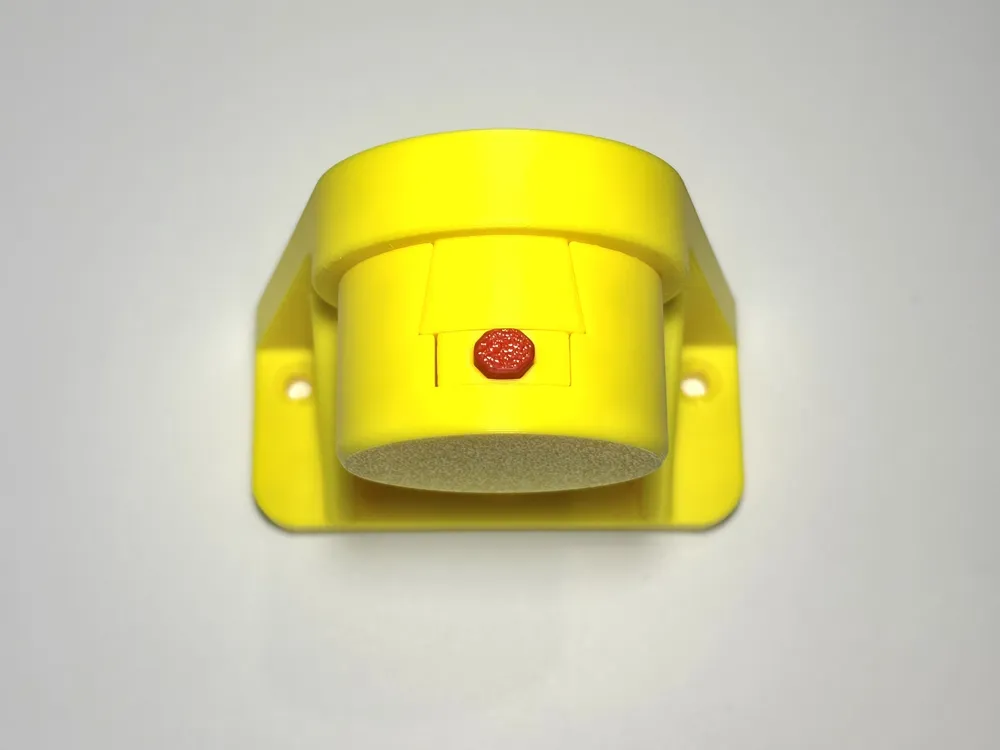
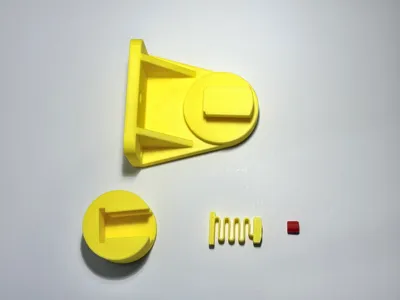
The male model (for accessories) comes as four printed parts. In the provided print profile all parts are the same colour on a single plate, but it's easy to print in multiple colours. The photos show the button printed red while the bracket is yellow.
I have printed it in PLA Basic and its operating perfectly. If the spring loses its springiness, I may reprint the spring in PETG.
Assembly
The print for the male bracket has 4 parts:
- the bracket which is the largest part, has 2 mounting screw holes and a dovetail wedge
- the connector which is a large cylinder with a cutout for the locking spring and the dovetail wedge of the bracket
- the locking spring
- the button, which is a small cylinder.
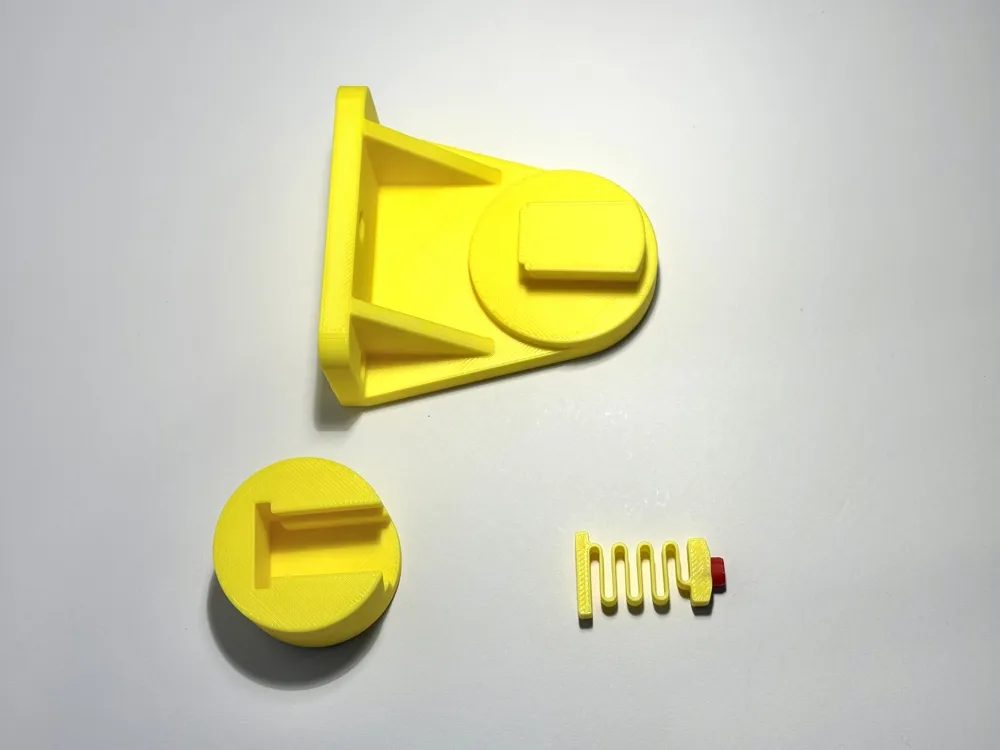
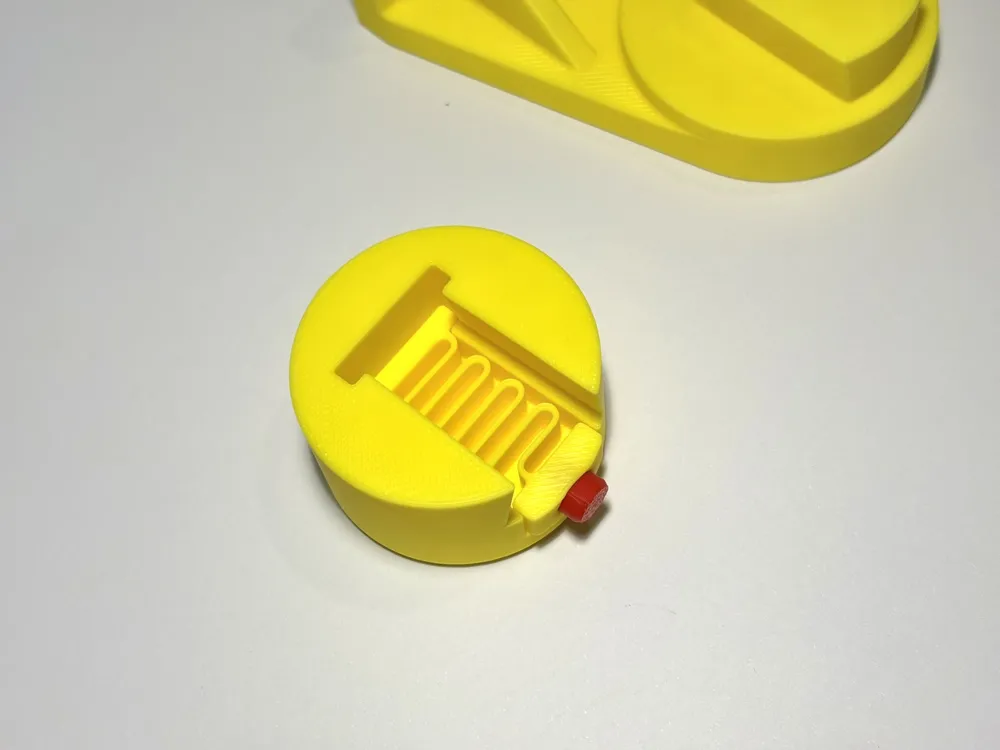
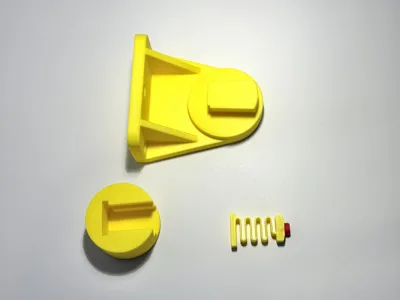
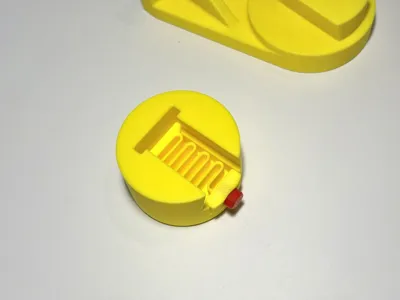
Key points in the assembly process are shown in the photos. Here are the steps.
- Press the button into the corresponding hole of the locking spring. The button is tapered so that the face which was on the build plate is left visible after fitting the button in the locking spring. It should be a tight fit so glue is unlikely to be needed.
- Drop the locking spring into connector. It will only fit in the correct orientation and should be loose.
- Slide the dovetail wedge of the bracket into the corresponding cutout of the connector. This will hold the locking spring in place. It should be a tight fit so glue is unlikely to be needed. If you want to add glue, make sure no glue get on the locking spring.
- Test the assembly works correctly and holds a Cen-Tec compatible accessory. The button should operate freely.
- Mount the bracket using 2 screws.
Add a comment if you find this useful or have suggestions for improvements.
License

You may create derivative works based on this object, provided that all such derivative works are published exclusively on the MakerWorld platform and include proper attribution to the original creator. You may not share, upload, host, distribute, or publish this object—or any derivative work of this object—on any other digital platform, marketplace, or distribution channel. Commercial use of this object and any derivative works is strictly prohibited. This includes, but is not limited to, selling, renting, sublicensing, or using the object in any context in which you receive monetary compensation or other financial benefits.


Comment & Rating (0)