
Bunny SeeSaw Lamp

Print Profile(1)
Bill of Materials





Description
✨ Follow me for upcoming drops & future decor designs! More creative 3D prints coming soon 🌸
https://makerworld.com/en/@powerpuff05
🐰 Bunny Seesaw Lamp
Boost Me (for free)
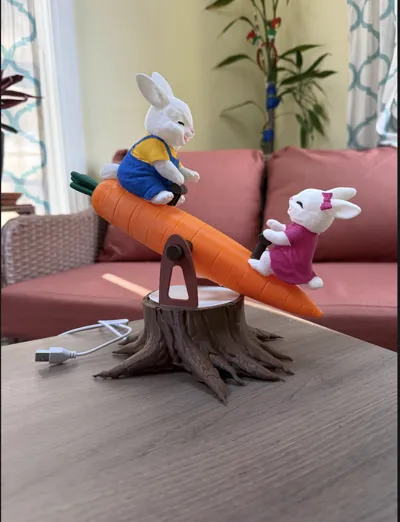
The Bunny Seesaw Lamp isn’t just a print—it’s a moment. The balance, the warmth, the subtle glow… it comes together in a way that photos honestly don’t fully capture until you see it in person.
I spent a lot of time refining the proportions, lighting, and feel so it doesn’t look like a typical 3D print—it feels like a finished piece you’d actually want on your desk or bedside.
If you appreciate designs that tell a story and stand out from the usual prints, a boost would mean a lot 🙏
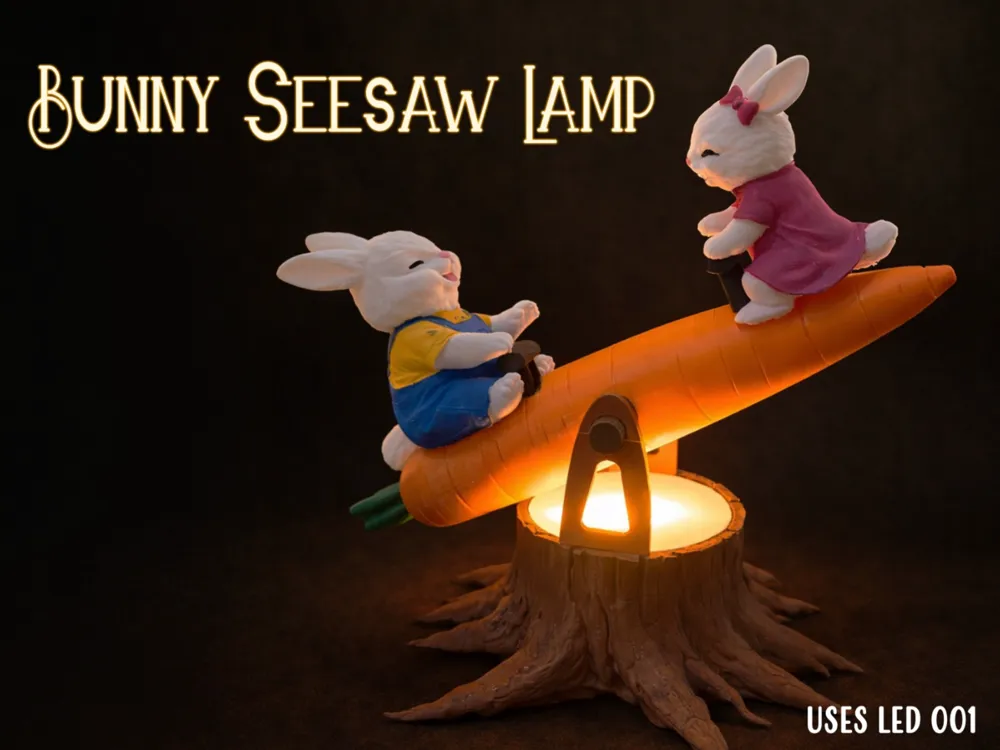

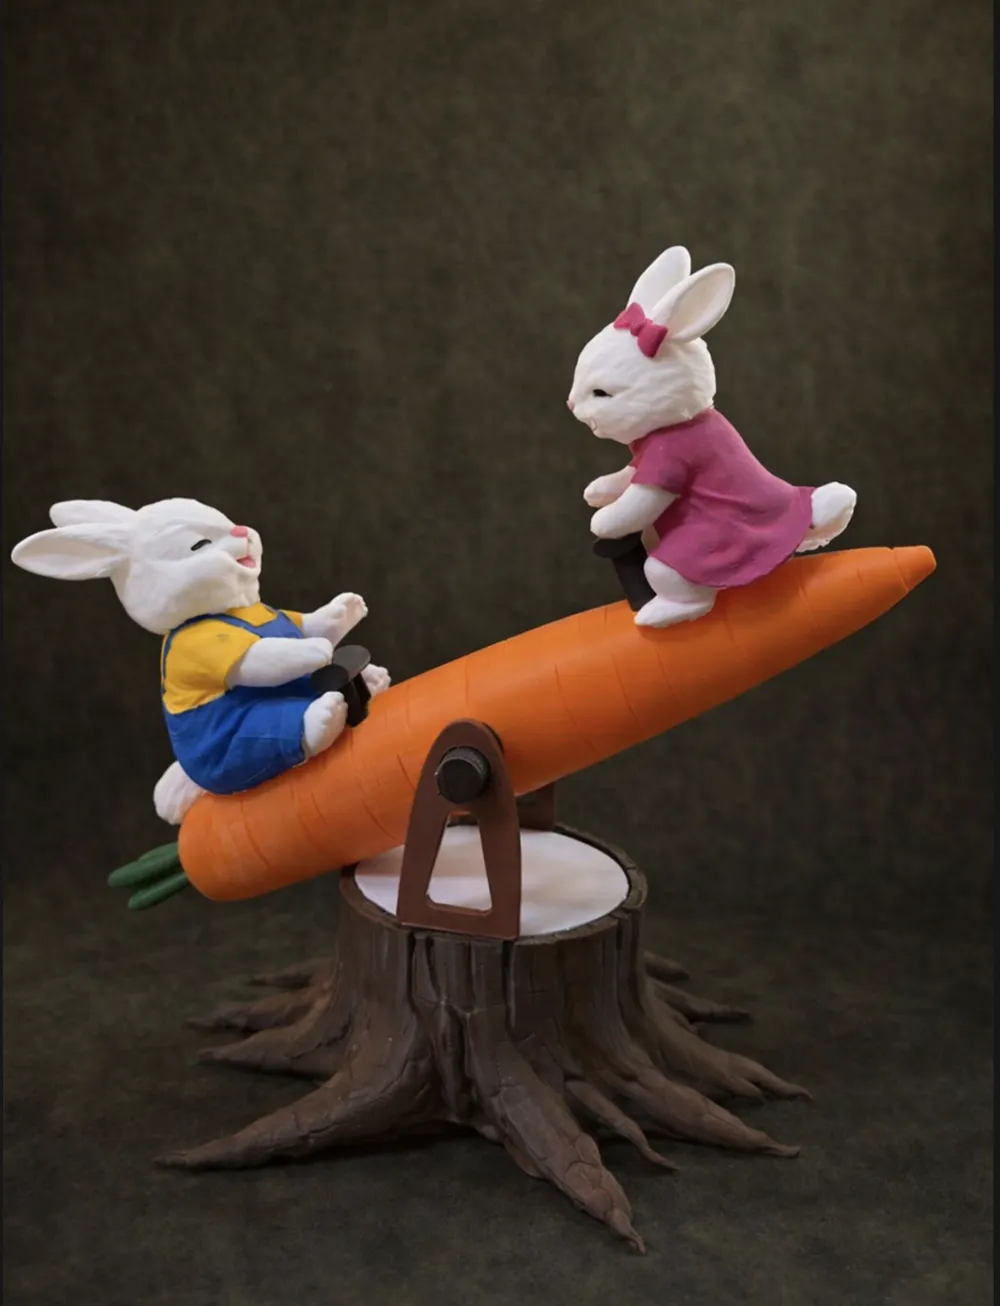
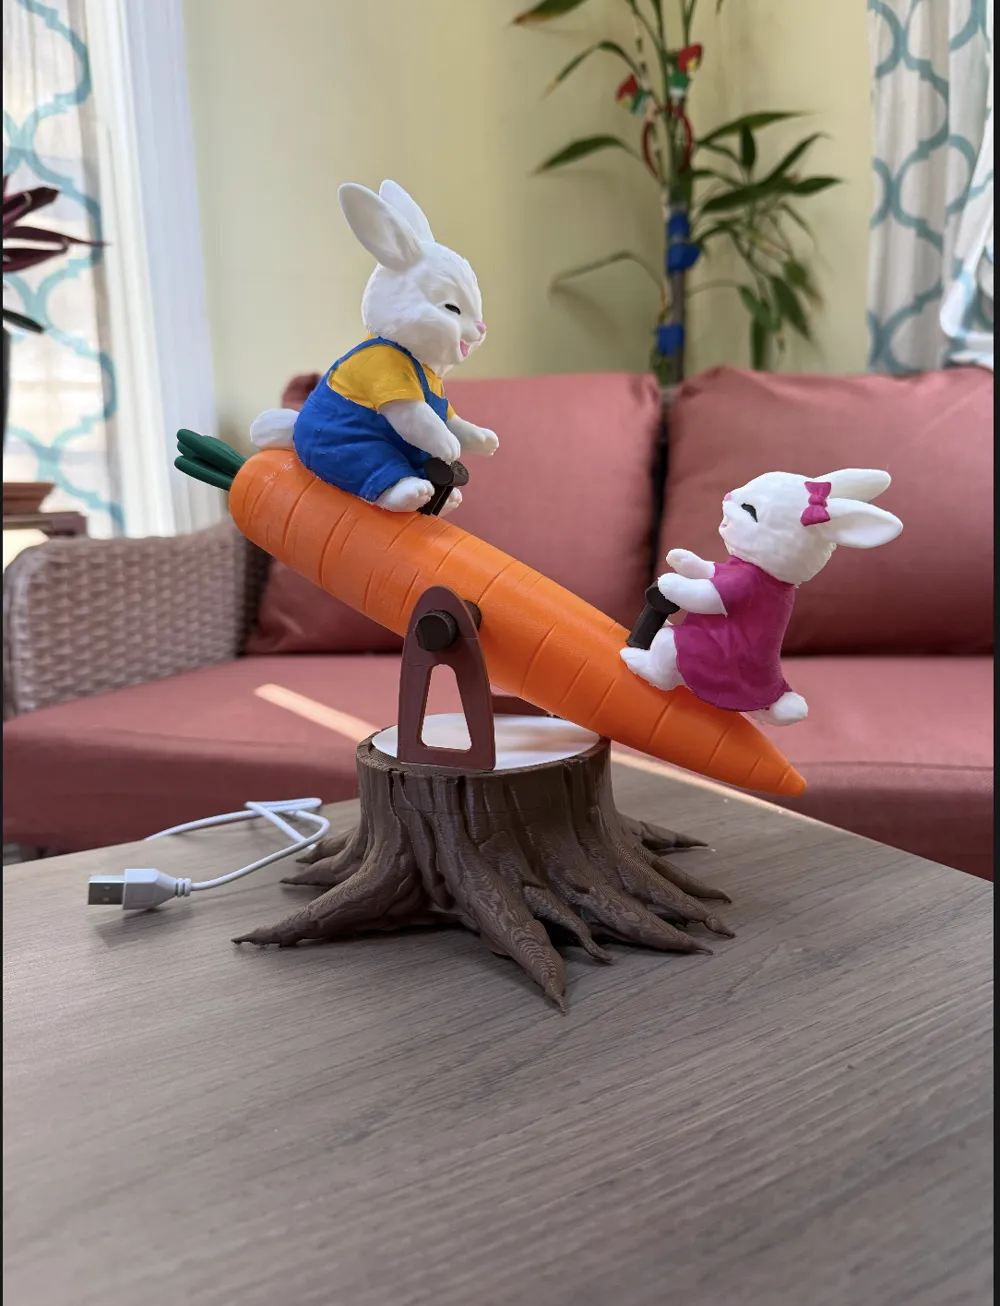
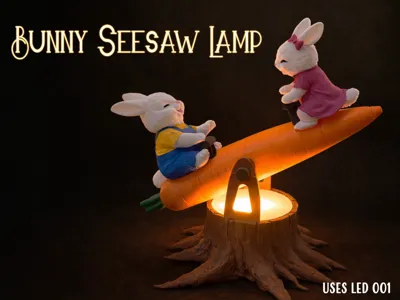
A quiet moment of play, captured in light. The Bunny Seesaw Lamp brings together warmth, balance, and storytelling in a single sculptural piece. Two cheerful bunnies sit atop a gently tilted carrot seesaw, frozen mid-motion as a soft glow rises from the base below—casting a calm, ambient light that enhances both form and emotion.
Designed with a focus on subtle detail and proportion, the piece blends soft character styling with a grounded, natural base. The gentle illumination from within creates depth and contrast, highlighting textures while maintaining a cozy, intimate atmosphere.
Whether placed on a bedside table, shelf, or workspace, this lamp functions as both a light source and a statement object—playful yet refined, expressive yet minimal.
A small scene, thoughtfully designed to feel alive.
🧩 Assembly:
Before assembling, if you choose to paint the bunny clothes; do them now.
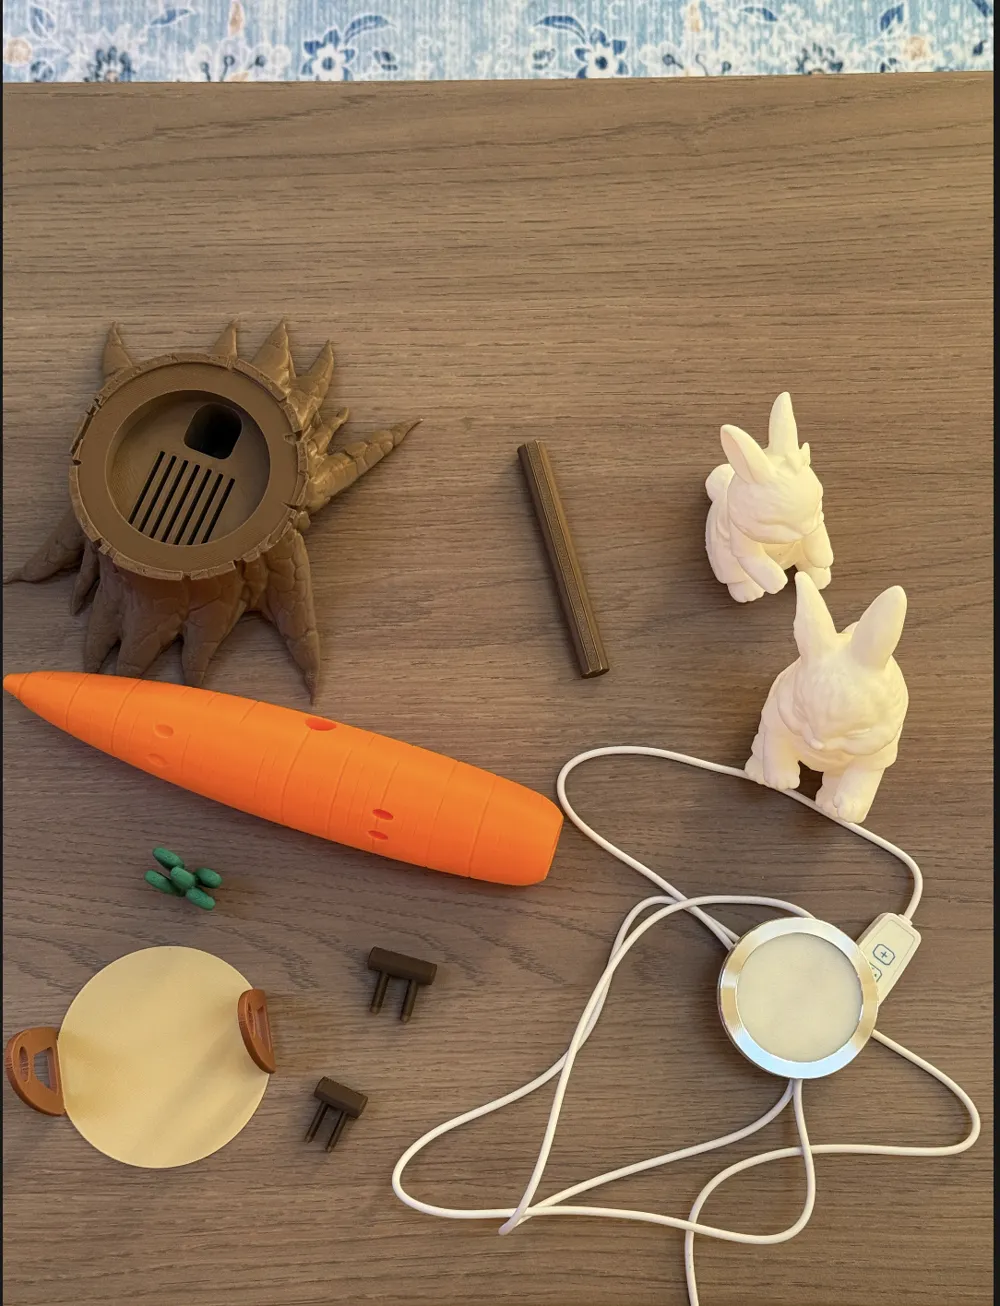
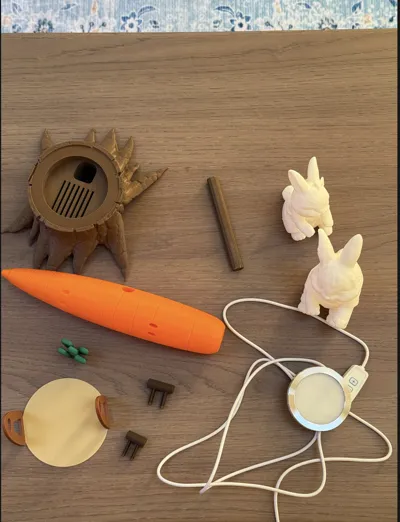
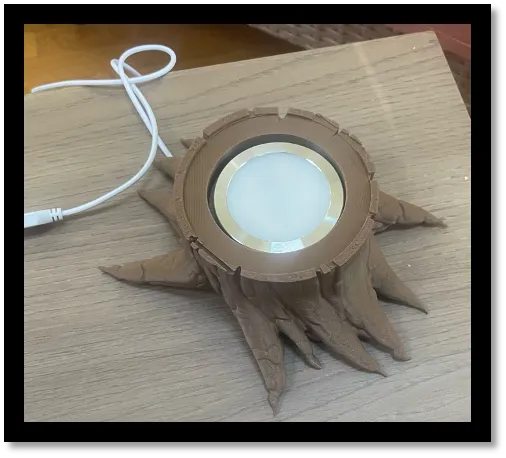
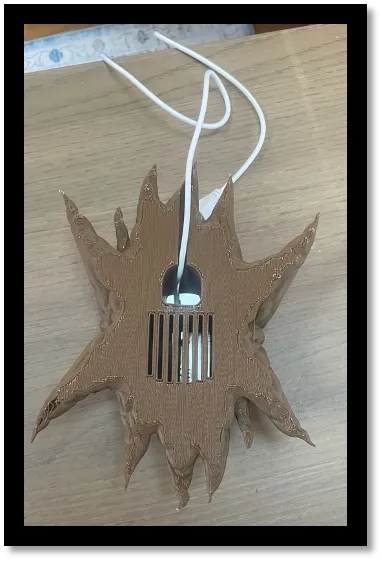
Step 1 – Place the Bambu led lamp kit into the stump
 |  |
Step 2 – Glue the carrot on the side and put the arm stands. The smaller arm stand goes where the leaf is and the bigger one goes in the opposite side
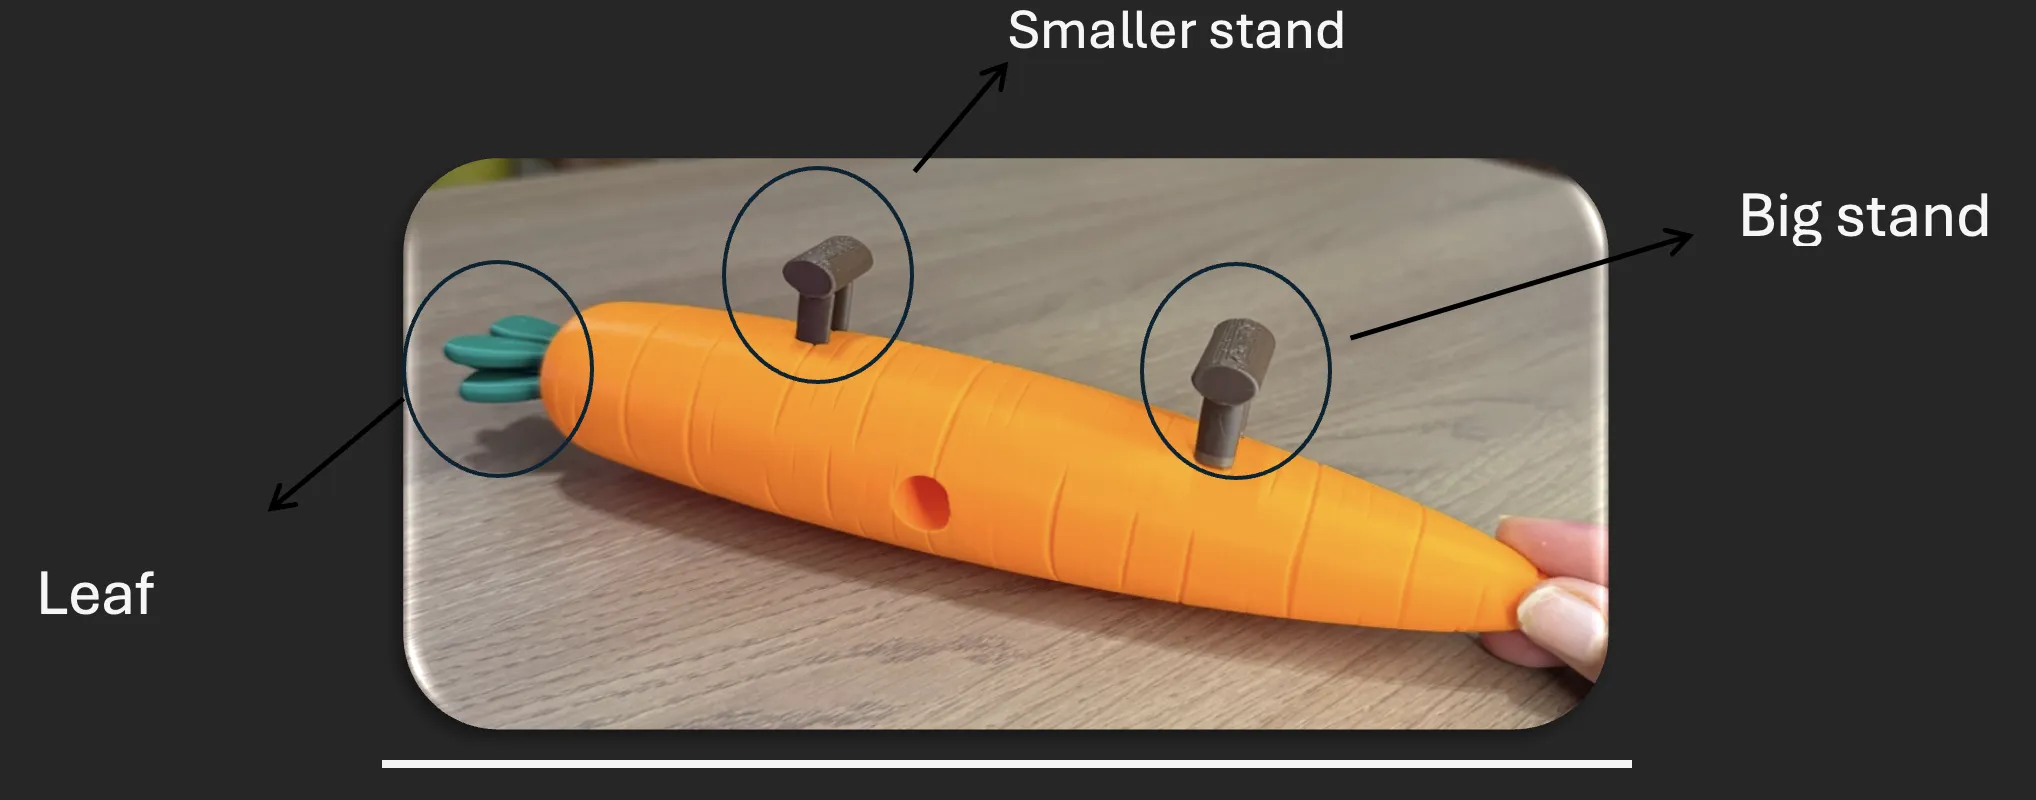
Step 3 – Glue the bunnies on each side
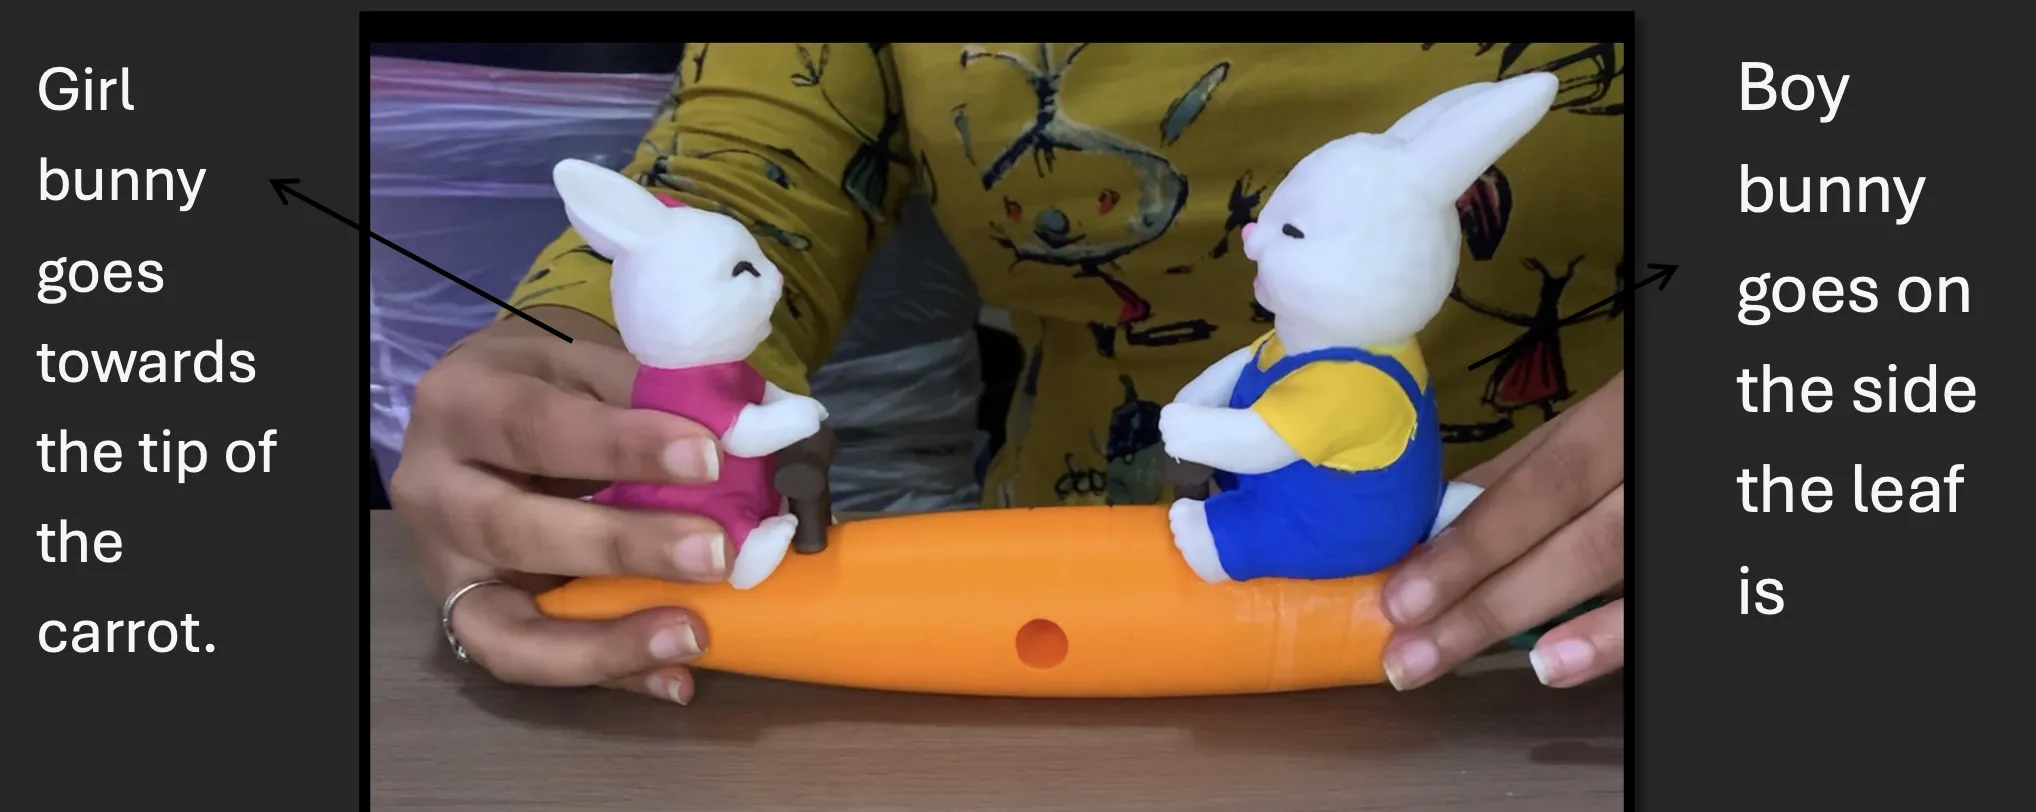
Step 4 - Take the rod; put one stopper; put it through the carrot and then put the other stopper
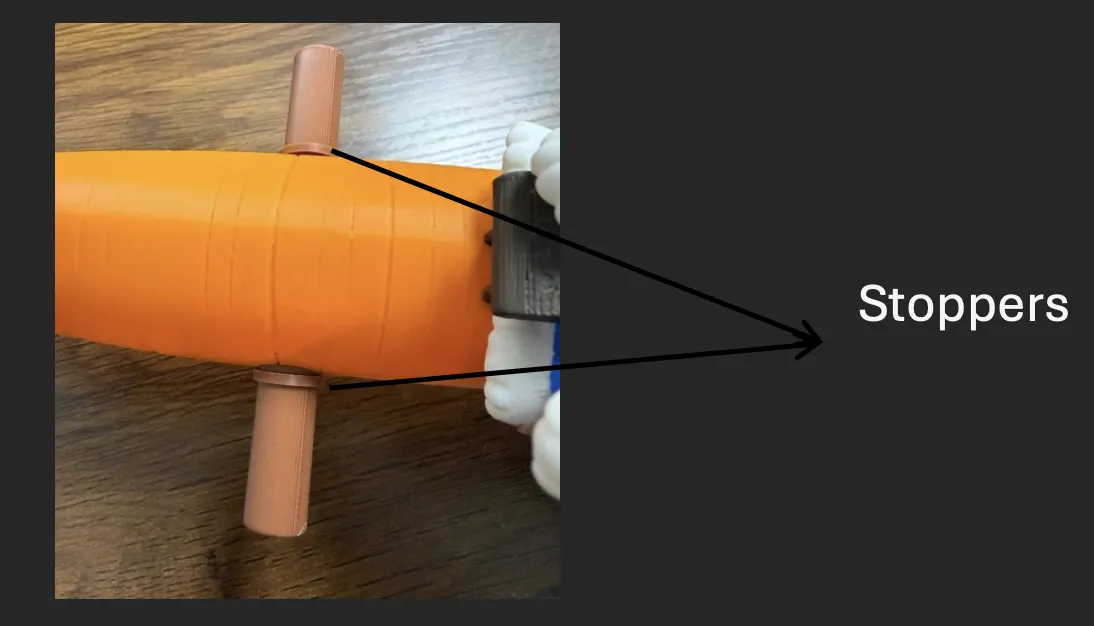
Step 5 - Put the rod through the diffuser sheet triangles
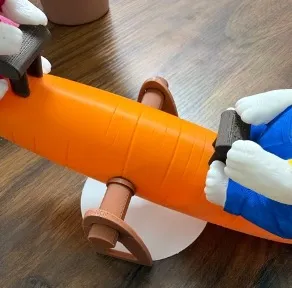
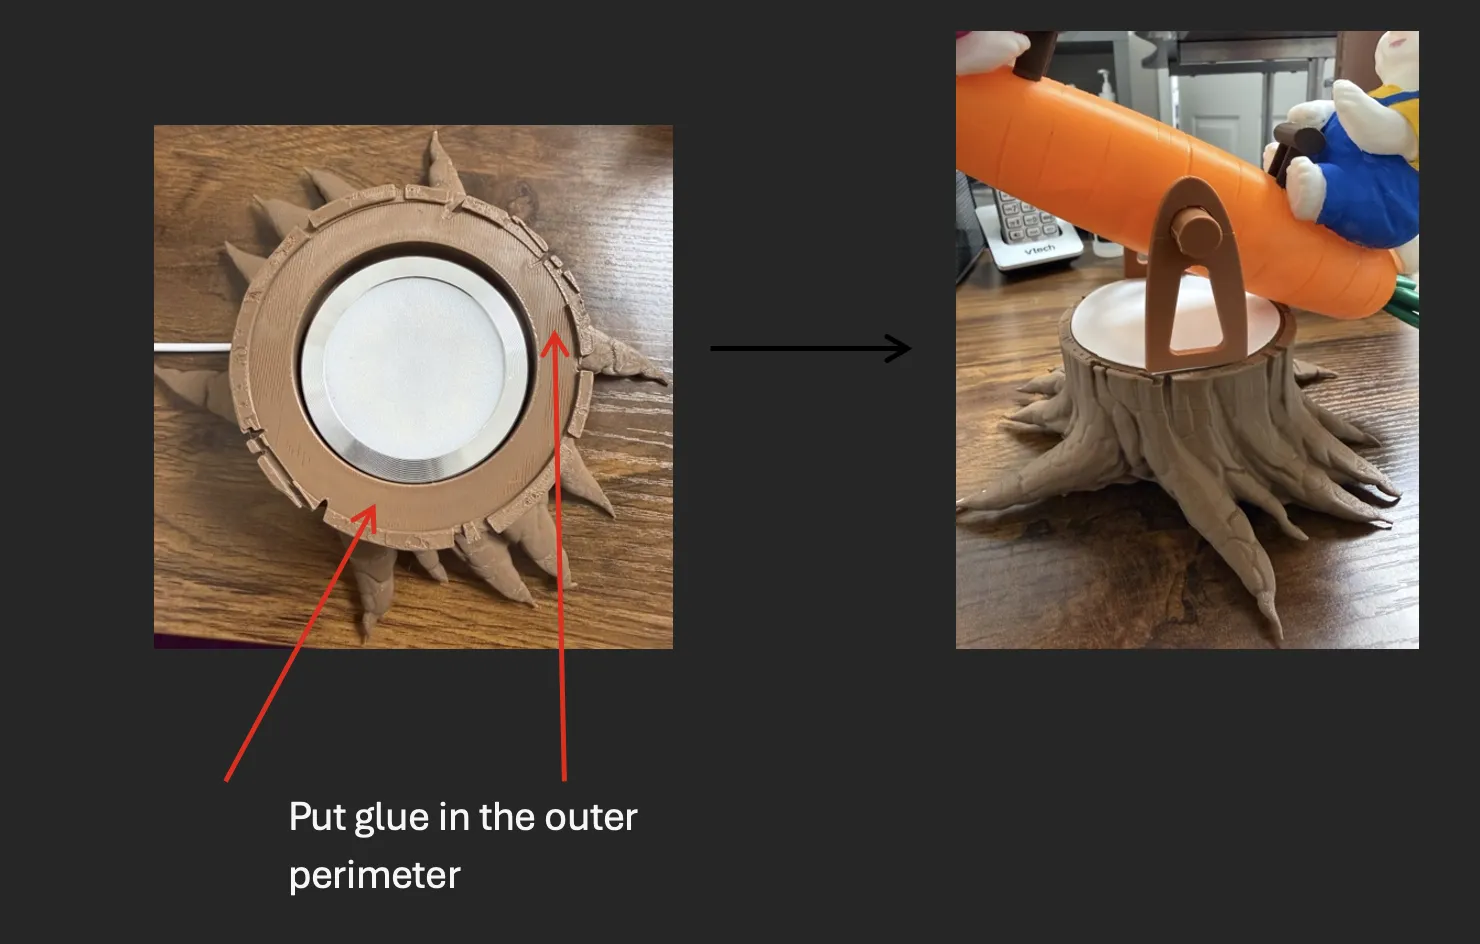
Step 6 - Glue the area indicated by red arrows and put the diffuser sheet on top.
Side note- To get bright LED print the diffuser sheet in white and the triangles in brown; but if looking for warm yellow lamp effect; print it in tan color with brown triangles.
Boost Me (for free)
Please consider boosting this model. It means a lot
Documentation (1)
License

You shall not share, sub-license, sell, rent, host, transfer, or distribute in any way the digital or 3D printed versions of this object, nor any other derivative work of this object in its digital or physical format (including - but not limited to - remixes of this object, and hosting on other digital platforms). The objects may not be used without permission in any way whatsoever in which you charge money, or collect fees.


Comment & Rating (2)