
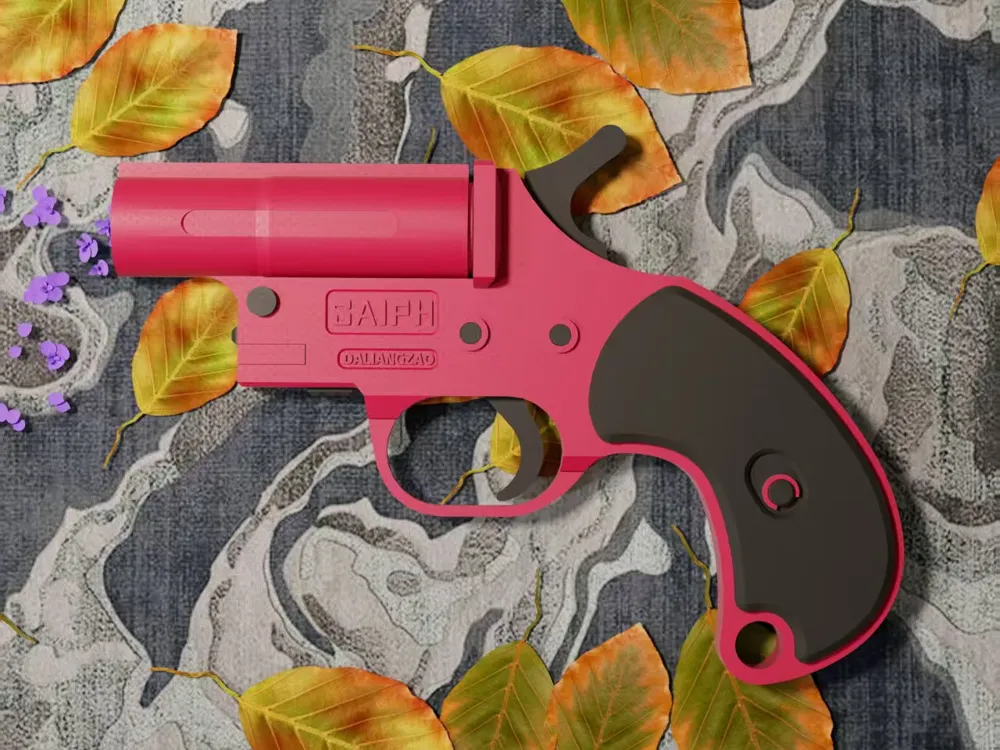
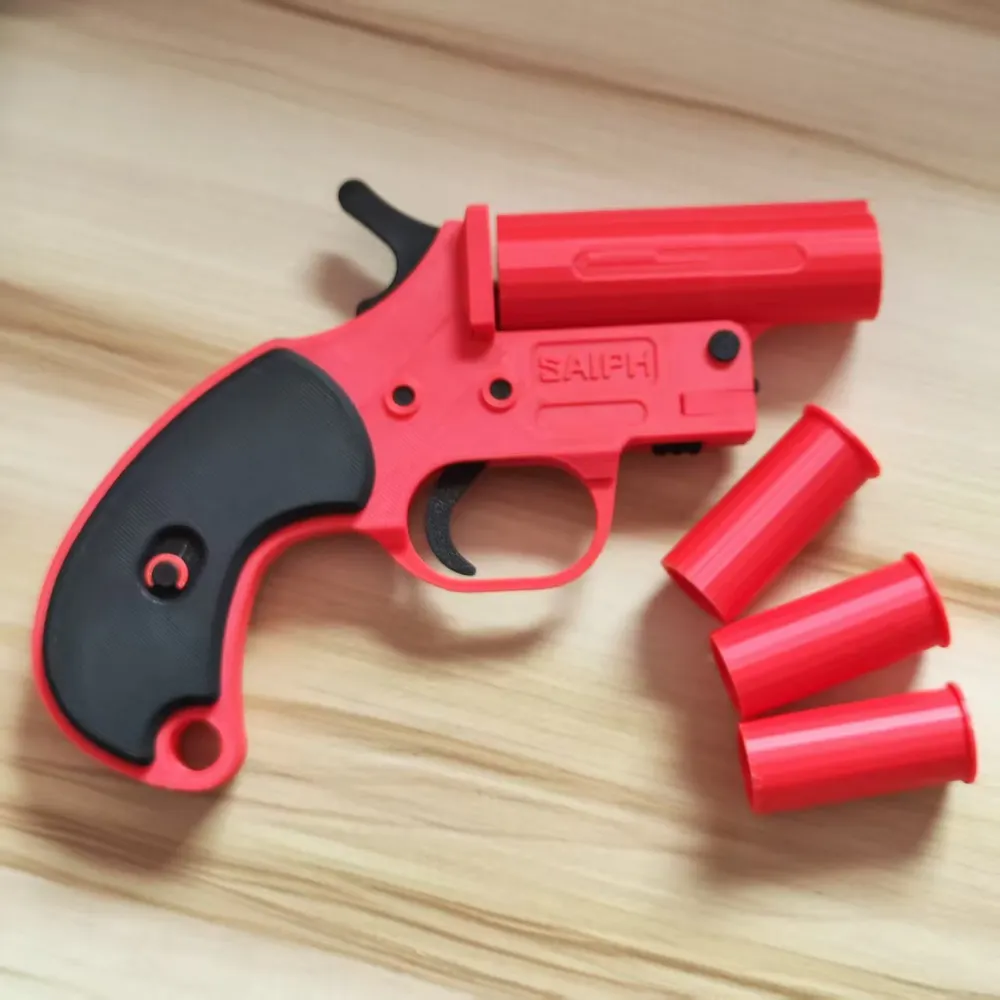
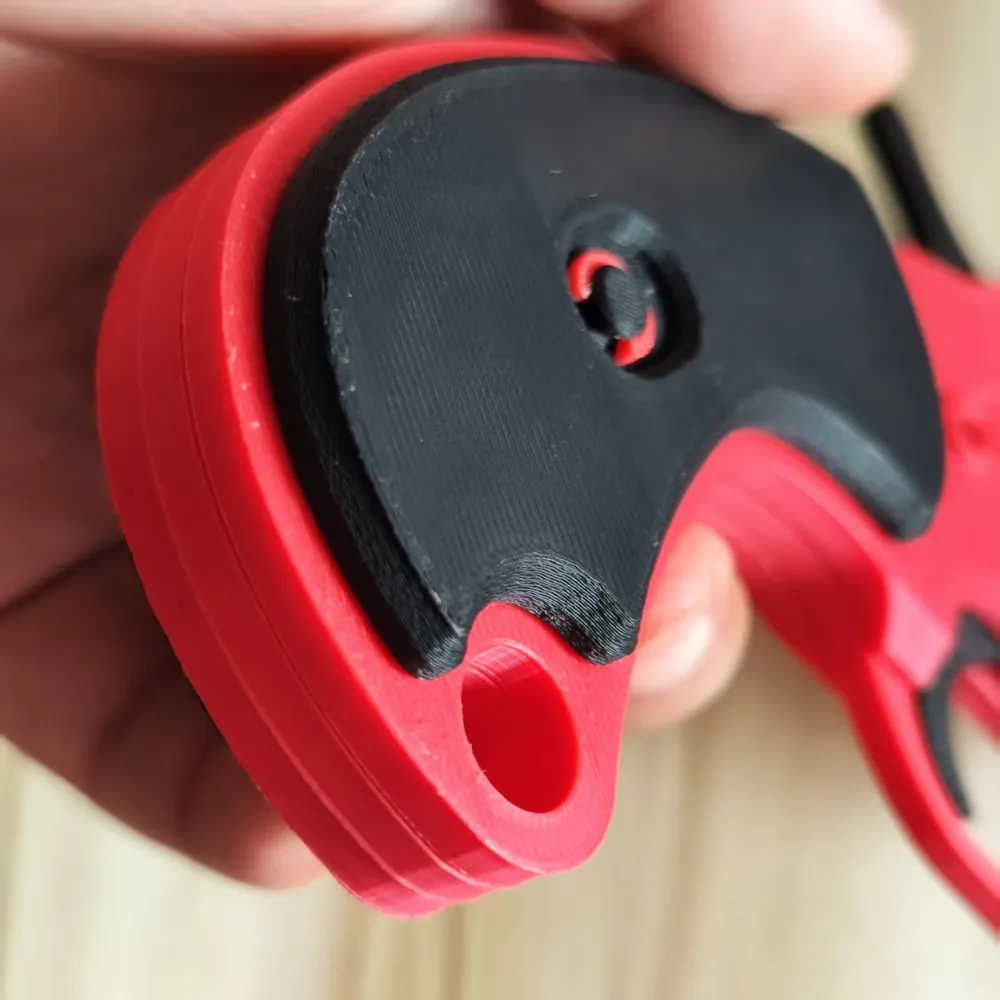
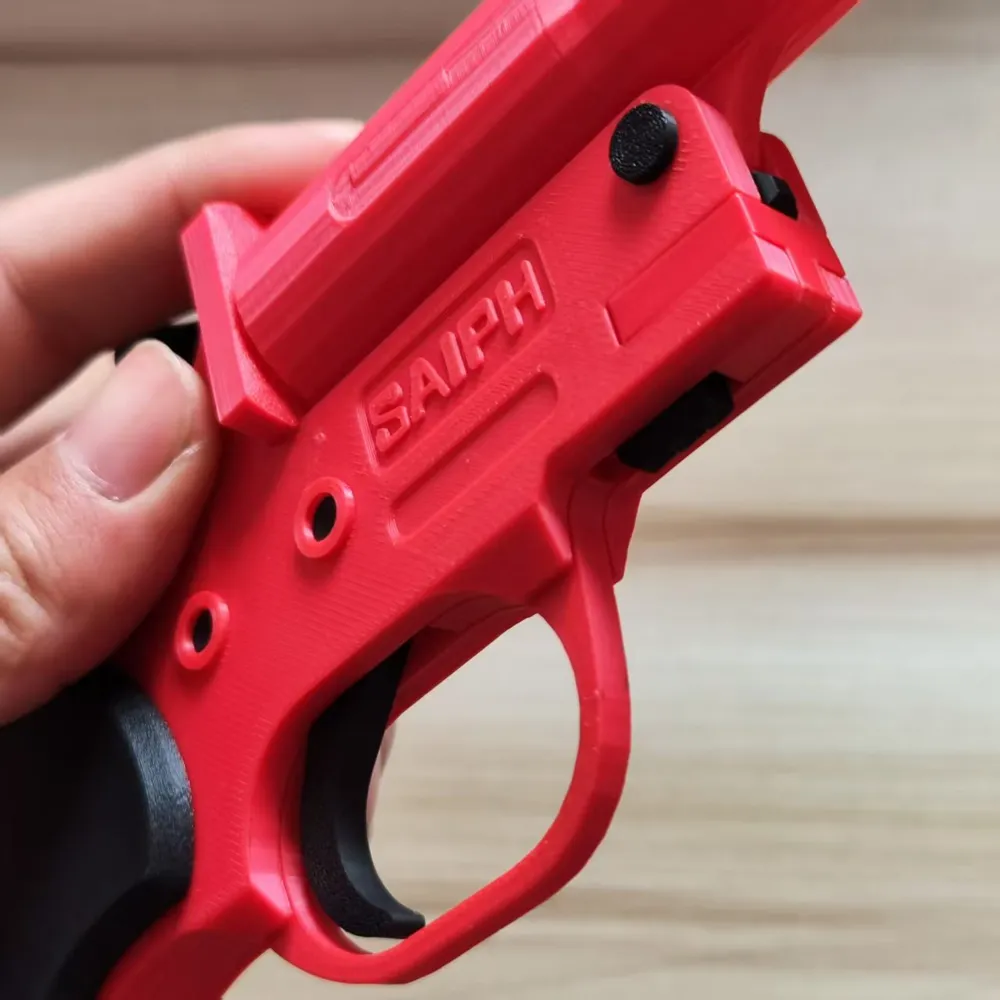
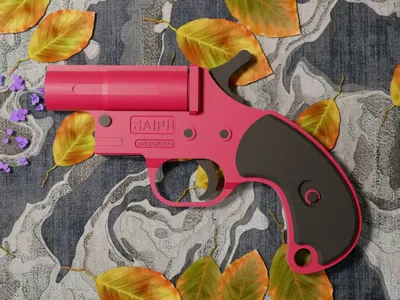
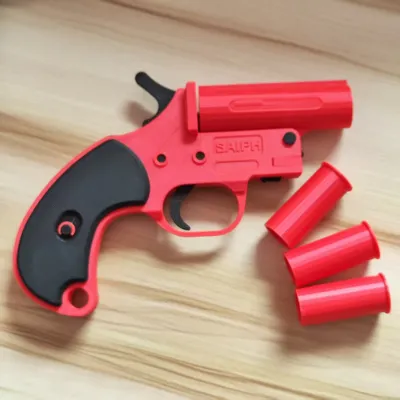
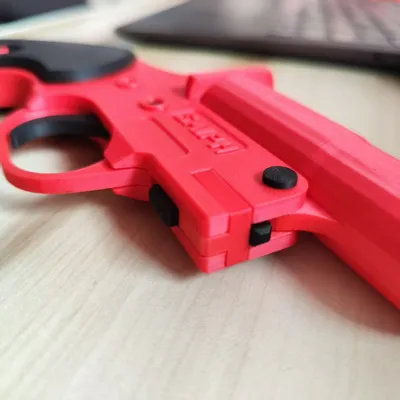
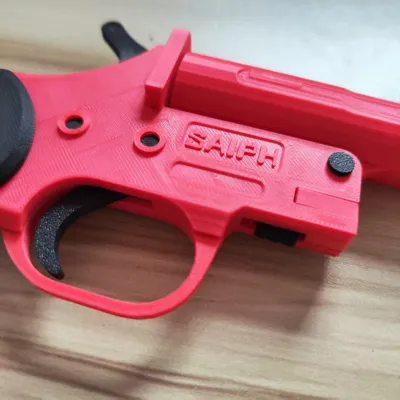
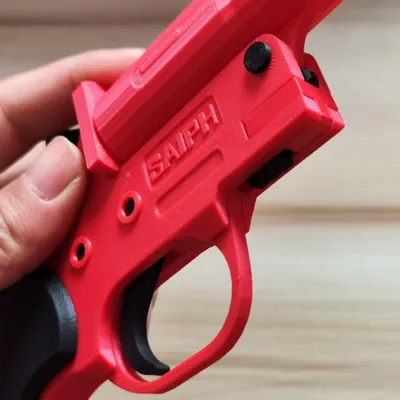
1:1 replica PUBG flare gun, cap gun, can fire caps, fill with confetti, produces a firework-like effect when triggered
Print Profile(1)
Description
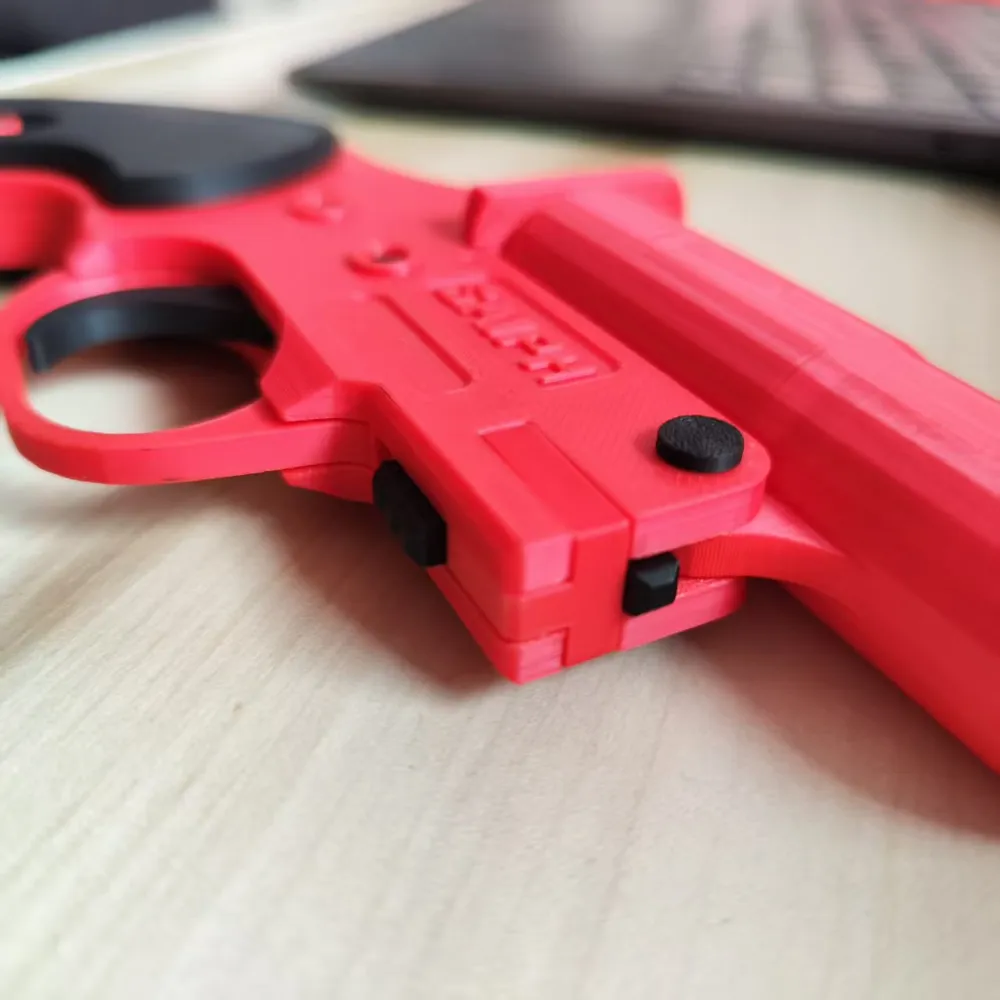
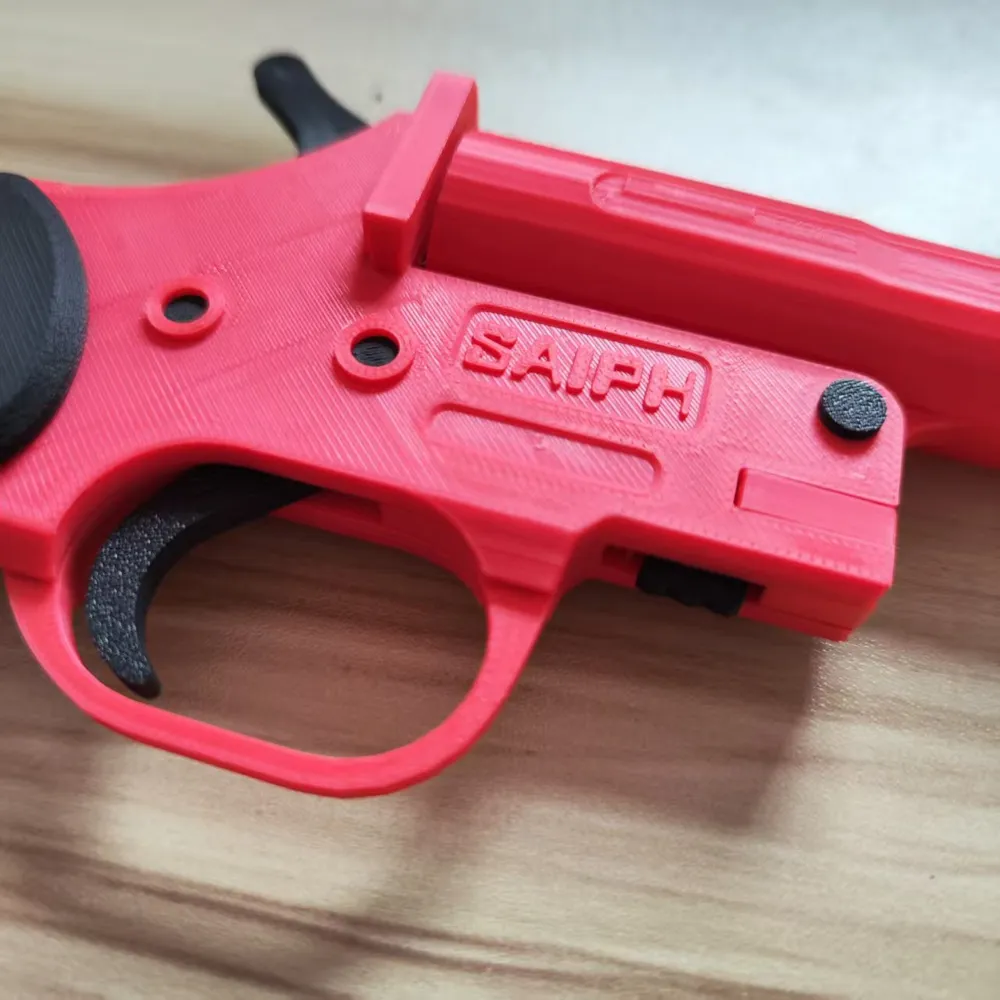
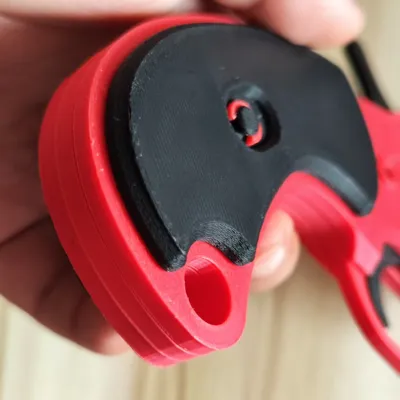
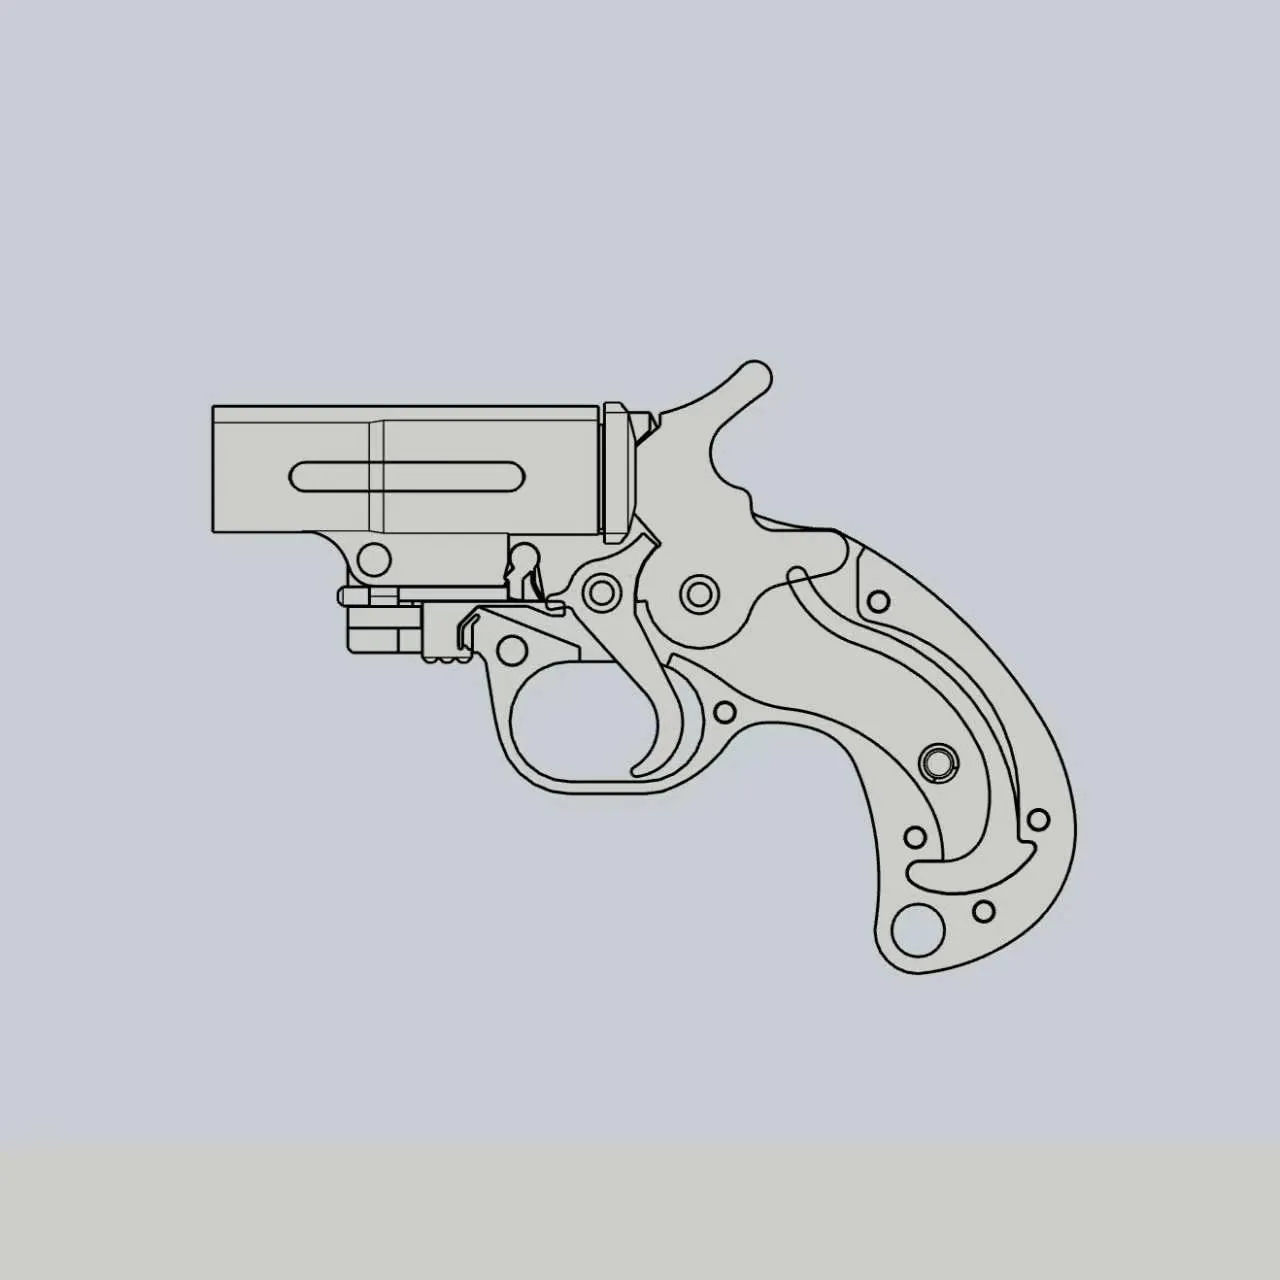
The model is a 1:1 replica of the PUBG flare gun, featuring an interlocking nested structure that requires no screws or glue for assembly and supports multiple disassemblies and reassemblies.
Notes:
1. For the firing pin holder of the shell, I designed it to fit an M2*14 flat-head hex screw. If you happen to have or can buy one, simply screw this specification of screw in from the front. If not, it's okay; you can still use a small screw from an old toy, screwing it in from the back of the shell (though this will reduce the probability of successful firing).
2. The firing pin part of the hammer is designed to fit an M2*3 pointed hex screw. Screw this specification of screw into the reserved hole, then remove it, grip the screw with pliers, and screw it in reverse with the pointed end facing outwards. If you still don't have this size of screw, it's fine; we can still use a seamless nail instead, but you will need to adjust the depth of the reserved hole to match the length of your seamless nail (hole depth = seamless nail length - 1~2mm).
3. To ensure uniform stress on the pivot part, the print Z-seam setting for the pivot is best set to random.
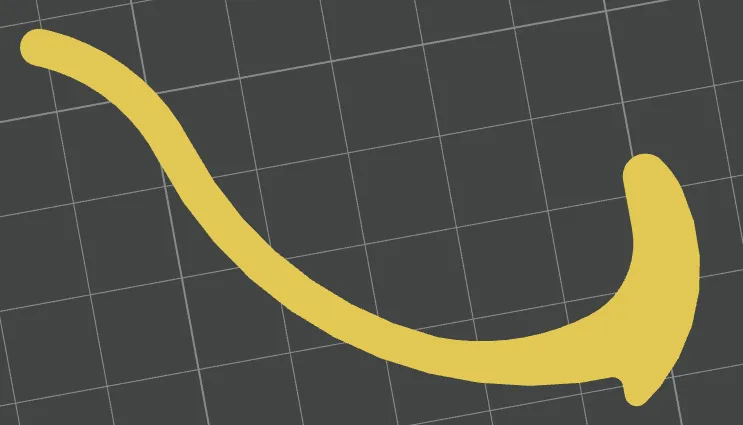
4. All overall components can be fully handled by PLA, but the hammer spring must be printed with PETG material and the number of walls set to 5 walls or more, with a concentric infill pattern (that's it).
5. The small round cap is not for covering the shell. The method of use is: after filling with confetti, cover the shell with paper, then use the small round cap to press the paper into a lid shape. Finally, cut off the excess edges, and the paper lid can be fully pressed into the shell, which effectively prevents confetti from leaking out.
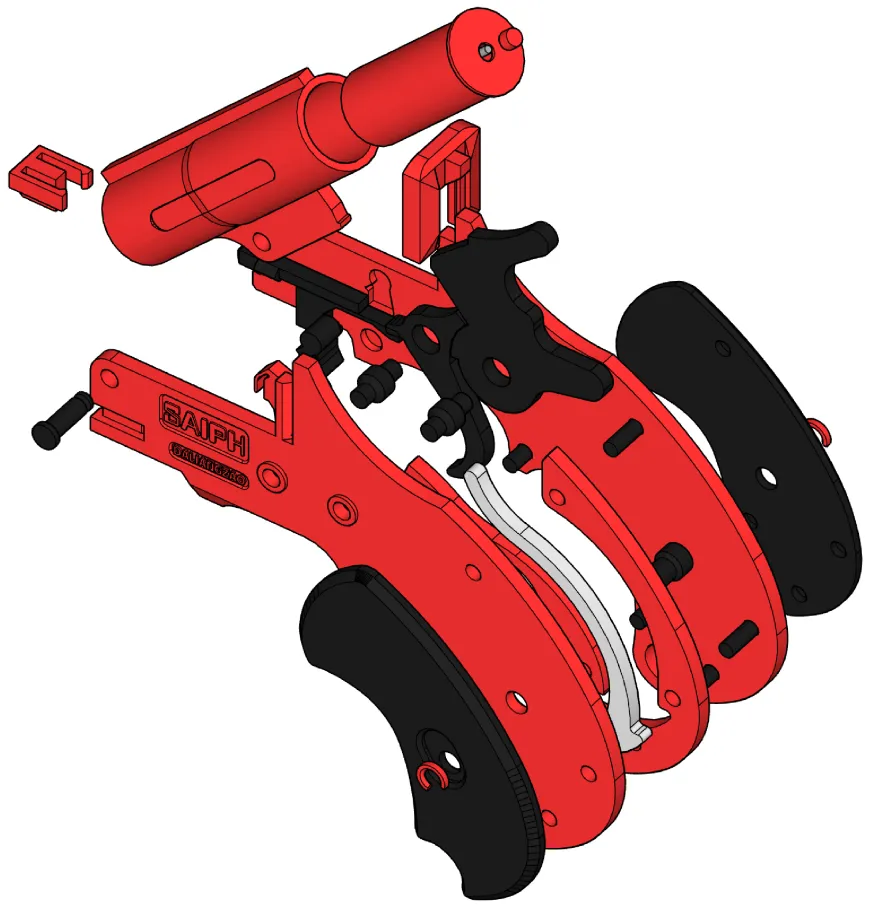
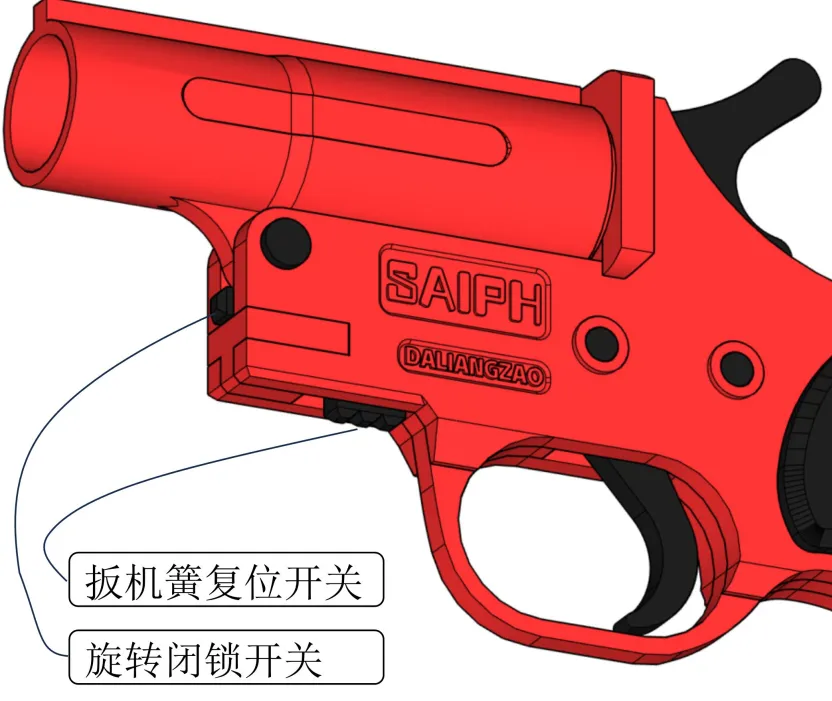
6. Work has been a bit troublesome recently, so this is a rough exploded diagram. Please bear with it. If anything is unclear, you can discuss it in the comments section or @me. I will reply when I see it, or I will provide a detailed assembly tutorial after I'm less busy. (By the way, when not in use, be sure to disengage the trigger spring to release stress, as this affects its lifespan. You can lightly sand parts during assembly; just don't be too rough!)
License

You shall not share, sub-license, sell, rent, host, transfer, or distribute in any way the digital or 3D printed versions of this object, nor any other derivative work of this object in its digital or physical format (including - but not limited to - remixes of this object, and hosting on other digital platforms). The objects may not be used without permission in any way whatsoever in which you charge money, or collect fees.


Comment & Rating (9)