
Magnetic Minecraft Blocks | Magnetic Minecraft Blocks
Print Profile(1)
Description
🧱 Minecraft Magnetic Blocks | Magnetic Minecraft Blocks
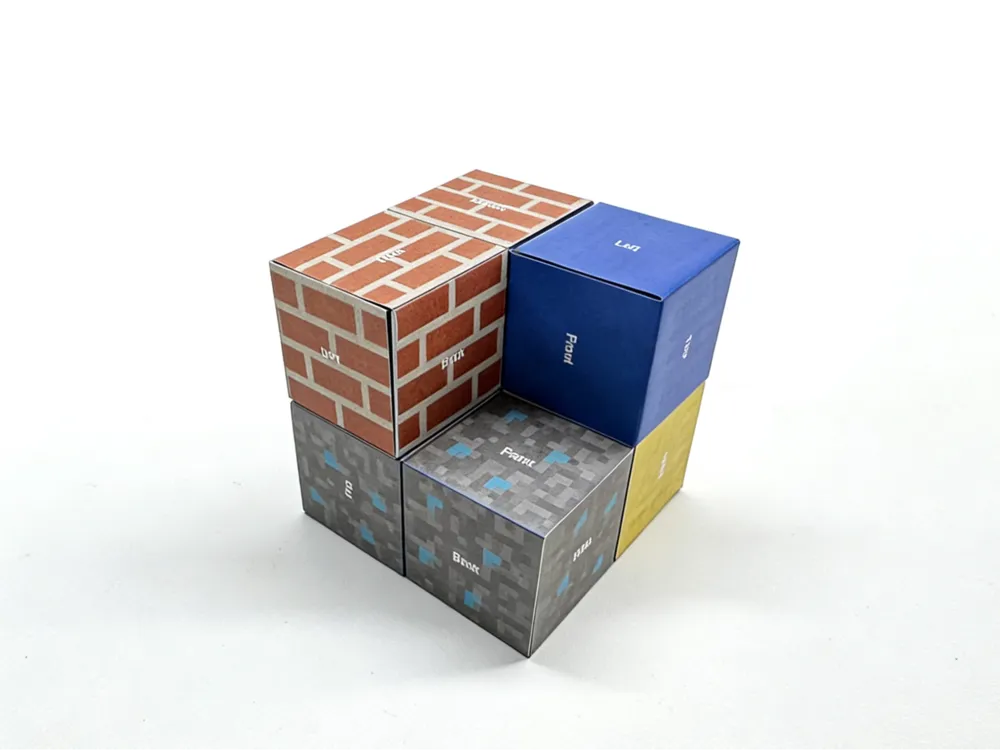
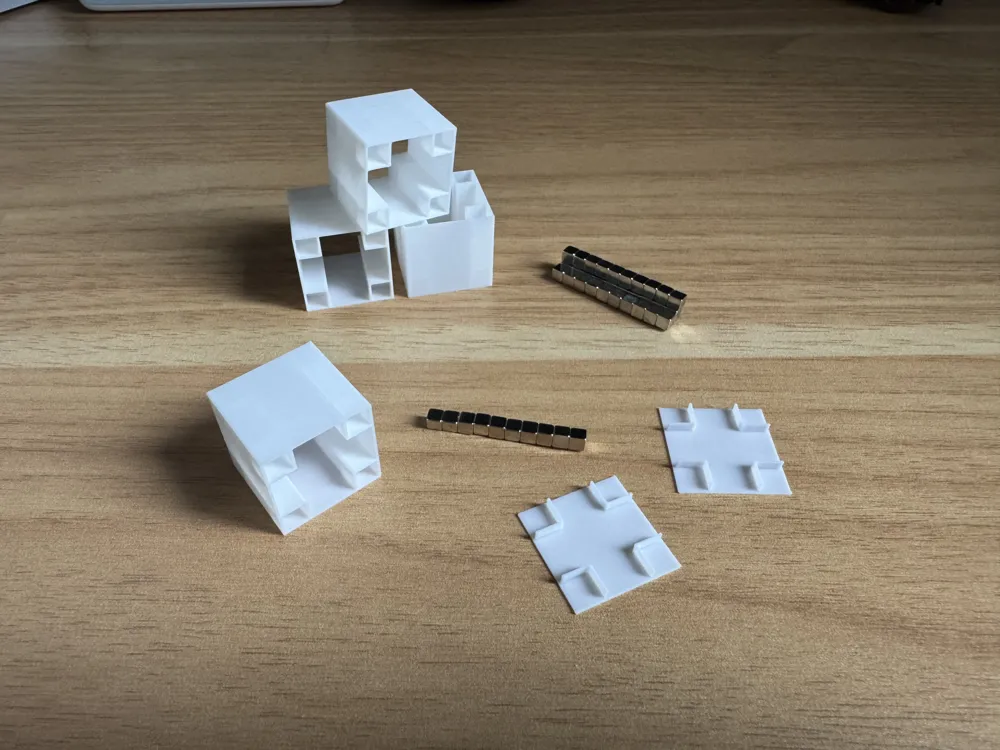
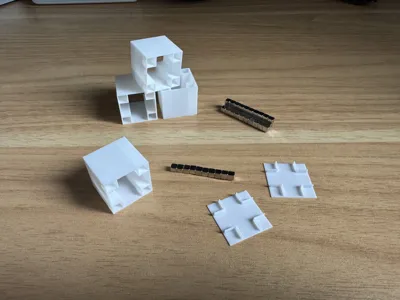
Printing + magnets + stickers, recreate realistic Minecraft magnetic blocks. Each block consists of three 3D Printed parts: a **middle frame, a top cover, and a bottom cover**. After embedding 3×3×3mm square magnets and snapping them together, then applying textured stickers, they can be freely assembled
📦 Required Materials
| Material | Description | Source |
|---|---|---|
| Block Middle Frame | 1 per block | |
| Top Cover / Bottom Cover | 1 of each per block, with snap-fit structure | |
| 3×3×3mm Square Magnets (Neodymium) | Embed in four corner magnet slots | Purchase separately |
| Sticker Template | Attachment includes several classic textures | Print attachment / DIY |
🖨️ Printing Parameters
⚠️ Must use 0.2mm nozzle for printing to ensure the dimensional accuracy of the magnet slots and the snap-fit quality. Using a coarser nozzle may result in magnets not fitting precisely into the slots or the top and bottom covers not snapping together
| Parameter | Recommended Value |
|---|---|
| Nozzle Diameter | 0.2 mm (Mandatory) |
| Layer Height | Default |
| Recommended filament | PLA/PETG |
| Supports | no supports |
| Infill Density | Default |
| Wall Loops | 1 (Mandatory) |
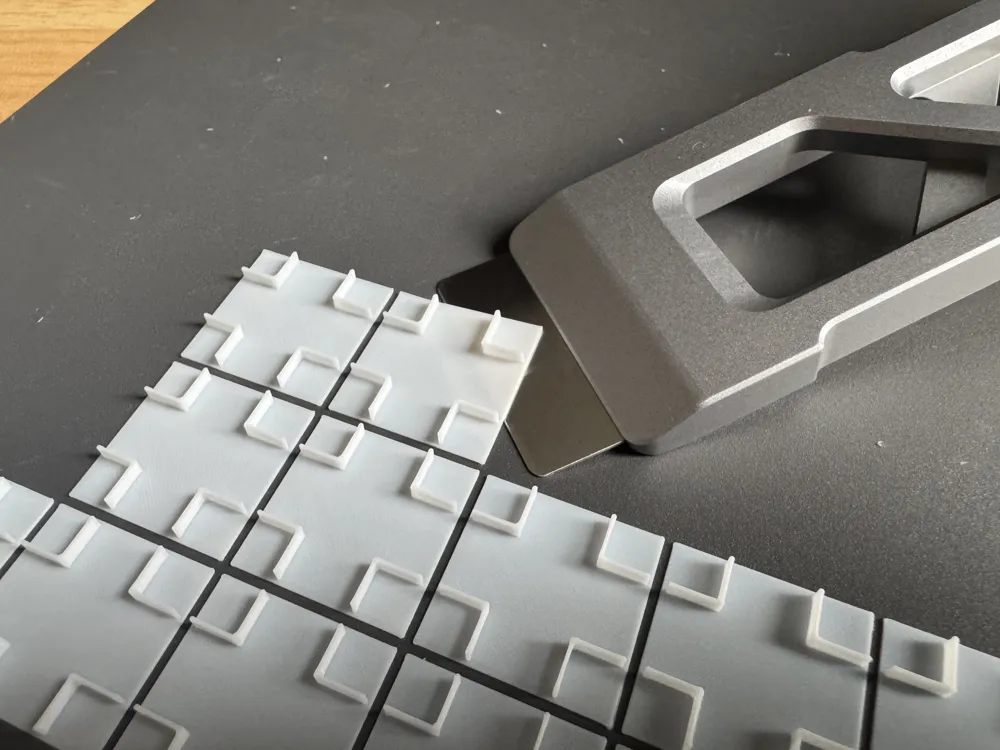
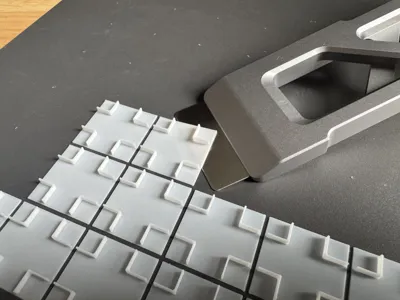

⚠️ After printing, the top and bottom covers must be fully cooled before being gently assisted off with a scraper. Do not force bending to avoid warping that could affect the biting accuracy with the middle frame
🔧 Assembly Steps

Step 1 — Print the three-piece set. Print one middle frame, one top cover, and one bottom cover separately according to the parameters. It is recommended to use white or light-colored filament for better sticker color reproduction. Once cooled, remove the top and bottom covers with a scraper
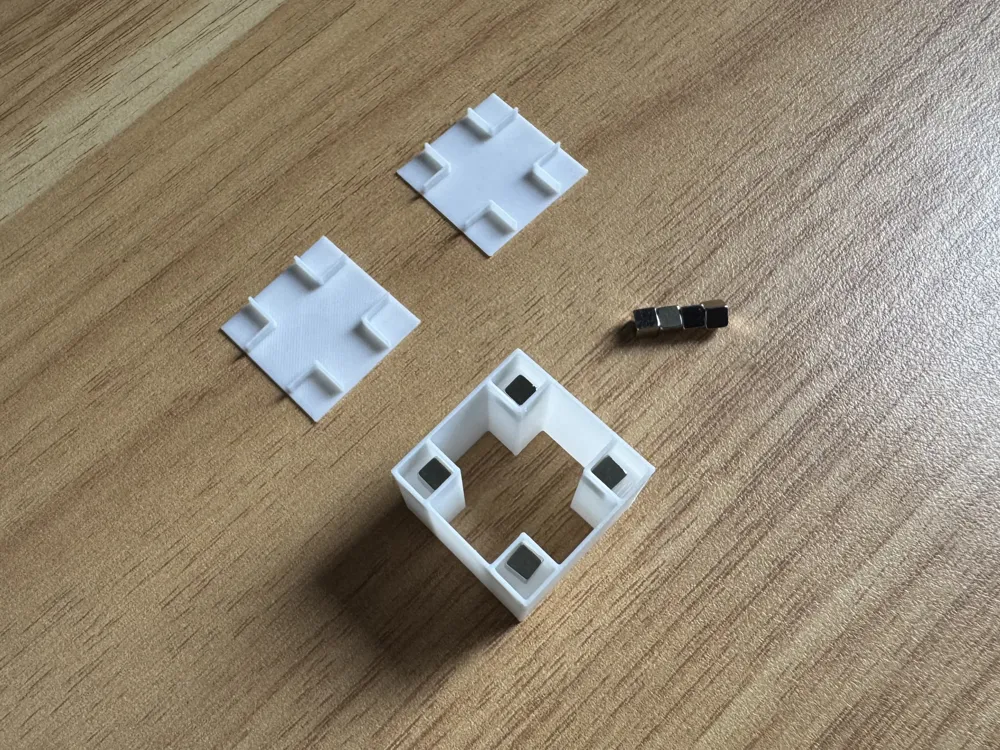
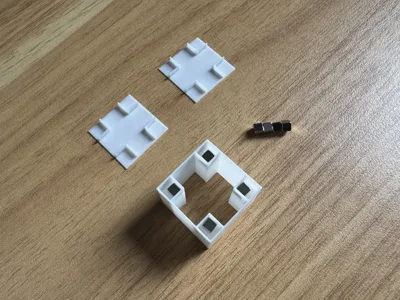
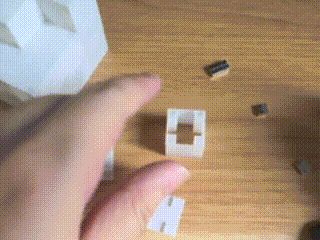
Step 2 — Embed Magnets. Embed 3×3×3mm square neodymium magnets into the magnet slots at the four corners of the middle frame. Note: The magnets should be able to rotate freely in the slots, sizes larger than 3*3*3mm may affect rotation
Step 3 — Snap on Top and Bottom Covers. Align the bottom cover with the snap-fit at the bottom of the middle frame and gently press to snap it on, then snap on the top cover. The two covers are secured by snap-fits, no glue is needed
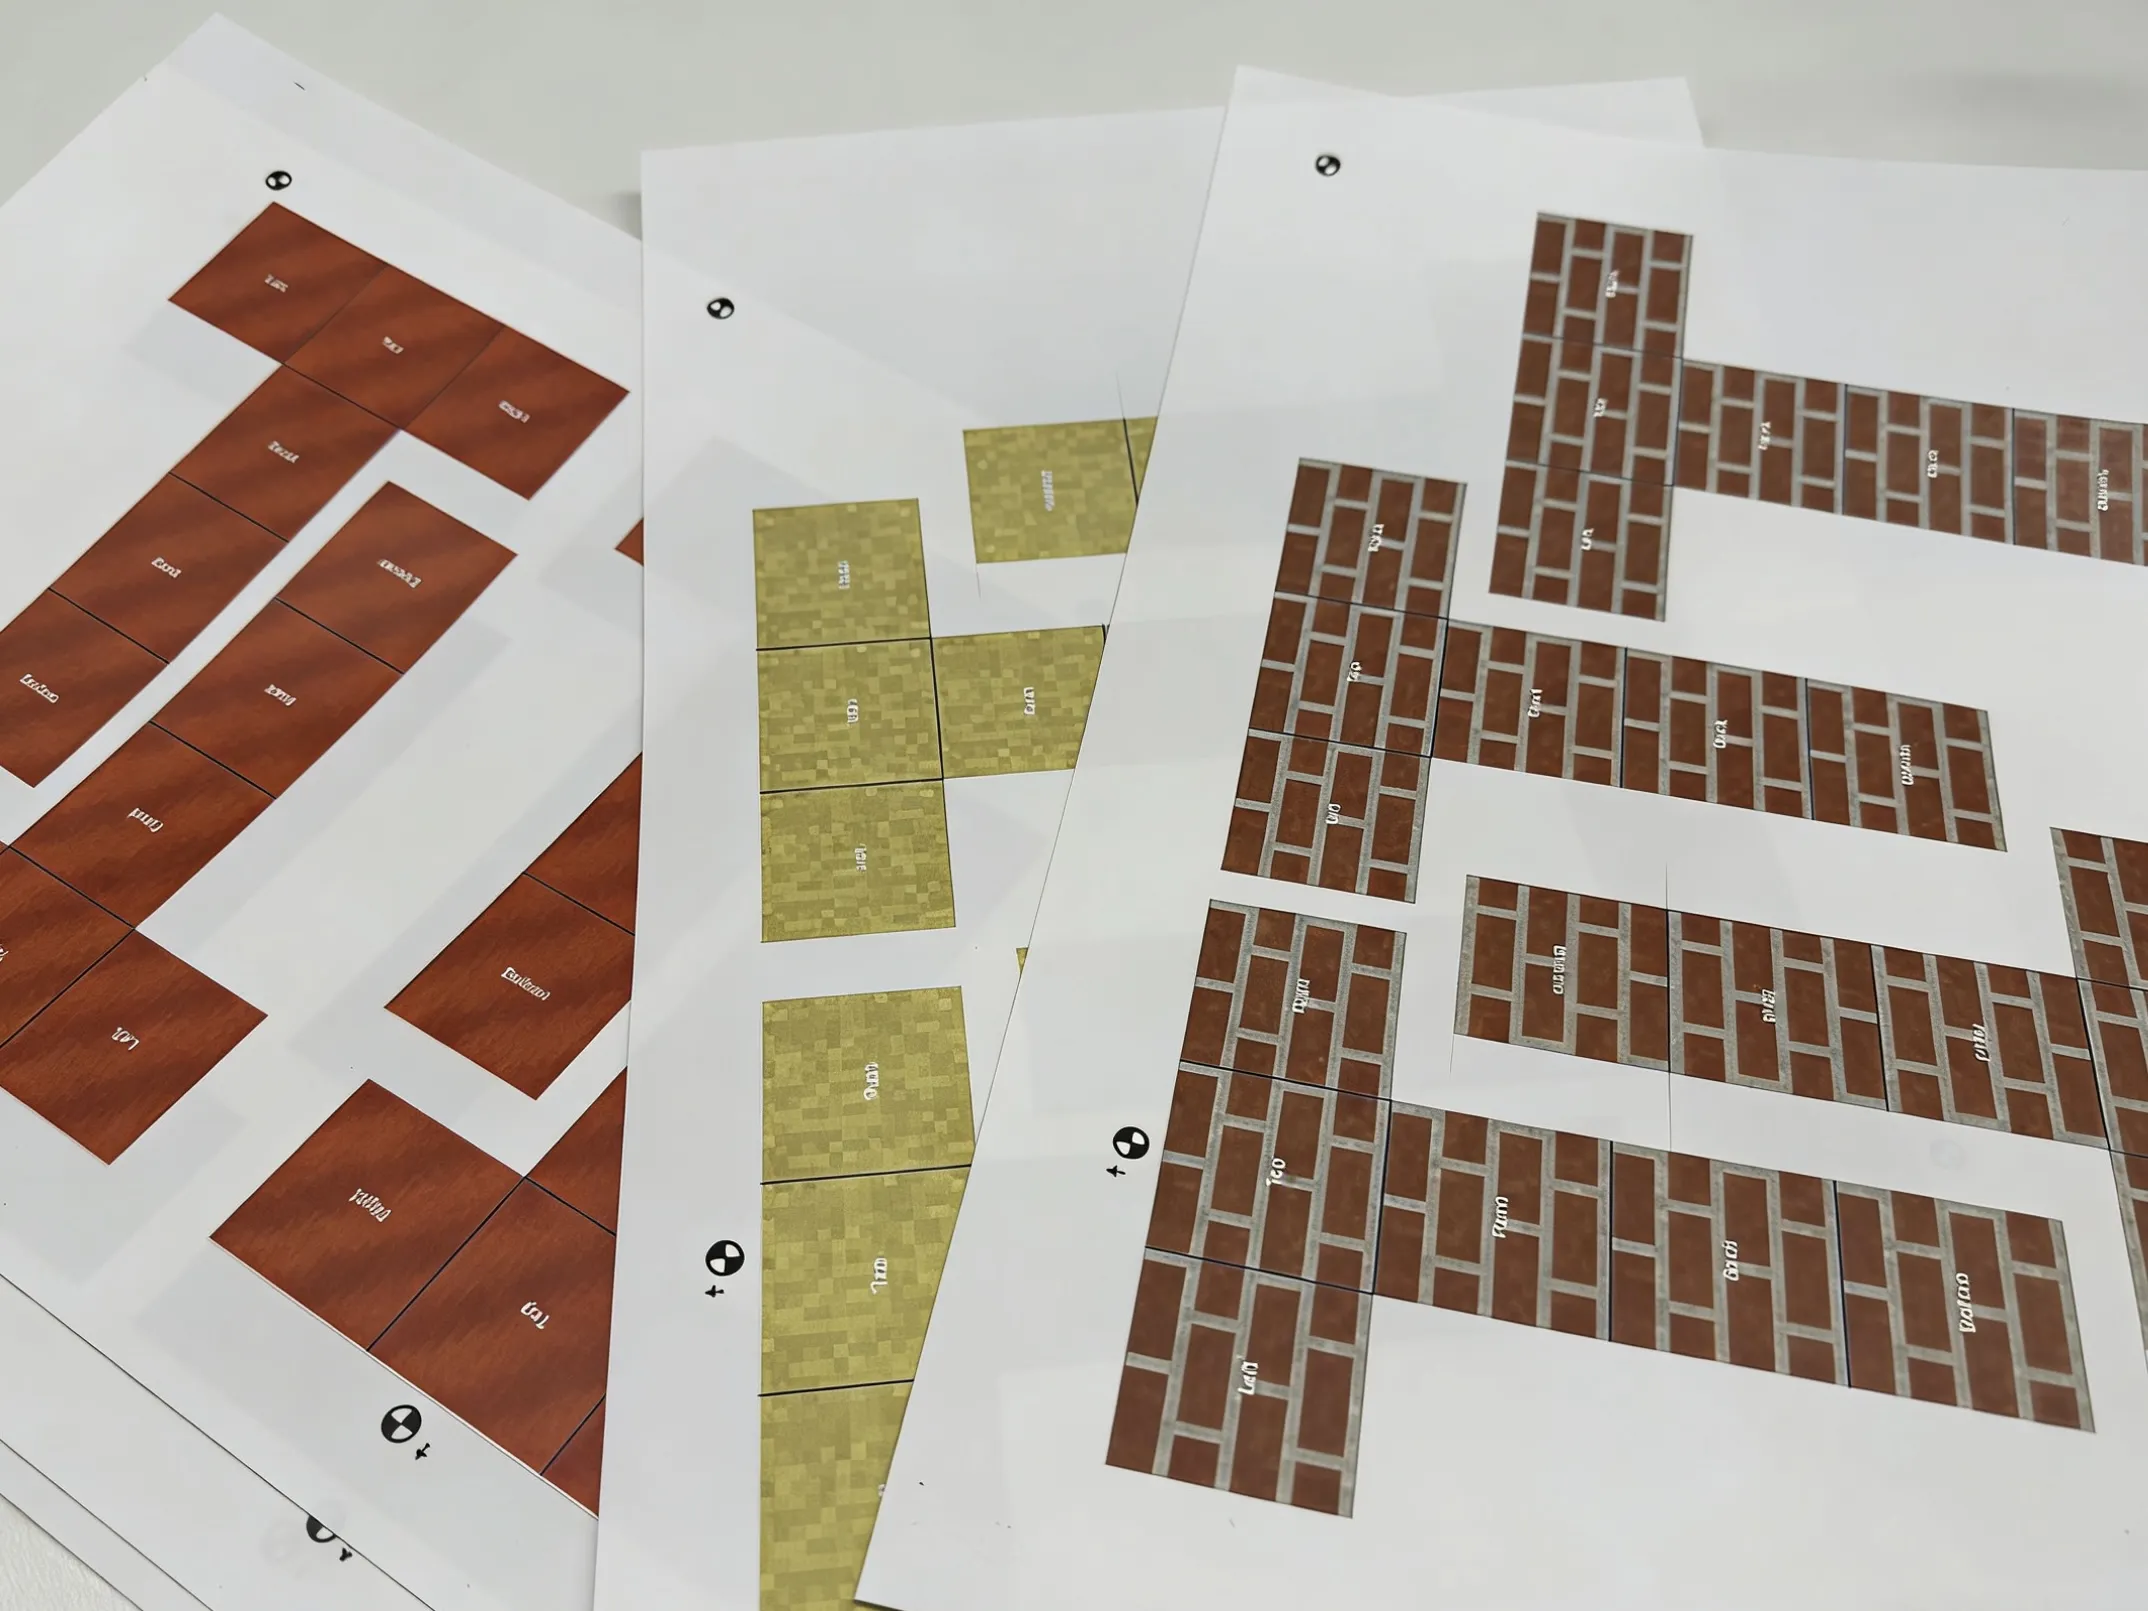
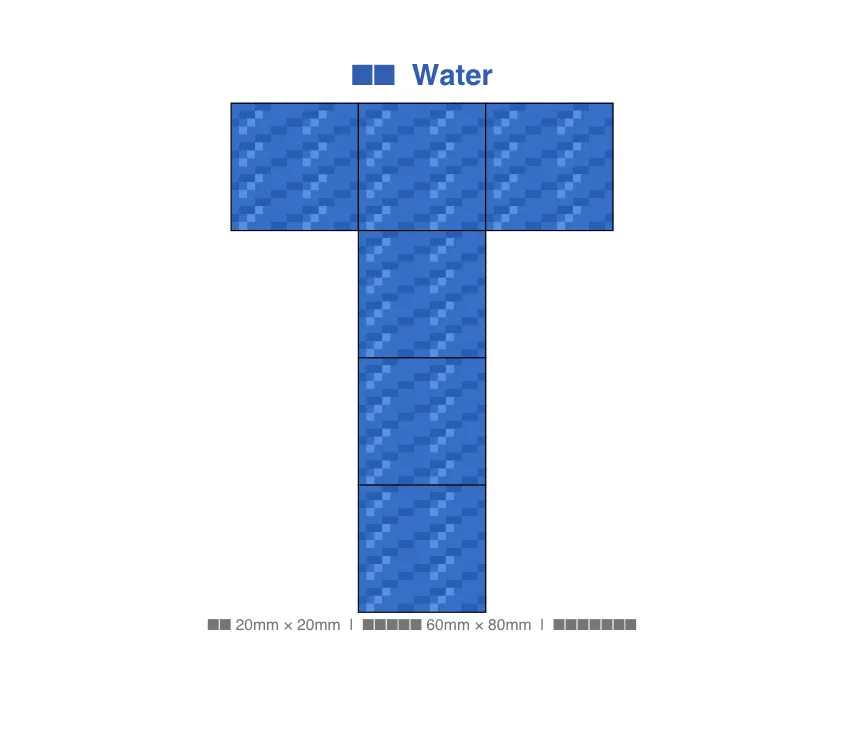
Step 4 — Cut and Apply Stickers. After printing the sticker templates included in the model's attachments, cut along the lines and apply them to the six faces of the block. You can also refer to the template dimensions to create custom textures using AI tools and then print them
🎨 Attachment Description
The model attachments include the following:
- Sticker Cutting Templates (PDF + DXF): Adapted to the block face dimensions, including classic textures such as brick, diamond ore, gold ore, stone, and grass block
- The templates can also be used as a size reference to create personalized textures with Illustrator or AI tools

💡 Assembly Effect
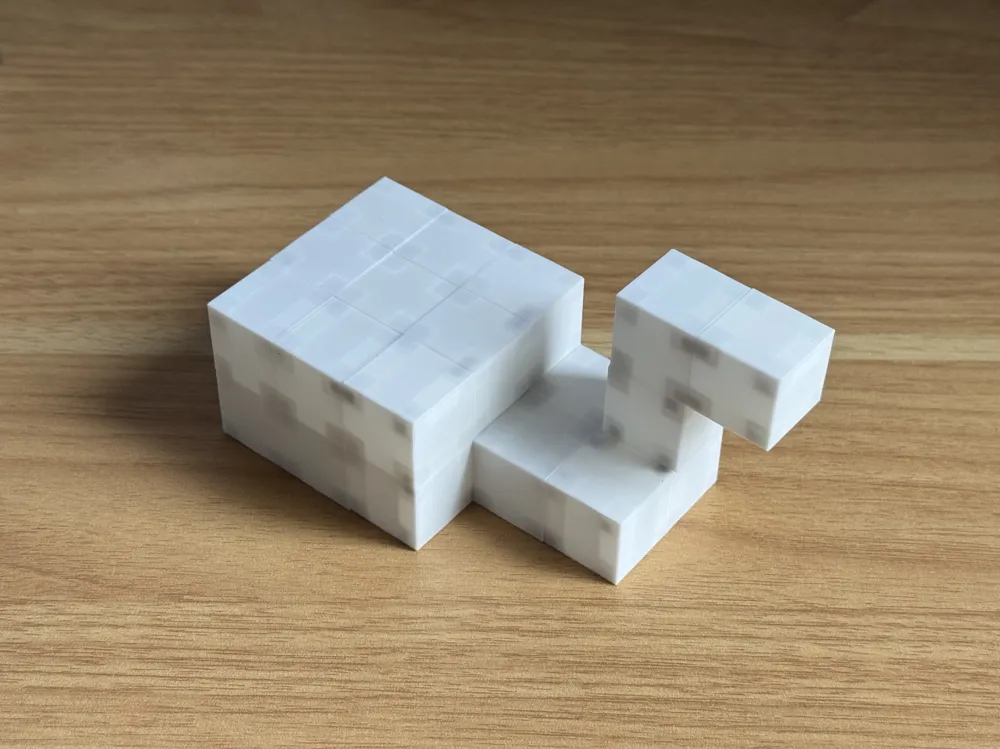
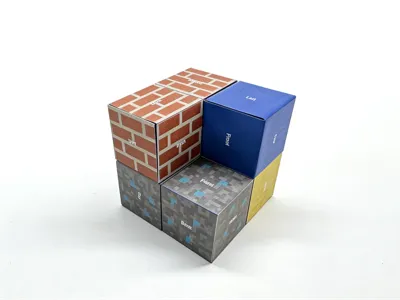
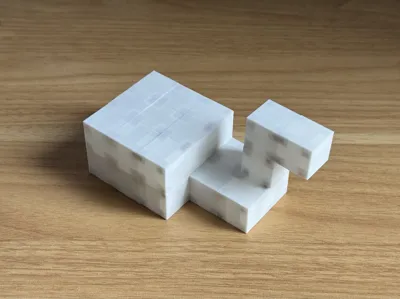
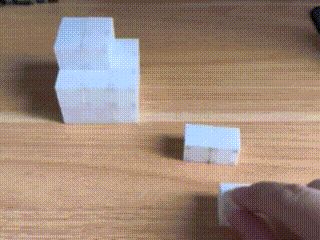
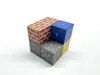
The blocks attract each other via the four corner magnets, allowing for free assembly into any shape, no glue or tenons needed, can be reassembled anytime
How to remove the top and bottom covers using a scraper:


Assembly process illustration:
Assembly effect display:
Attachments use AI-generated stickers to create self-adhesive labels
Documentation (2)
License

You shall not share, sub-license, sell, rent, host, transfer, or distribute in any way the digital or 3D printed versions of this object, nor any other derivative work of this object in its digital or physical format (including - but not limited to - remixes of this object, and hosting on other digital platforms). The objects may not be used without permission in any way whatsoever in which you charge money, or collect fees.


Comment & Rating (2)