
Monitor Touchscreen 10 Pollici con Raspberry Pi 4
Print Profile(1)
Description
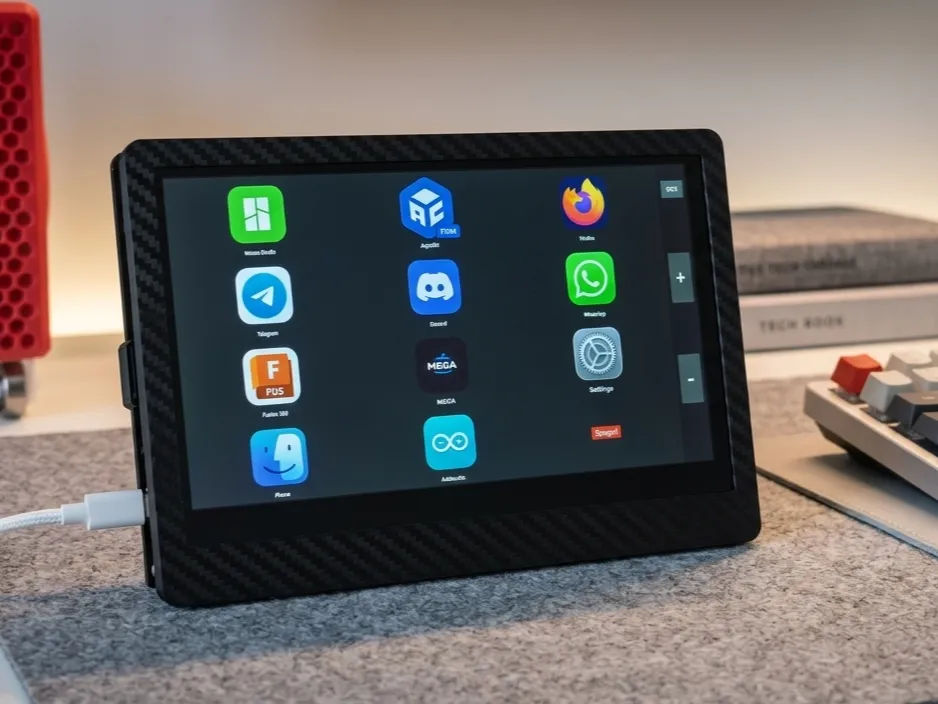
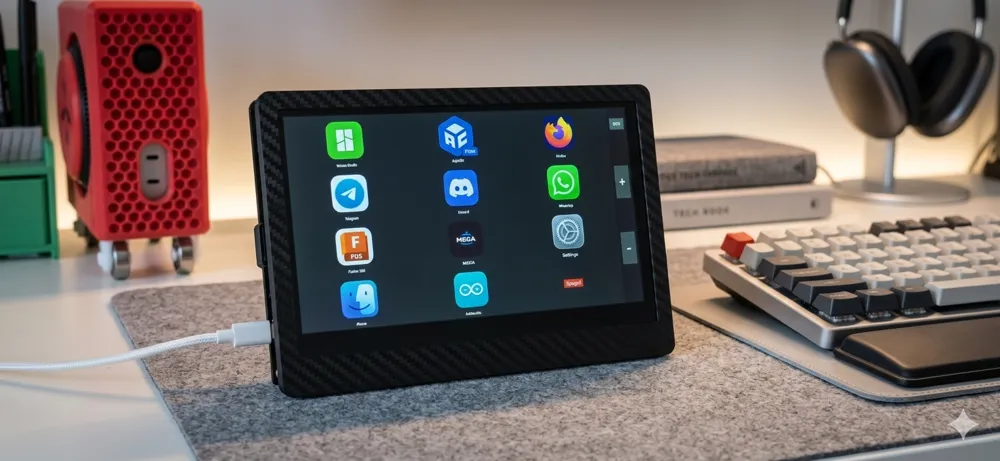
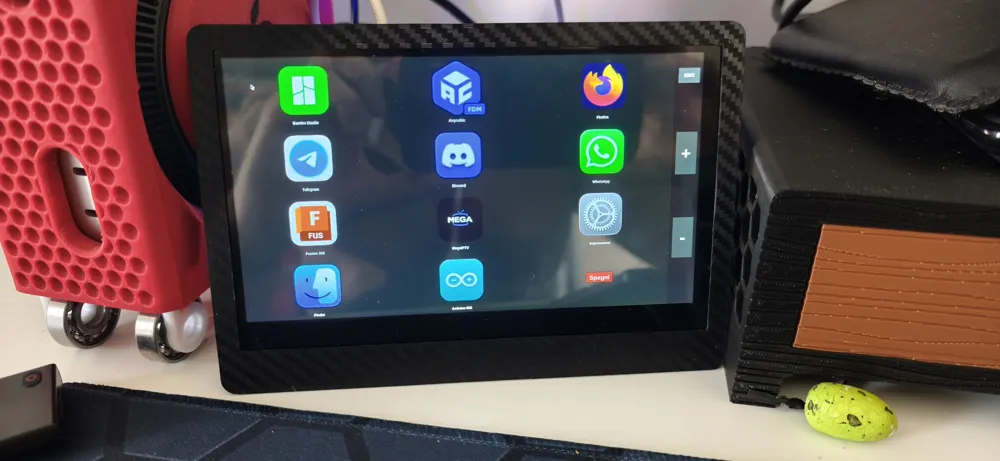
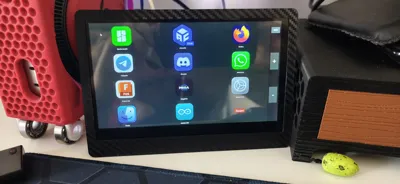
This project offers an elegant and functional solution for creating a 10-inch touchscreen monitor powered by a Raspberry Pi 4. Ideal for a variety of applications, including:
- Home Automation Hub: View and control your smart devices
- Media Center: Play movies, music, and view photos
- Retro Gaming Console: Play your favorite games with a touchscreen interface
- Kiosk Display: Create an interactive information display
- Portable Desktop PC: A complete and compact computer to take anywhere
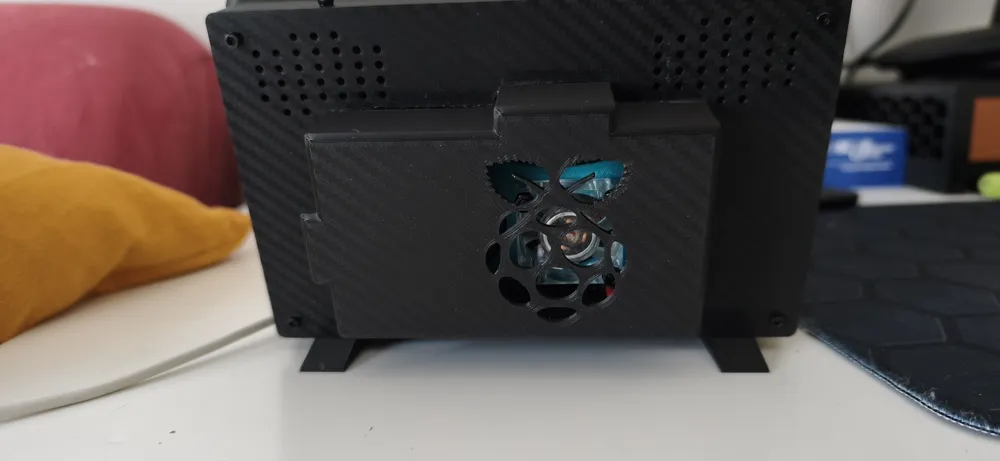
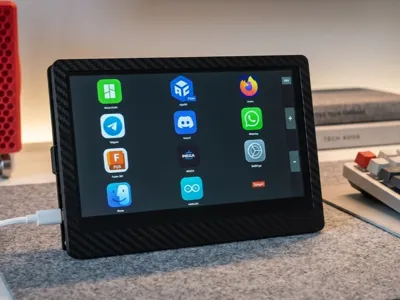
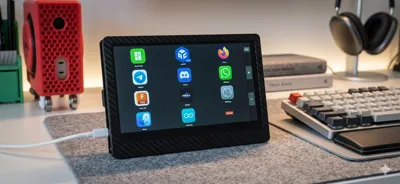
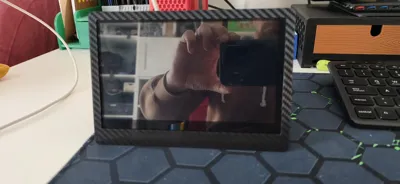
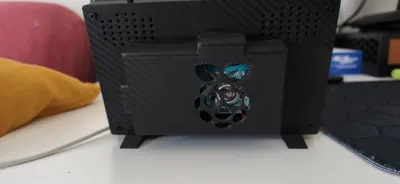
The case, 3D printed with a carbon fiber finish, offers a modern and robust look. The design includes a glued back cover for a clean aesthetic and ventilation slots to keep the Raspberry Pi 4 cool
Assembly Instructions
Follow these steps to assemble your 10-inch monitor with Raspberry Pi4:
Required Materials:
- 10-inch touchscreen monitor
- Raspberry Pi4 (model compatible with the monitor)
- 3D printed case (frame and back cover)
- M2.5 x 12 mm screws (4 pieces)
- M2.5 x 4 mm screws (2 pieces)
- M2.5 x 6 mm screws (2 pieces)
- Power cable (compatible with Raspberry Pi4)
- Glue (for the back cover)
- Screwdriver (M2.5 size)
Assembly Steps:
- Attaching the Monitor to the Back Cover:
- Take the 10-inch monitor and the 3D printed back cover
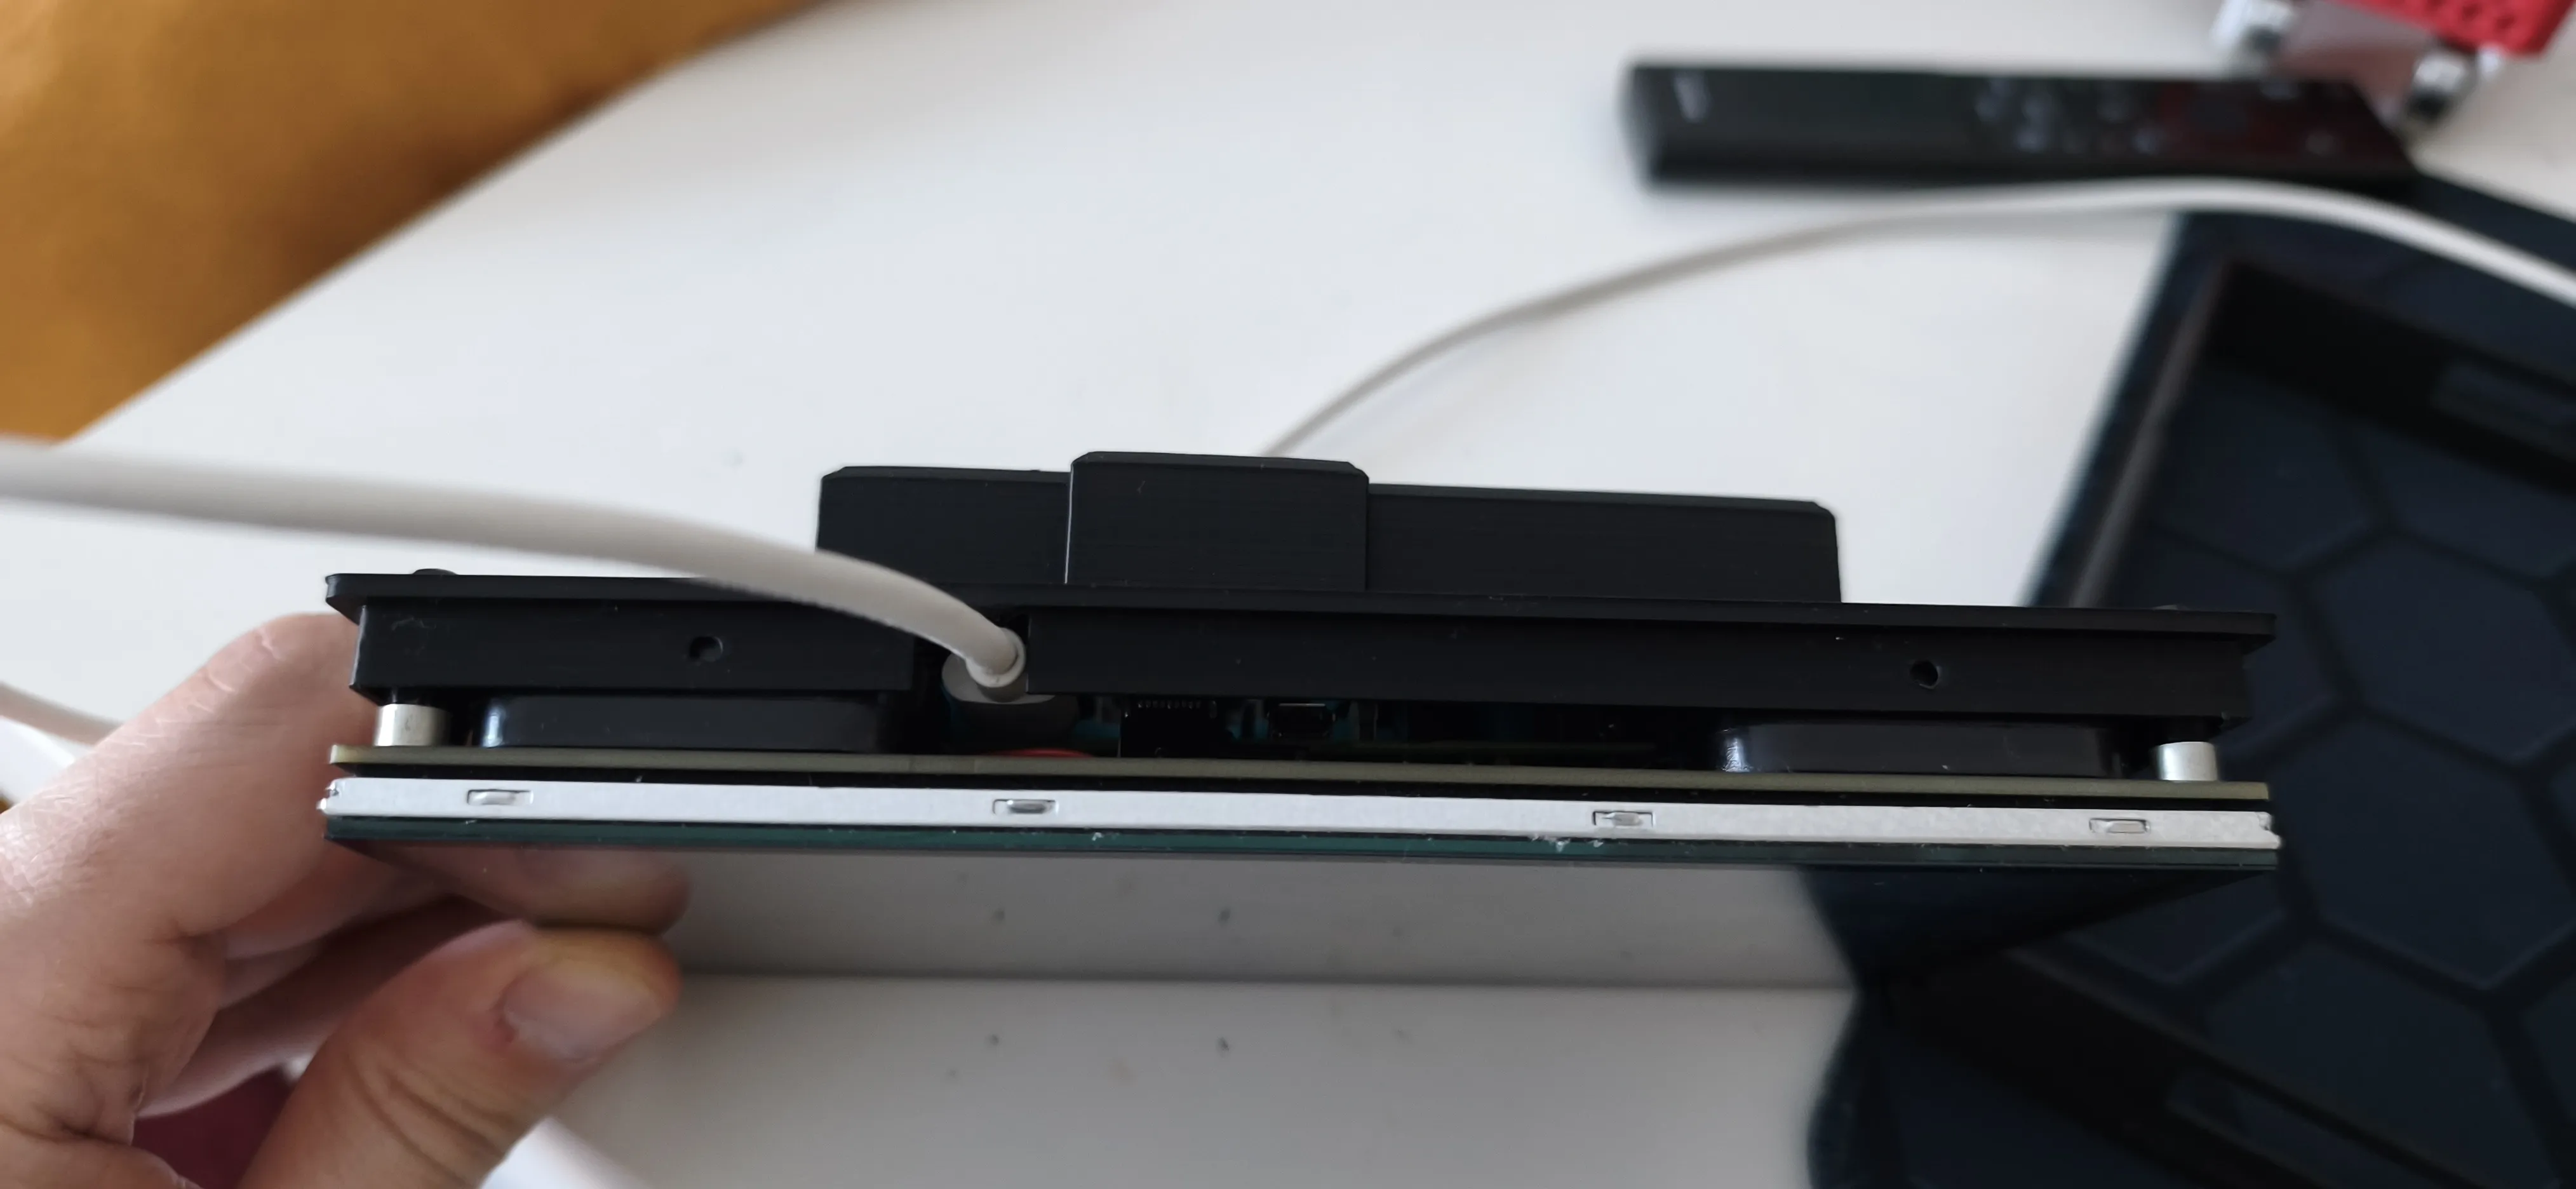
- Important: Before proceeding, connect the power cable to the monitor. As shown in the photo, the cable must be inserted into the dedicated slot on the side of the case
- Align the monitor with the back cover, ensuring the screw holes coincide
- Use the 4 M2.5 x 12 mm screws to firmly attach the monitor to the back cover. Refer to the photo below to see where to insert the screws
- Preparing the Back Cover:
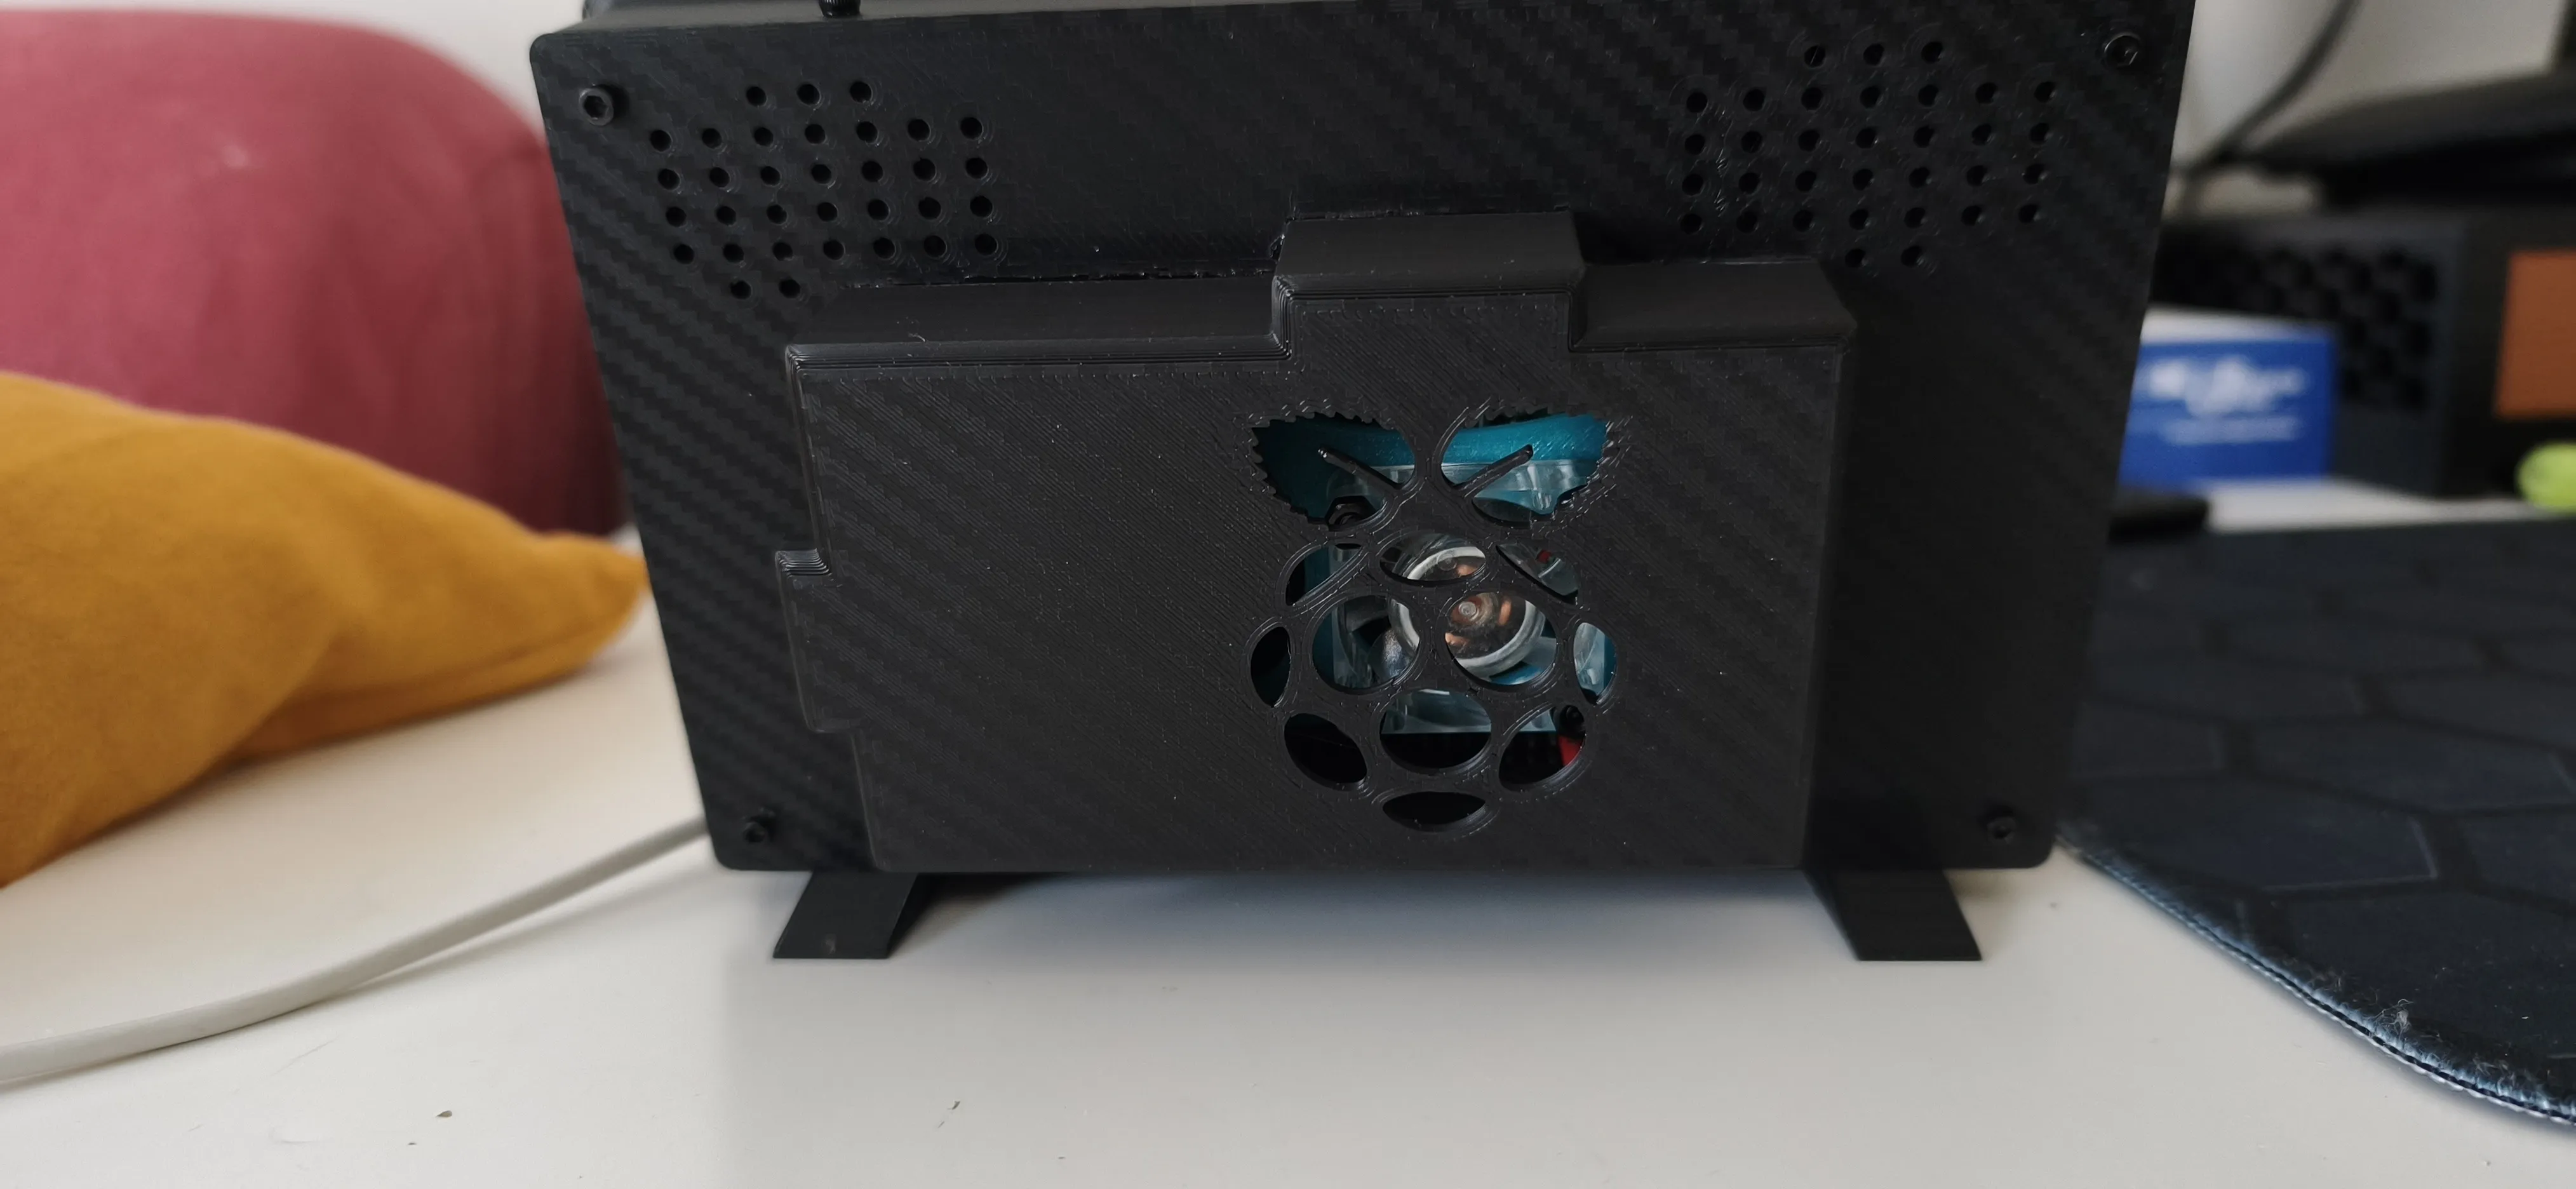
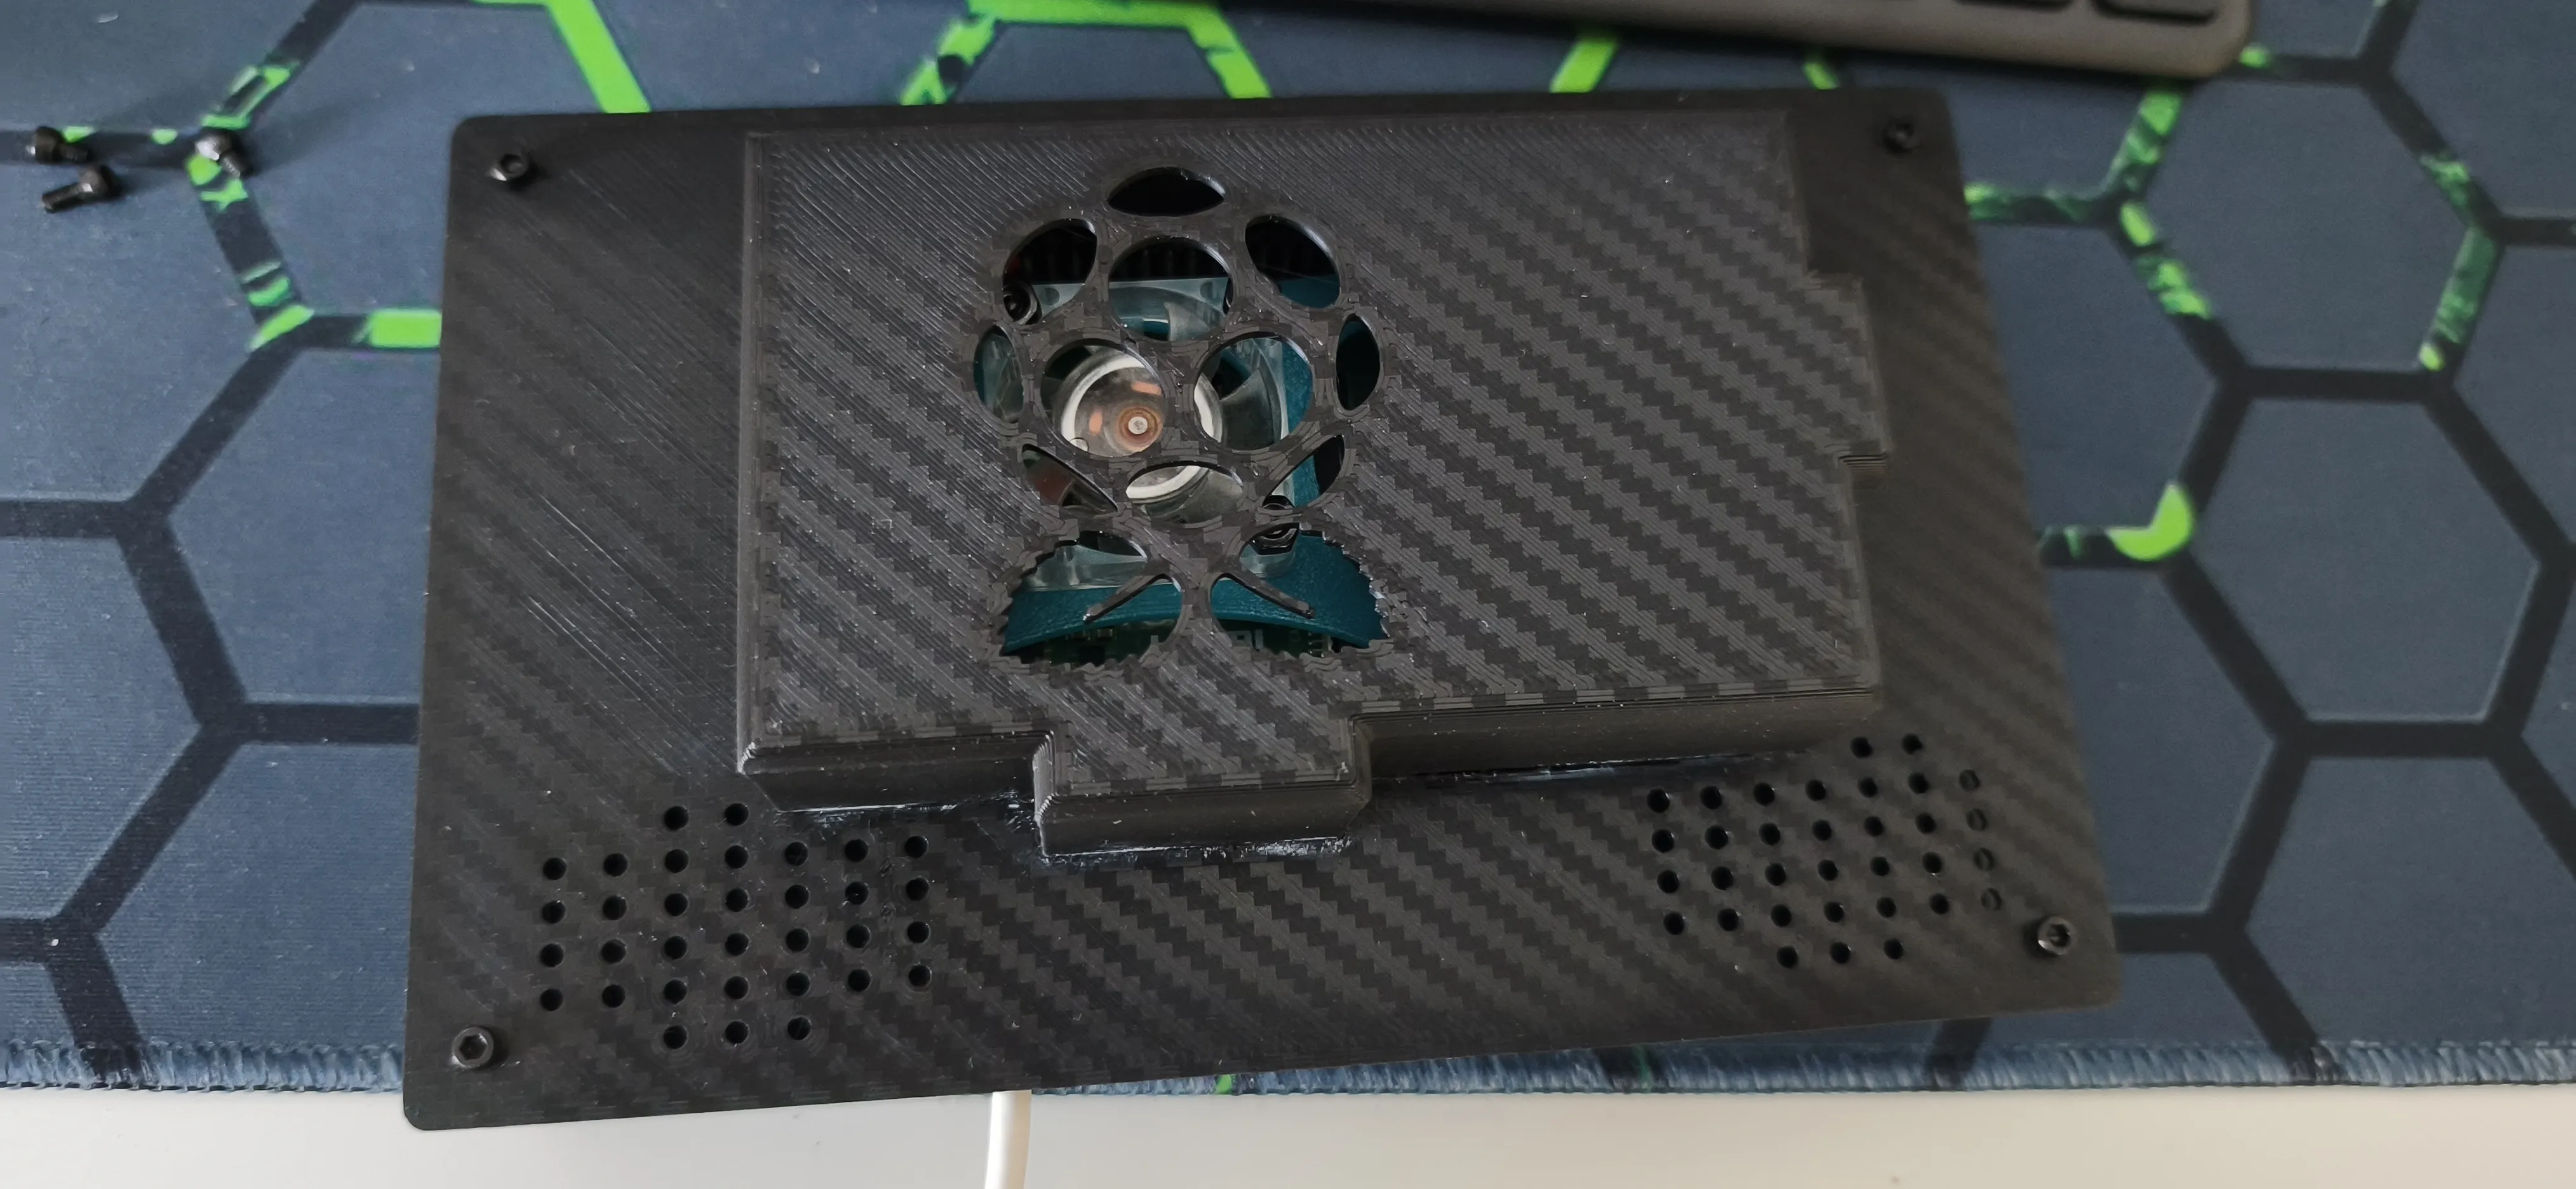
- Take the 3D printed back cover (the one with the Raspberry Pi logo and the fan)
- Apply glue to the contact surfaces of the back cover
- Glue the back cover to the main back cover (the one to which you just attached the monitor). Ensure it is correctly aligned
Attaching the Frame (Top Part):
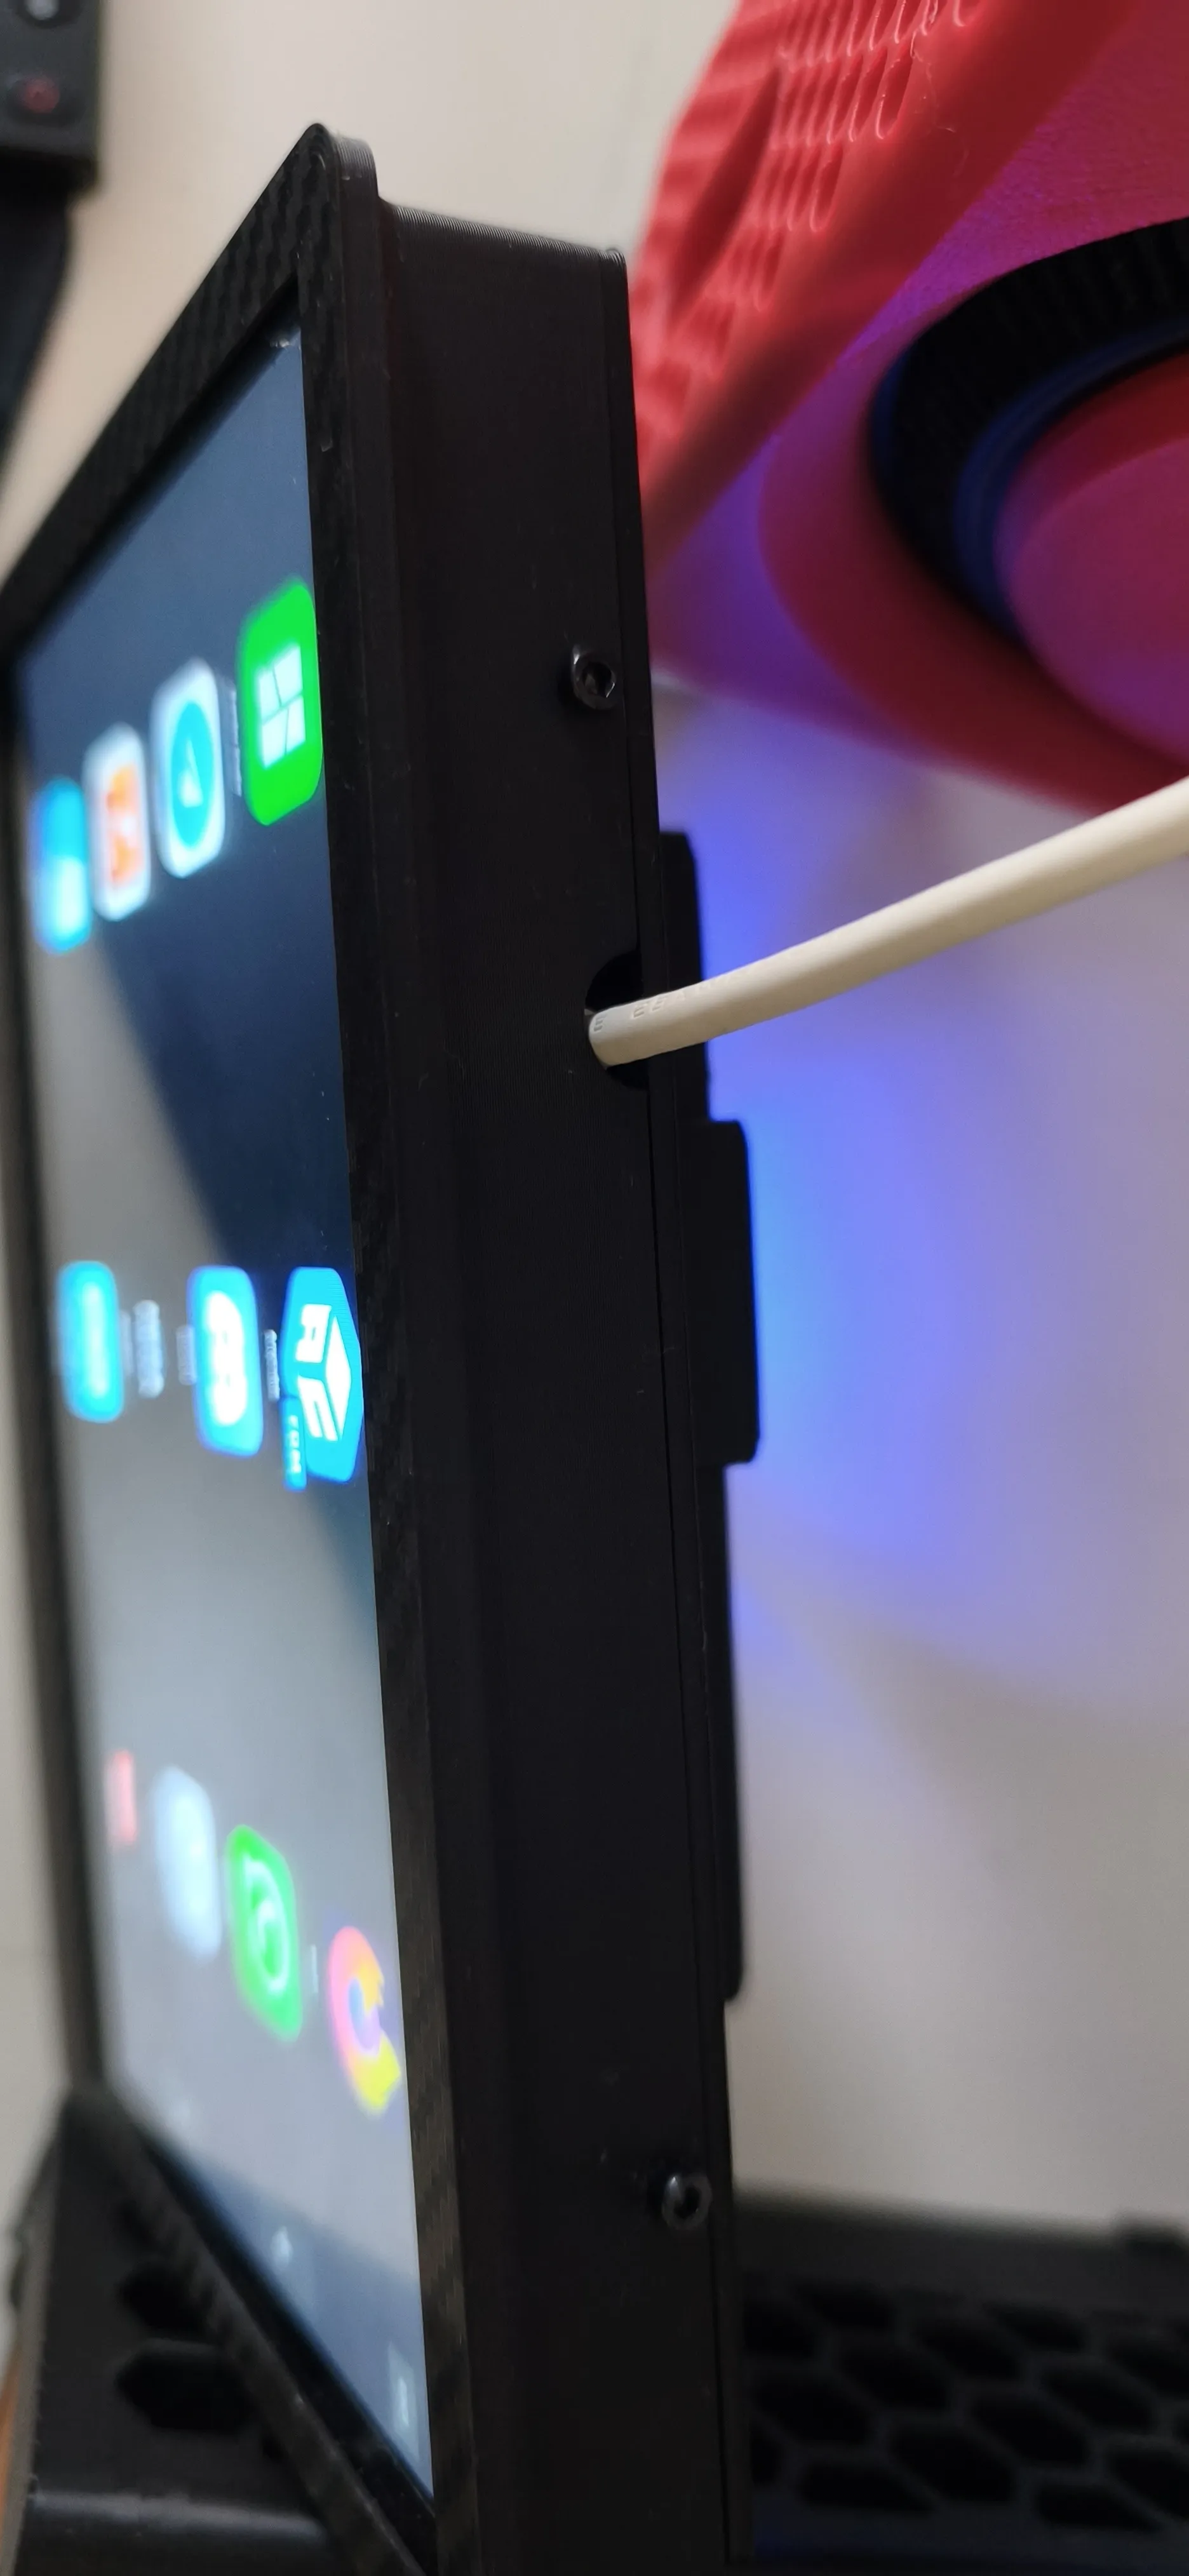
- Take the 3D printed front frame
- Place the frame over the monitor, aligning the screw holes
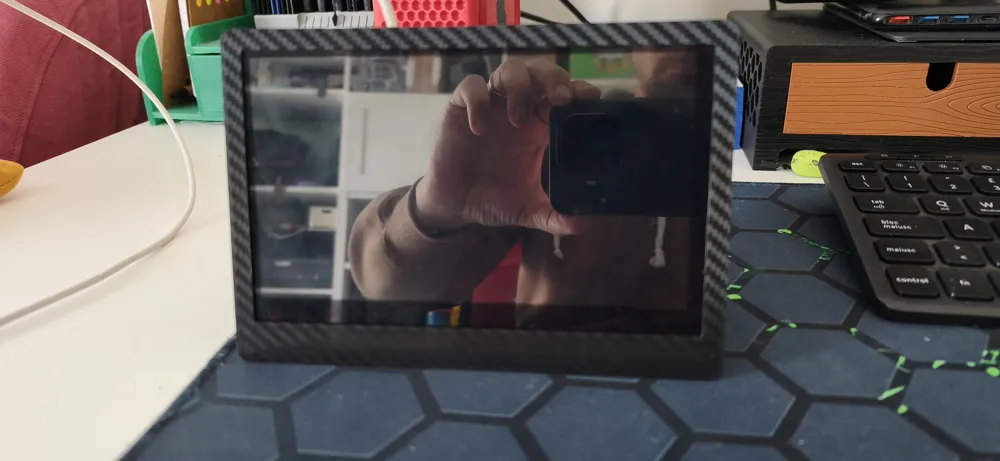
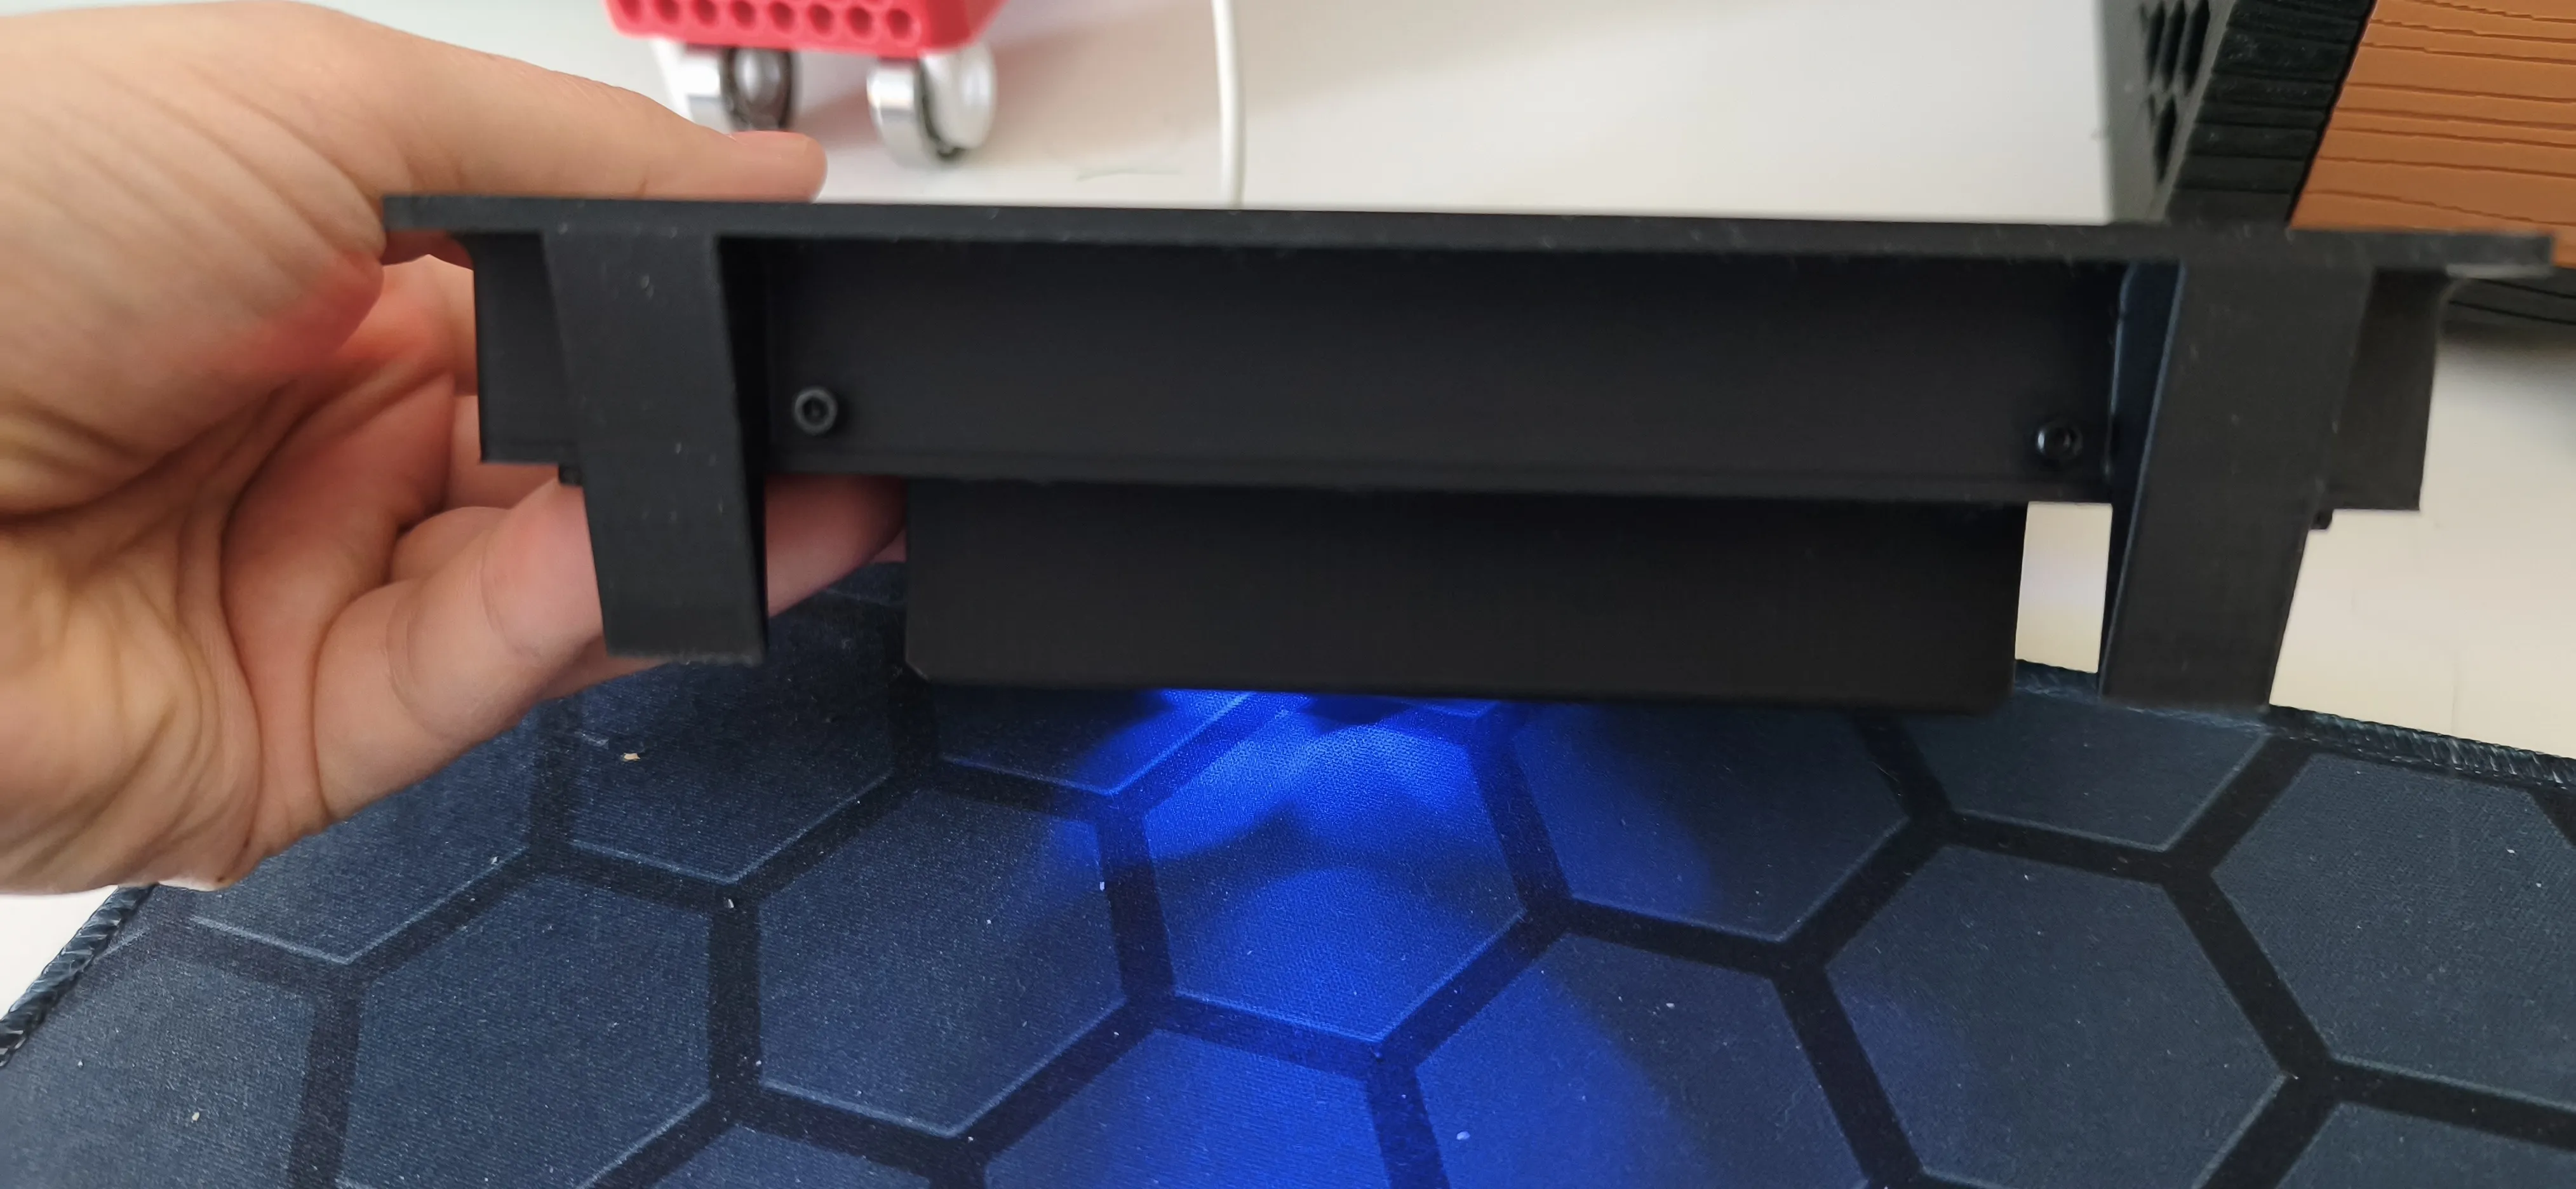
- Note: For the upper part of the frame (see the first photo above), use the 2 M2.5 x 4 mm screws. These screws are shorter to prevent them from interfering with the Raspberry Pi speakers. If you prefer not to use these screws, you can opt for longer screws, but ensure they do not touch the speakers
- Attaching the Frame (Bottom Part):
- For the bottom part of the frame (see photo above with the feet), use the 2 M2.5 x 6 mm screws. Insert them into the corresponding holes and tighten them gently
- Verification and Power On:
- Check that all screws are securely fastened, but do not overtighten them to avoid damaging the plastic components
- Verify that the monitor is well-aligned with the frame
- Connect the Raspberry Pi to power and turn it on. Your monitor should now be operational
Additional Tips:
- Cleaning: If the frame has imperfections, you can gently sand it with fine-grit sandpaper
- Finishing: If you want a different finish, you can paint the case with spray paint suitable for plastic
Customization: You can customize the case by printing stickers or adding decorations
If you have any questions I am here
License

You shall not share, sub-license, sell, rent, host, transfer, or distribute in any way the digital or 3D printed versions of this object, nor any other derivative work of this object in its digital or physical format (including - but not limited to - remixes of this object, and hosting on other digital platforms). The objects may not be used without permission in any way whatsoever in which you charge money, or collect fees.


Comment & Rating (10)