
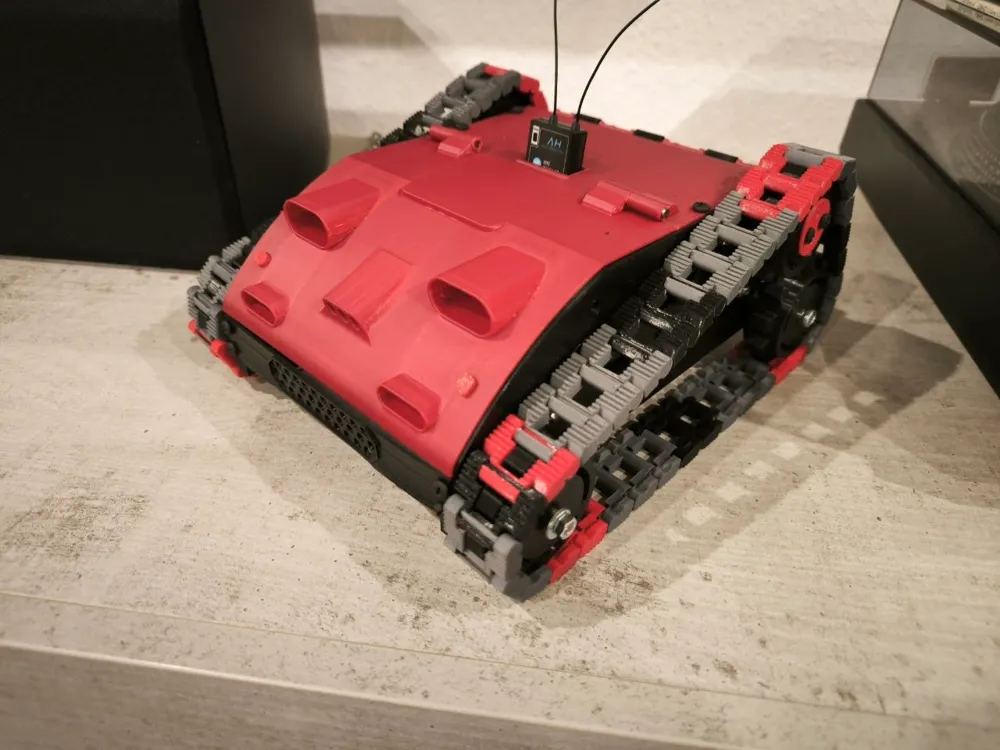
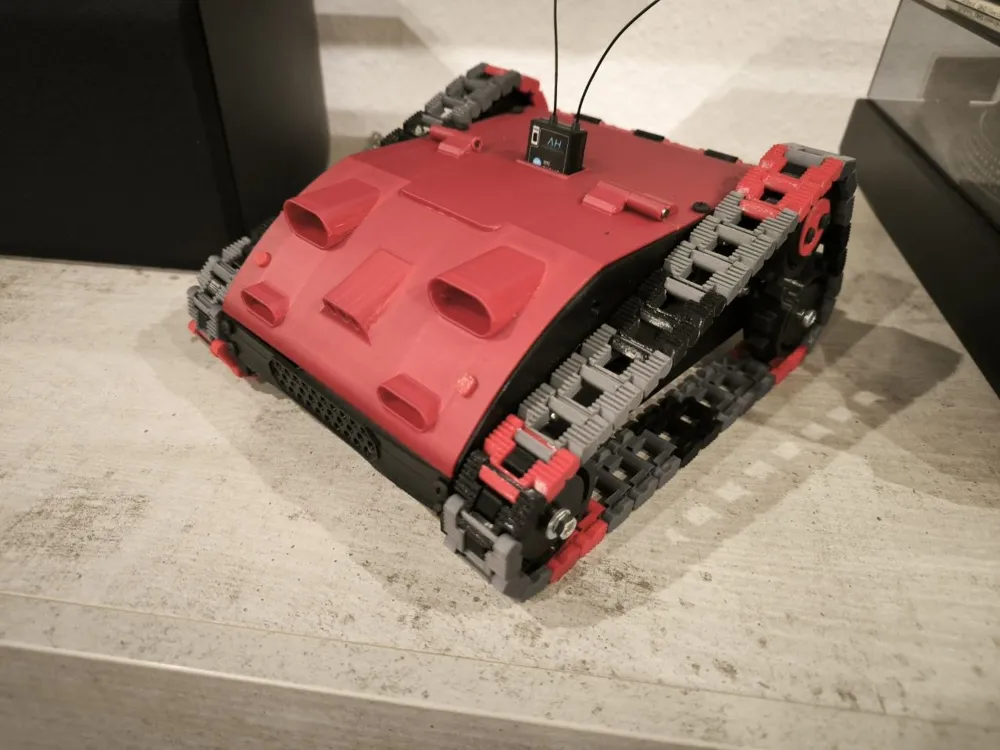
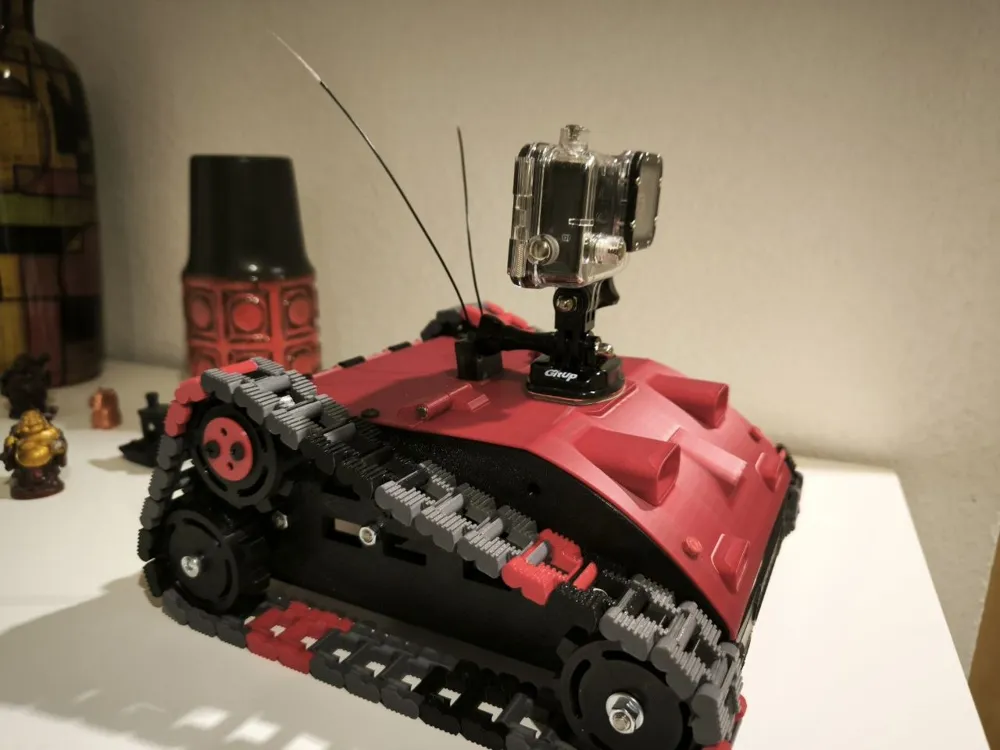
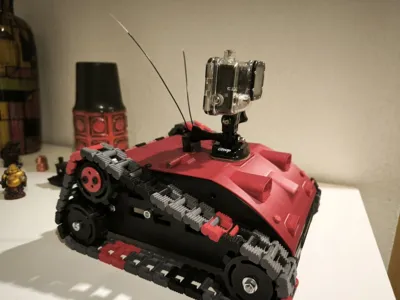
"Christine" RC - Crawler
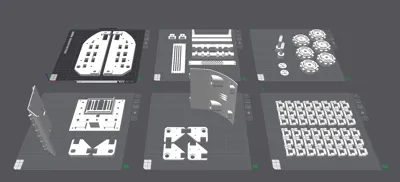
Print Profile(1)


Description
Instructions
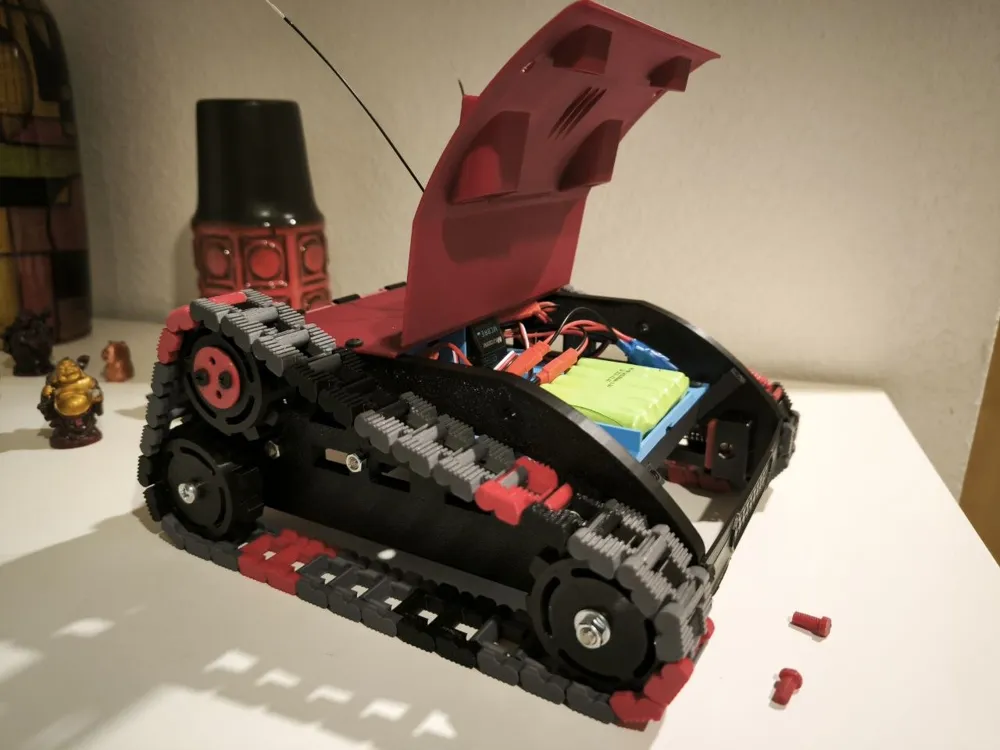
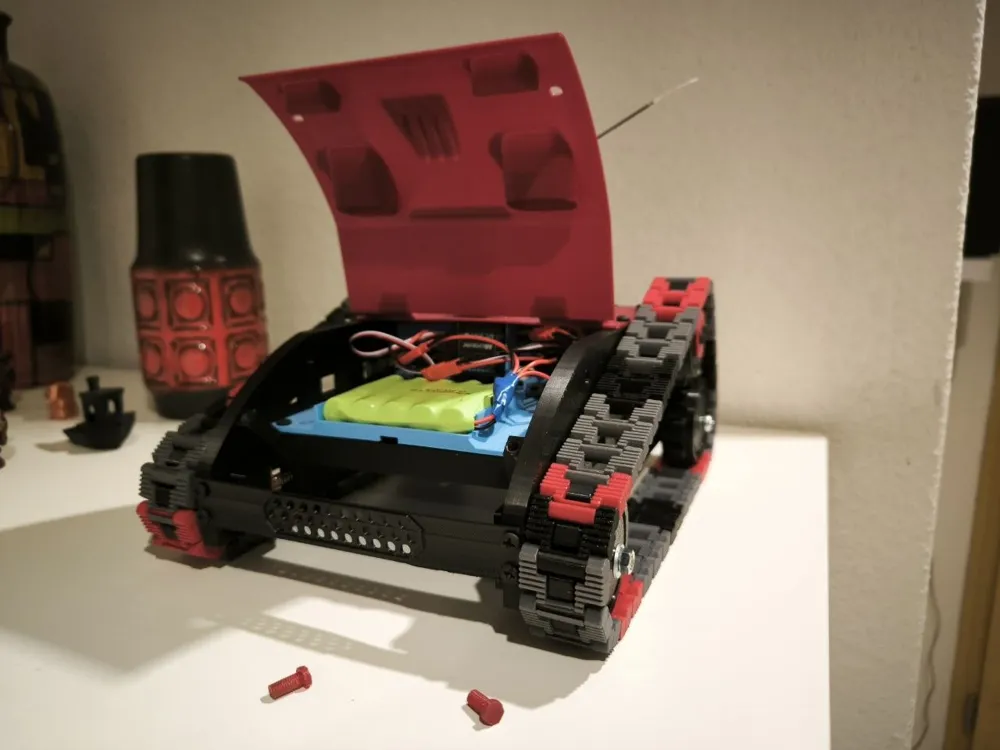
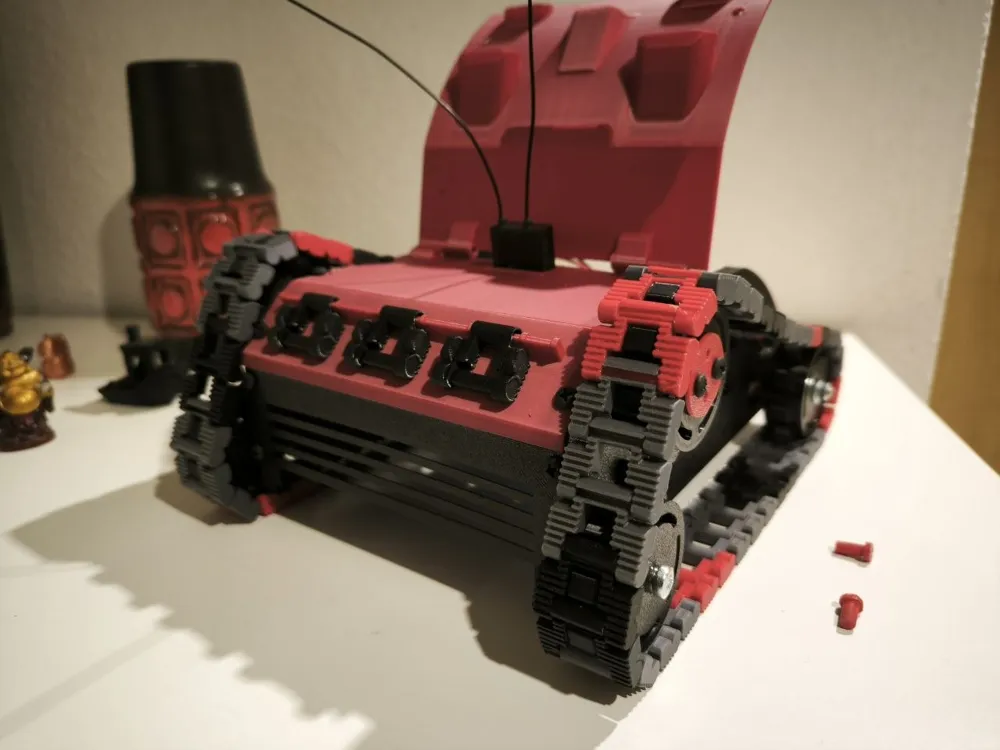
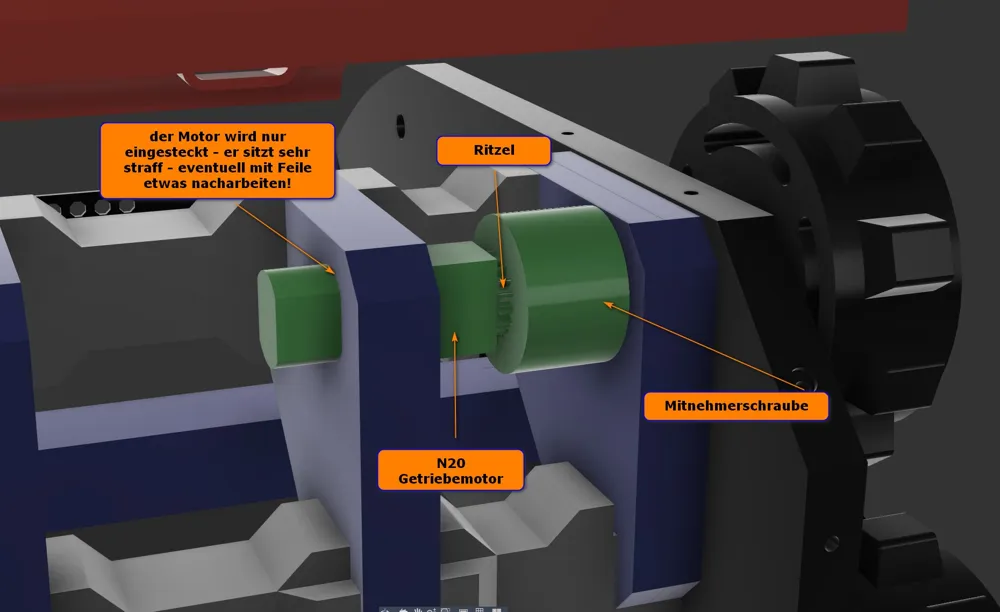
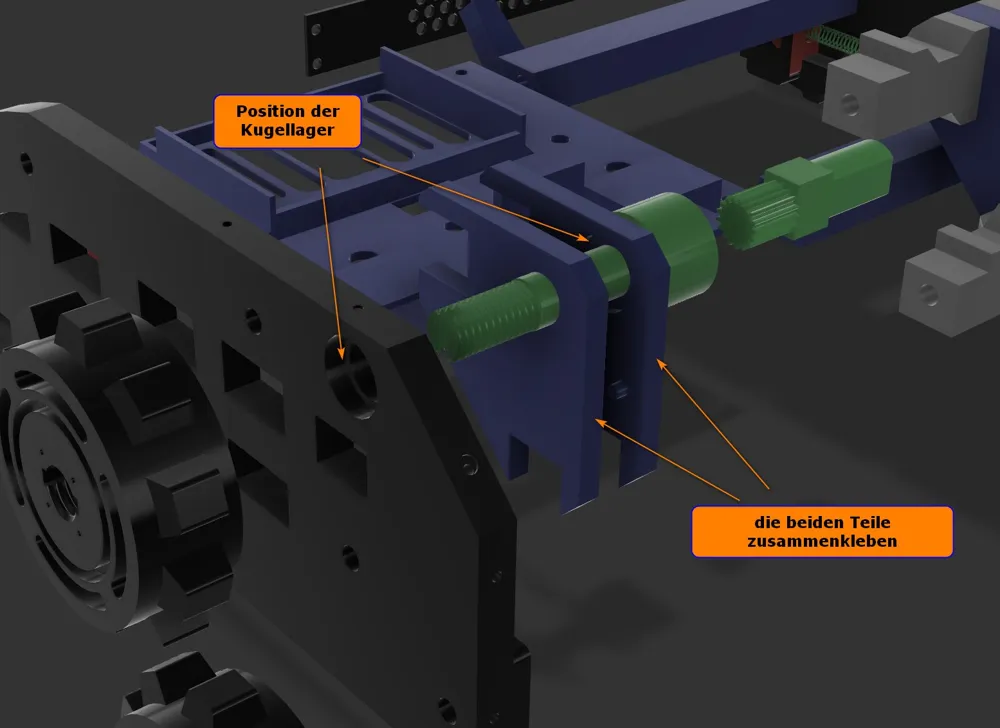
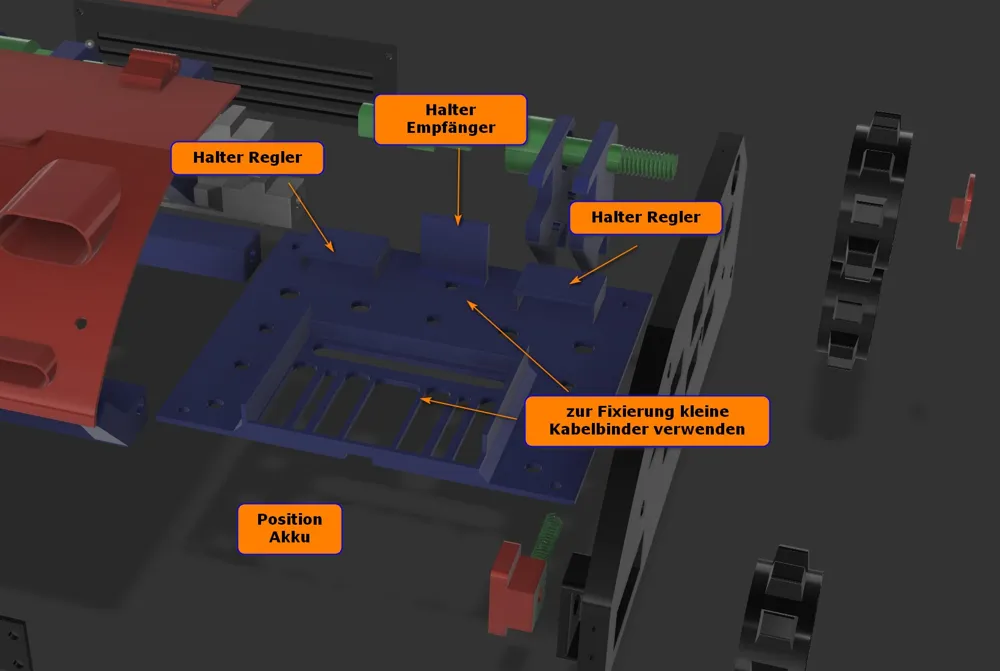
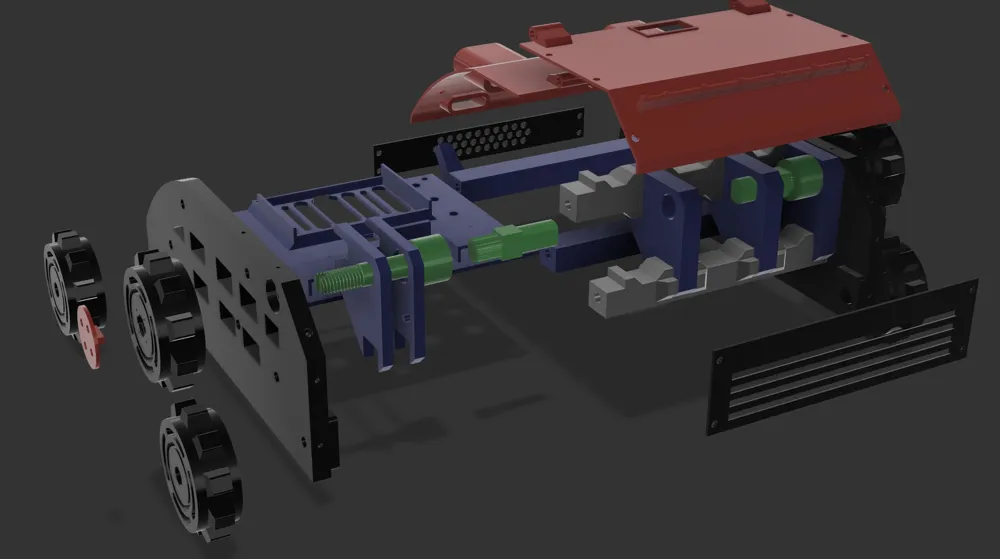
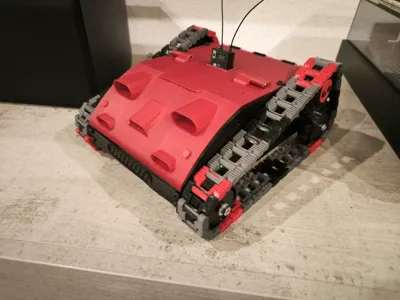
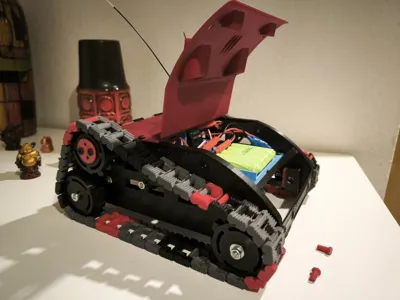
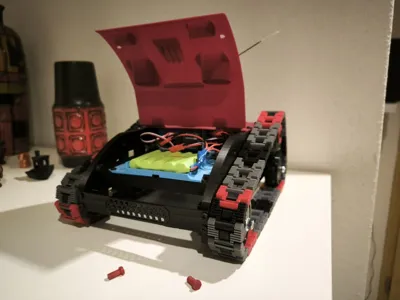
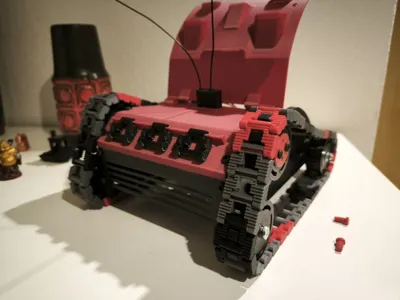
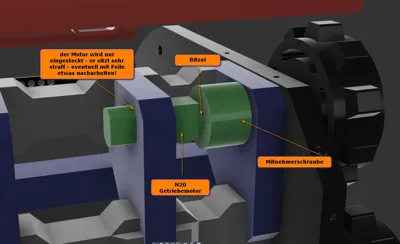
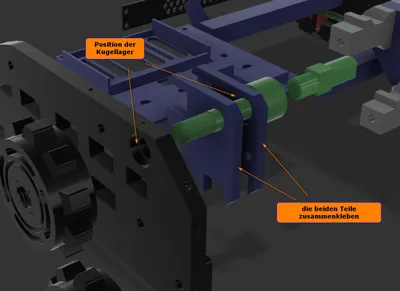
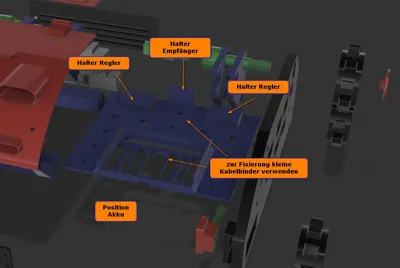
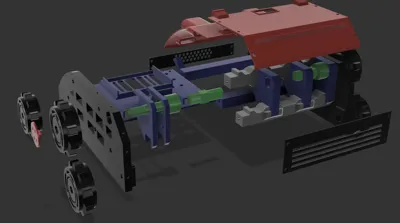
Actually, detailed instructions are not really needed, I think the pictures speak for themselves
For the electronic parts, it is important to pay attention to polarity and ensure that the receiver
is correctly connected to the battery and the speed controller
Connect the battery to the controllers, then the motors and the receiver are connected to the controllers
Everything can best be connected with these JST connectors
Lighting can be retrofitted as needed
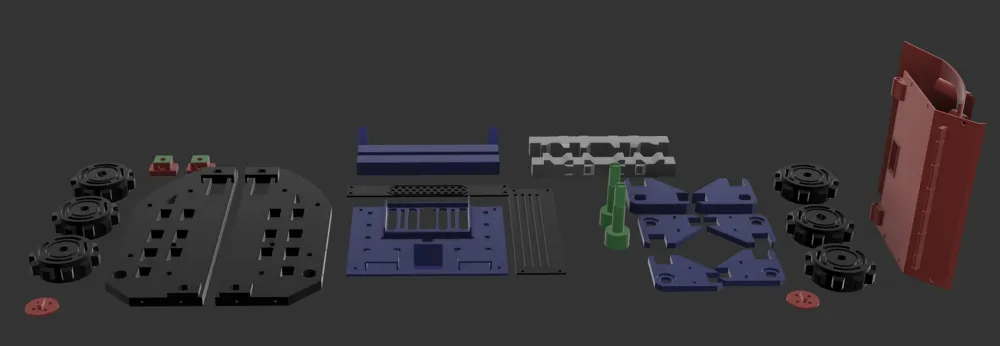
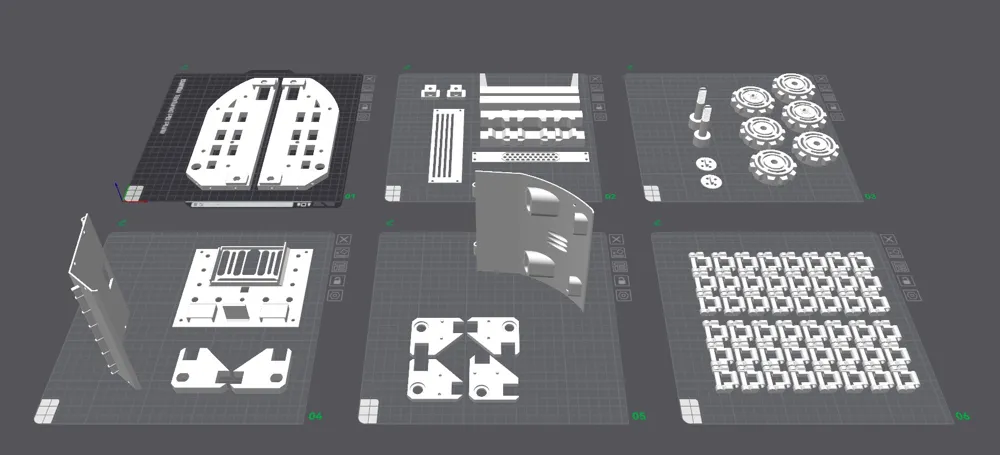
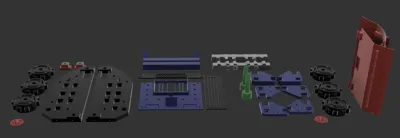
The quantity and arrangement of parts on the build plates can be changed as desired
Some parts do not require support structures
Please check the images and preview after slicing …
I printed the parts with Bambu PLA Basic
I had to rework some holes, which can always happen,
it also depends on the PLA ...
Material
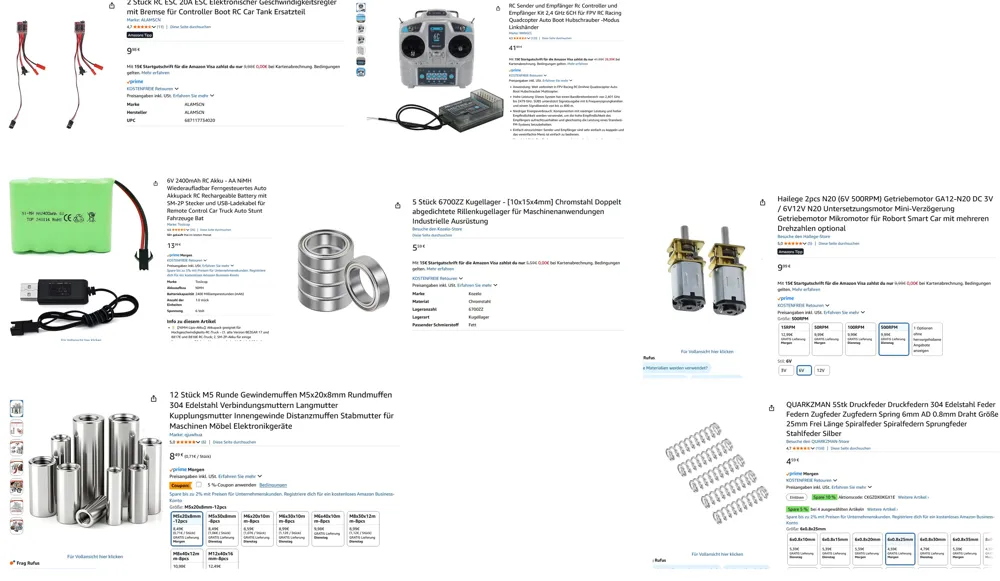
16x M5 nut
6x M5 / M6 washer
2x M10 washer
4x M5 x 160mm threaded rod (available in 200mm length)
2x M5 x 45mm threaded rod or screw
2x M5 x 40mm screw
4x M5 x 8 x 20mm threaded insert / coupling nut
2x 6 x 25mm coil spring
4x 10x15x4 ball bearing
16x small 3.5x 9mm Spax screw
2x 4mm steel pin
4x JST connector
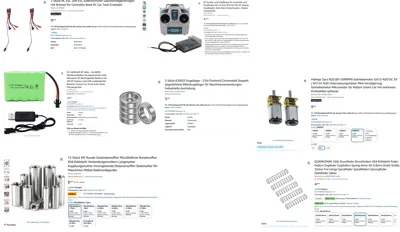
1x RC remote control - Microzone transmitter and receiver as a kit
2x RC ESC 20A Electronic Speed Controller
2x Hailege N20 (6V 500RPM) Geared Motor GA12-N20 DC 3V / 6V12V N20
1x 6V 2400mAh RC Battery - AA NiMH Rechargeable Remote Control Car Battery Pack RC Rechargeable Battery with SM-2P connector and USB charging cable
Tools
Soldering equipment - 2 connections are needed for the battery and the small motors need connecting wires
Phillips screwdriver
8mm spanner
Hacksaw to shorten the 200mm threaded rods, two of the remaining pieces will still be needed
Key file, round file
Of course, everyone can decide for themselves where to buy which parts
It might be a bit cheaper here or there
The maximum motor speed is also not fixed
… something is probably still missing … and if you have any questions, just write
Disclaimer:
* - some external links contain affiliate data. If you order something through these links, I will receive a small commission to supplement my pension, it will cost you nothing extra.
Thank you very much.
Please note: The quality of the print has a lot to do with very well-dried filament and a very clean print plate. Please check your printing environment and adjust the print bed and nozzle temperature to your filament.
The models shown here are without exception printed with Bambu Lab P1S.
*Filament dryer: https://www.kleinanzeigen.de/s-anzeige/3-fach-filamenttrockner-doerrautomat-neu/3450232254-249-20831
*Container for storing filament spools: https://amzn.to/4eyK6sQ - the filament spools fit in there perfectly
*Silica - granules - https://amzn.to/4fxnWbx - I take 40g per container (4L), if the granules have become dark due to humidity, they are dried in the oven at approx. 70 degrees, they turn orange again and can be reused
*Bambu Lab P1S 3D Printer: https://eu.store.bambulab.com/products/p1s?from=navigation
Documentation (1)
License

You shall not share, sub-license, sell, rent, host, transfer, or distribute in any way the digital or 3D printed versions of this object, nor any other derivative work of this object in its digital or physical format (including - but not limited to - remixes of this object, and hosting on other digital platforms). The objects may not be used without permission in any way whatsoever in which you charge money, or collect fees.


Comment & Rating (0)