Vise (No hardware required)


Print Profile(2)


Description
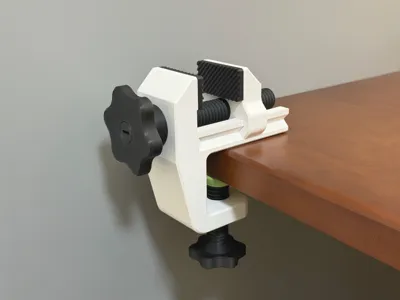
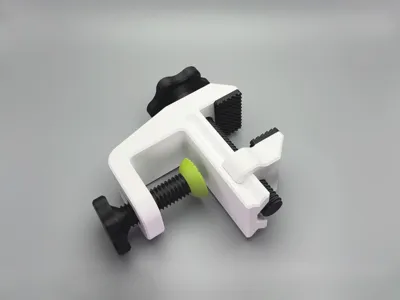
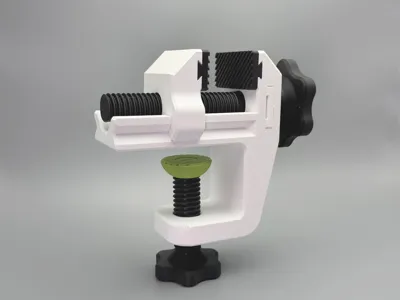
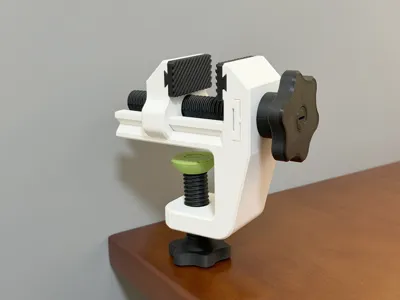
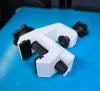
This model is a practical bench vise with dimensions: 115*125*50mm, clamping range 0-65mm, clamping width 50mm, bottom clamp fits tabletops within 38mm (without clamping pads, it can clamp tabletops up to 50mm)
The size is larger than the previously released (small bench vise) and suitable for users who need a larger bench vise
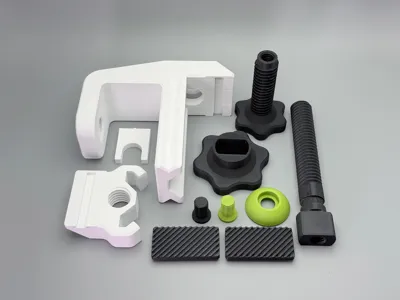
It features easy and fast printing, no supports, sturdy and smooth, and no hardware required
Features:
|  |
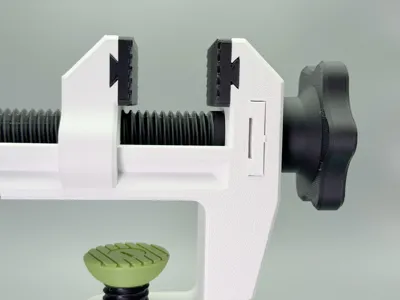
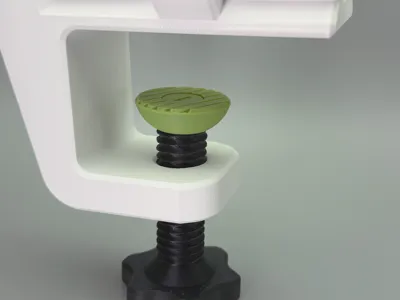
Assembly Notes:
*If your application requires significant clamping force, you can lightly lubricate the main bolt *If the clamping pads are too tight, I gently tap them for disassembly |  |
 |  |
|  |
License
You shall not share, sub-license, sell, rent, host, transfer, or distribute in any way the digital or 3D printed versions of this object, nor any other derivative work of this object in its digital or physical format (including - but not limited to - remixes of this object, and hosting on other digital platforms). The objects may not be used without permission in any way whatsoever in which you charge money, or collect fees.
Comment & Rating (125)