
Golf Ball Washer/Cleaner Portable Customizable
Print Profile(1)
Bill of Materials



Description
Boost Me (for free)
If you like my designs, please consider boosting me to show your support!
***PLEASE CLEAN YOUR BED PROPERLY BEFORE PRINTING. DAWN DISH SOAP(Or Equivalent) AND HOT WATER THEN DRY WITH PAPER TOWEL OR AIR DRY!! NOTHING ELSE NEEDED!! THIS WILL ENSURE YOUR PRINT IS SUCCESSFUL***
## These models printed as shown but if you dont clean your bed properly and have adhesion issues, then you can add a brim or mouse ears. I test all my prints and it is proven to print as I set it up. ##
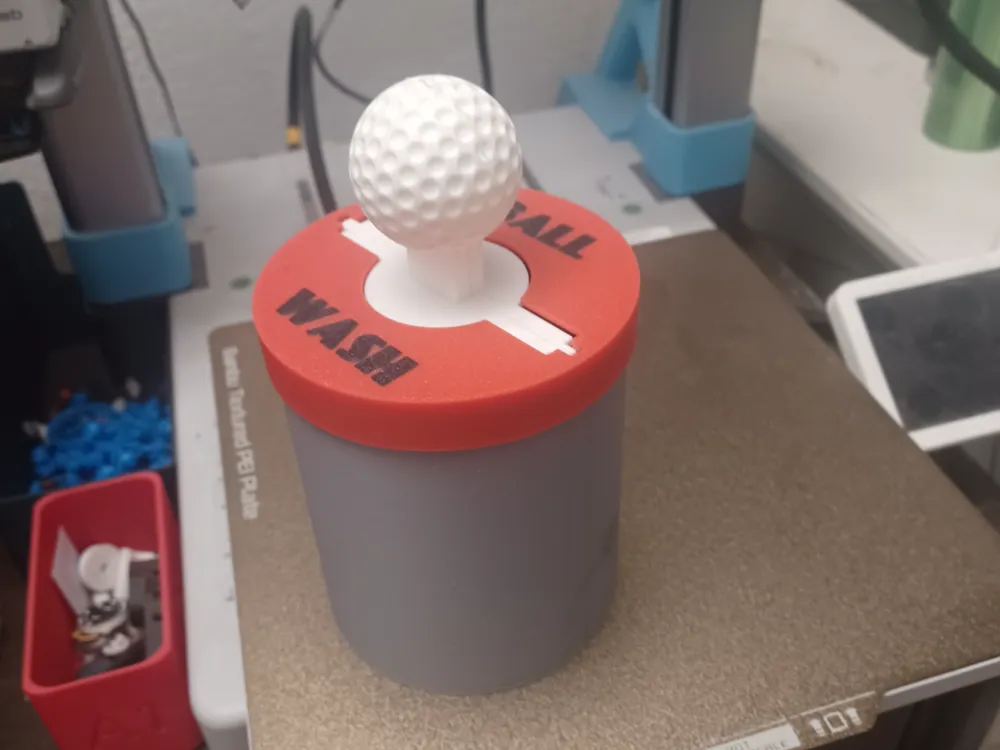
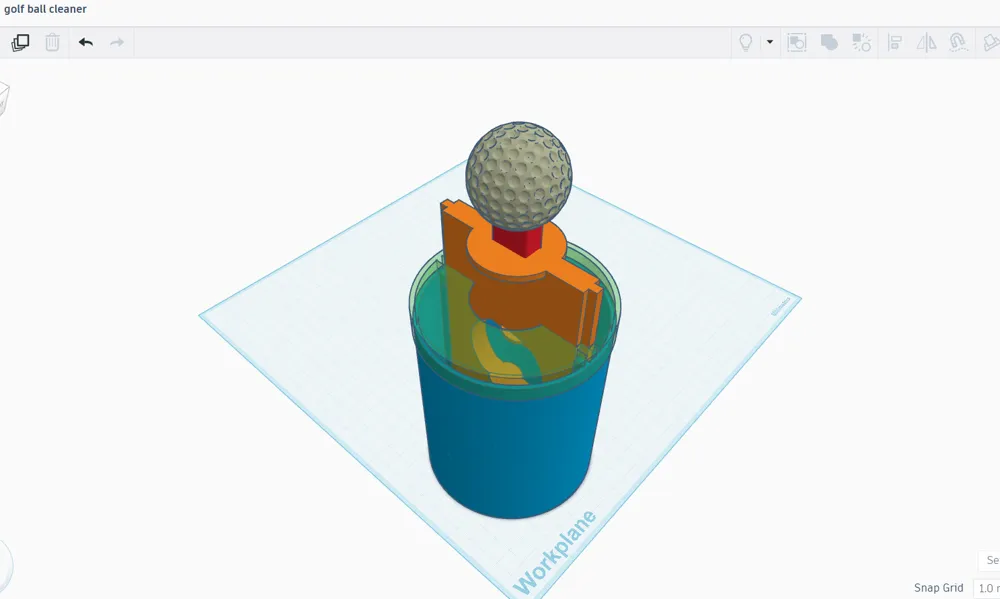
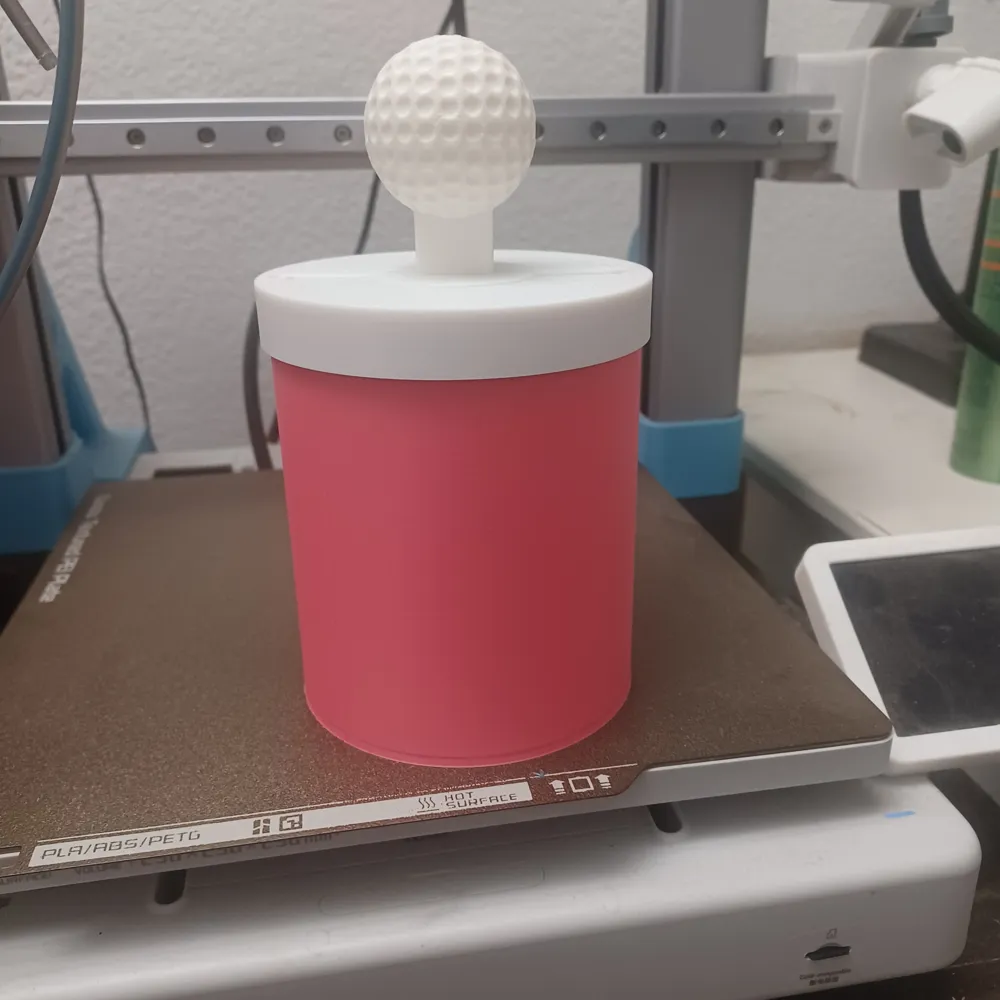
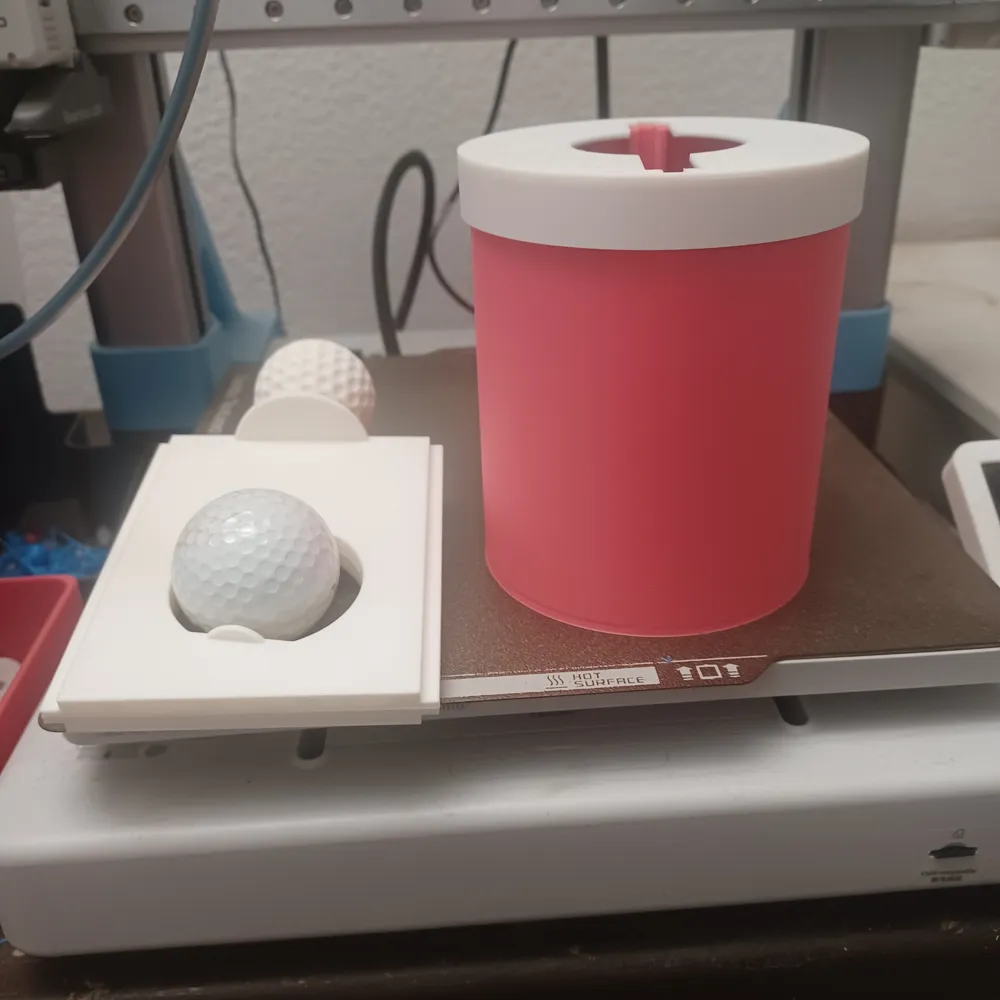
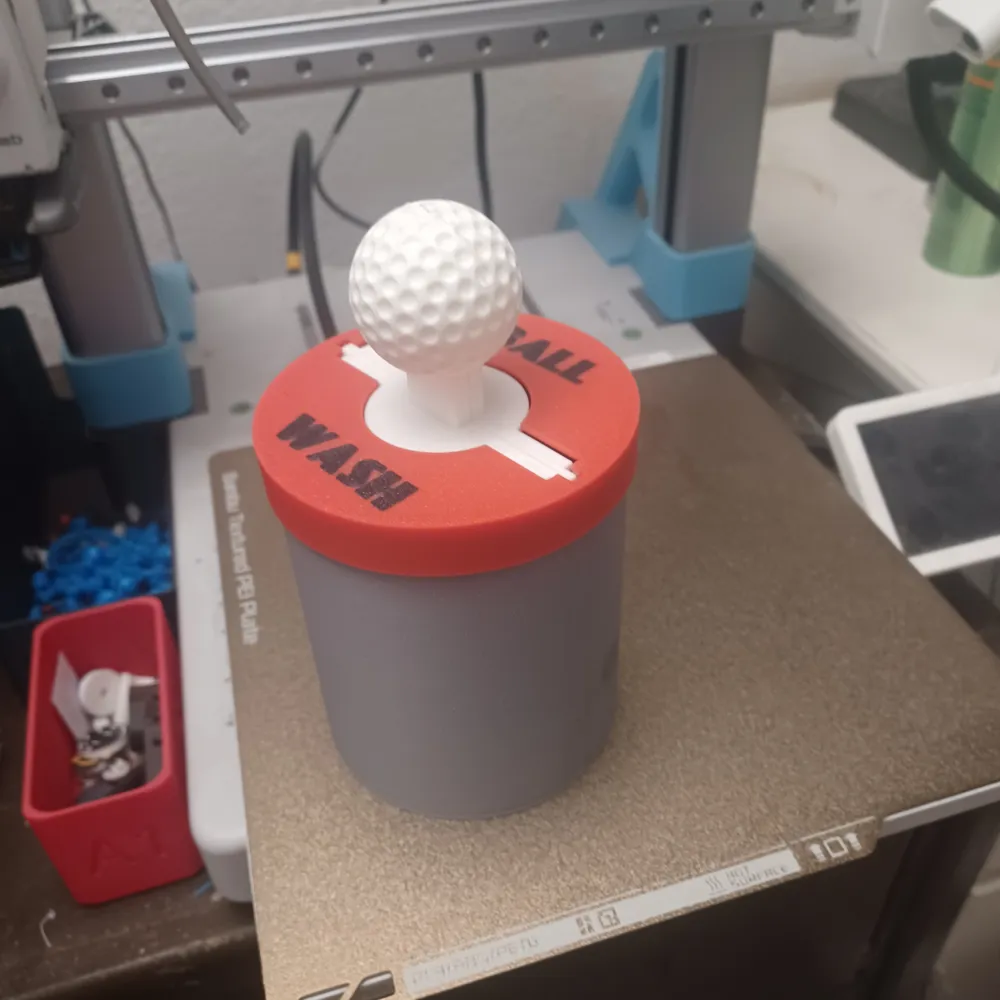
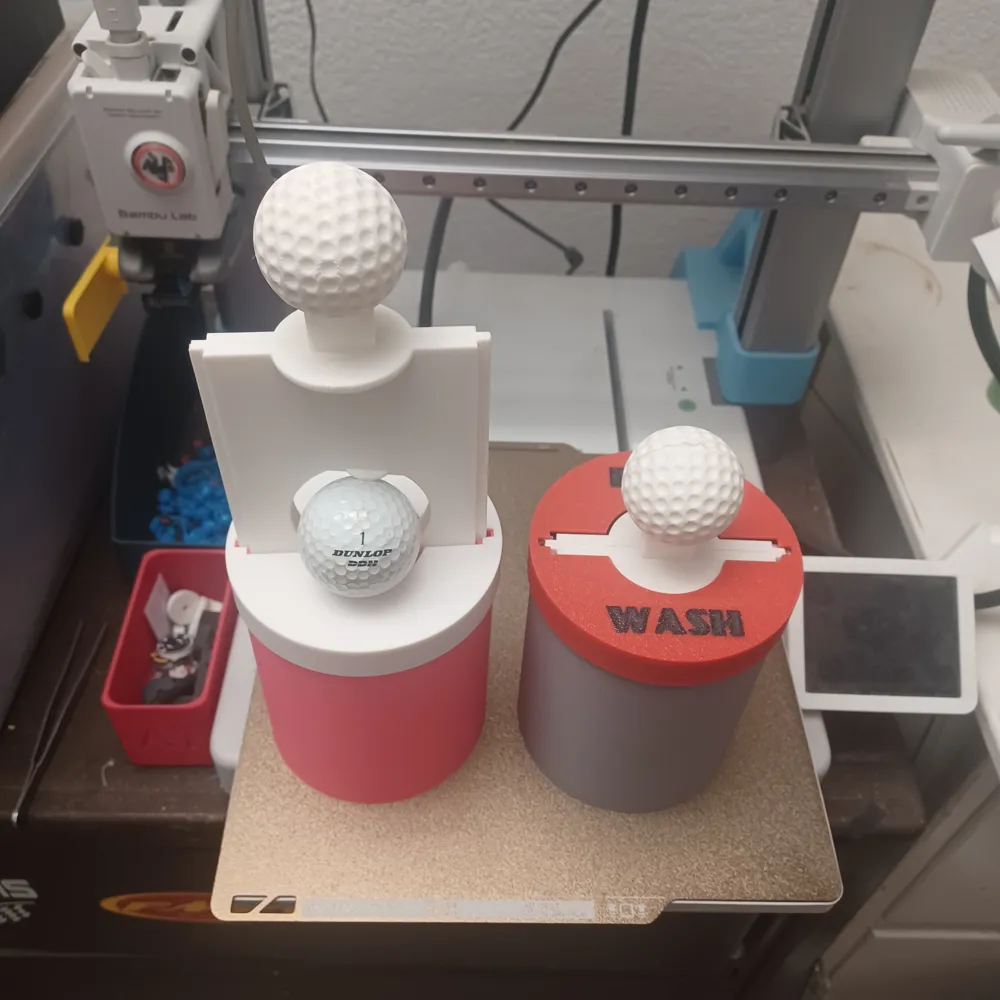
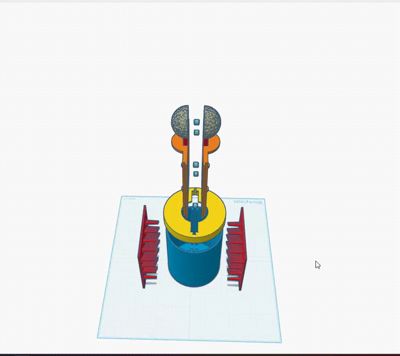
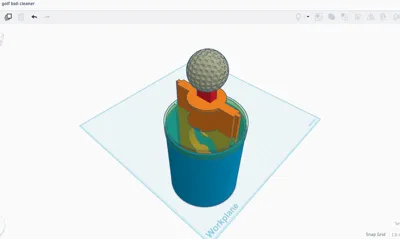
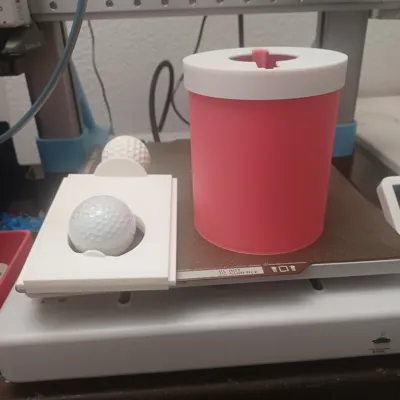
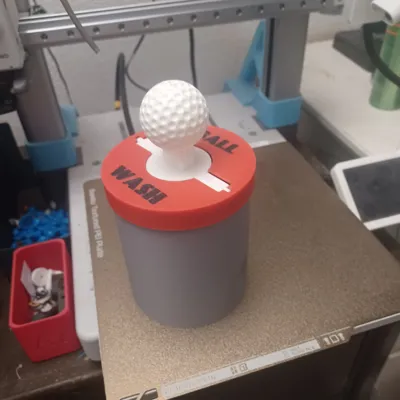
I created this portable Golf Ball Washer using Tinkercad.
***NOTE: I USED BAMBU HF TPU FOR MY PRINT PROFILE, IF YOU DONT HAVE THAT YOU CAN PRINT YOUR TPU AS YOU NORMALLY WOULD, The bill of materials attached are not required but are just recommendations***

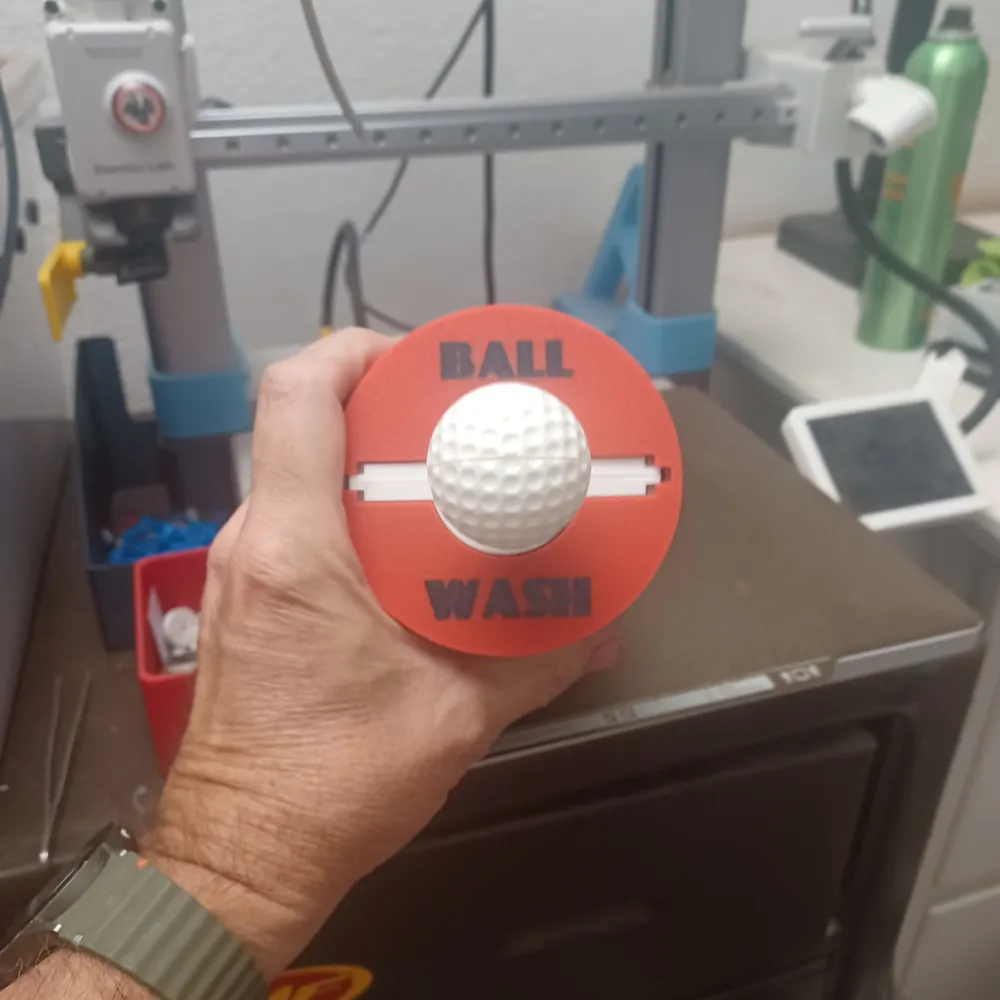
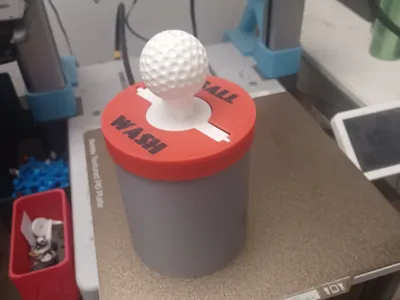
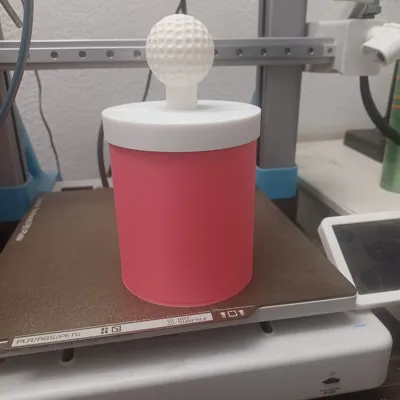
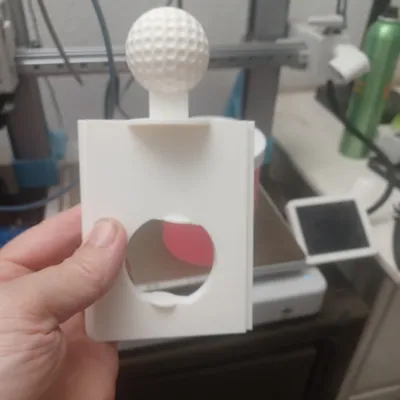
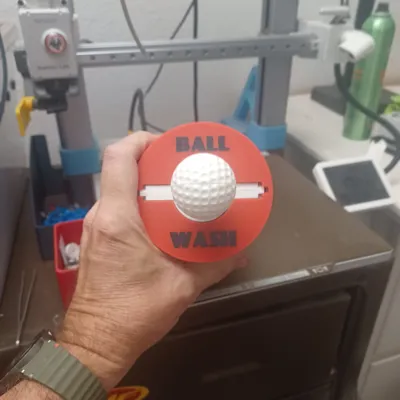
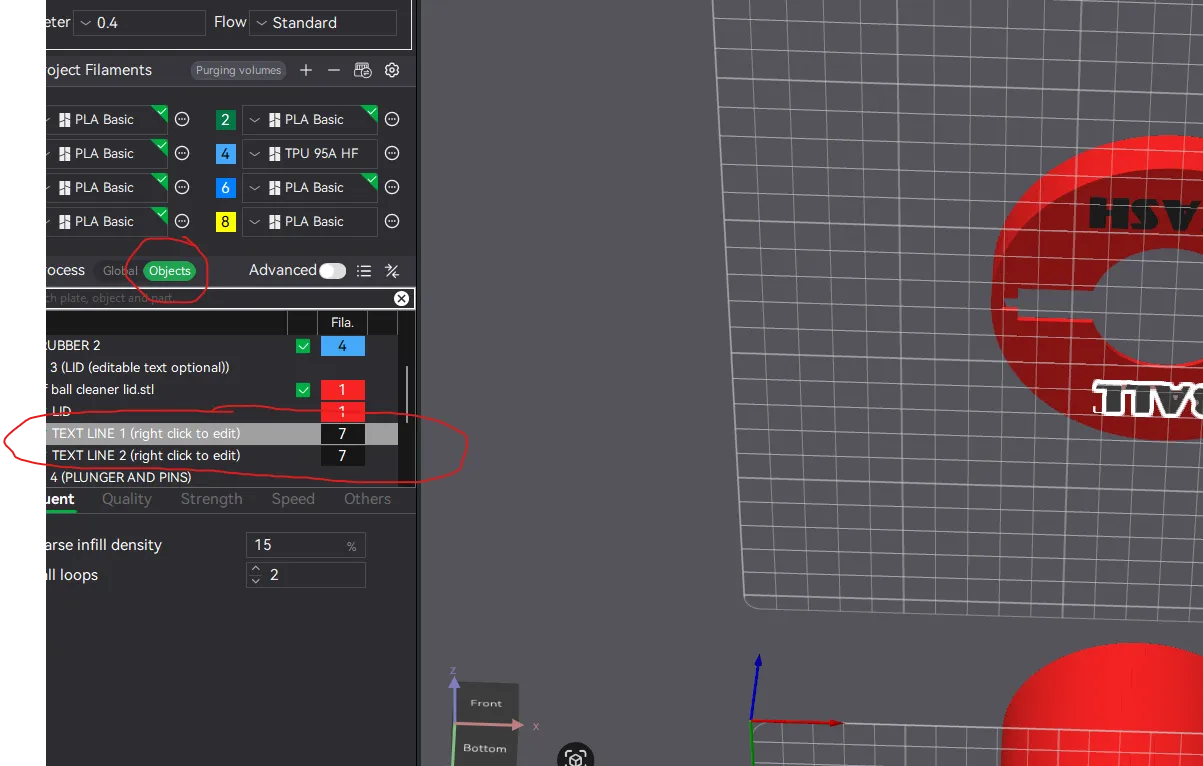
I made editable text for the lid so you can customize it for gifts with dads name or whatever you prefer. Just right click the text object under the “objects” tab as seen below.

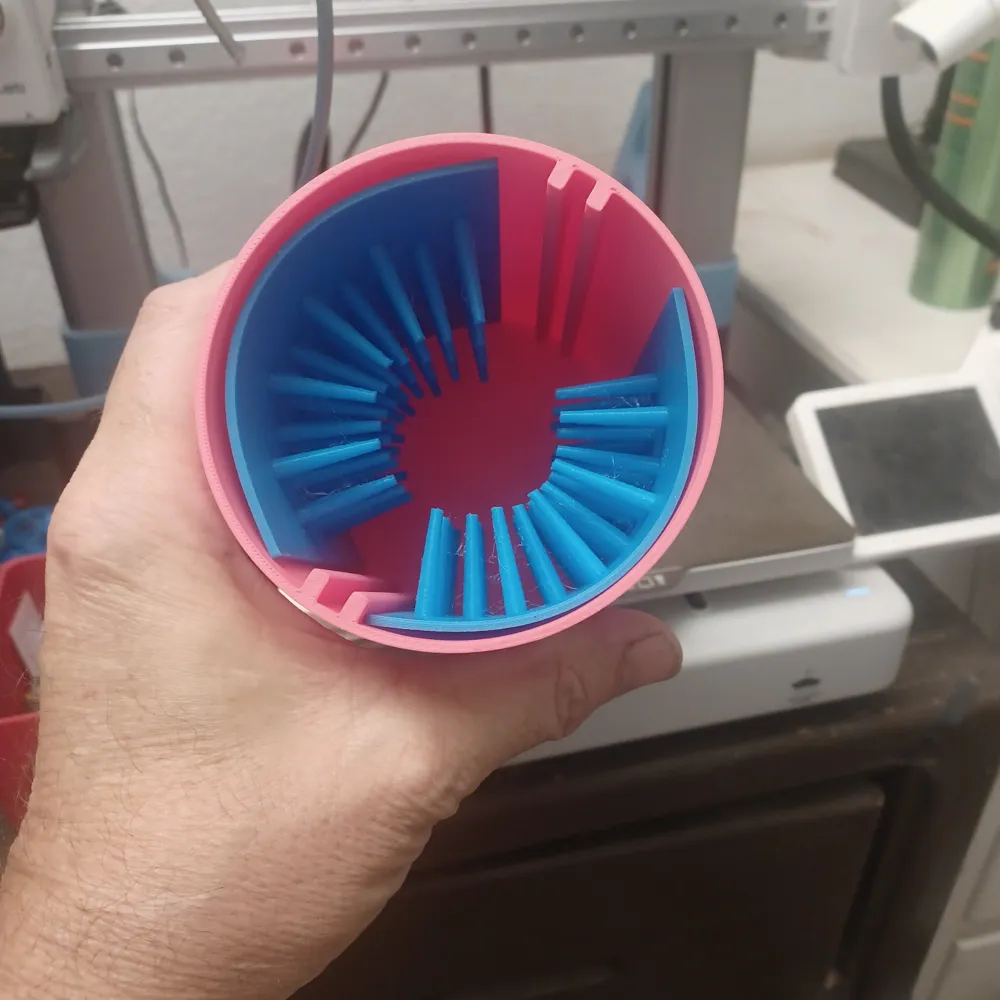
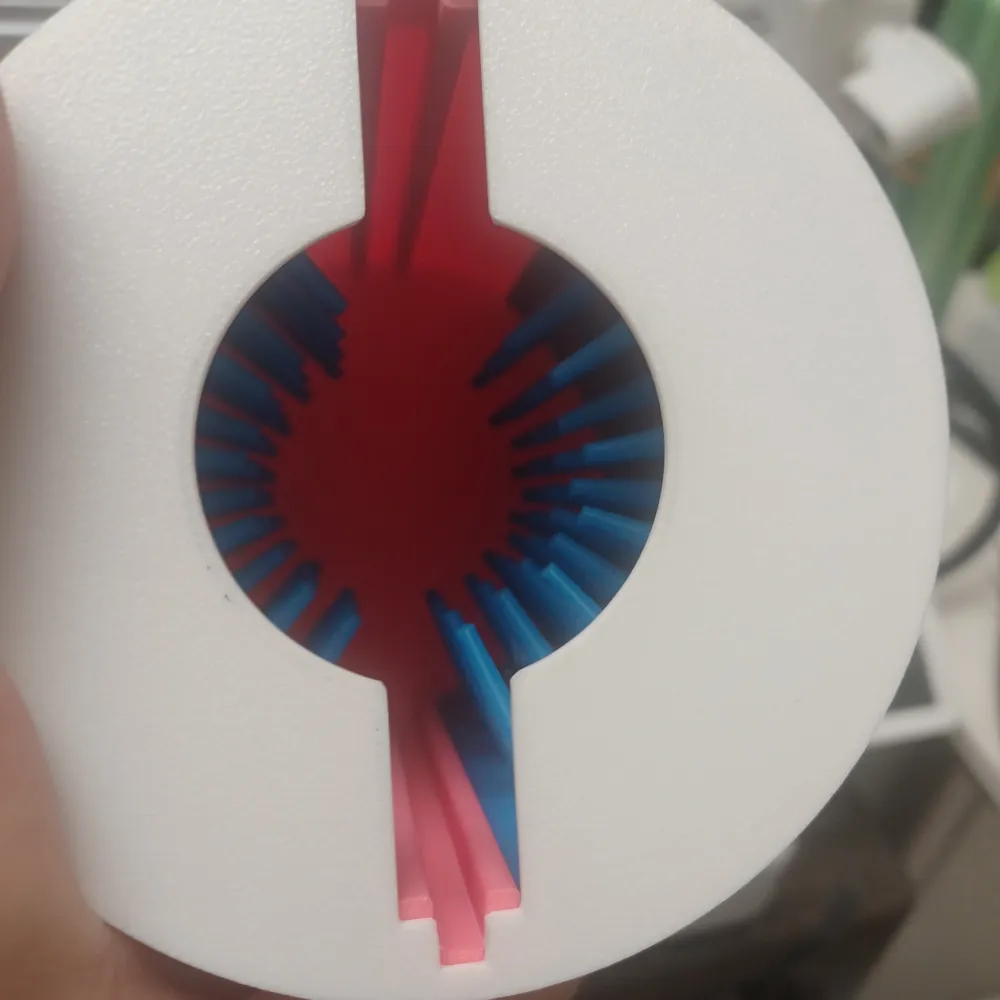
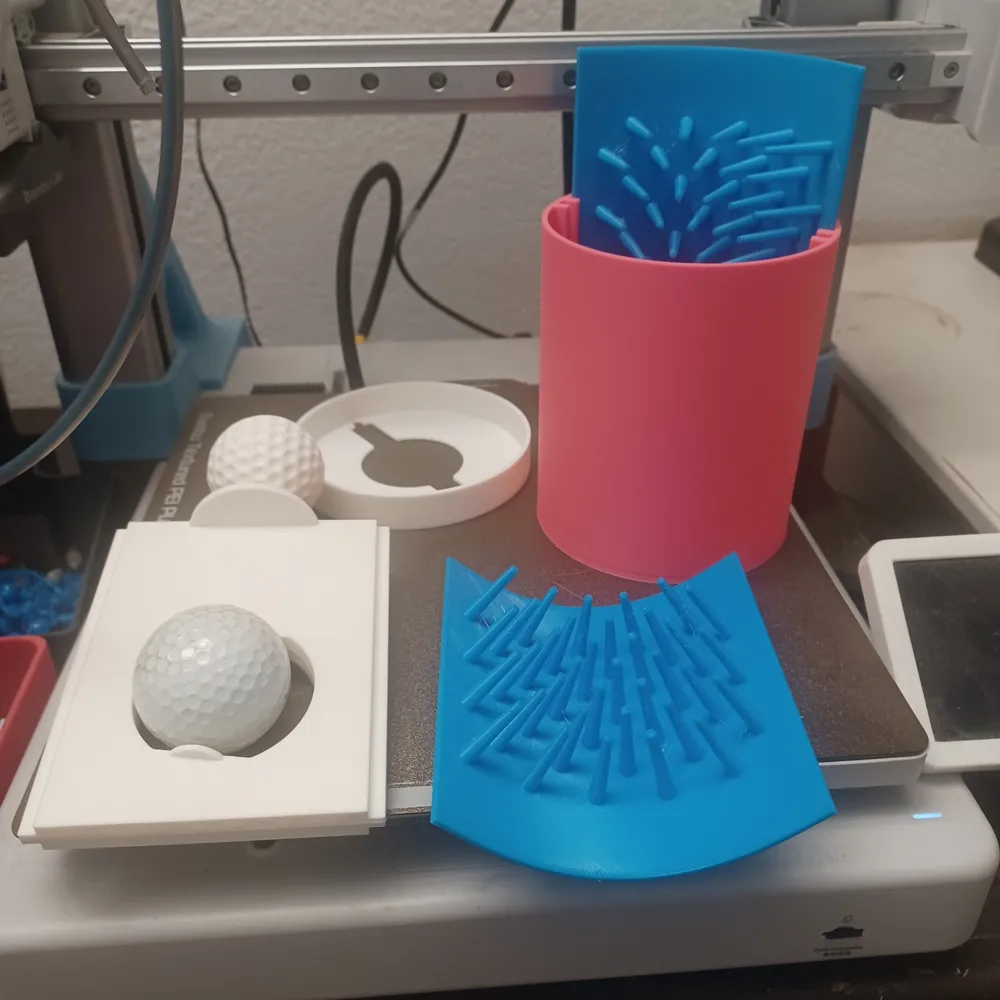
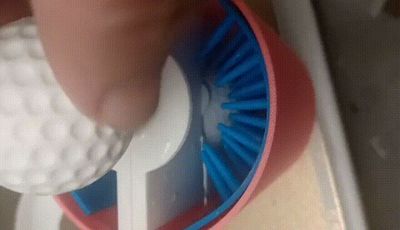
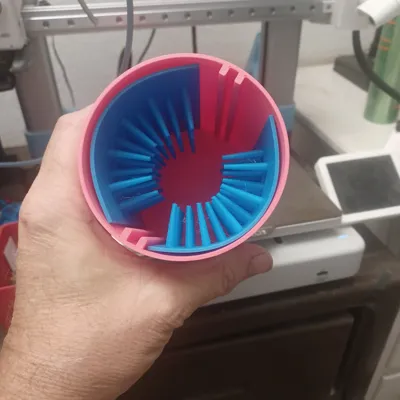
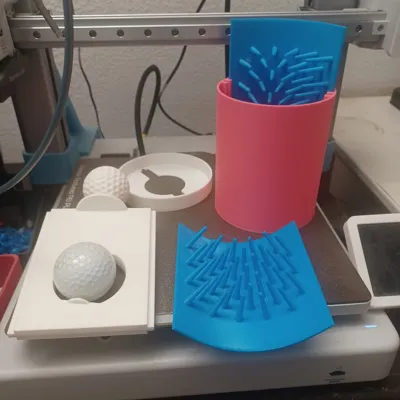
The scrubber was printed in TPU and seems to work well to rotate ball as it cleans, ensuring you get full coverage.

I printed the rest in PLA for my test prints but recommend you print it PETG, ASA, ABS or a more heat/weather resistant filaments to give it extra durability.
Assembly:
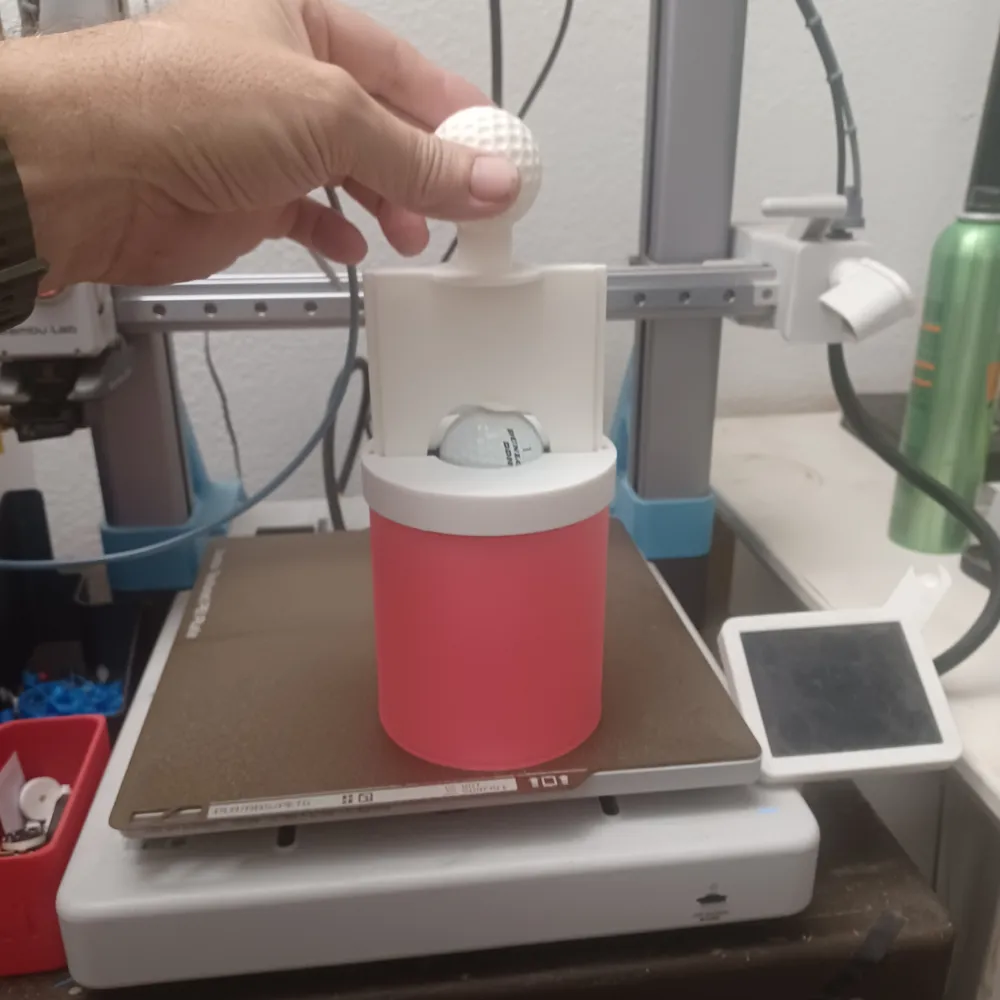
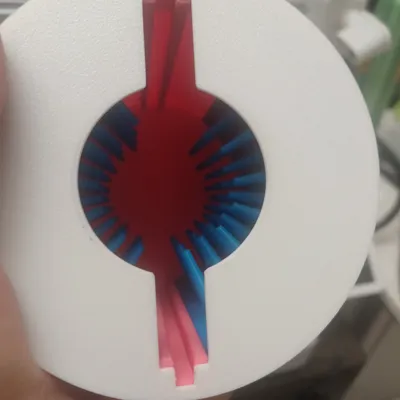
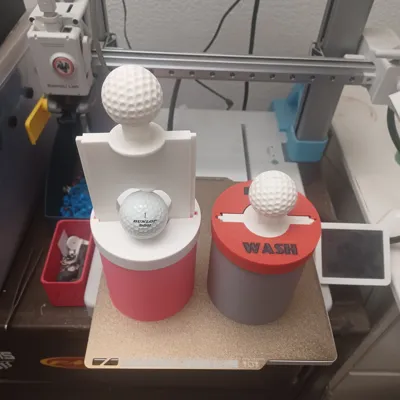
- Insert the TPU Scrubbers on both sides of the plunger channel facing each other as seen in images. You will have to curve them a bit and work with them so as to get the ball to fit in there. it will eventually shape itself as needed the more you use it.
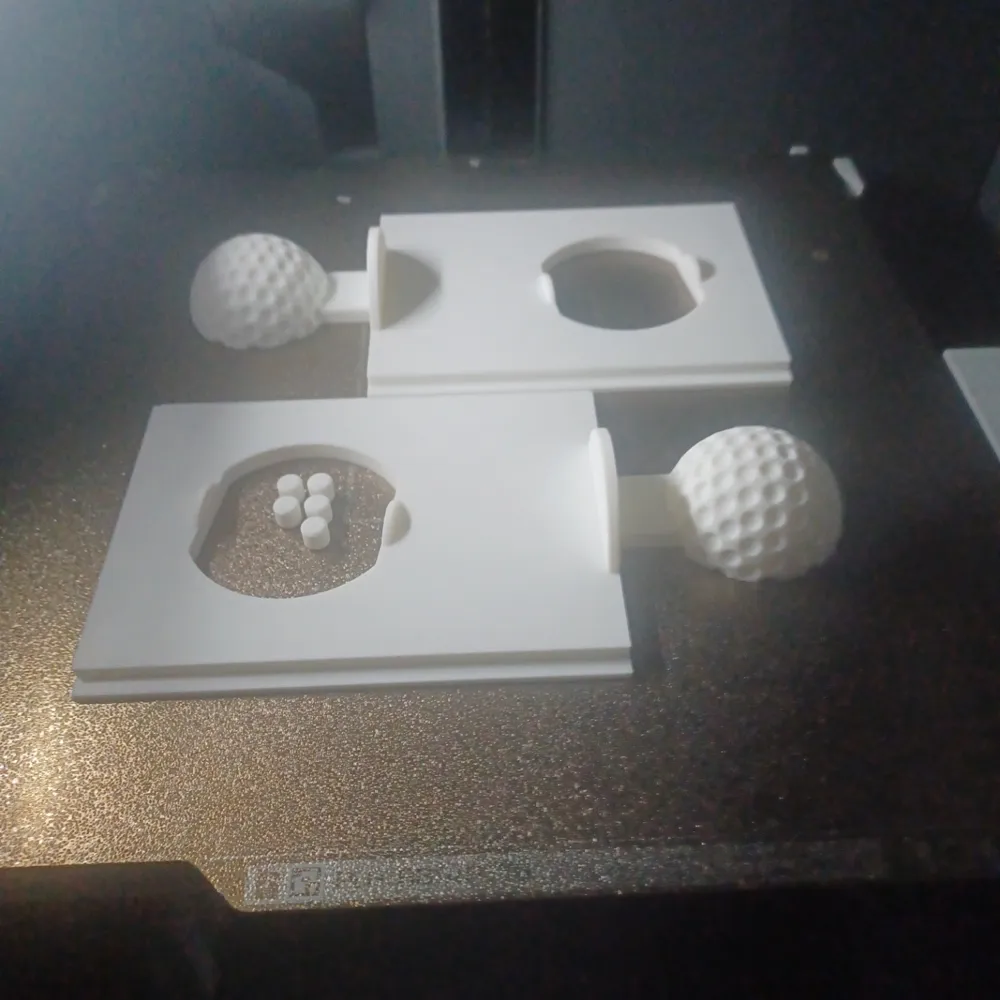
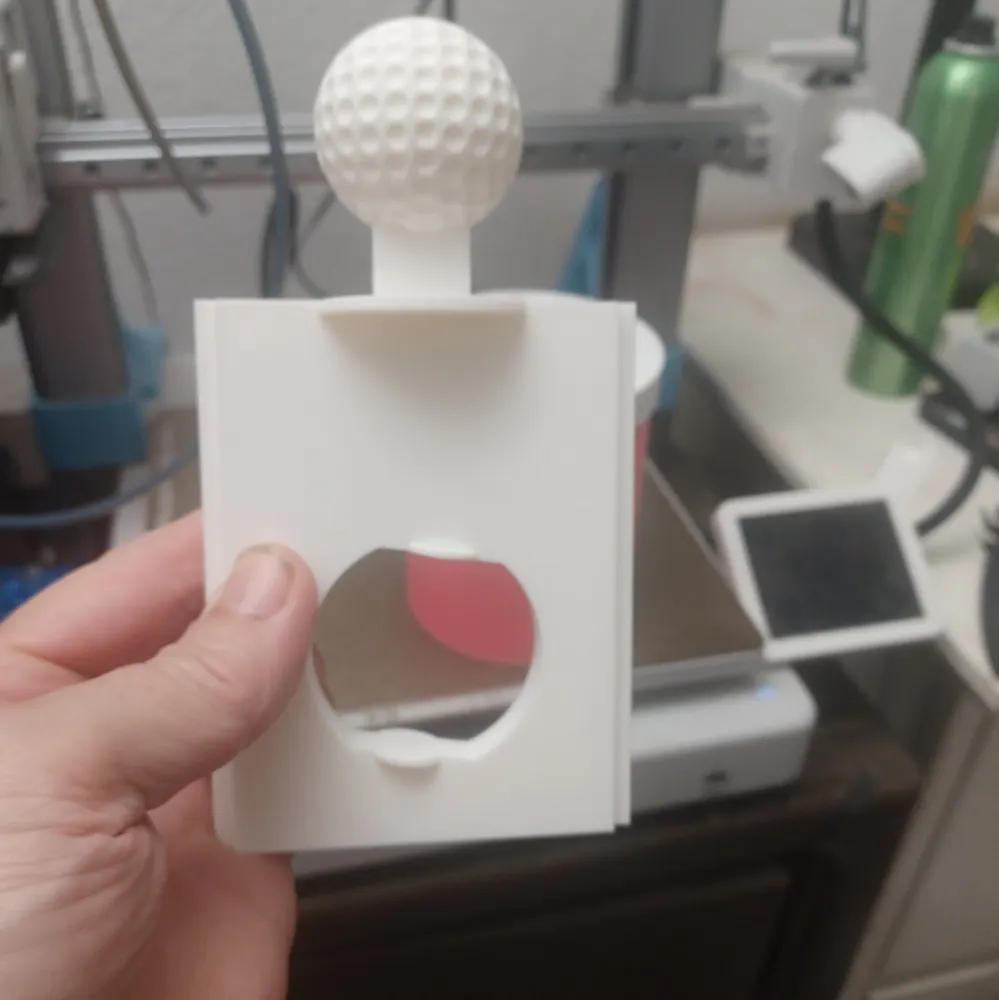
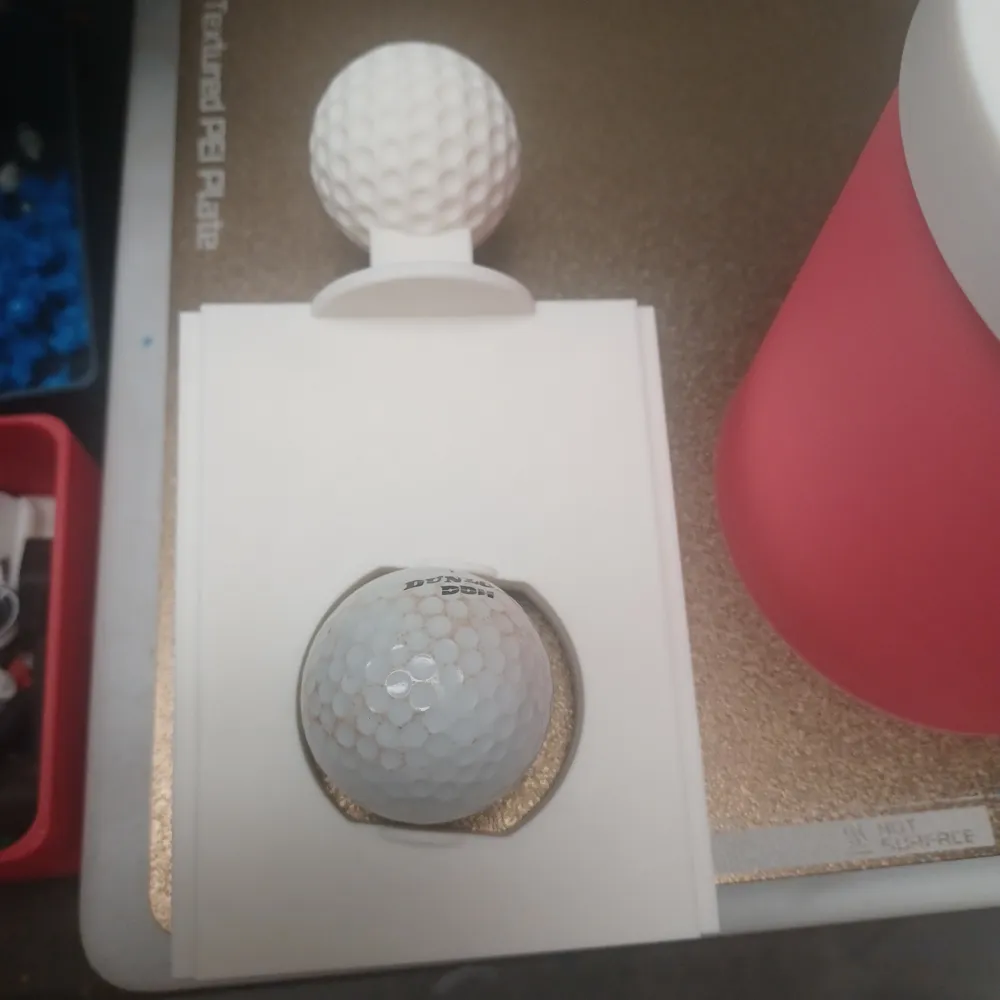
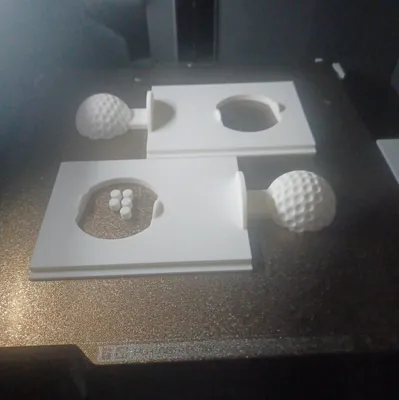
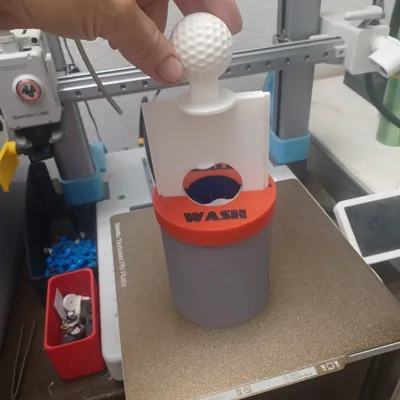
- Insert the 5 pins into one side of the plunger halves (I found if you get them started then turn the plunger half face down on a table or hard surface and apply a little pressure they will pop in securely.
- Add some super glue or equivalent to the outer edge of the plunger to give it a bit more grip and hold the 2 pieces together tightly.
- Snap the 2 pieces together using pins to align them and press them together or use a small clamp until the glue dries.
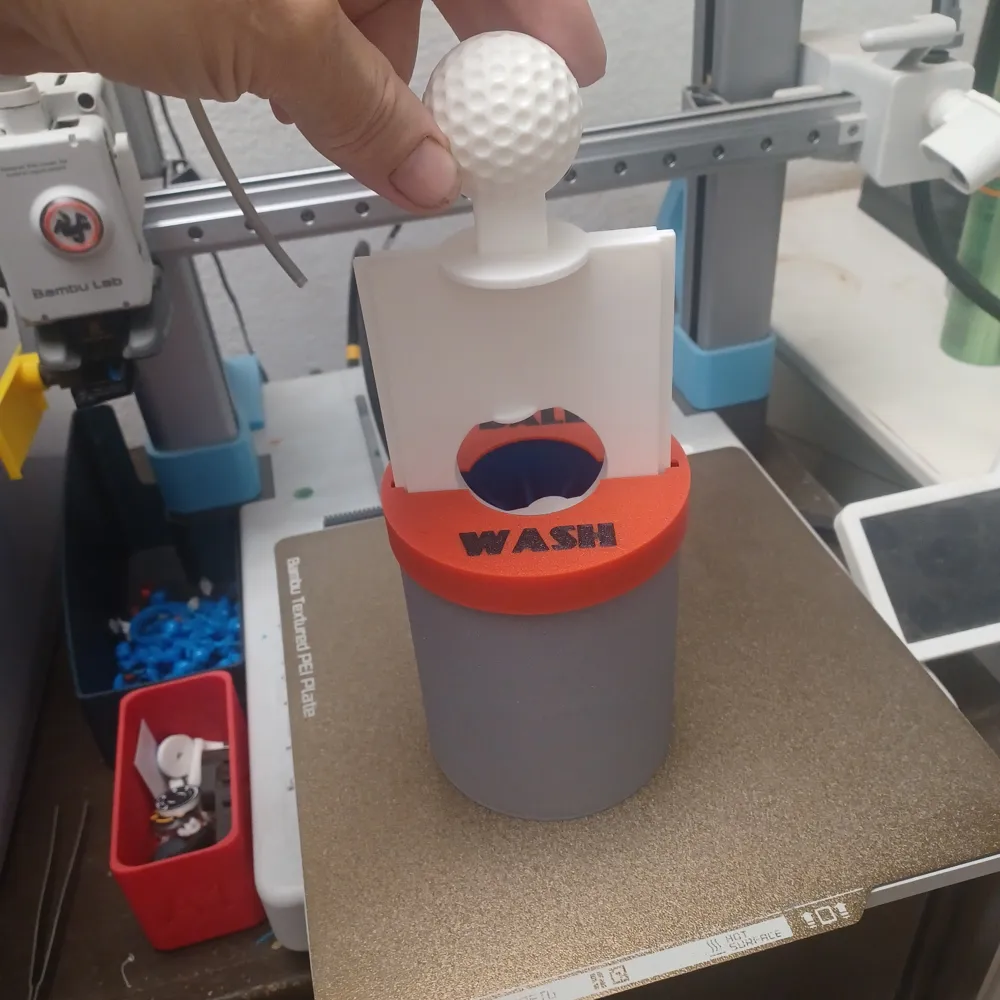
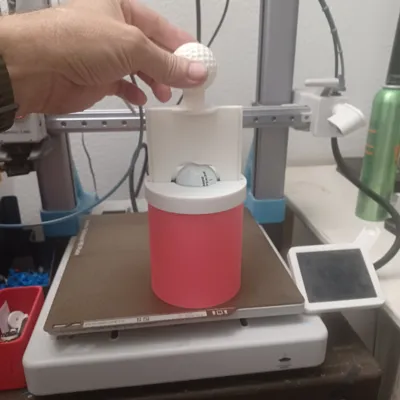
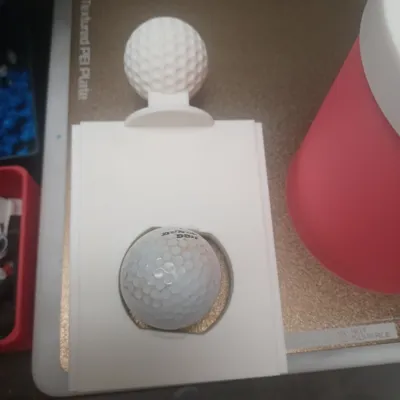
- Insert the plunger partially into the channels then add your golf ball and plunge it down to the bottom.
- Add a tiny bit of detergent and/or just water if desired fill to just above the scrubbers
- Align the cap so the 2 locking bumps and holes will lock as you press cap on.
Membership
Join my Commercial Membership and enjoy selling rights for all of my models for as low as $3 per month.
License

You shall not share, sub-license, sell, rent, host, transfer, or distribute in any way the digital or 3D printed versions of this object, nor any other derivative work of this object in its digital or physical format (including - but not limited to - remixes of this object, and hosting on other digital platforms). The objects may not be used without permission in any way whatsoever in which you charge money, or collect fees.


Comment & Rating (18)