
Profi Quilling Board
Print Profile(2)
Description
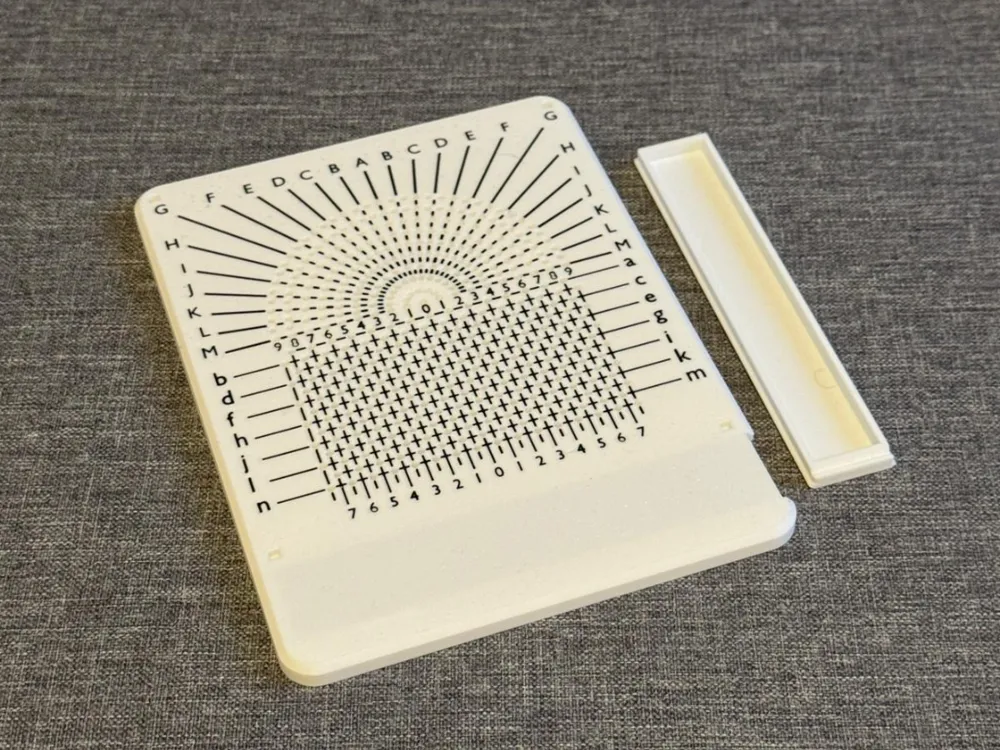
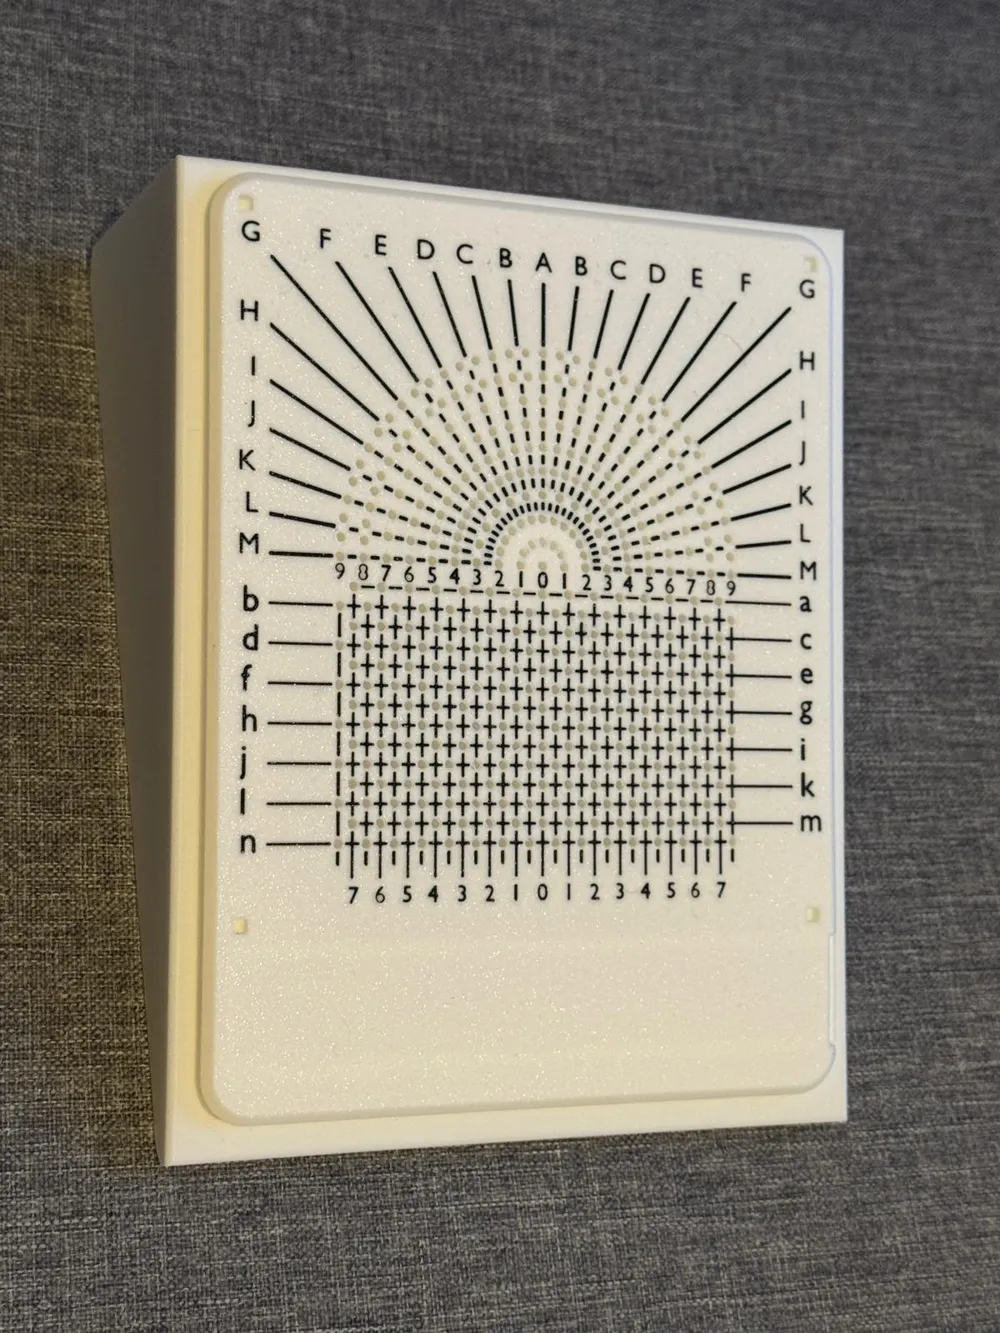
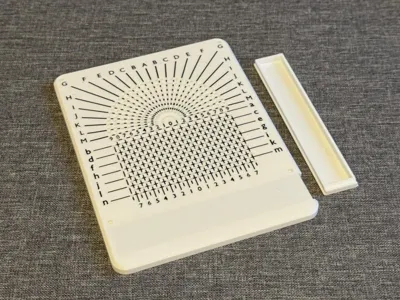
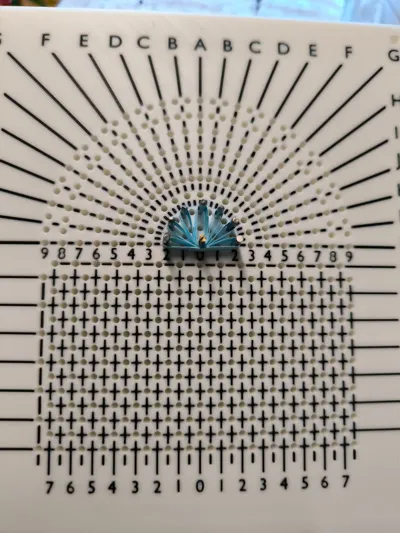
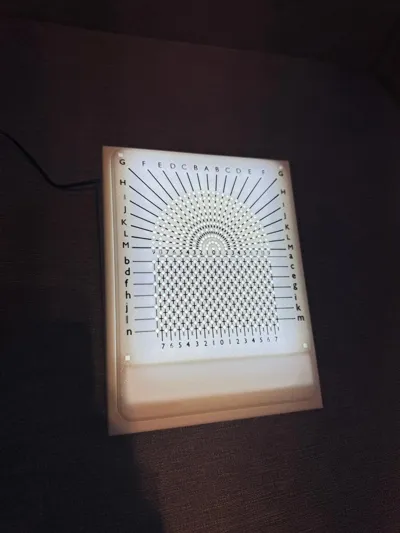
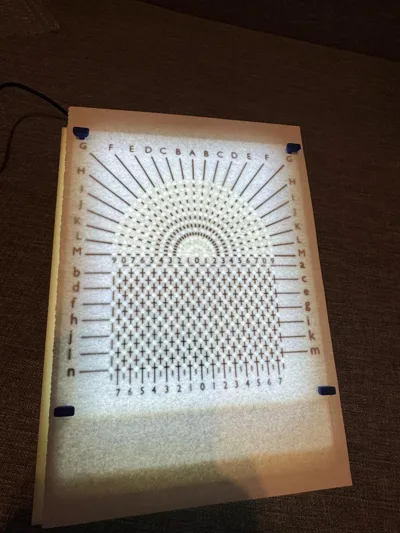
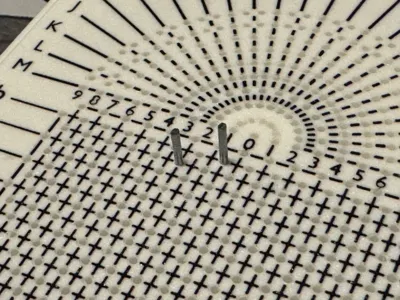
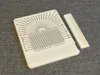
A professional quilling board with labeling to document your own creations and immortalize them in paper templates
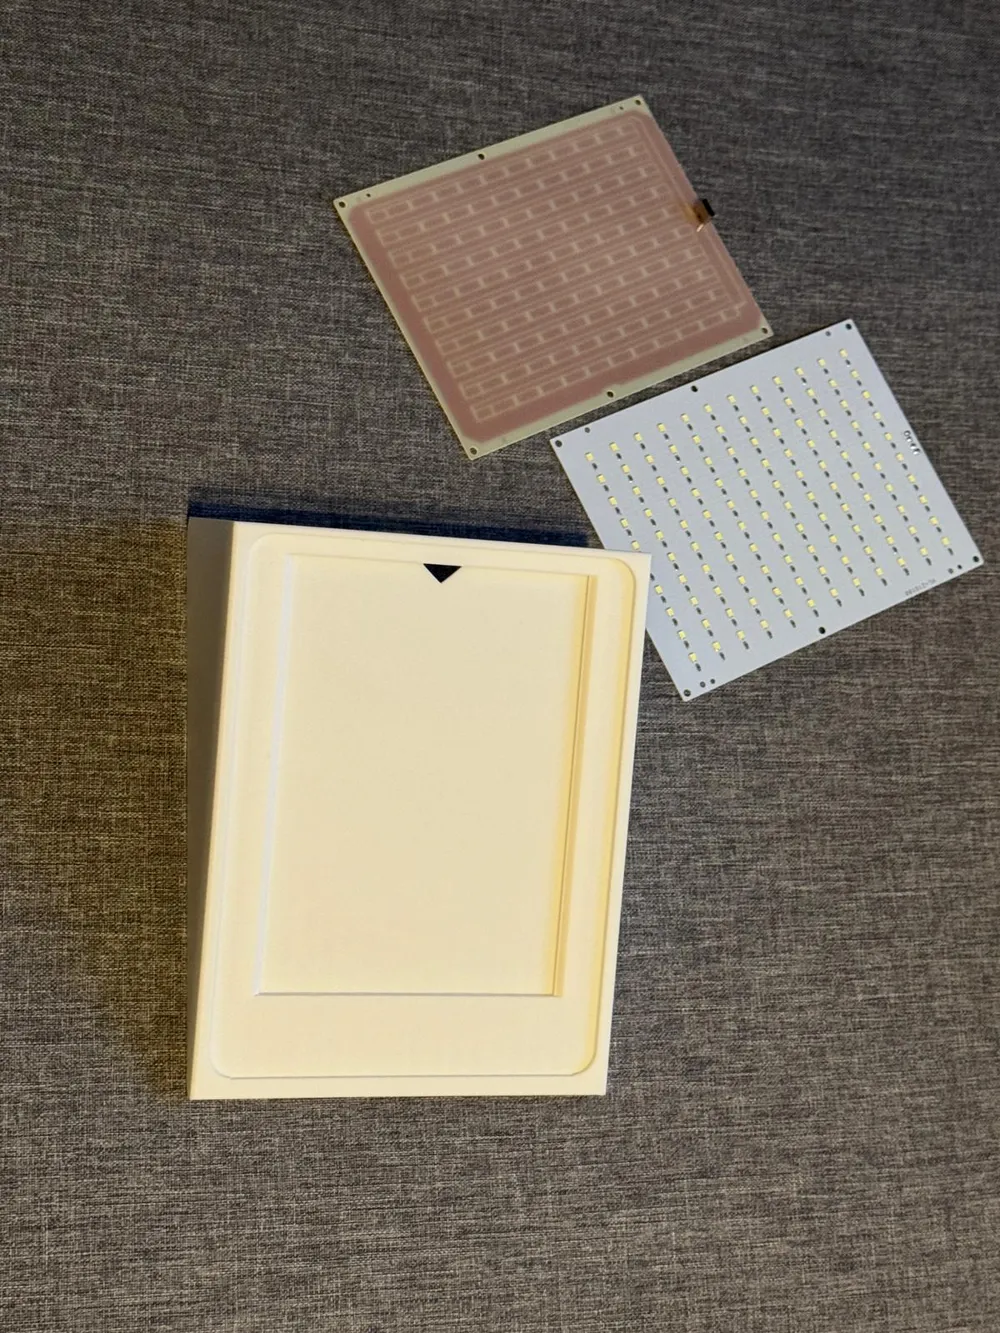
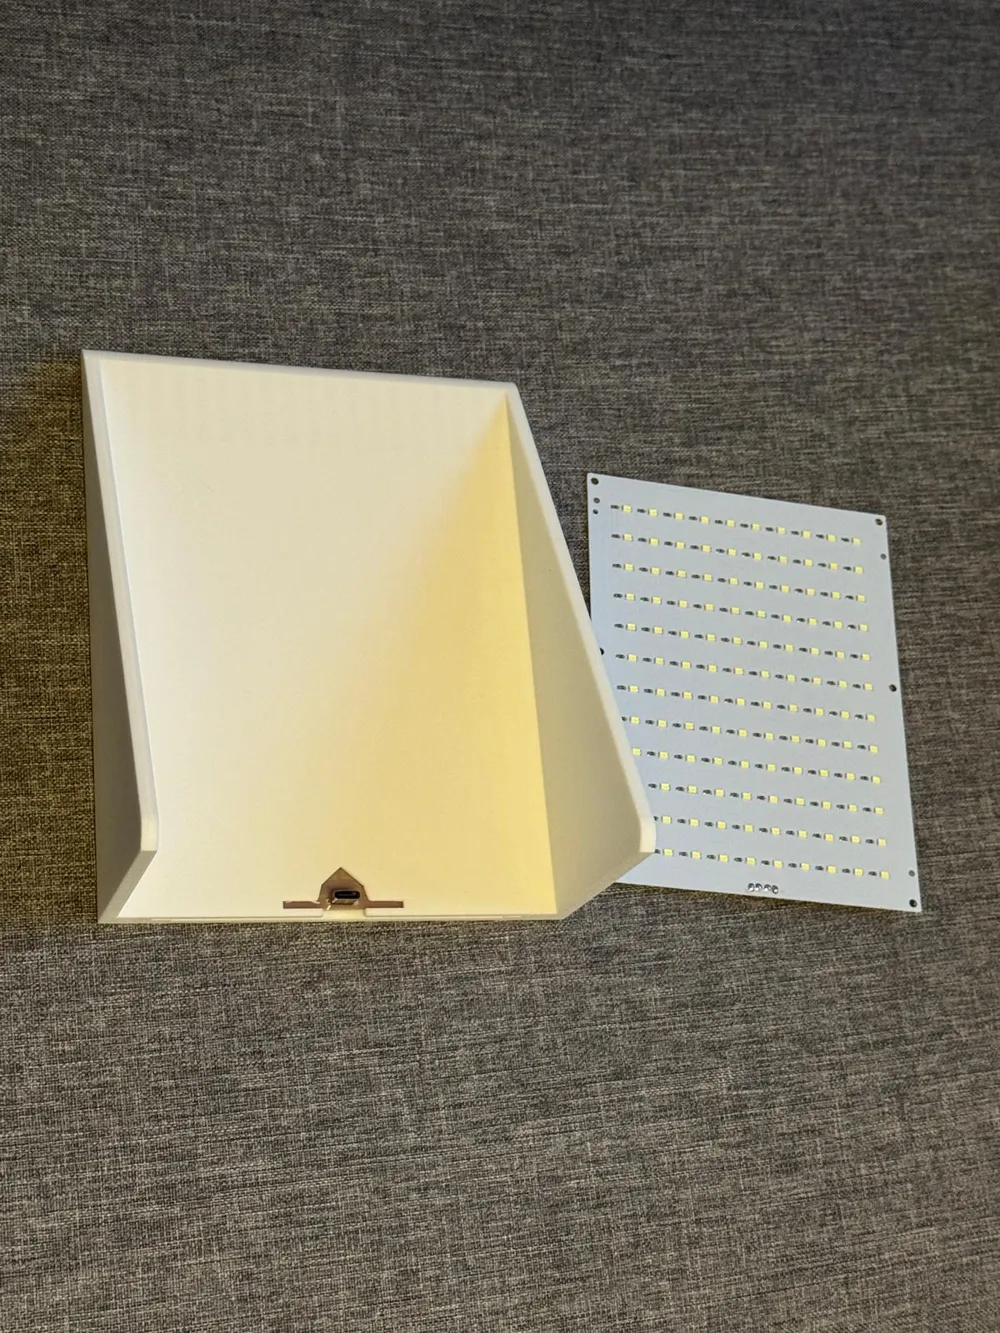
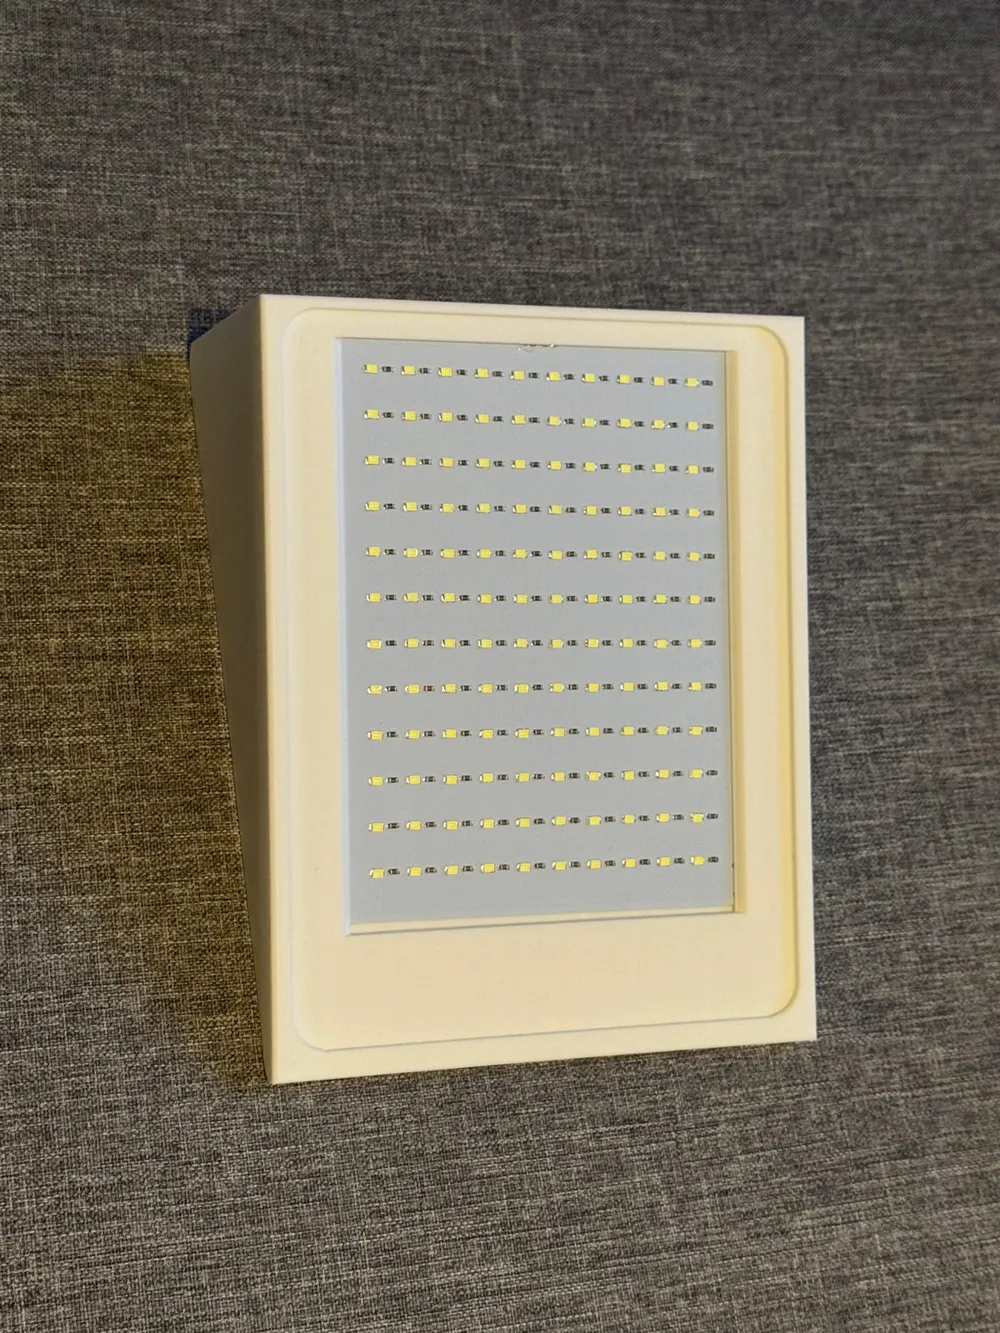
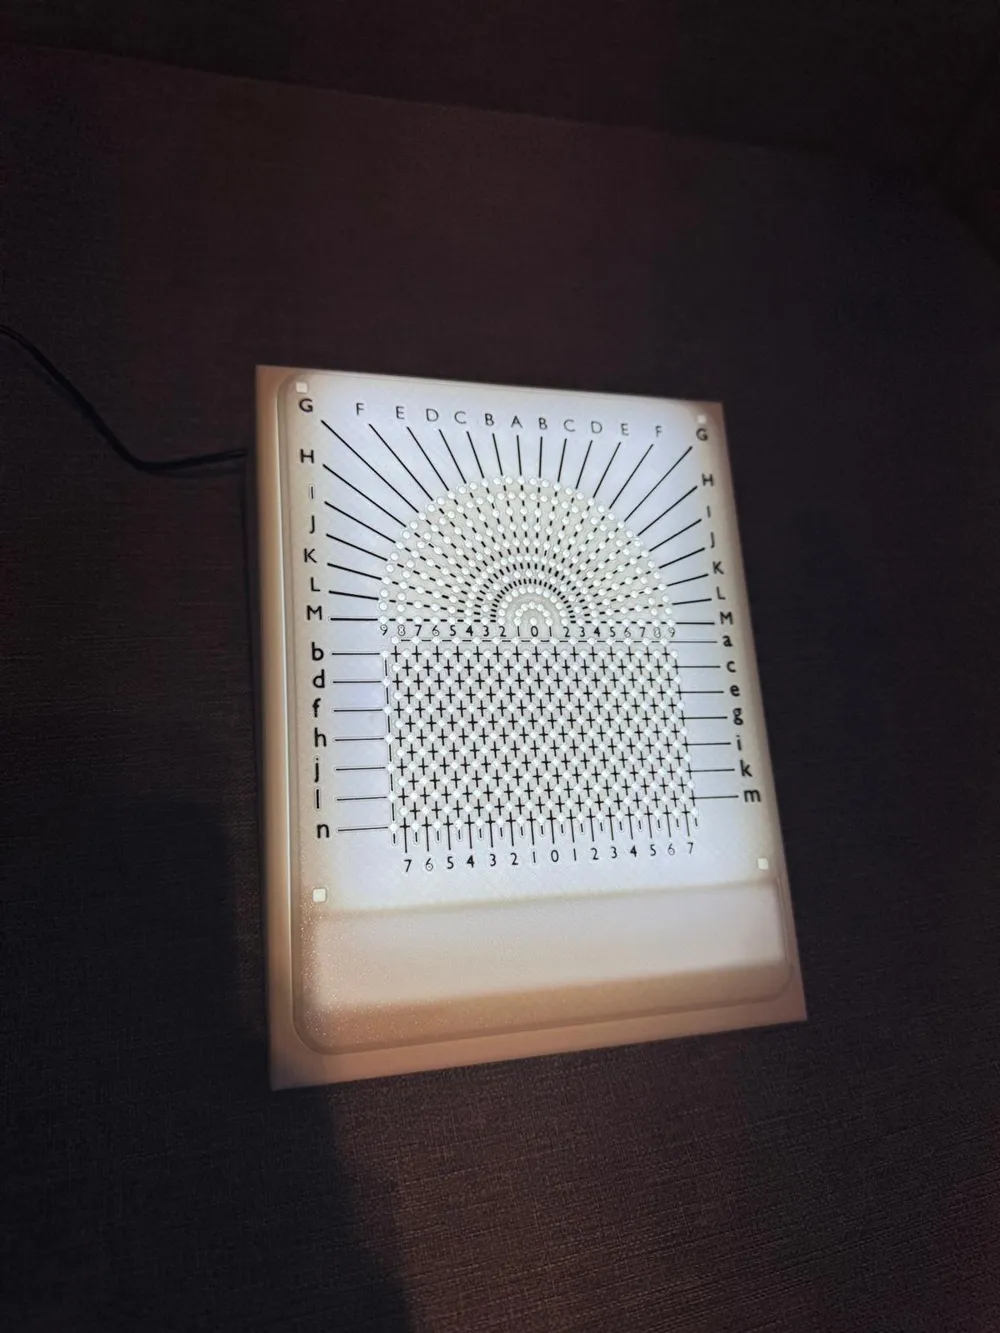
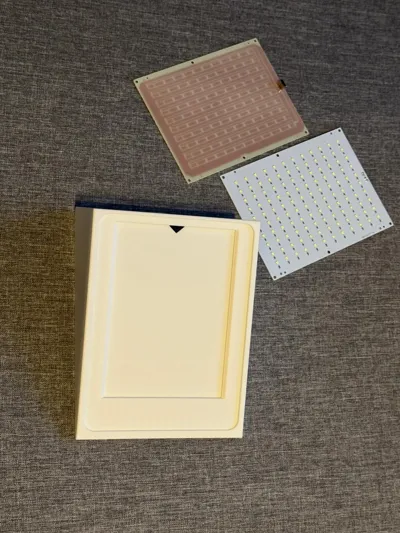
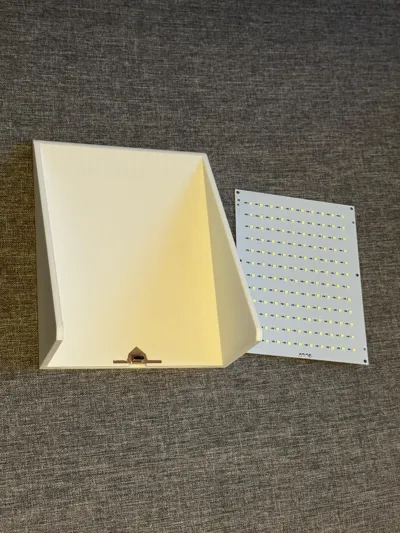
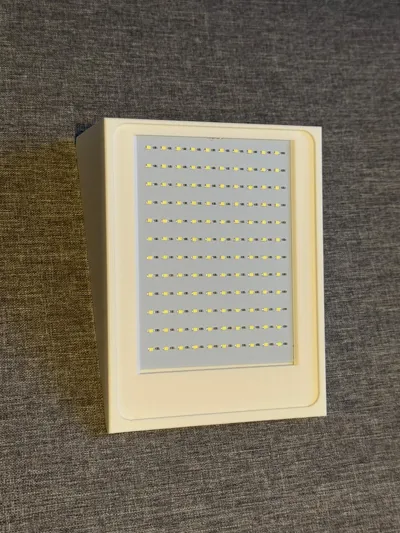
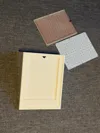
Additionally, there is a board tray into which an LED plate can be inserted to facilitate transferring and documenting position markings
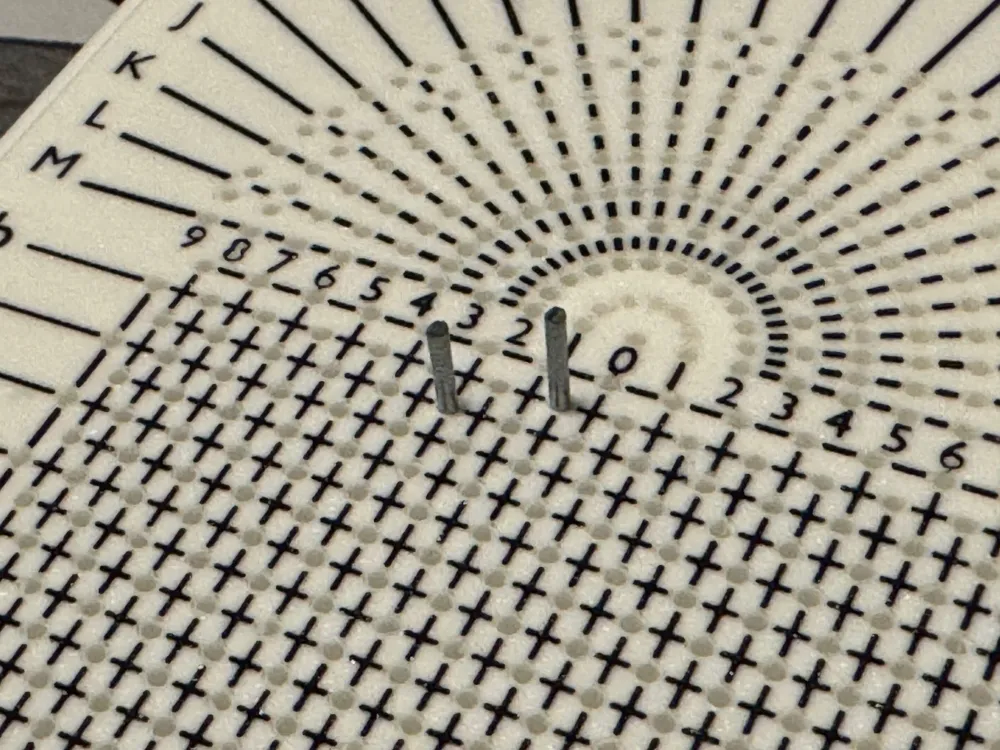
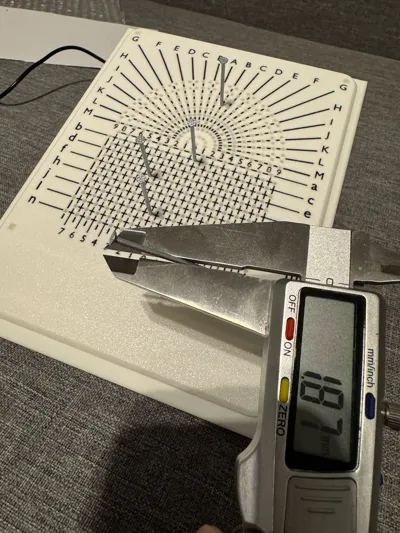
Hole size: approximately 1.9mm
Hole depth: approximately 7mm
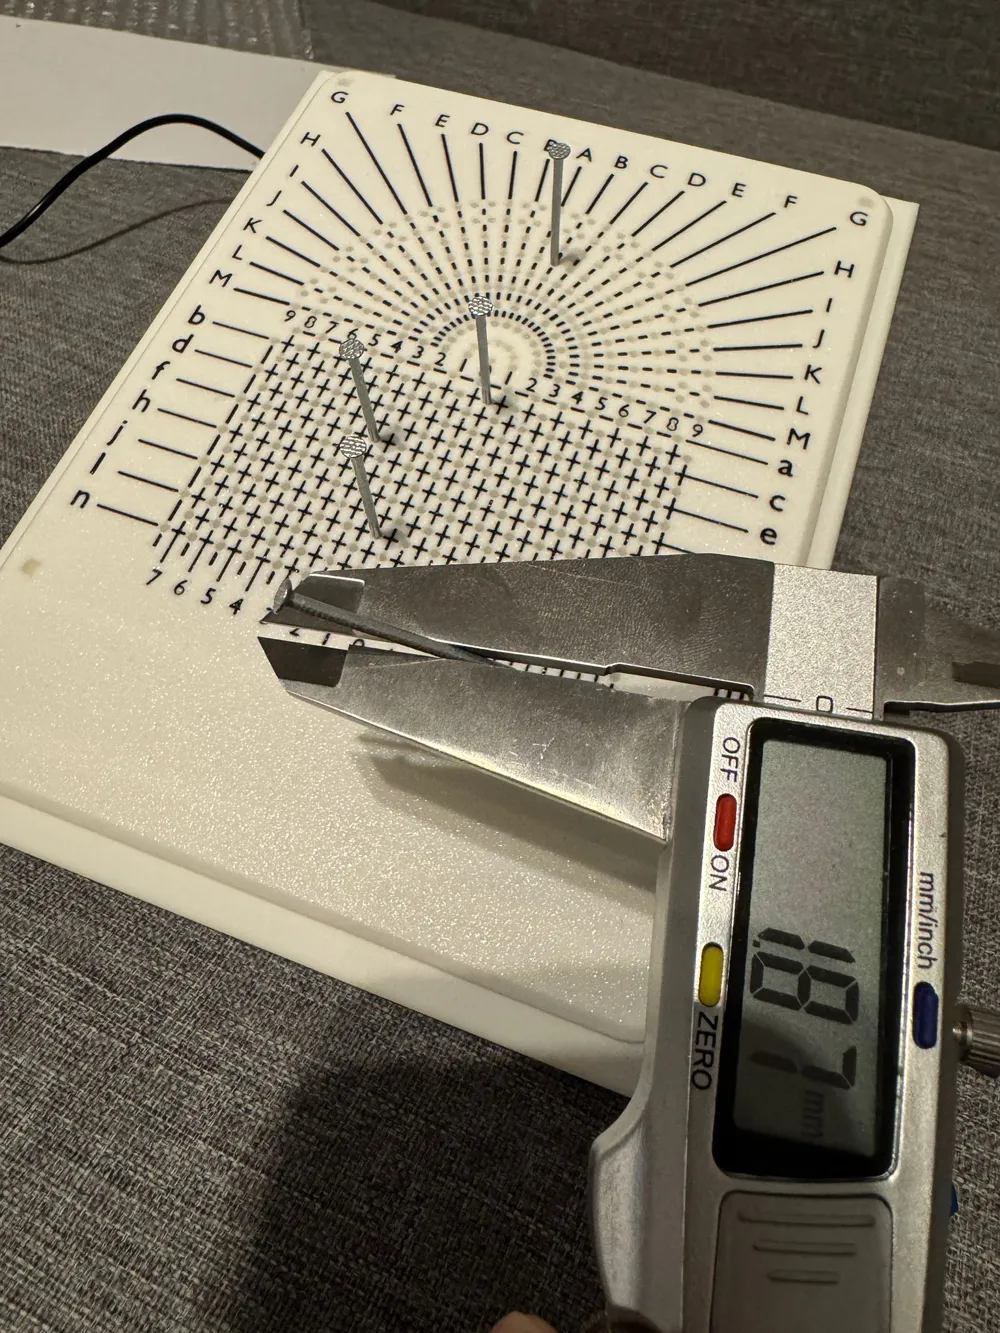
The pins can be taken from common existing boards (usually 1.8mm)
Nails from a hardware store with a diameter of 1.8mm can also be trimmed, but make sure to deburr the ends
I do not recommend 3D printing pins, as they are too soft and bend easily
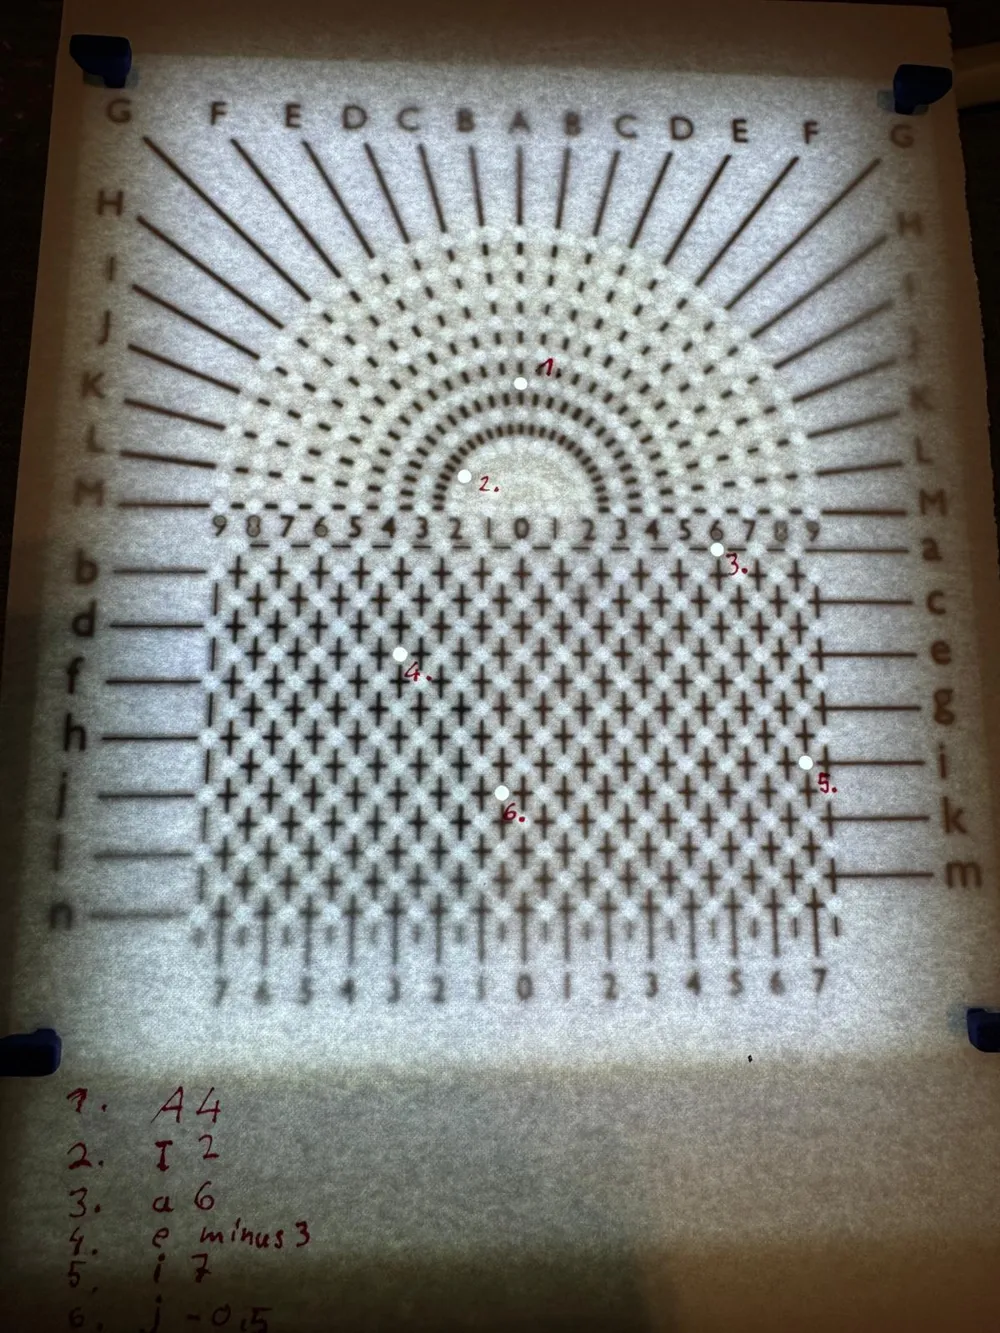
Transferring patterns:
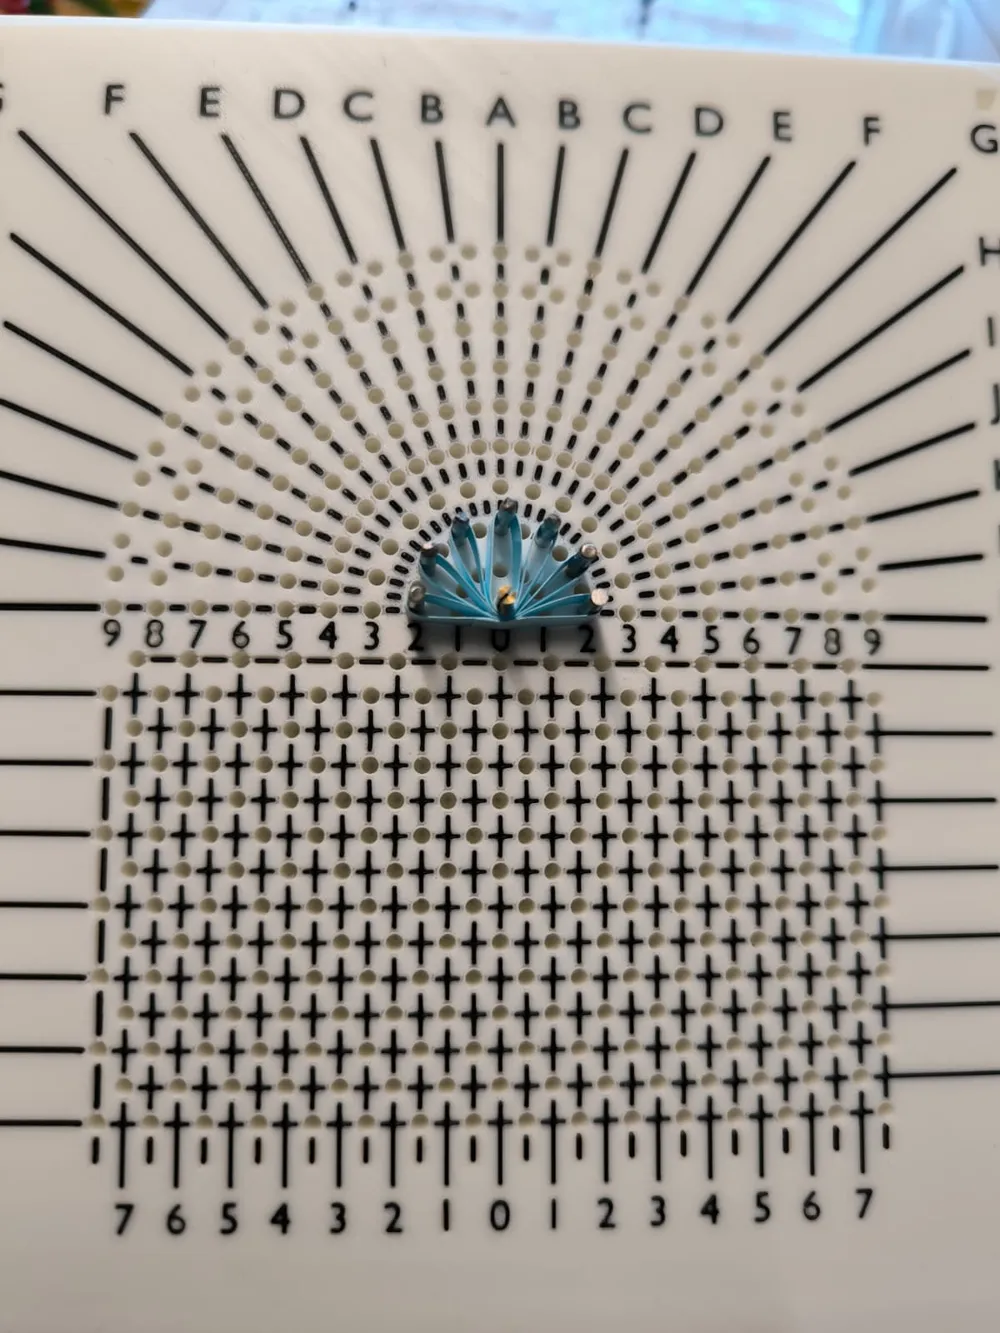
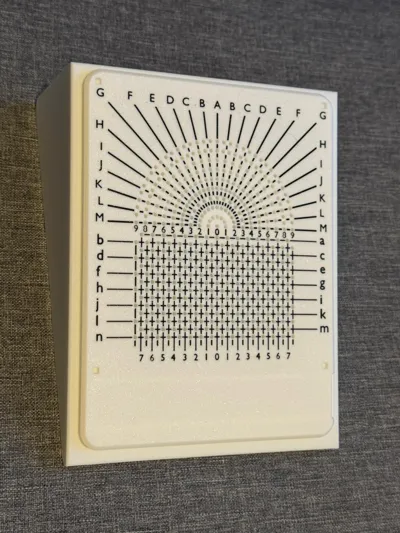
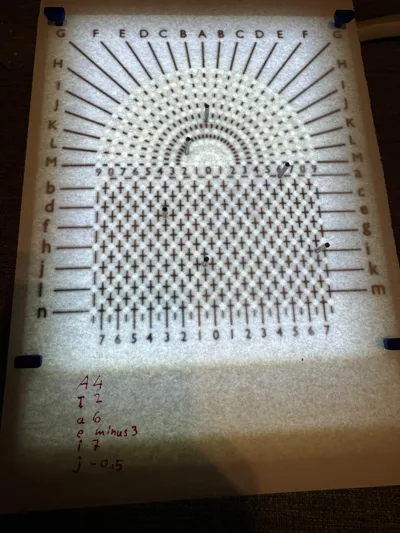
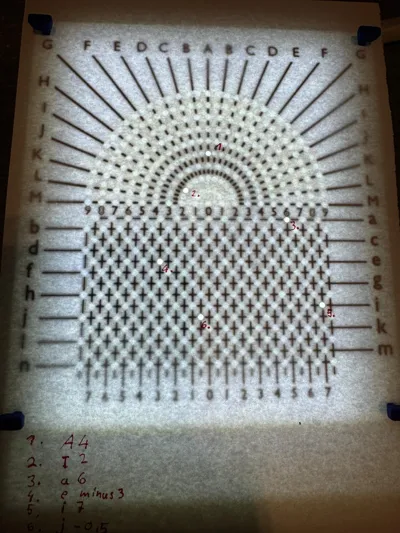
Regarding the coordinates:
The upper semicircle has large letters, these letters go into the negative
So there is an H and a -H. The lines of the letters meet the numbered semicircles
Example: -H4
The lower square has small letters and numbers. Here, the upper numbers for the semicircles should be ignored
The decisive factor is the lower number range. However, here the numbers go into the negative and there are also half numbers
Example: d-2,5
Why are there negative letters and negative numbers:
This makes it possible to mirror a template horizontally by changing the signs
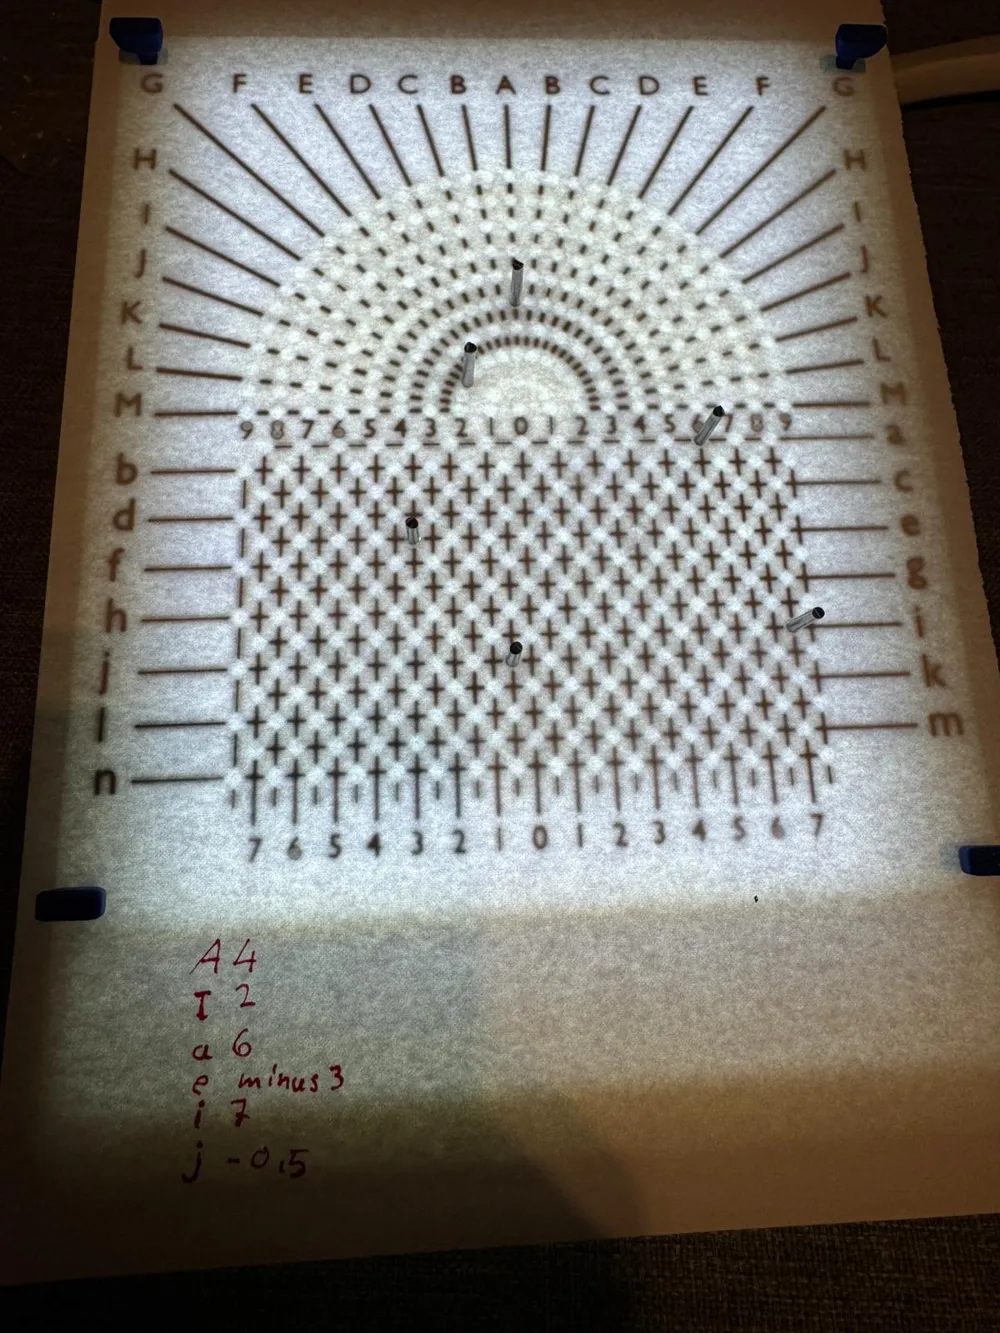
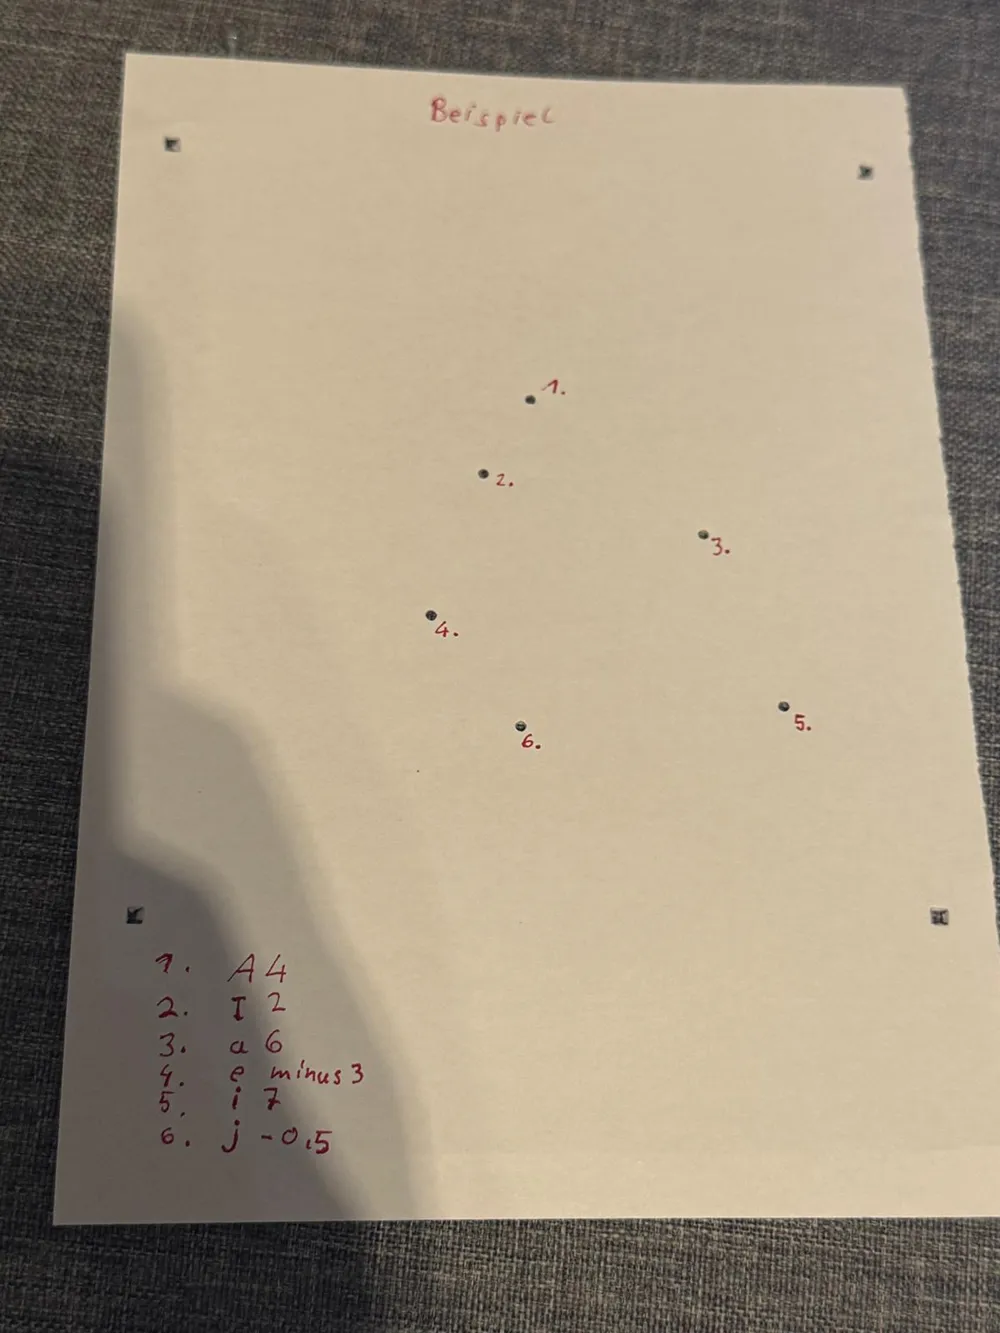
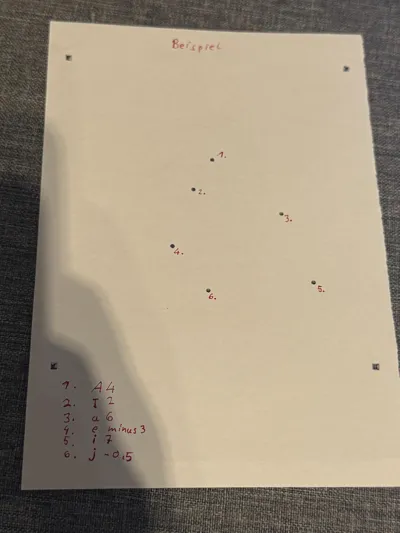
A representation of documented coordinates and their corresponding holes can be found in the last preview photos
Documentation process:
- Document the position/coordinates of the pins (one letter and one number per pin)
- Remove the pins
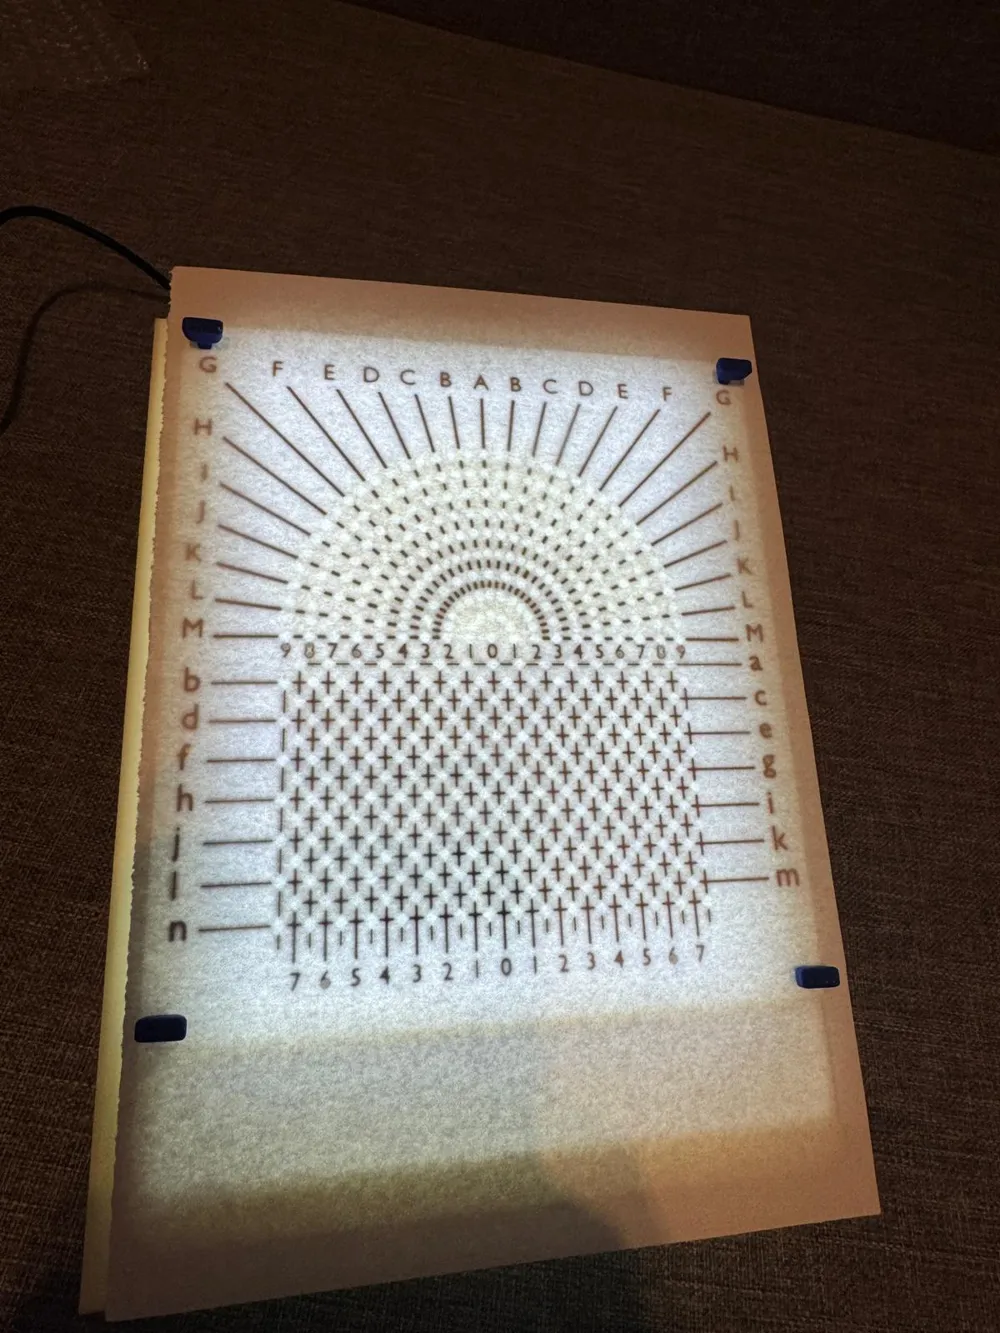
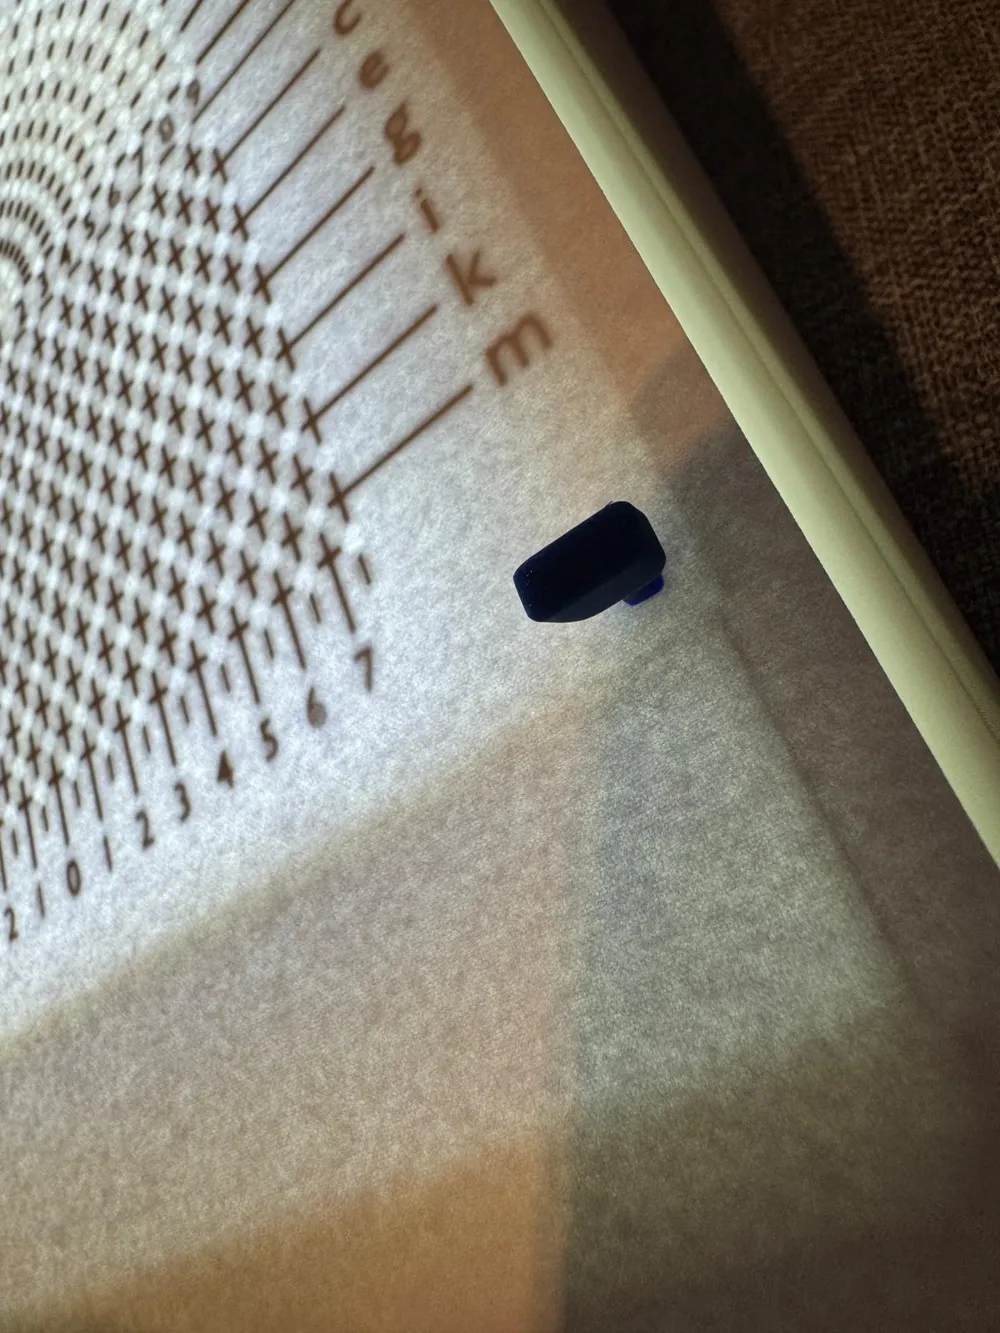
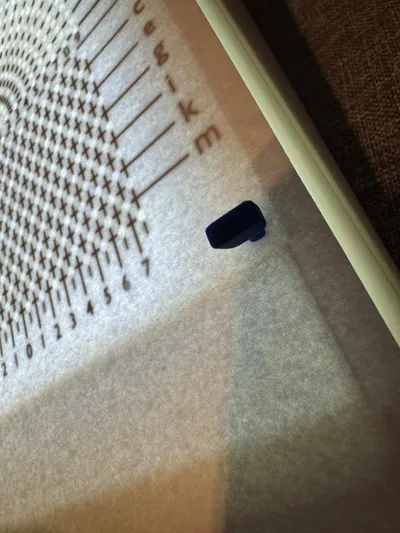
- Fix a sheet of paper (DIN A5 or similar) with the printed fixing plugs at all four outer holes
- Insert the pins through the paper into the noted coordinates (Turn on the LED plate for this)
→ The paper template is ready. Ideally, you have noted the coordinates on the hole sheet 😉.
Regarding the two print templates:
The 1st template includes the Quilling Board
Attention! A 0.2mm nozzle is required!
With a larger nozzle, the hole sizes become inaccurate and the lettering becomes difficult to read
The print speed is significantly reduced to ensure more precise printing
Worn nozzles or resonance issues with the axes also worsen the result
The 2nd template includes the LED tray for the Quilling Board
The tray can be printed with a larger nozzle
An LED plate should be inserted into the tray, otherwise reading with paper placed on top is difficult
However, you can also place a flashlight or similar under the tray to illuminate the board from below 😉👍.
LED plate: https://eu.store.bambulab.com/de/products/bambu-cmyk-backlight-board
Further notes:
The first insertion of a pin into a hole may be a bit stiff, but should fit well and snugly afterwards
When inserting the drawer for the first time, there might be a crack, but the spring arm in the board should continue to function
Boost Me (for free)
A lot of work went into this board, if you like it, please leave me a boost or a like. Thank you very much. 😀👍
License

You shall not share, sub-license, sell, rent, host, transfer, or distribute in any way the digital or 3D printed versions of this object, nor any other derivative work of this object in its digital or physical format (including - but not limited to - remixes of this object, and hosting on other digital platforms). The objects may not be used without permission in any way whatsoever in which you charge money, or collect fees.


Comment & Rating (0)