Nano FPV Tank


Print Profile(4)
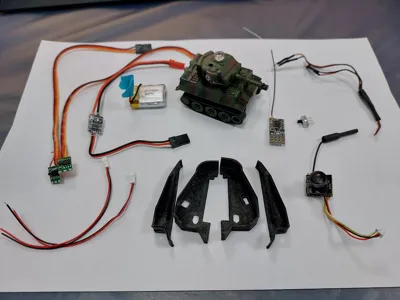
Bill of Materials

Description
NANO FPV TANK
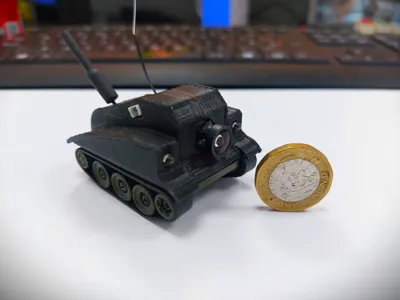
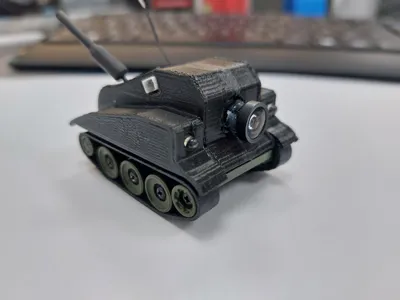
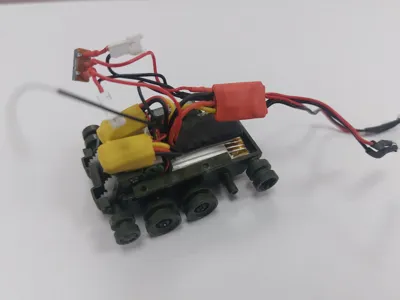
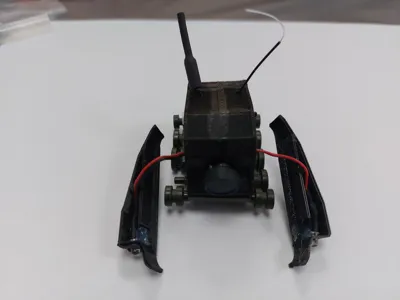
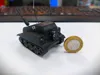
Hi, Here is my Nano FPV Tank with proportional speed contol and controlable LED lights that can fit in the palm of your hand!
This tank is only 5.5x4x3cm! great for racing around the office or living room at high speed while having great contol around those hard to reach places and super bright lights when it gets dark! after some testing i have found i'm getting a good 10mins+ of driving time on a full charge and a good 130m+ of range with the camera feed (using the standard Dipol antennas) and 300m+ with the radio!
Although origanally made for a bit of fun, this tiny tank makes a great inspection robot to see those places you never thought you'd get to!
For the full build guide please see the PDF included in the files or on my Instructables:
Customize your Nano FPV Tank: Coming soon!
Nano FPV Tank Obstacle Pack: Coming Soon!
Equipment need:
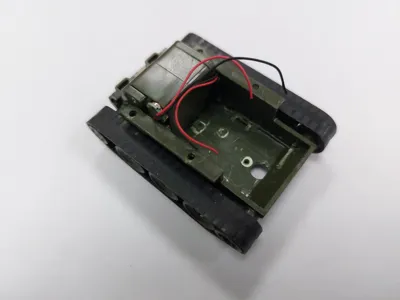
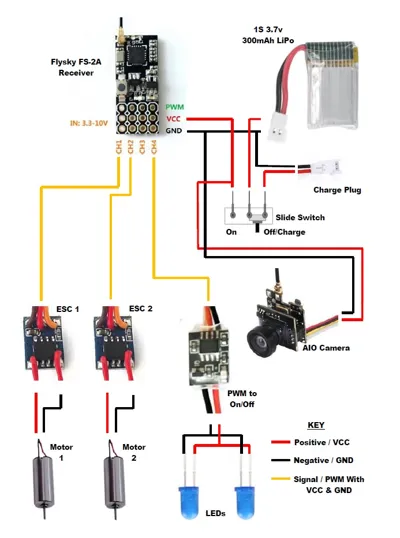
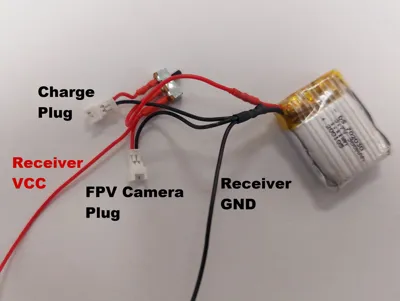
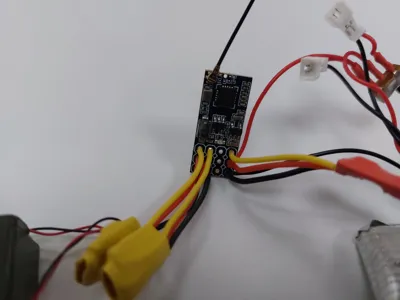
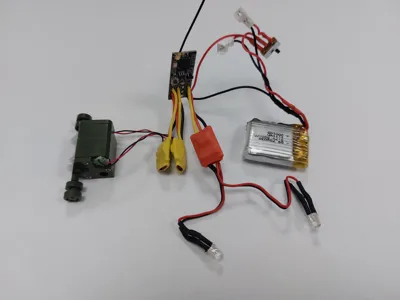
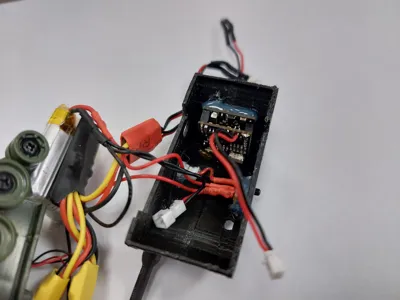
• 1 x Nano Tank (777-215 or similar)
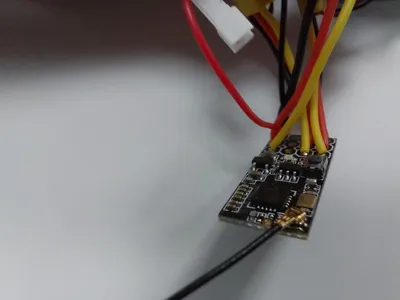
• 1 x Flysky FS2A 4 channel receiver (or equivalent receiver for your controller)
• 2 x 1A bi-directional brushed ESC
• 1 x AIO FPV 5.8g Camera
• 1 x 100 - 300mAh LiPo Battery (to fit in a gap of 27x20x10mm)
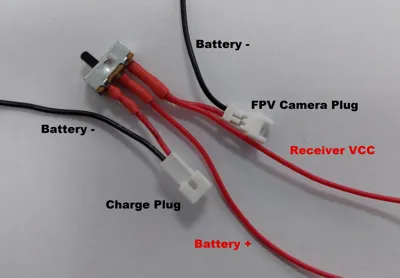
• 1 x 3 pole PCB slide switch
• 1 x USB 1S LiPo charger
• 1 x JST-XH Male plug (or equivalent to suit the charger)
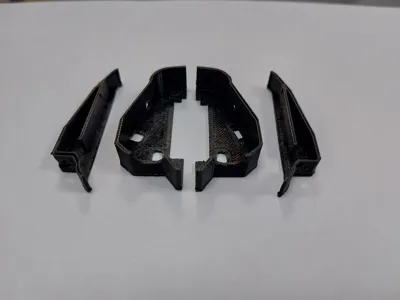
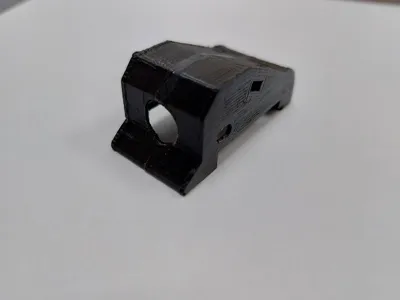
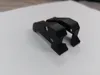
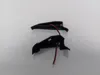
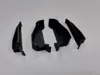
• 3D Printed parts – see below
Extra Optional Equipment:
• 1 x 3-5V 2A PWM to On/Off Switch for controlling LED’s
• 2 x 3-5V LED
• 1 x JST-XH Male Plug (or one to match your AIO Camera if you don’t want to hard wire it in)
Tools Needed:
If they have a by them, they are not necessary but will make this build much easier if you have them available.
• Philips (Crosshead) Screwdriver
• A modelling knife
• Small wire cutters
• Wire strippers
• A small file
• Drill bits (and a drill) – 1mm or 1.5mm recommended
• Soldering iron
• Soldering wire
• Glue gun & Glue
• Super glue (or glue that is suitable for the plastic you are using on your 3d printed parts)
• Heat-shrink tube of various sizes or electrical tape
• A Small pair of Plyers - when is having a small pair of plyers never useful?
• A pair of tweezers - makes fitting tiny components easy and great for holding tiny wires when soldering.
• Double sided tape - great for holding tiny components in place permanently or temporally.
• Blue-Tac* - very useful for holding components and wires while soldering if you don’t have a soldering jig.
I am a hobbyist designer and creator with a passion for designing and I love to know how I can improve my designs so any comments or advice on how my Designs, Guides or Print Profiles could be improved are always welcome! Thank you for reading and have fun making!
Documentation (1)
License
You shall not share, sub-license, sell, rent, host, transfer, or distribute in any way the digital or 3D printed versions of this object, nor any other derivative work of this object in its digital or physical format (including - but not limited to - remixes of this object, and hosting on other digital platforms). The objects may not be used without permission in any way whatsoever in which you charge money, or collect fees.
Comment & Rating (3)