


Print Profile(1)
Description
Hello
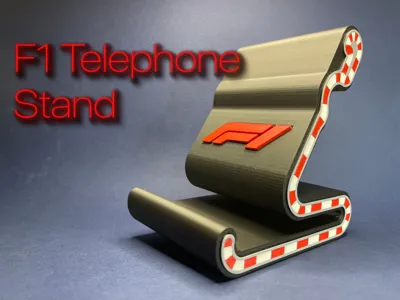
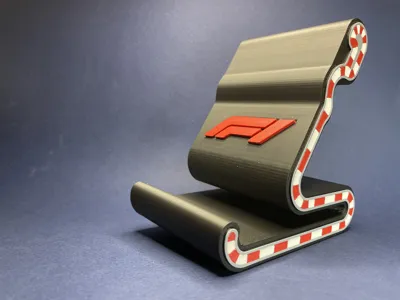
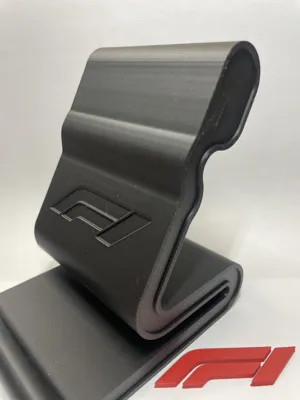
I have created a Formula 1 themed phone stand, with the stand's profile following an imaginary curb.
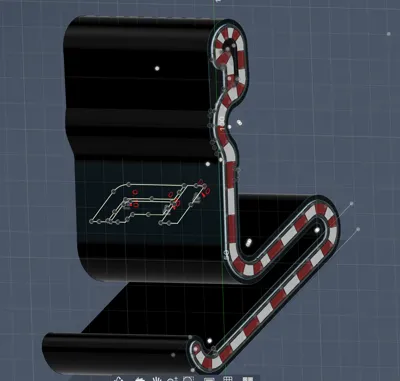
I was inspired by the Monte Carlo Formula 1 circuit, trying to stylistically (very honestly) incorporate some of the circuit's most famous iconic corners.
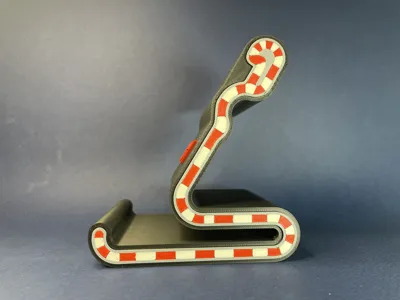
The flat base of the stand that rests on the table and the first rising "U" bend represent the start of the lap. The tight bend at the base before the ascent evokes the first braking point at Sainte Dévote, where contacts often occur at the start.
The backrest immediately afterwards recalls the ascent, which with its long inclined line represents the climb towards the Casino. In the model, this part is straight to ensure phone stability, but ideally it follows the fast section of Beau Rivage.
The "S" at the top pays homage to the Piscine section with the first double corner you see in the top left of the model, featuring its iconic fast chicane.
The very tight final bend that closes the top part of the stand before descending is a clear homage to Rascasse, the penultimate corner of the circuit, famous for being extremely tight and technical.
As I said, it is a tribute to an iconic F1 circuit, and it does not claim to be faithful.
Finally, the profile of the stand with its curves is intended to resemble the seat of famous single-seater cars.
Printing tips
MAIN SUPPORT
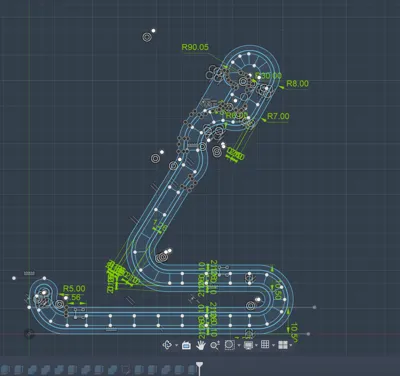
Leave the settings as they are, particularly the bridge speed and flow. This way, the side of the main support that will rest on the print bed and create a bridge will be printed with a sufficiently smooth surface to which the side "curbs" can be applied without issues, as shown in the photo below. Furthermore, do not modify the print line thickness because some parts, such as the edge of the curbs, were designed with their measurement in mind.

CURBS
I printed them with the side facing the bed to get a smooth finish; you can print them however you prefer.
In the image below, the one on the right is printed facing upwards, while the one on the left was printed with the side facing the bed
I inserted them with a press fit, but if you wish for an even stronger bond, you can add a few drops of glue

a small detail: the curb is intentionally not flush with the support because, if you want to make it a different color (perhaps gold!), a very thin line of color will be visible from the side, giving more three-dimensionality to the object.

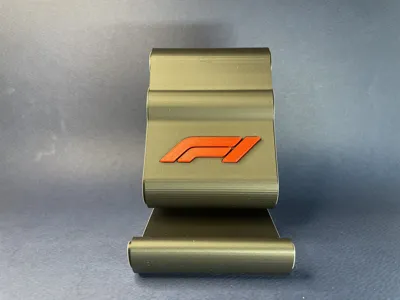
LOGO
You can decide to print with or without the logo. In this regard, the logo's "recess" is shallow to make it aesthetically pleasing. Therefore, if you wish to insert the logo, it will need to be glued


COLOR TEST PRINT
To provide the opportunity to try various color combinations, I have included two elements on plates 4 and 5 that are used to test different color combinations with the use of very few grams of filament.

I hope you like it
License
You shall not share, sub-license, sell, rent, host, transfer, or distribute in any way the digital or 3D printed versions of this object, nor any other derivative work of this object in its digital or physical format (including - but not limited to - remixes of this object, and hosting on other digital platforms). The objects may not be used without permission in any way whatsoever in which you charge money, or collect fees.
Comment & Rating (5)