
Minecraft Ore Lamp
Print Profile(1)
Description
Hey guys,
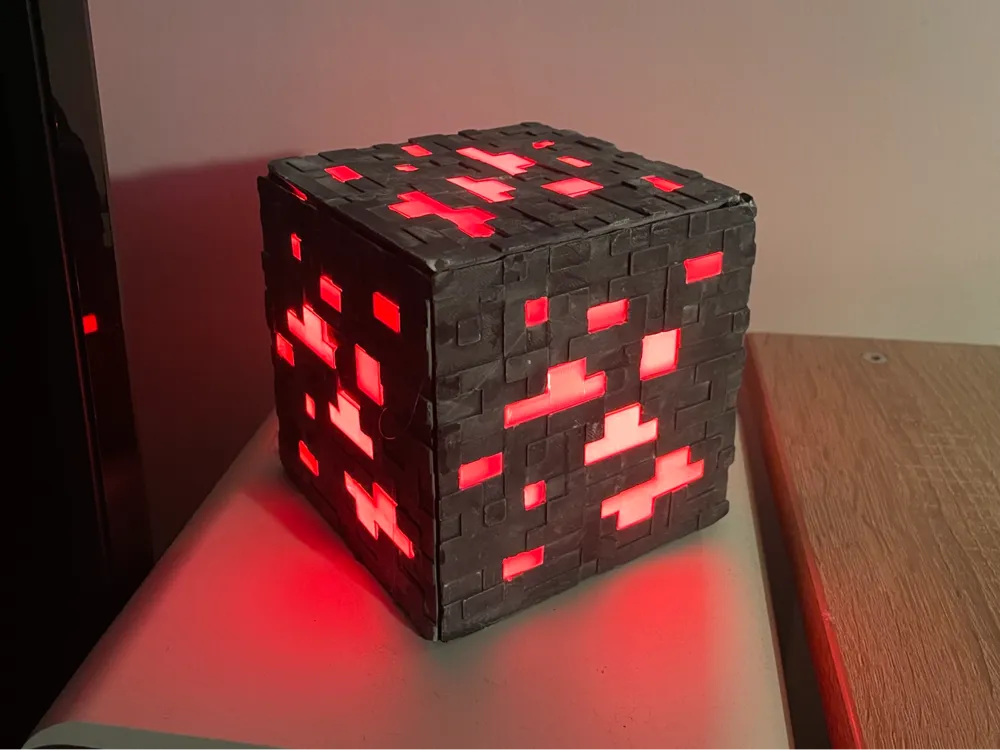
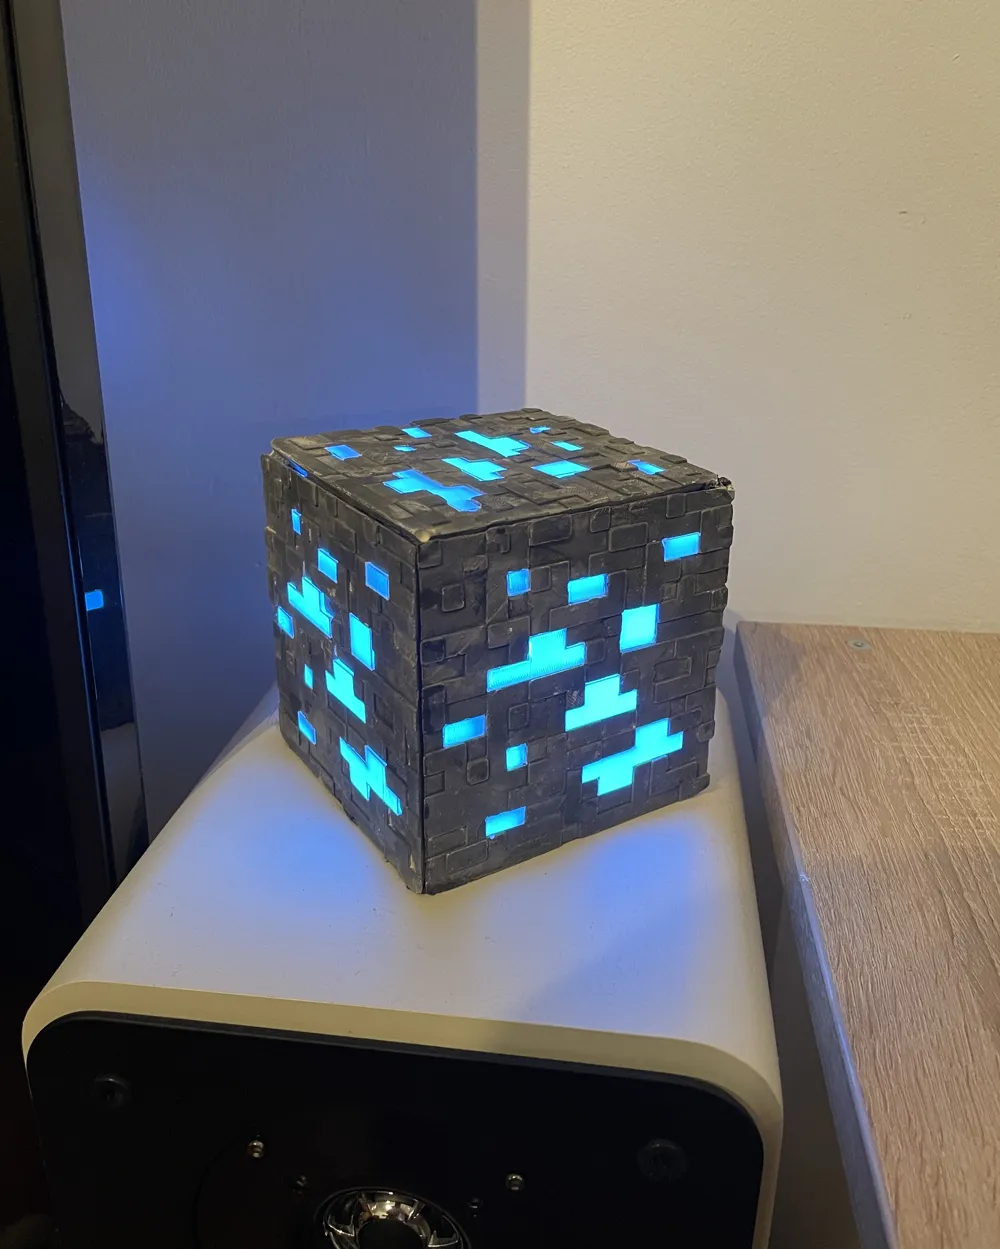
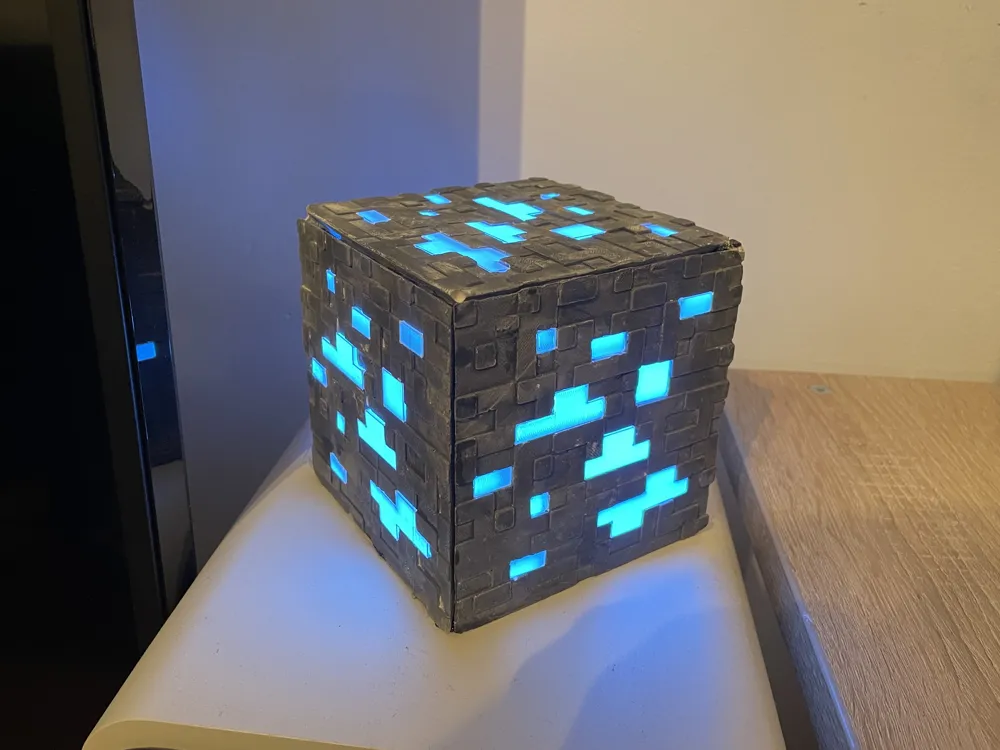
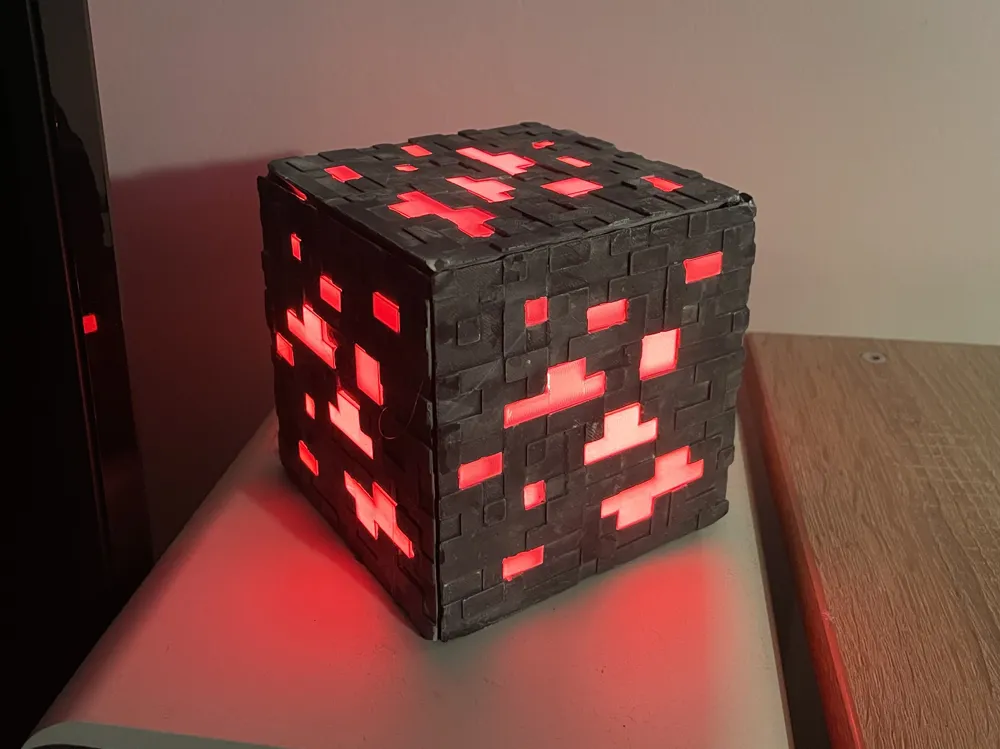
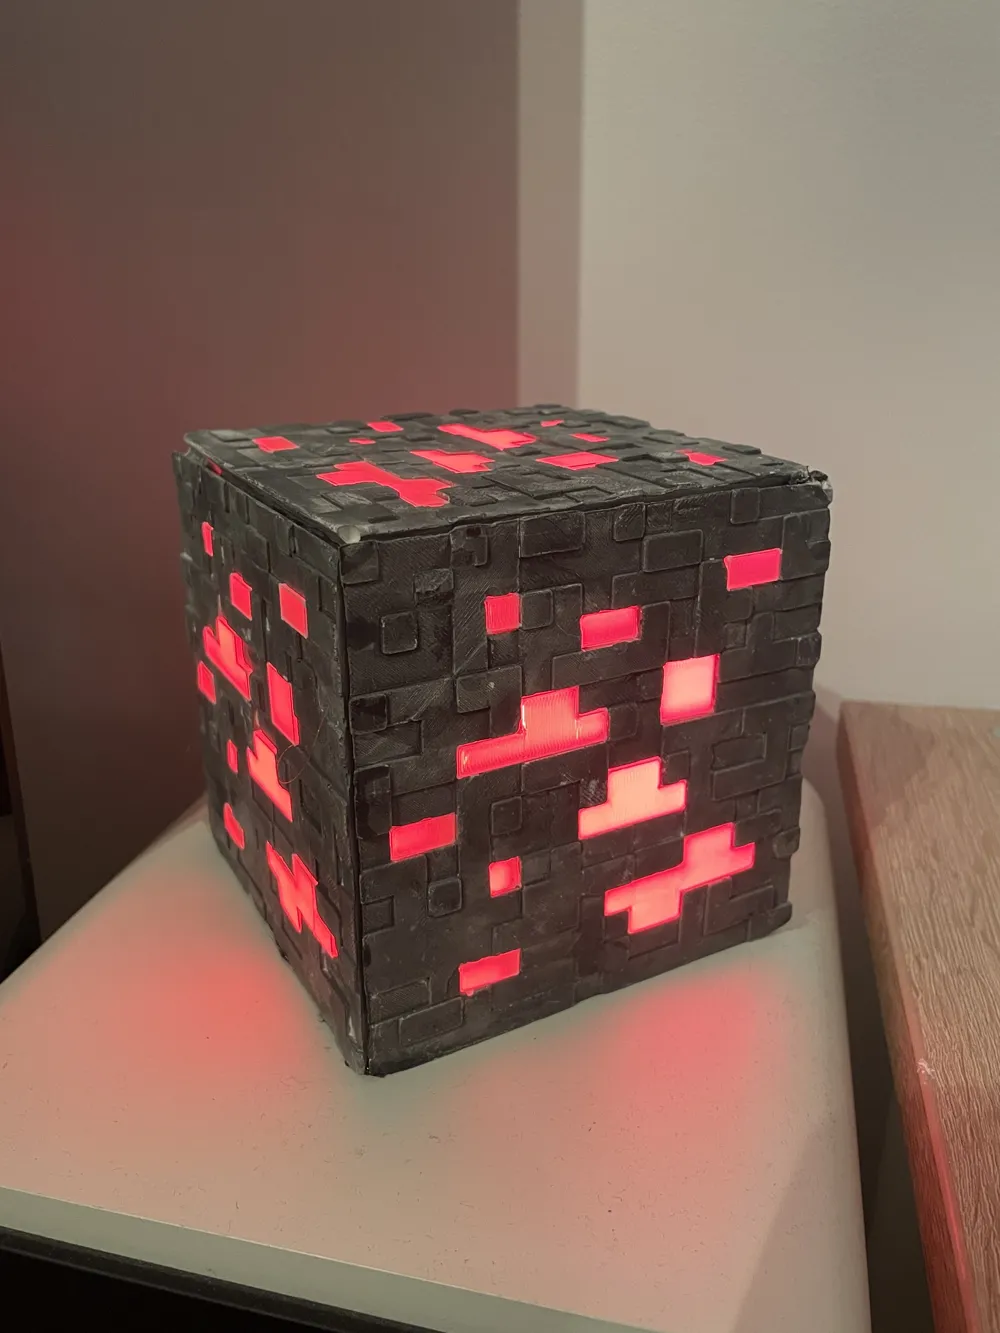
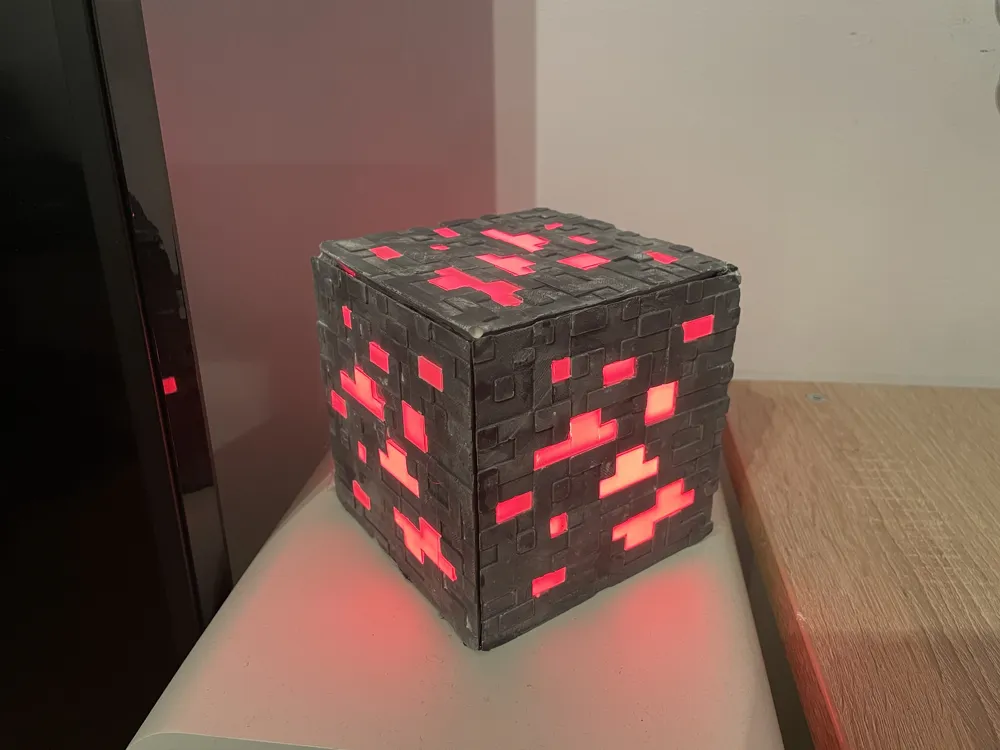
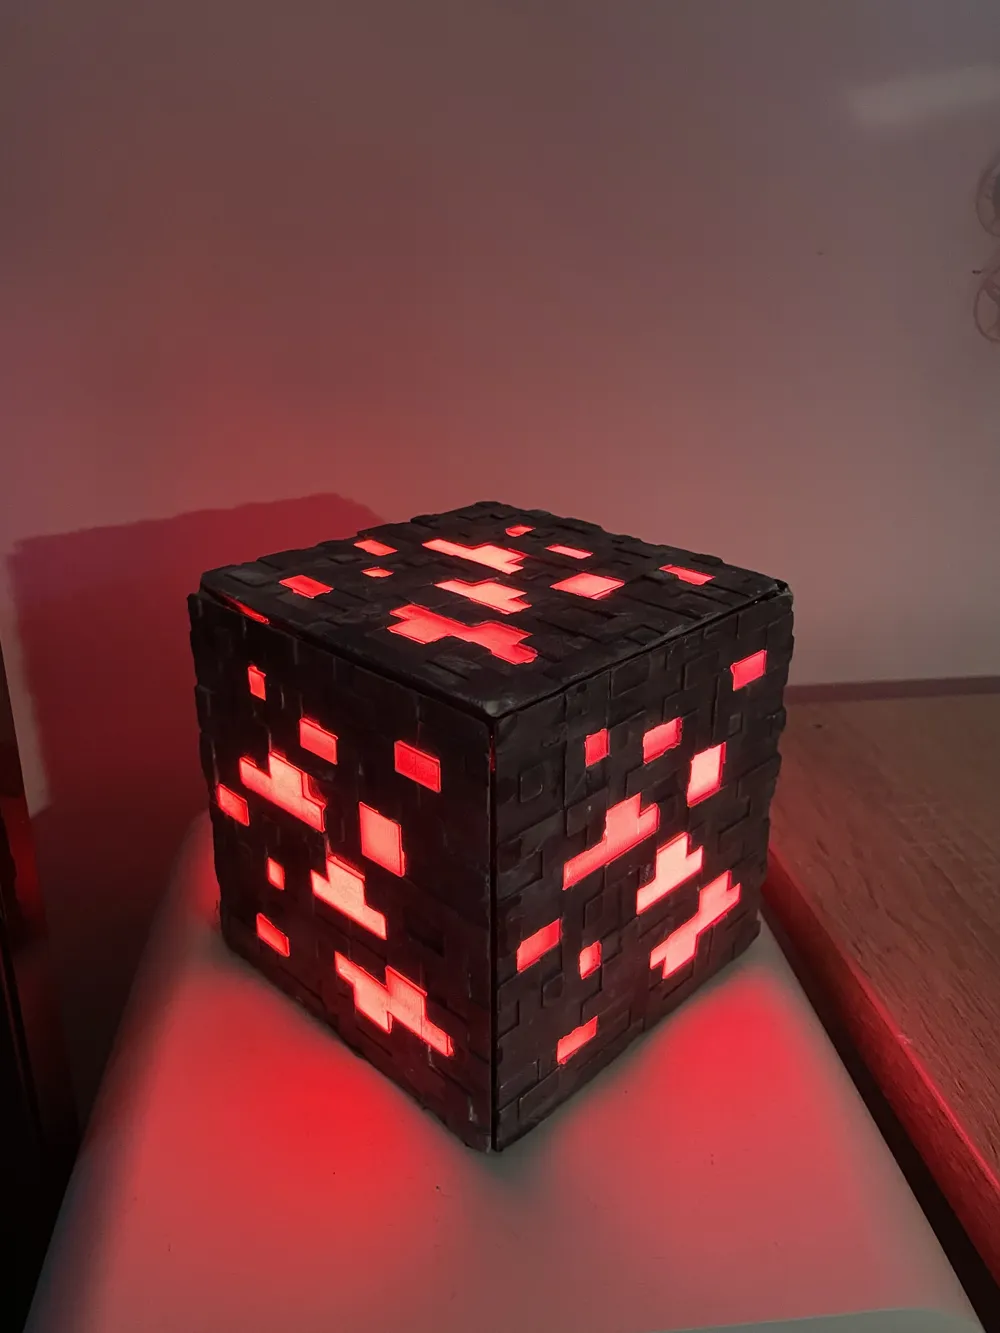
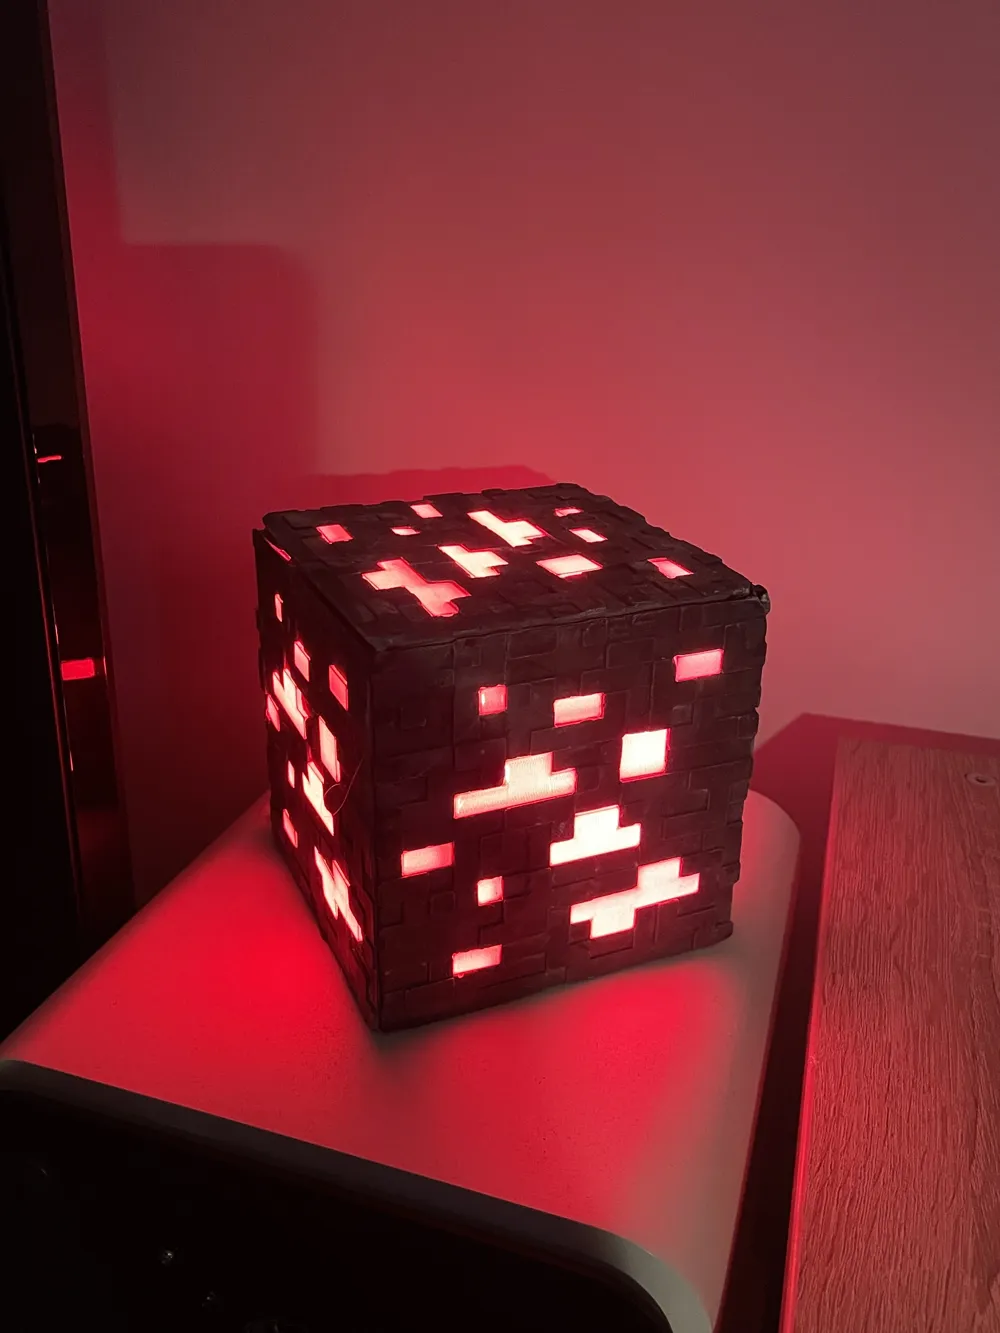
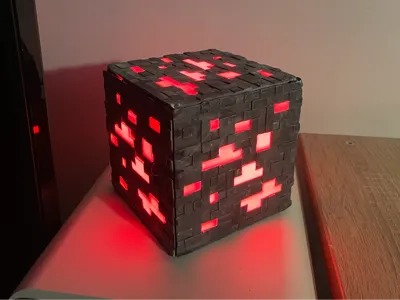
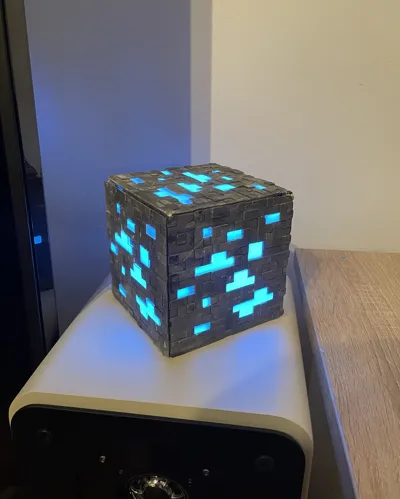
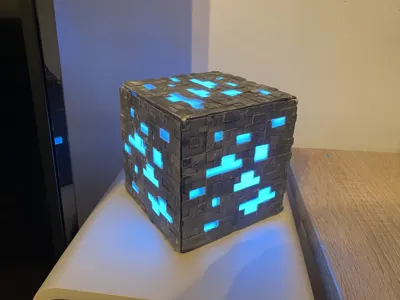
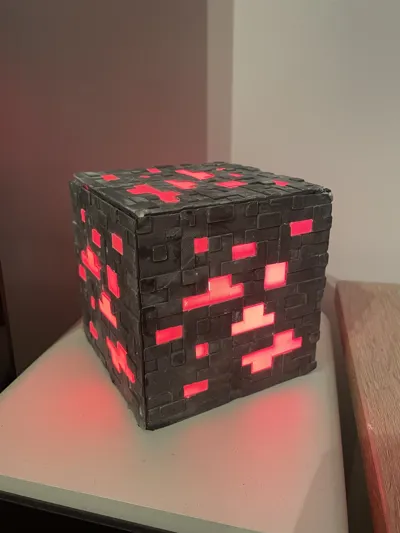
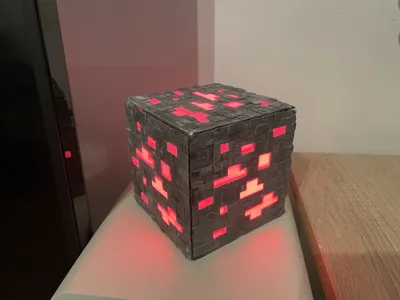
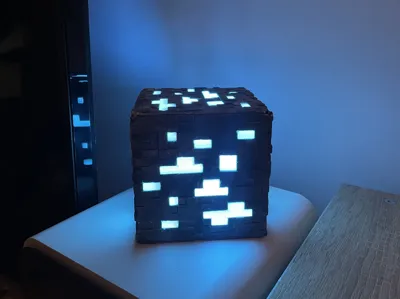
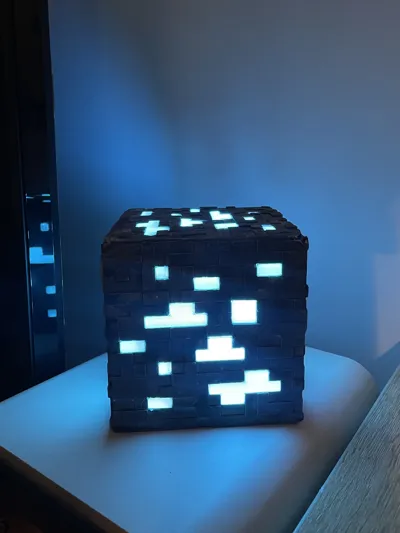
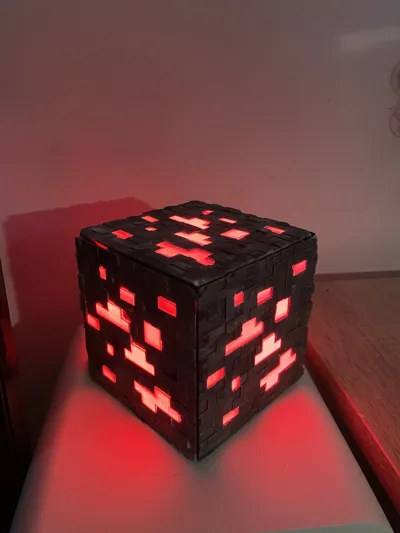
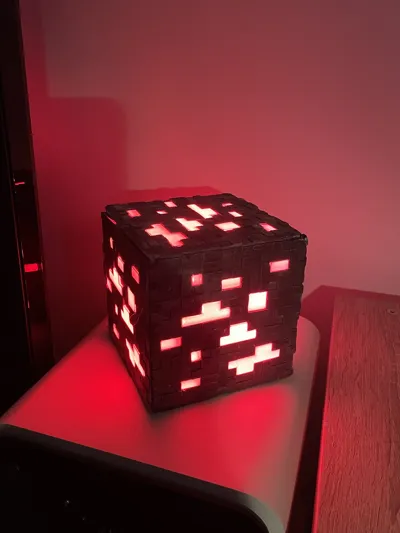
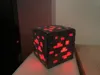
I designed a Minecraft ore lamp here.
It is made using negative molds that can be filled with modeling/craft concrete or similar materials.
The molds feature a 3D surface structure.
I created different formats and file versions:
- Fully printed in filament
- 45° edges
- 45° edges with cable outlet
- straight edge
- Negative casting molds for concrete or similar materials
- 45° edges
- with gaps in the corners for easier removal
- without gaps
- straight edge
- with gap
- 45° edges
Filament-Version:
the easiest and fastest way.
Choose a gray filament and print
(information: there is an extra file with a cable outlet)
- 1.a.: the version with angled edges to glue the parts together seamlessly
(a snap-fit system will be developed in the future, if there is interest I can also provide it on request :) ) 1.c.:the version with straight edges, if you only want a flat edge or just a single element, e.g. for other applications
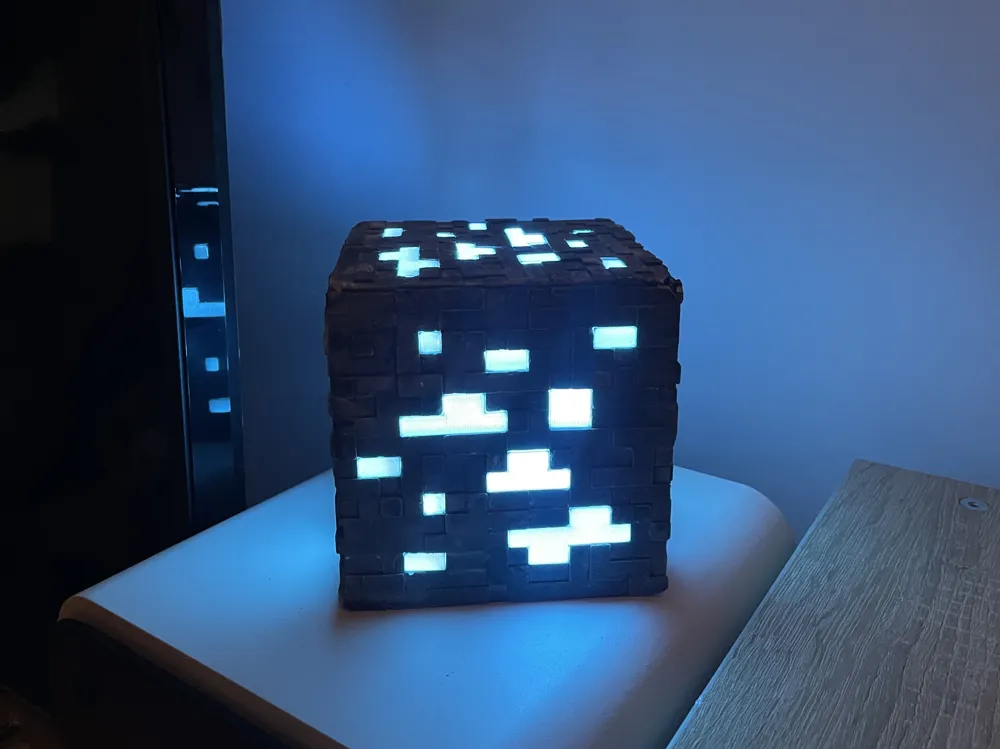
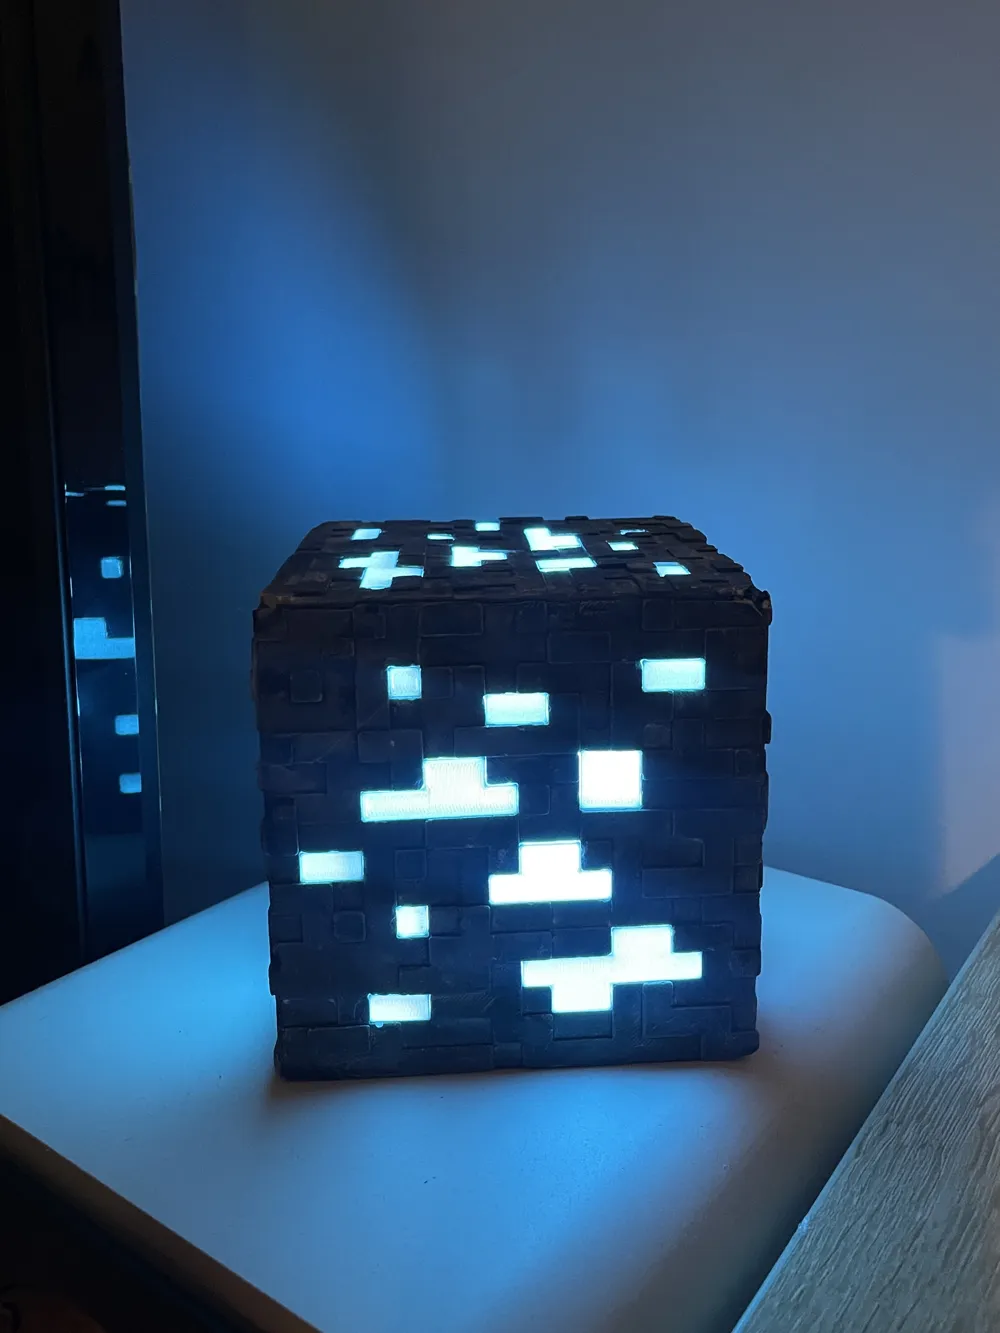
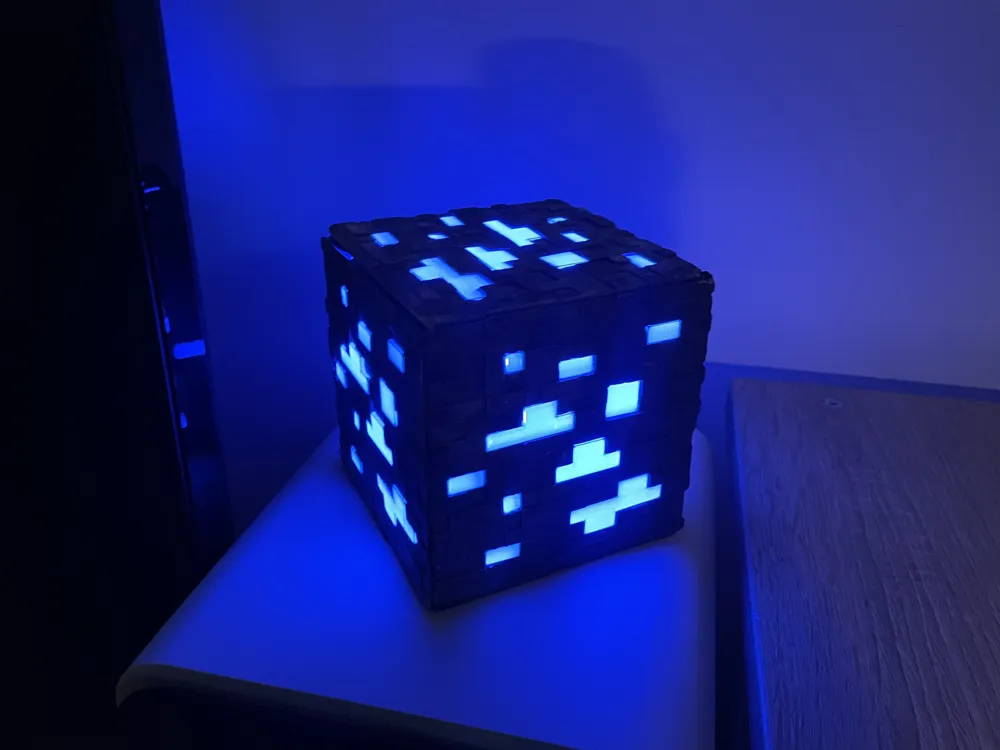
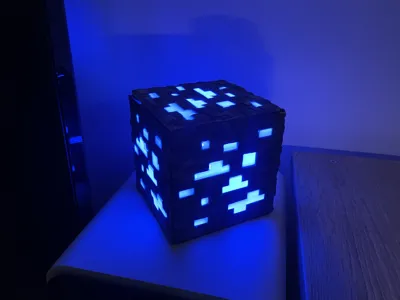
- I recommend printing the diffuser inserts in white to achieve the most flexible colors with LEDs, but of course you can also print them in color if you only have a white light source available
Mold Version:
This version requires more effort, but in my opinion looks better and more aesthetic.
- Print negative molds
- TPU - reusable (use 2.a.i. or 2.b.)
- PLA - single use (use 2.a.ii. or 2.b.)
Fill with concrete, plaster, or similar materials
→ Recomend: optionally reinforce with wire or toothpicks to achieve a much more stable structure that is less likely to break
- Use vibration or tapping to avoid air bubbles in the surface and material
- Let dry for at least 24 hours or longer
- Remove mold:
- PLA - heat up and remove gently: oven, microwave, lighter
TPU - Carefully remove
(Note: if the small inner rectangles/squares do not come out easily, I recommend cutting the corners slightly with a knife beforehand to make removal easier later)
- optionally paint or coat in the desired color
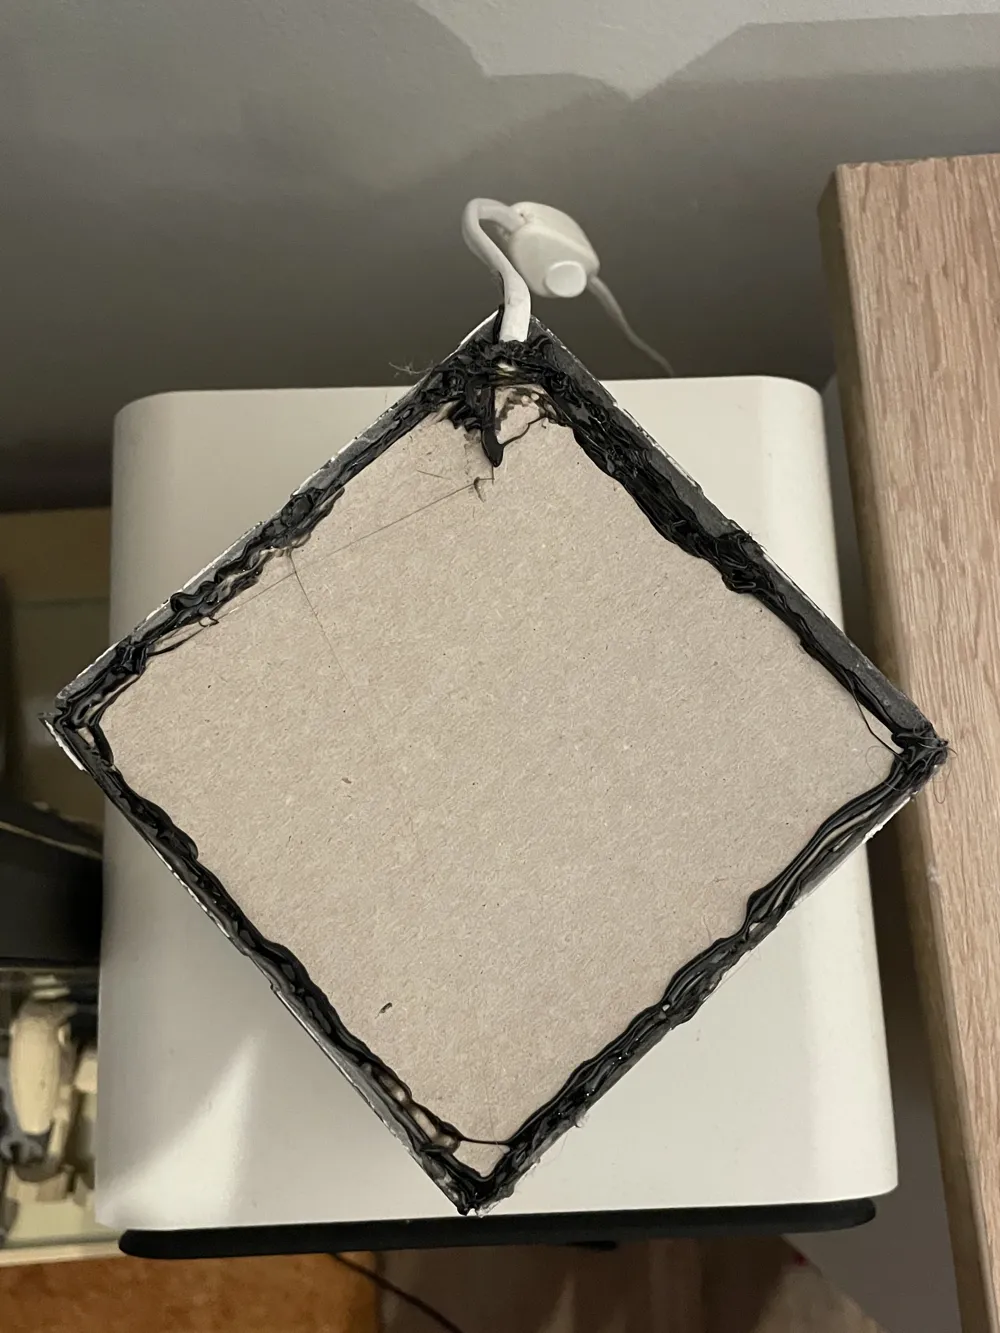
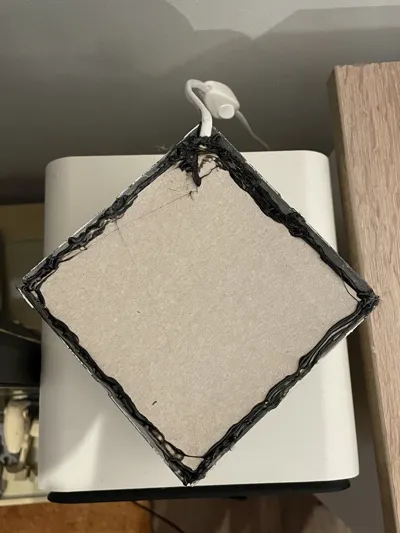
- Assemble parts: I used black hot glue to achieve light-tight edges
- Licht….
Lighting:
For lighting, you can use whatever you have available.
I designed a very simple base plate afterwards, which should work quite universally. However, it is possible that you may need to adapt or create your own base plate.
I use an E10 lamp socket with a multicolor LED bulb placed freely inside. As a cover, I used a simple piece of cardboard.
- RGB bulb with socket (e.g. Alexa/Google/Home controllable)
- White bulb → print inserts in color
- LED strips
- other light sources
I hope you can make something out of this and enjoy building it!
Please feel free to give feedback on what I could improve, change, or add, and also what worked well.
:D
License

You shall not share, sub-license, sell, rent, host, transfer, or distribute in any way the digital or 3D printed versions of this object, nor any other derivative work of this object in its digital or physical format (including - but not limited to - remixes of this object, and hosting on other digital platforms). The objects may not be used without permission in any way whatsoever in which you charge money, or collect fees.


Comment & Rating (0)