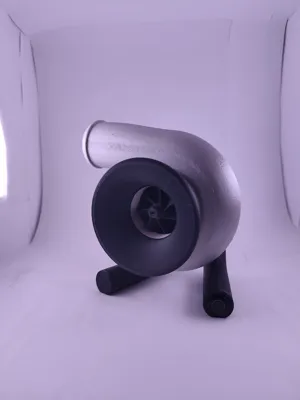
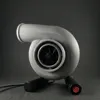
Ultimate turbocharger fume extractor USB-C


Print Profile(2)
Description
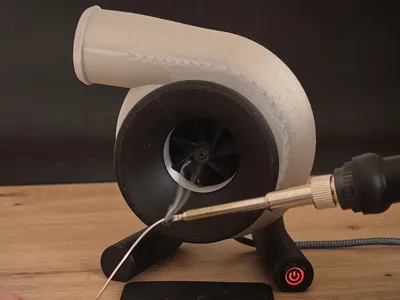
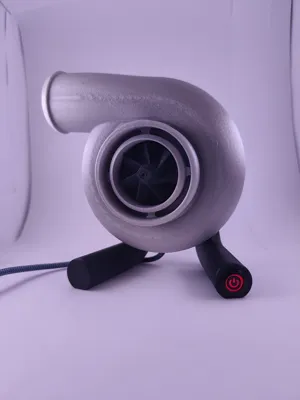
Ultimate Solder Fume Extractor – The Only One That Actually Works!
Tired of PC-fan extractors that do nothing? Most DIY extractors fail because they use axial fans which can't push air through a carbon filter. They either do nothing or blow so much air they cool down your soldering tip.
This model solves it all! By using a high-pressure Radial Blower, it creates a focused vacuum at the inlet to suck in every bit of smoke without affecting your soldering temperature.
Why this design?
- High Static Pressure: Easily pulls air through thick carbon filters.
- Beginner Friendly: No complex wiring, just simple soldering.
- USB-C Powered: Run it off any phone charger or power bank.
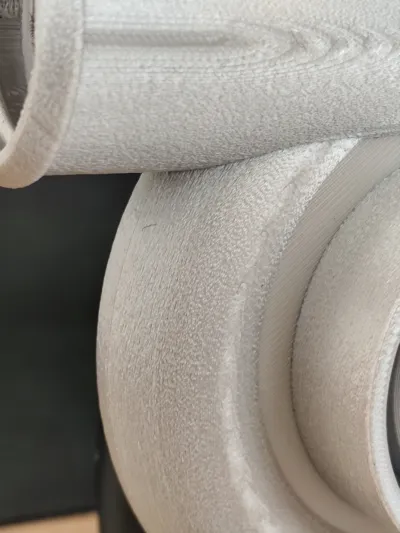
- Casting Look: Optimized for Fuzzy Skin to give it a rugged, industrial cast-iron finish.
Key Features:
- USB-C Input universal and easy
- Integrated Filter effective smoke removal
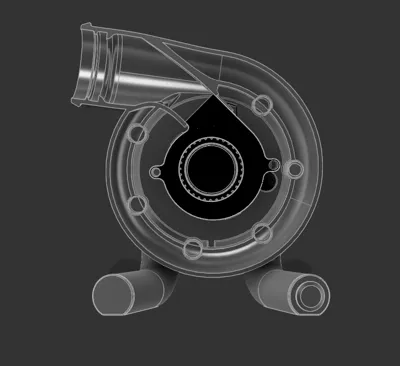
- Spinning Turbine
- LED Power Button
Parts:
Radial Blower 5015 12V:
Aliexpress: Radial Blower 5015 12V 8500rpm
notice: i didnt find a 8500rpm blower on amazon, they only had half the rpm which is probably not enough
USB-C Step up board 12V 3S4A:
Aliexpress: USB-C Step up board 12V 3S4A
Amazon: USB-C Step up board 12V 3S4A
Wire (at least 24AWG):
Aliexpress: Wire
Amazon: Wire
12V LED Button 12mm self locking (optional):
Aliexpress: 12V LED Button 12mm
Amazon: 12V LED Button 12mm
Carbon filter (optional):
Aliexpress: Filter
Amazon: Filter
You need to spend a total of ~13€ or ~15USD
Boost Me (for free)
Ich bin Ingenieurstudent, boosten Sie dieses Modell gerne, um mich zu unterstützen
Membership
do you want to sell this? or support me? subscribe!
Assembly:
DISCLAIMER: The parts are designed to be pressed in, but if you have, use glue on the connecting pieces just to be sure
Insert the two little pins in the back plate (put the blower on the pins to guide them in straight)

Push the back plate in the bottom housing using the little tabs as orientation

Push the big black pins in the six holes

Slide the feet on the dove tails (The feet flare outwards, be aware of the orientation)

OPTIONAL: Take the end cap and insert the button and tighten it

Take the blower and insert it in the bottom housing

solder all the connections using this wiring diagram. Slide the cables through the openings in the back plate
with button:

without button:

push the endcaps in the foot (if you used the button push the button including the cap in the foot)

push the step up board in its place

The wiring part is done!
now is the time to plug it in see if it works!
If it works, push the lid on

push the turbine on its axle until it clicks, it should spin freely

push the turbine asselbly inside the top housing until it sits flush

No going back now: The two halfes are gonna be joined together
I used glue on this step so the two halfes have no air leaks.
It works without the glue but it has less performance. If you use it only for display glue is also not needed.

OPTIONAL:
cut the filter in a circle with a diameter 34mm

push it inside the outlet of the turbocharger

push the velocity stack on (it drastically helps with airflow)

License
You shall not share, sub-license, sell, rent, host, transfer, or distribute in any way the digital or 3D printed versions of this object, nor any other derivative work of this object in its digital or physical format (including - but not limited to - remixes of this object, and hosting on other digital platforms). The objects may not be used without permission in any way whatsoever in which you charge money, or collect fees.
Comment & Rating (14)