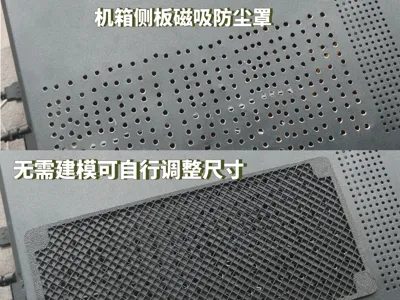
PC Case Magnetic Side Panel Dust Filter


Print Profile(1)

Description
My old computer case didn't have very good heat dissipation, so I previously drilled some holes in the graphics card area, but it looked ugly. Now that I have a 3D Printer, I made my own dust cover
The default size is 95mmx205mm, which is suitable for cutting heat dissipation holes in the side panel of a computer case and adding a magnetic dust cover. I think this size is quite good, and you can print it directly without needing to adjust the dimensions. If you want to adjust the size, it's also relatively simple; just make a few settings in the slicing software, no modeling software needed

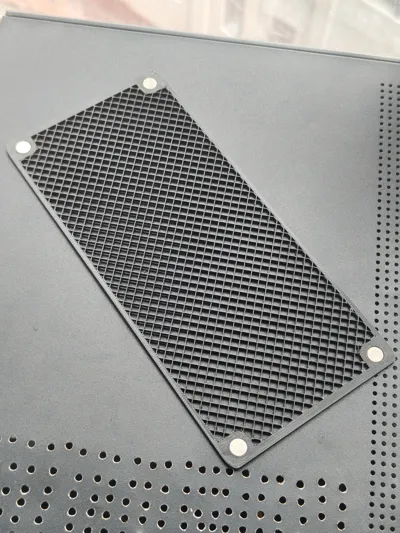
I used 8x2mm magnets, but the actual thickness is only about 1.8mm, so my magnet slot is also 1.8mm deep. If you have other magnets on hand, that's fine too, the slot size can be adjusted
For key parts, I used negative parts, so everyone can adjust the main dimensions


By disabling proportional scaling, you can directly adjust the length and width

After adjustment, the magnet slots will deform. Just readjust the four magnet slots back to 8.1x1.8mm. Considering that different materials have different sinkage rates, I defaulted the diameter here to 8.1mm. An 8mm magnet might fit perfectly, or it might require a little super glue to secure, but it won't be impossible to insert

After correcting the magnet slots in the four corners, you can print. If your magnet's actual thickness is 2mm, then the magnet slot should also be adjusted to 2mm thick, and the entire dust cover should also be thickened by 0.2mm (the overall thickness of the dust cover should be 0.2mm thicker than the magnet slot). Also, after correcting the magnet slots, click "Align Top" in "Move". The finished product after printing is as follows


Do not change this parameter for the middle negative part

Here you can adjust the style and size of the dust cover holes, usually the default is fine
License
You shall not share, sub-license, sell, rent, host, transfer, or distribute in any way the digital or 3D printed versions of this object, nor any other derivative work of this object in its digital or physical format (including - but not limited to - remixes of this object, and hosting on other digital platforms). The objects may not be used without permission in any way whatsoever in which you charge money, or collect fees.
Comment & Rating (1)