
truck K200
Print Profile(9)
Bill of Materials





Description
Membership
want to show support or sell my models? click the link
Boost Me (for free)
if you like this or any of my other models consider giving it a boost its free and motivates me to continue to create
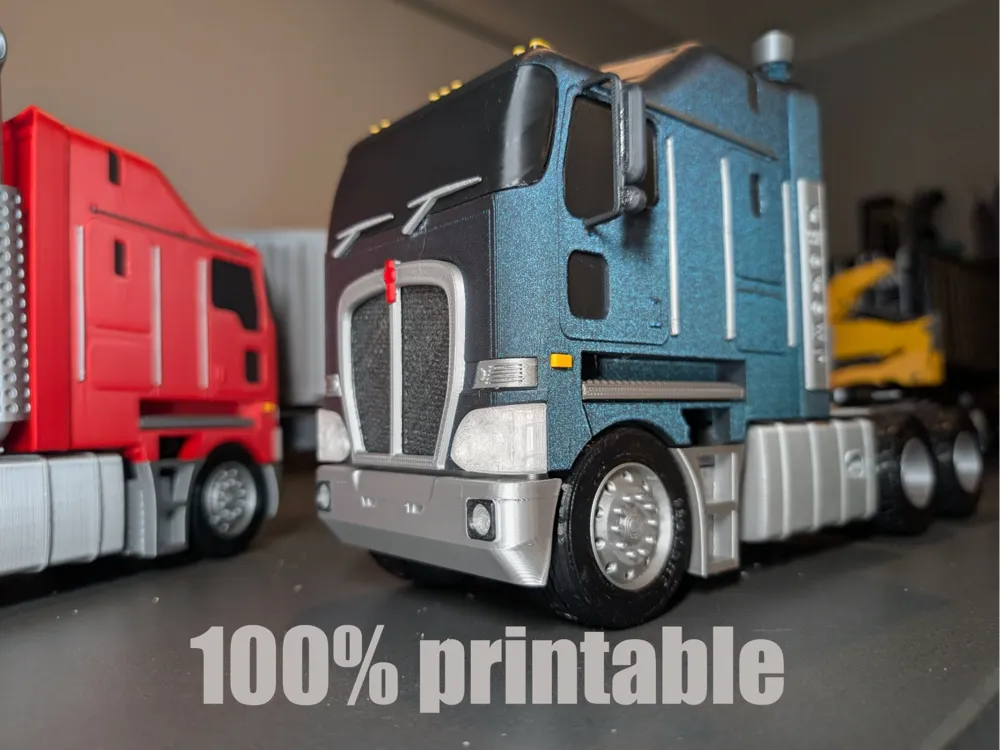
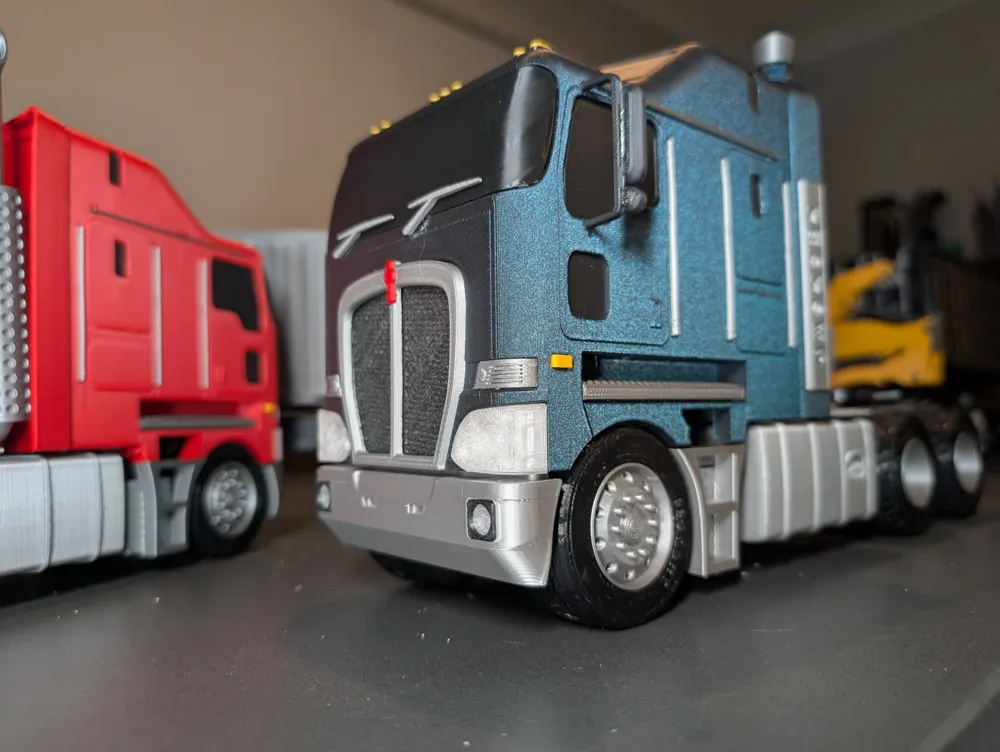
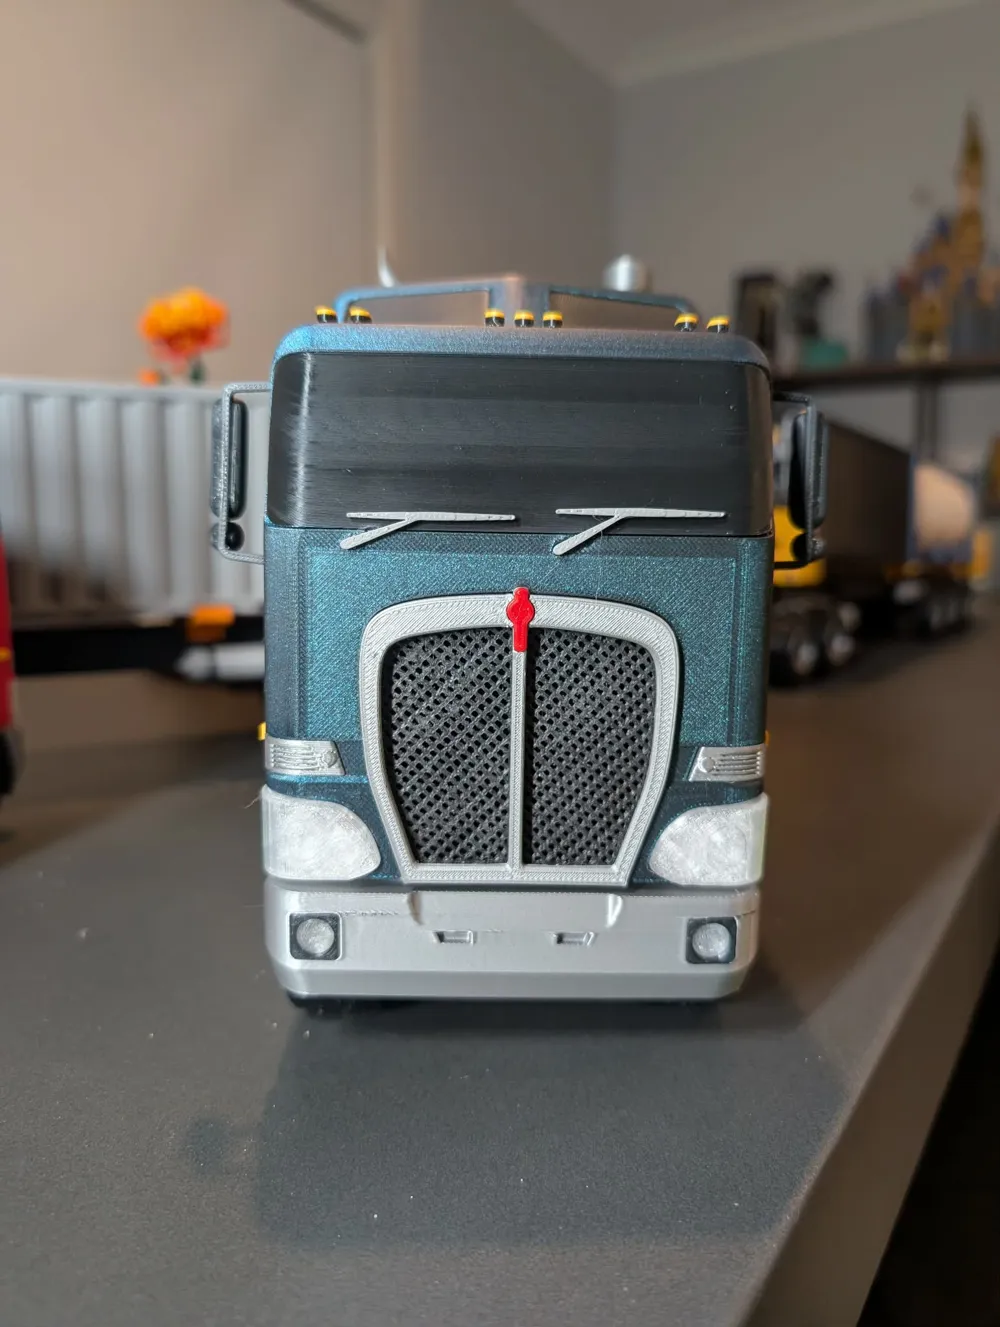
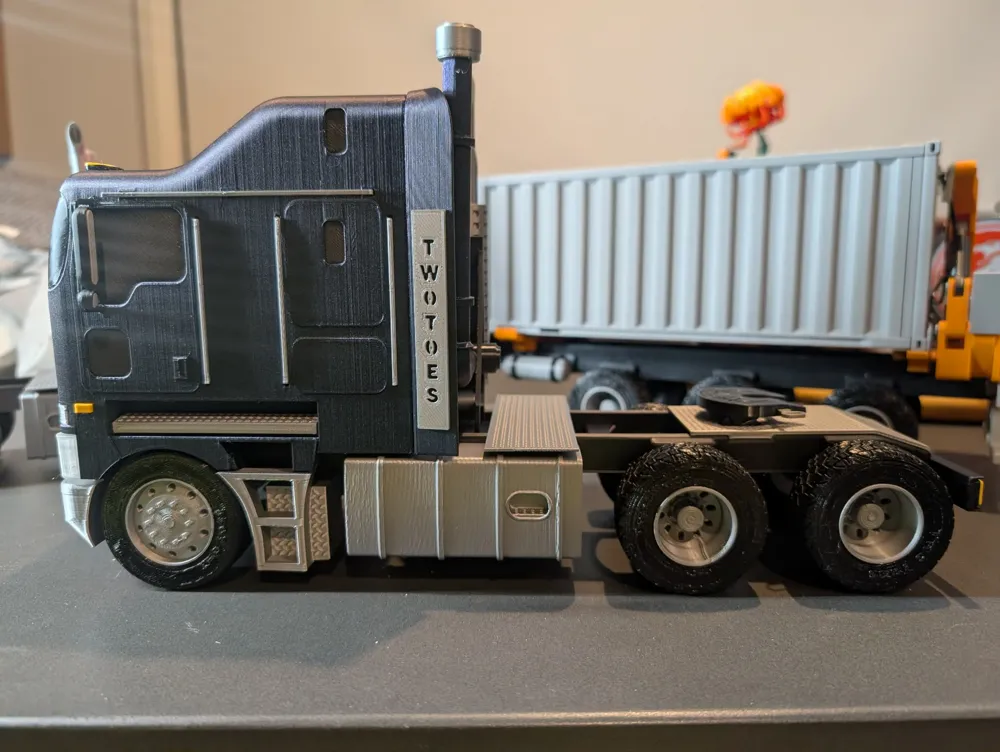
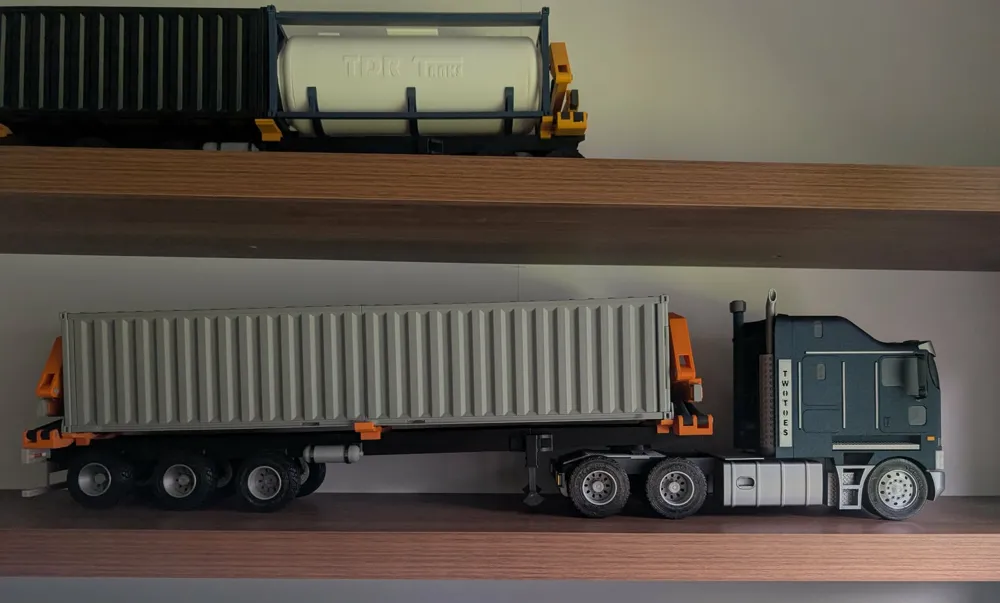
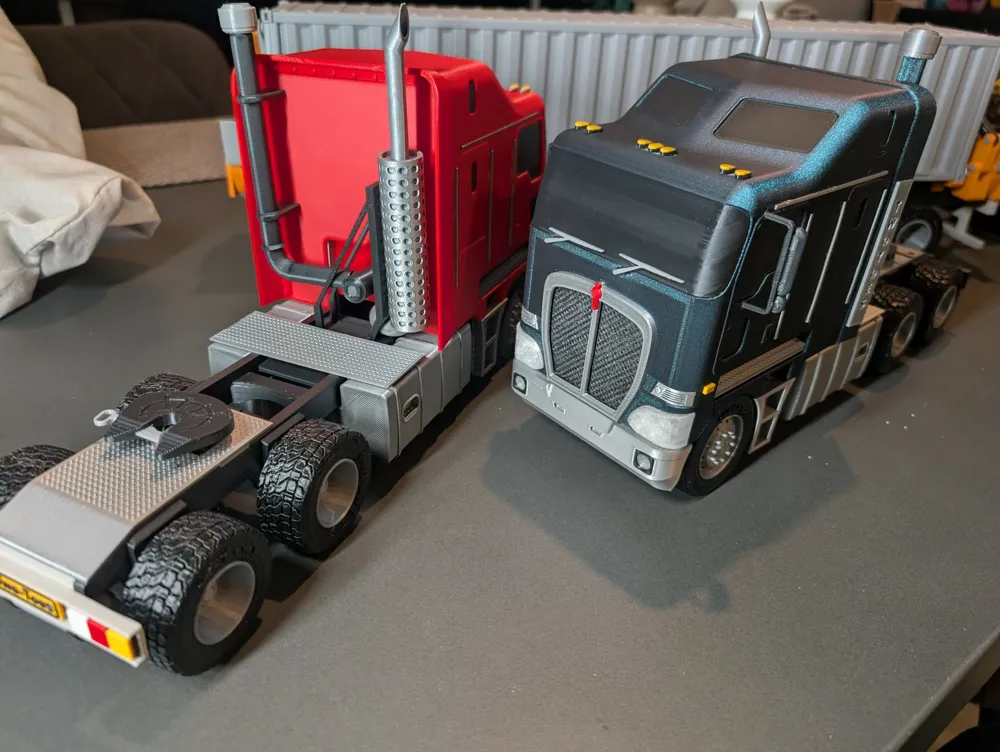
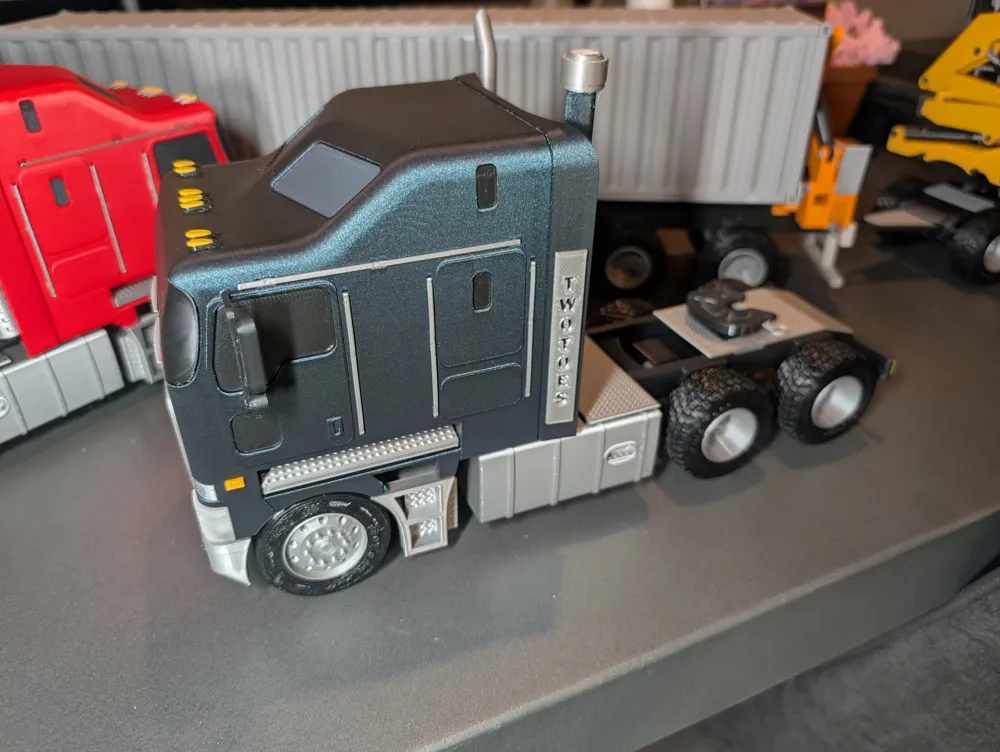
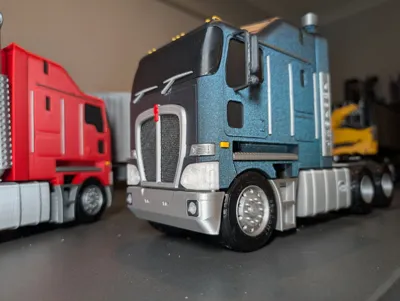
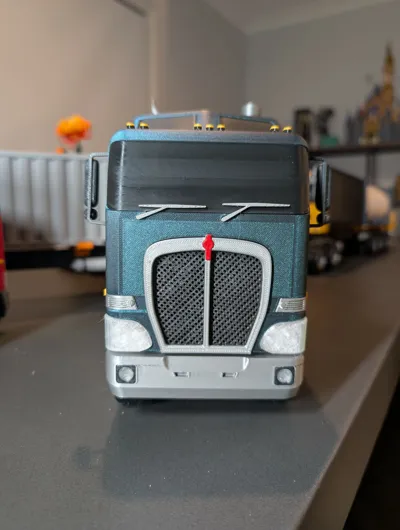
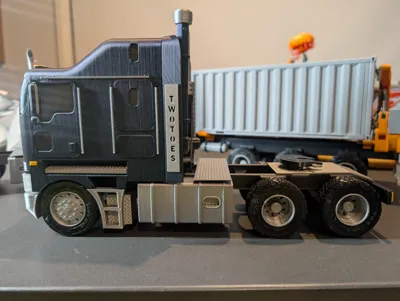
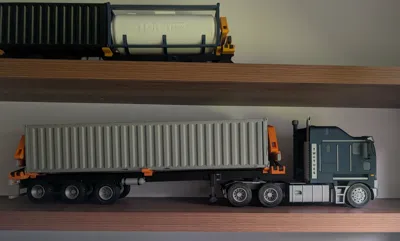
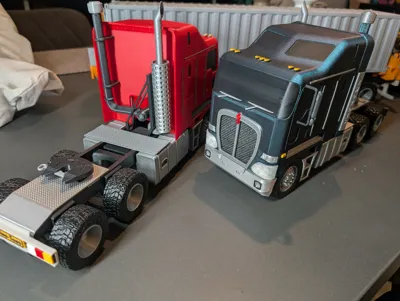
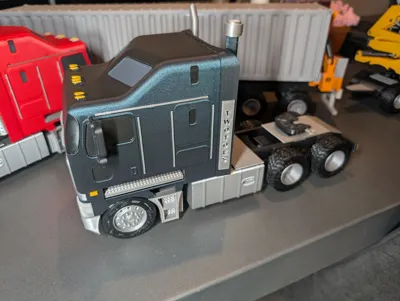
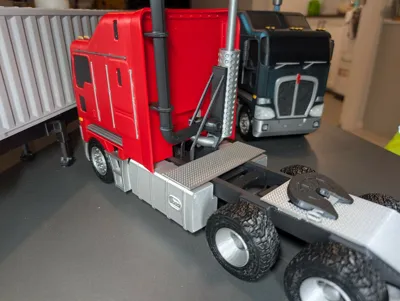
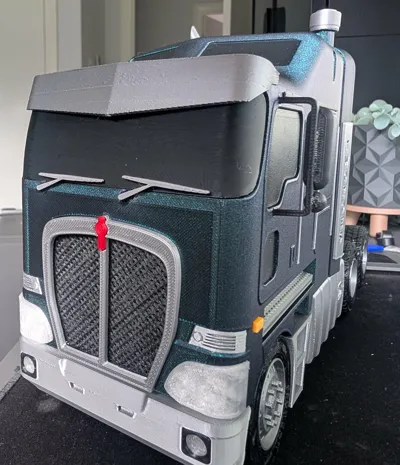
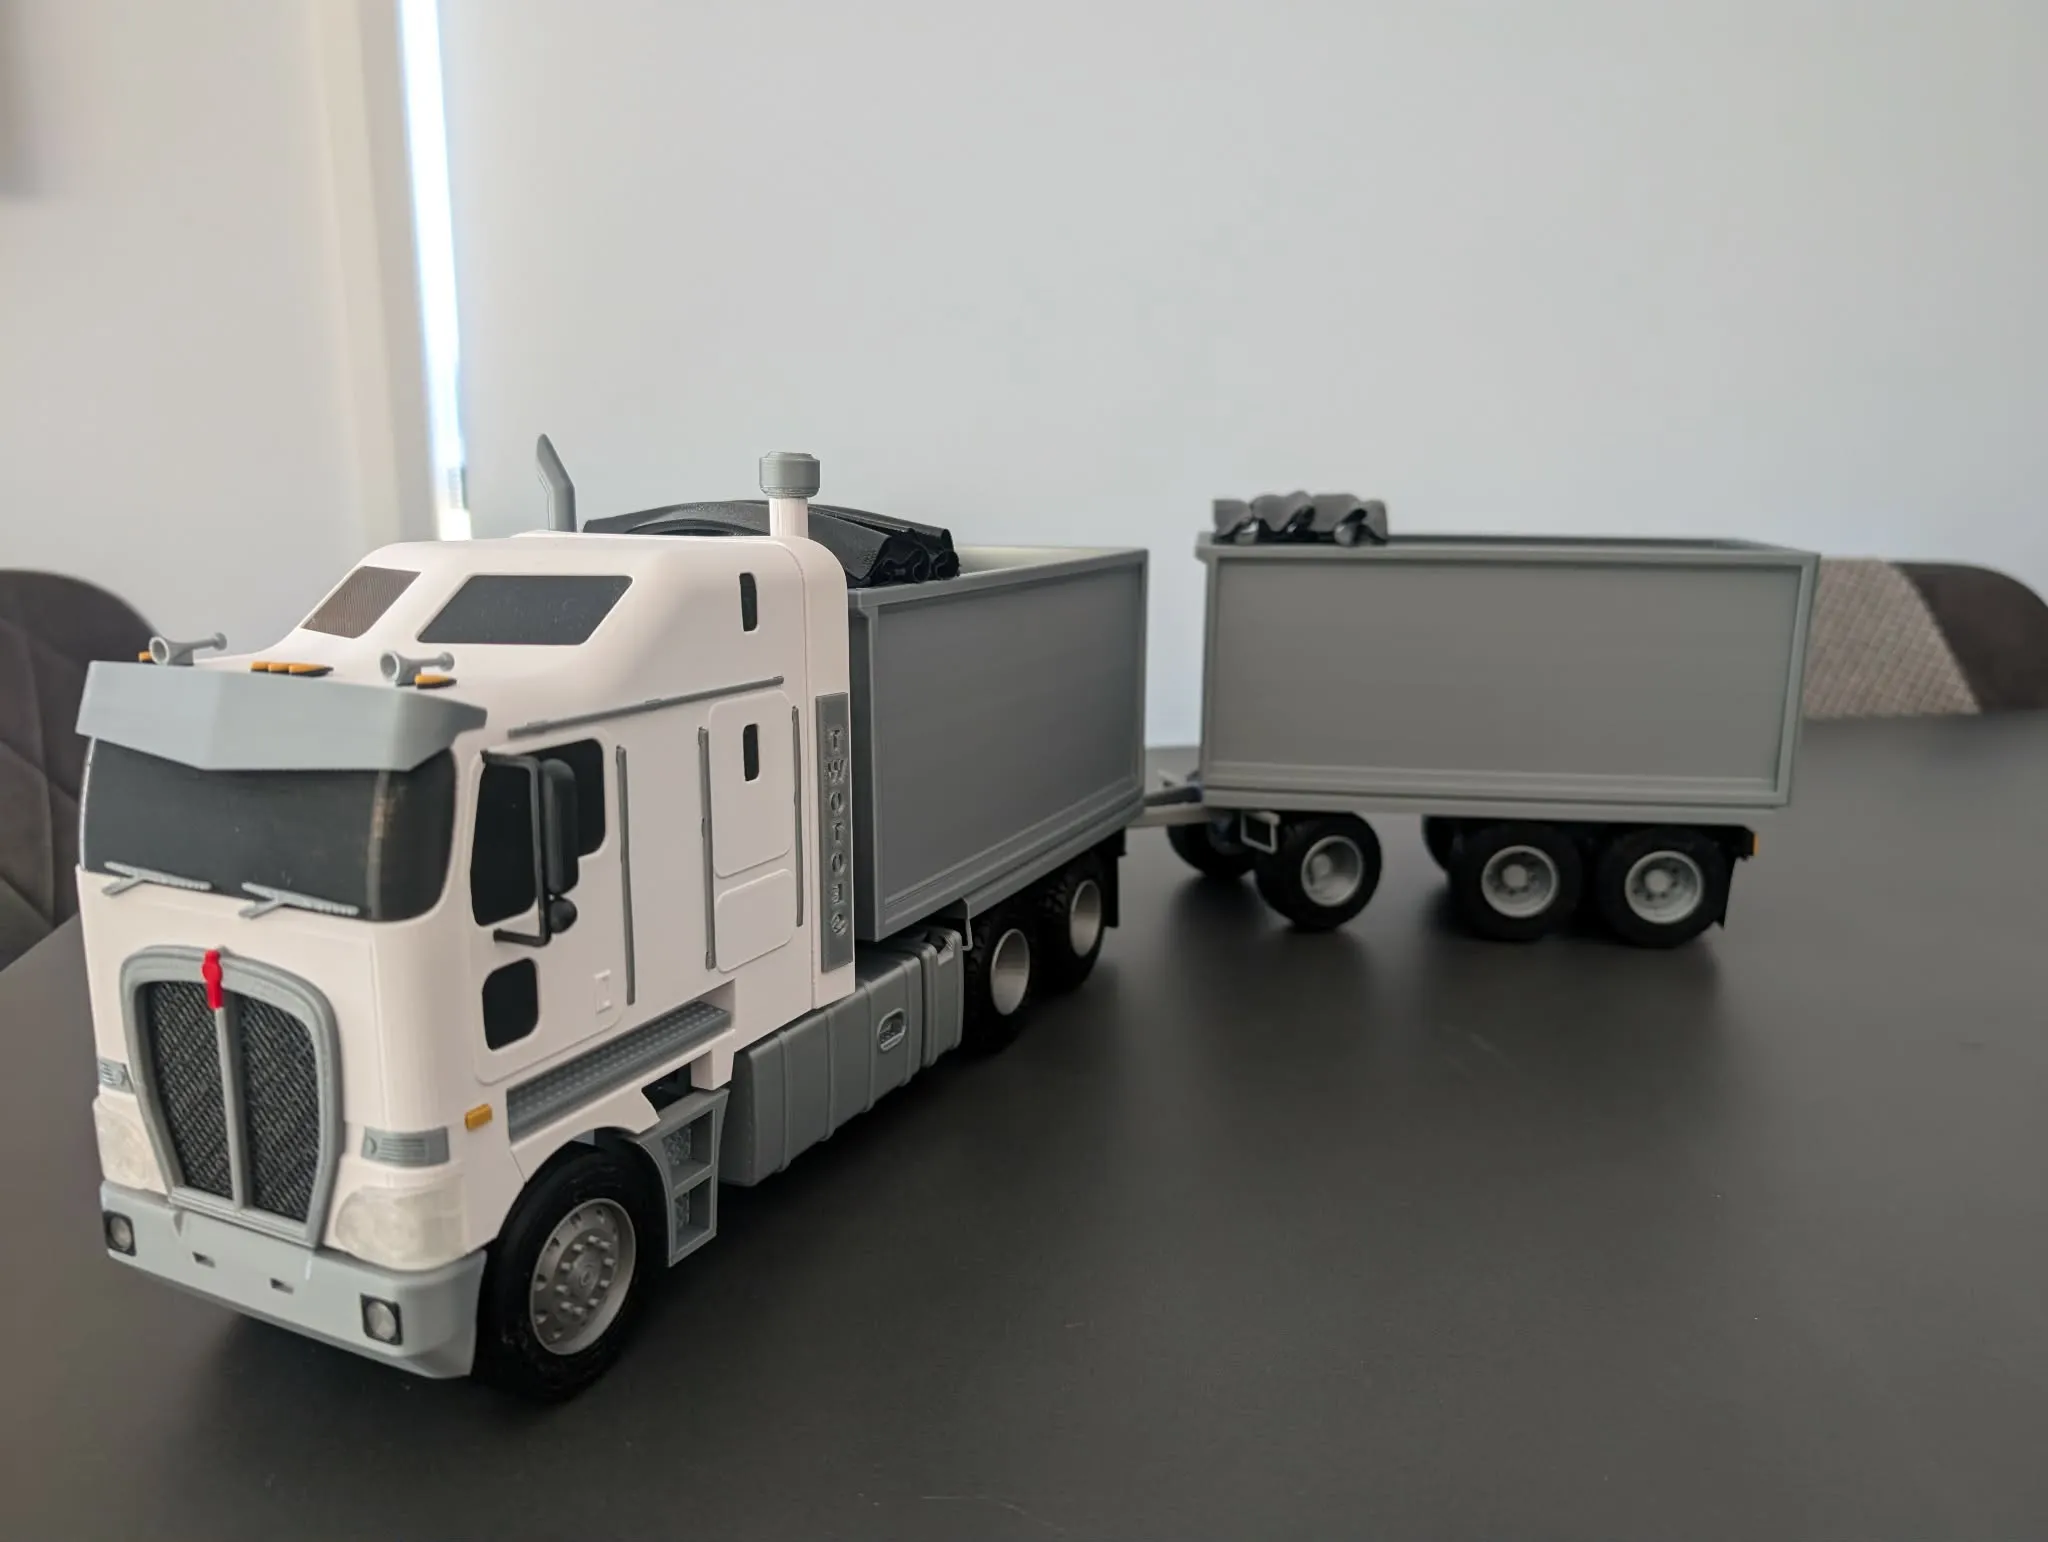
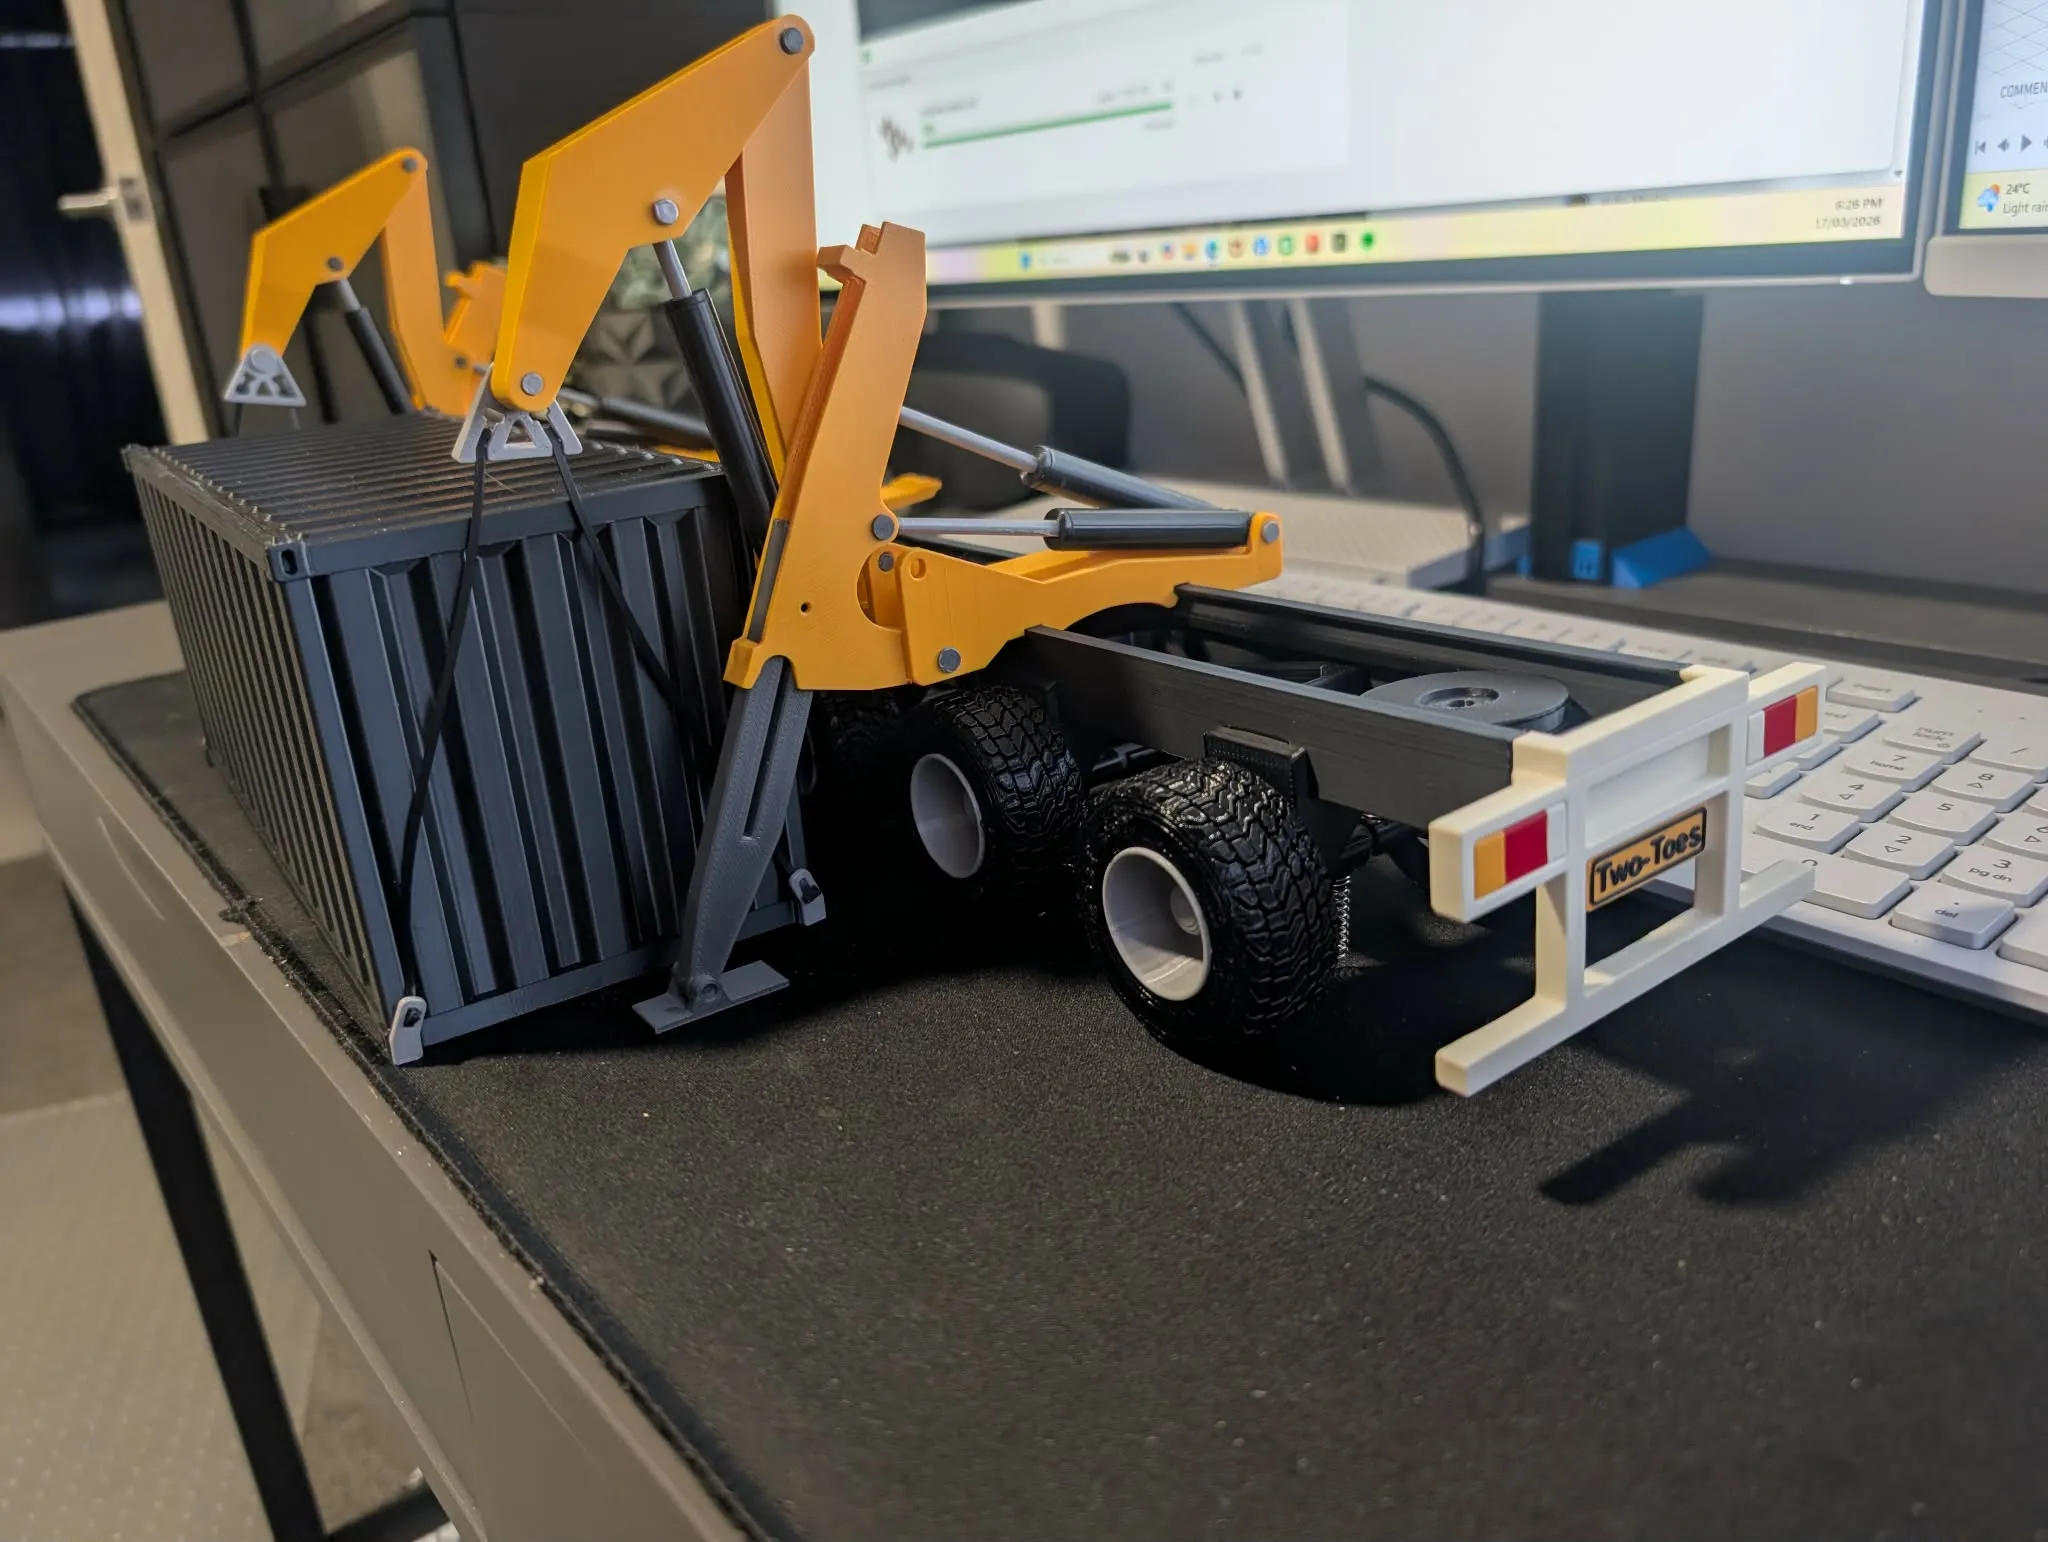
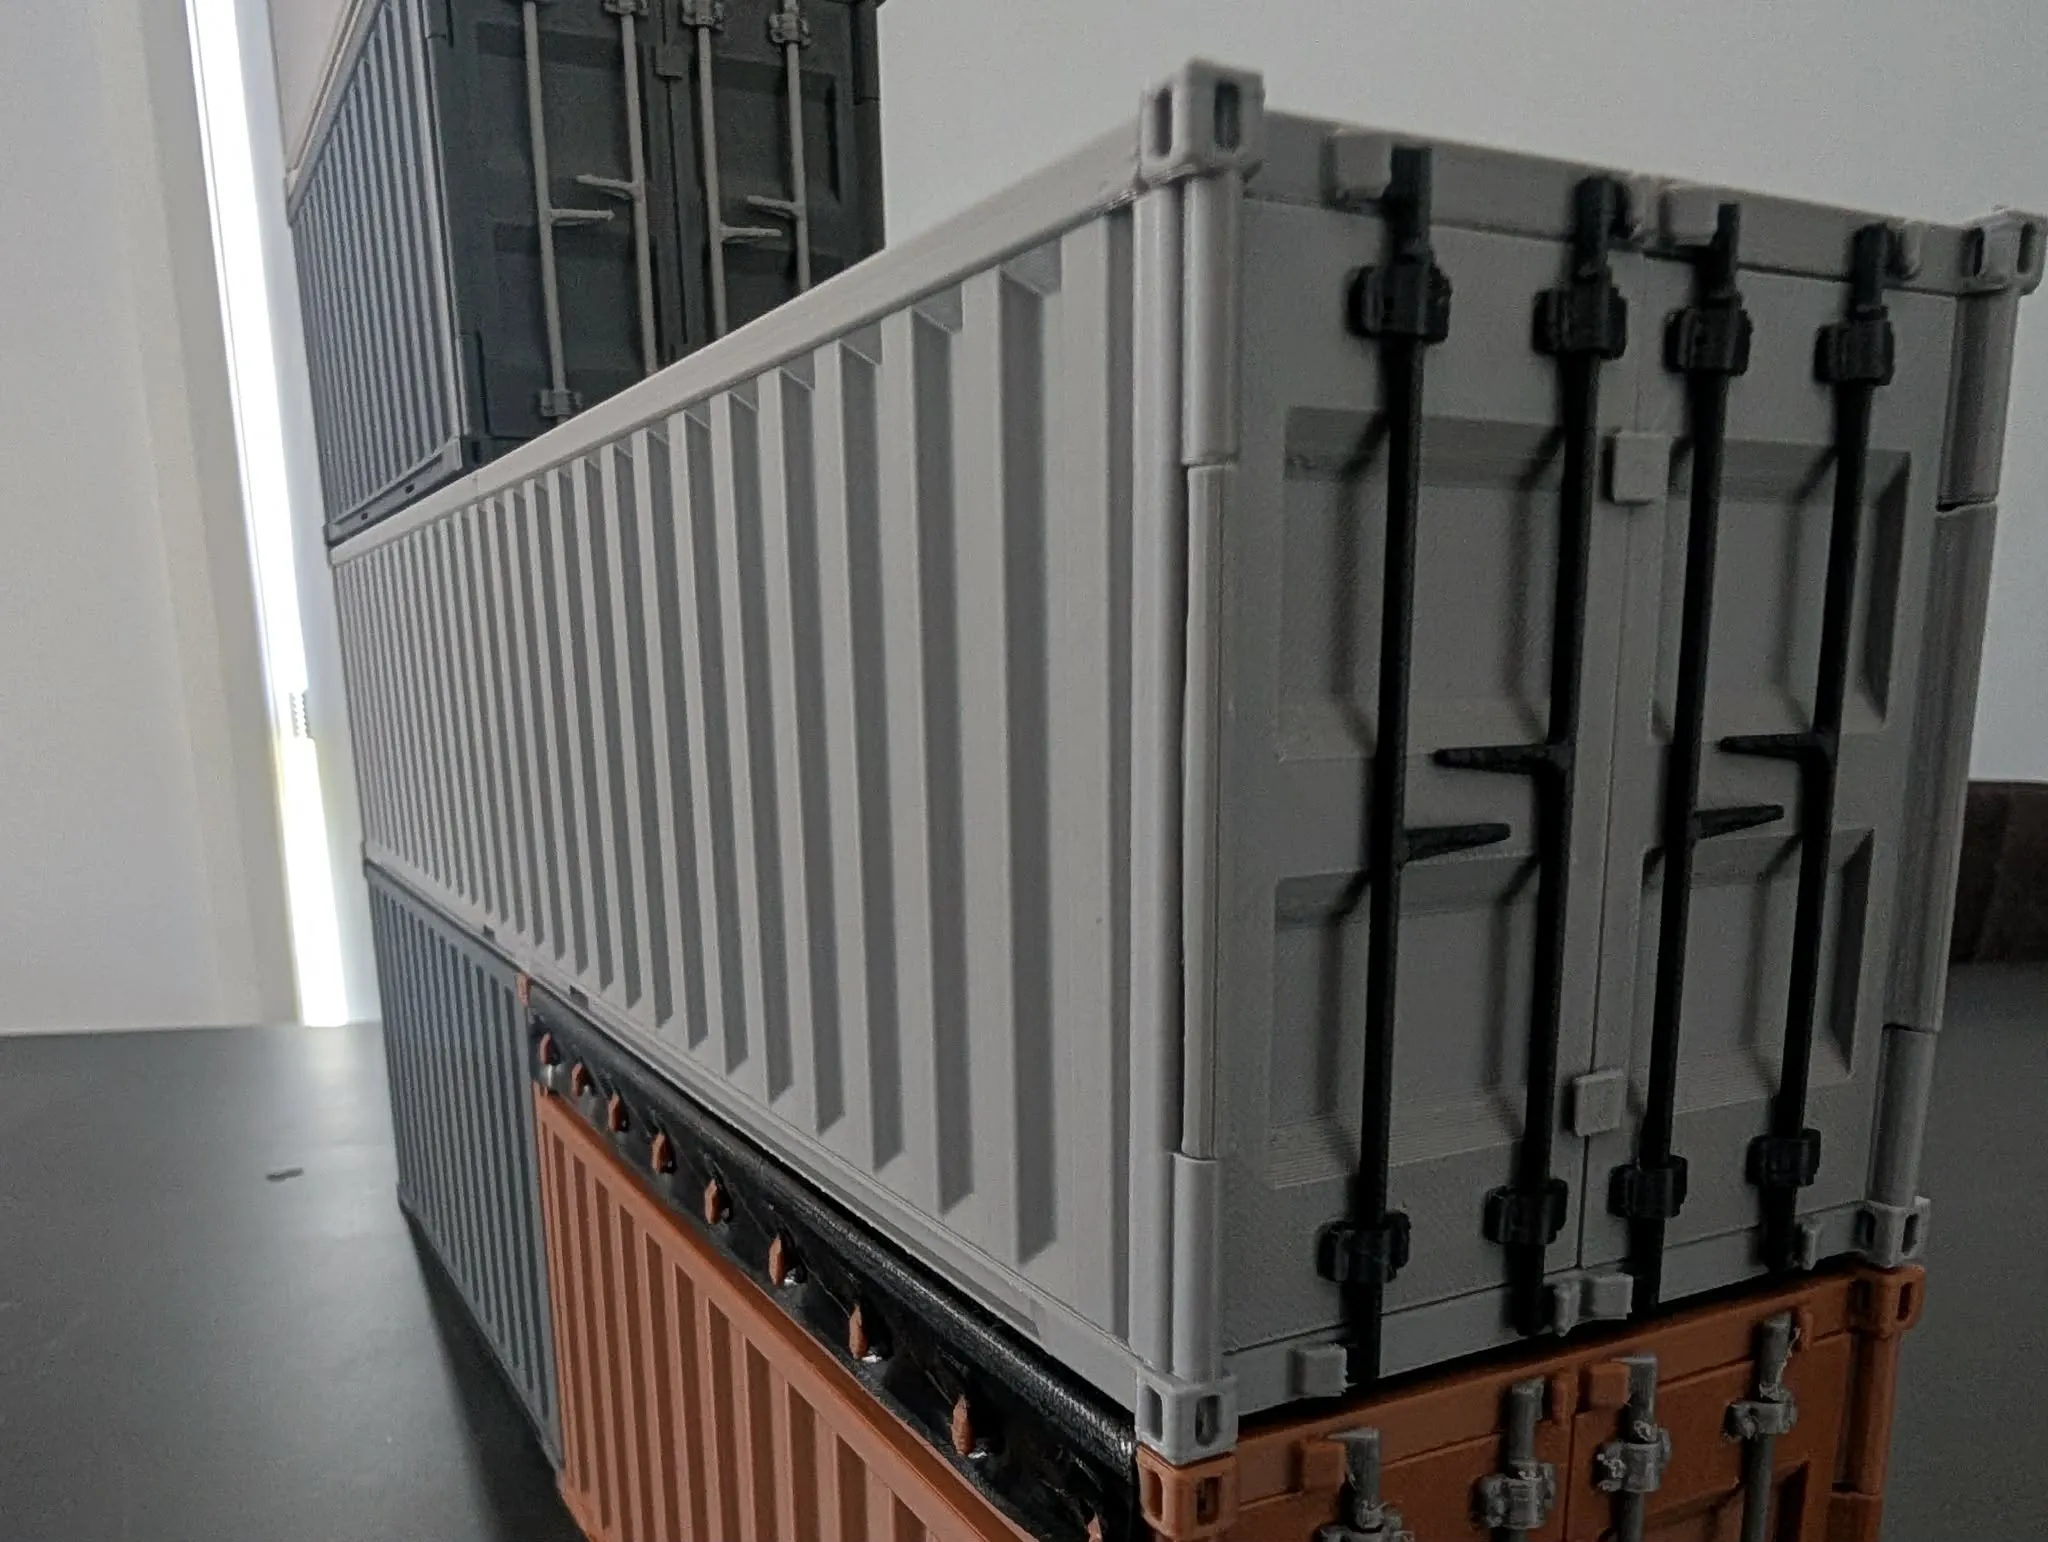
Would like to introduce you to the 1:24/1:25 k200 based on the Kenworth k200 I have tried to include as much detail as printable and makes a great display on its own or with the shipping container trailer and dolly, i hope you enjoy this as much as i have making it. images make up some of the instructions
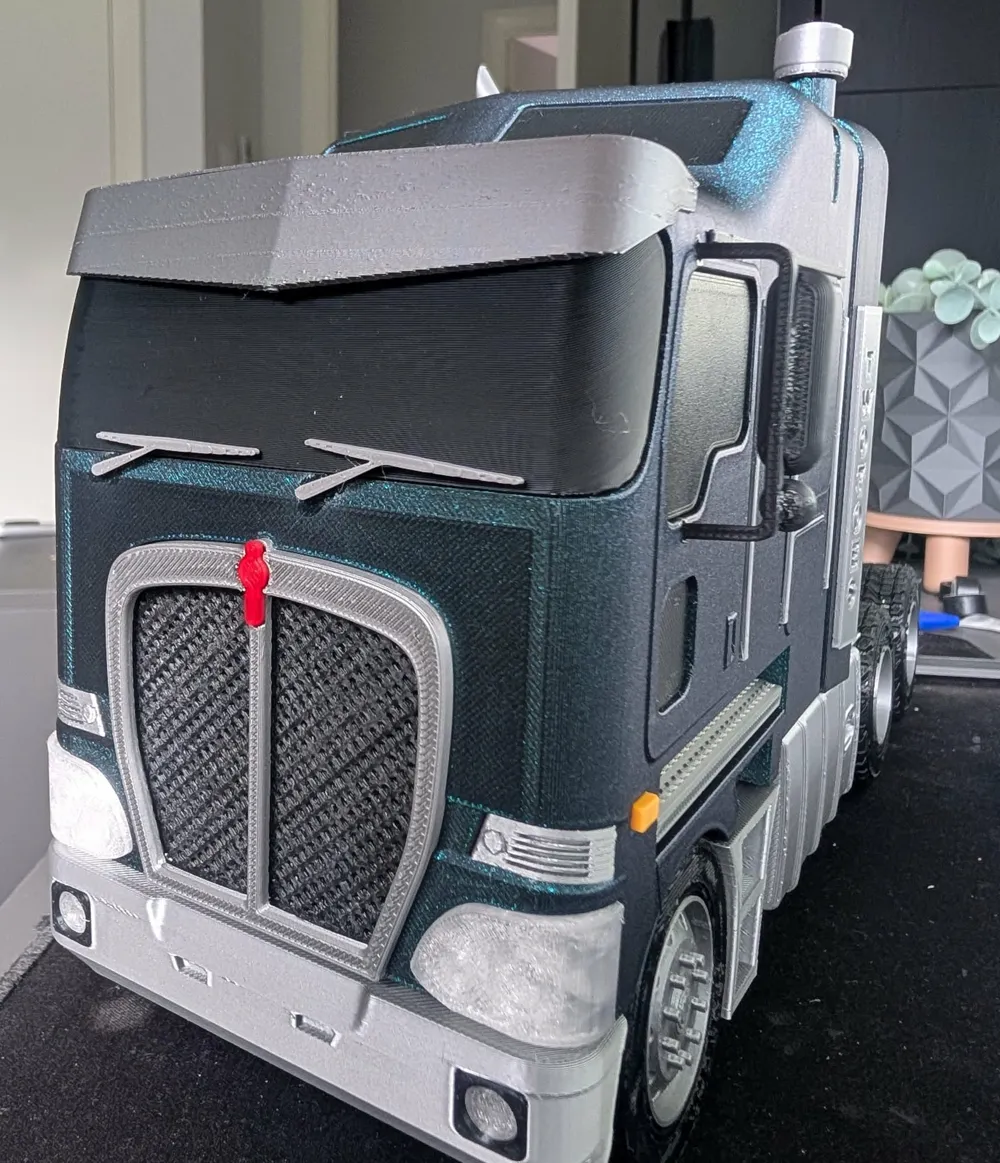
DO NOT PRINT STANDARD WINDOW IF YOU ARE USING THE VISOR/WINDOW PROFILE UPGRADE
100% printable when using spring delete (in print profile list)
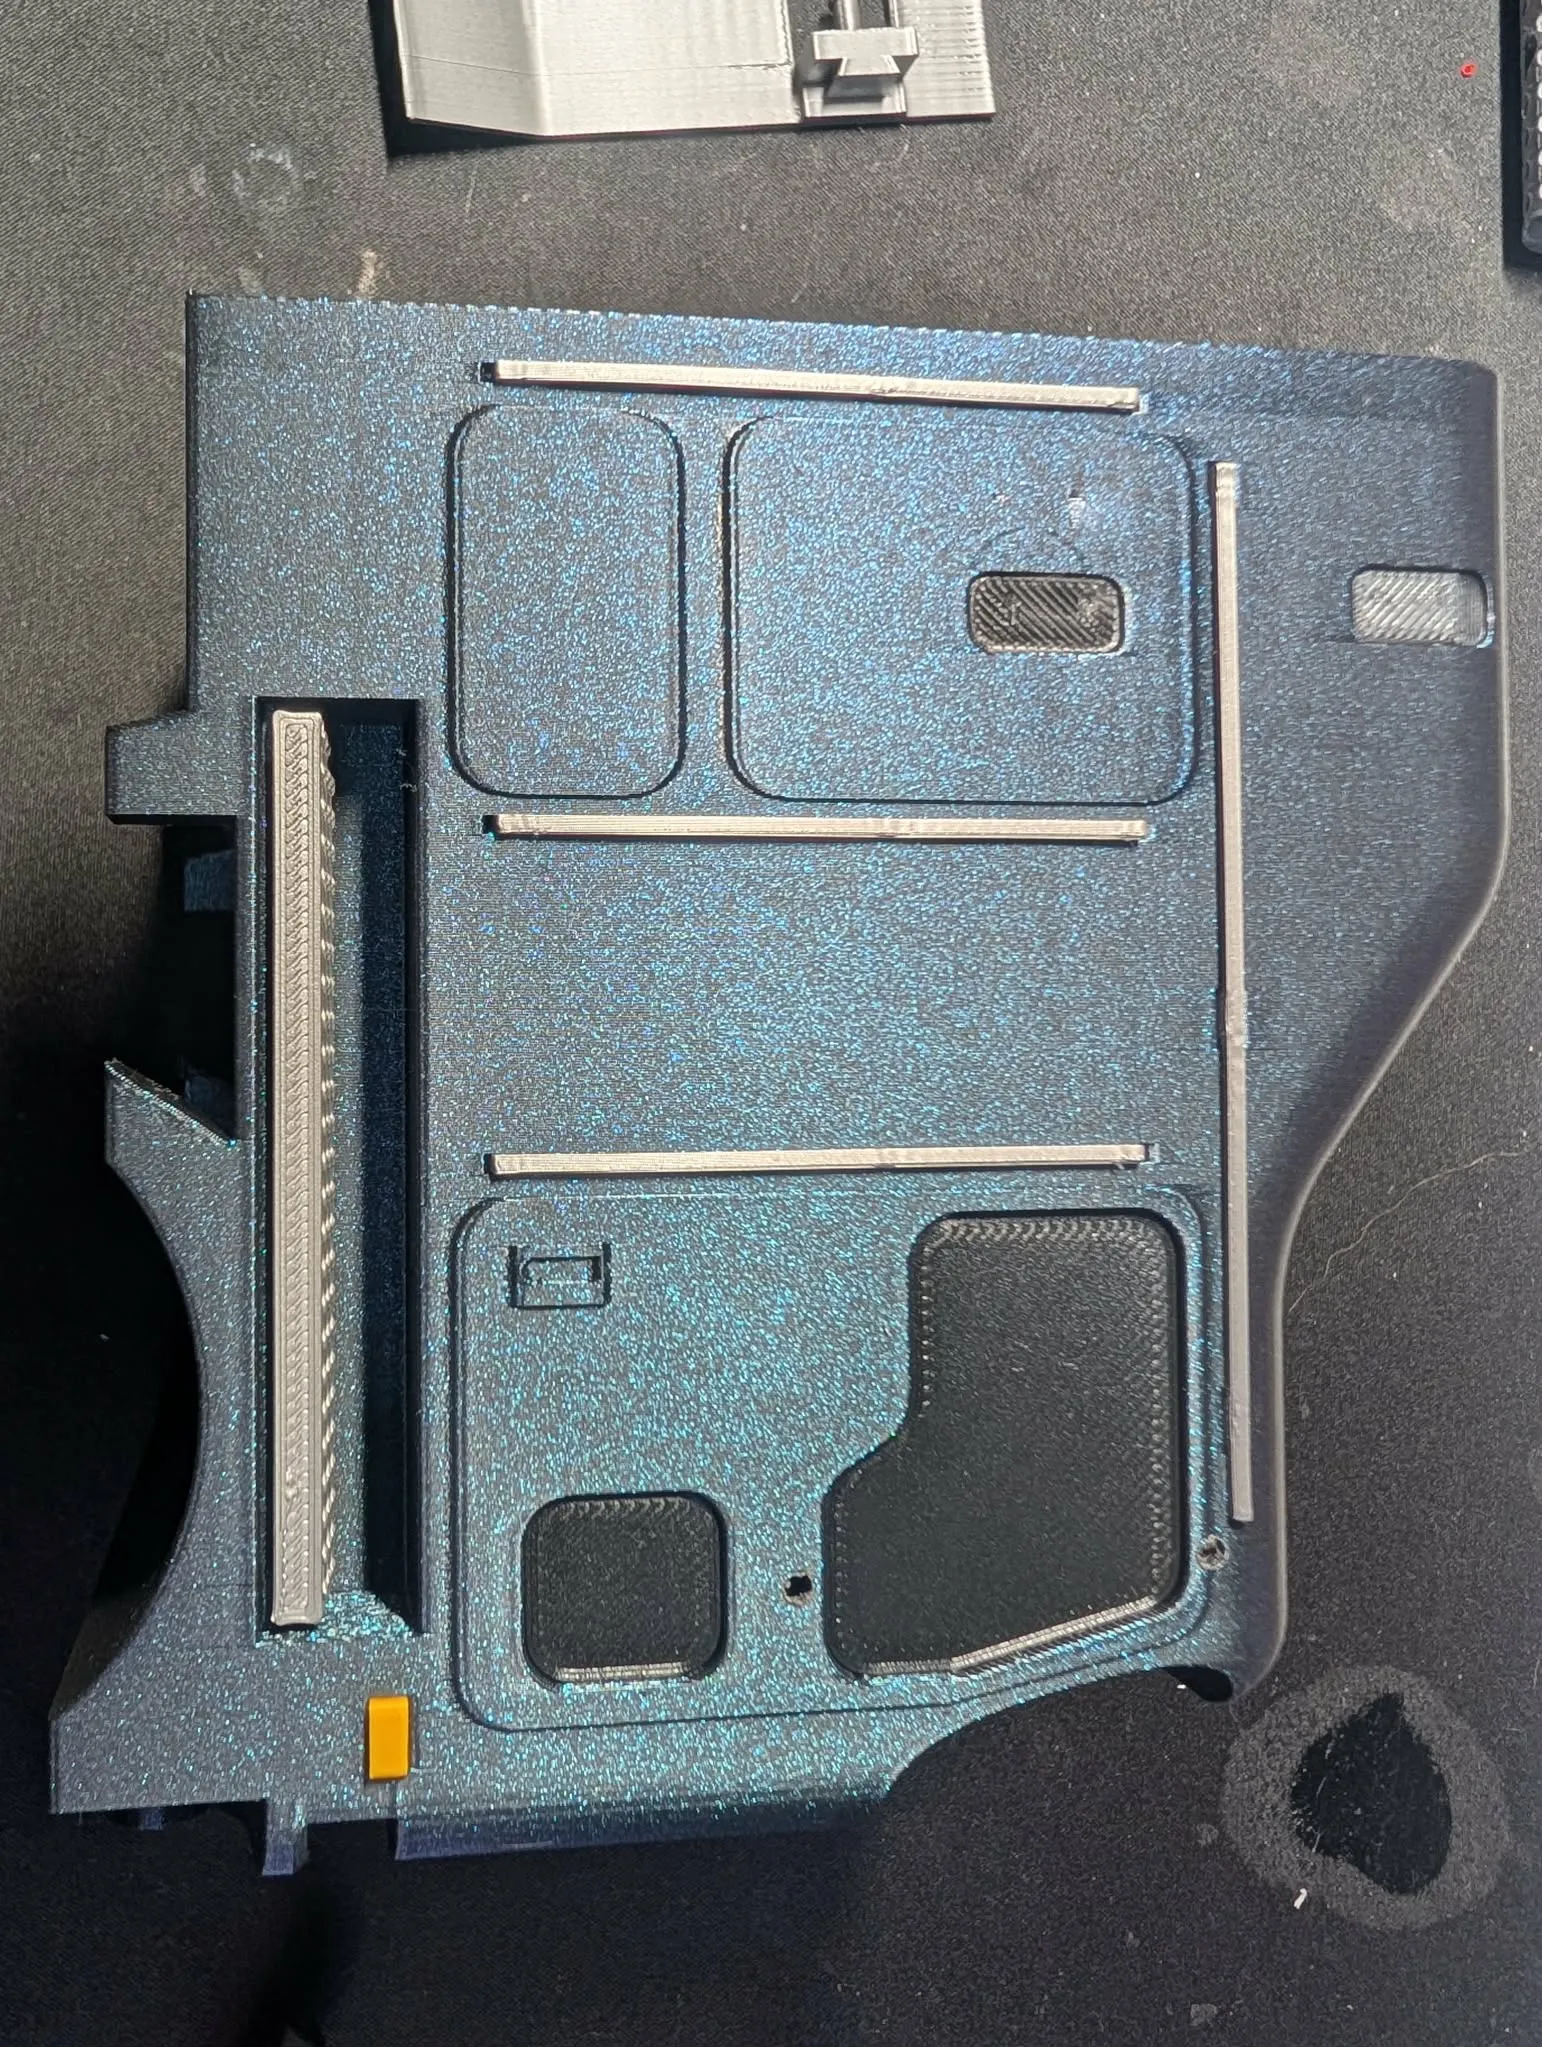
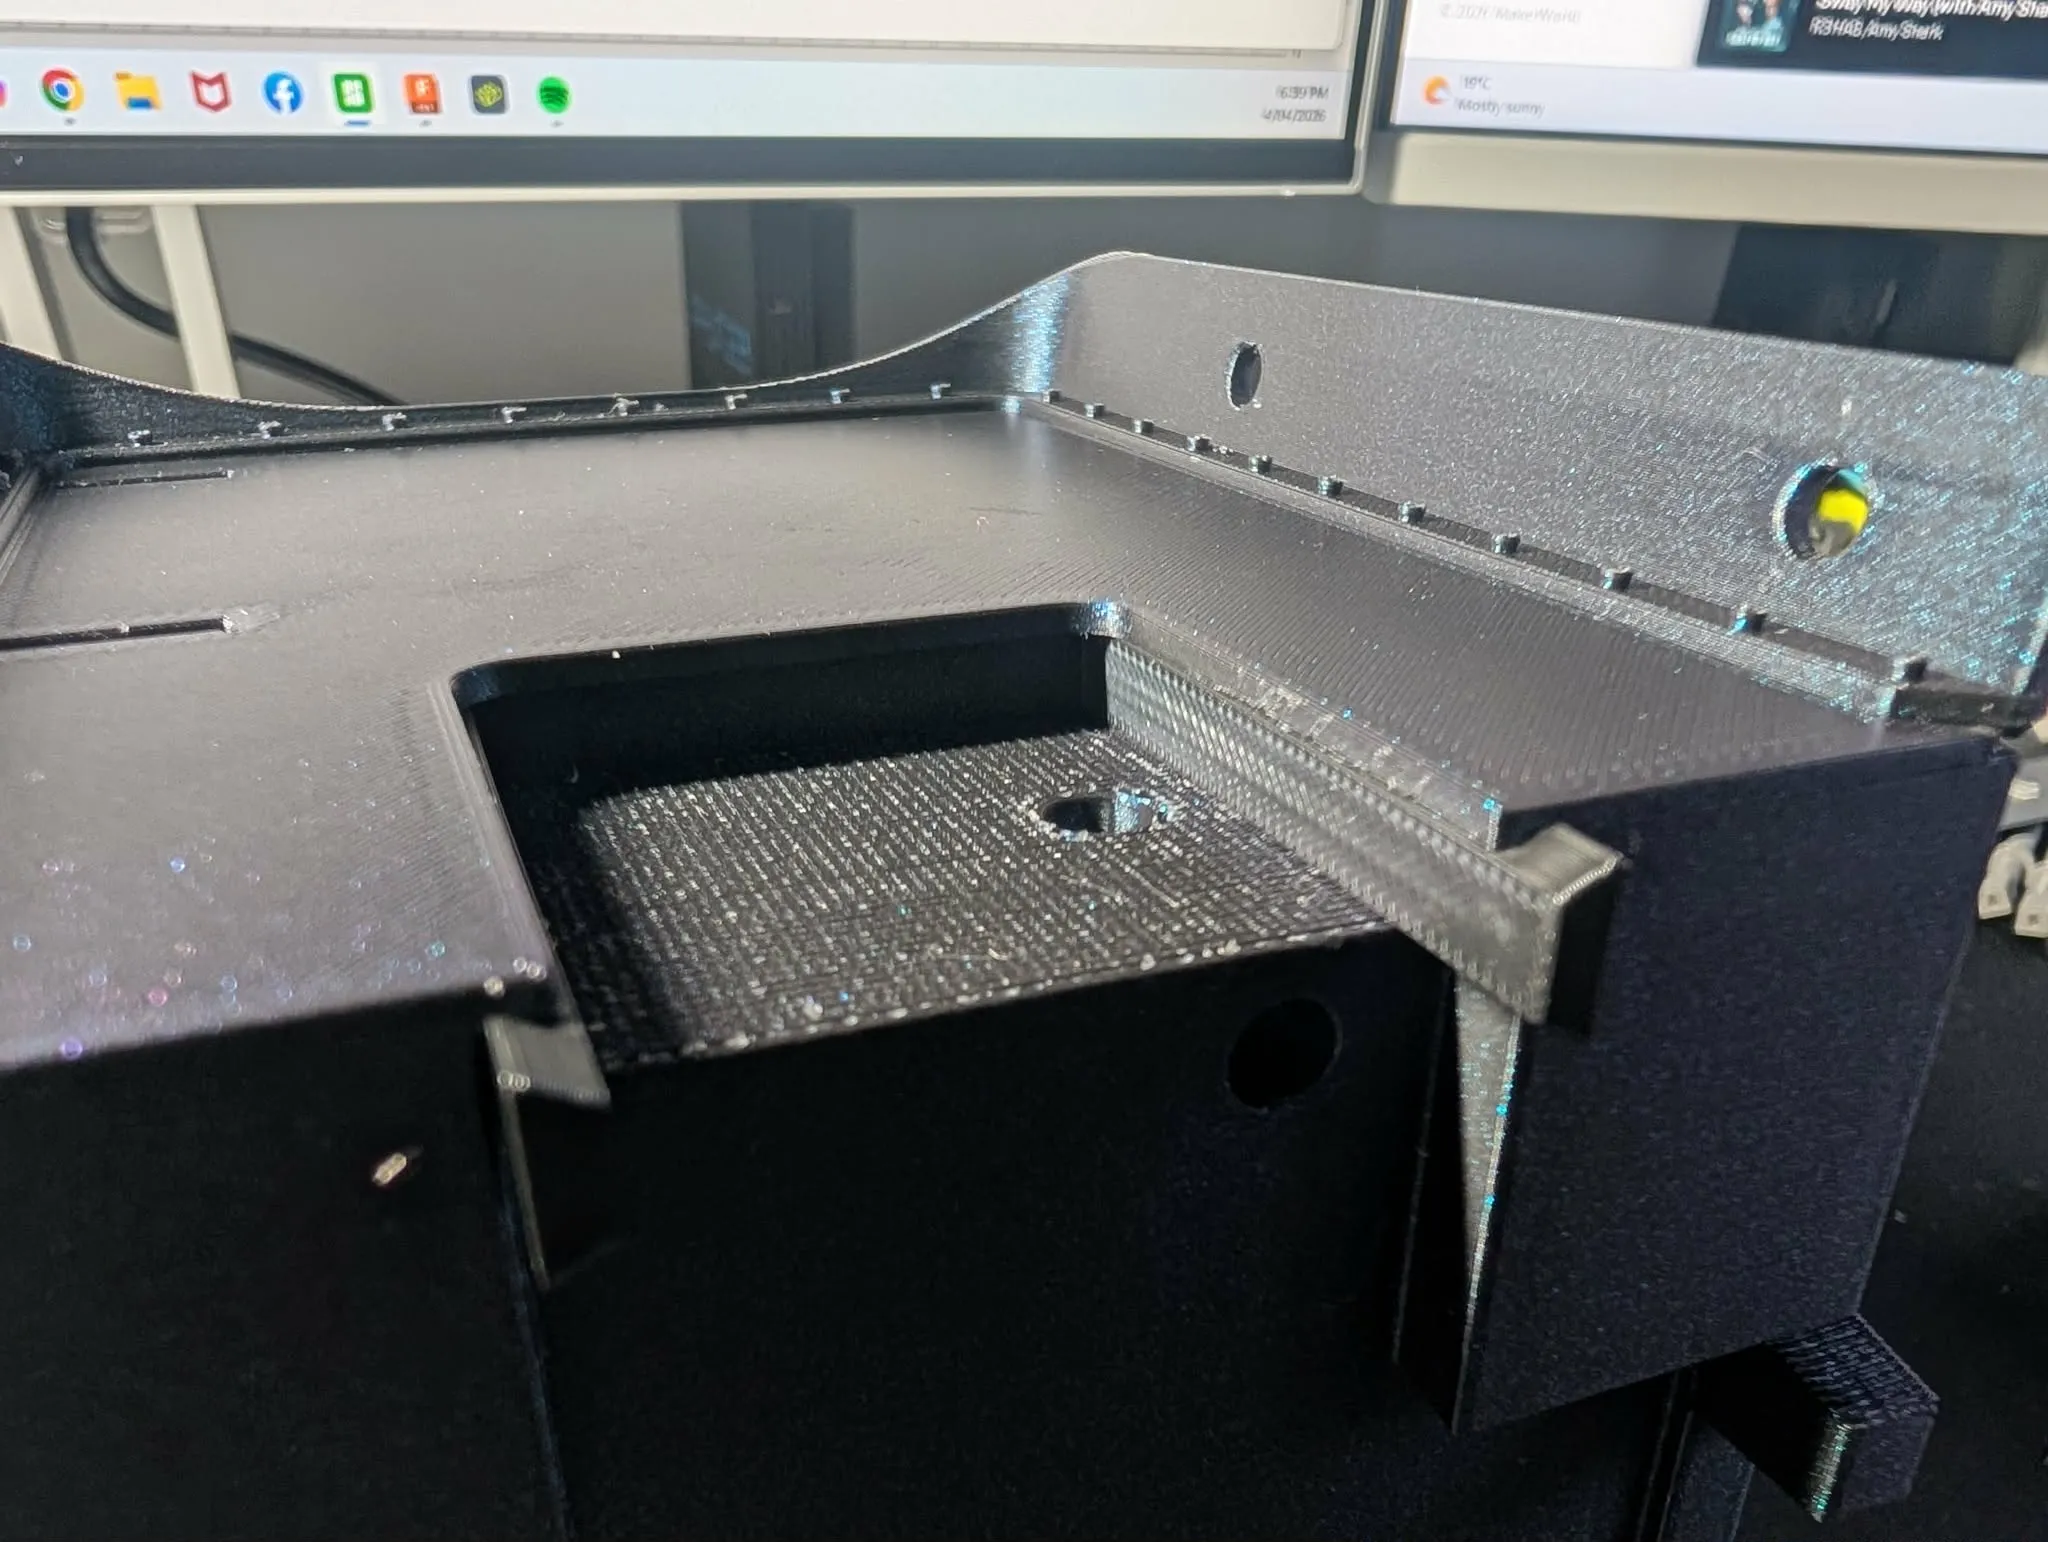
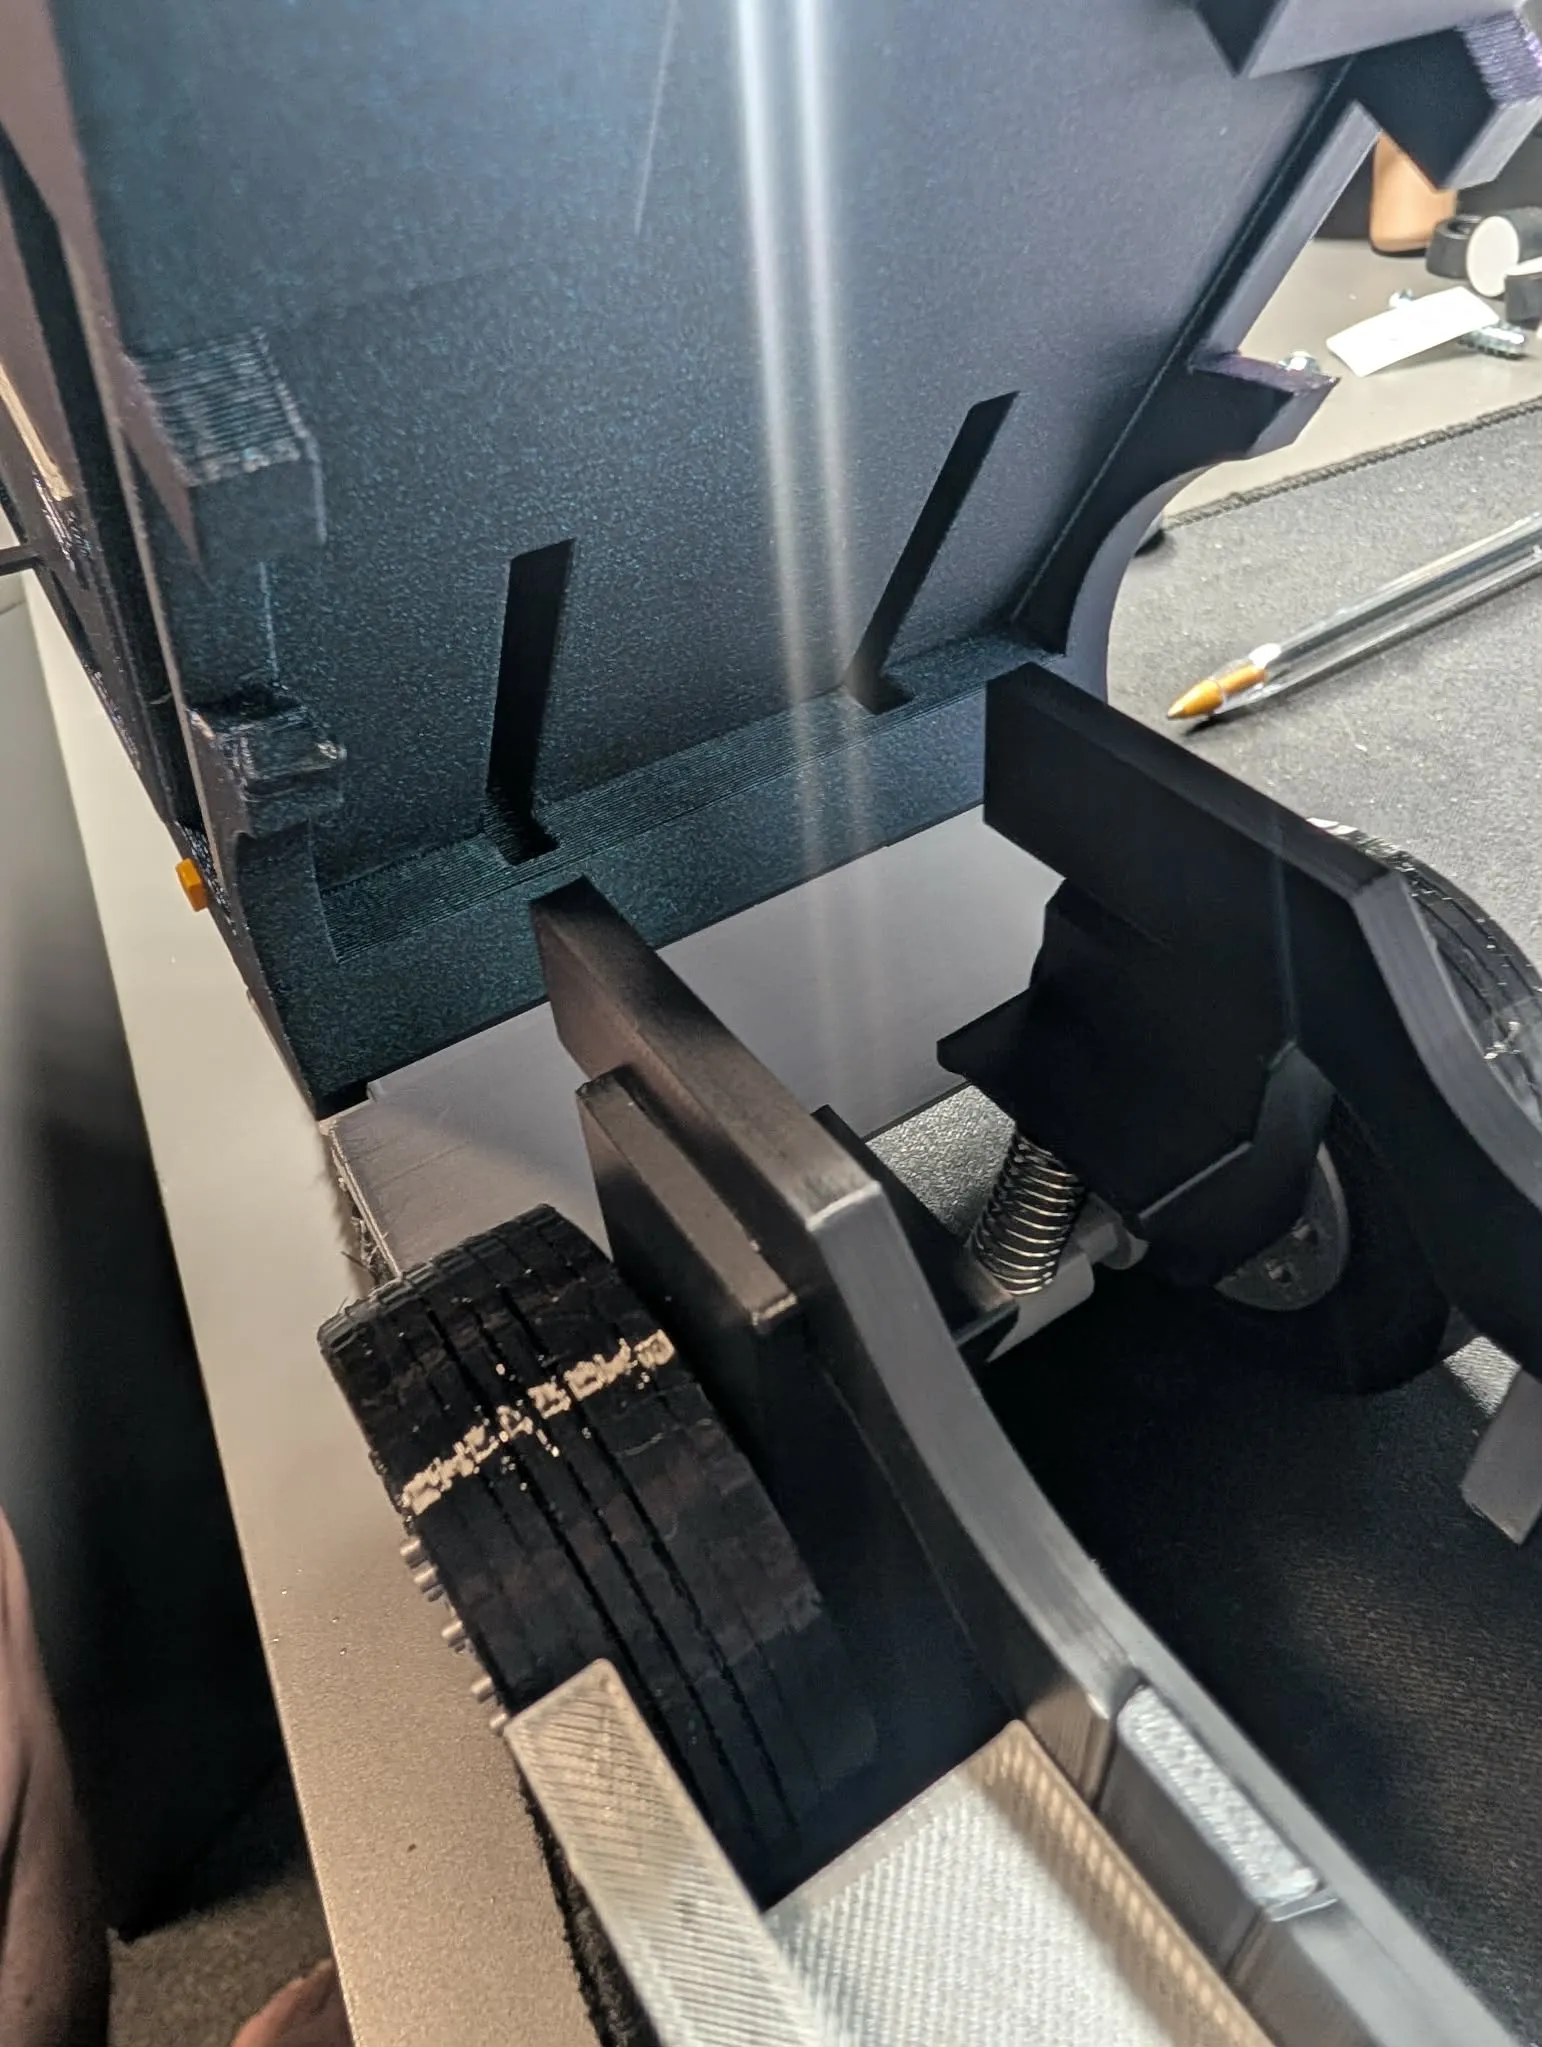
firstly with cab on its side insert windows to their allocated recess taking not the top most small window has a curve that should be upwards facing outward. they are a snug fit and when fully pressed in will sit about 1mm below surface, glue and insert handrails, indicator piece (yellow)
and side step. repeat for other side. see picture
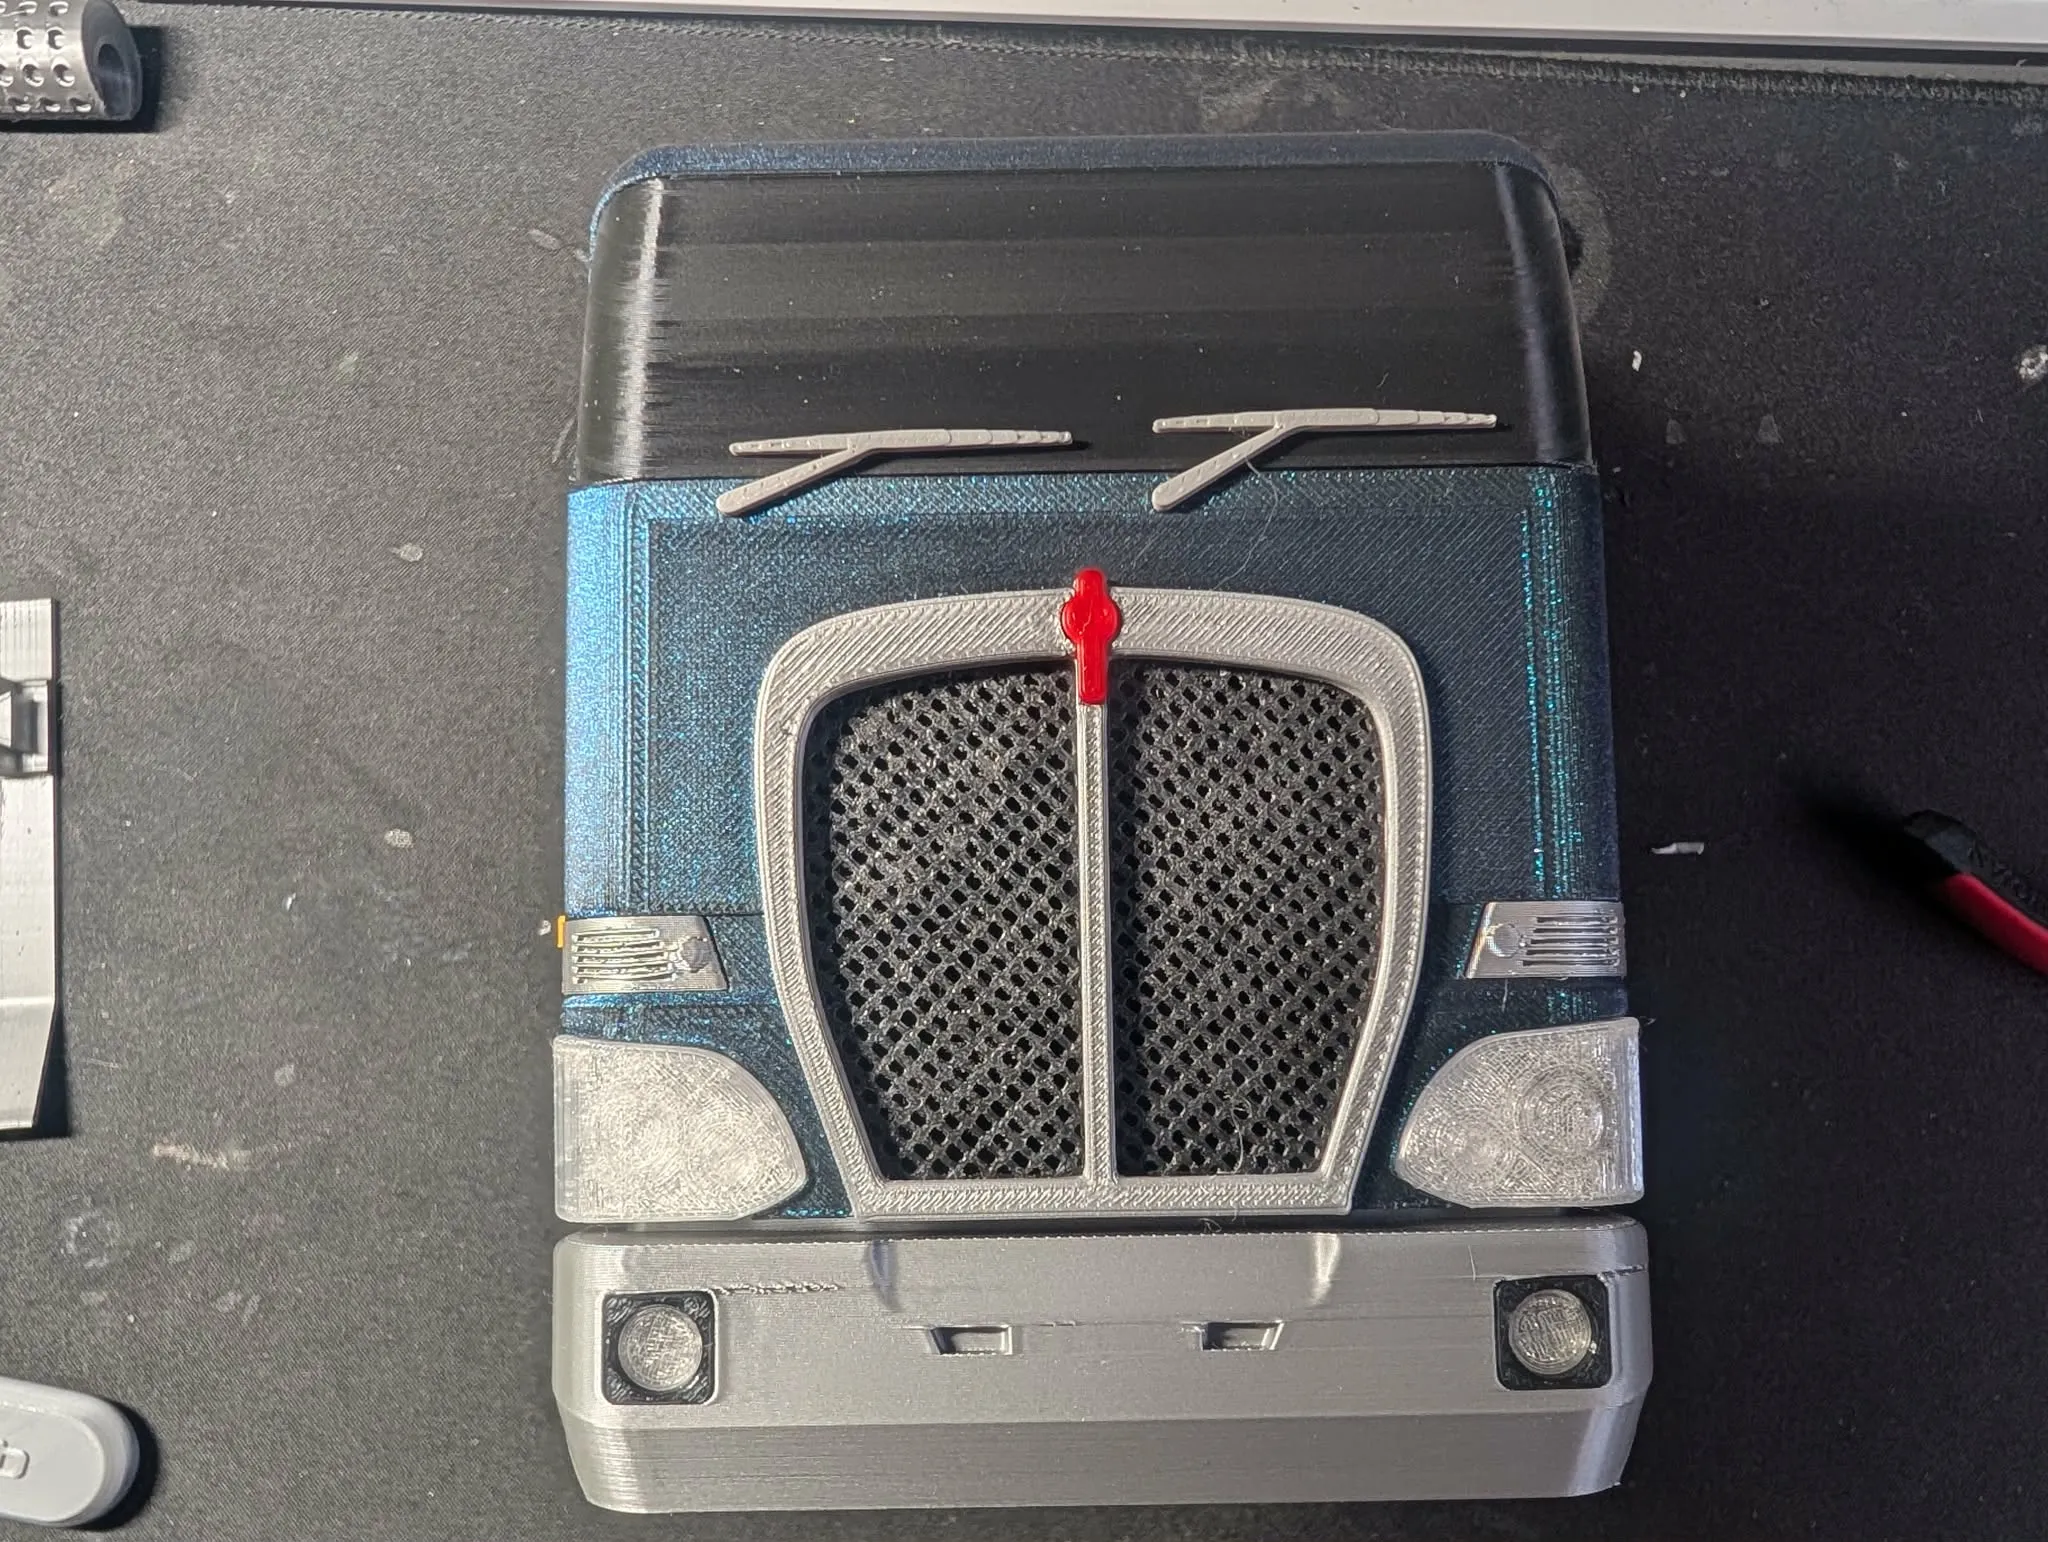
starting with the front bar insert driving light into driving light surround then press into front bar and mount bar in the dove tail on cab, press in front window (if using the front visor and window install visor on window first) and headlights, inserts and glue wipers at indicated indents.
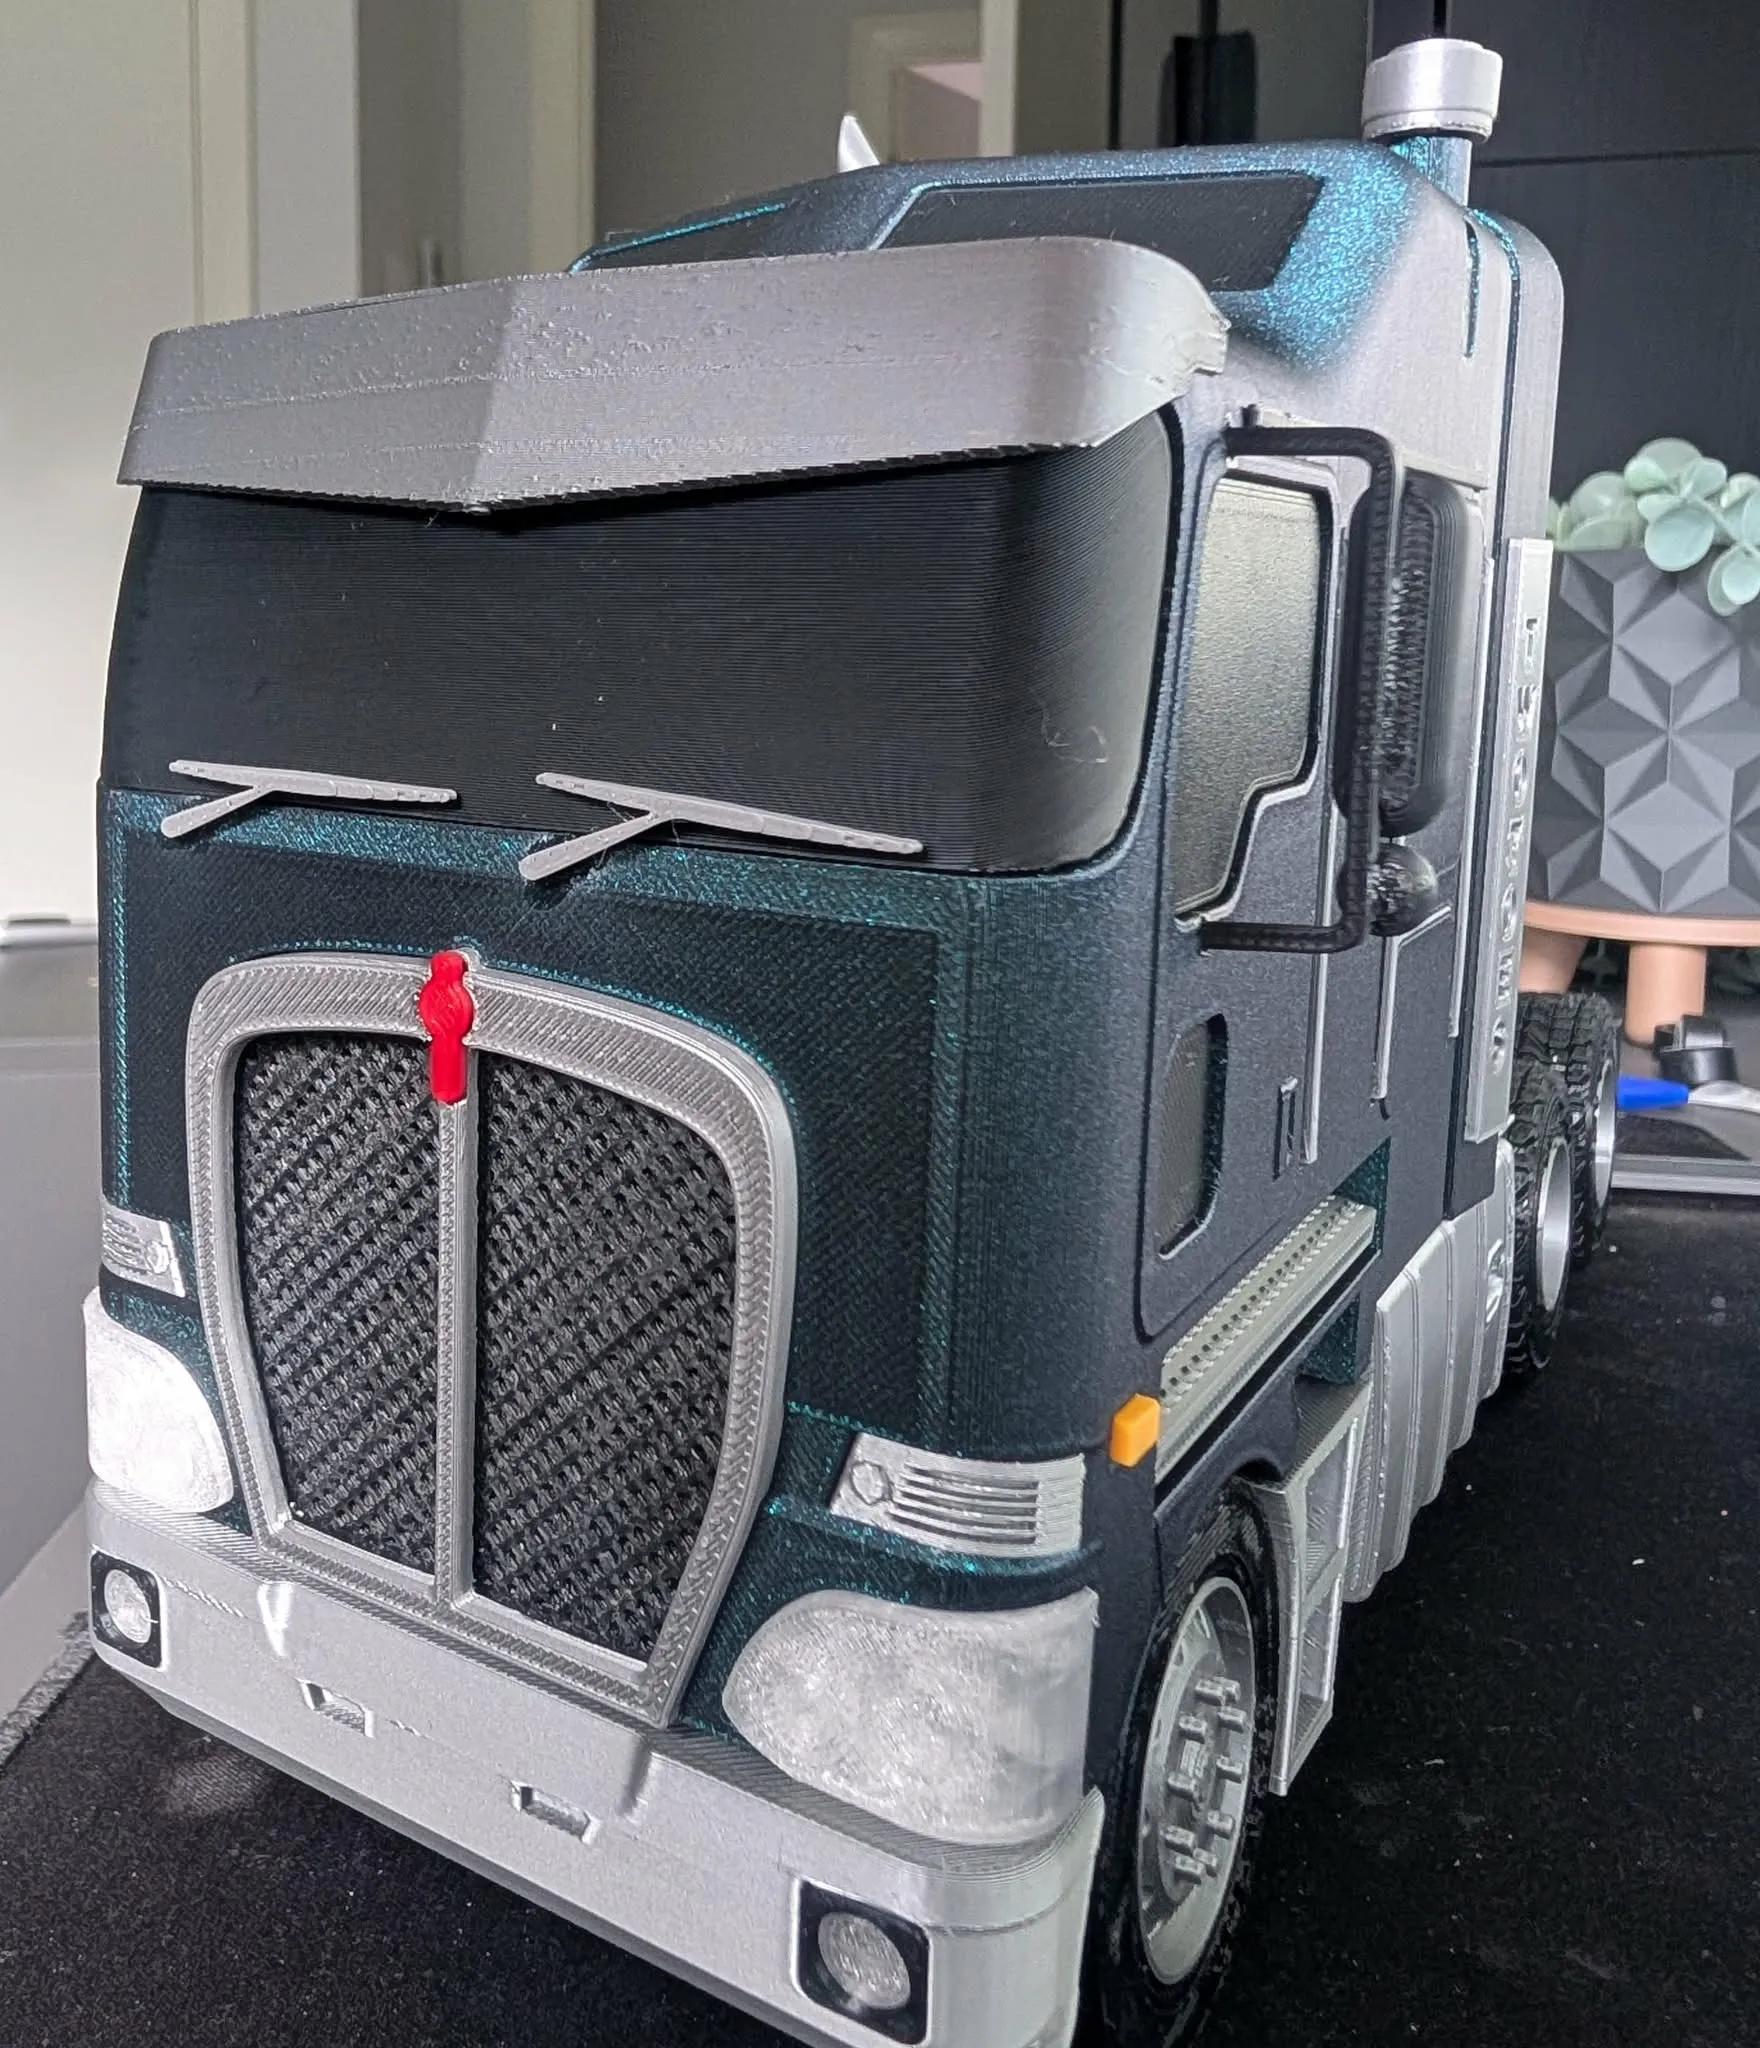
GRILL. press grill mesh into grill surround then press in red badge and insert whole assembly into front of cab. see picture.
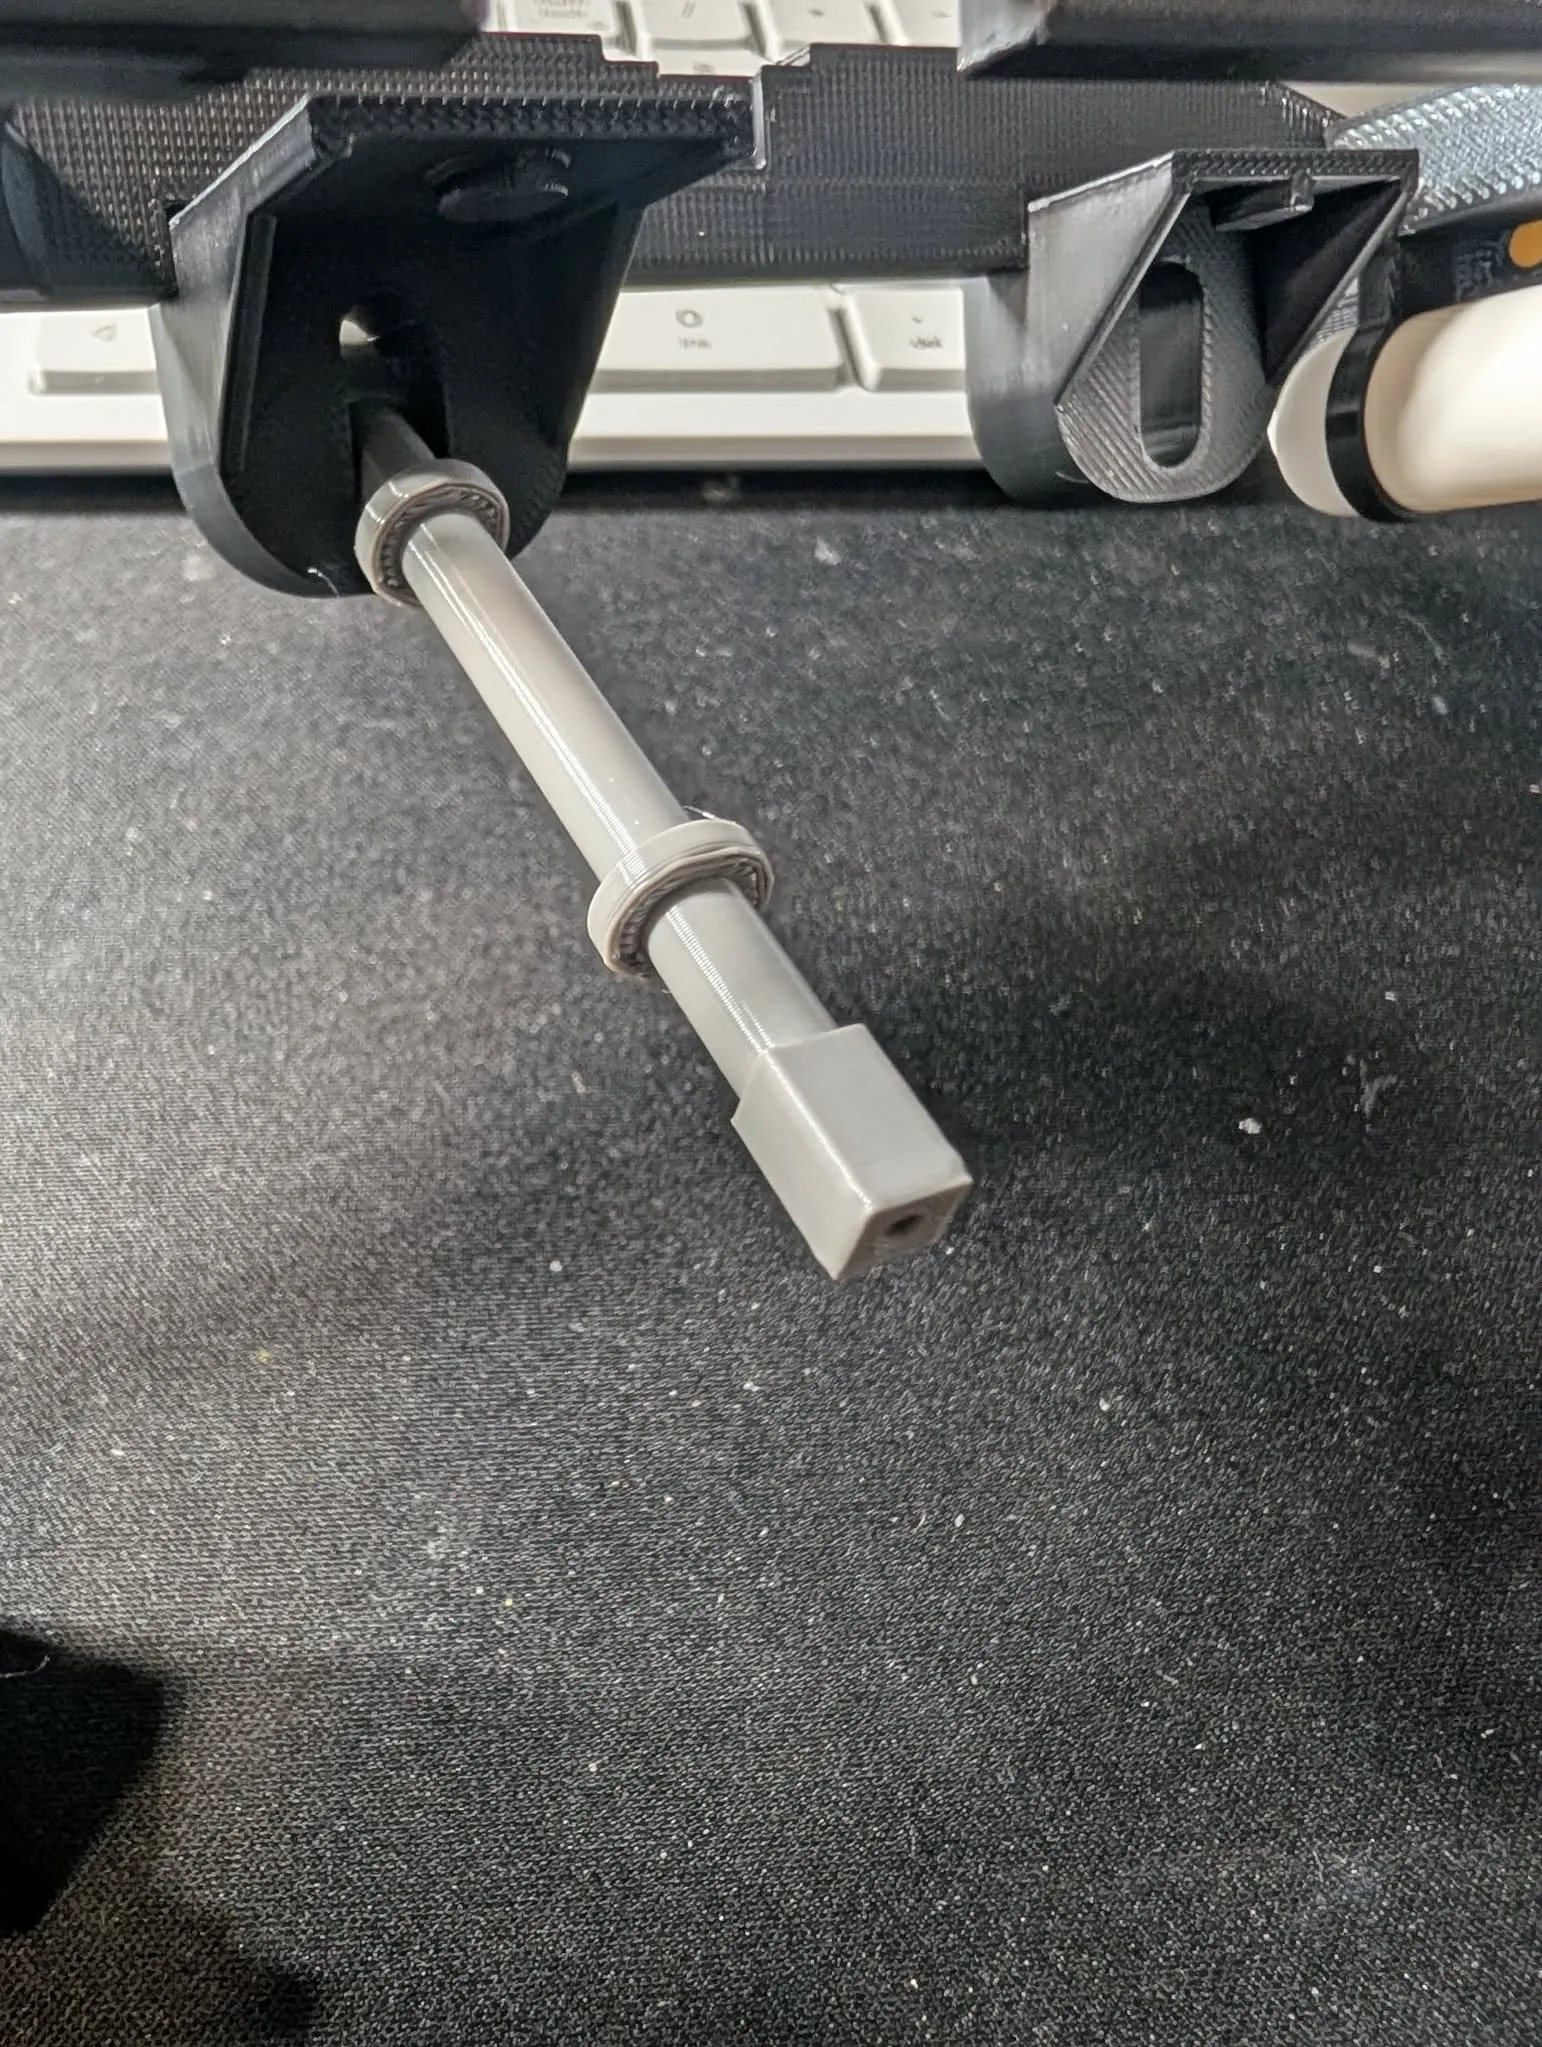
on the rear side of cab line up and insert the flaring/Spoiler and press in, also insert and glue the 2 rear mounts for the cab in the recess on the back shown in picture (which looks like two sticks with a small dovetail on one end)
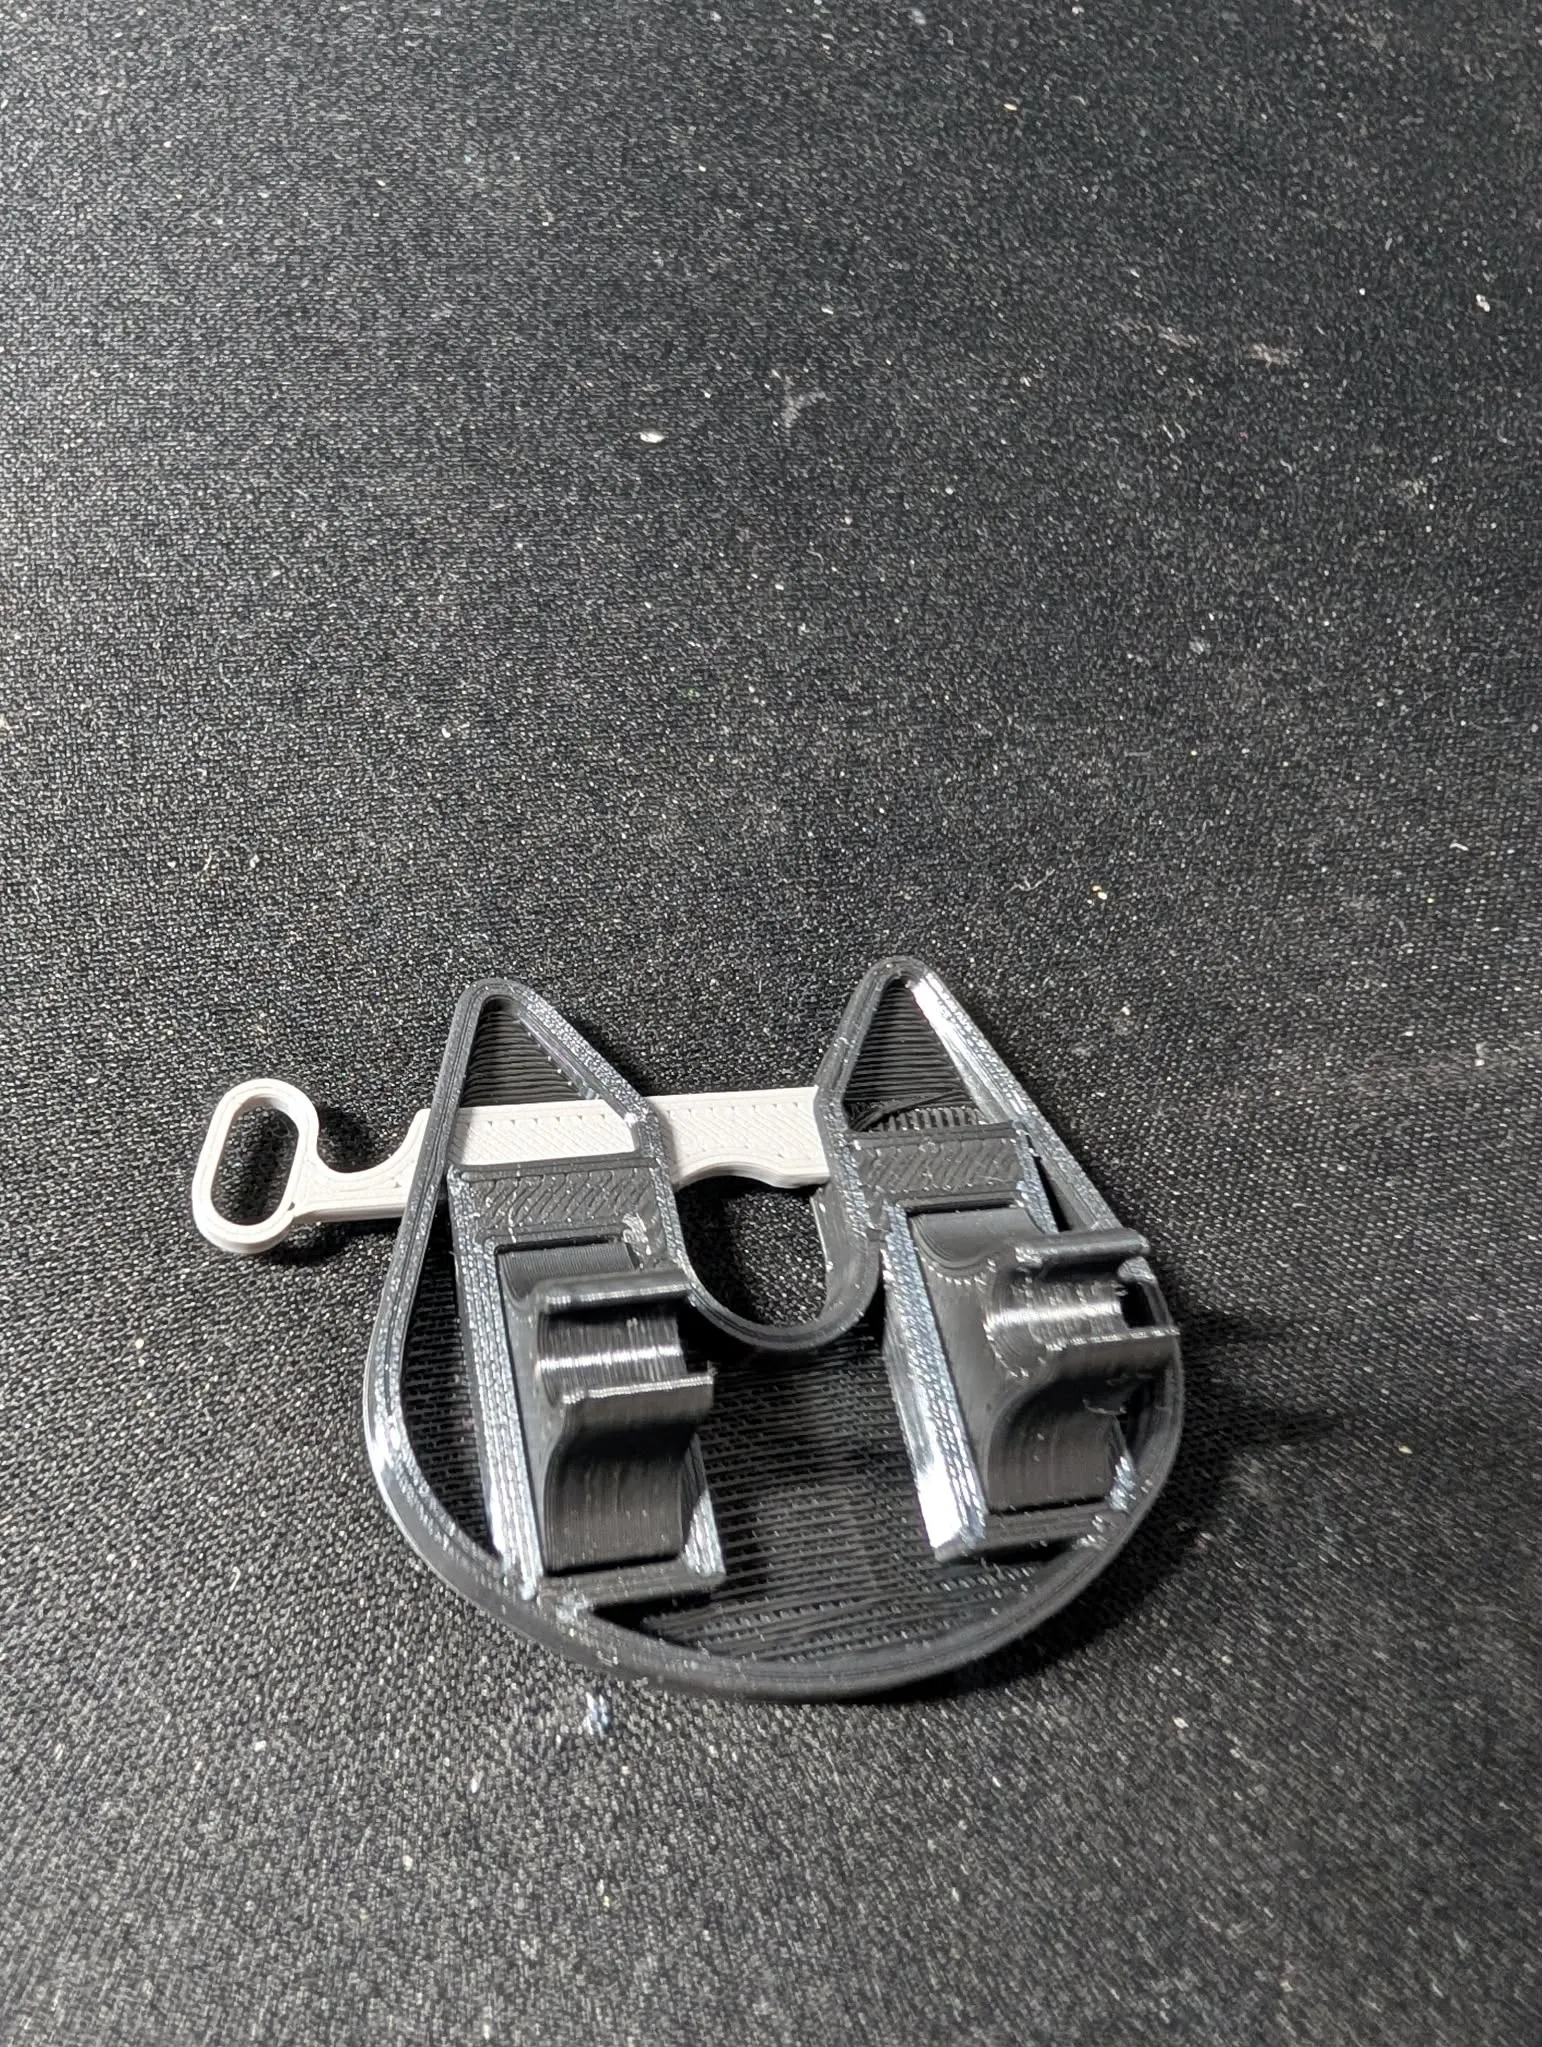
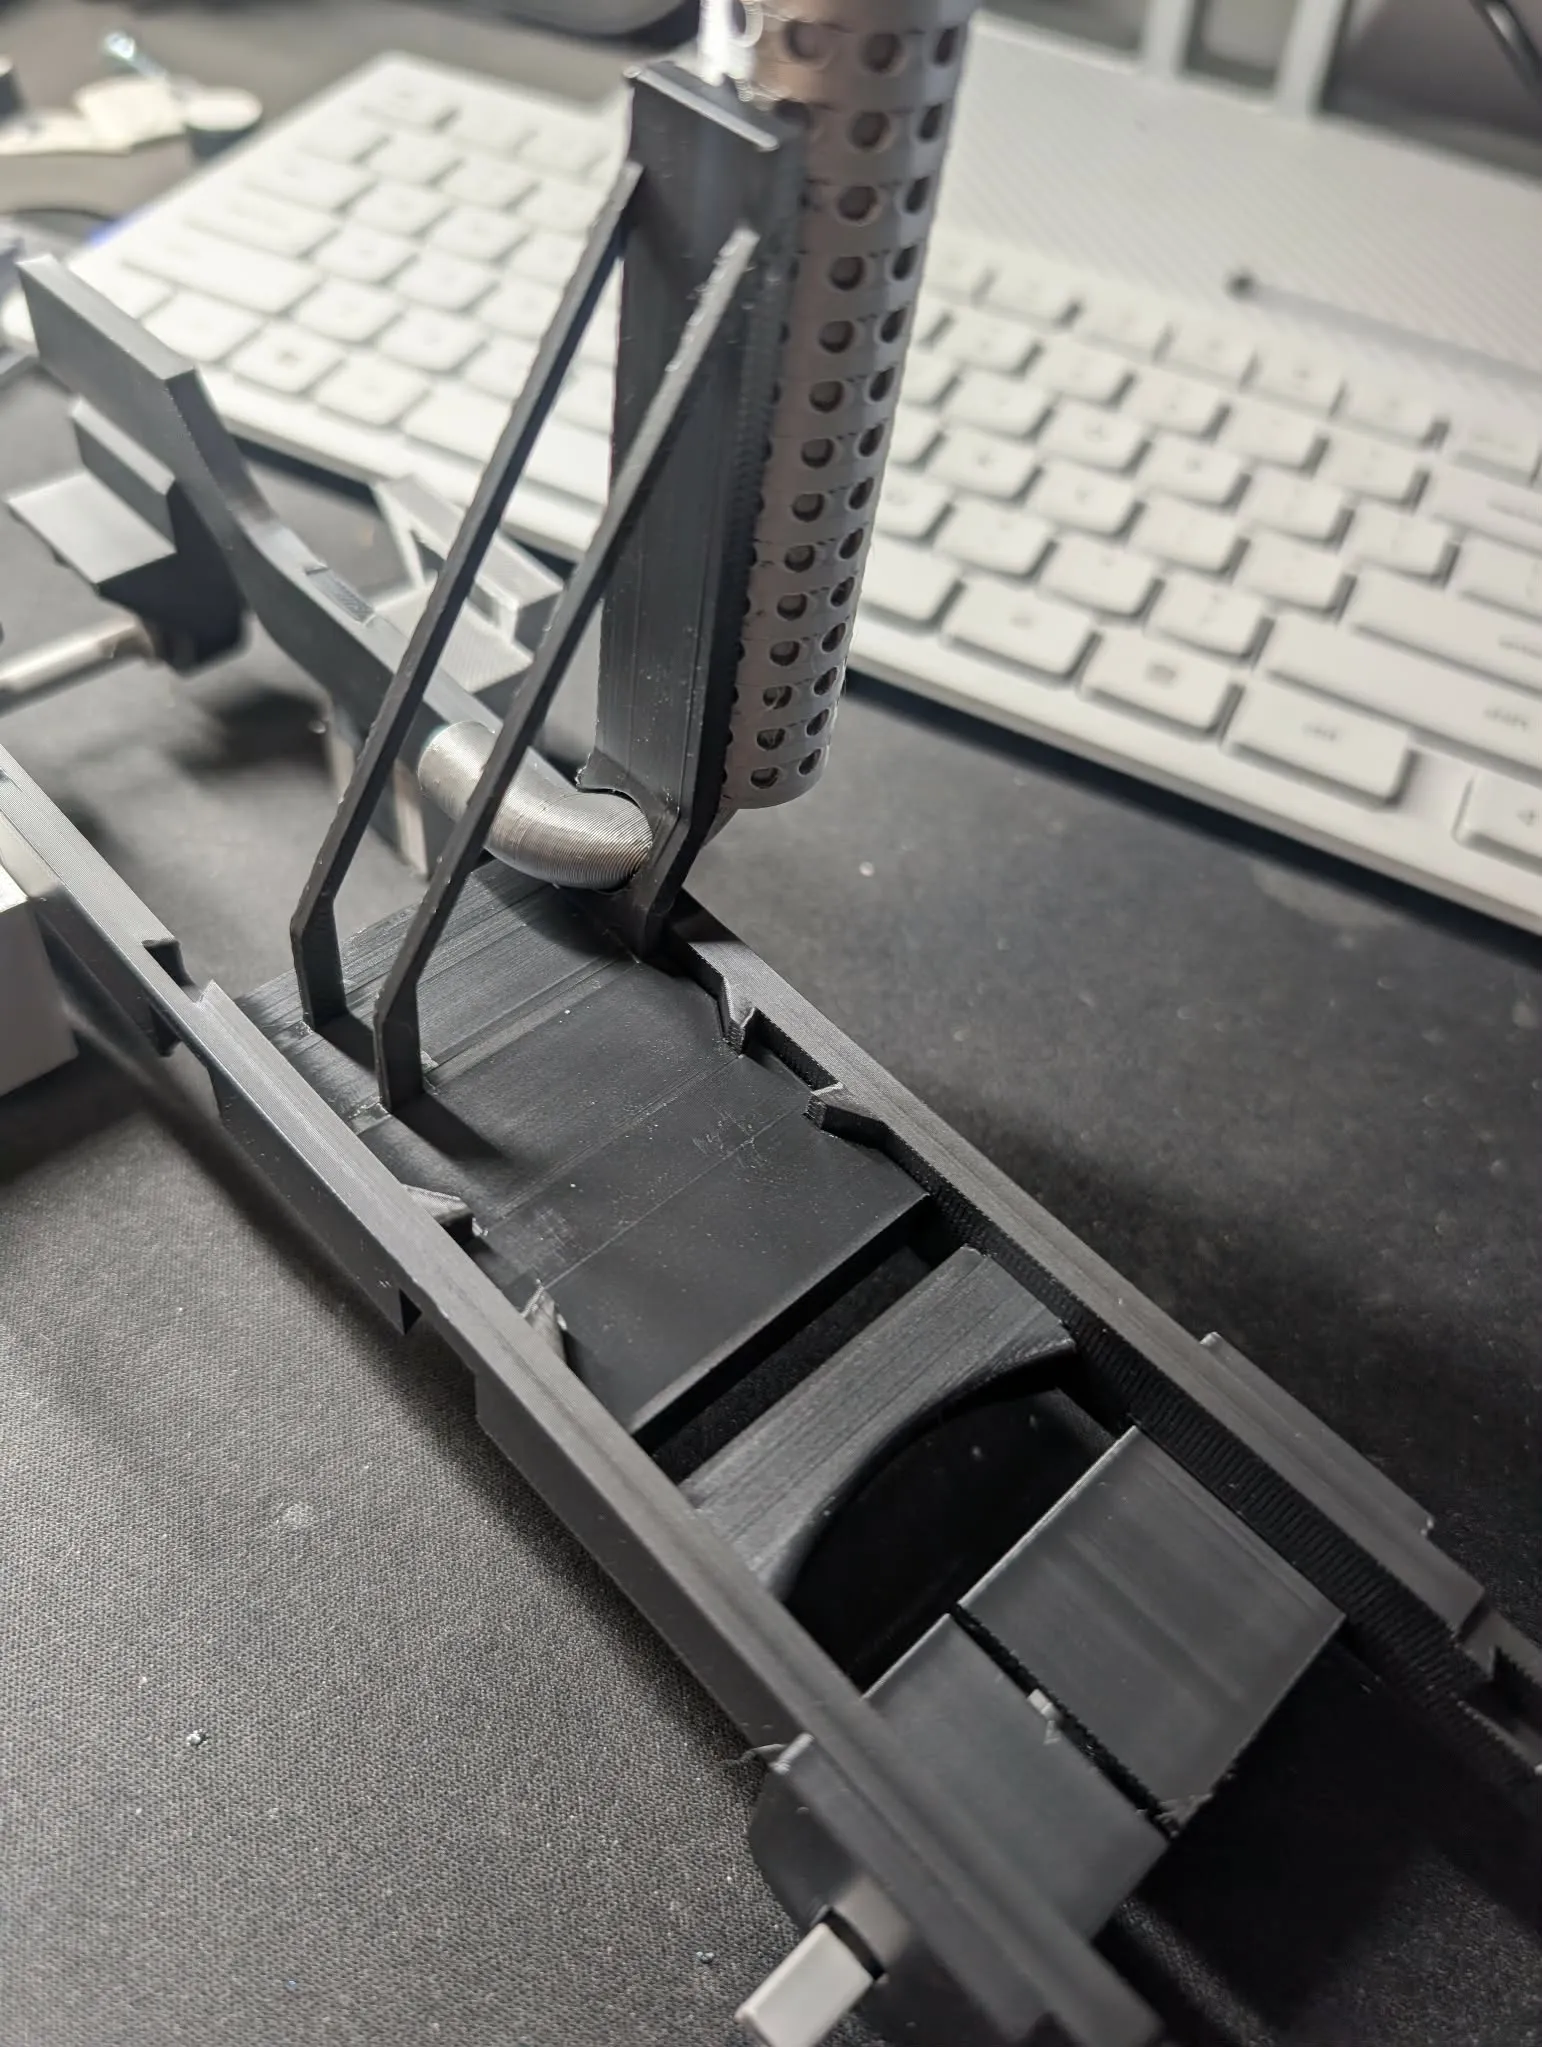
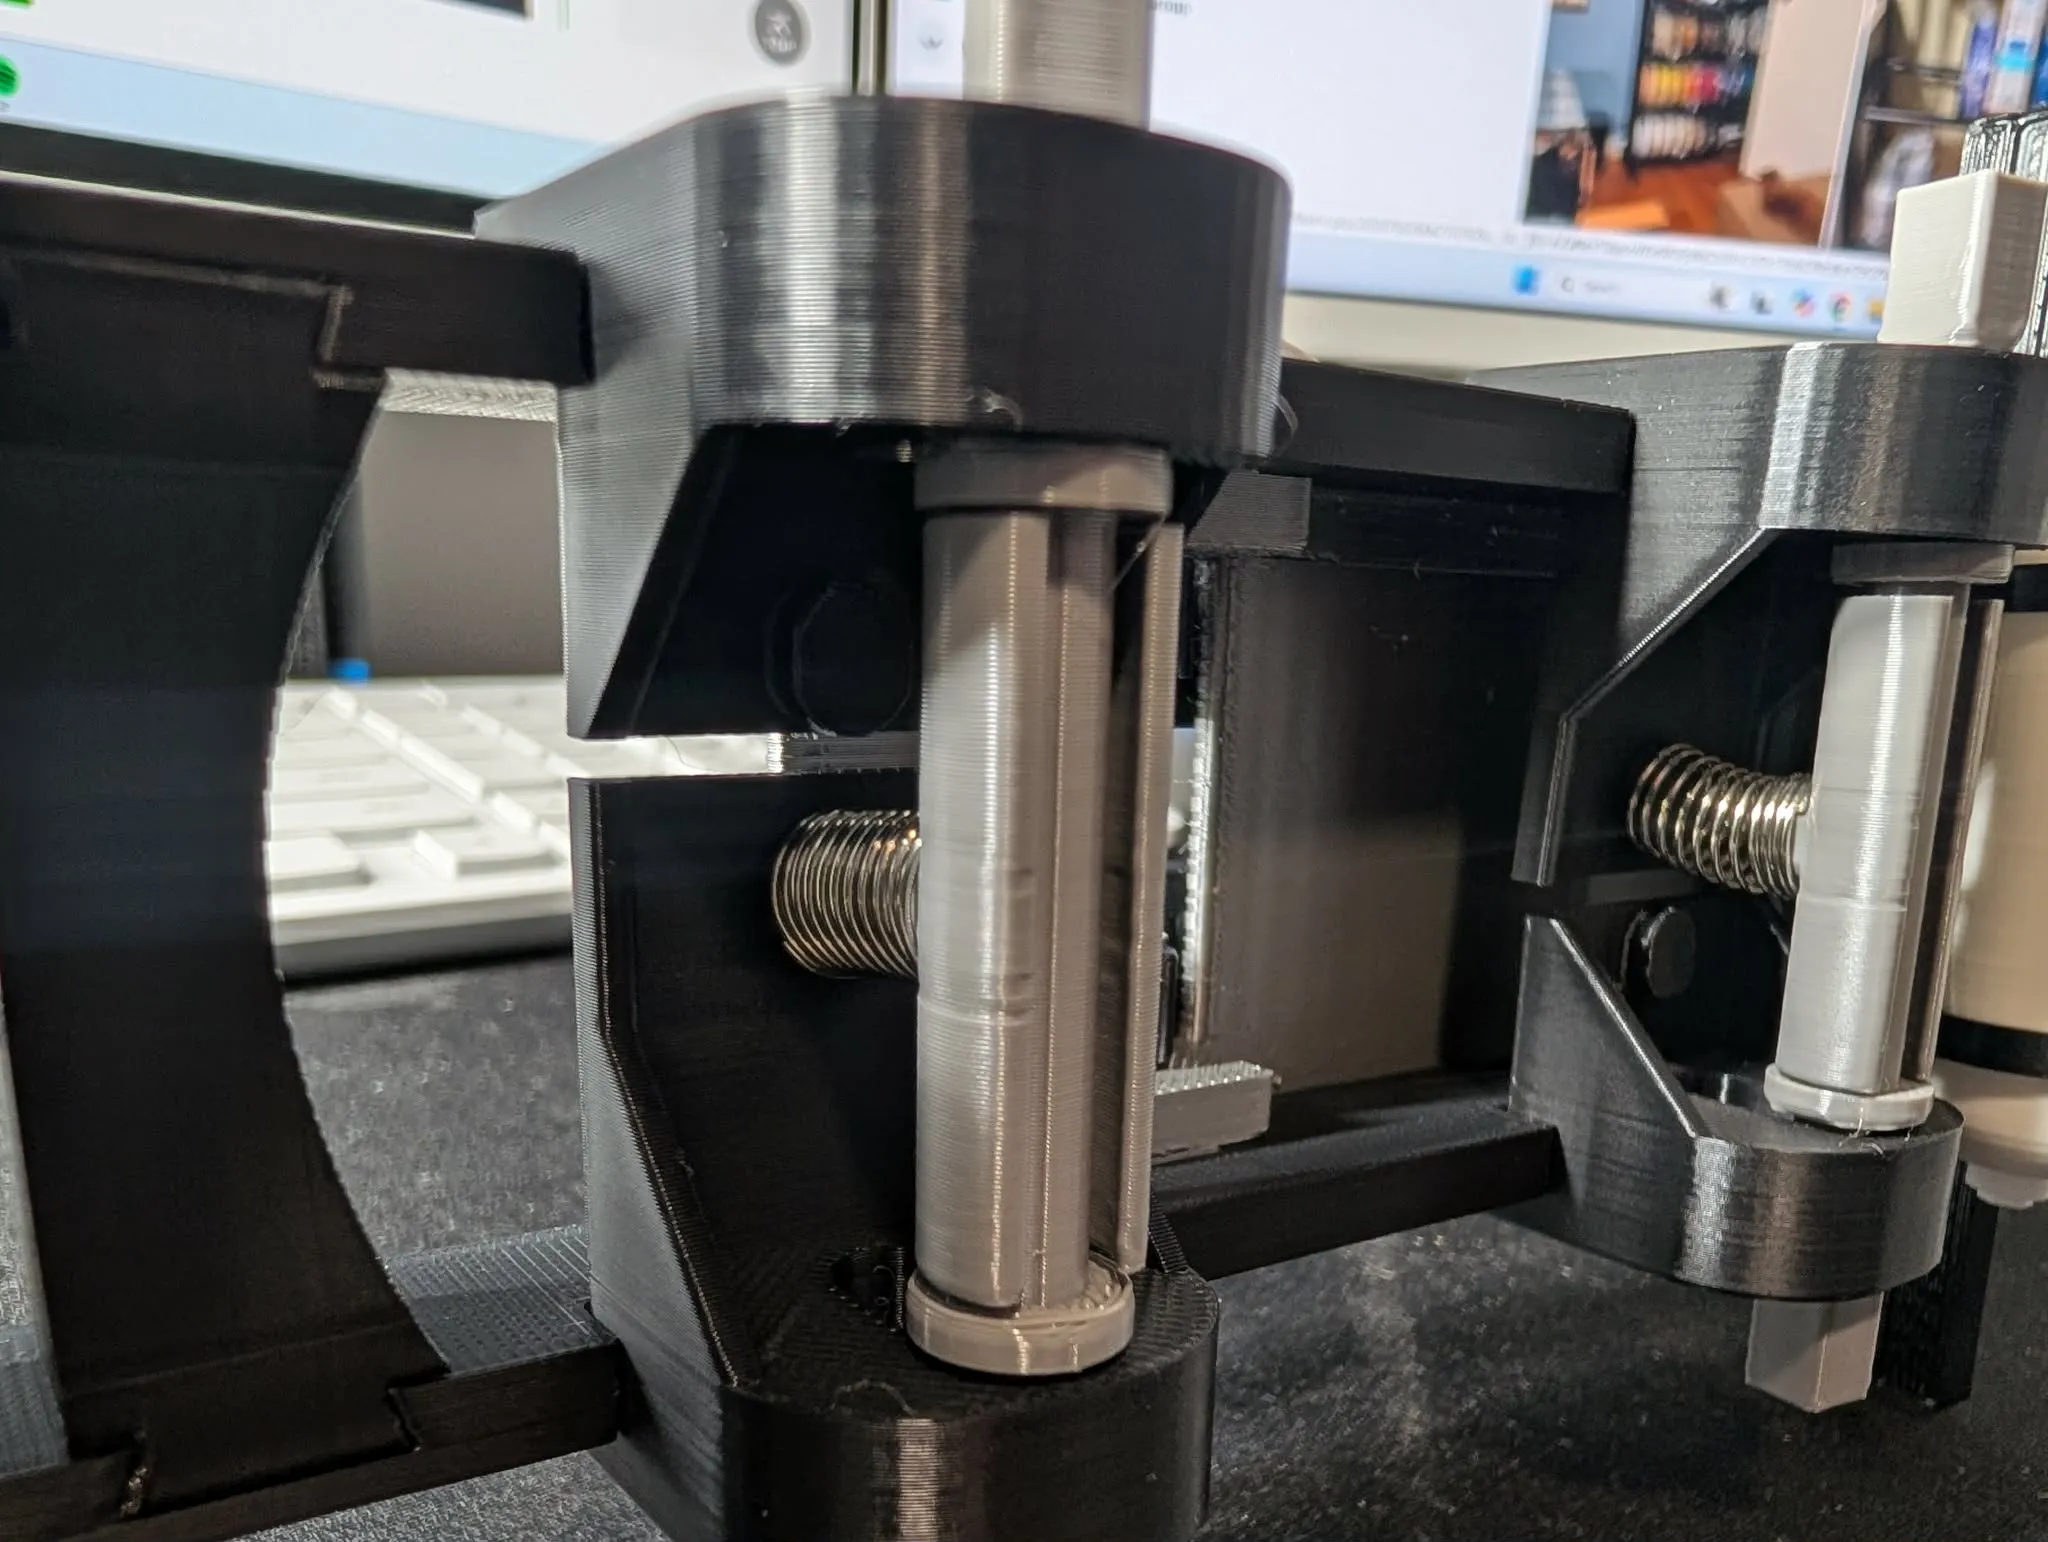
putting the cab aside and starting with the frame.option A the axle mounts positions are identified as follows: front are the 2 tallest and very most to the rear have a small chamfer to match the rear frame sides, there should be one wide and one narrow for each rear axle. insert one side front middle rear then insert the axle and opposite side. Taking the suspension clip 2 wide for rear and 2 narrow for front twist spring onto clip then snap onto axle and press spring onto tap shown in picture. option B springless after printing the spring delete kit take not of the f/r indicator on part and push in above axle to set the high of truck with needing the spring (see spring profile spring delete for images)
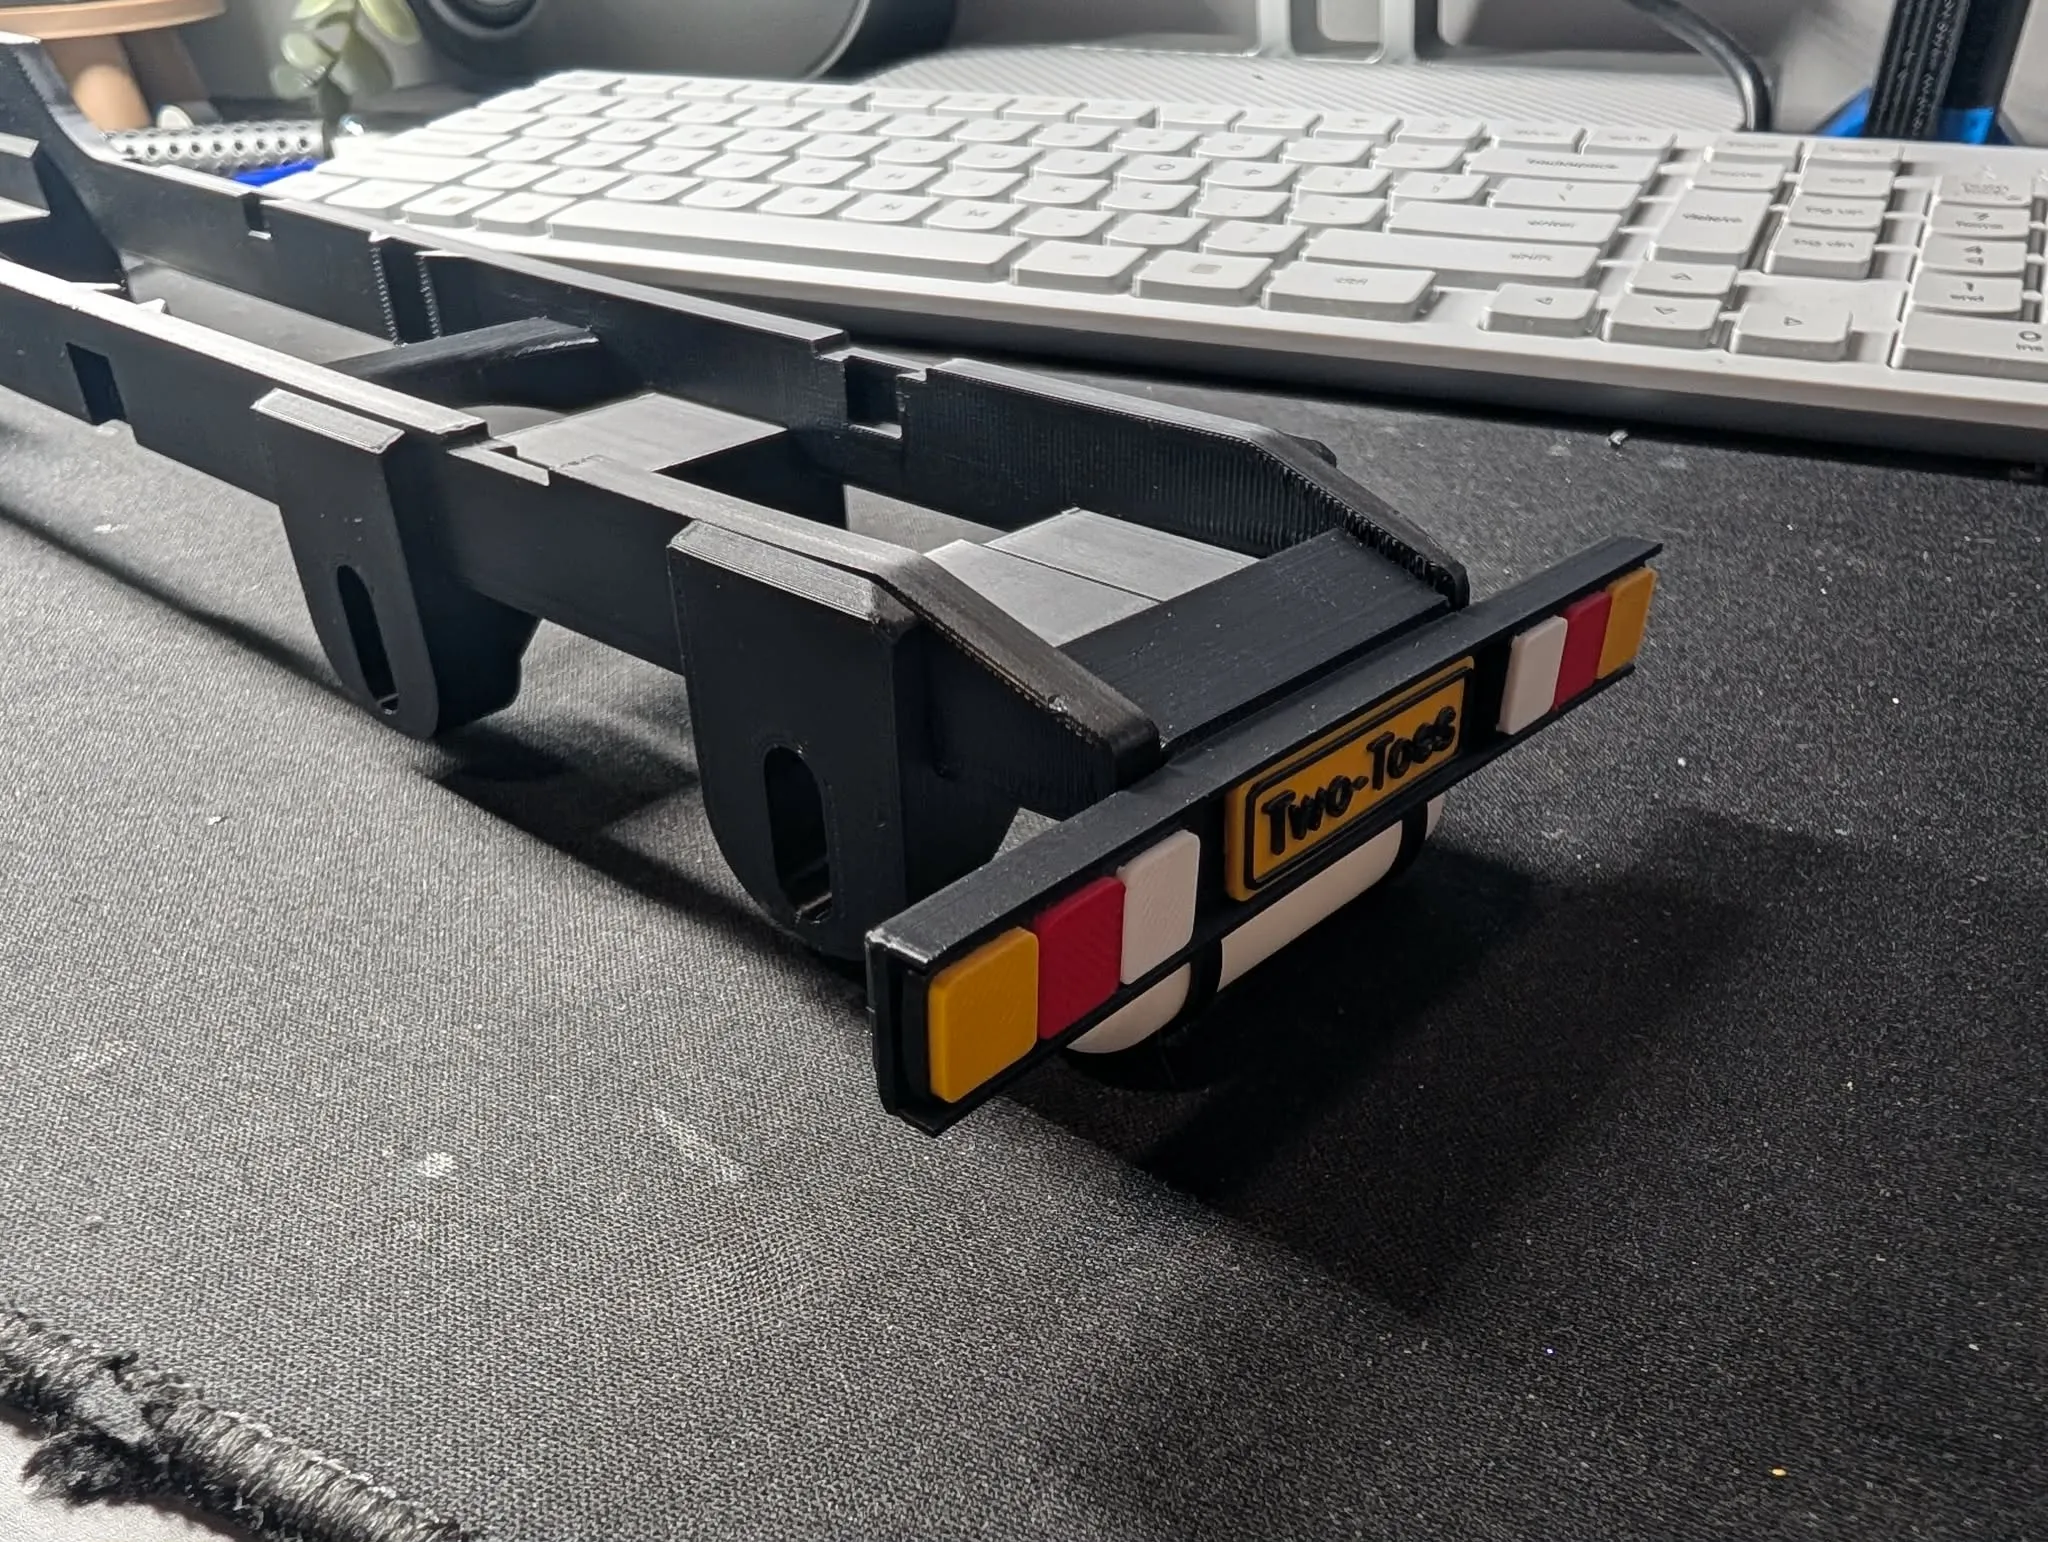
after mount tail lights and licence plate turn over and assemble the air tank and insert into the mounts ensuring dovetails are facing the correct way and the tank will be offset away from axles
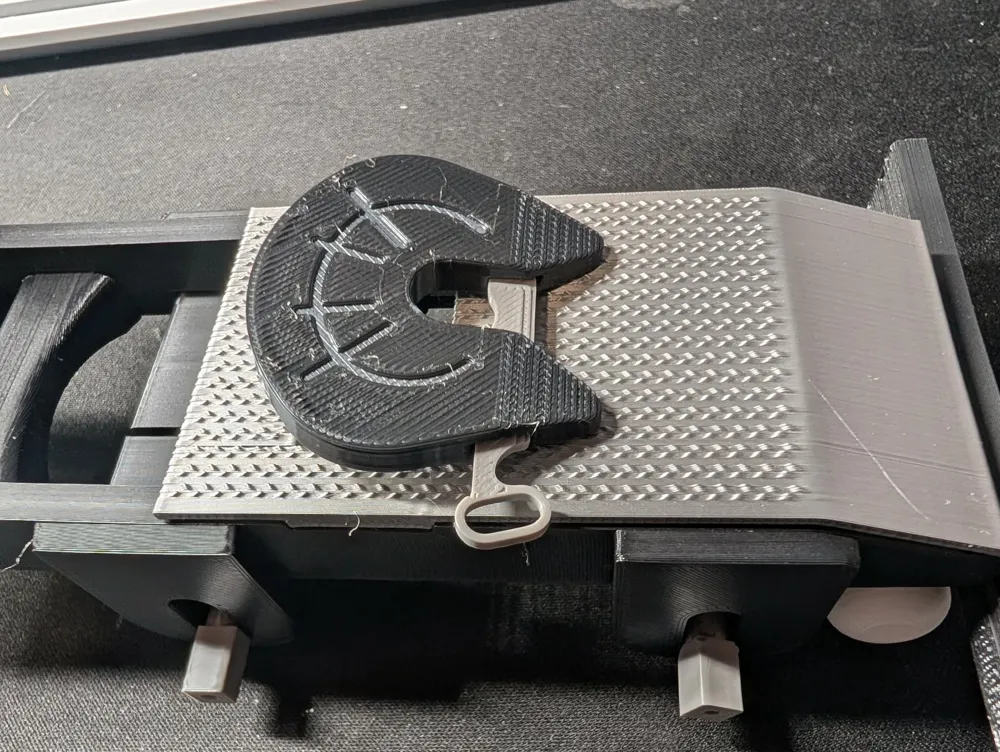
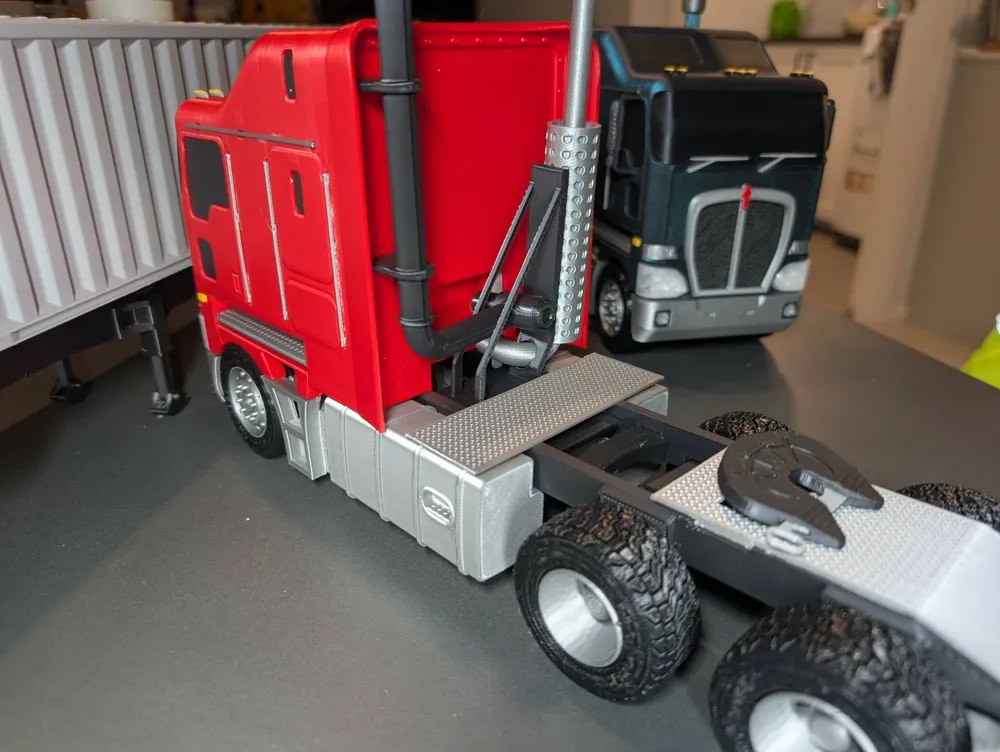
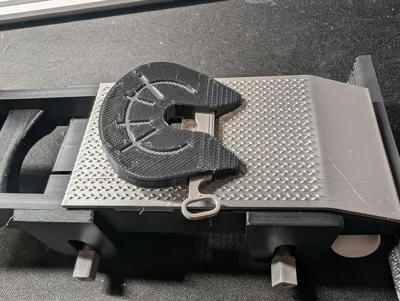
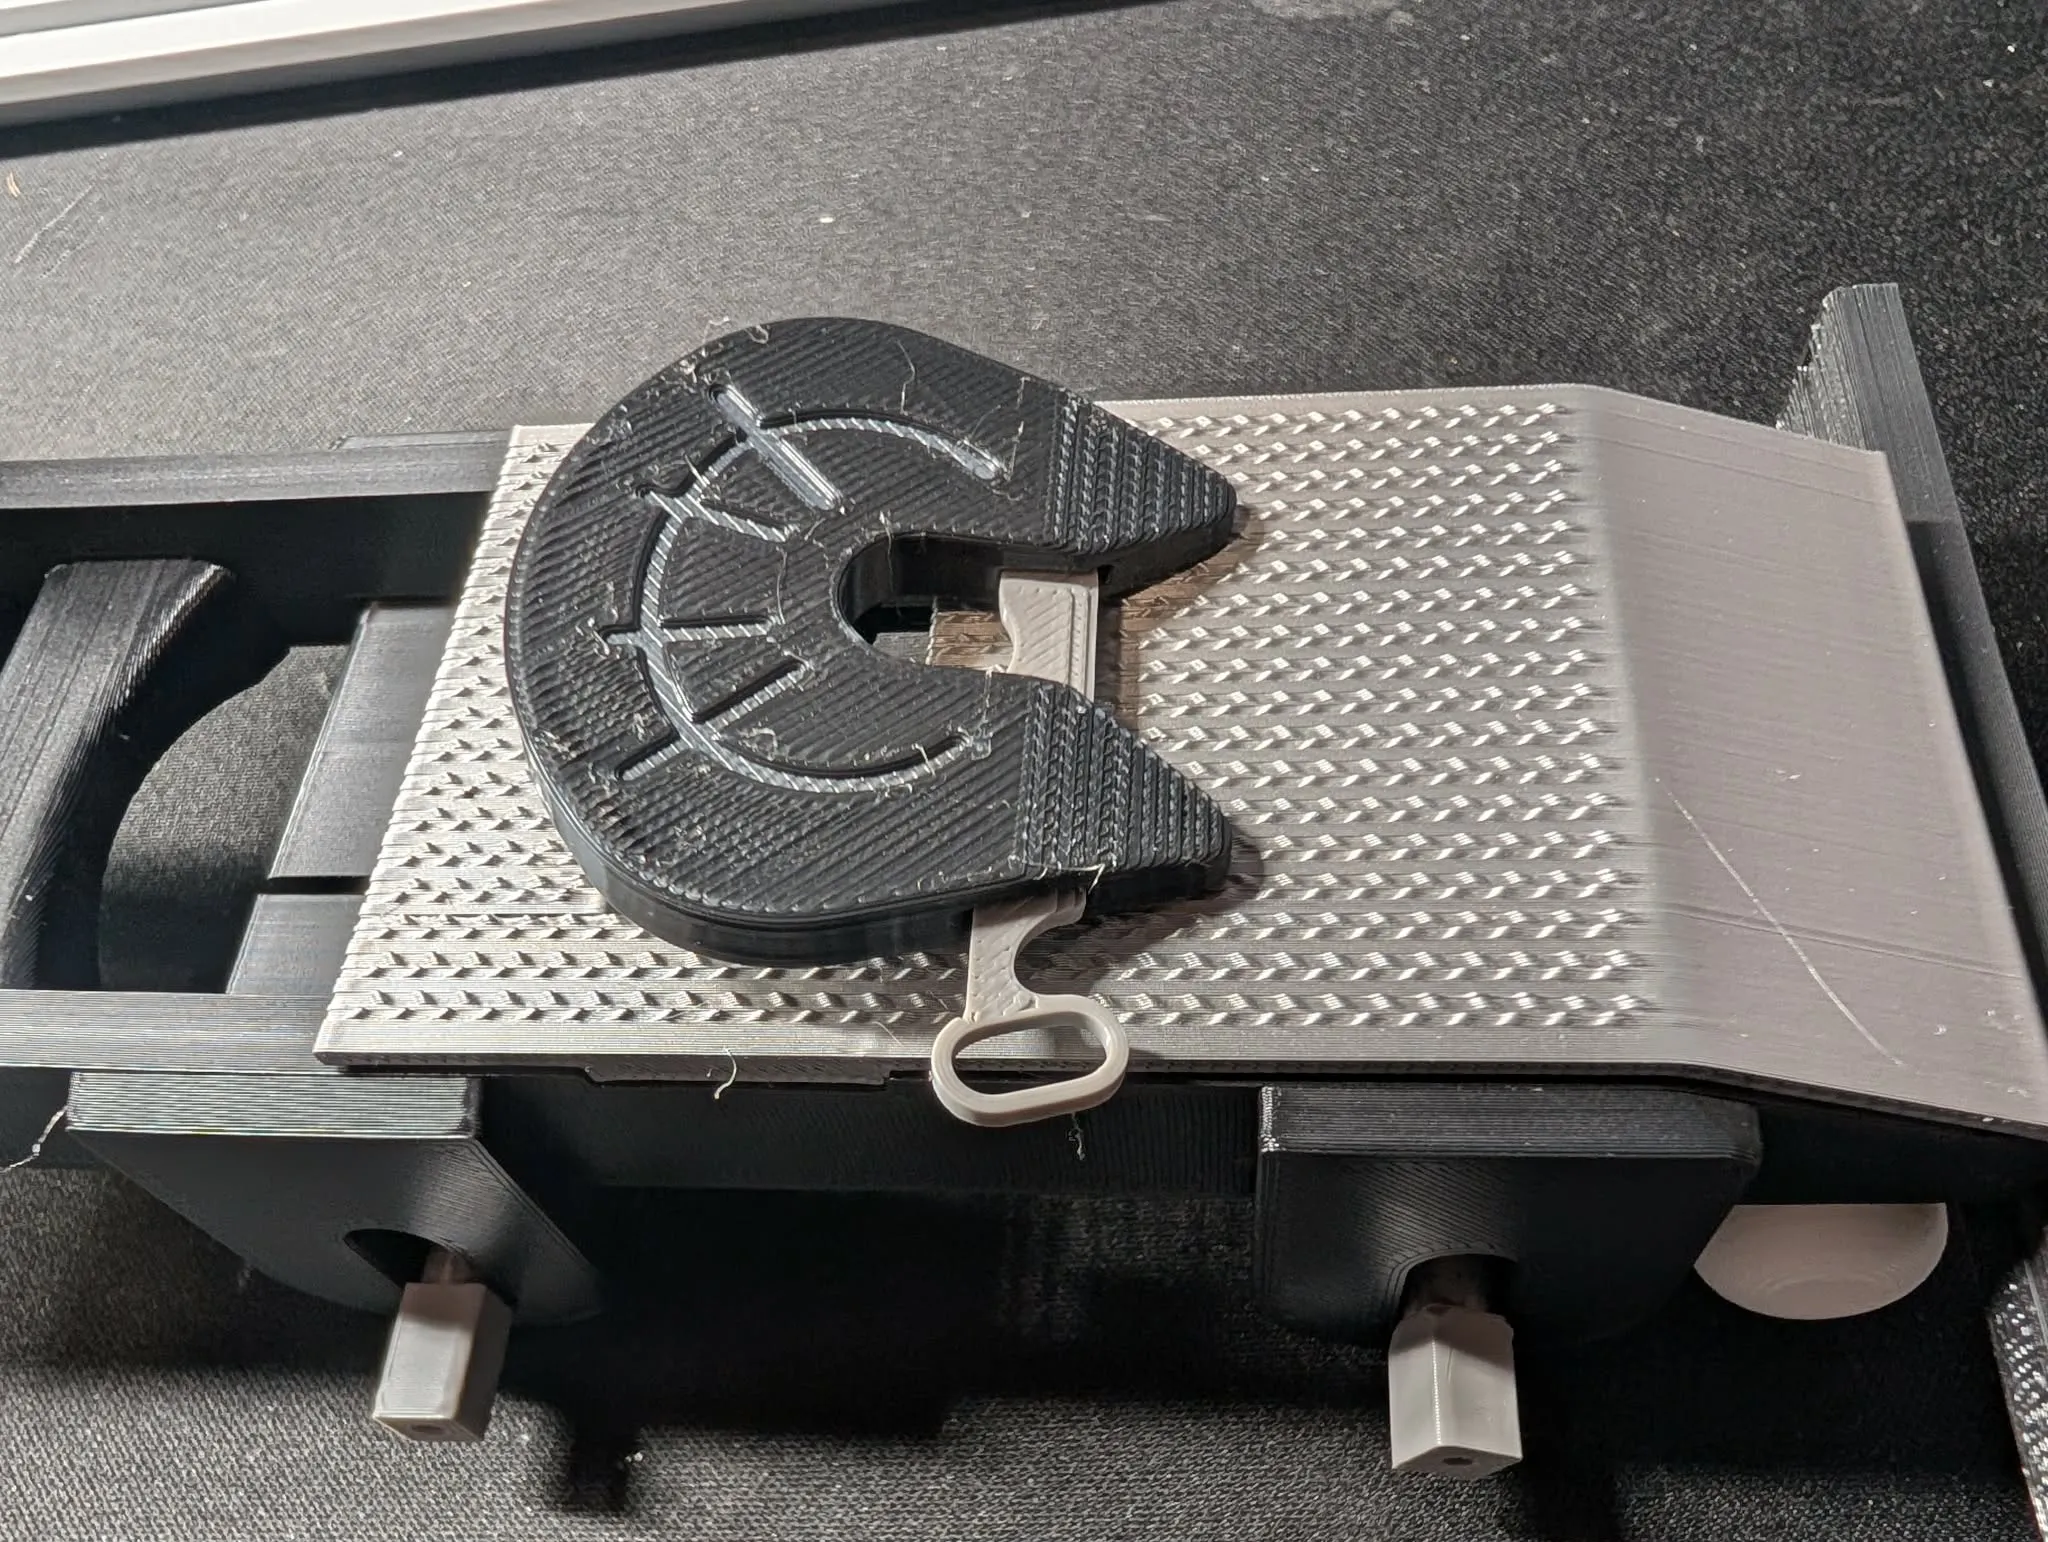
moving onto the 5th wheel assemble as should the locking pin has a indent that must face upwards may be snug fit at first depending on print quality. dont use supports when printing the 5th wheel plate.
push foot plate onto frame and clip on 5th wheel assembly as shown in picture.
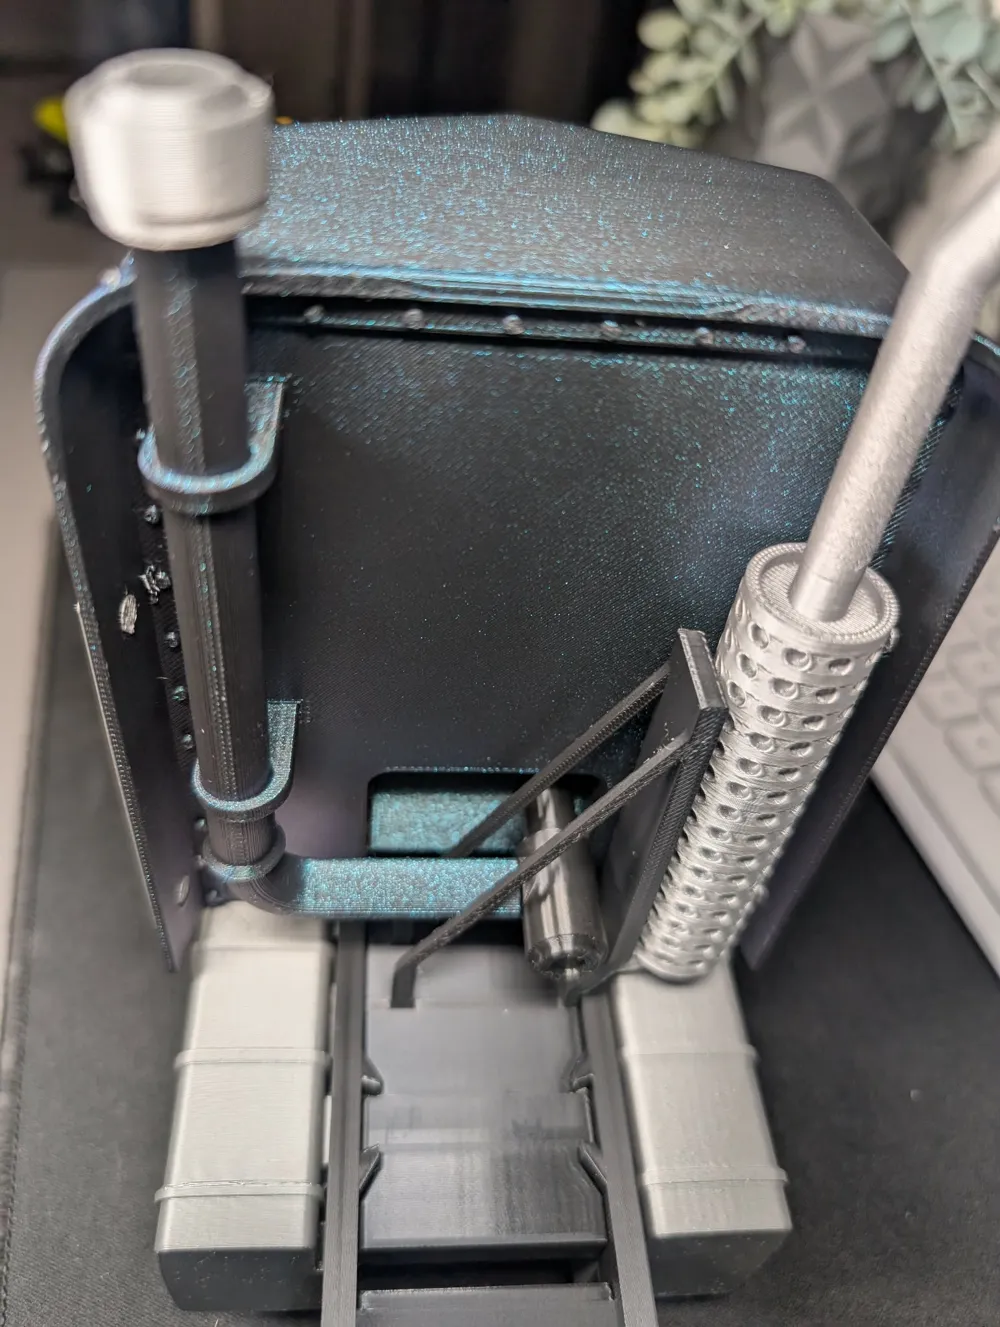
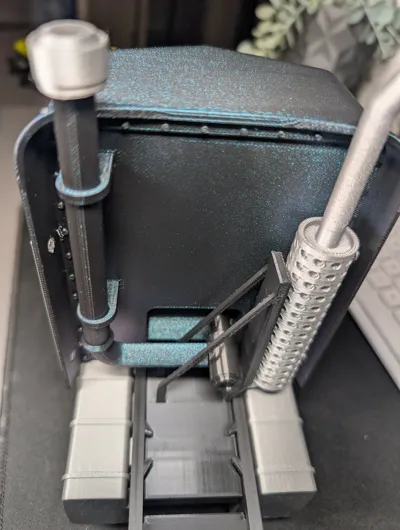
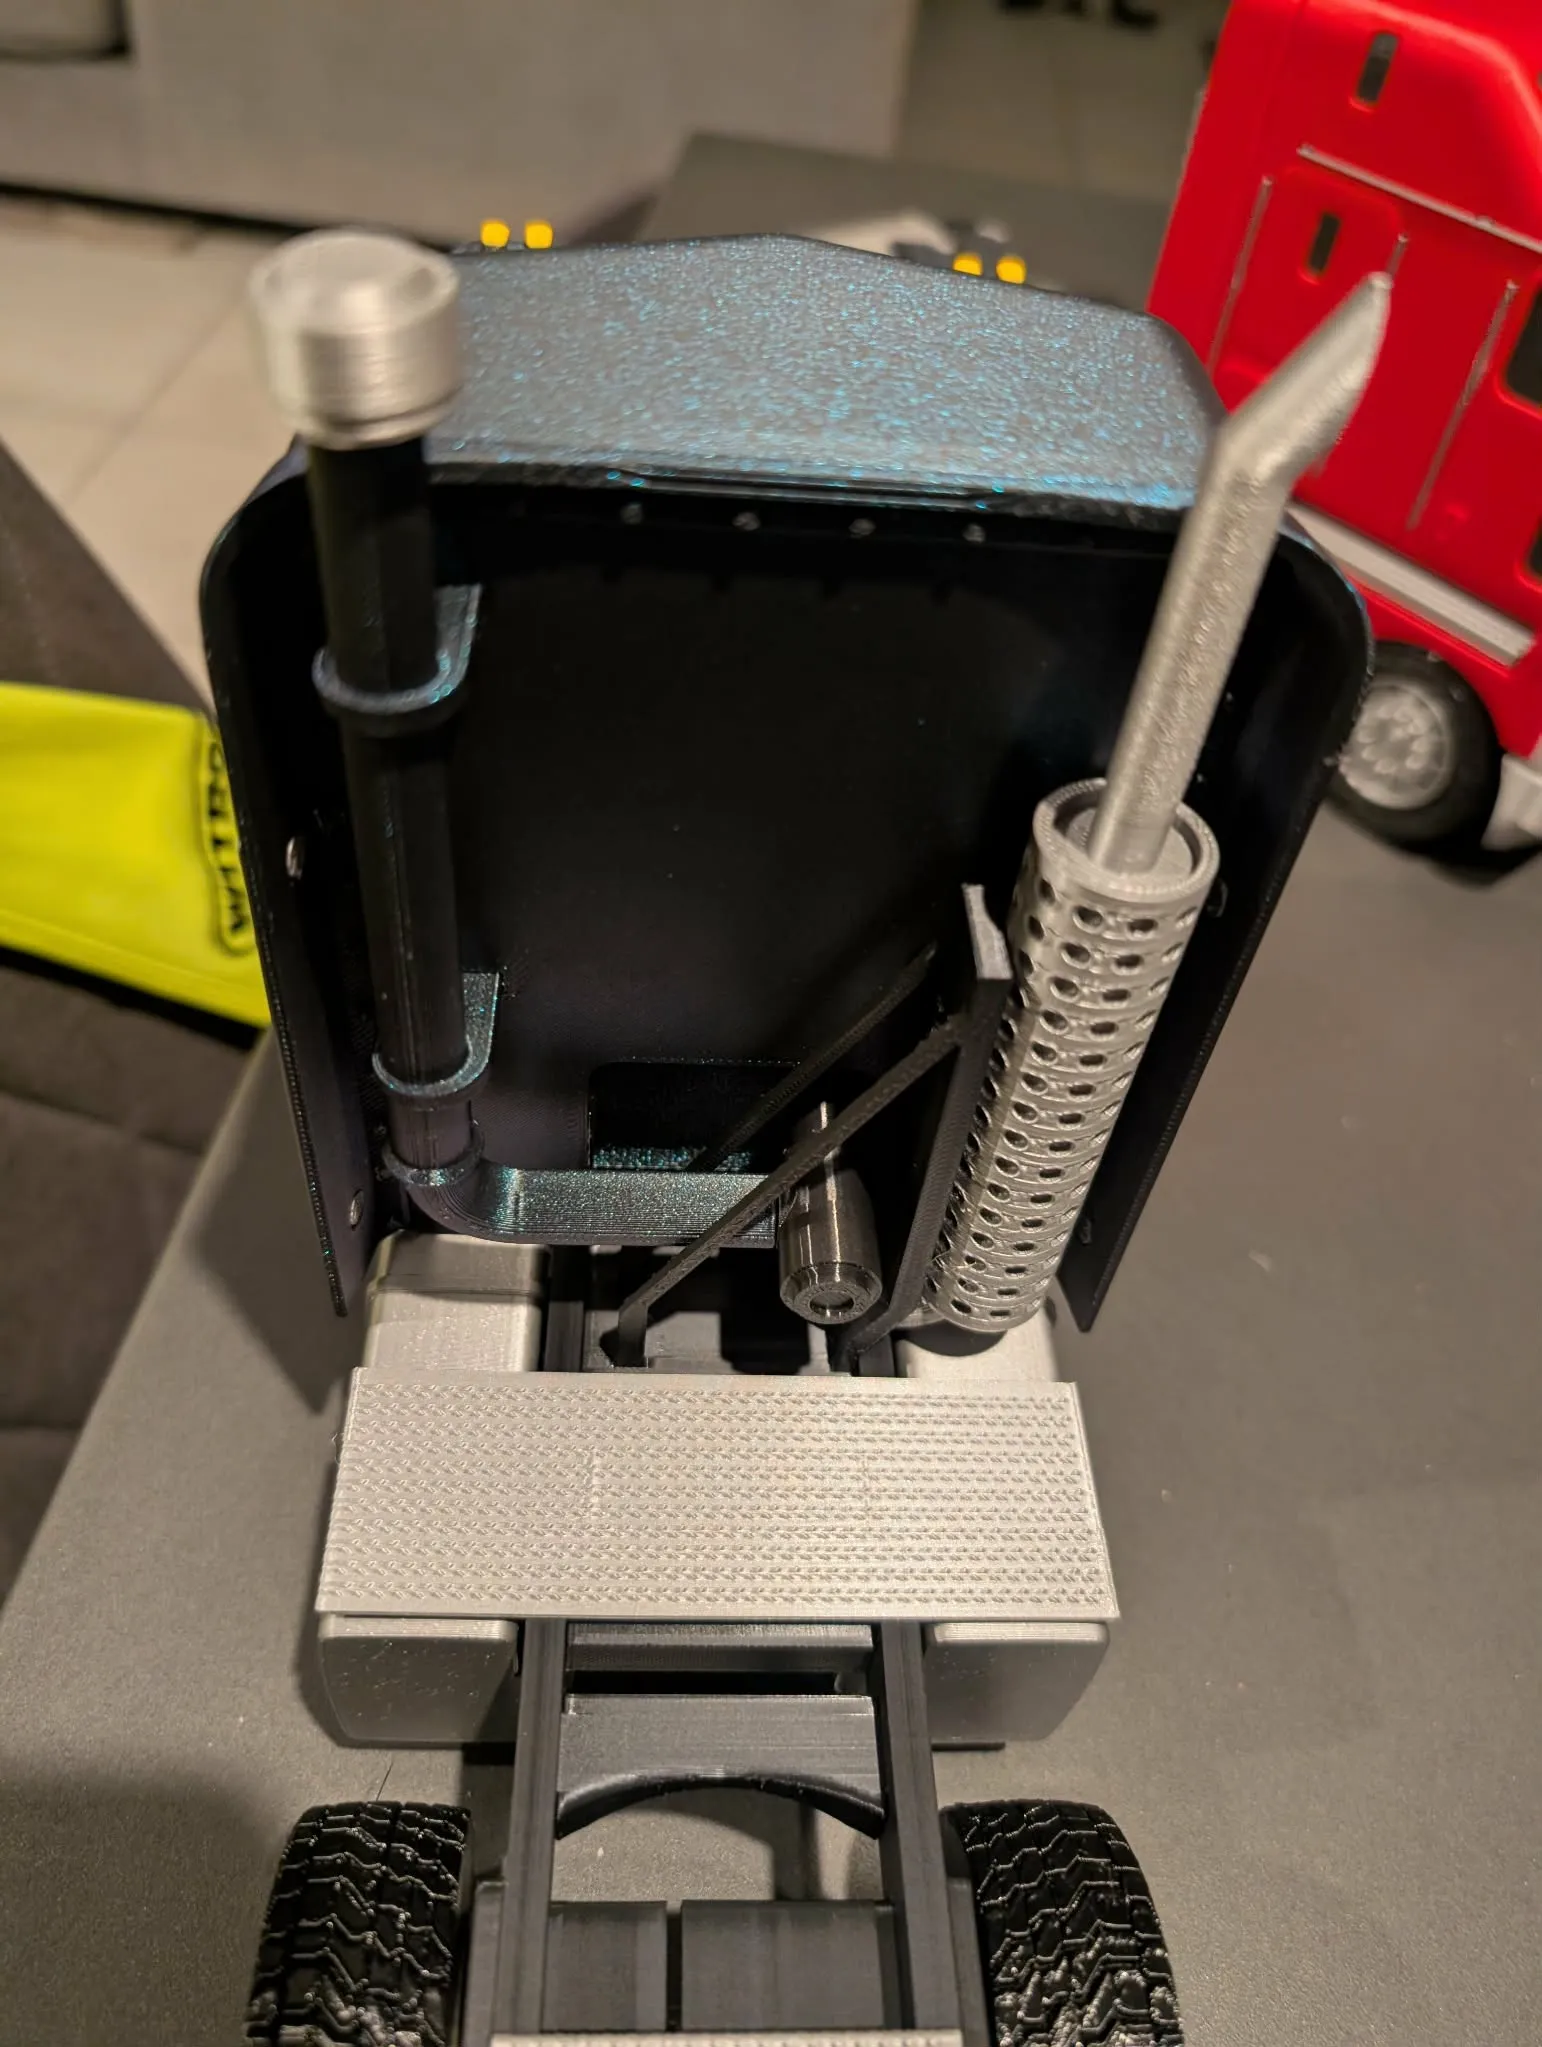
taking the exhaust support, pipe section and muffler press muffler onto support pins the glue in the short end of the exhaust pipe as shown in image.
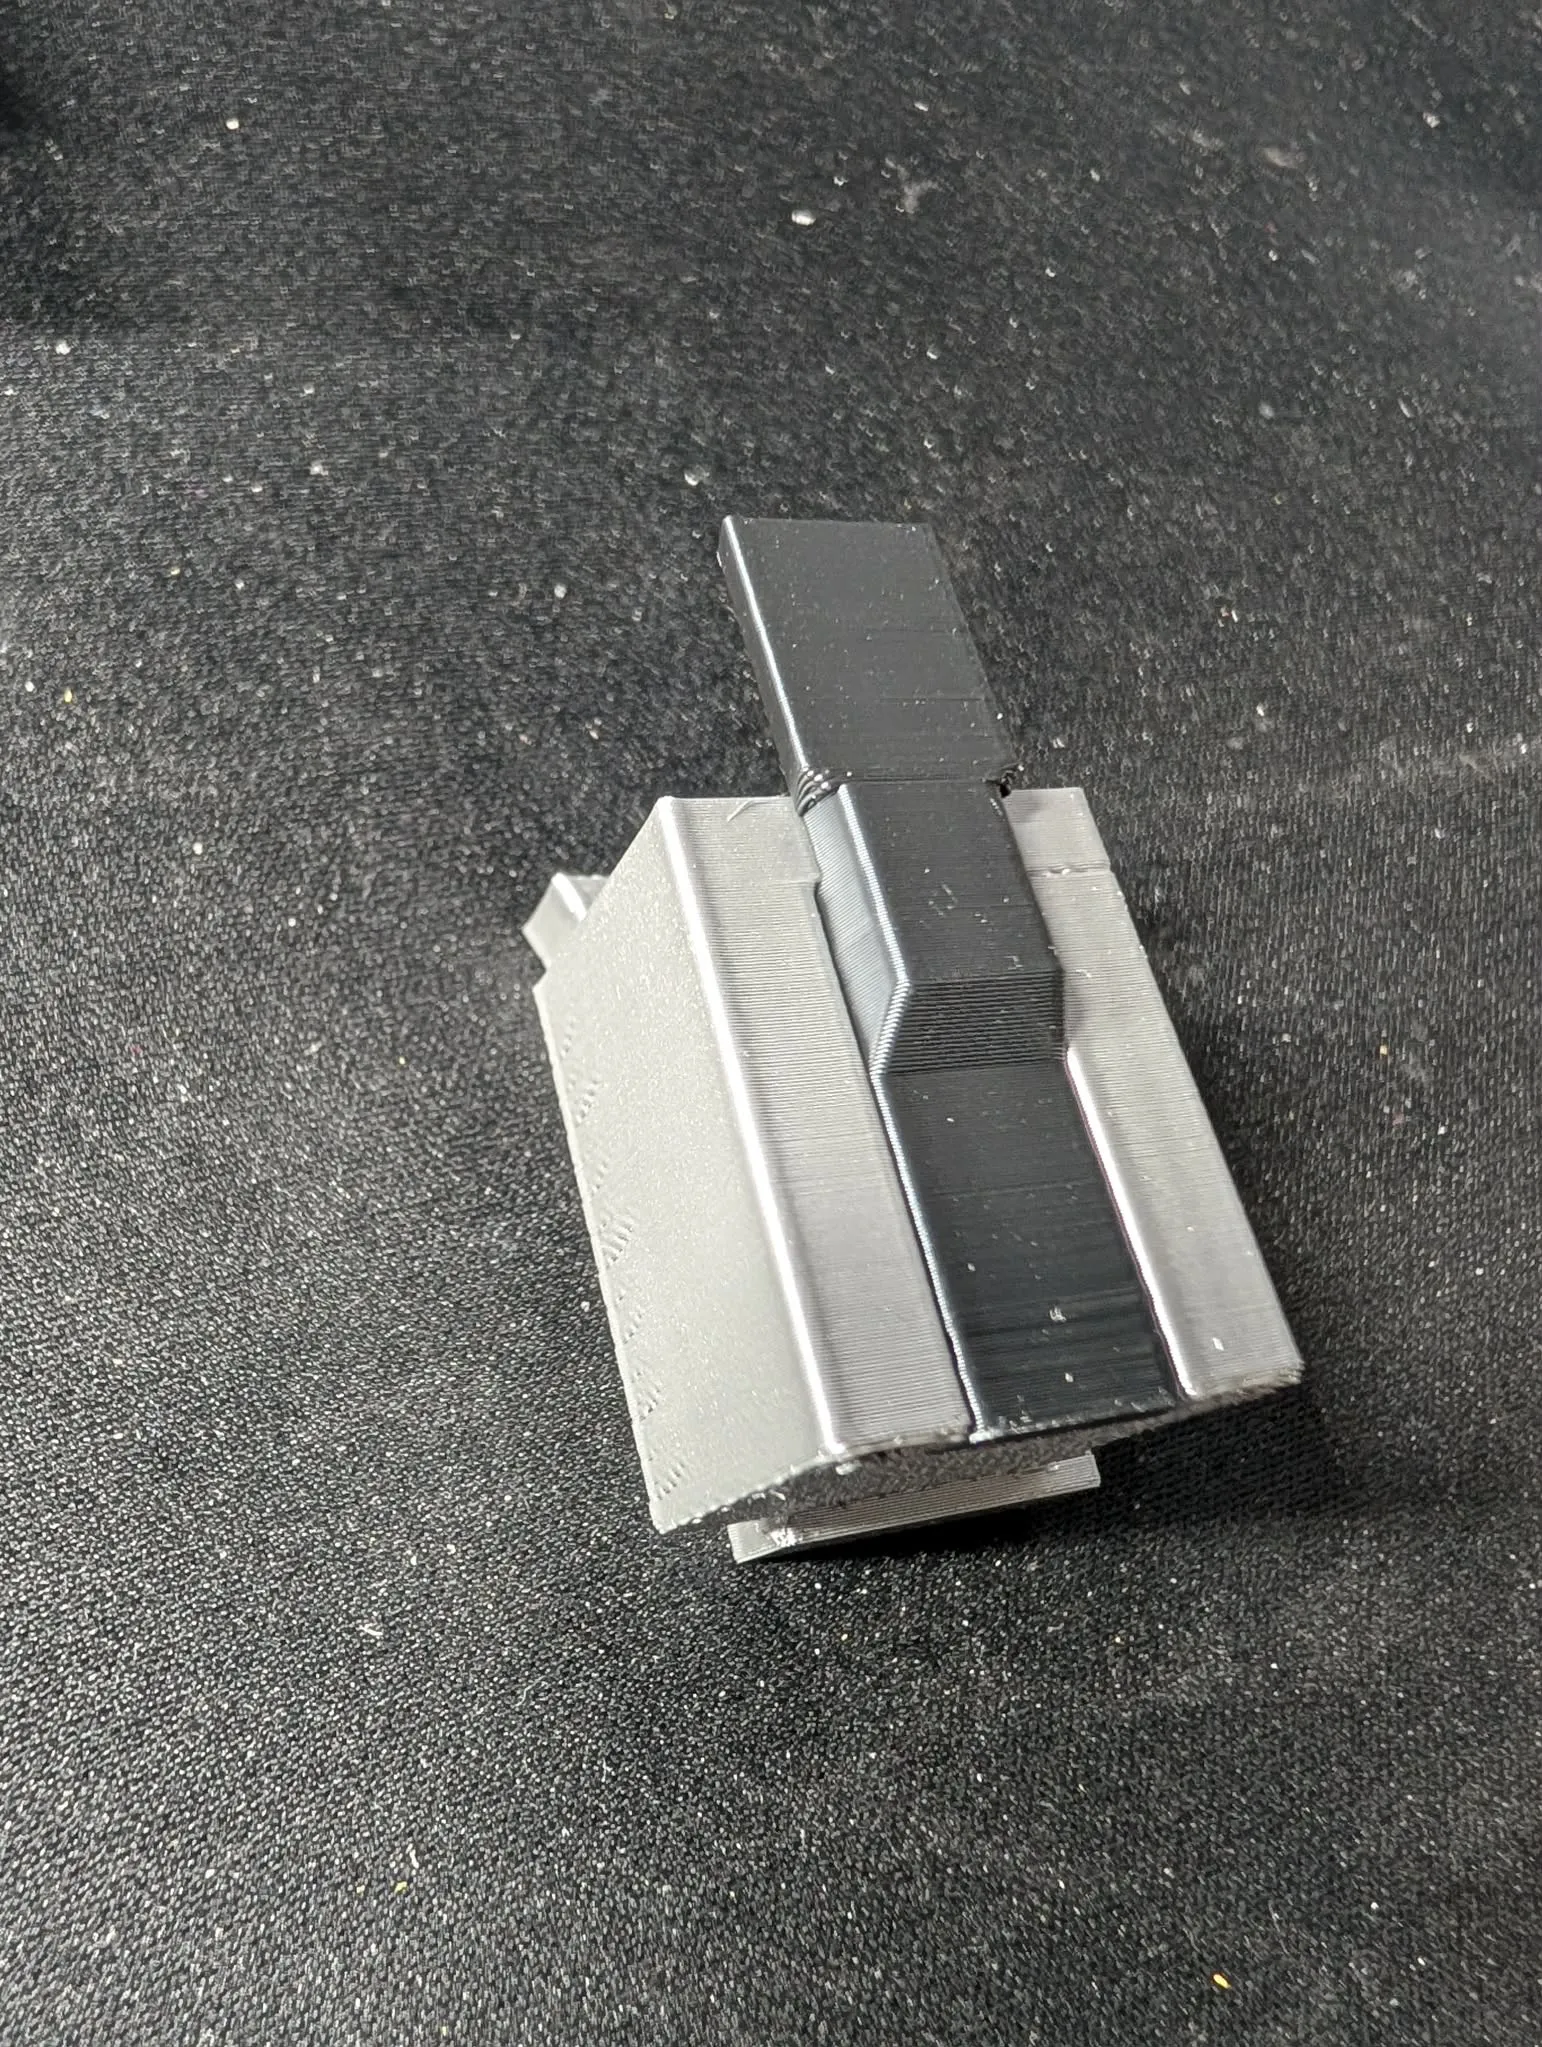
moving onto the side steps the black dovetail picture is inserted front the bottom then slid upwards until fully home X2.
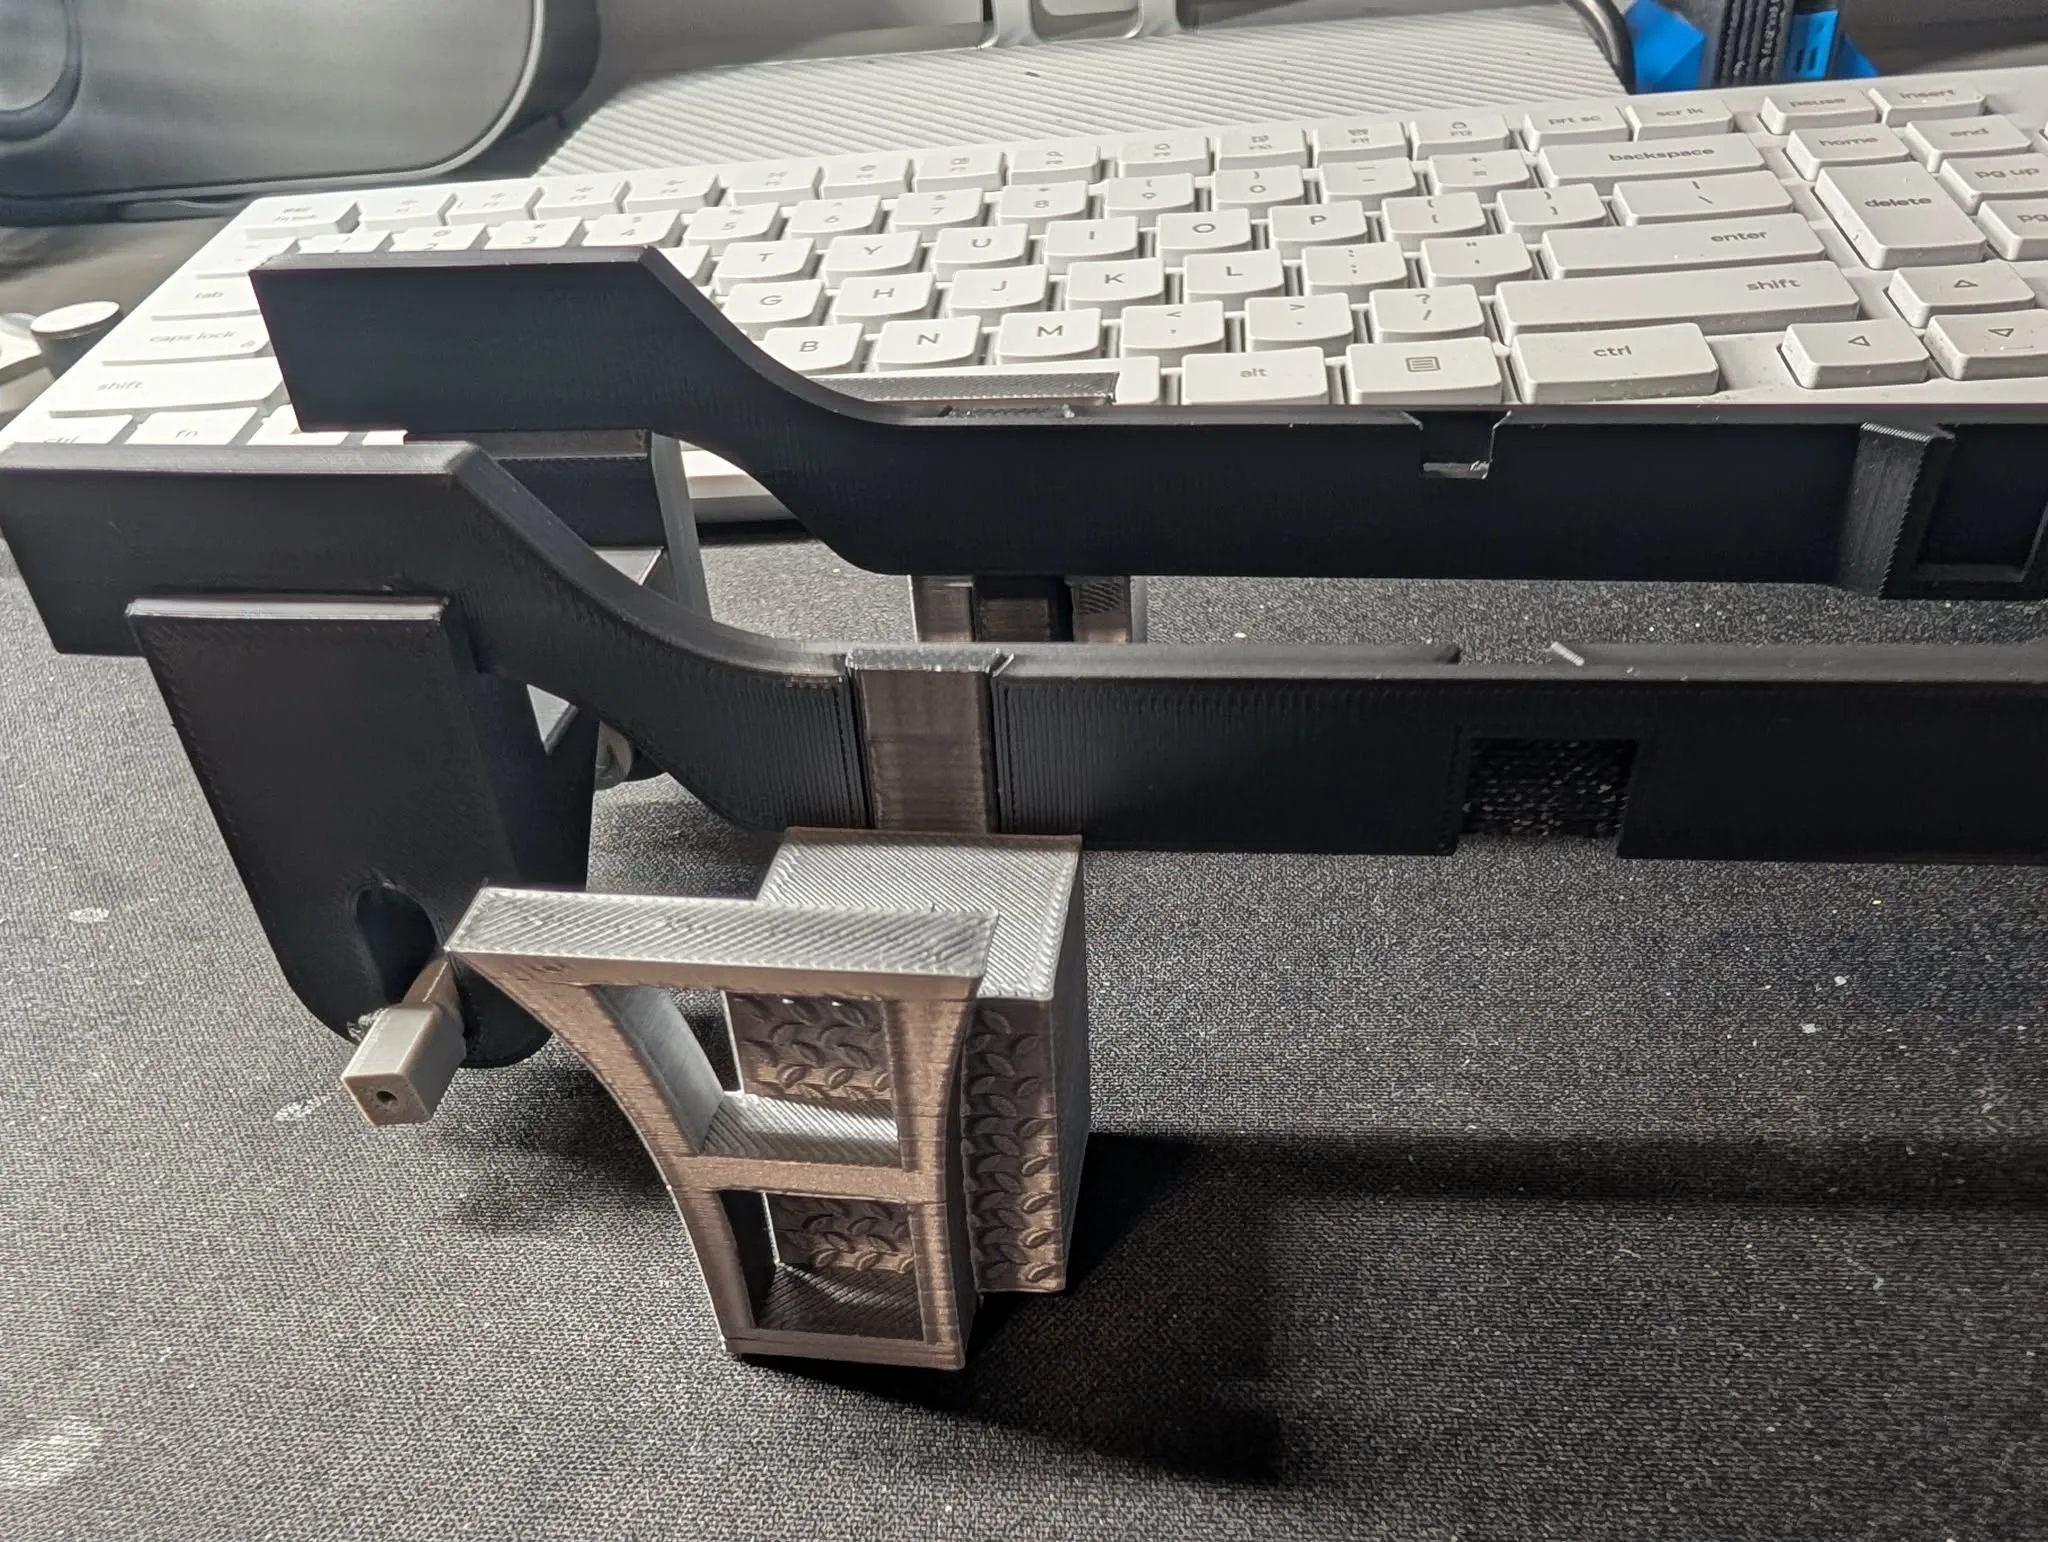
mount them as shown in the image into the slot behind front axle mount.
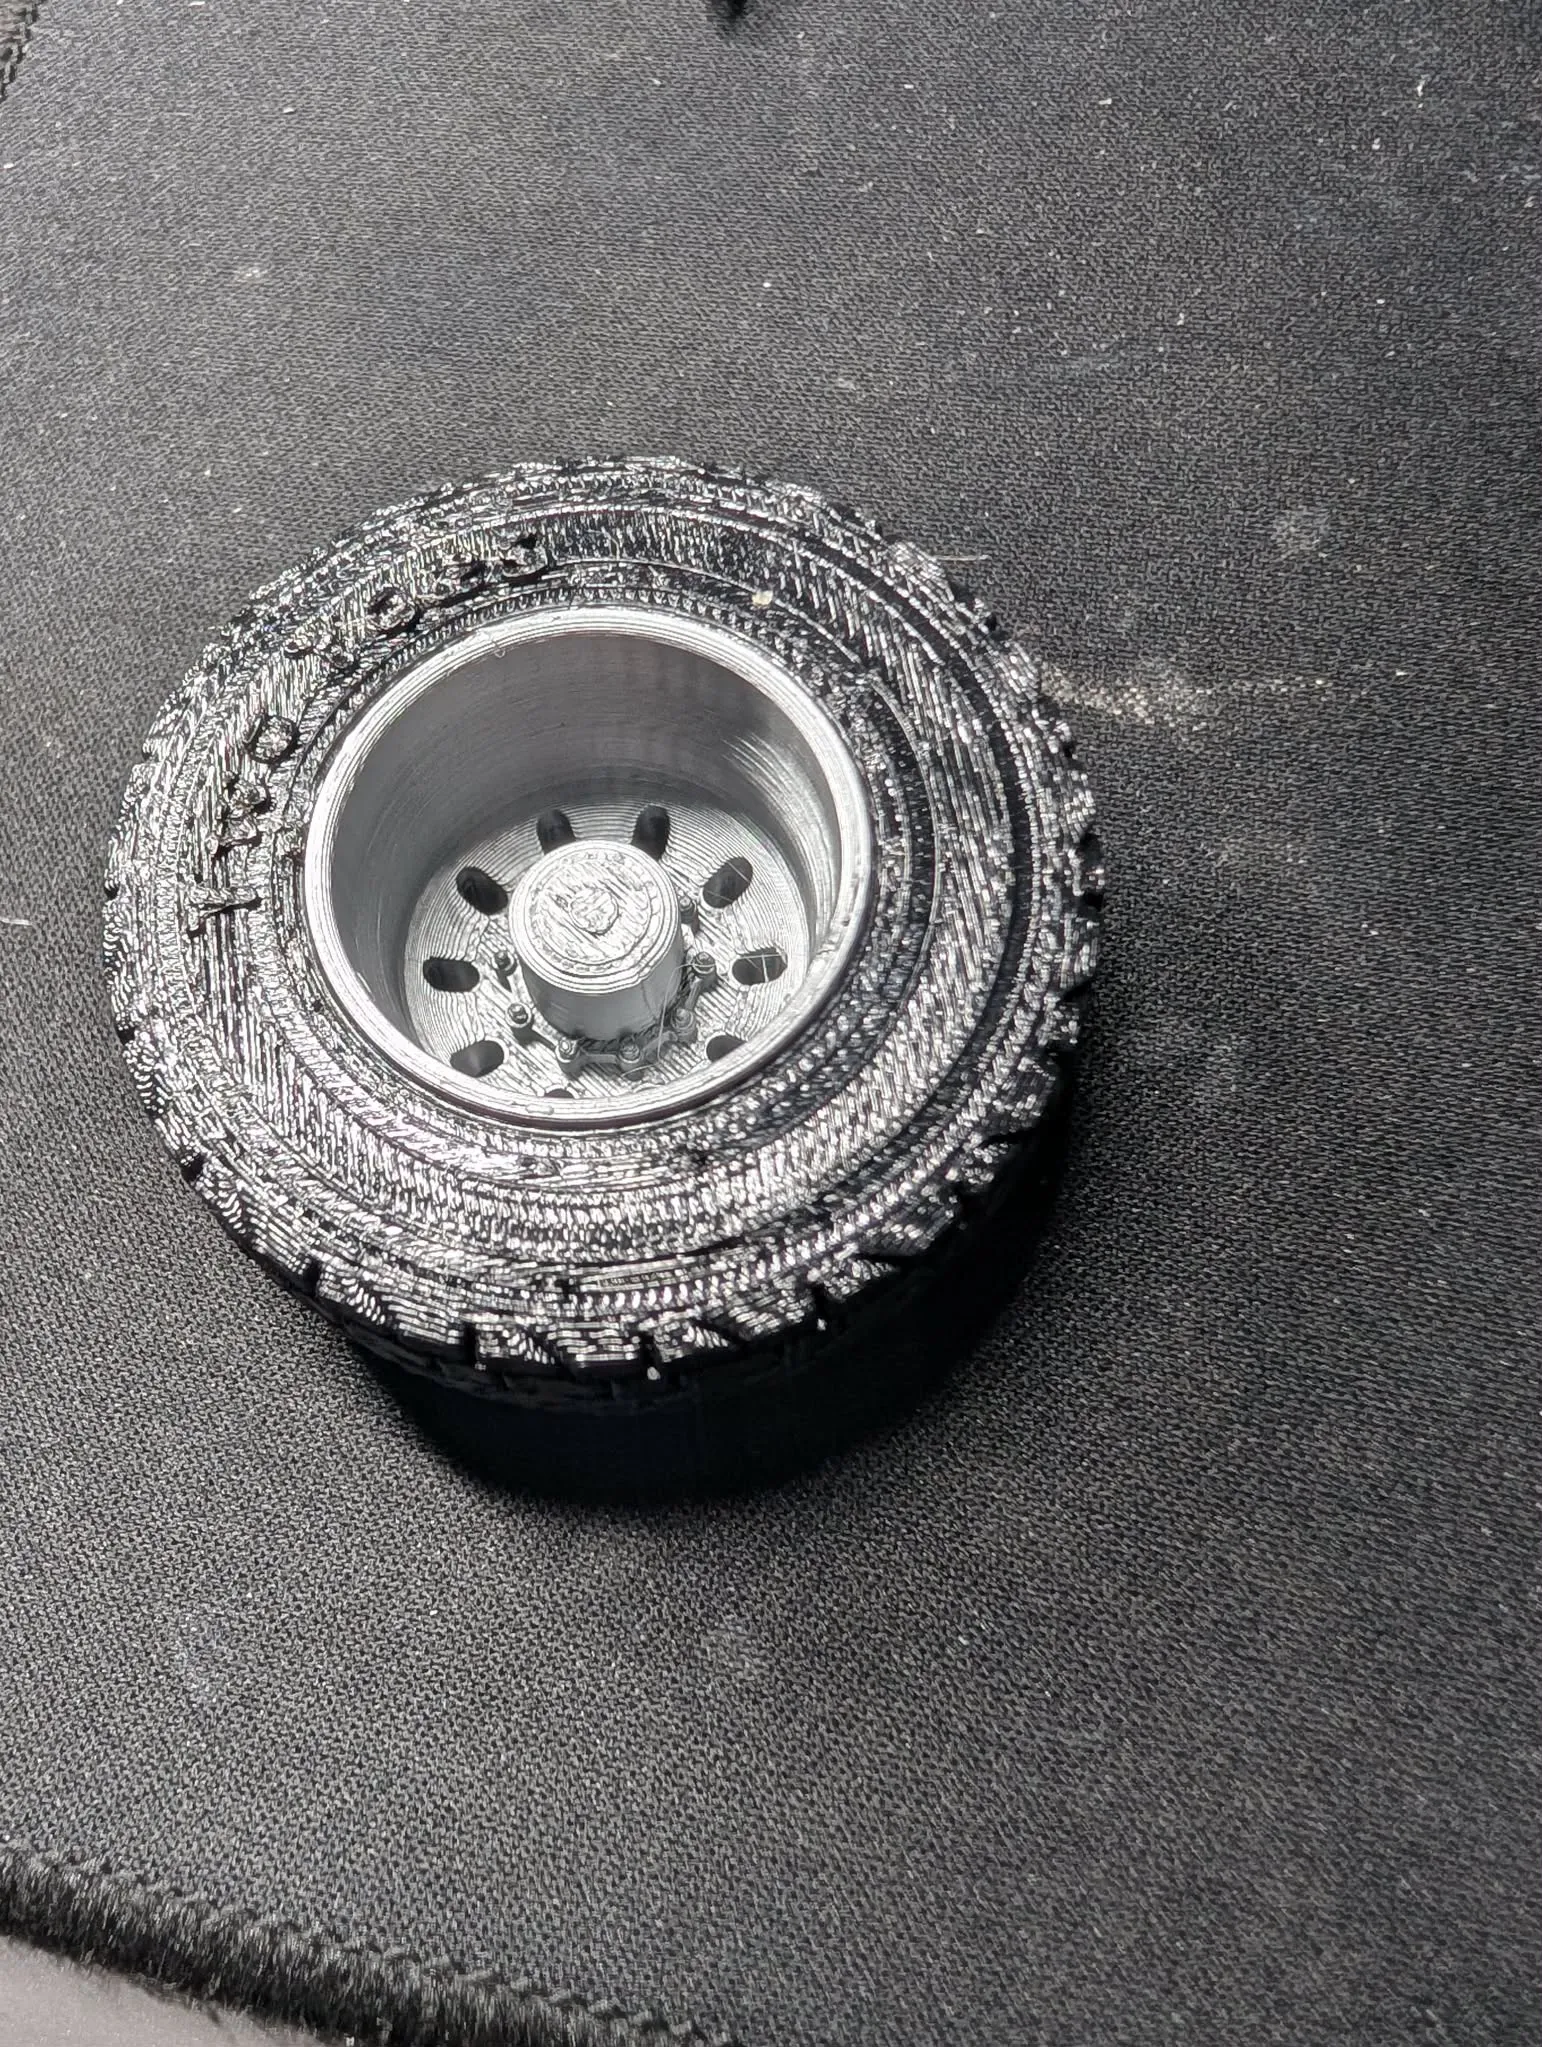
to assemble the wheels, push the rim in from the rear of the tyre (flat side) starting at an angle and working it in, ensureing the front 2 rims go to the front to smooth tyres then press the assemble wheels onto axles.
to mount the cab onto the frame insert the front 2 ends into the 2 slots under cab and gently work all the way forwards while lowering the cab on the frame while alligning the 2 dovetail pins inserted into the rear of cab (earlier) into the aligning slot on frame until fully seated.
To assemble the air intake insert the black air box into the rear of cab ensure the connecting hole is facing to the side then insert pipe throught exhaust support and press into air box and slots in rear of cab and placing air cleaner hat on top see image, press in the foot plate to cover exhaust mount and assemble and insert the side mirrors if the holes need adjusting use a 2.5mm drill bit.
images make up some of the instruction so please look
License

You shall not share, sub-license, sell, rent, host, transfer, or distribute in any way the digital or 3D printed versions of this object, nor any other derivative work of this object in its digital or physical format (including - but not limited to - remixes of this object, and hosting on other digital platforms). The objects may not be used without permission in any way whatsoever in which you charge money, or collect fees.


Comment & Rating (46)