
Hand Dynamo Flashlight – 3D Printed
Print Profile(1)
Description
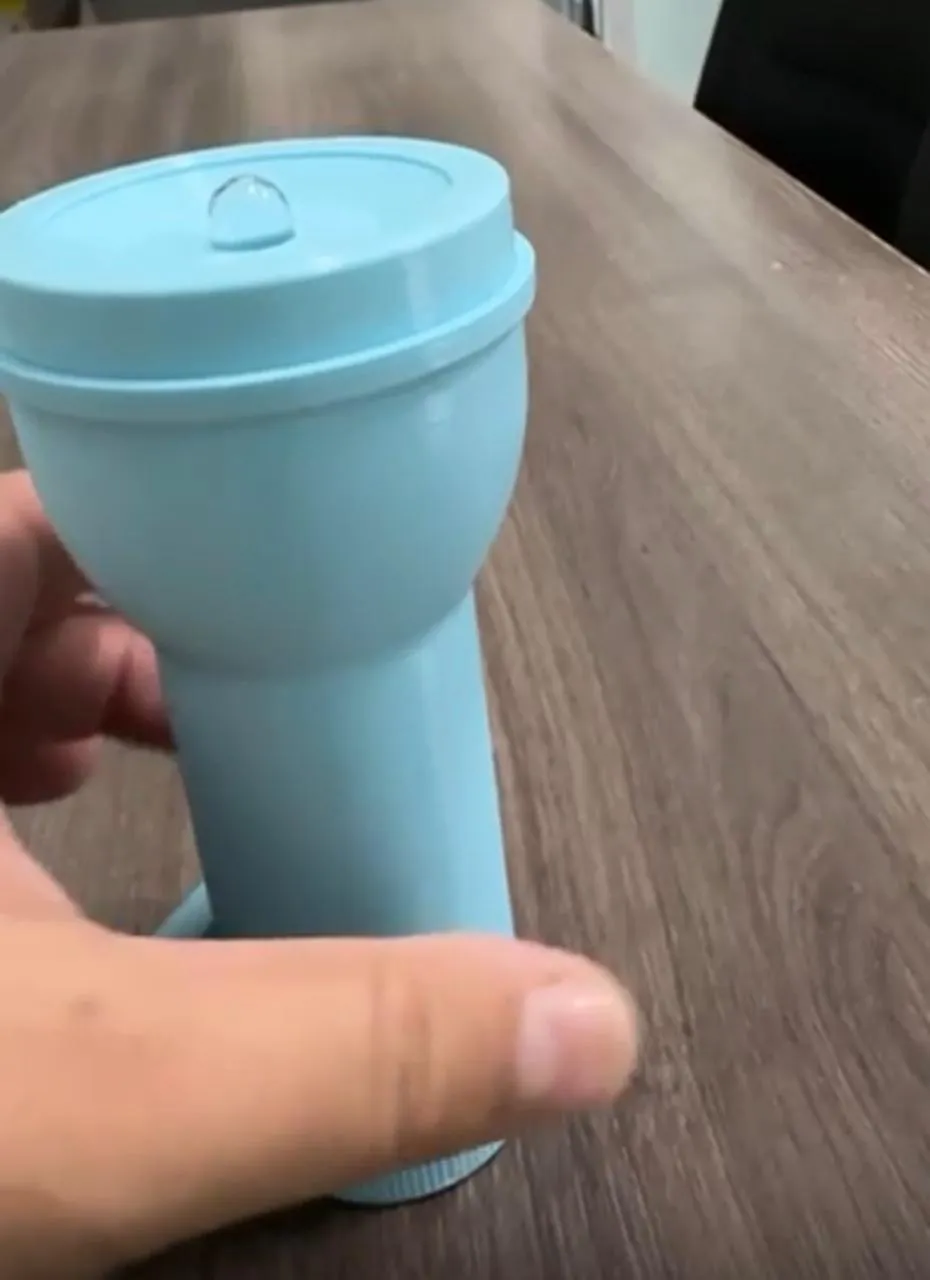
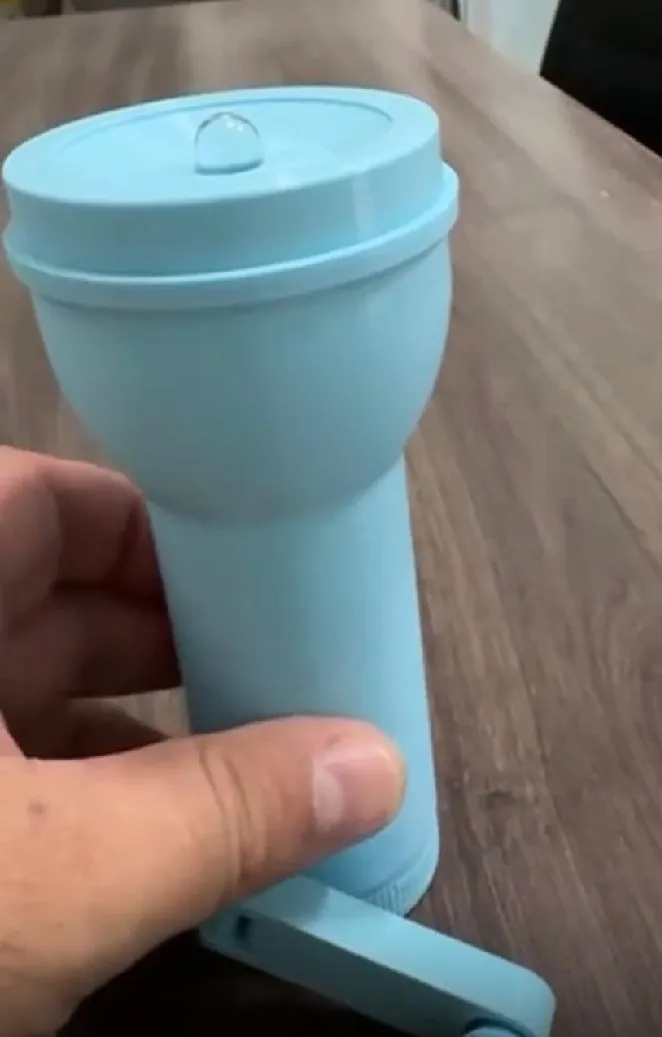
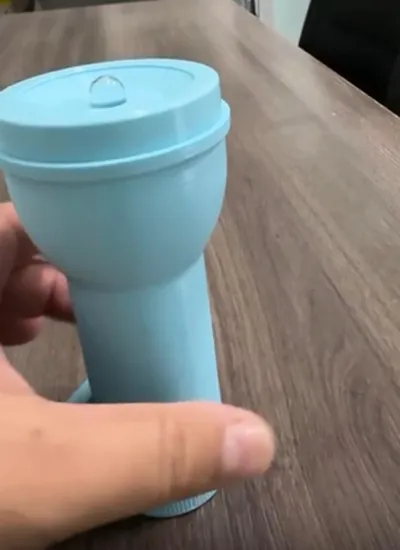
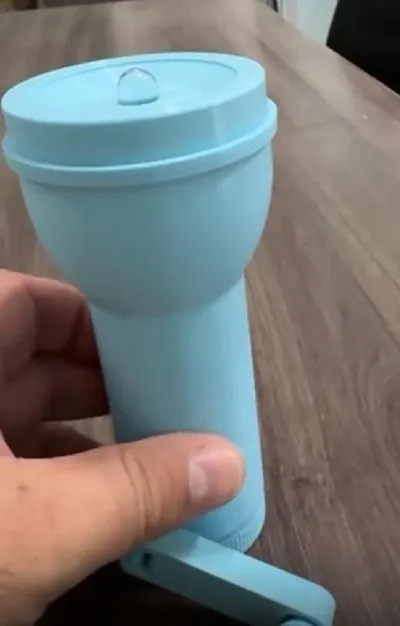
🔦 Hand Dynamo Flashlight – 3D Printed
A simple, functional, and educational hand flashlight, ideal for maker projects, educational robotics, and teaching basic concepts of energy, electronics, and mechanics.


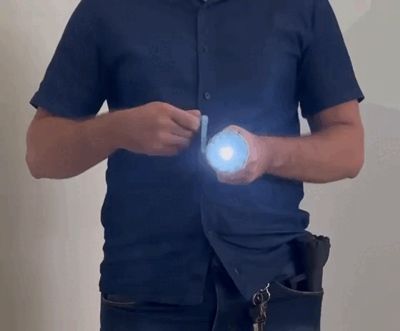
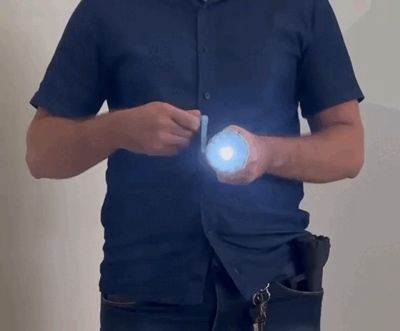
It is operated by a crank, where a DC motor acts as a generator, directly powering a white LED.
An easy-to-assemble, low-cost project, excellent for practical demonstrations and educational activities.
🧩 Project Features
Body entirely 3D Printed
No batteries required
Manual power generation (dynamo)
Ideal for:
Maker education
Educational robotics
STEAM workshops
School projects
🖨️ 3D Printed Parts
Print in PLA or PETG:
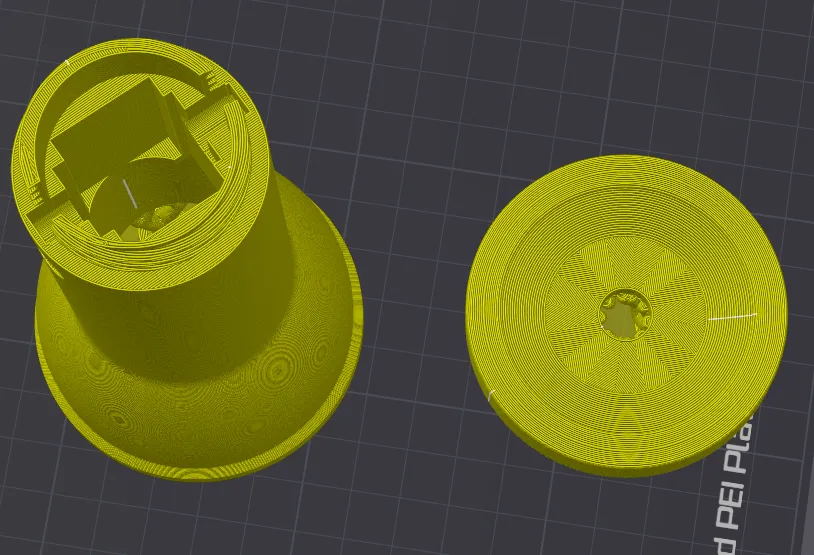
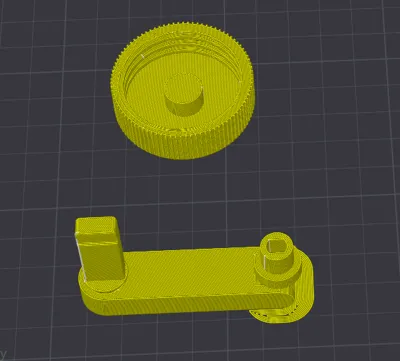
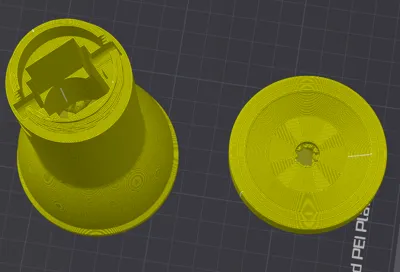
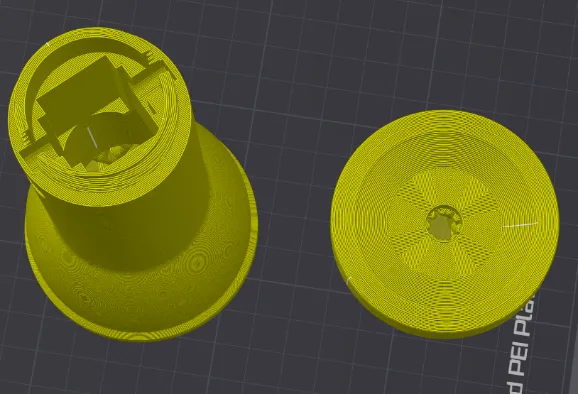
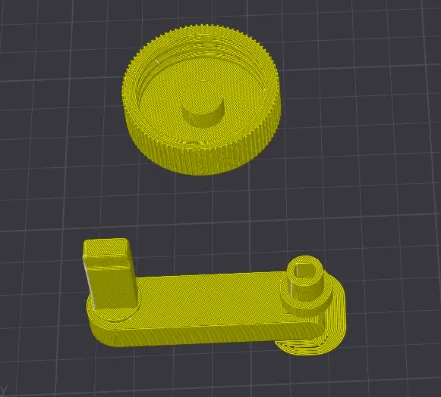
Main flashlight body
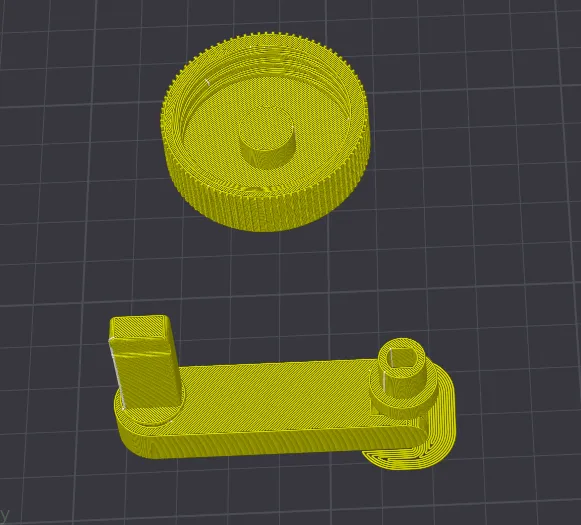
Top cover (LED diffuser)
Crank with Shaft / motor coupling
Bottom cover
🔧 Suggested Print Settings
Layer height: 0.2 mm
Infill: 15% to 20%
Walls: 2 perimeters
Supports: only on the top cover and flashlight body
Material: PLA (PETG optional for increased mechanical resistance)
🔌 Required Materials (Electronics)
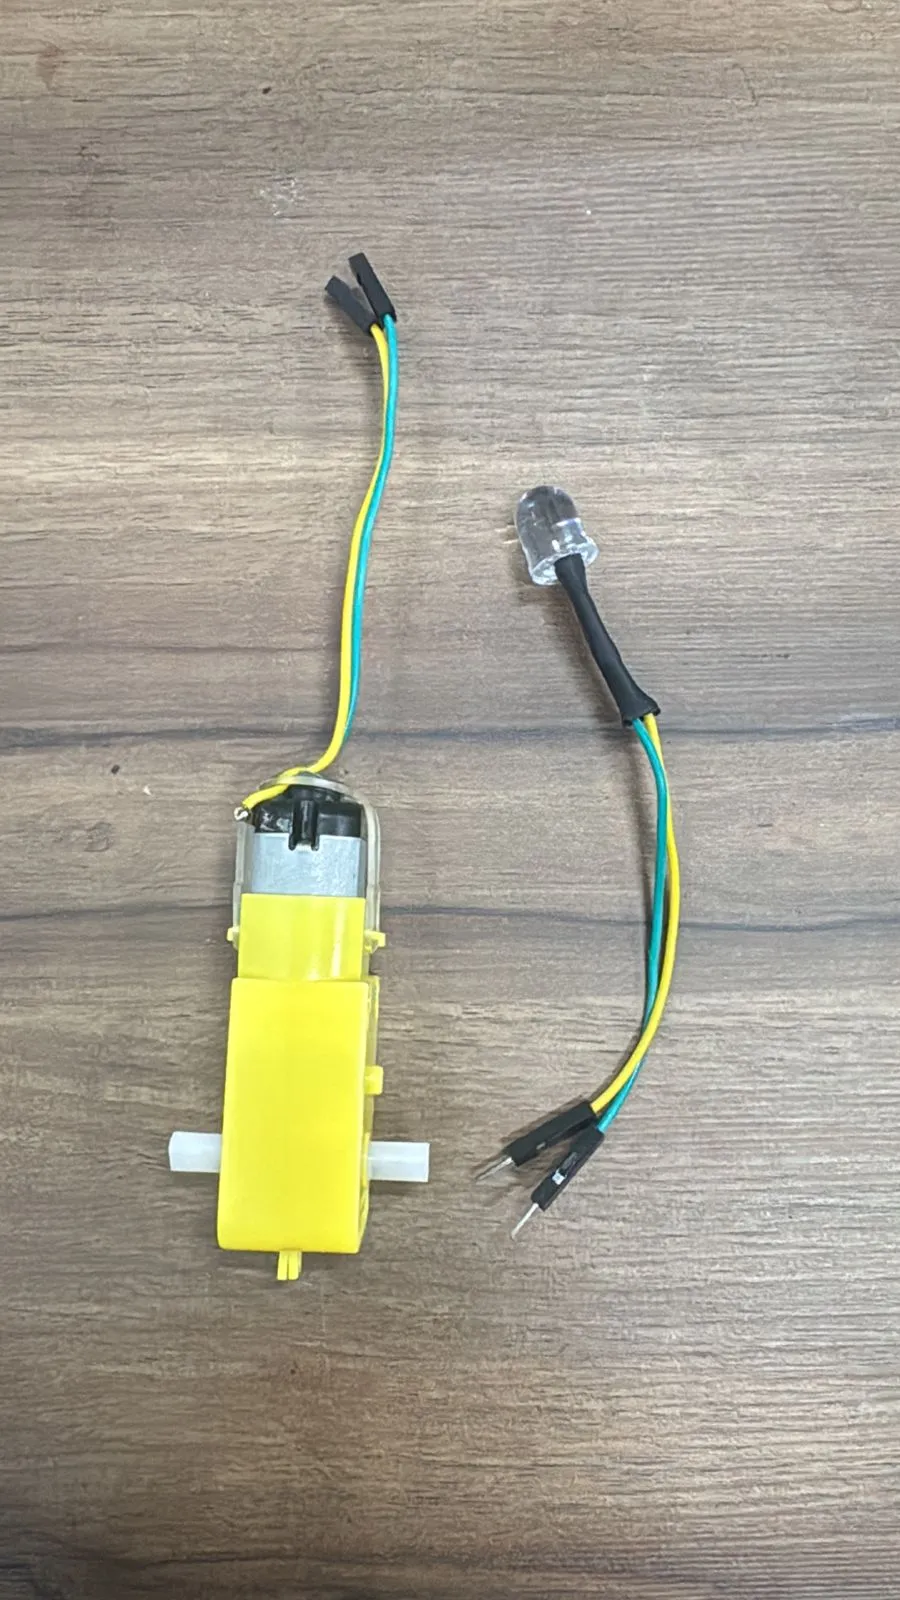
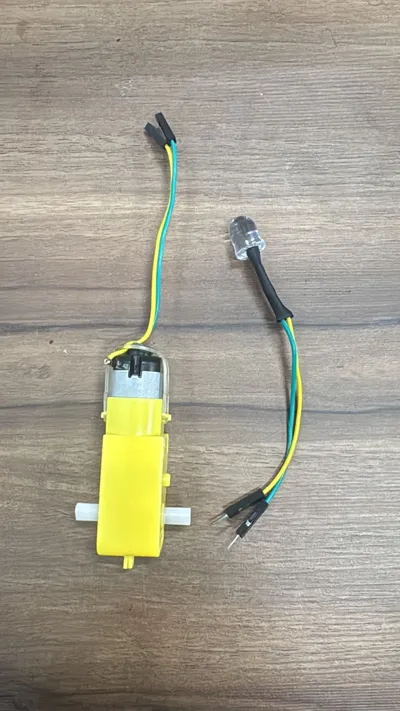
1× TT type DC motor (3V–6V)
1× white LED 10 mm
1× 330 Ω Resistor
2× male/female jumper wires
🔩 Tools
Soldering iron
Soldering tin
2mm heat shrink tubing for insulation
🛠️ Step-by-Step Assembly
1️⃣ Part Preparation
Print all parts of the model
Remove burrs and test fittings before final assembly
2️⃣ Circuit Assembly
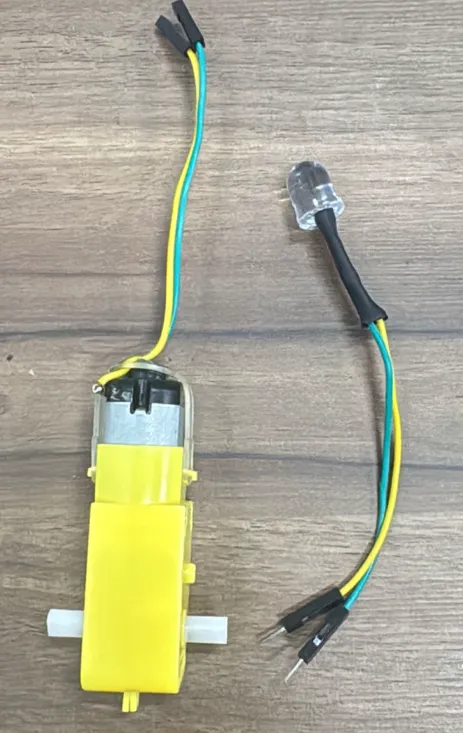
Cut the male/female jumper pair in half
Solder the male half with a resistor in series with the LED
Solder the ends of the other half of the jumpers to the motor connectors.
Connect the LED + resistor assembly to the motor terminals
If the LED does not light up, reverse the wires connected to the motor
⚠️ Pay attention to the LED polarity:
3️⃣ LED Installation
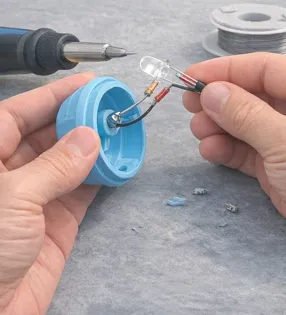
Insert the LED into the hole in the top cover
4️⃣ Motor Assembly
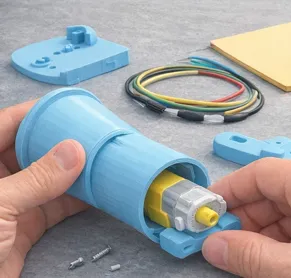
Insert the DC motor into the internal support of the flashlight body
Ensure the shaft is correctly aligned with the crank
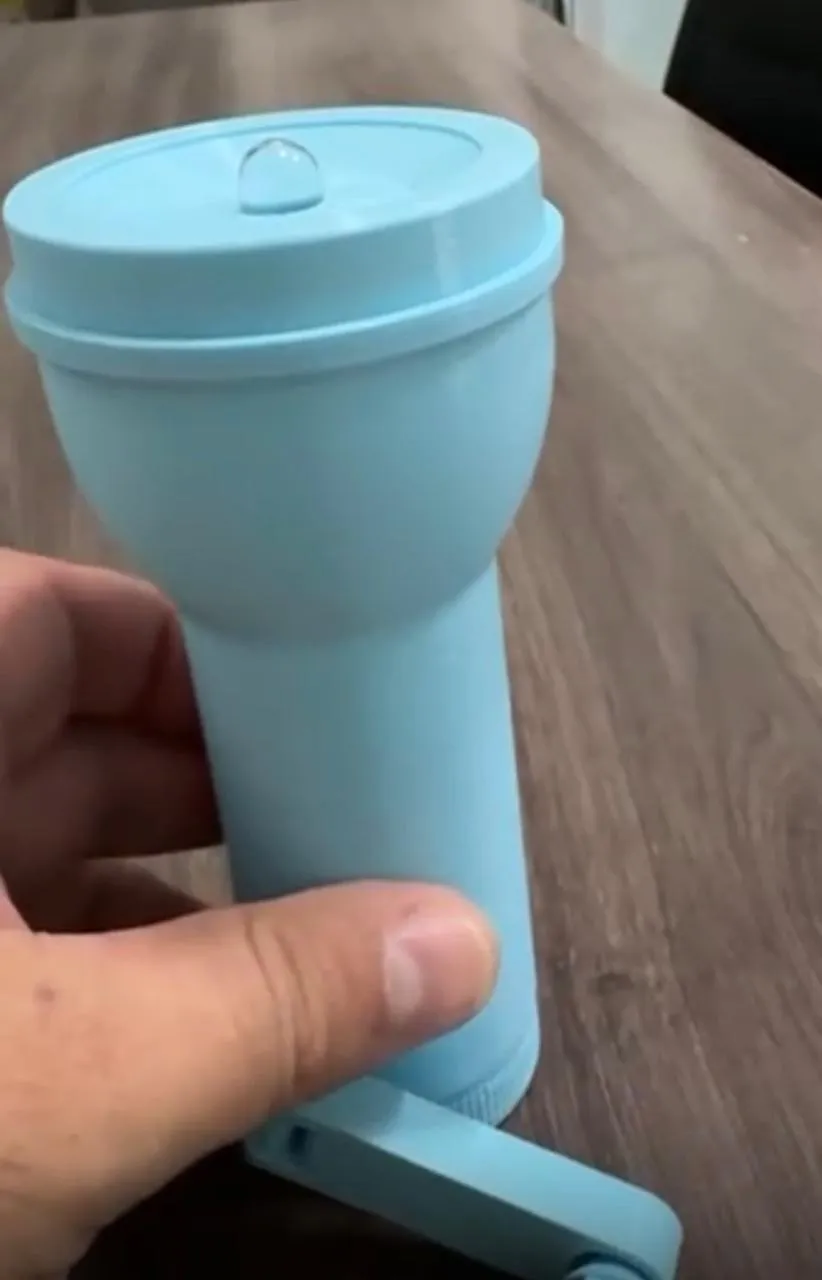
5️⃣ Crank Assembly
Attach the crank to the motor shaft
Secure by pressure
Test the rotation: the crank should turn freely
6️⃣ Final Closure
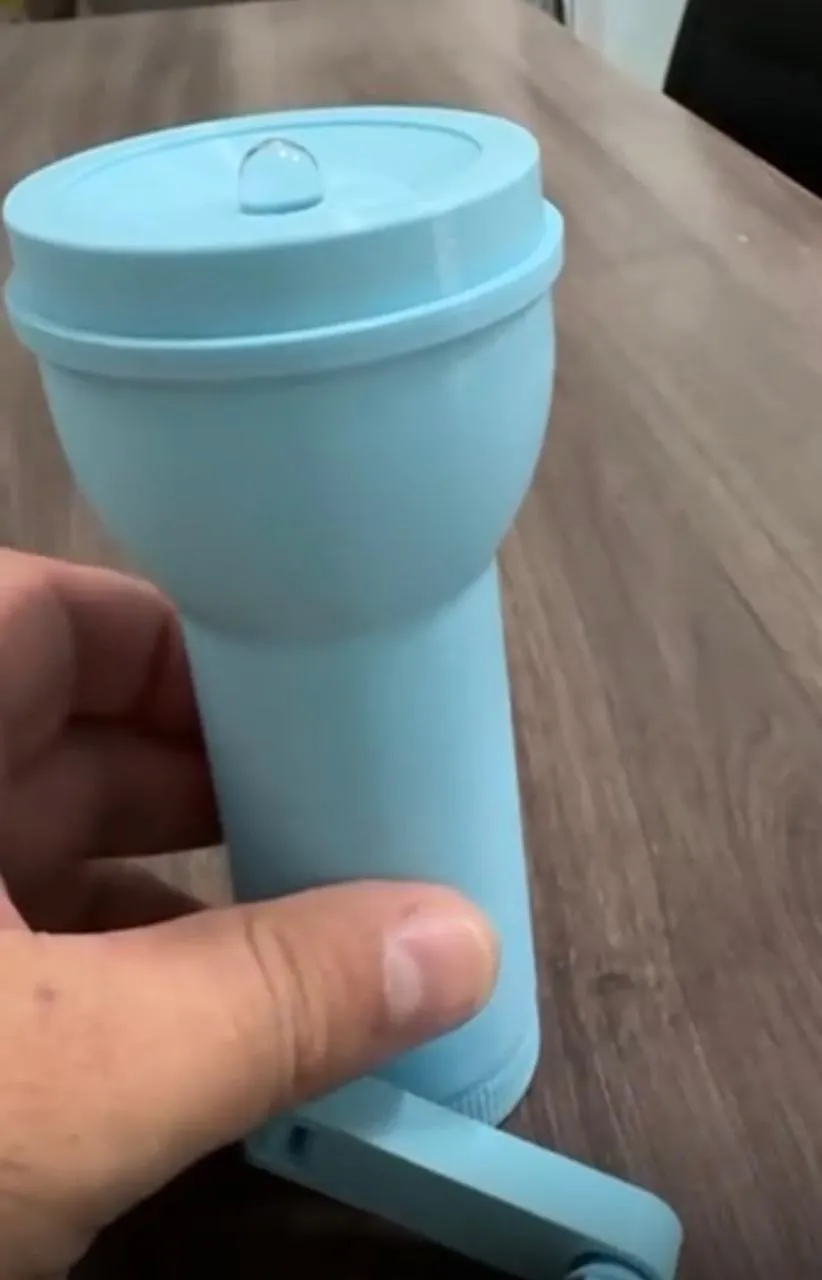
Close the flashlight with the top and bottom covers
Turn the crank for the final test
🎉 Done!
Your dynamo flashlight is finished and ready for use.

By turning the crank, mechanical energy is converted into electrical energy, lighting the LED.
📚 Educational Applications
Mechanical → electrical energy conversion
How DC motors work
Basic principles of power generation
STEAM projects and maker culture
📌 Notes
The brightness of the LED depends on the crank rotation speed
The use of gears can increase power generation efficiency
License



Comment & Rating (0)