Adaptive Mech-Style Photo Frame (Infinitely Expandable)


Print Profile(2)

Description
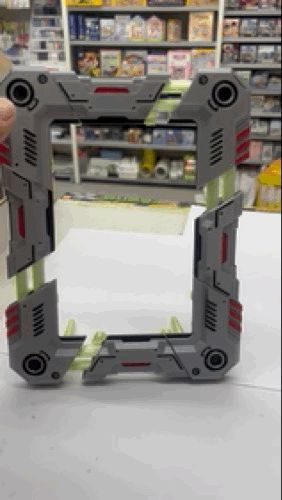
This is an adaptive, deformable photo frame.
Designed for a minimum standard of 6 inches (102mm×152mm) with no upper limit on maximum size. Using modular photo frame parts, it can be connected infinitely. If you wish, you can even frame your home's 100-inch large color TV! If you want it smaller, you can remove the middle connecting module's slide shaft to shorten it, or scale it down proportionally, but I haven't tried it and cannot guarantee reliability.


I have also adjusted the support parameters to what I consider perfect, allowing for easy peel-off for direct printing. X-Y inner and outer contour dimension compensation of -0.1 ensures smoother and effortless installation. Weak stress points in the threads have been reinforced with 100% infill using a modifier. You can confidently print with one click using the parameters I uploaded.
I only made a single color; after printing, you can color it with marker pens, or manually color it in your slicer software if you have the conditions.
-----------------------Installation Tutorial--------------------------------
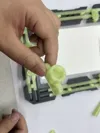
1. Screw into the threaded hole

Note: Screw the rough printed bottom of the screw into the hole to facilitate later nut placement. If it doesn't screw in clockwise, try counter-clockwise. Once screwed in, ensure it is not misaligned or cross-threaded.
2. Insert the trapezoidal connector into the two connecting shafts


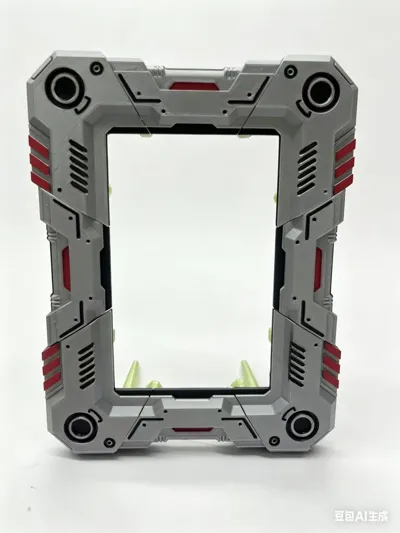
3. Assemble the outer frame


Note the free assembly of long and short sides.
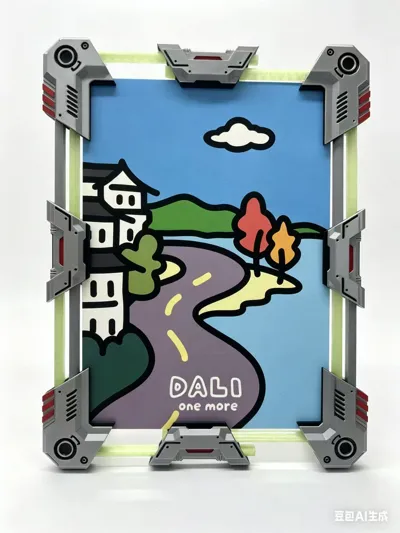
4. Place the photo

Manually adjust the gap in the outer frame to clamp the photo, then place the spring pressure plate in the appropriate position and tighten the nut.

If tightening the nuts is a bit stiff, you can apply some lubricant. I also made a socket tool to assist.

Replace two nuts at the bottom of the photo frame with legs to make the frame stand.

5. Large-scale photos


Complete the large-scale assembly.
License
You may create derivative works based on this object, provided that all such derivative works are published exclusively on the MakerWorld platform and include proper attribution to the original creator. You may not share, upload, host, distribute, or publish this object—or any derivative work of this object—on any other digital platform, marketplace, or distribution channel. Commercial use of this object and any derivative works is strictly prohibited. This includes, but is not limited to, selling, renting, sublicensing, or using the object in any context in which you receive monetary compensation or other financial benefits.
Comment & Rating (2)