
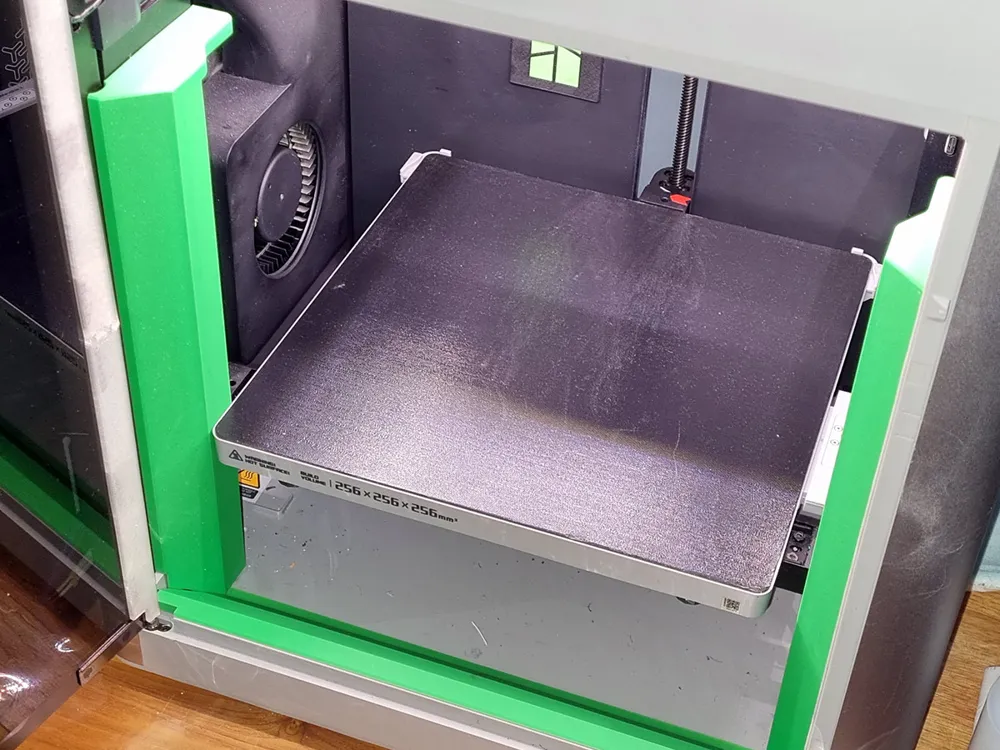
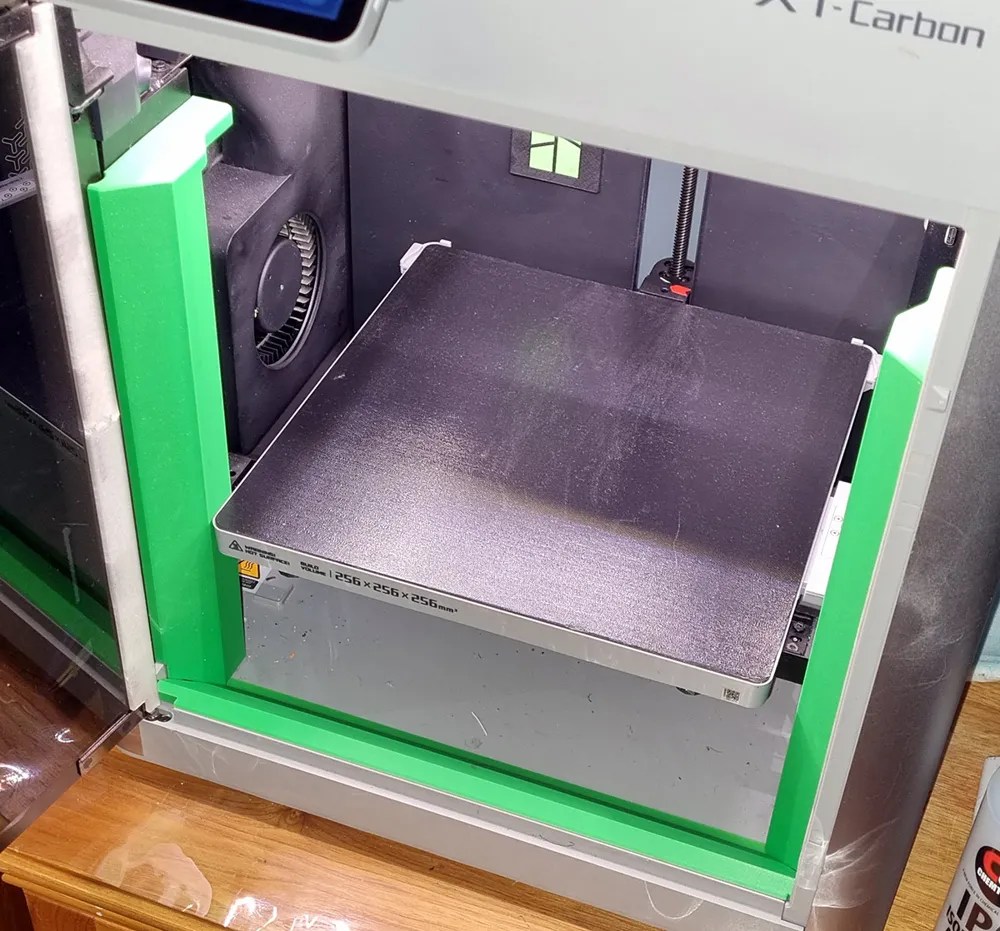
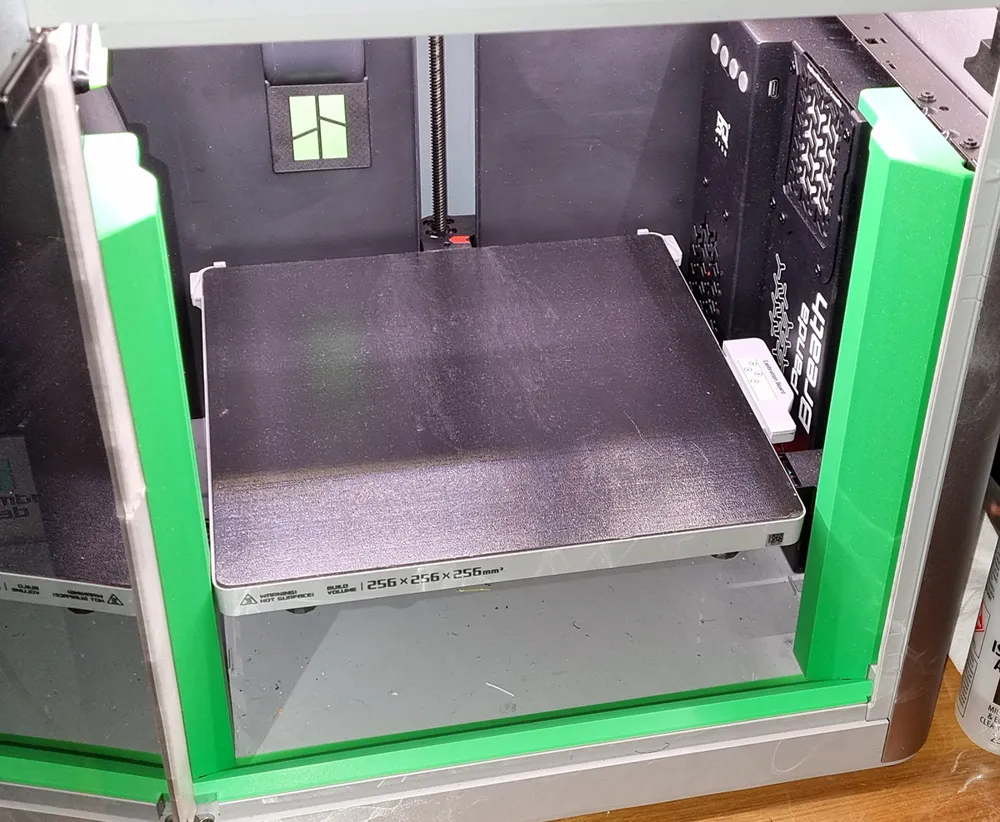
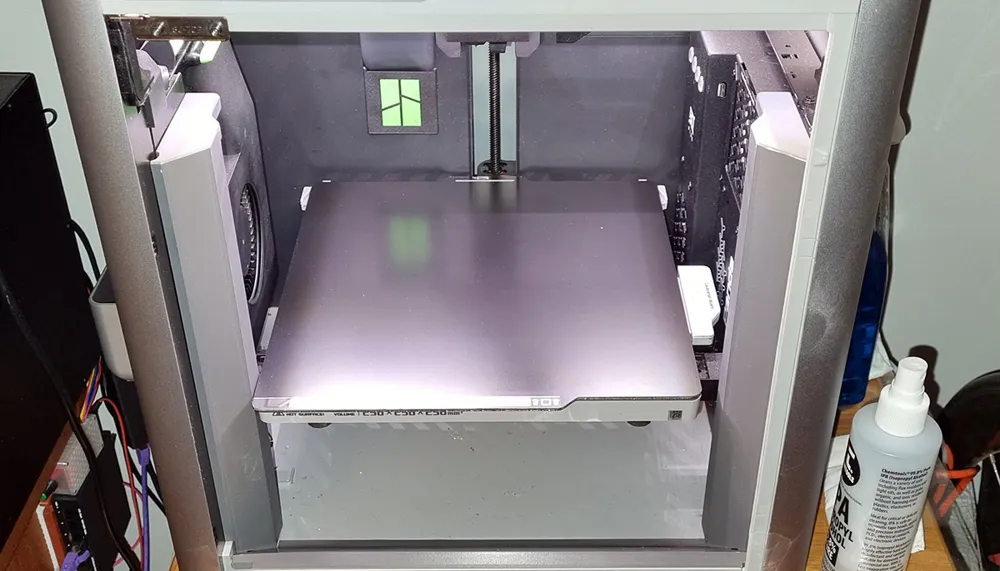
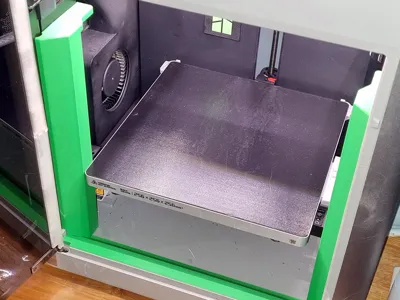
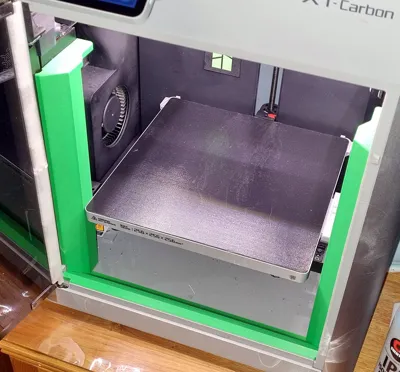
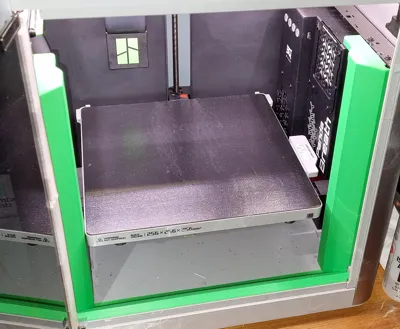
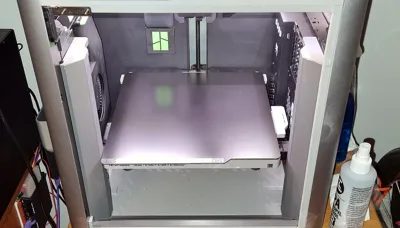
X1/P1 Lead Screw Guards with ASA anti-warp anchors
Print Profile(1)
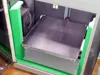
Bill of Materials




- 8mm X 5mm N42SH Disc Magnets x 10: 4-8 needed in total. I sournced mine from eBay AU: https://www.ebay.com.au/itm/232923469854 If your tolerances are right and filament shrinkage calibration correct they'll press in securely enough to not need glue.
Description
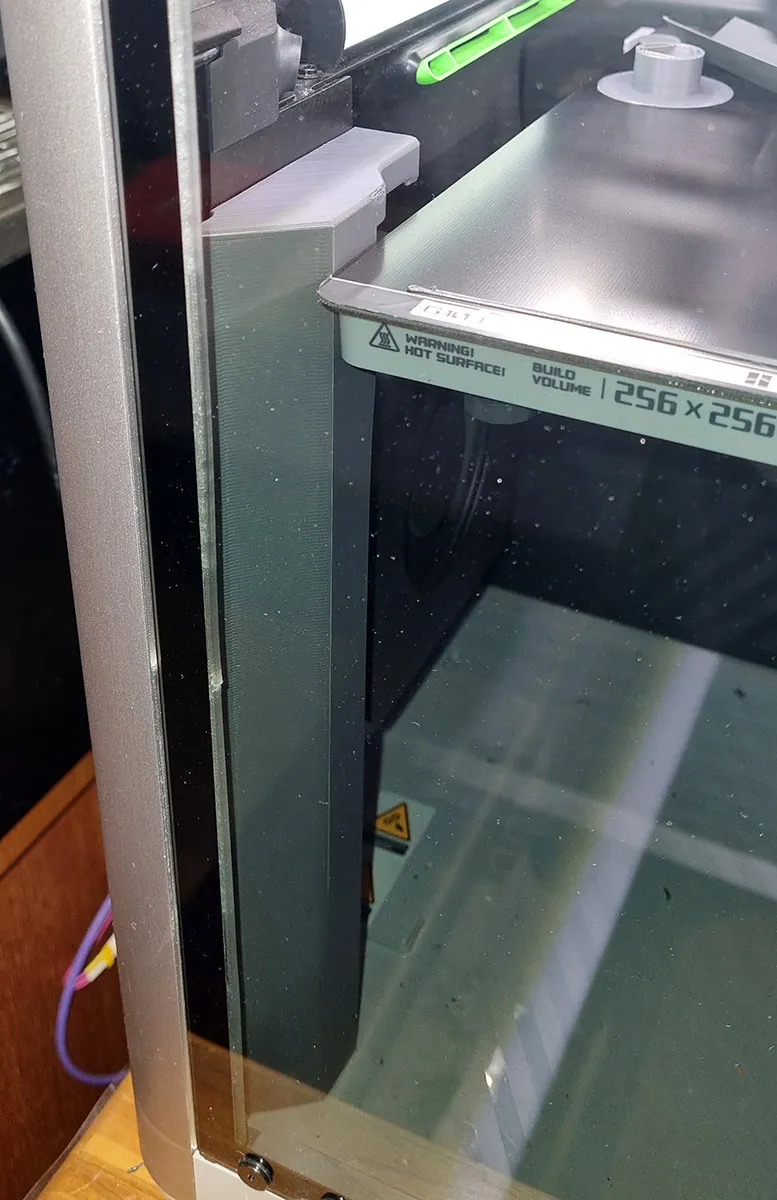
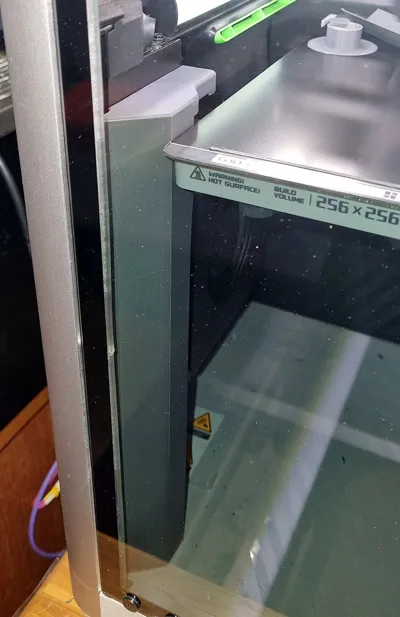
I got really tired of getting greasy lead screw tattoos on my hands when cleaning my beds between prints. So I started running off and testing the various other lead screw covers that for one reason or another - mostly the extremely tight bed clearances on the LHS bracket and triggering the dreaded “something touched the bed” errors during homing.
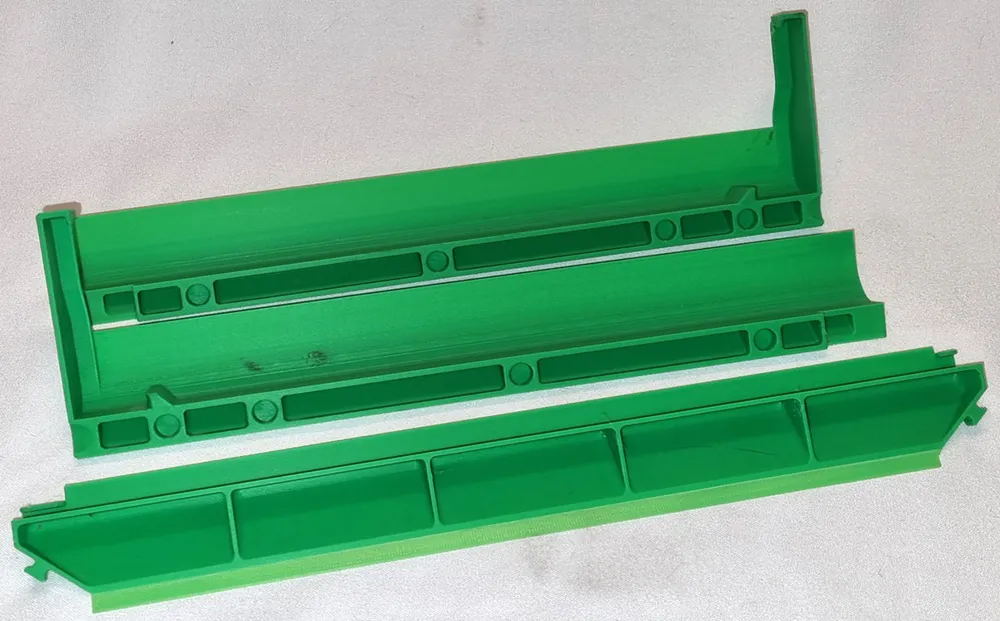
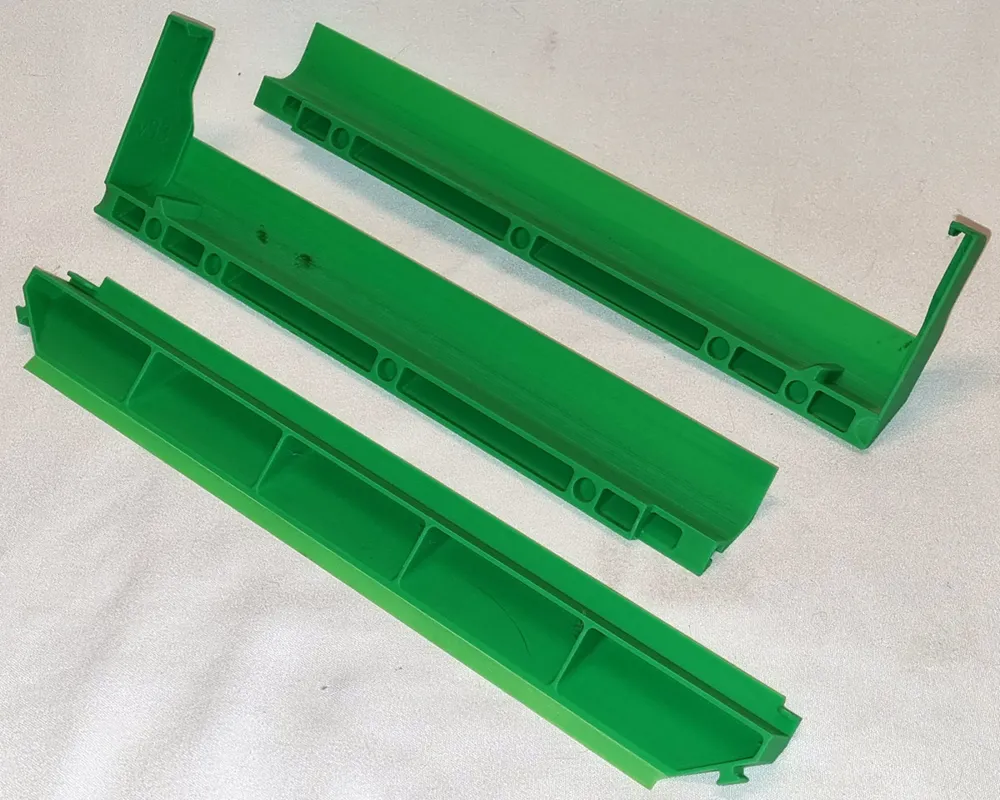
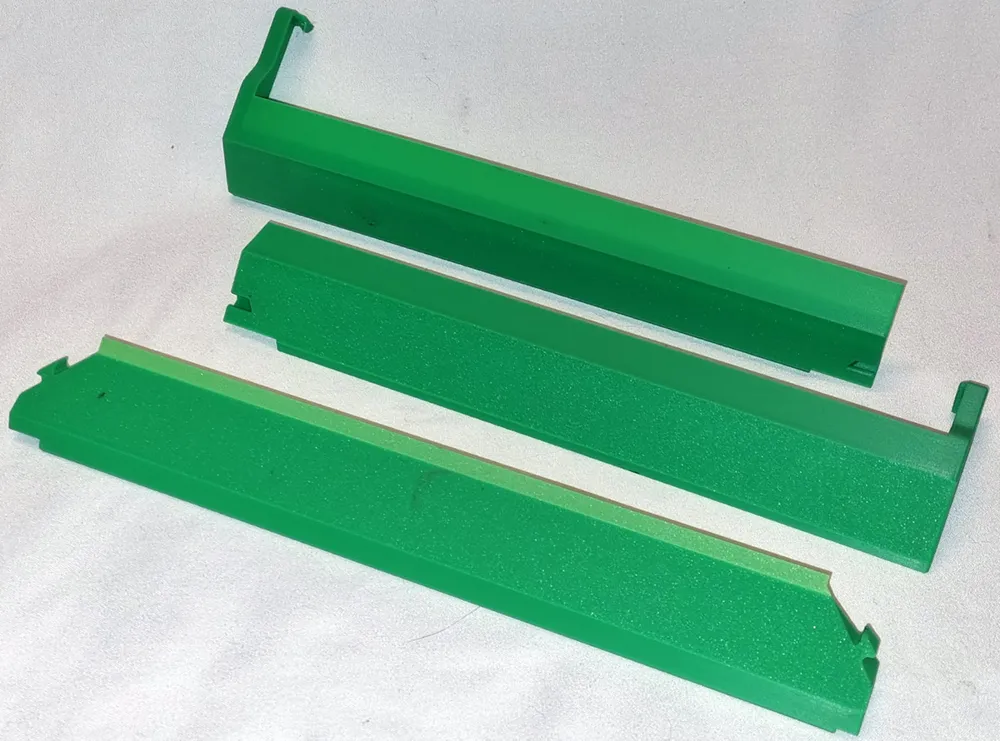
So I ended up designing my own to suit my machine's quirks and I present it for others to use as they see fit. Guards against accidental touching of the screws and protects the top bearings from contamination. Lots of inspiration taken from @DougBurton1969's design here: https://makerworld.com/en/models/674344-p1p-p1s-x1c-z-axis-covers-cleanout-ramp-updated#profileId-2042758
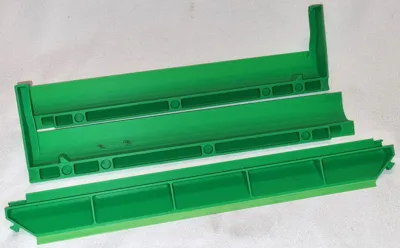
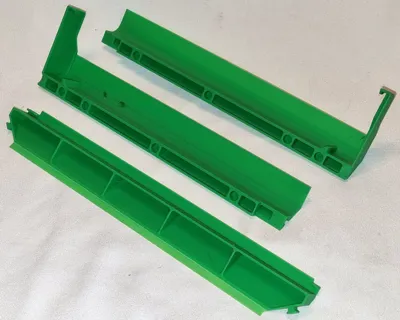
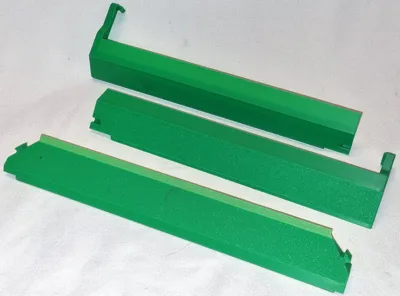
My covers clip themselves in place over the Z screw brackets but I still strongly recommend pressing a couple of magnets into the middle receptacles at least. I designed around strong 8x5mm cylinders so the guards take quite the knock to dislodge. The lower chamber sill is required to keep the bottoms of the guards aligned. This doubles up as a handy lip to sweep debris out of the chamber easily.
ASA/ABS are really the only materials suitable for this - especially if you print high chamber temperatures. PC should also suffice.
PLA is fine for a test fit but will come loose in short order as it cold creeps.
PETG might (a big might) hang on OK if all you print is open air PLA. Despite technically being below it's glass temperature, PETG will not survive a 55-60°C chamber temperature engineering material print. It will warp and lose it's grip.
Use pure plastics. As the left side carriage touches the guard, you don't want abrasive materials anywhere near that.
CAD models provided with integrated acrylonitrile anti-warp anchors as sub assemblies. If you prototype in PLA or PETG they're unnecessary and can be deleted pre-print via objects. Cut the tabs VERY carefully with a sharp knife. Make sure you've calibrated your acrylonitrile shrinkage ratio or they won't fit.
License

You may create derivative works based on this object, provided that all such derivative works are published exclusively on the MakerWorld platform and include proper attribution to the original creator. You may not share, upload, host, distribute, or publish this object—or any derivative work of this object—on any other digital platform, marketplace, or distribution channel. Commercial use of this object and any derivative works is strictly prohibited. This includes, but is not limited to, selling, renting, sublicensing, or using the object in any context in which you receive monetary compensation or other financial benefits.


Comment & Rating (0)