
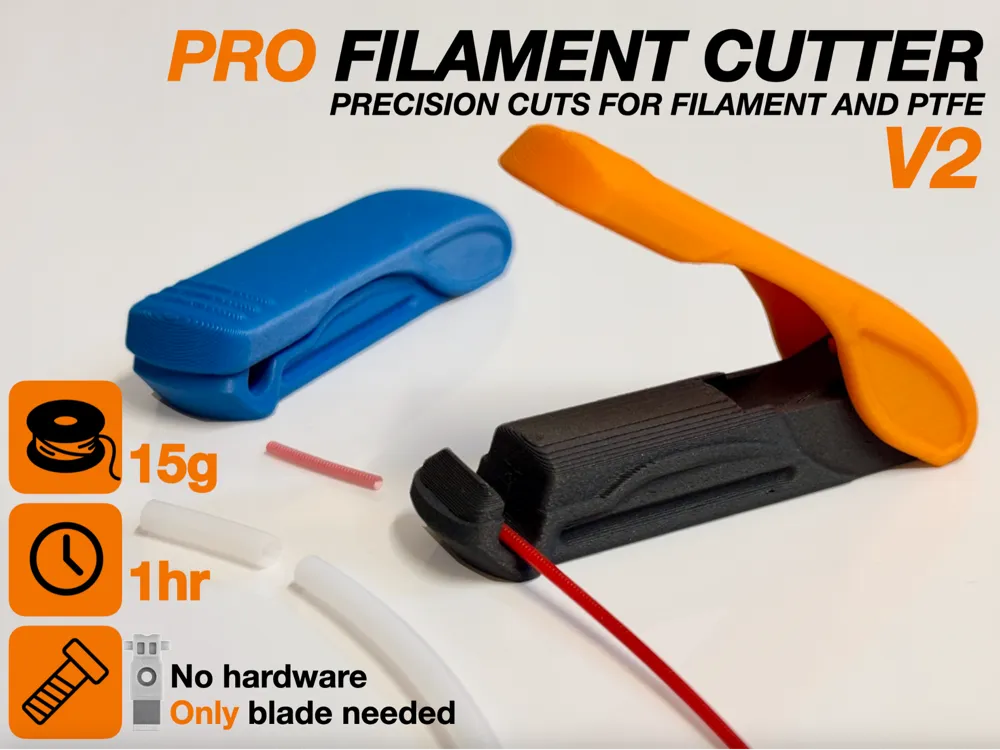
Pro Cutter V2 for Filament and PTFE Tubing
Print Profile(7)
Bill of Materials


Description
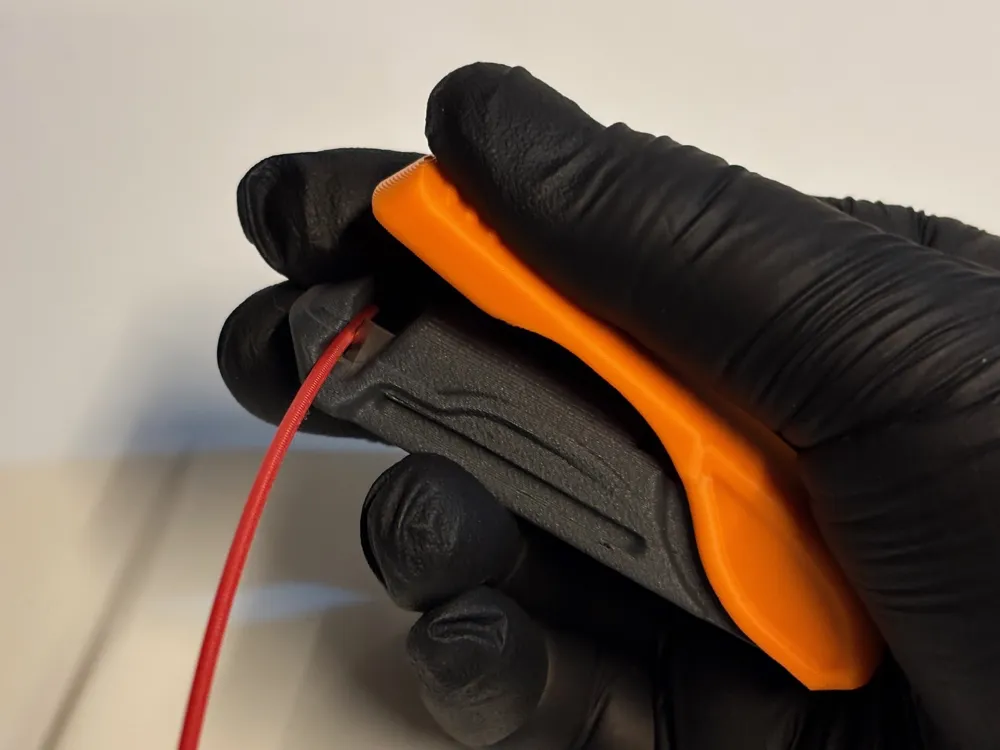
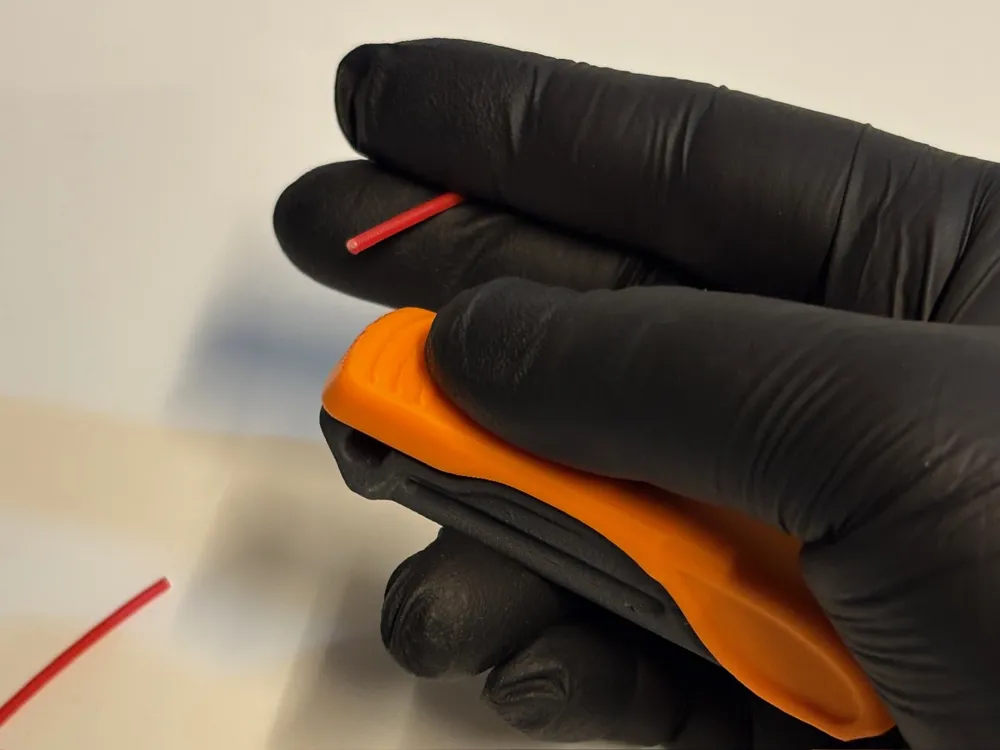
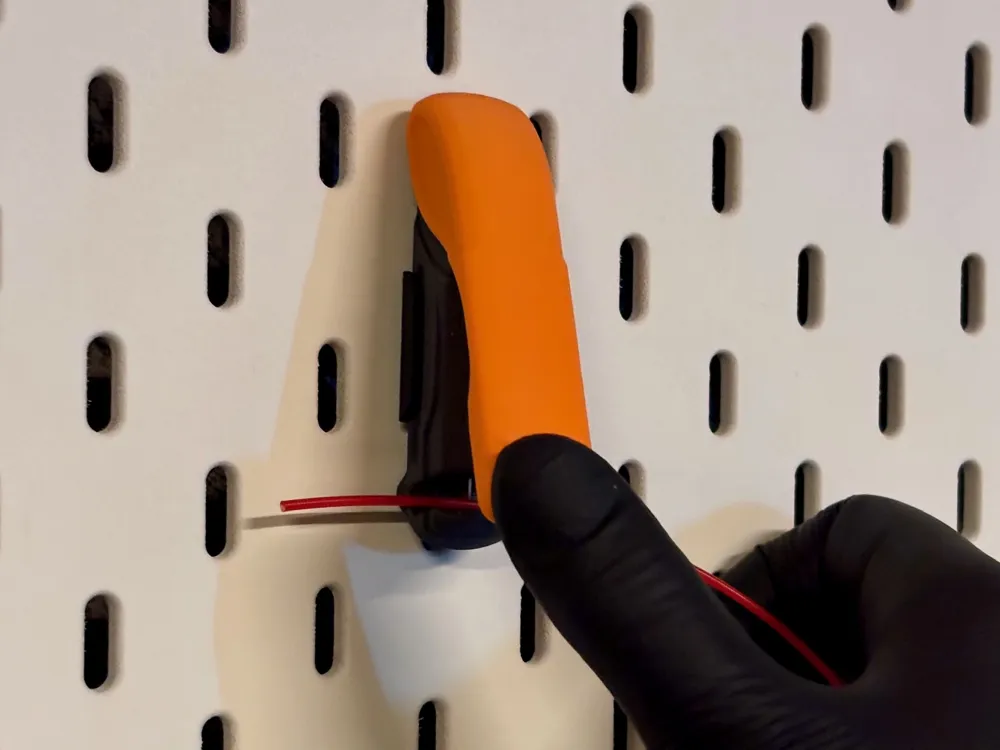
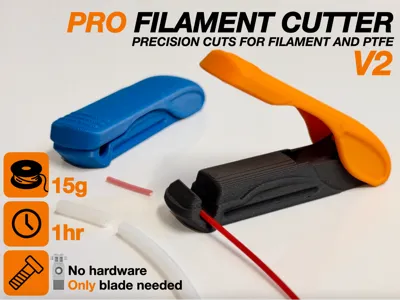
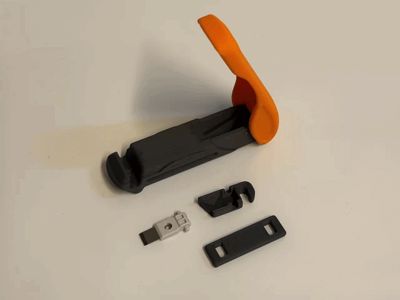
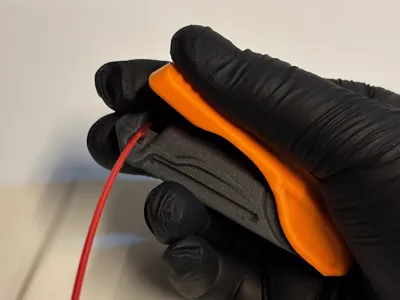
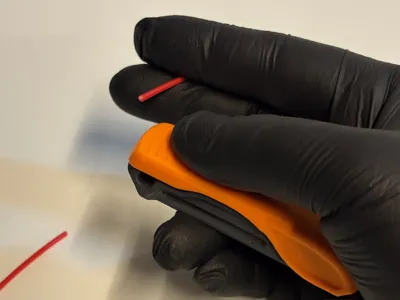
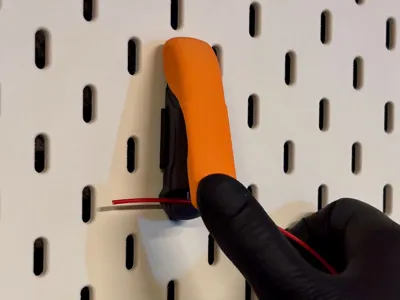
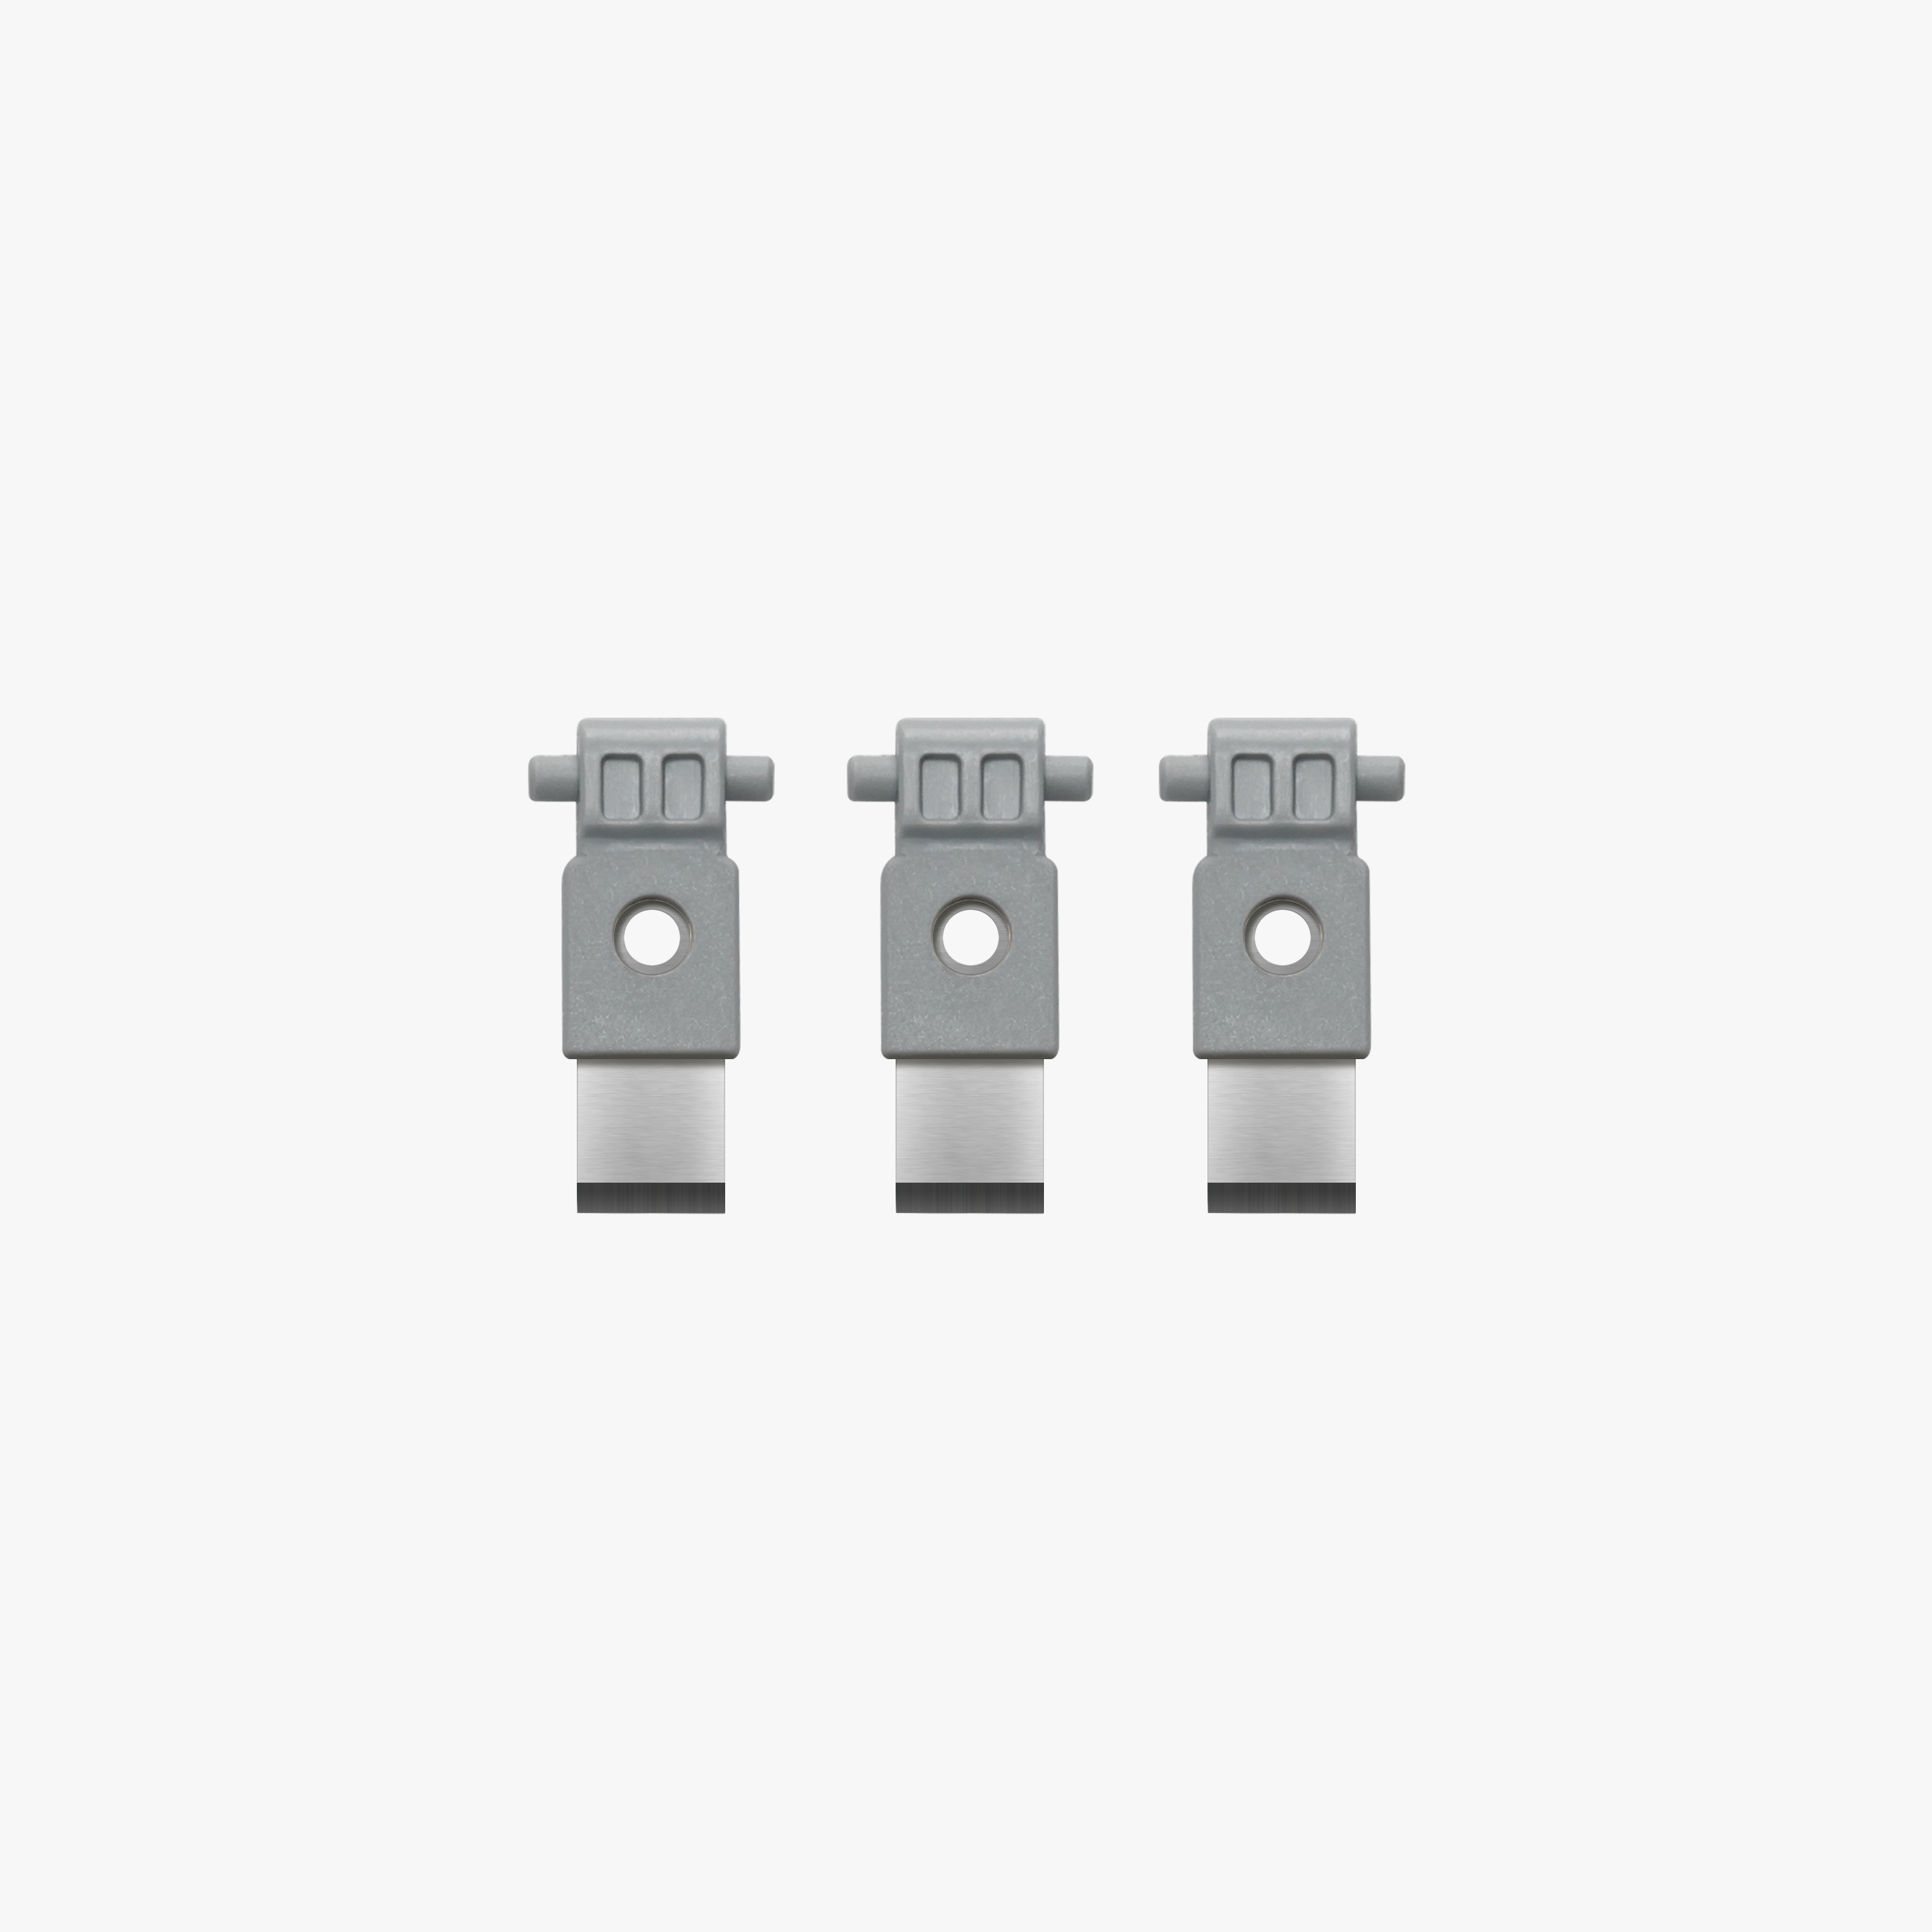
Handy and compact cutters for trimming taped or bent filament ends and PTFE tubes. No special hardware or accessories needed - just use a spare Bambu Replacement Filament Cutter that comes with the printer. Great to keep next to your printer, in the workshop, or to carry with you. The lever mechanism makes each cut effortless and clean. Multiple storing and mounting options available - the cutter can even be used while in the wall mount.
This new V2 revision improves aesthetics and ergonomics and adds support for P2S cutters.
Note! Select correct print profile for your cutter:
Gen1 Blade for X1, P1, A1, and H2S cutter
Gen2 Blade for P2S cutter
H2D/H2C cutters are not compatible.
Purchase links to compatible blades are in the Bill of Materials section.
Storing & Mounting:
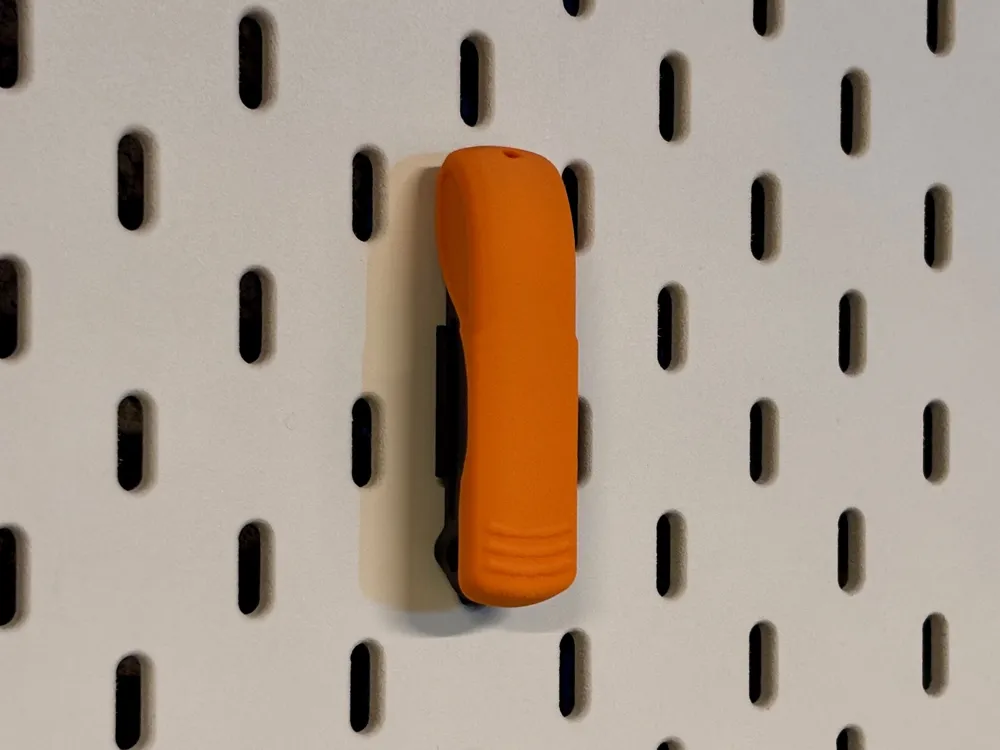
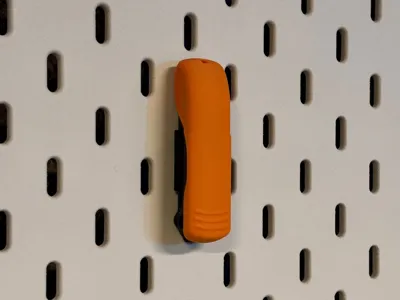
- Snap-in wall mounts included - one for Ikea SKADIS boards and the other for mounting with a countersink screw or double sided tape.
- openGrid mount by @letters: https://makerworld.com/en/models/2452641
- HSW mount by @Jonty is in the print profiles of the original cutter here.
- Multiboard mount by @LandonTh: https://makerworld.com/en/models/2671883
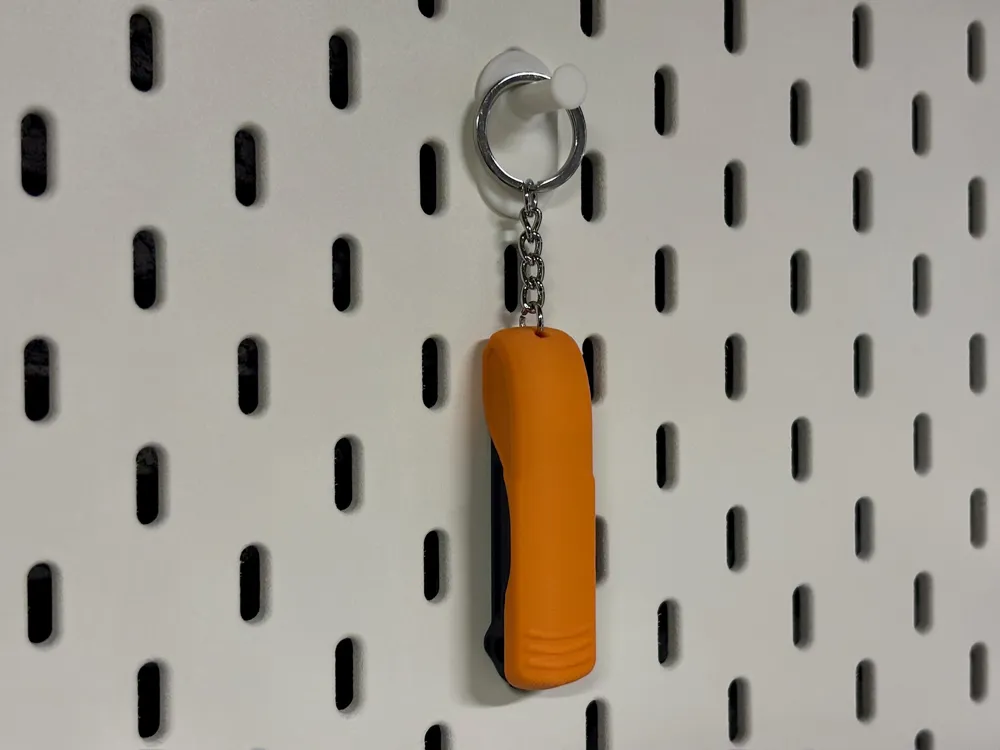
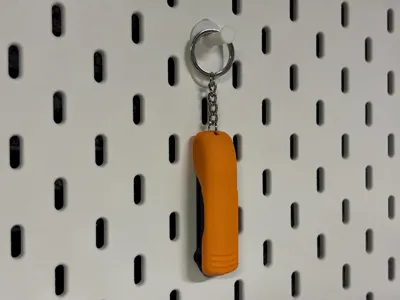
.. or hang from a nail with a keychain ☺️
Please contact me if you want to design gridfinity or other mounts!
Assembly:

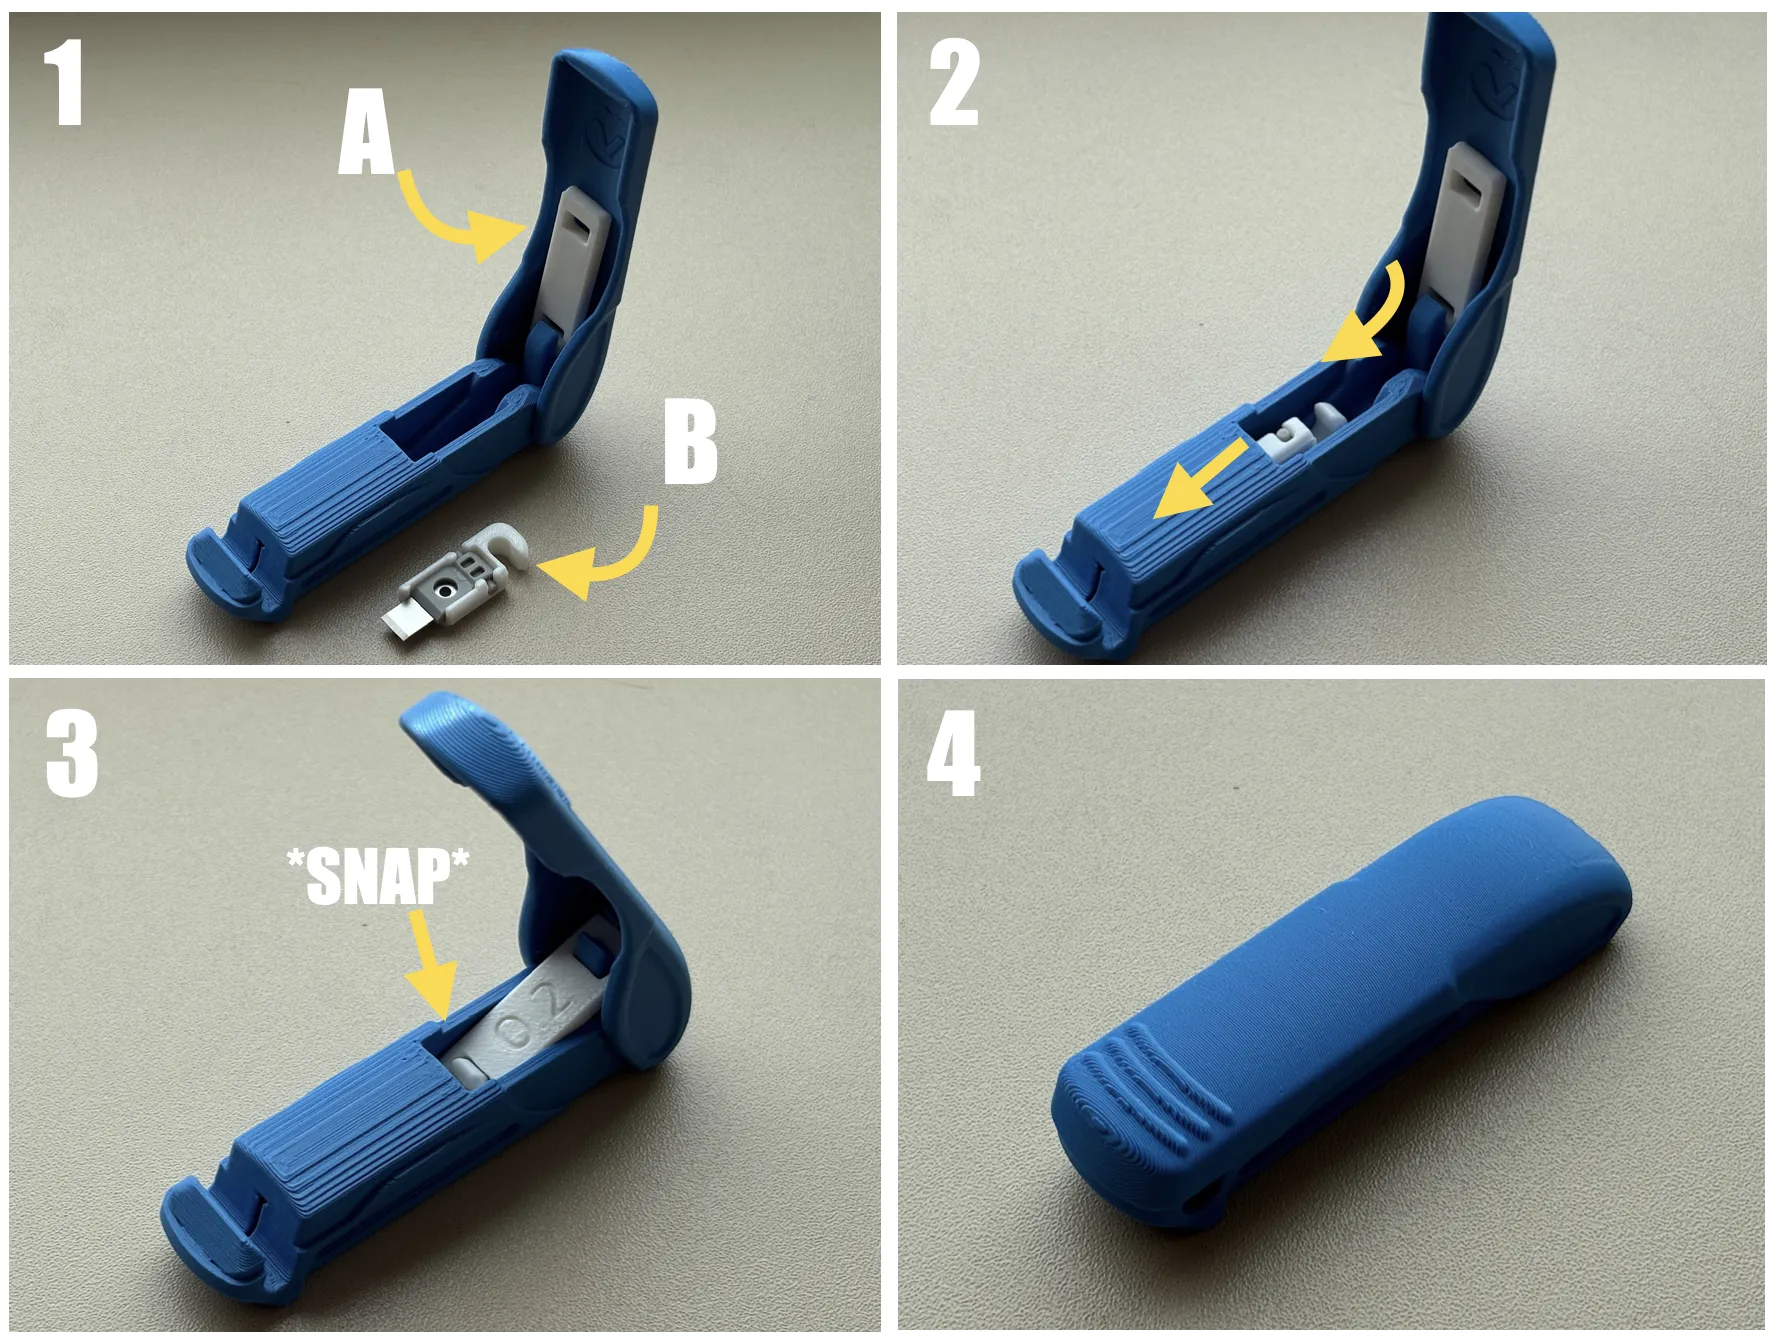
Print with regular or AMS profile. Assembly is simple - shown in the video - and presented below.
1A. Slide the link in place.
1B. Place the blade in the blade holder.
2. Slide the blade holder in place - Note the orientation, U-slot upwards.
3. Mate the link with the blade holder U-slot. The link snaps in place.
4. Done! Close the handle to actuate the cutter - Test it on some spare filament.
(Optional) Attach split ring keychain to the hole in the handle if you like.
Note! During print profile testing I noticed that with some filaments the link is looser, causing the blade not to move all the way out. I've included longer links on a separate profile. Print and test these if needed.
Disassembly:
- Open the lever all the way upward (¼ turn) - this causes the link to pop out from the blade holder.
- Remove the link by aligning it with the handle and pulling out.
- Pull the blade holder out - it pops out when pulled towards the hinge.
Boost Me (for free)
If you like this print, please check out my other models too and consider leaving a free boost to support release of high quality models. Cheers!
Also check these models:
License

You shall not share, sub-license, sell, rent, host, transfer, or distribute in any way the digital or 3D printed versions of this object, nor any other derivative work of this object in its digital or physical format (including - but not limited to - remixes of this object, and hosting on other digital platforms). The objects may not be used without permission in any way whatsoever in which you charge money, or collect fees.


Comment & Rating (333)