Search models, users, collections, and posts

Articulated Human Body Mannequin
IP Report
Print Profile(1)
0.2mm layer, 2 walls, 15% infill
Designer
1.4 h
1 plate
Open in Bambu Studio
Boost
1400
3639
116
16
932
882
Released
Description
Content has been automatically translated.
Reference for Drawing
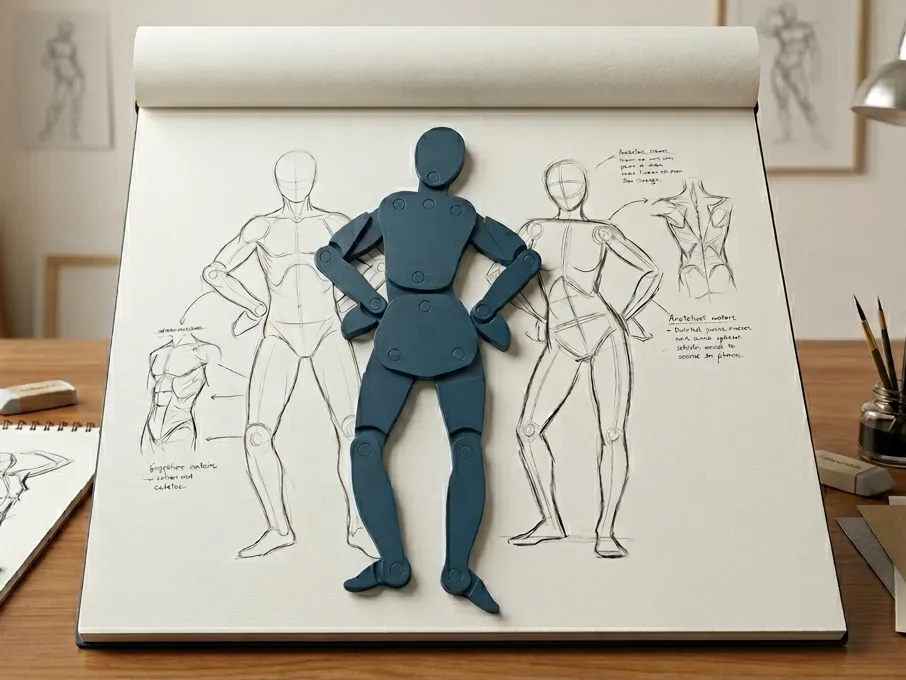
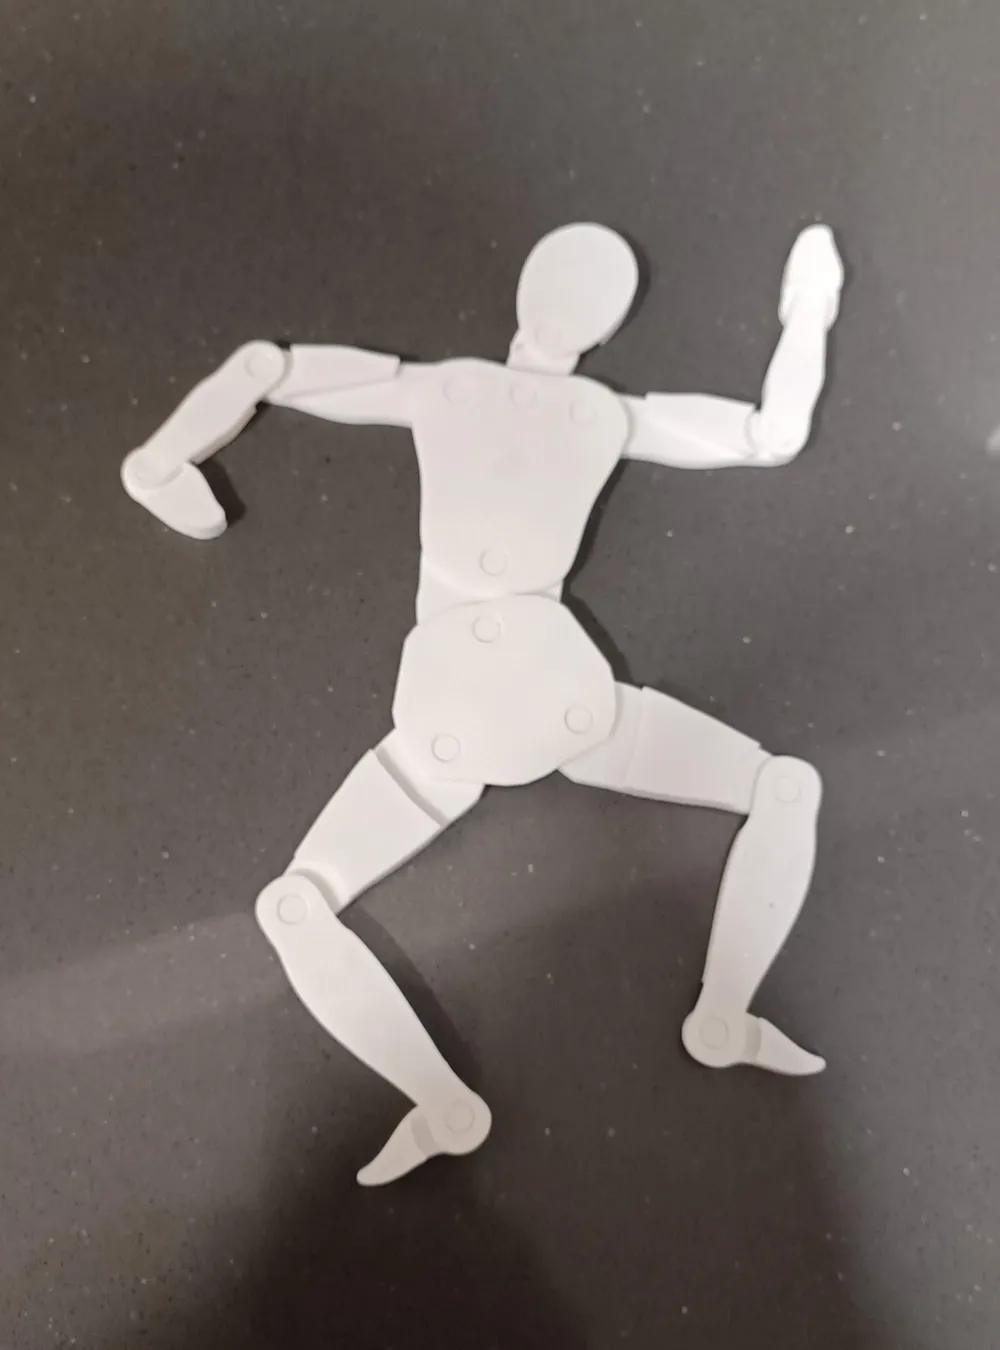
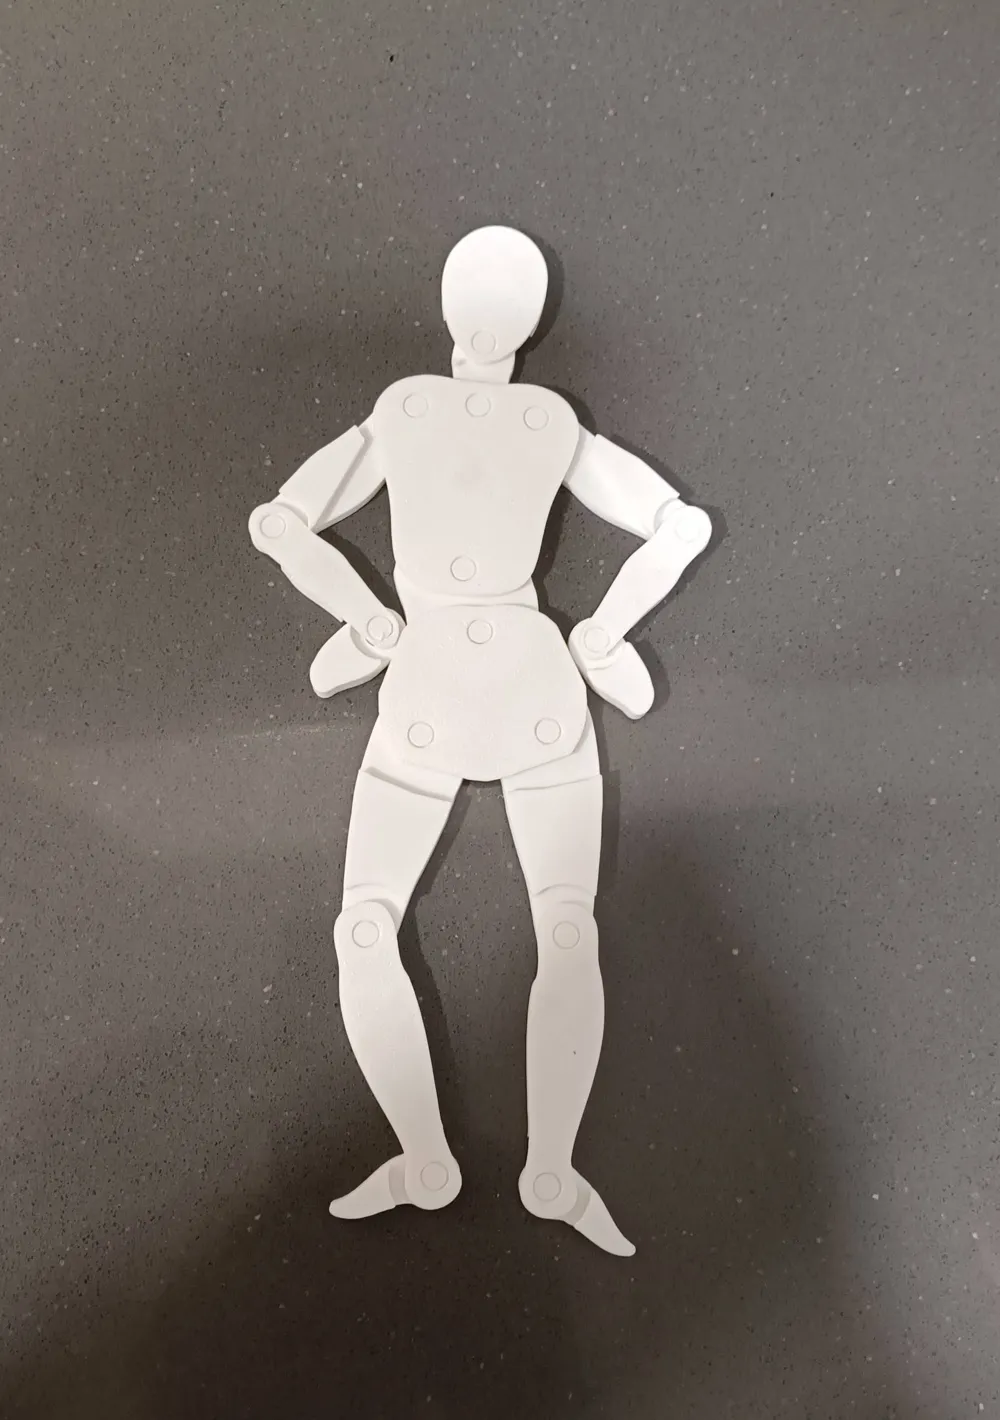
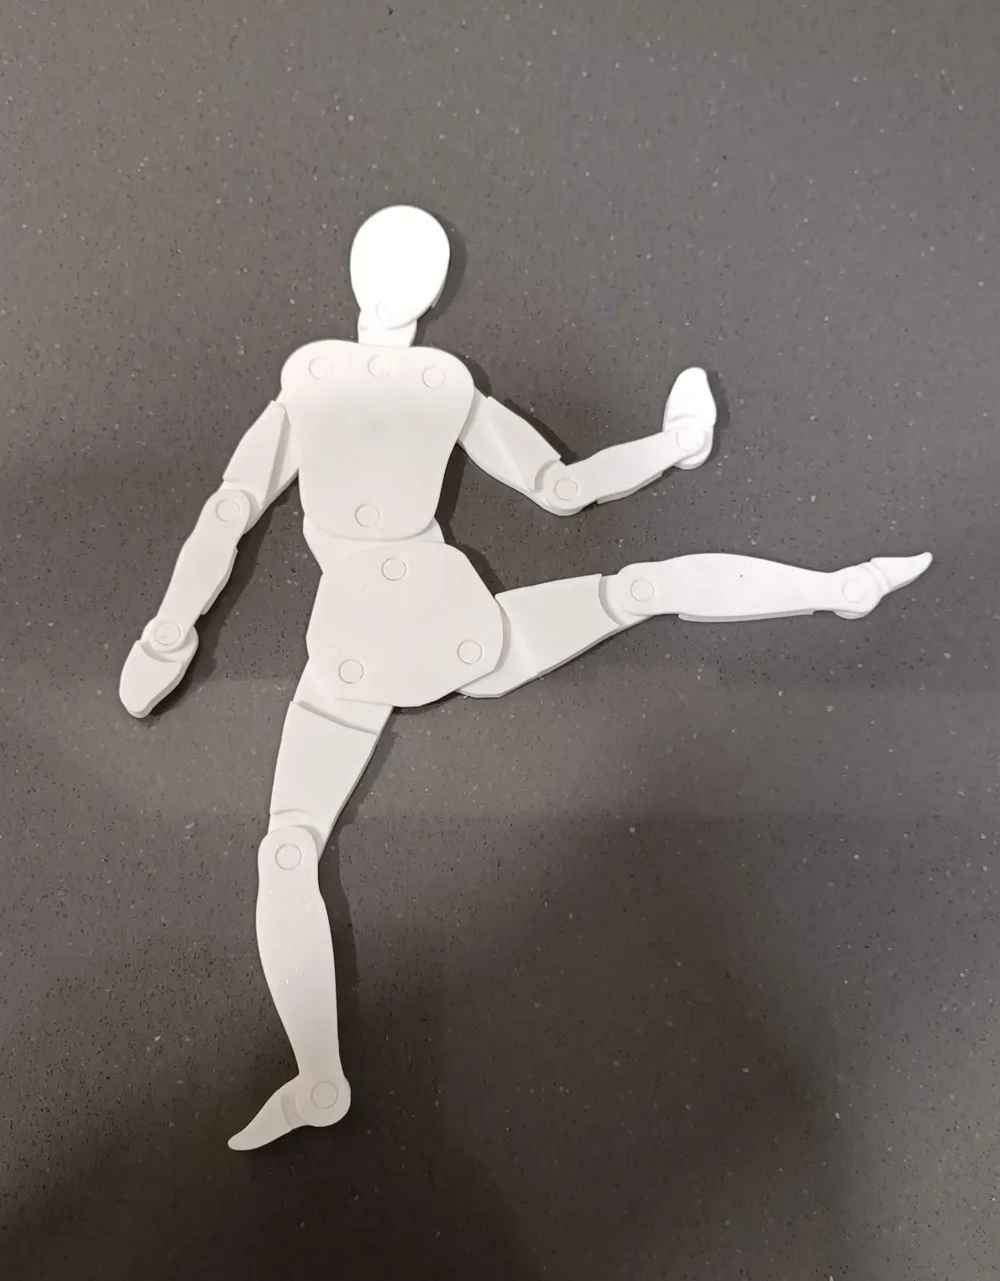
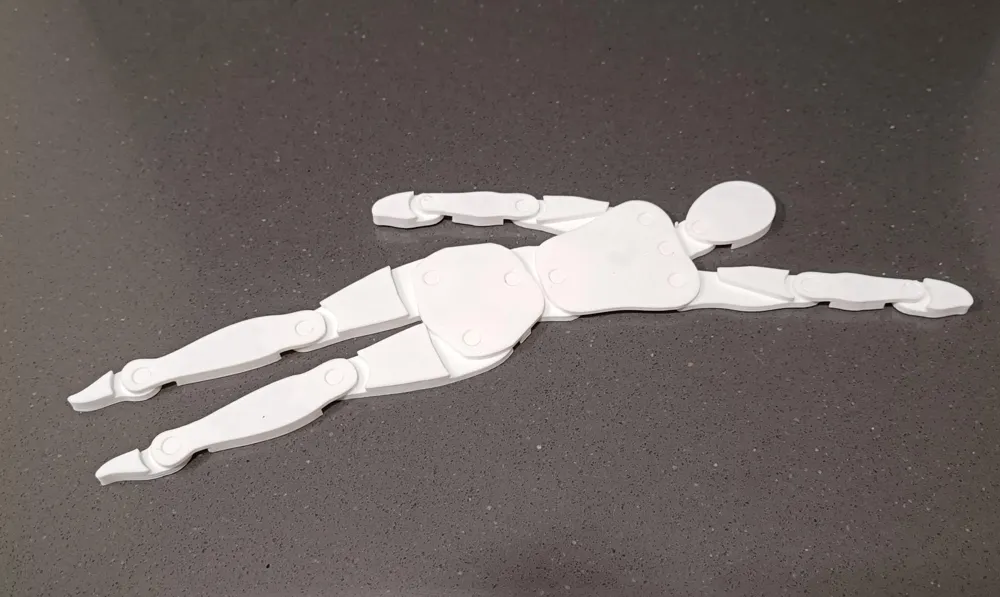
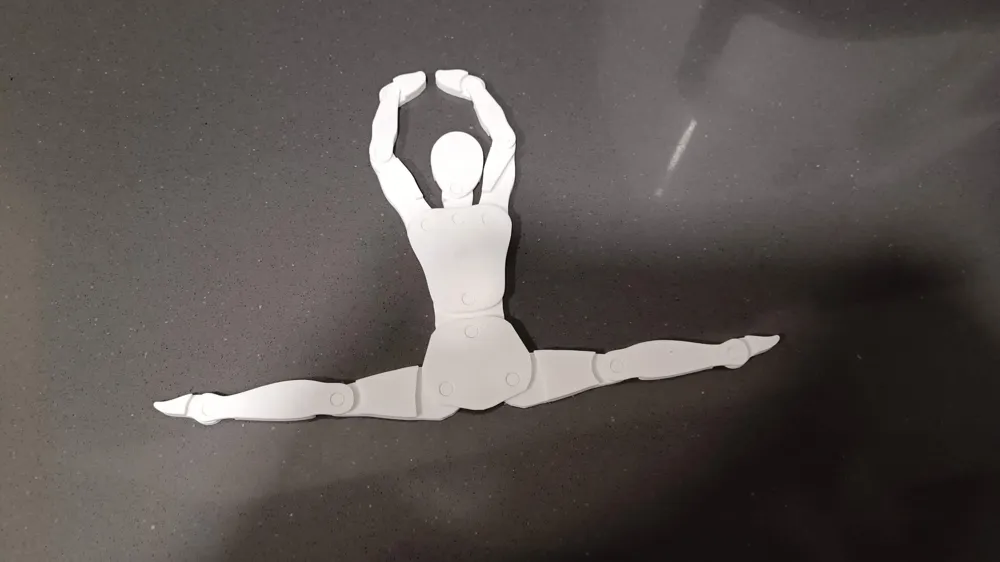
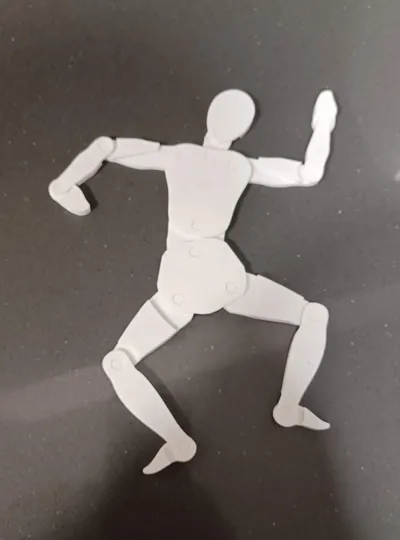
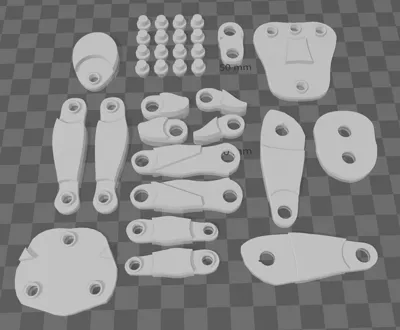
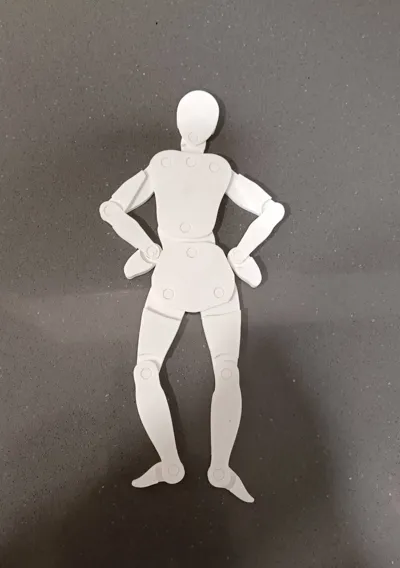
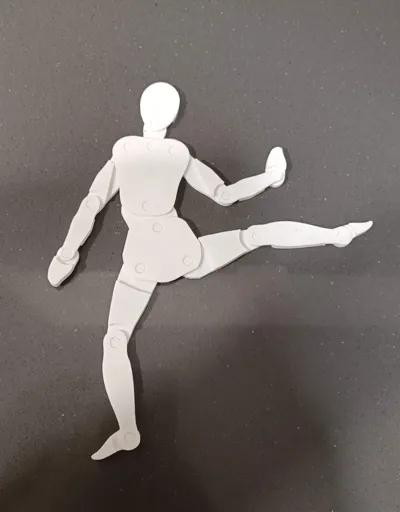
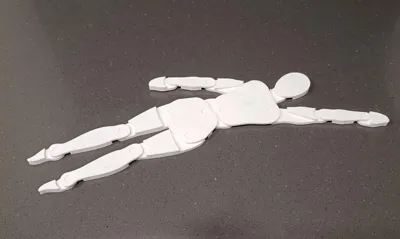
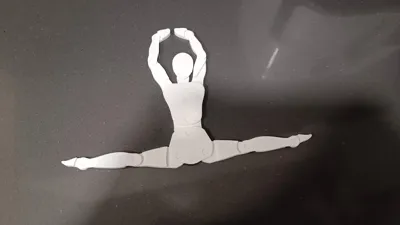
This 3D model is a fully articulated human figure designed as a reference tool for artists and illustrators. Its structure allows for recreating a wide range of dynamic poses, making it a modern and detailed alternative to classic wooden mannequins.
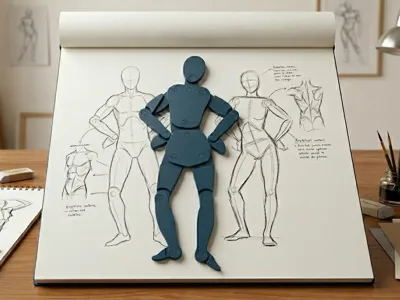
- Use: Ideal for studying anatomy, perspective, and figure drawing.
- Joints: Full movement in limbs and torso.
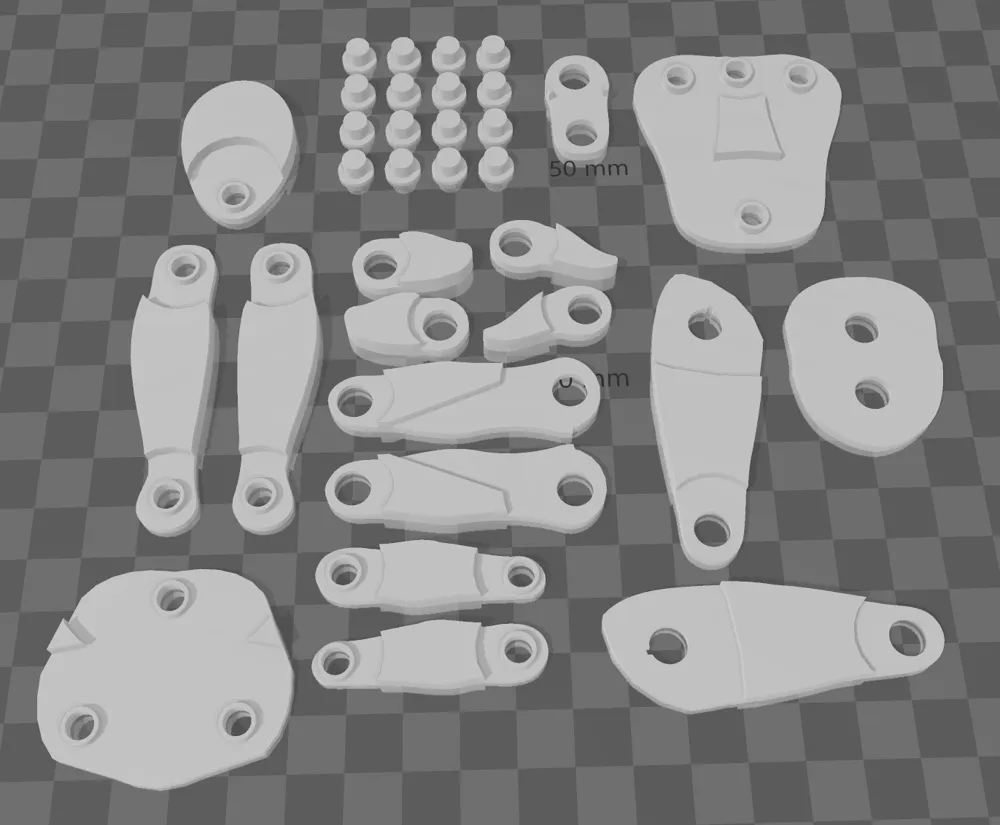
- Printing: No supports are needed, and it works well with any layer height between (0.20 mm and 0.12).
Perfect for keeping on your desk as a visual reference or as a technical decorative piece.
Other Creative Uses
In addition to being an excellent tool for drawing, this 3D model has multiple applications:
- Stop Motion Animation: Thanks to the firmness of its pin-joints, the figure holds poses very well, making it an economical and effective "armature" (skeleton) for creating frame-by-frame animation short films.
- Educational Toy: It is ideal for children to learn about human body movement and basic anatomy. Its assembly also helps develop fine motor skills and understanding of simple mechanisms.
- Customization and Painting: The plastic material (PLA/PETG) can be easily painted with acrylic paints or sprays. It can be decorated as a display mannequin, used to create custom characters, or as a canvas to practice miniature painting techniques.
- Scale Sewing Mannequin: Useful for fashion designers or craft enthusiasts who need to test miniature clothing patterns or design scaled accessories.
- Photography Prop: It can be used in product or artistic photography to add a human element to scale that provides context or dynamism to the scene.
- Technical Decoration: Due to its clean and geometric aesthetic, it fits perfectly as a decorative object in architecture studios, design offices, or modern offices.
Assembly Instructions: Pin System
The design uses pins that act as joint axes. For correct assembly without damaging the figure, follow these steps:
- Part Placement: The orientation of each joint is fixed; it consists of two pieces and a pin that acts as an axle. Place both pieces in the position where they fit and push the pin through by applying strong pressure.
- Controlled Pressure: Since the pins fit very tightly, do not apply pressure with only your fingers (you could hurt yourself or bend the piece). I recommend using flat-nose pliers to gradually push the pin in or press it against a flat, hard surface (like a table).
- The File Trick: If a pin is too resistant, lightly sand the tip into a cone shape (bevel). This will help the pin enter the hole more easily.
- Final Seating: Once the pin has passed through and is in place, the joint will be solid. If you notice it protrudes a bit, you can cut off the excess with cutting pliers for a cleaner finish.
- Fixation: As it is a press-fit system, once placed, it is difficult to remove them without marking the plastic. Double-check that the piece is in the correct position (elbow or knee orientation) before finally inserting the pin.
License

This user content is licensed under a
Creative Commons Attribution


Comment & Rating (116)