
Beeswax Foundation Embossing Machine V1.1
Print Profile(1)
Description
Membership
If you want to sell these models or just support me! <3
Disclaimer:
This is a serious project, and I have done my absolute best to optimize the model for a successful print! HOWEVER, please ensure that your 3D printer is thoroughly cleaned and located in a stable environment with consistent temperatures for the best results.
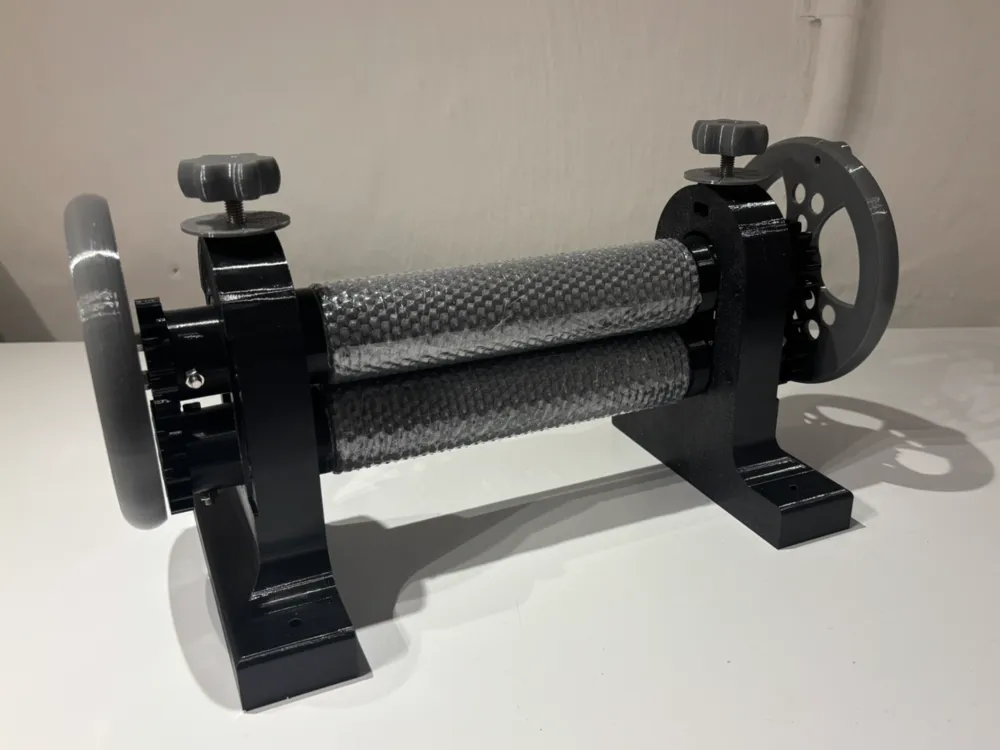
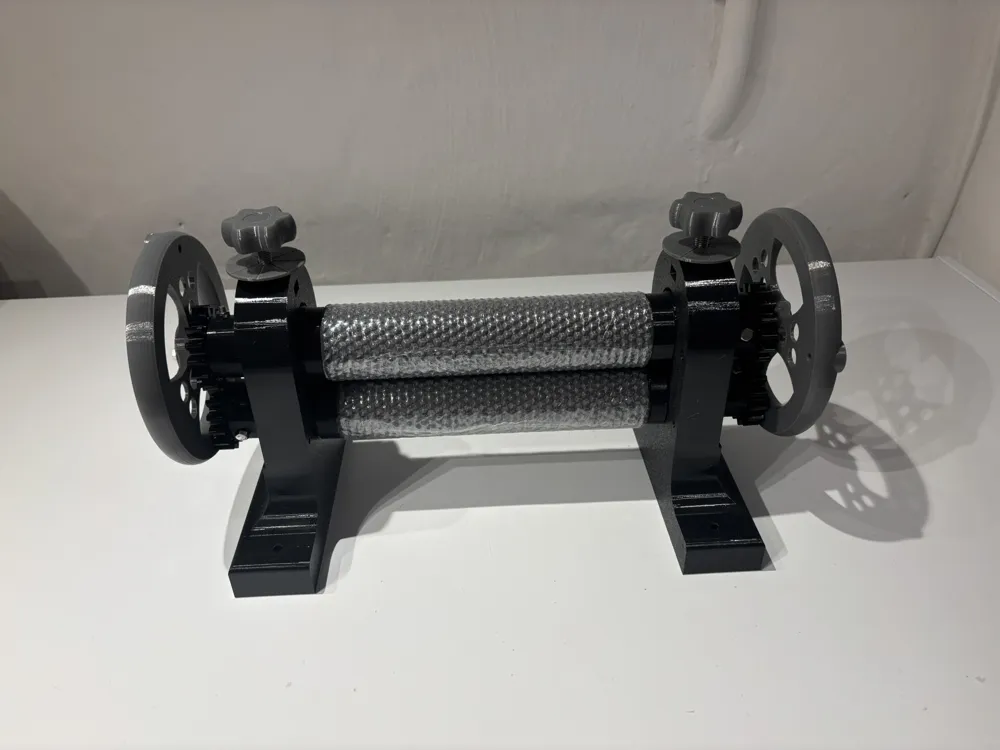
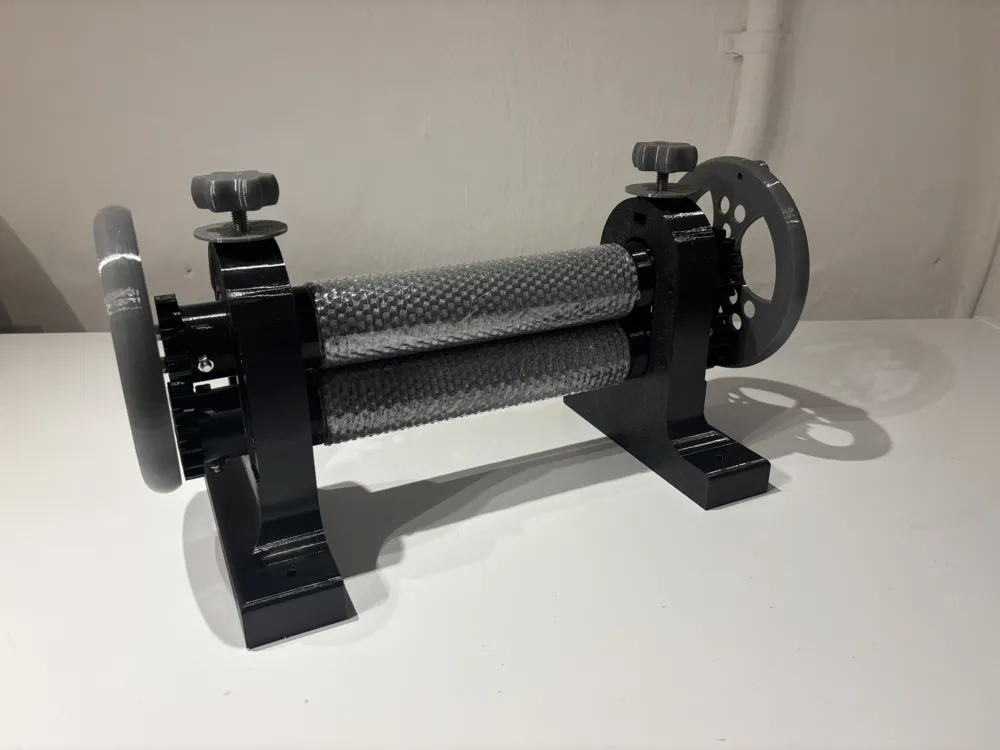
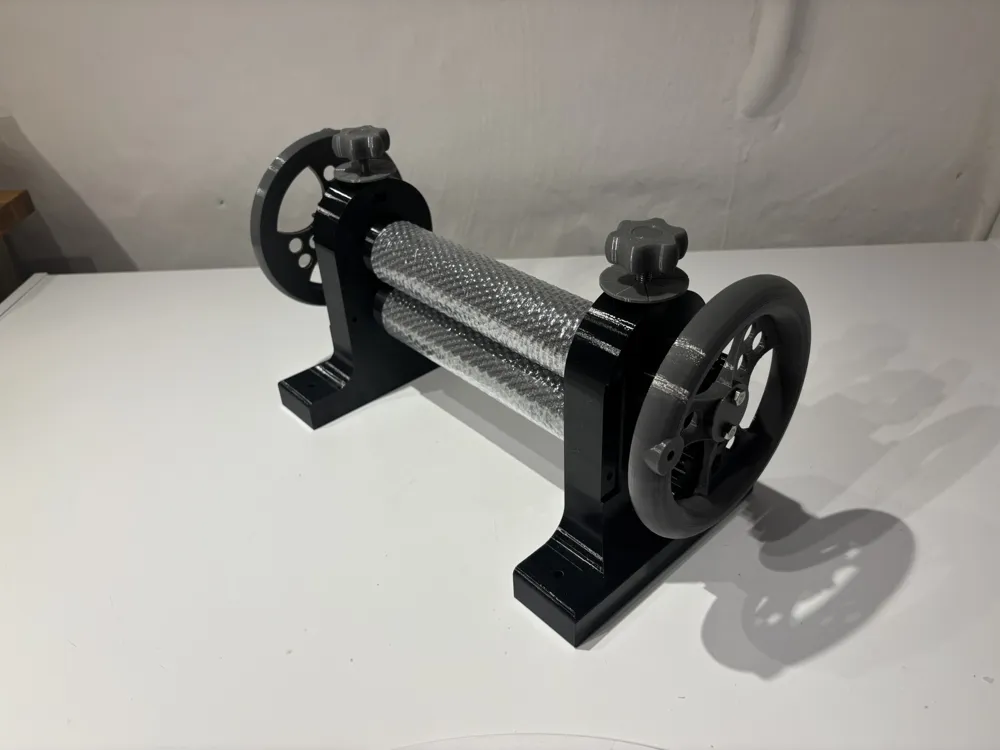
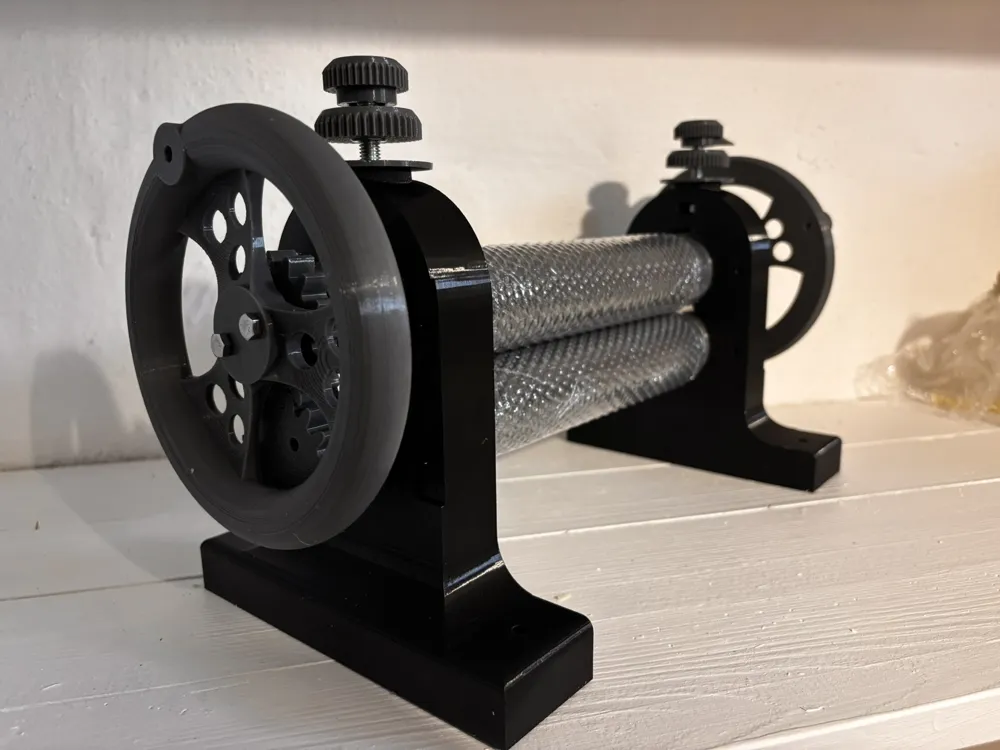
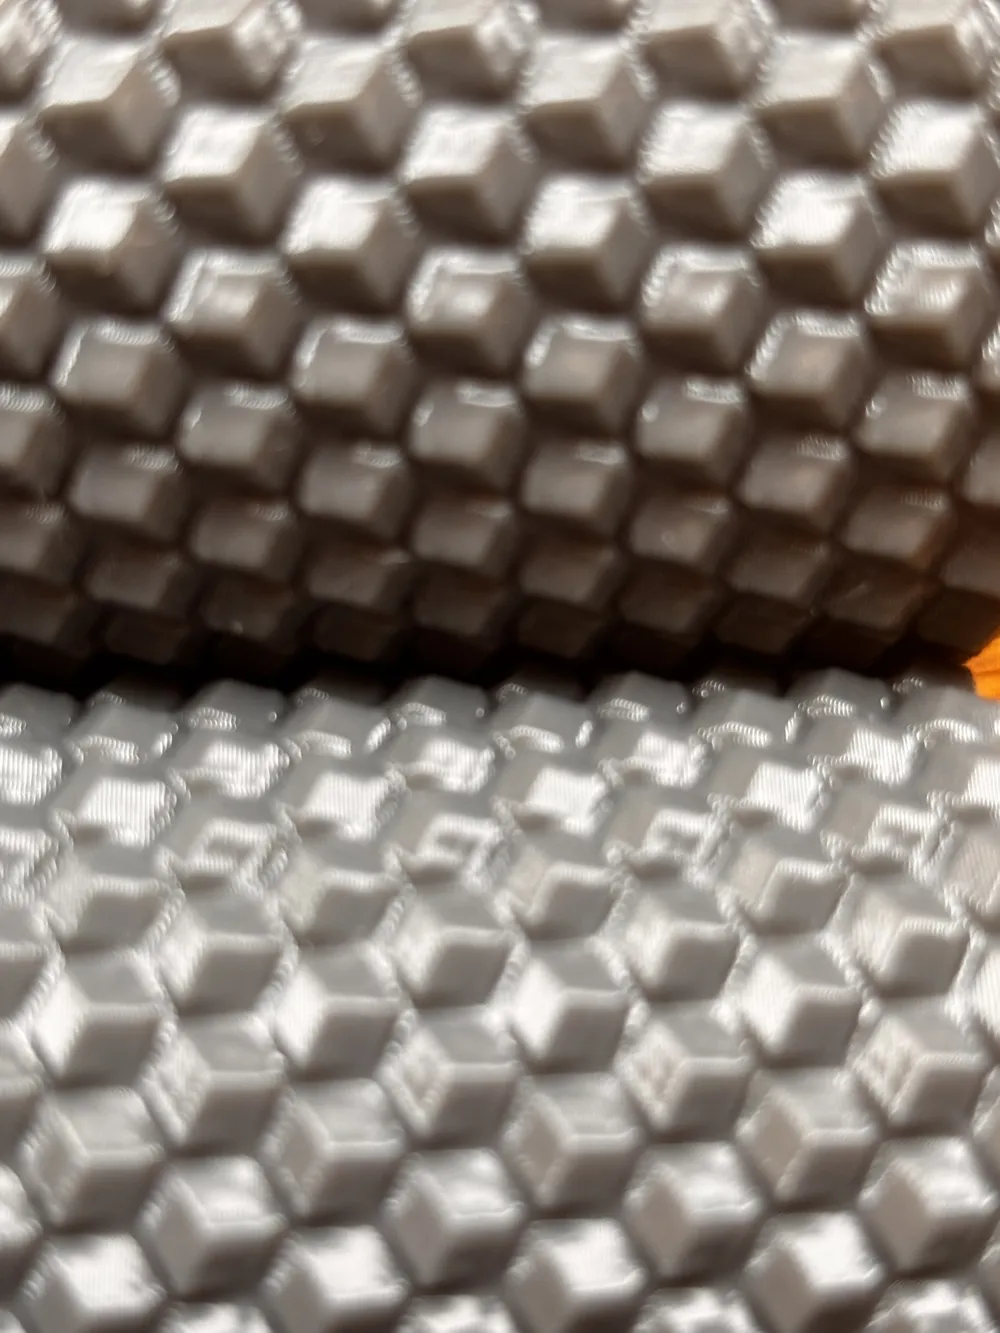
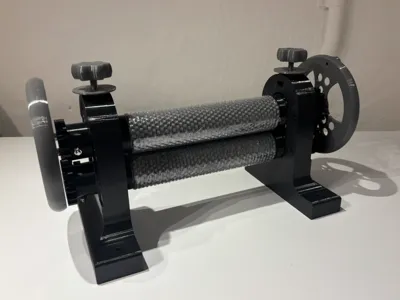
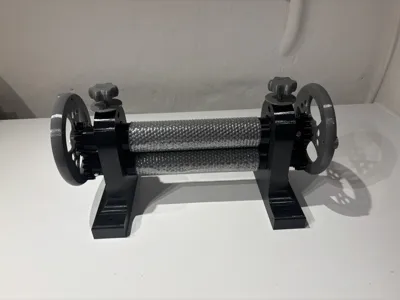
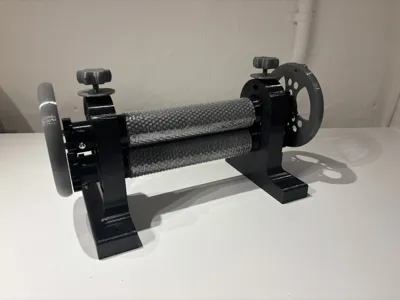
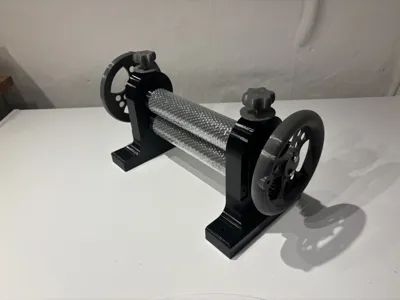
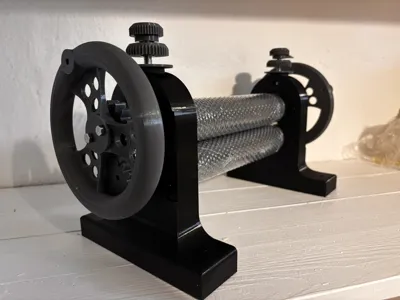
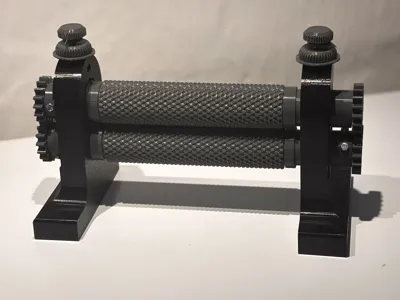
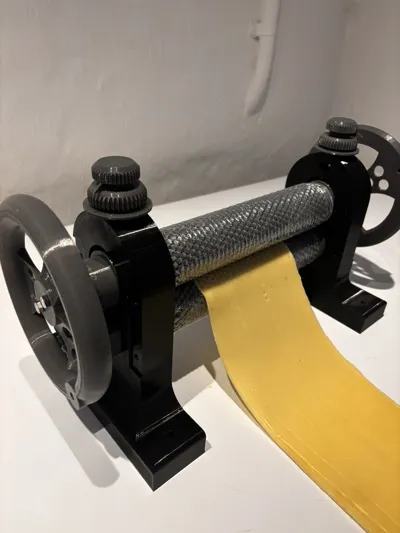
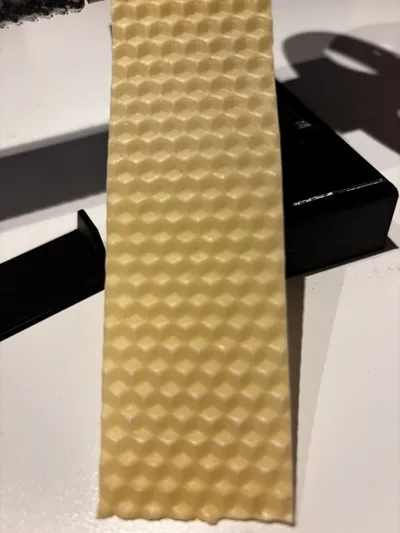
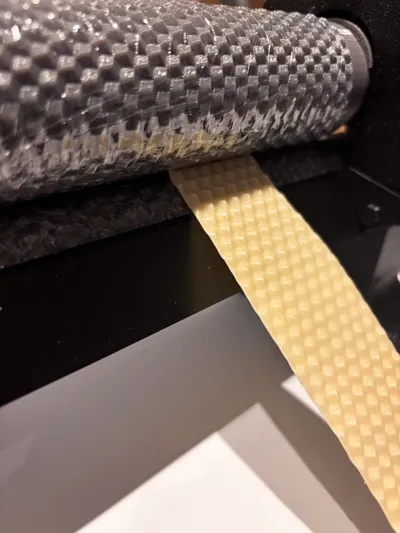
This is a beeswax foundation mill (or wax press, whichever you prefer!).
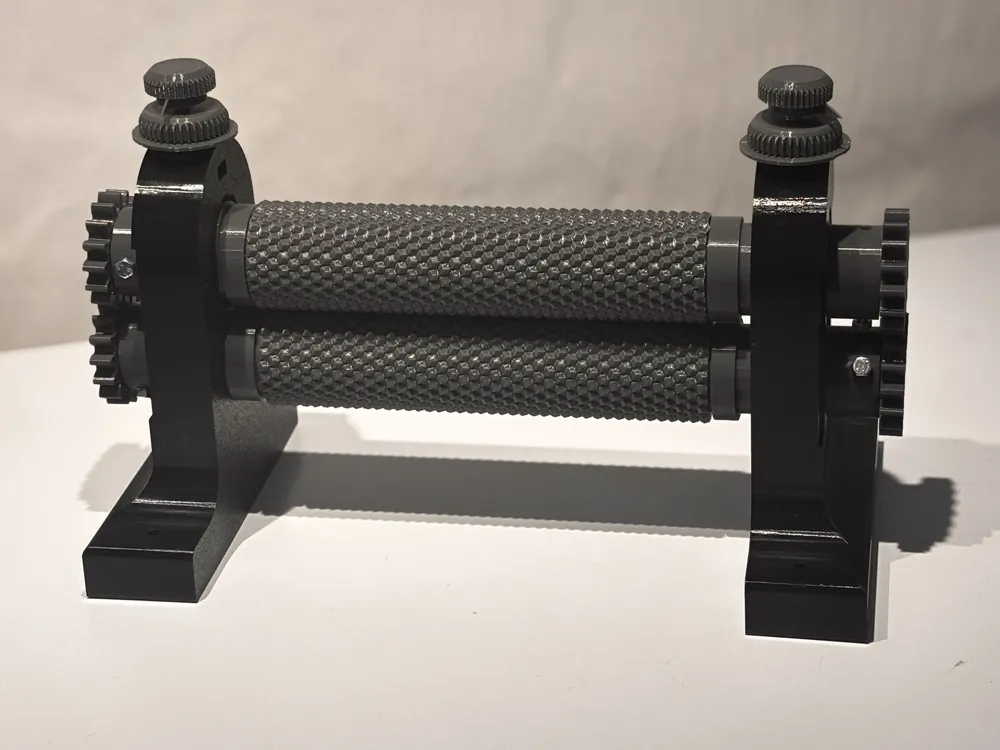
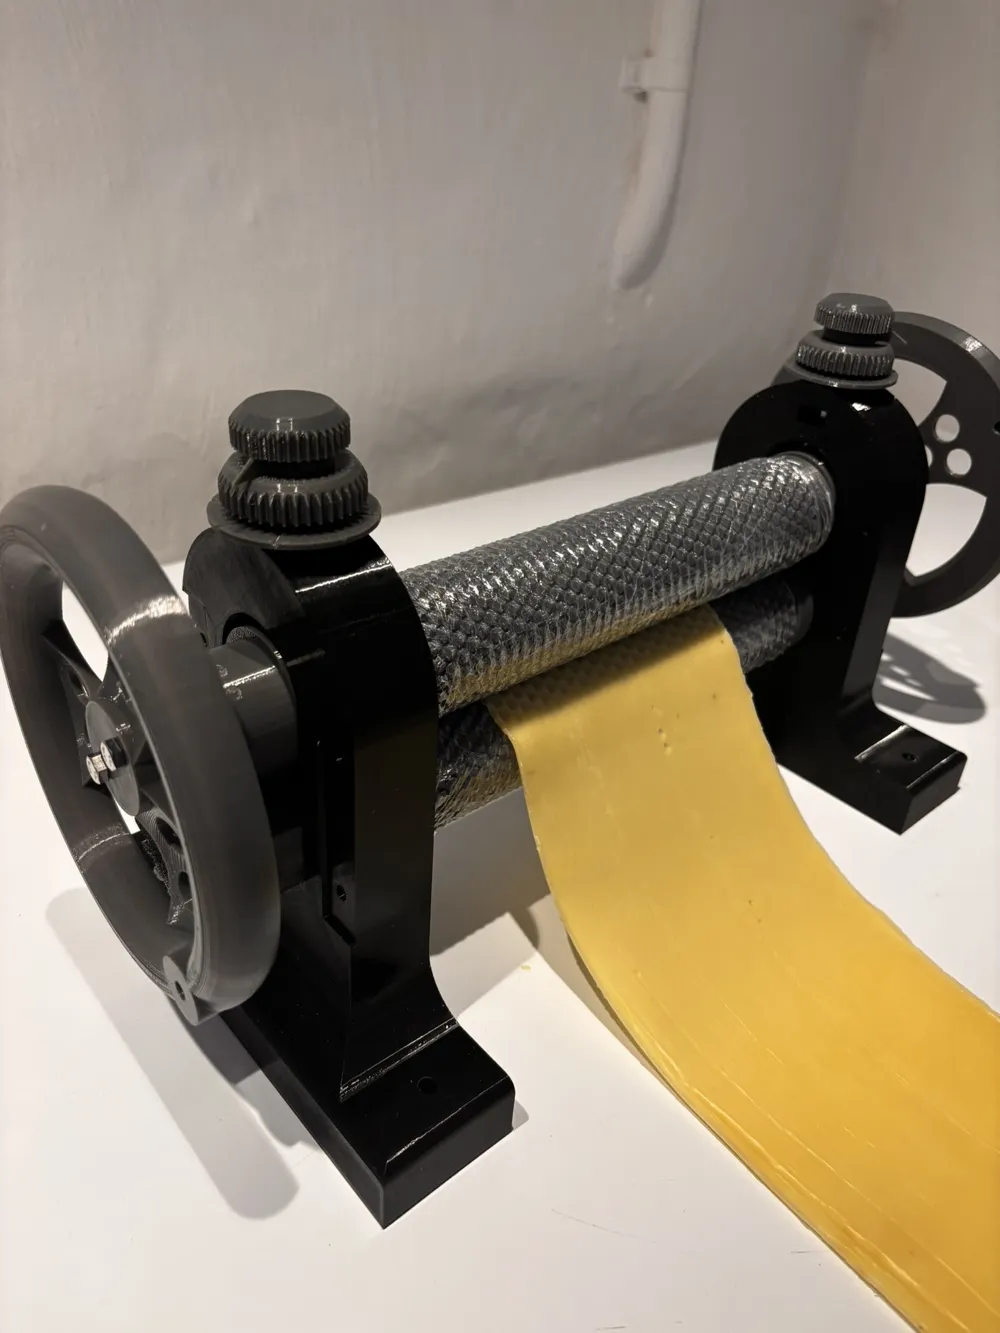
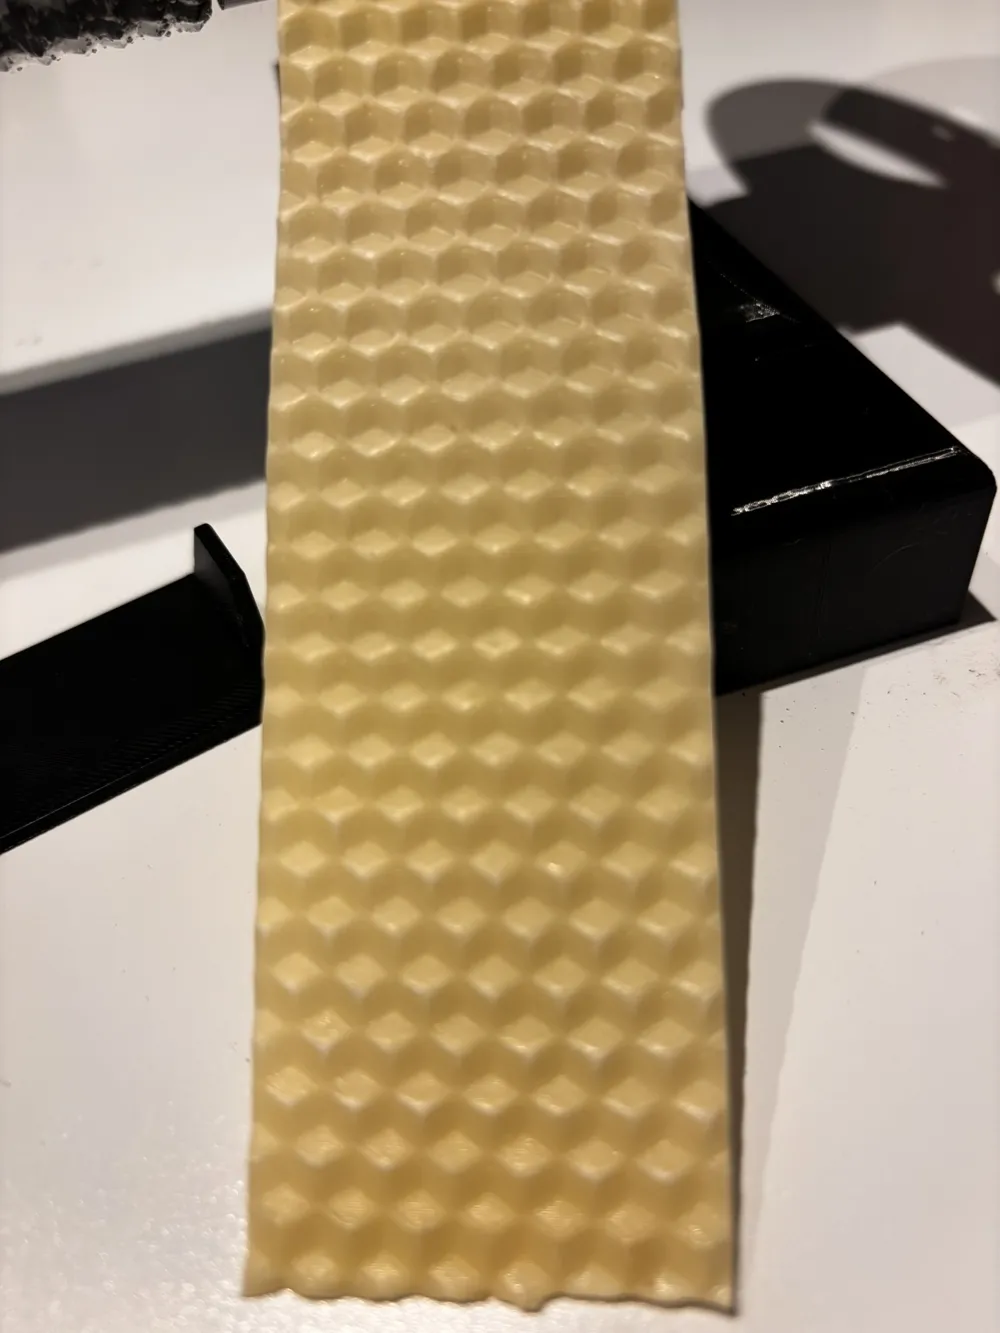
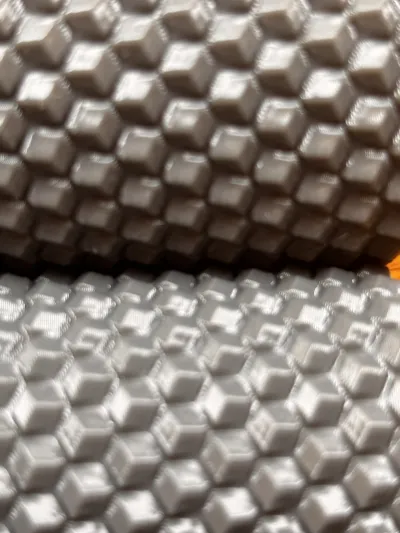
It creates the hexagonal pattern for beeswax foundation sheets, used in beekeeping. These sheets help the bees build up their colonies much faster and more efficiently!
This project has taken a long time to complete, with countless test prints to get this prototype fully functional.
Due to the physical limits of our 3D printers, there are some constraints regarding the width, but we have length on our side!
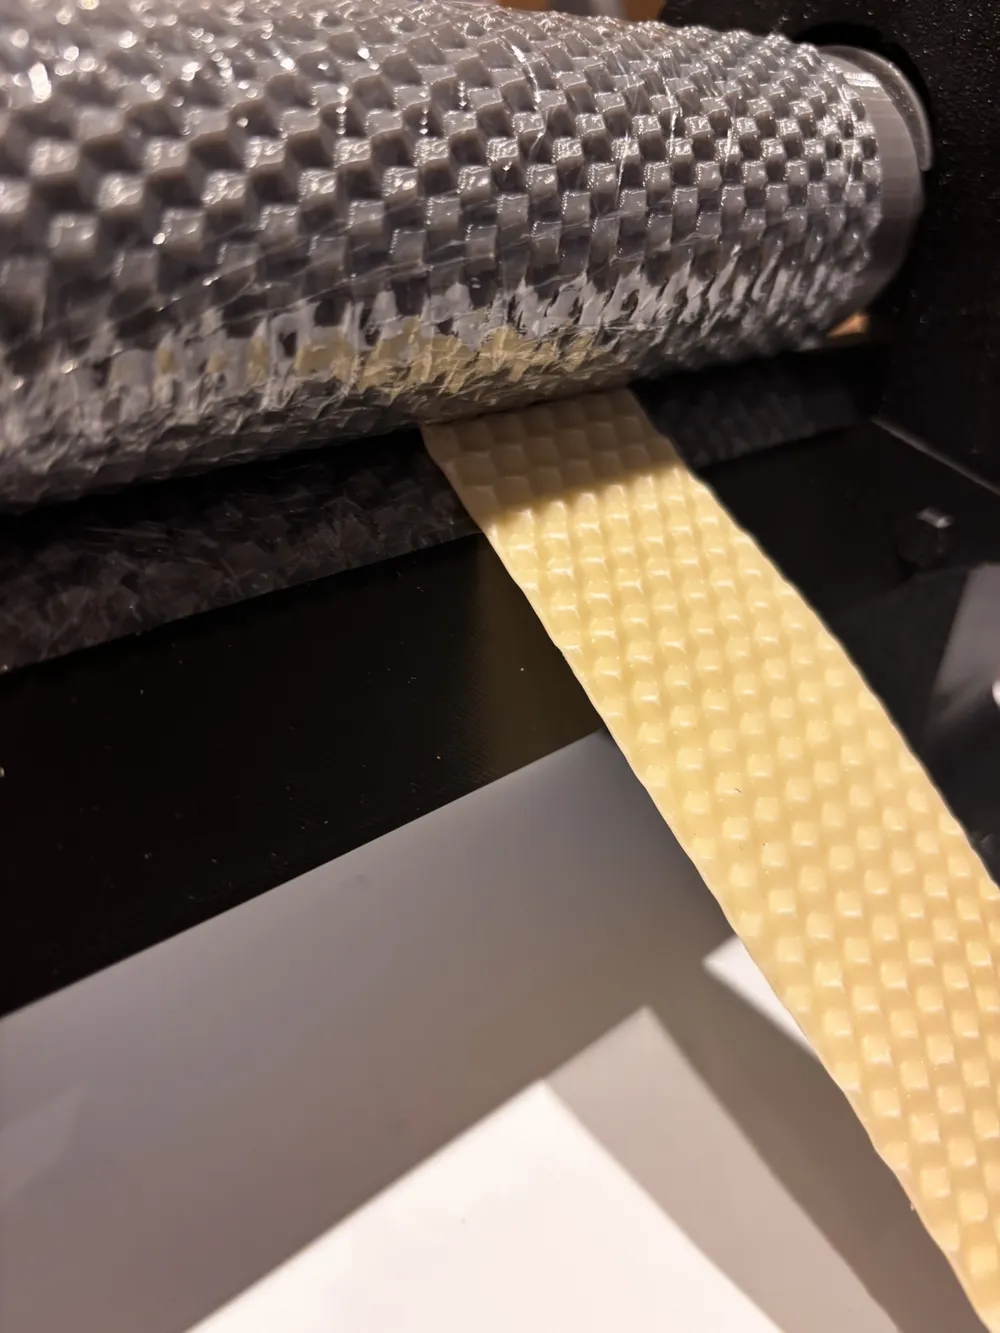
I recommend NOT using the full width of the rollers when feeding wax through the machine, as the pressure on the outer edges can become too high.
If you are using large frames, it is better to split the foundation into two smaller sheets to ensure a clean and even result! Also, keep in mind that you don’t need to emboss the pattern as deeply as the "store-bought sheets" the bees will build on it regardless.
The wax cells are standard size, but since they can become slightly larger or smaller depending on how much pressure you apply when feeding the wax through the machine, the final shape may vary slightly.
I highly recommend wrapping the rollers in plastic wrap (cling film) or heat-shrink plastic using a hair dryer. If the wax gets stuck, it is much easier to just remove the plastic than to spend hours picking wax out of the patterns.
You can also use various release agents, but please make sure they are foodsafe keep the honey and the bees in mind!
Also, ensure that you print the rollers in PETG. It is more durable and can withstand warm water, which makes it much easier to clean off any wax residue.
Assembly Instructions:
I’ve tried to keep this as simple as possible!
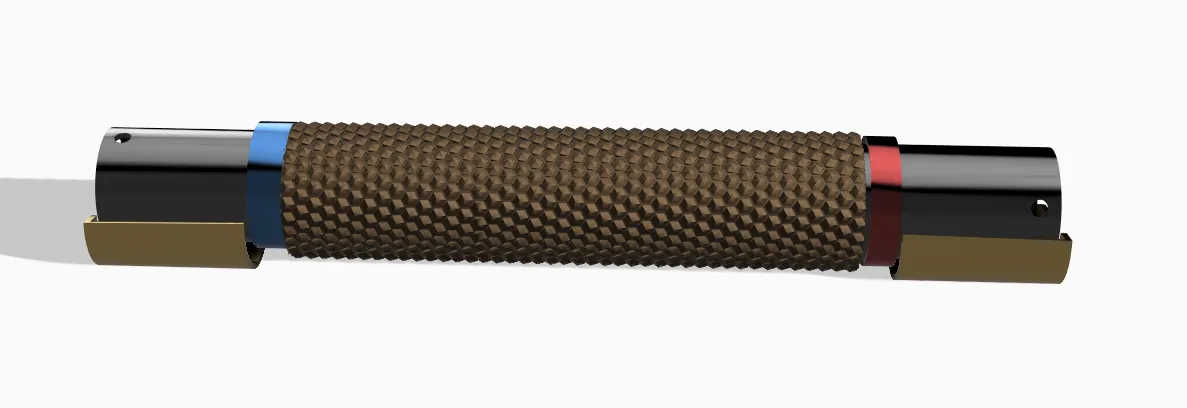
Step 1: After printing the Pattern Rollers and the Inner Cylinders (the ones with 4 plugs/tabs): These can be a bit tricky to align correctly during assembly. Take your time and test fit the shape. It is designed specifically to withstand high pressure. Once you’ve found the correct orientation, push them together but leave a small gap. Apply glue in the gap, then press them fully together and let them dry completely!
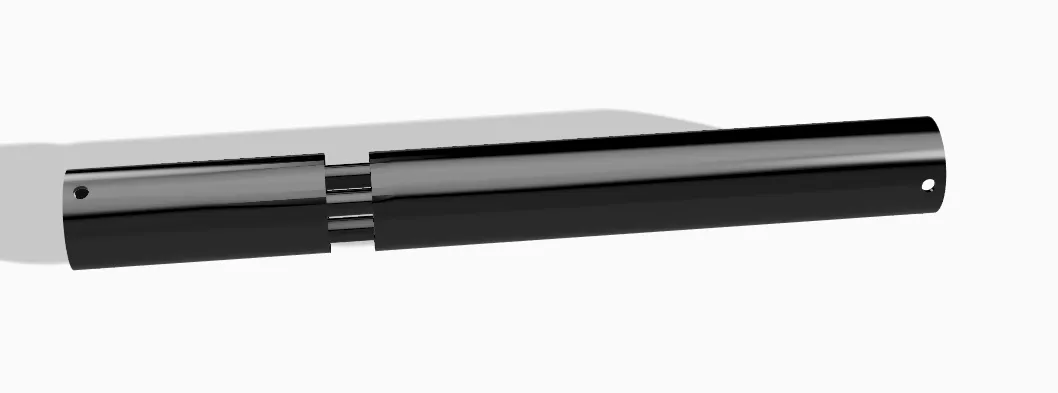
Step 2: Now, slide the Pattern Roller over the Inner Cylinder “test fit”. To help you center it perfectly, I’ve included a Glue Guide that you place on each side of the inner cylinder.
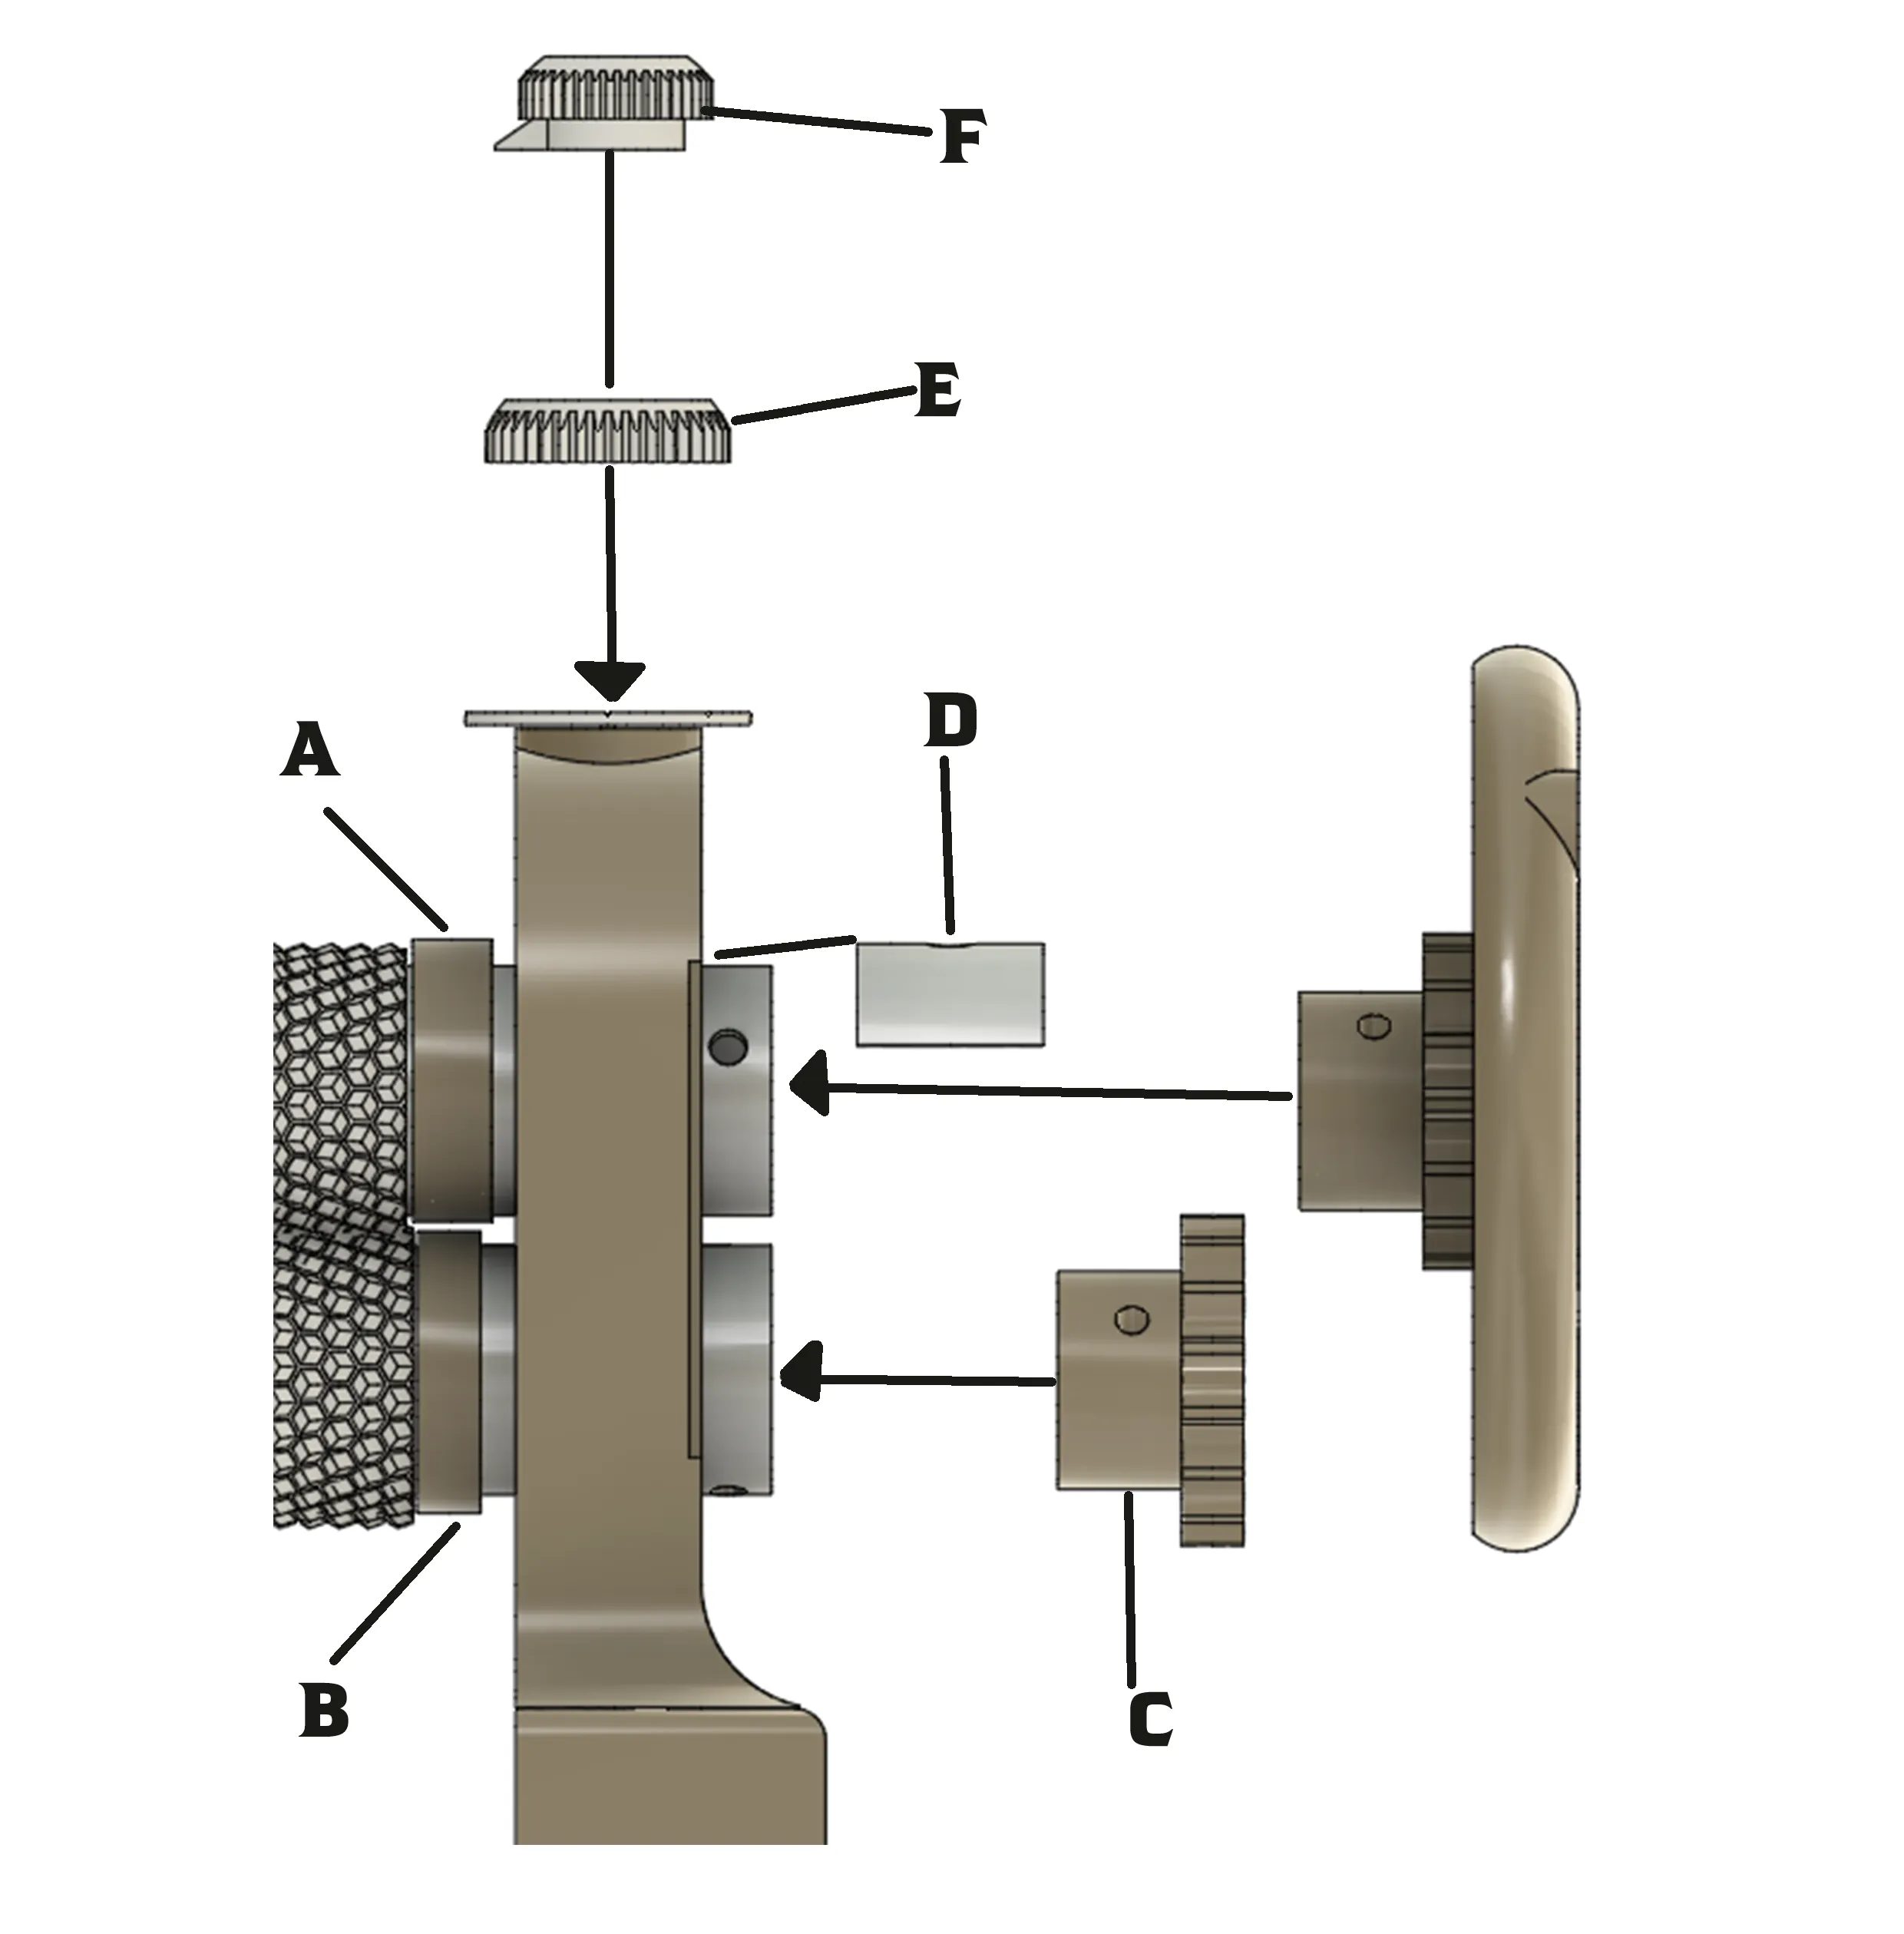
IMPORTANT: You must also attach Part Red(B) and Part Blue (A) as shown in the image below! There should be one red part at one end and one blue at the other. Do NOT glue these parts ! You only apply glue to the actual pattern section, but you need these two spacers in place to ensure the pattern is perfectly centered during the process.
I recommend that you try all the parts a few times before gluing! Then you remove one side, glue along the cylinder and transfer the pattern.
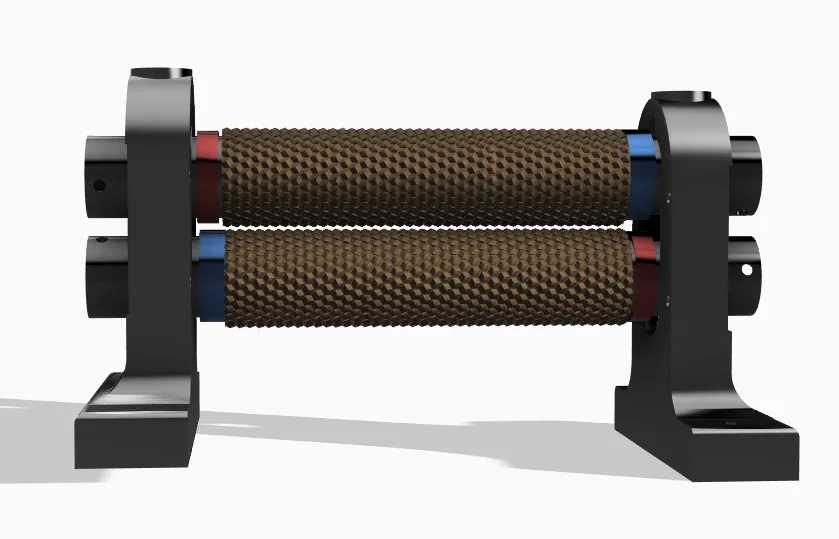
Step 3: Once both rollers are finished and the glue has dried, it’s time to assemble the machine. You will need the two base feet. Next, attach the red and blue parts (which I also refer to as A and B).
IMPORTANT: Make sure they are positioned exactly as shown in the images. You must NOT have "A" on top and "A" on the bottom at the same side. They must be opposites! Refer to the pictures carefully to ensure the alignment is correct.
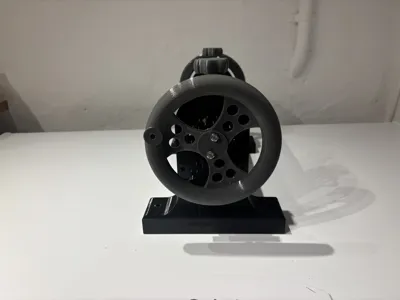
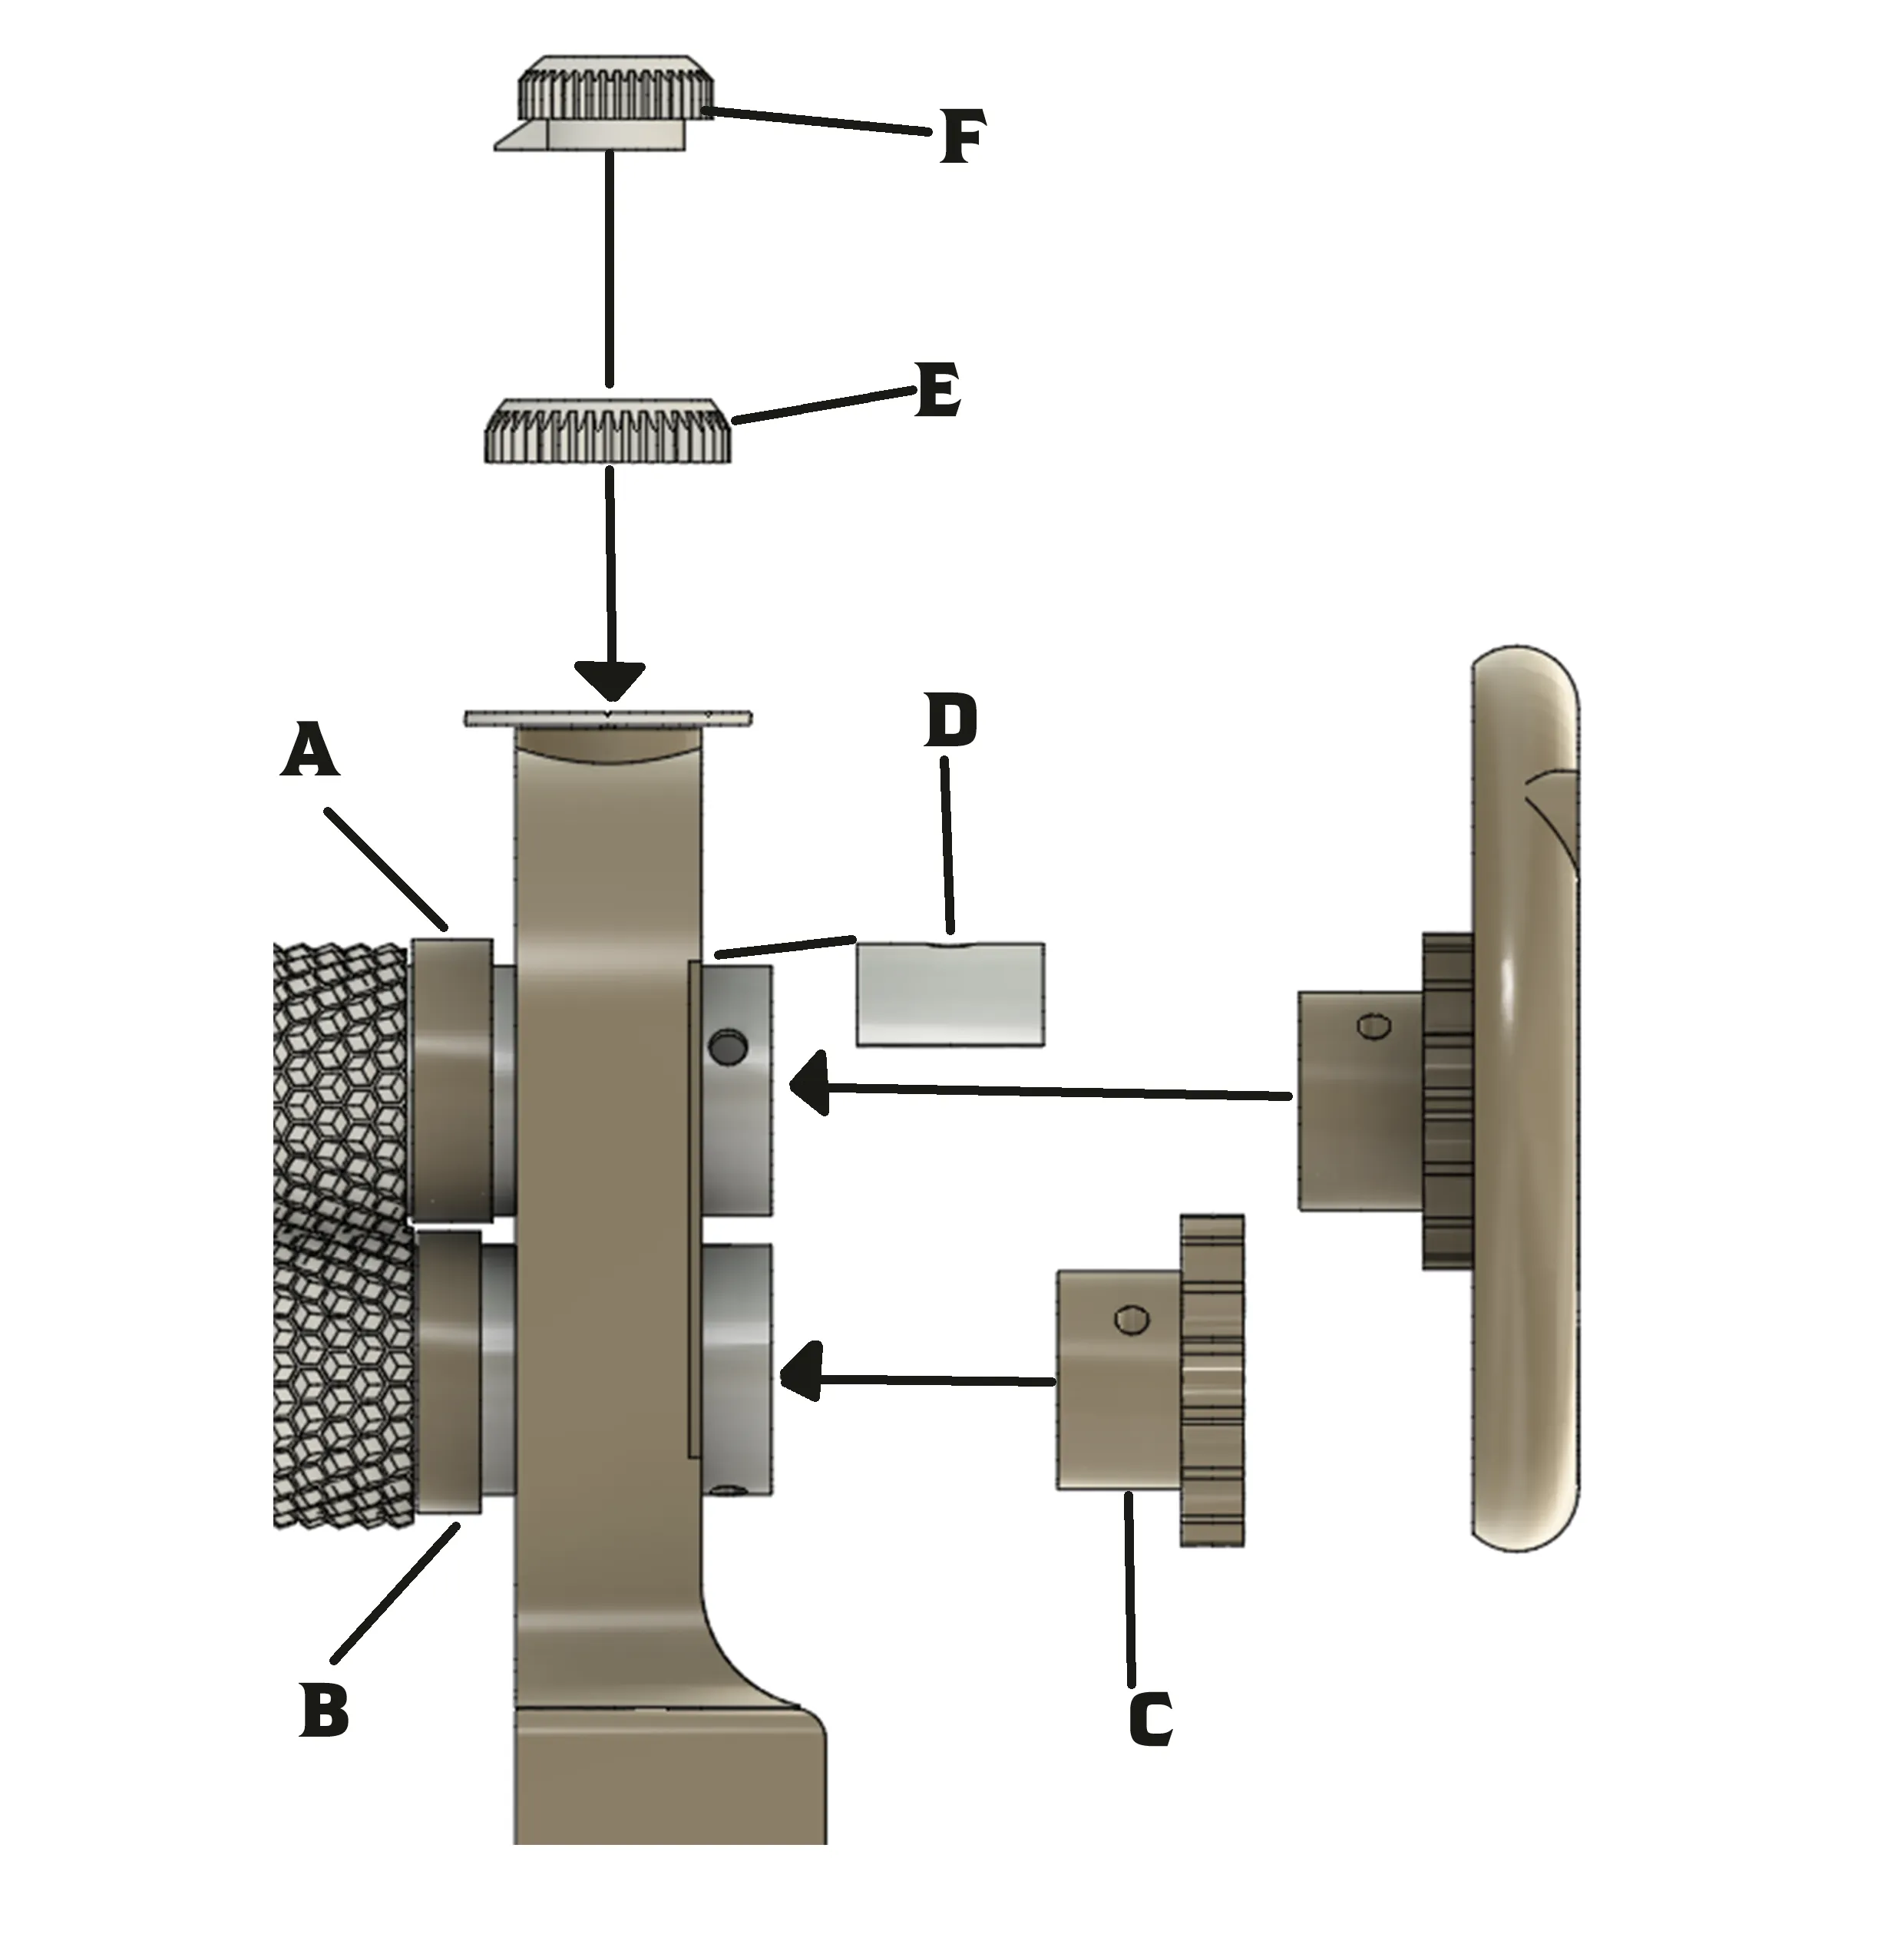
Step 4: Install the drive gears. For this, you will need 8x M5 x 50mm screws (these might be slightly too long; 45mm is ideal but can be harder to find, so test what works best for you!).
IMPORTANT: Ensure the holes where the screws enter are slightly offset from each other. This is to prevent the screws from hitting each other as the gears rotate. The holes are designed to be offset to avoid this, but double-check during assembly.
Don’t forget to insert Part D (the Clamp/Press Plate). This plate distributes the pressure from the screw evenly across the surface.
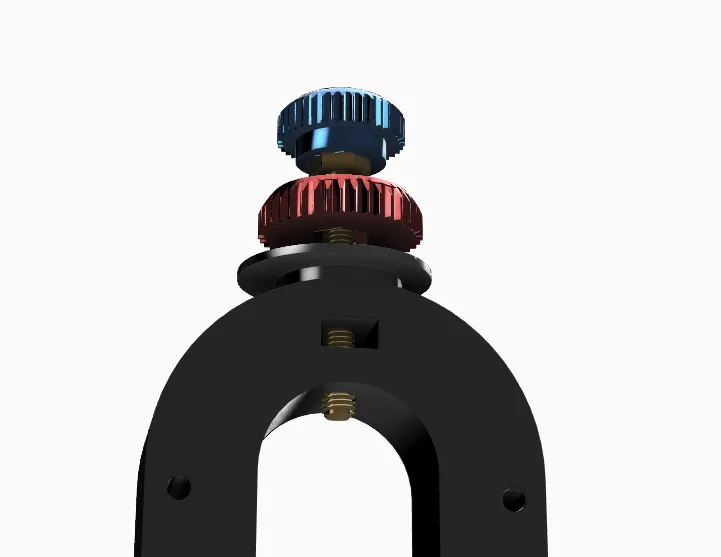
You will also need 2x M8 60mm bolts and 4x nuts for the following:
- Part F (the Screw Cap): One bolt goes through the cap and into the base foot, which has a dedicated slot for the nut.
- Part E (the Lock Nut): Place the second nut inside this part to complete the adjustment assembly.
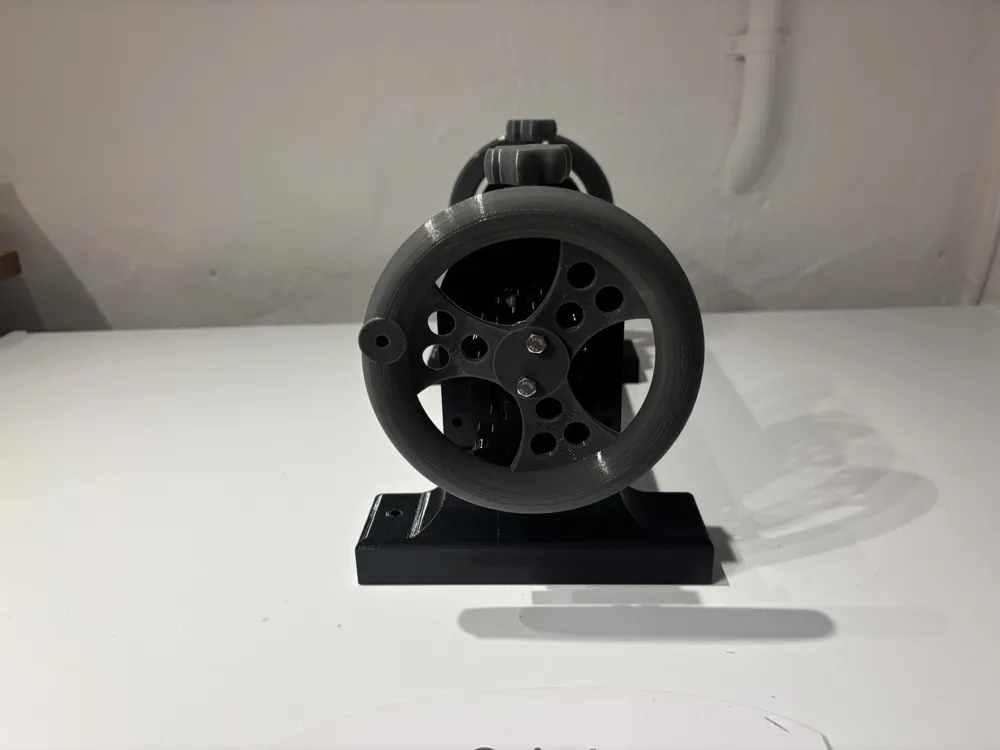
The hand wheel (crank) is mounted to the gear using a bolt on the back of the gear, as shown in the image below. You will likely see how everything fits together once you begin the assembly process!
If you have any questions, feel free to message me, and I will do my best to clarify anything that is unclear.
As mentioned, this is a substantial project that requires a fair amount of PETG and a good dose of patience! I hope you find it interesting and perhaps even useful. It is by no means perfect, but I have truly tried my best to create an affordable wax press for small-scale beekeepers who want to use their own wax.
Membership
If you want to sell these models or just support me!
Boost Me (for free)
Please give me your boost (it's free) It helps me a lot! It takes a lot of time and material to make these models, it usually takes 5 prototypes before the file is ready so you can download it and get a finished working model . Thanks <3
Click on the pictures to get to the models
License

You shall not share, sub-license, sell, rent, host, transfer, or distribute in any way the digital or 3D printed versions of this object, nor any other derivative work of this object in its digital or physical format (including - but not limited to - remixes of this object, and hosting on other digital platforms). The objects may not be used without permission in any way whatsoever in which you charge money, or collect fees.


Comment & Rating (16)