
Parametric Flip-Top Thrash Can
Print Profile(1)
Description
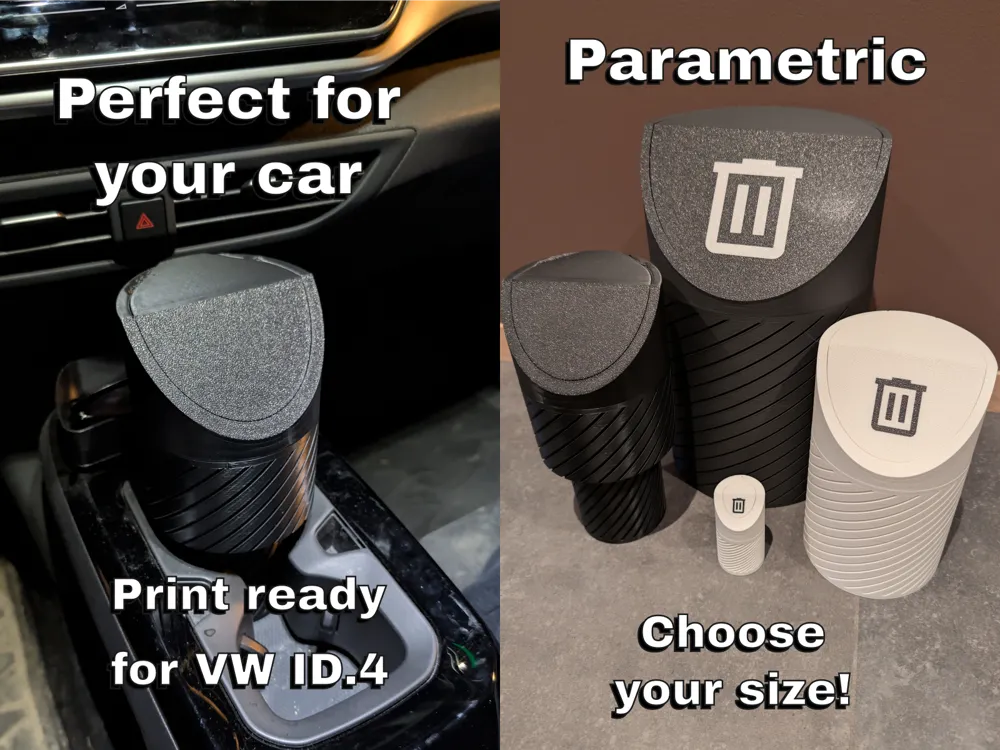
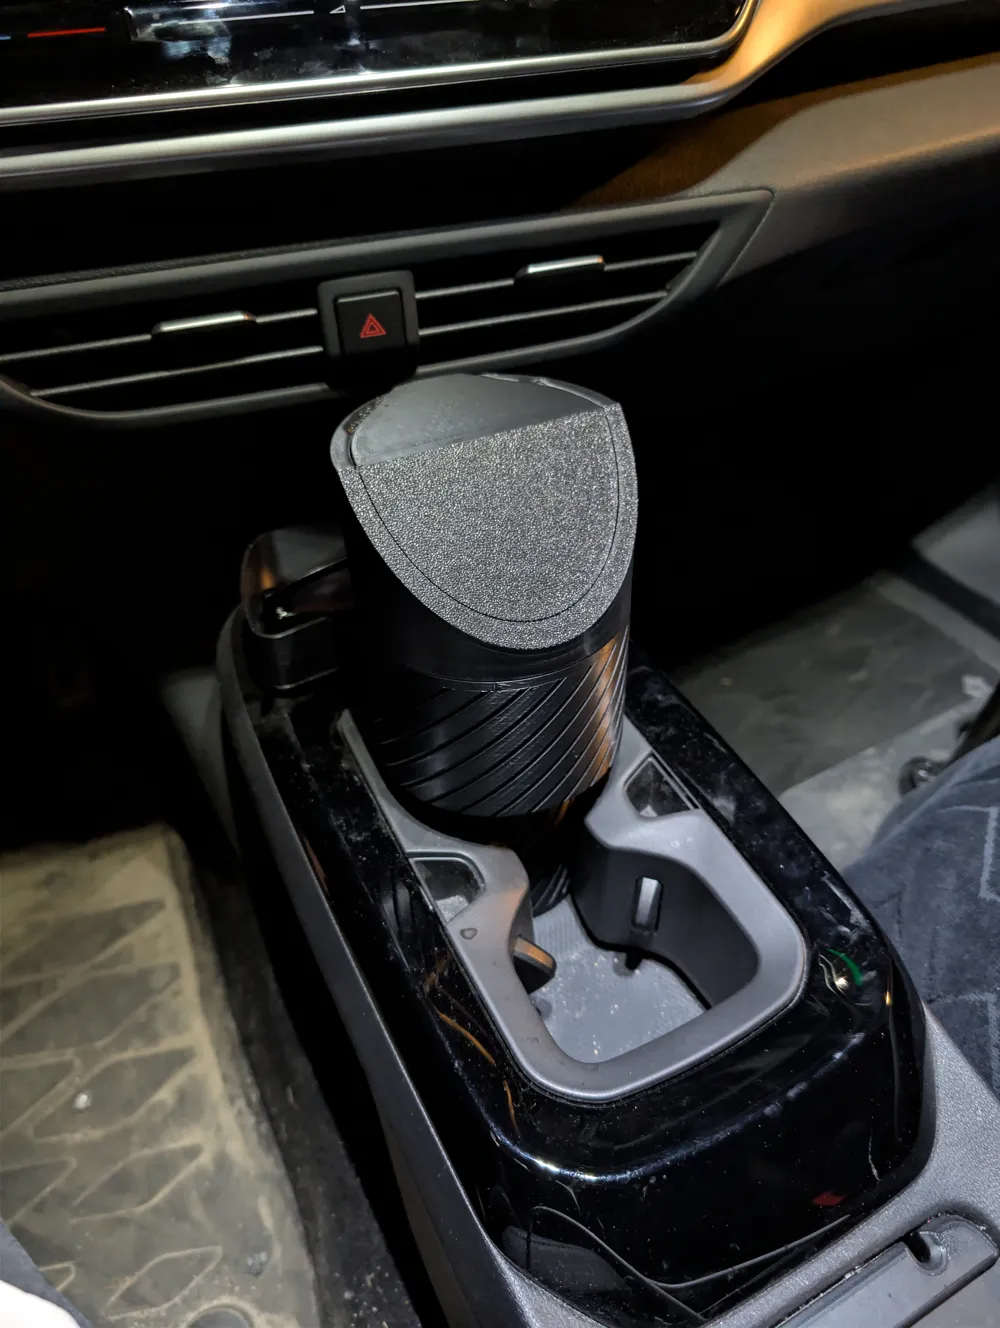
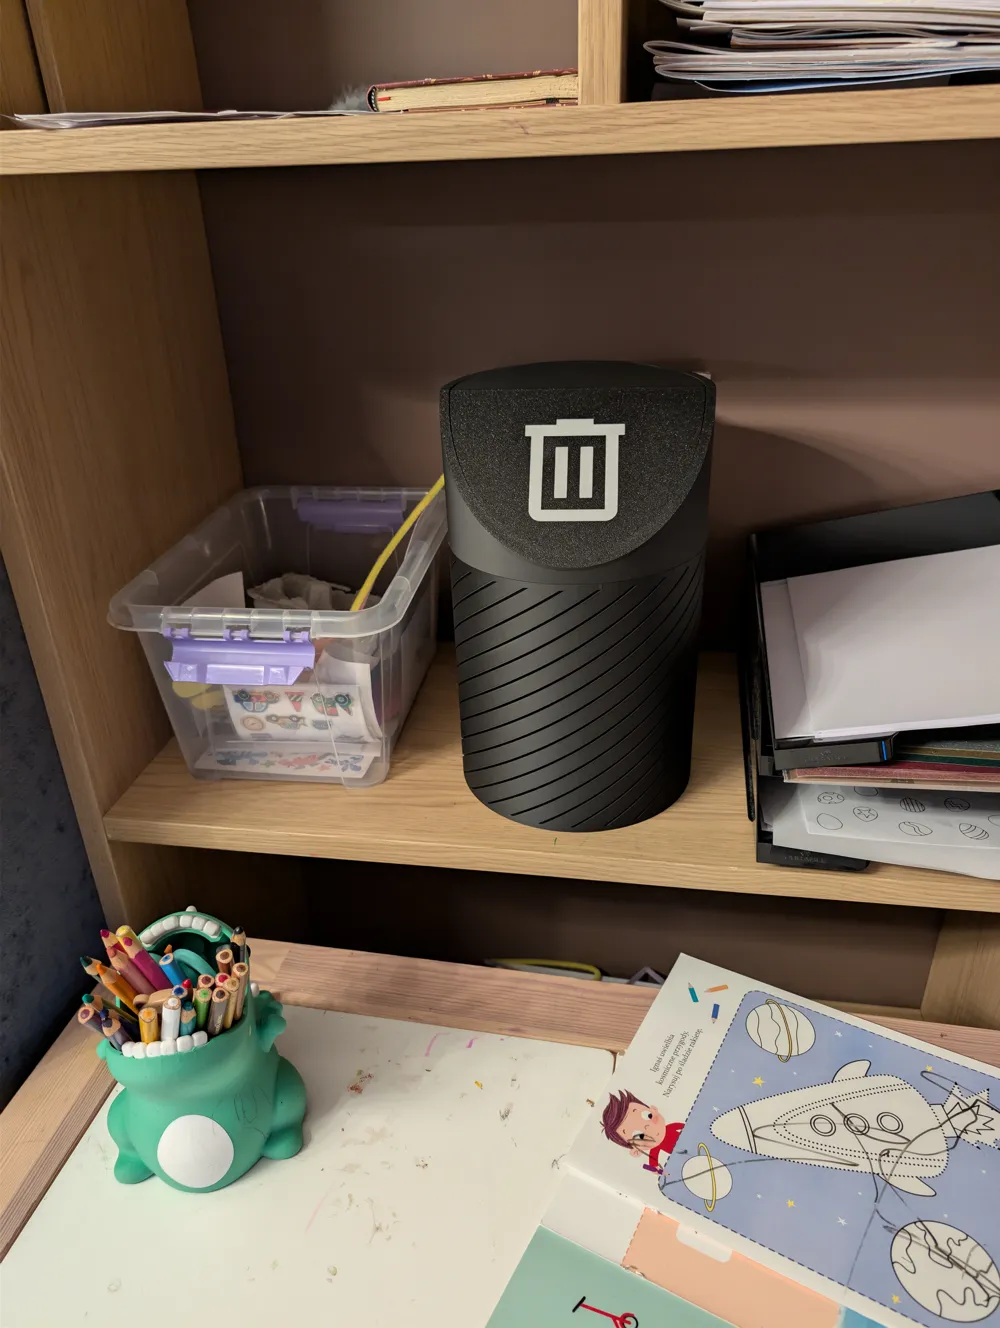
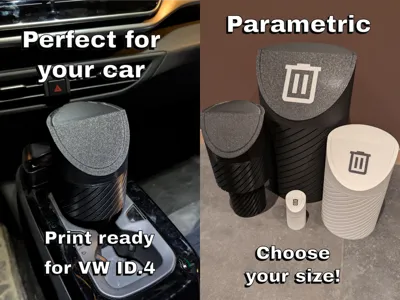
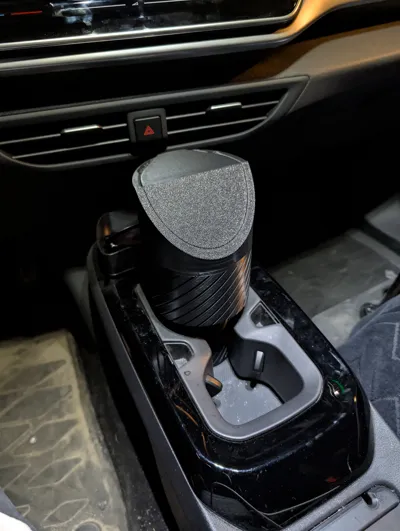
I designed this because I wanted a thrash bin in my VW ID.4 to avoid trash being put in side doors, on the floor etc. I previously made a simple cylinder. This filled up pretty quickly, so i wanted to increase the volume.
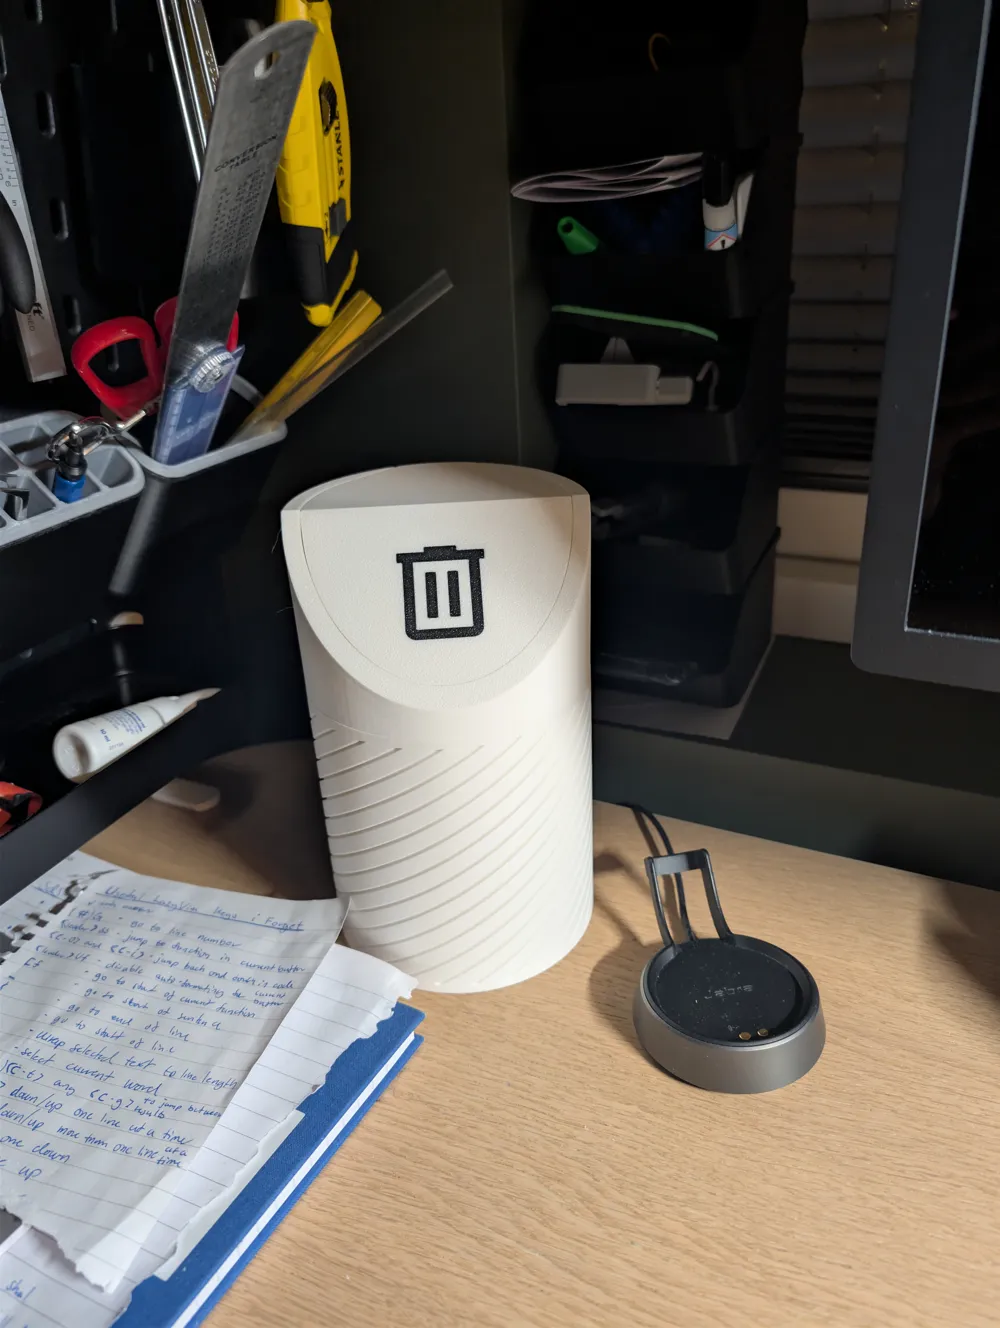
This model lets you fit it in the cup holder and have it larger at the top so there's more volume for trash. Since it's parametric, you can also just make it a standard cylinder for a desk or a workbench.
Boost Me (for free)
If you enjoyed the model, please consider giving me a boost 🙏
I made two pre-made versions:
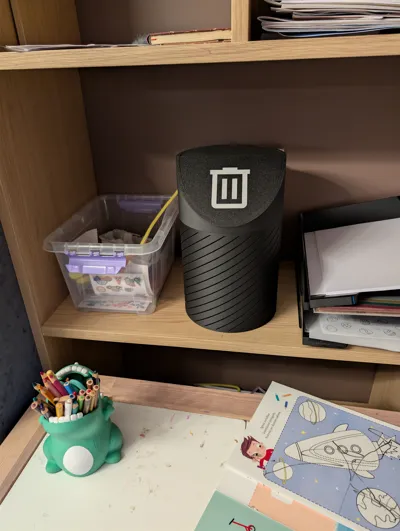
- Cylindrical with a diameter of 120mm and a height of 120mm (total_height paramater. So actually higher if you include the lid).
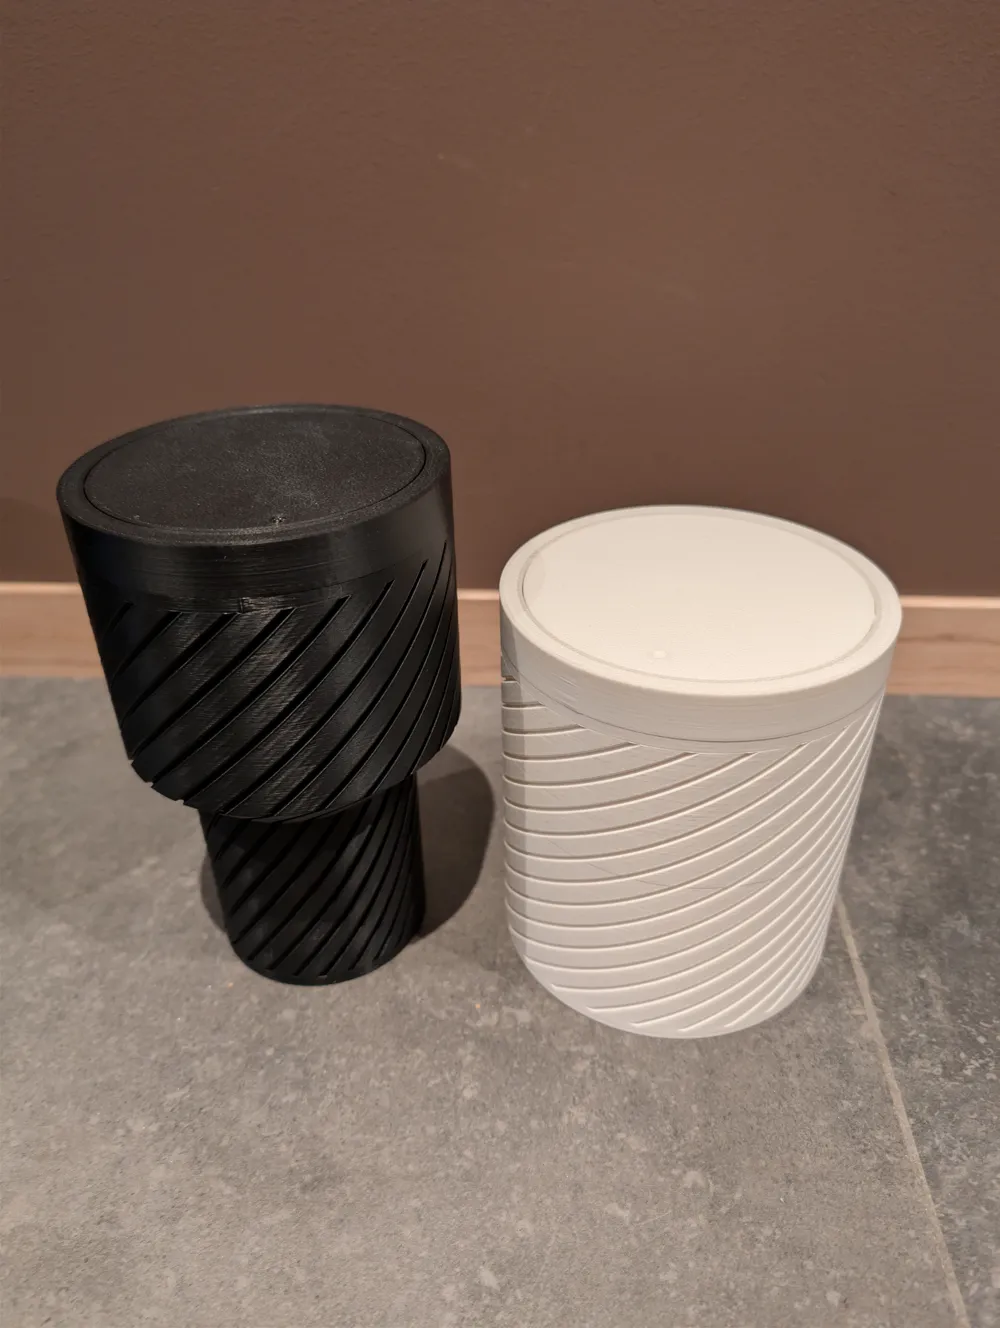
- ID4 Cup holder with lower diameter of 76mm, upper diameter of 110, lower height 76mm and total_heigth 160mm (again, actually larger if you include the lid).

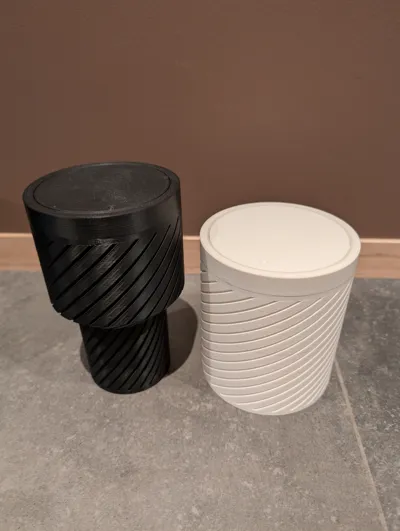
Also, as the slanted lid might be a bit difficult to print. I also added a simple lid which should be easier to print. Or if you just prefer a flat lid. The slanted lid printed great for me in PLA, but i had some imperfections when trying with PETG HF. That might be all on me thought.

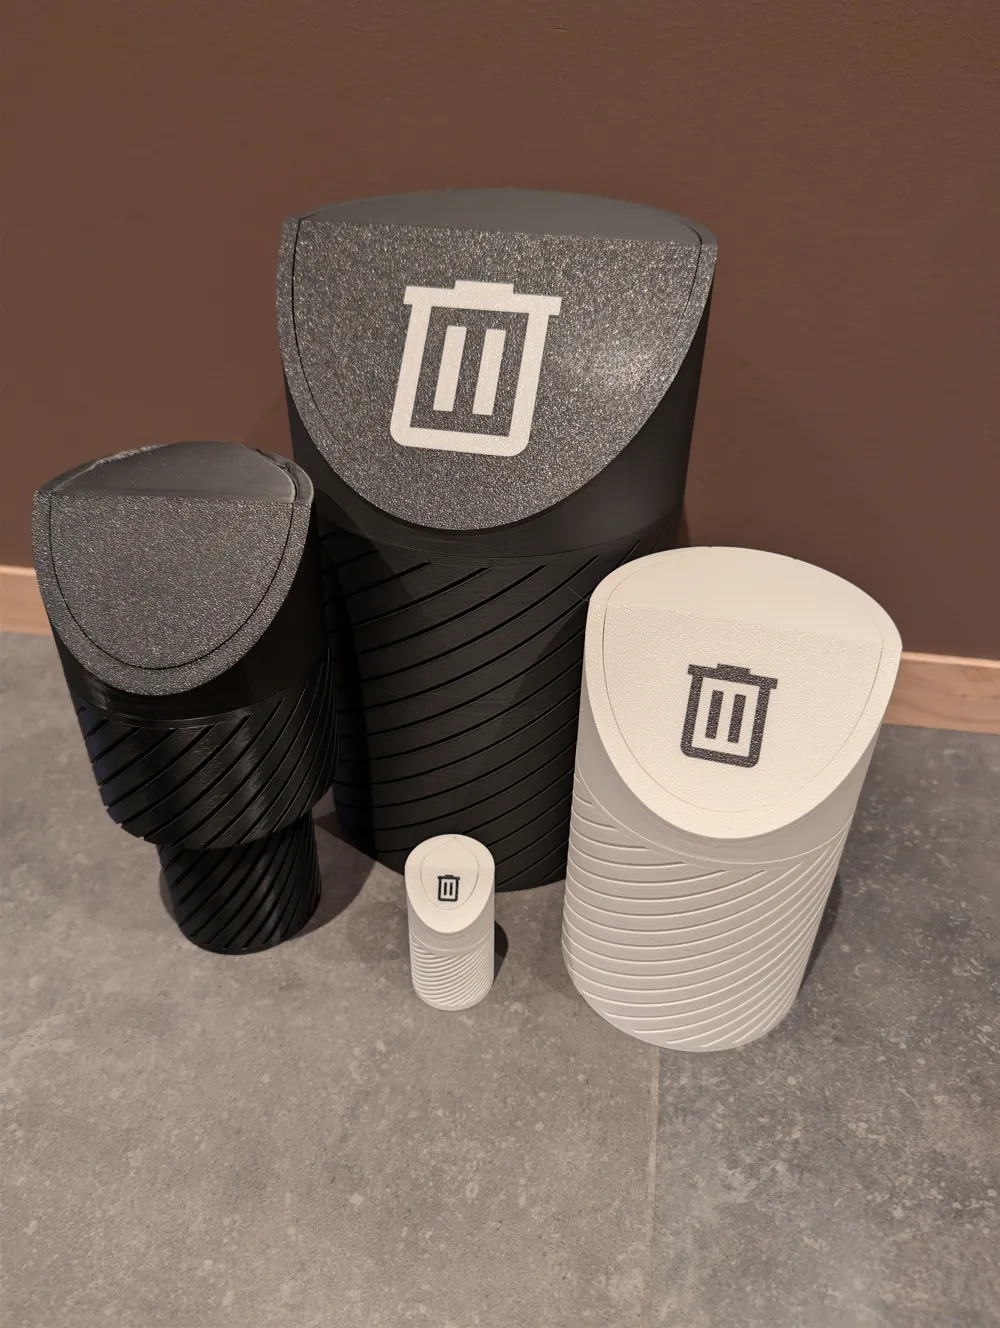
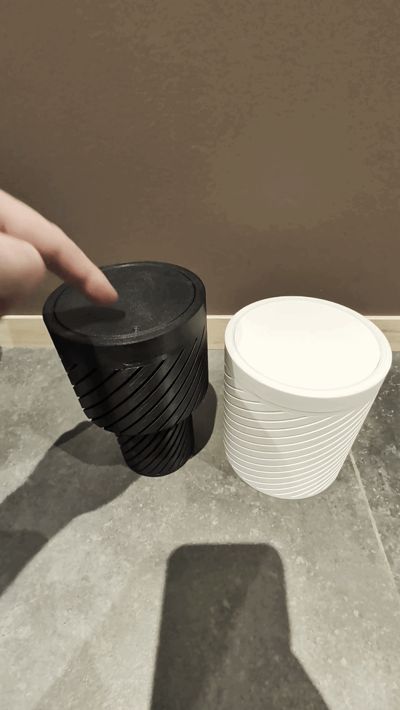
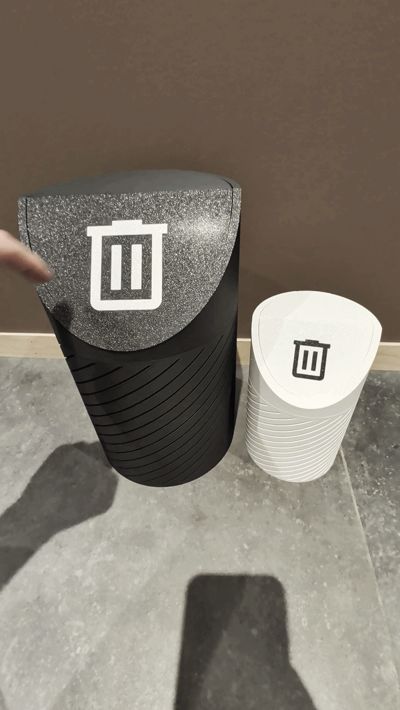
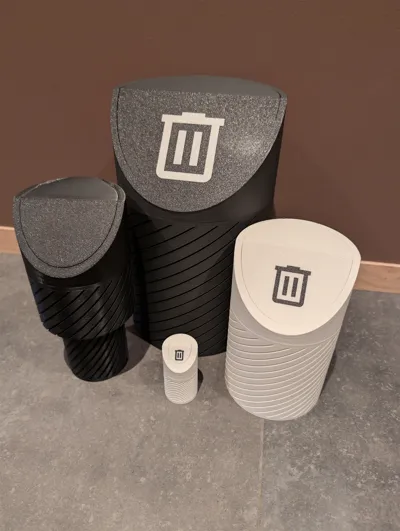
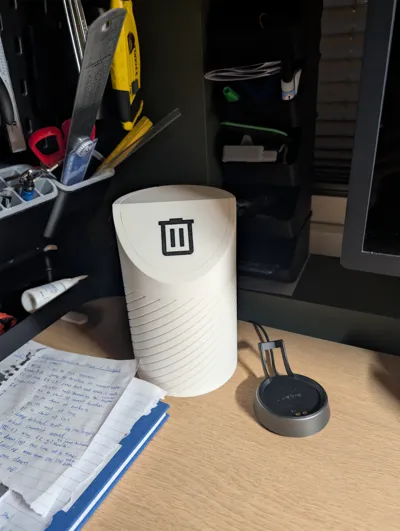
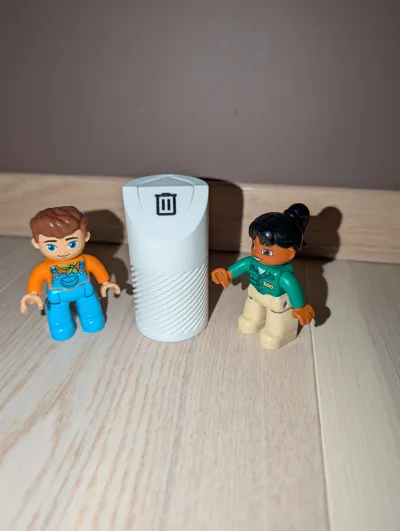
The ones in the images are:
- Small - Cylindrical with a diameter of 40mm and a total_height of 40mm.
- Large - Cylindrical with a diameter of 190mm and a total_height of 200mm.
- Medium - Cylindrical with a diameter of 120mm and a total_height of 120mm.
- ID4 Cup holder - Lower diameter of 76mm, upper diameter of 110, lower height 76mm and total_height 160mm.
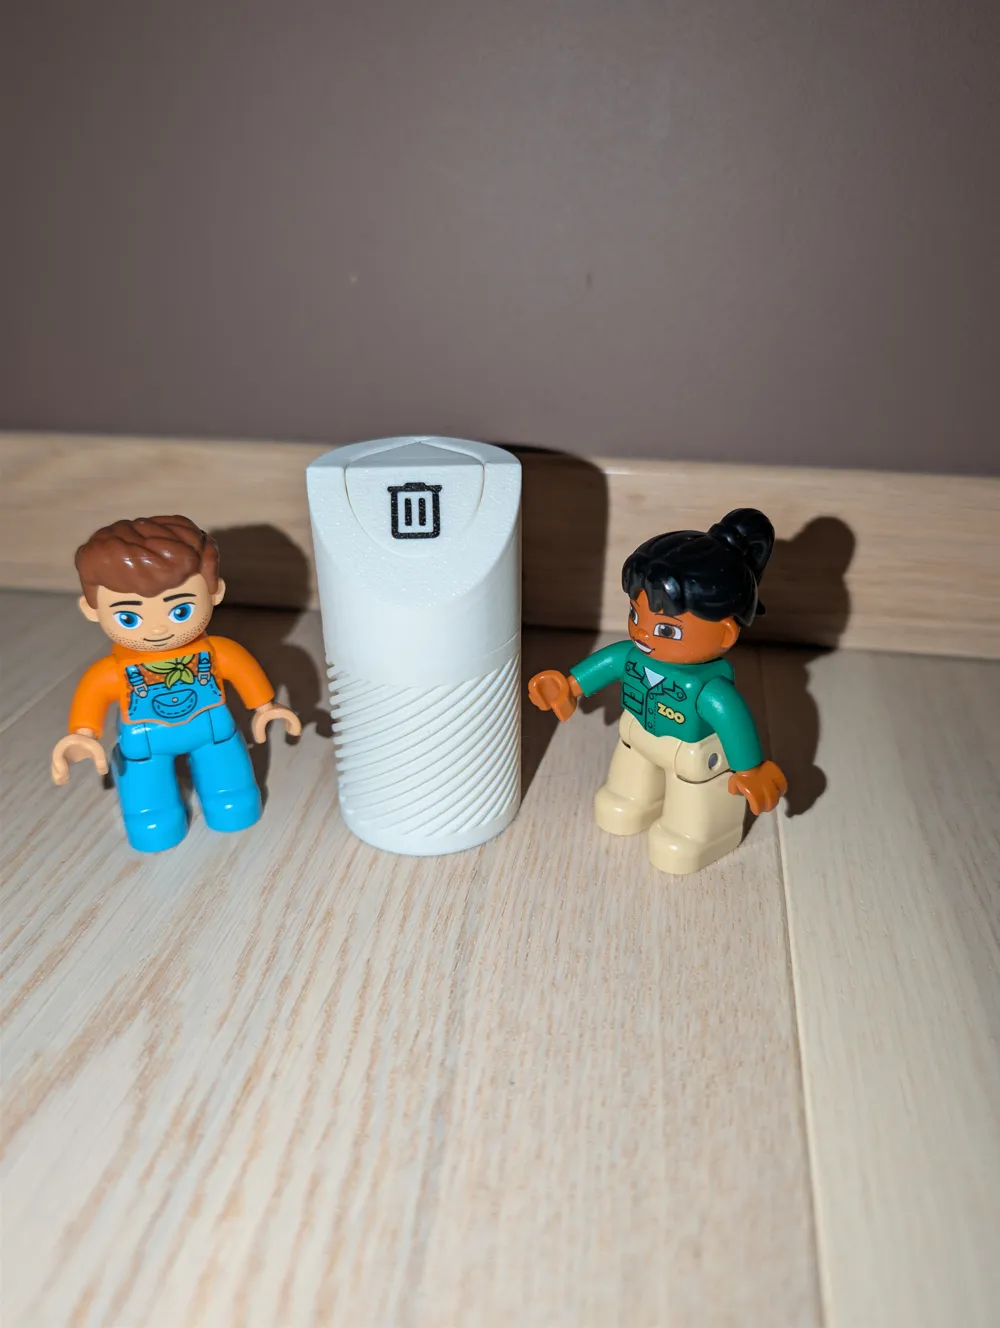
The small one was just for fun. Its 40mm in diameter and is about as small as you can get while still being somewhat functional.
NOTE: If you go too large it starts to loose functionality. The 190mm i printed is totally functional, but it doesn't handle abuse (the flap falls of is you use it too hard) and it is a bit difficult to screw on the lid. So there is definitely a sweet spot with cup-holder sized trash cans.
A Few Things to Keep in Mind:
- Cylindrical: When creating a cylindrical bin, one should choose the lower diameter as a small step from the upper. Eg. upper_diameter 100mm and lower_diameter 99.999mm. Or else it might not be generated properly. This can produce a faint line, so i tried placing it far down in the example.
- The Hinge: The lid is a "print-in-place" style. When it finishes, the flip-top will probably feel like it’s fused to the frame. Don’t panic—just give it a solid wiggle or a firm snap to break it free. It’ll swing perfectly after that first "crack."
- Heat Resistance: If you're using this in a car, please use PETG, ASA, or ABS. PLA will basically turn into a puddle the first time you park in the sun.
- Don't Go Too Thin: If you decide to make a massive version of this, the walls might get a bit "flexy," which can make the lid pop out of its hinges. If you're going big, try you could try increasing the wall_thickness parameter to keep it stiffer.
- Icons: I removed the icon from the parametric version because it was a pain to scale correctly in the editor. You could use Bambu Studio to add icons or text if you wish.
Instructions for Customized Import in Bambu Studio (Read This!)
The way the customizer handles files, you’ll need to do a few clicks in the slicer to get it ready:
- After importing Right-click the model and select Split -> To Parts.
- In the object list on the left, find the two pieces that make up the lid.
- Select both lid parts, right-click, and hit Sub Merge. It is very important that the two parts are aligned as they were and not split in two. If you made a mistake and printed the three parts separately, you could still probably assemble them again depending on size and fit by squeezing the sides and inserting the flap.
- Now you can move the lid and the bin separately to lay them flat on the build plate.
One last thing: Since this is parametric, "extreme" values might make the geometry look a bit funky. Always check your sliced preview to make sure everything looks solid before you start the print!
License

You shall not share, sub-license, sell, rent, host, transfer, or distribute in any way the digital or 3D printed versions of this object, nor any other derivative work of this object in its digital or physical format (including - but not limited to - remixes of this object, and hosting on other digital platforms). The objects may not be used without permission in any way whatsoever in which you charge money, or collect fees.


Comment & Rating (0)