Silent Breeze: The 200mm Travel Fan (Noctua)


Print Profile(2)
Description
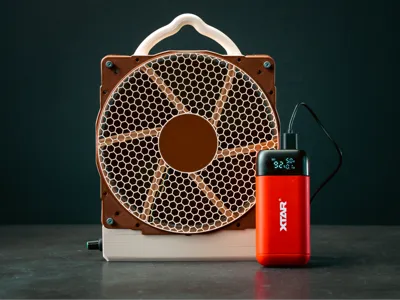
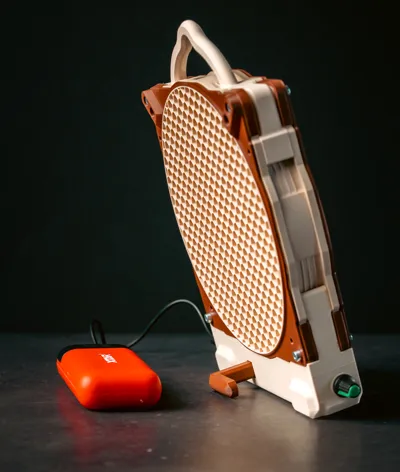
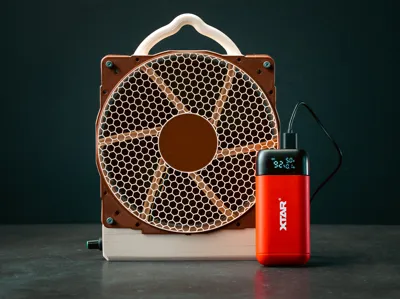
Tired of loud, flimsy portable fans that barely move any air? This project transforms the industry-leading Noctua NF-A20 (200mm) fan into a versatile, silent, and fully portable cooling powerhouse. Whether you’re working on your laptop, relaxing in your car, or out camping with a power bank, this fan provides a studio-quality breeze wherever you go.
I already had most of the electrical parts lying around and thought I could turn the fan into a nice summer project. I was thinking especially of those hot, stuffy summer days at my desk or on vacation with the family. Having a light breeze at night in the camper is really quite pleasant! And you usually have power with you, whether from your laptop, in the car, or with a power bank. That's why I decided against an integrated battery.
Depending on your power supply and the fan version, I have several options.
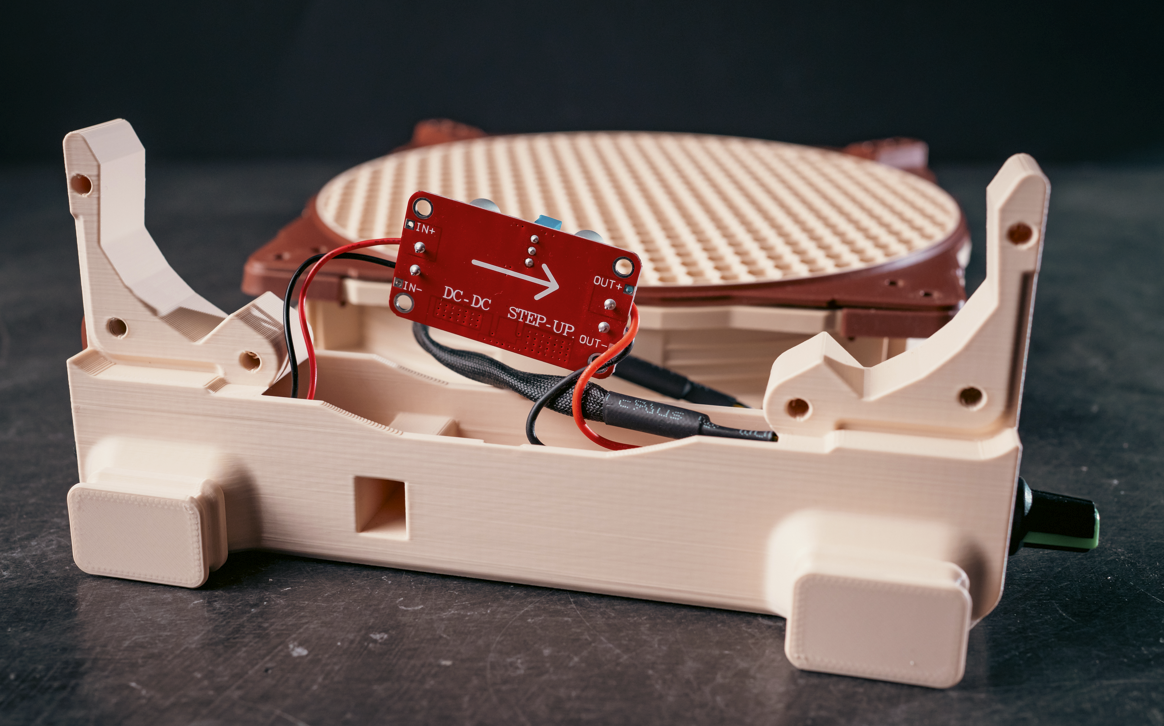
If you have a 5V fan and a power supply, you can theoretically connect directly from the USB-C port to the potentiometer. However, I recommend using a PD trigger to allow for more flexibility with the power source. A PD trigger is also a good option for a 12V fan and a 12V power supply.For a 12V fan and a 5V power supply, you will need a DC-DC step-up converter.
- For 5V Fans: Direct USB-C connection (PD Trigger recommended for stability).
- For 12V Fans + Power Bank: Use the DC-DC Step-Up Converter.
- For 12V Fans + PD Charger: Use the PD Trigger (set to 12V) for maximum efficiency.
//I Will also upload an assembly video soon.


Features
- Universal Power: Equipped with a USB-C interface, making it compatible with laptops, power banks, wall chargers, and automotive ports.
- Precision Control: Includes an integrated potentiometer (dial) to adjust the airflow from a whisper-quiet breeze to maximum cooling power.
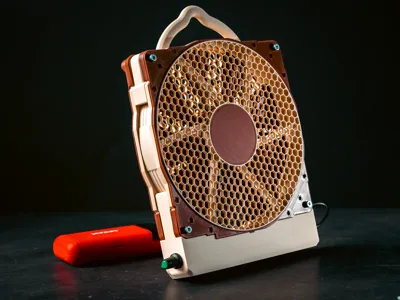
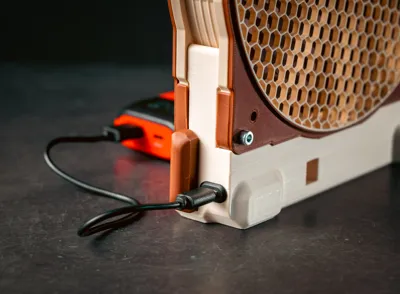
- Go-Anywhere Design: Featuring a sturdy integrated stand for desktop use and a carrying handle for hanging it in tents or on hooks.
- Magnetic Mounting: Hidden magnet recessed slots allow you to snap the fan onto any metallic surface or attach the fan to mosquito net for example.
- Authentic Noctua Performance: Leverages the superior aerodynamics of the NF-A20 for a cooling experience that is significantly quieter and more effective than standard USB fans.
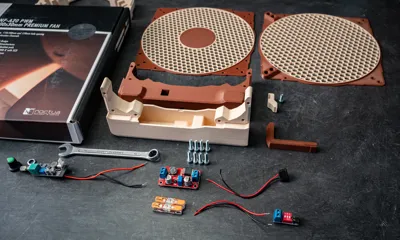
Hardware Needed
- Fan: Noctua NF-A20 (5V PWM version recommended for easier USB integration).
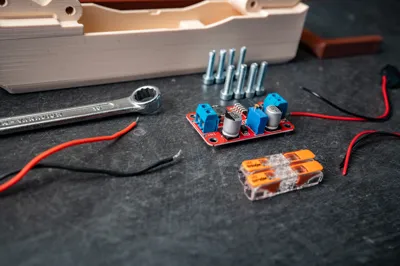
- Electronics: USB-C PD trigger or 5V-to-12V boost converter (depending on your fan voltage), PWM speed controller, and a potentiometer knob.
- Mounting: Neodymium magnets (optional) and M4 screws for assembly.
M4 x 16 mm Screw x 8
M4 x 10 mm Screw (Only for the PD Trigger Base)
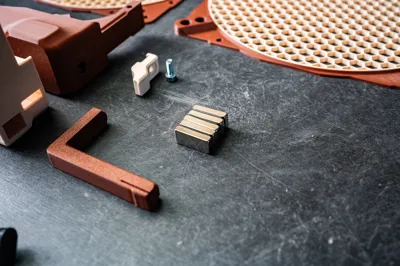
Up to 6 x Neodym Magnet (20 mm x 10 mm x 4 mm) (Optional for both versions)
Some leftover cables & 2 x Wago connectors (red and black recommended for the PD Trigger Version)
DC-DC Step Up Boost Power module
https://www.amazon.de/dp/B0CJY3SXKG?ref=ppx_yo2ov_dt_b_fed_asin_title
PD trigger Board
https://www.amazon.de/dp/B0FNK2S8FC?ref=ppx_yo2ov_dt_b_fed_asin_title
USB-C
https://www.amazon.de/dp/B0CZLD8NKS?ref=ppx_yo2ov_dt_b_fed_asin_title&th=1
Speed Controller/ potentiometer
https://www.amazon.de/Kliplinc-PWM-L¨¹fterdrehzahlregler-3-Draht-L¨¹fterdrehzahlregler-Rauschunterdr¨¹ckung-Heruntergefahren/dp/B0CXNY22DQ
You don't need to buy the exact versions but you can also use different brands. But before you buy sth. check in your slicer if the dimensions would fit properly.
Printing Tips
- Material: PETG is recommended if you plan to use it in hot cars, though PLA works fine for office use.
- Supports: Designed to be printed without supports.
- Infill: 25% for a good balance of weight and durability.
If you plan on using the magnets you need to set stops before the gaps are closed to insert the magnets.
🛠 Assembly Guide
1. Preparation
- Remove Anti-Vibration Pads: Take off the soft silicone corners from the Noctua fan.
- Pro Tip: You can reattach these later between the fan and the 3D-printed protection grilles to further reduce noise and vibration.
2. Electronics & Voltage Setup
Warning: Always verify your voltage with a multimeter before connecting the fan to avoid damage.
Option A: PD Trigger Version
- Configure Voltage: Consult the PD Trigger chart and set the jumpers/switches to your fan's required voltage ($5V$ or $12V$).
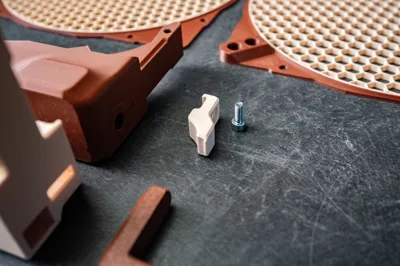
- Mounting: Insert the PD Trigger into the base and secure it using the small 3D-printed fixation part.
- Wiring: Use the Wago connectors and spare wires to extend the USB-C socket cables. Connect these to the Input of the PWM Speed Controller.
- Fan Connection: Plug the fan’s 4-pin connector into the PWM controller output.


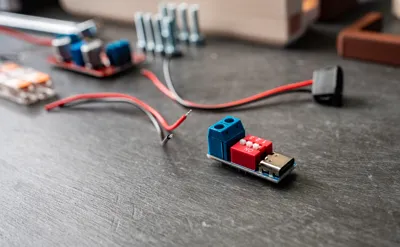
Option B: DC-DC Step-Up Version
- Mounting: Snap the USB-C socket into the 3D-printed base.
- Wiring: Connect the USB-C socket to the Input of the DC-DC Step-Up board.
- Voltage Adjustment: Connect the Step-Up Output to the PWM Speed Controller.
- Fan Connection: Plug the fan into the speed controller.


3. Testing
- Before final assembly, plug in your power source.
- Turn the potentiometer dial to ensure the fan spins up smoothly and the speed adjusts correctly.
4. Final Housing Assembly
Fan Protectors: Align the grilles/protectors with the fan and screw them into the base.
Note: If the screws feel slightly loose due to print tolerances, don't worry—the structural integrity will remain intact. If you prefer a bolt-and-nut fit, contact me for the M4 nut-compatible version.
- Top Section: Attach the top corners or the carrying handle. Secure them by screwing the fan protectors into these upper parts.
- The Stand: Snap or screw the integrated stand onto the side of the housing.
Finished! Enjoy your silent, high-performance portable breeze.
Finished!
I hope you like my design and will have a cool summer!
License
You shall not share, sub-license, sell, rent, host, transfer, or distribute in any way the digital or 3D printed versions of this object, nor any other derivative work of this object in its digital or physical format (including - but not limited to - remixes of this object, and hosting on other digital platforms). The objects may not be used without permission in any way whatsoever in which you charge money, or collect fees.
Comment & Rating (22)