
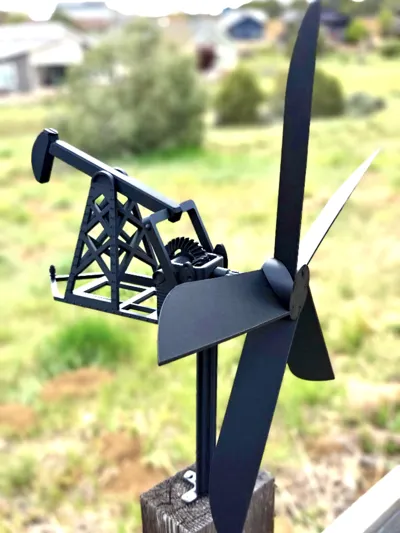
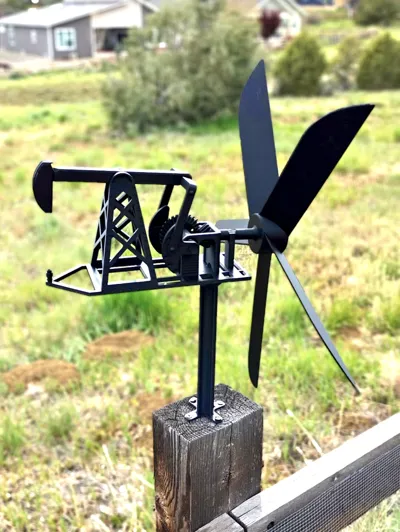
Pumpjack Wind-powered Whirligig
Print Profile(4)


Bill of Materials

Description
Boost Me (for free)
I spent a while making this work right, boosts are much appreciated!
Update 5/2: Minor tweaks to the base and components, fixed center of balance.
Pumpjack Whirligig:
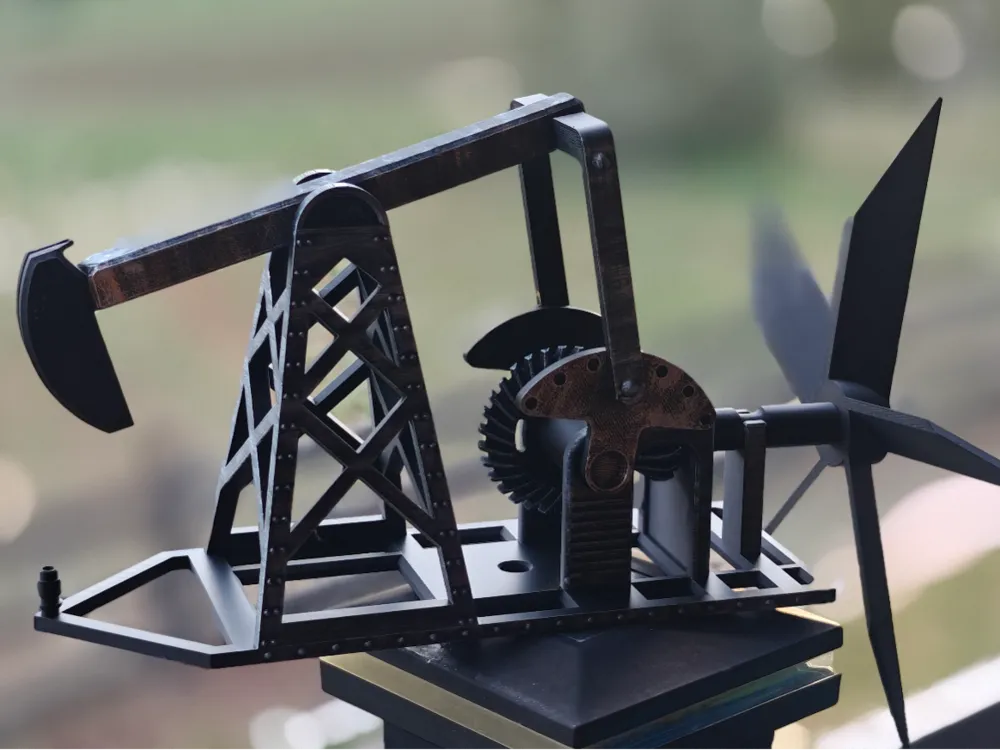

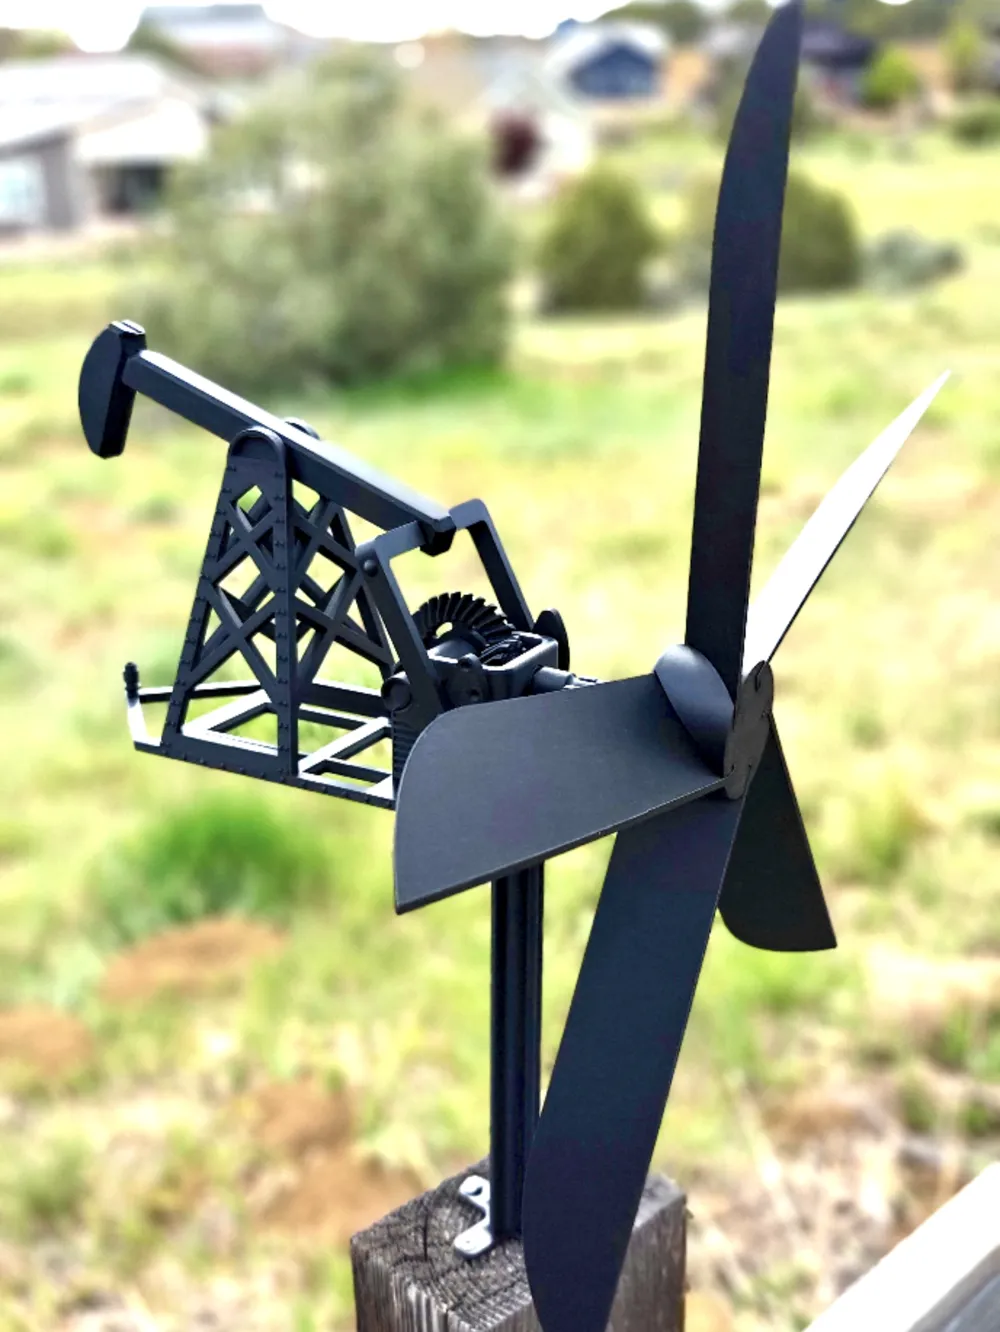
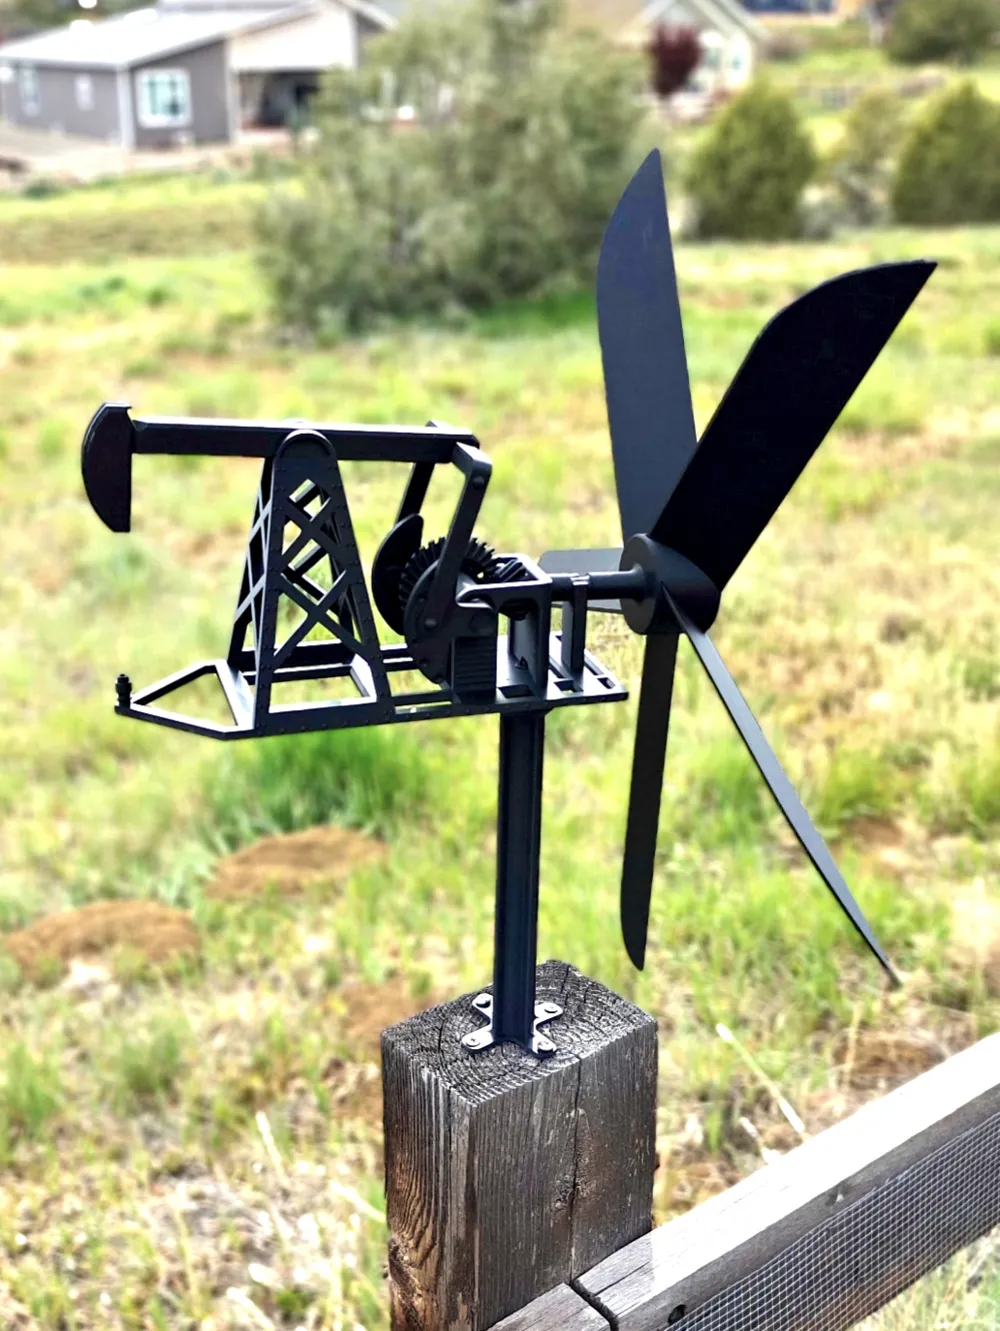
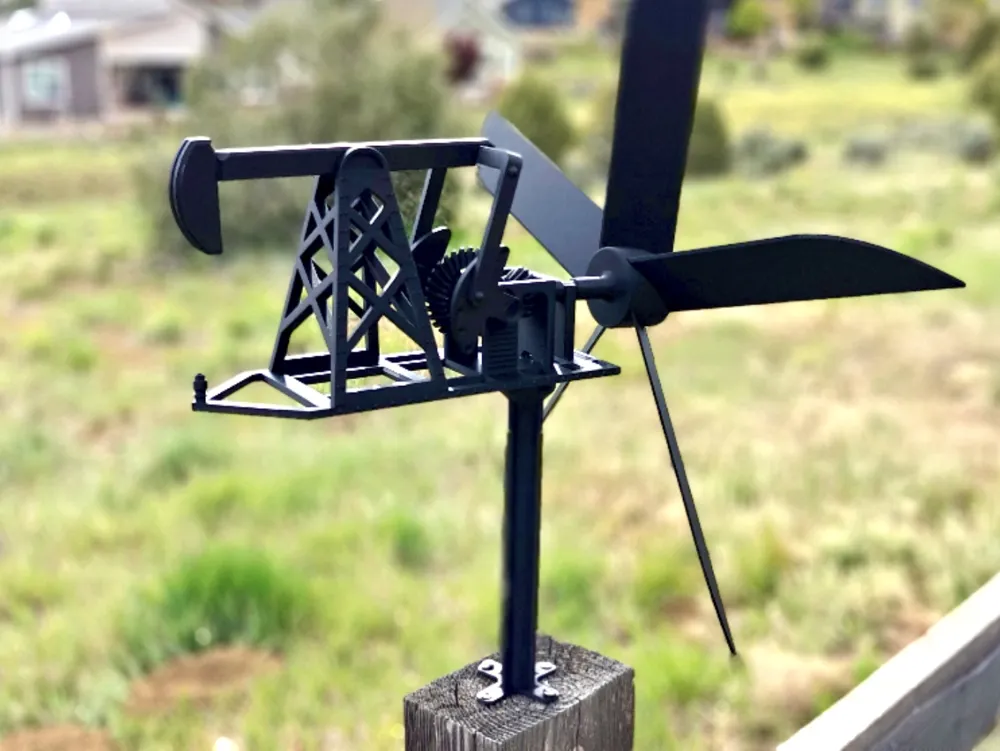
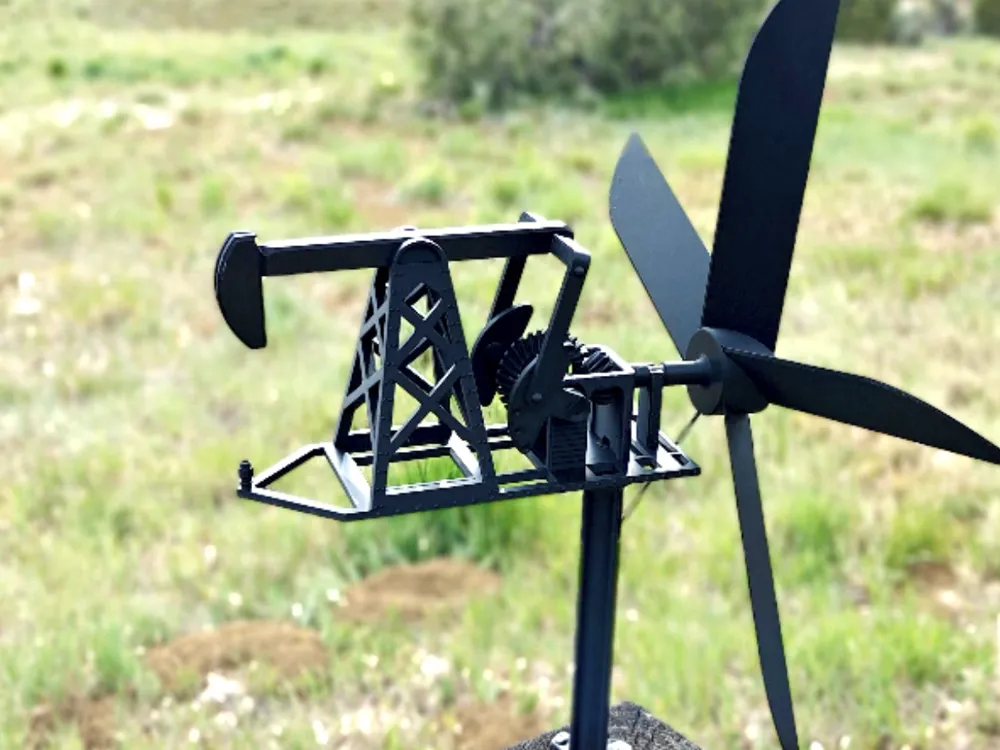
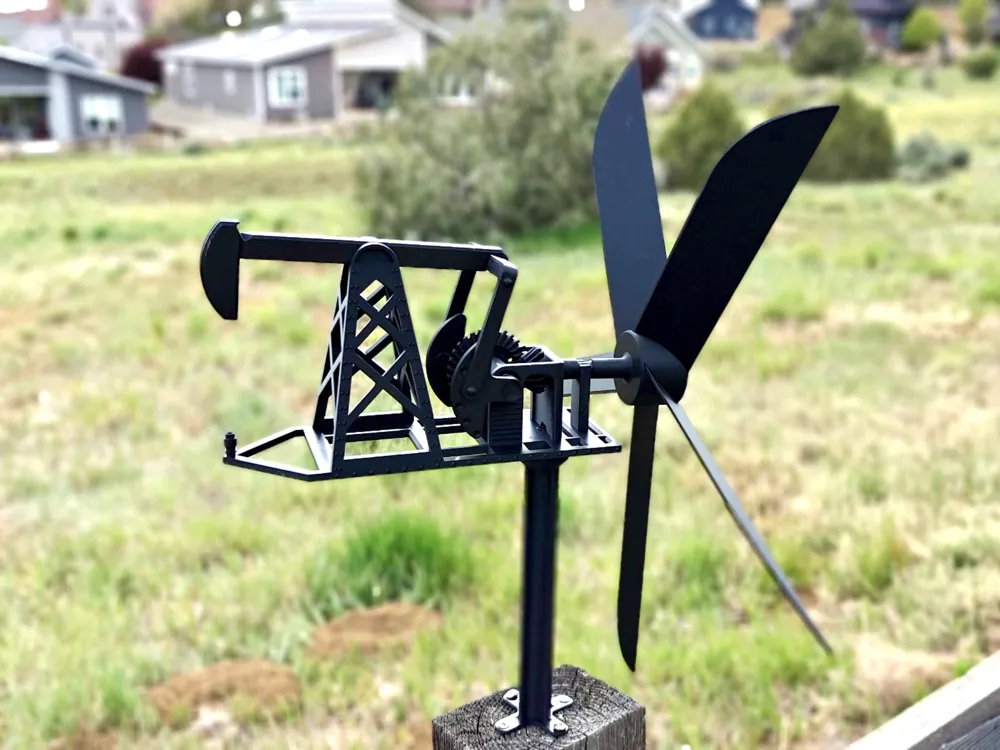
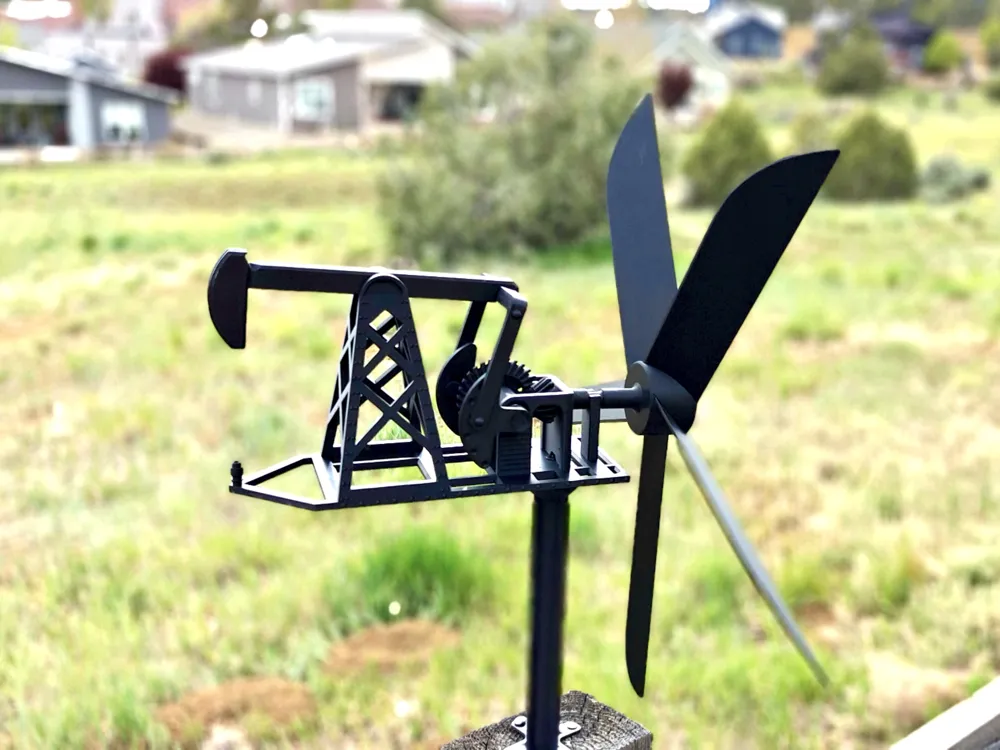
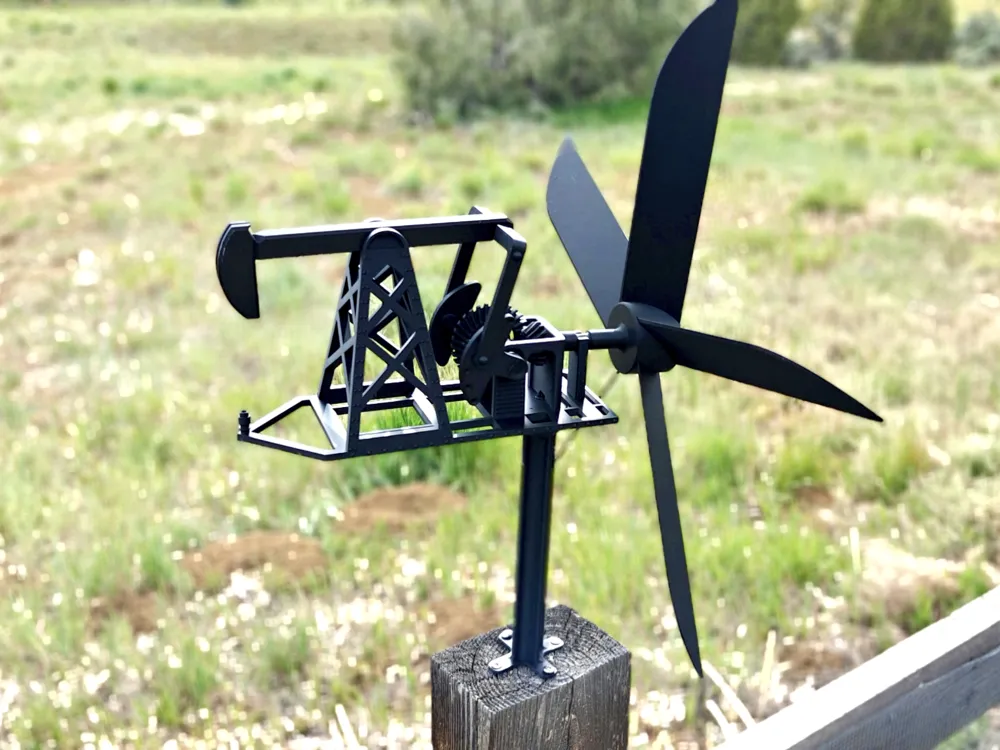
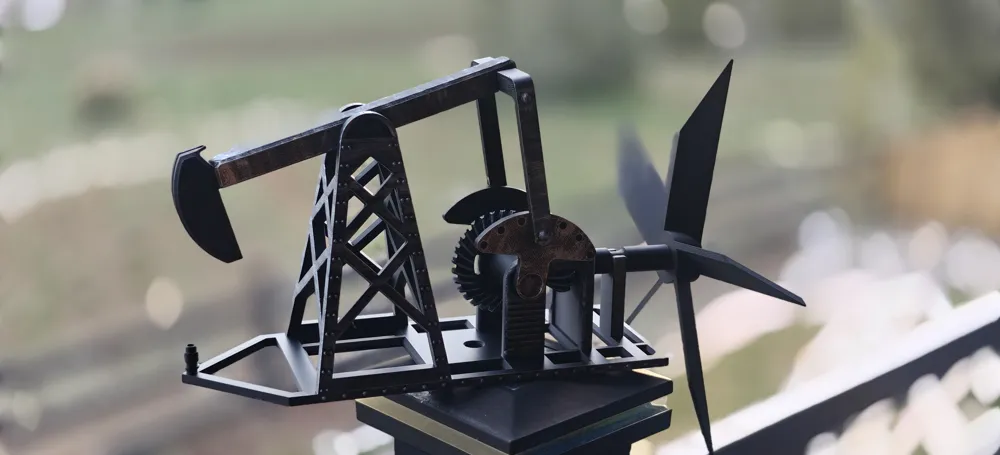
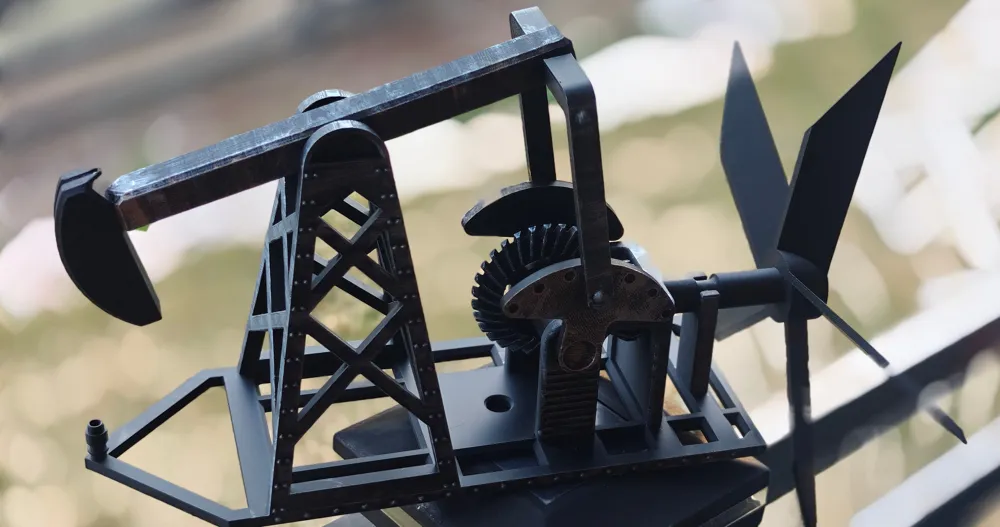
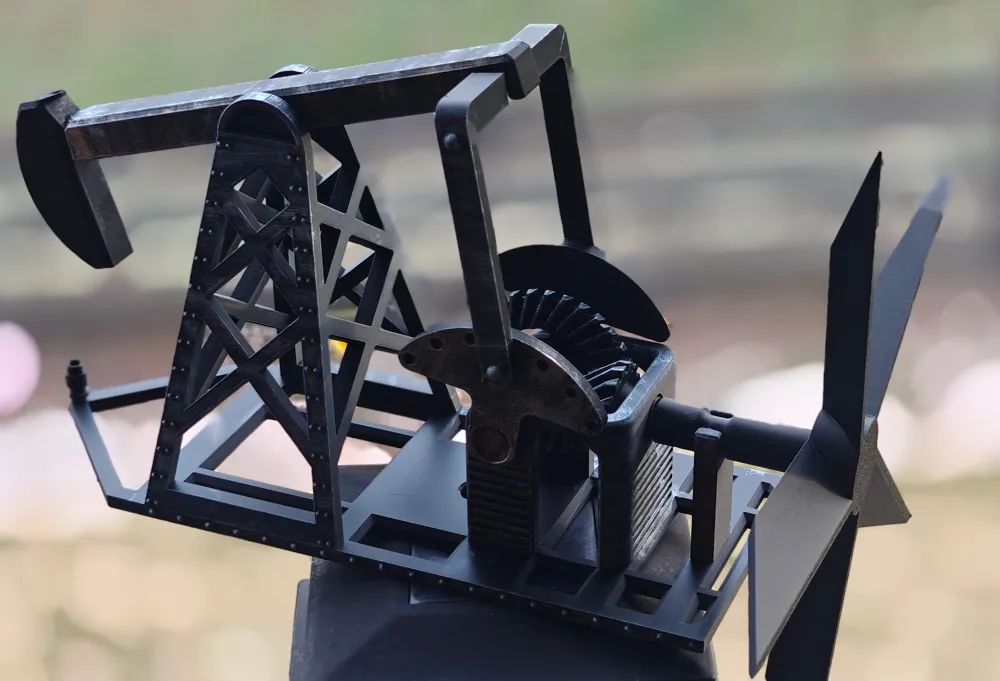


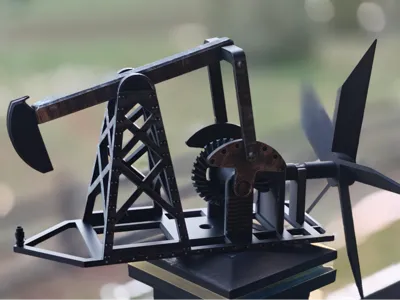
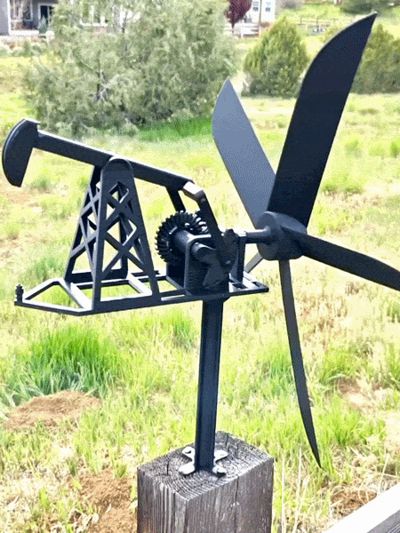
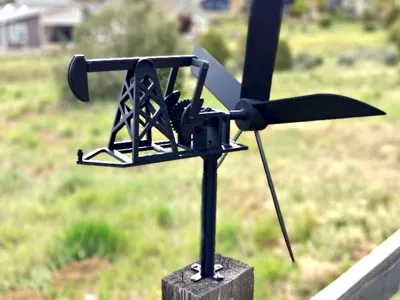
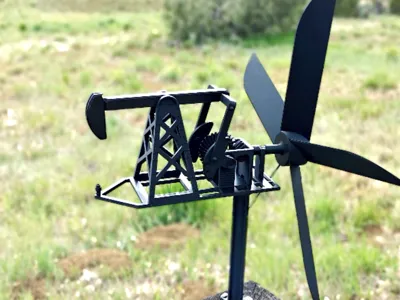
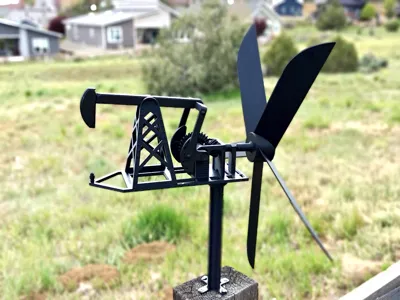
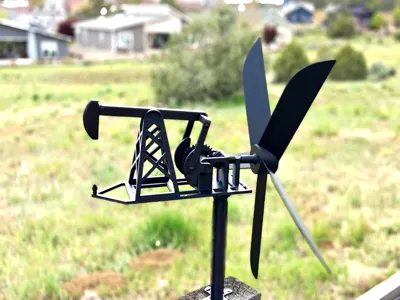
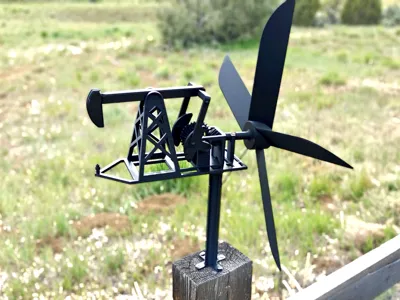
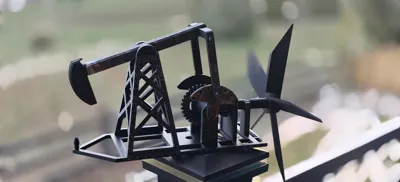
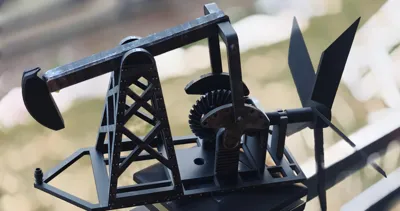
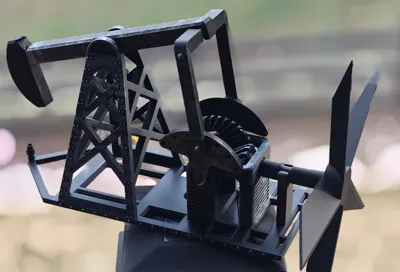
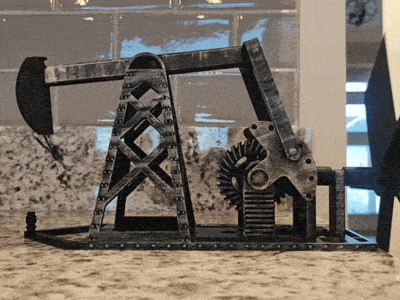
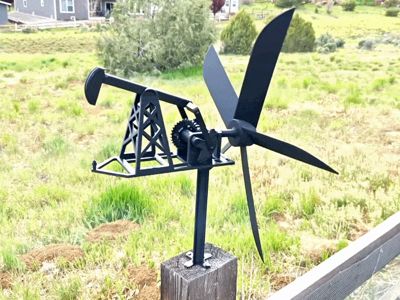
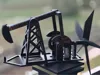
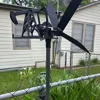
This is a wind-powered kinetic sculpture inspired by the iconic oil field pump jack. When the breeze catches the five-blade prop, the walking beam nods up and down in an imitation of the real thing, blending industrial nostalgia and mechanical motion. Detailed riveted steelwork, a radiator assembly, and a bevel gear drive make this a showpiece on the workbench or in the garden.
Print Recommendations
I recommend using PETG or other weather-resistant filament. Avoid using PLA because it is not weather resistant.
Assembly Instructions (VERY EASY!)
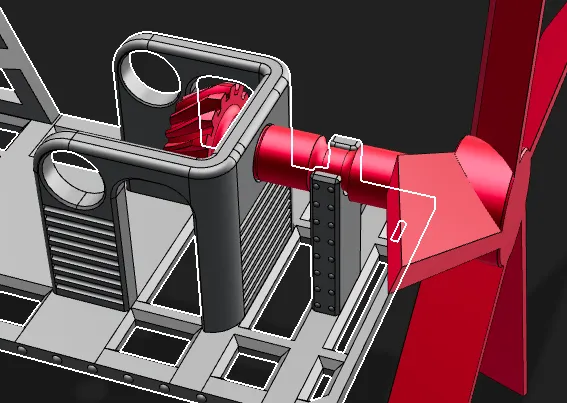
1. Clip in the propeller or hand-crank and place the small pinion gear into the hole.
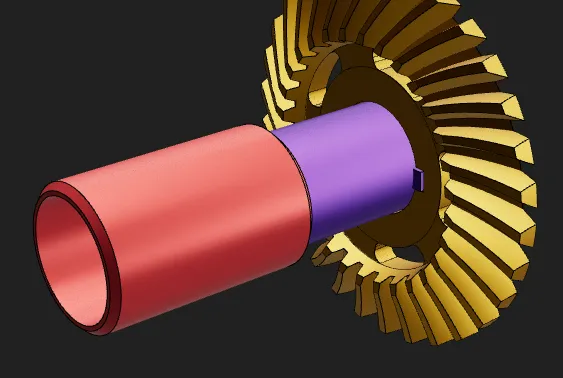
2. Slide large bevel crown gear (gold) onto drive shaft (purple) and slide into the notch. Then slide the retaining shaft (red) over it.
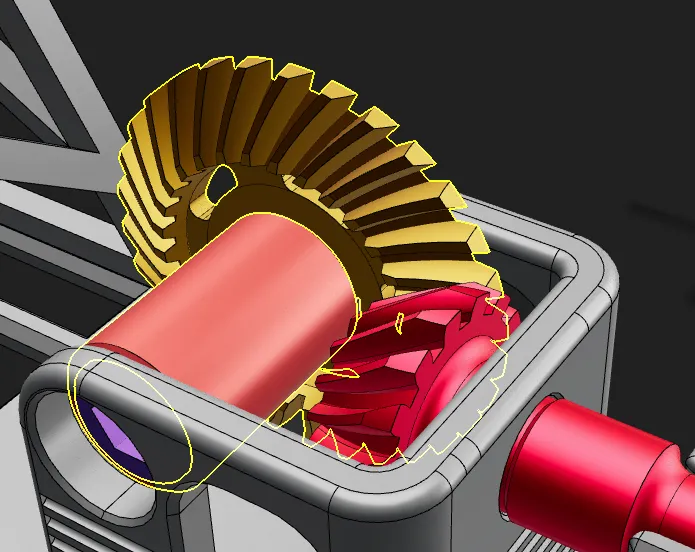
3. Place assembly into gearbox.
4. Slide in the crank/counter-weights
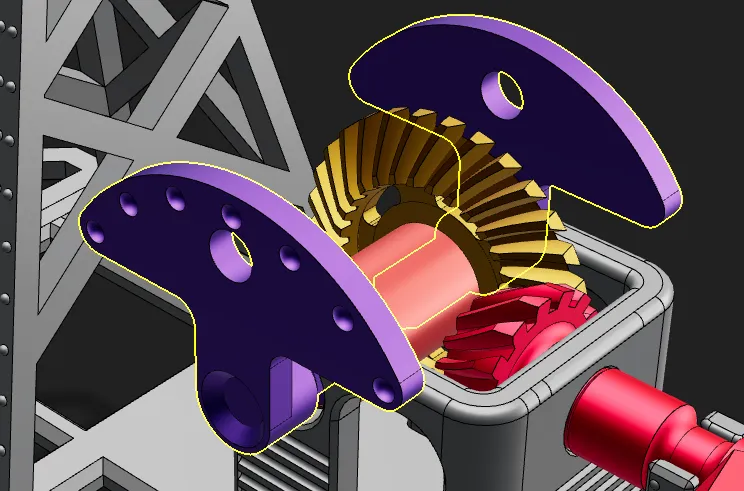
5. Clip in the Pitman arm (green) and horsehead/walking beam (red)
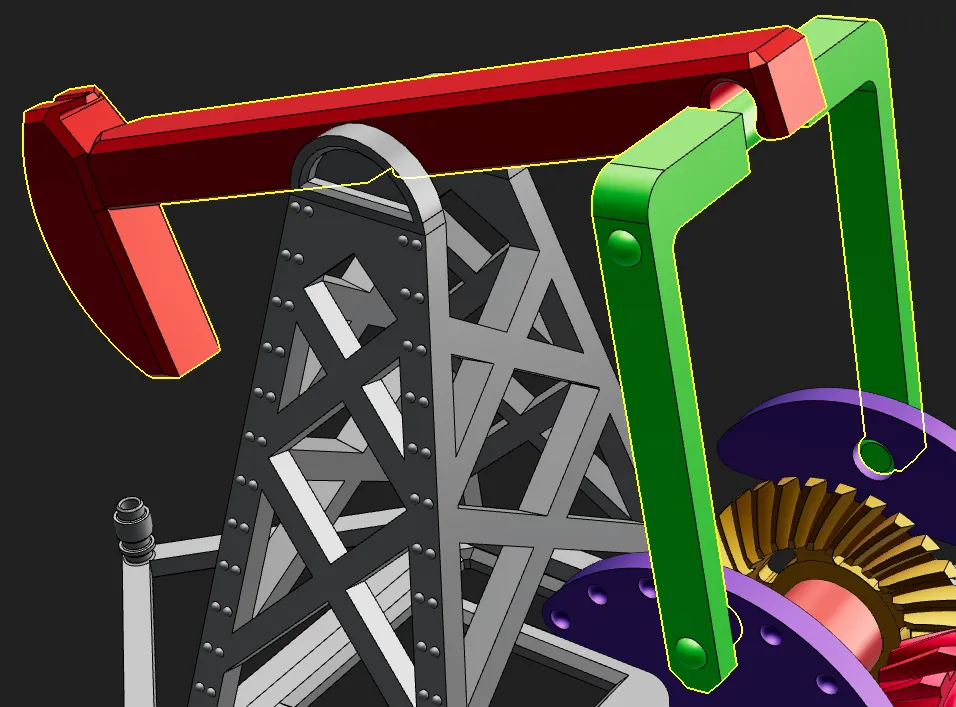
6. Snap the clips (red) into the Pitman arm
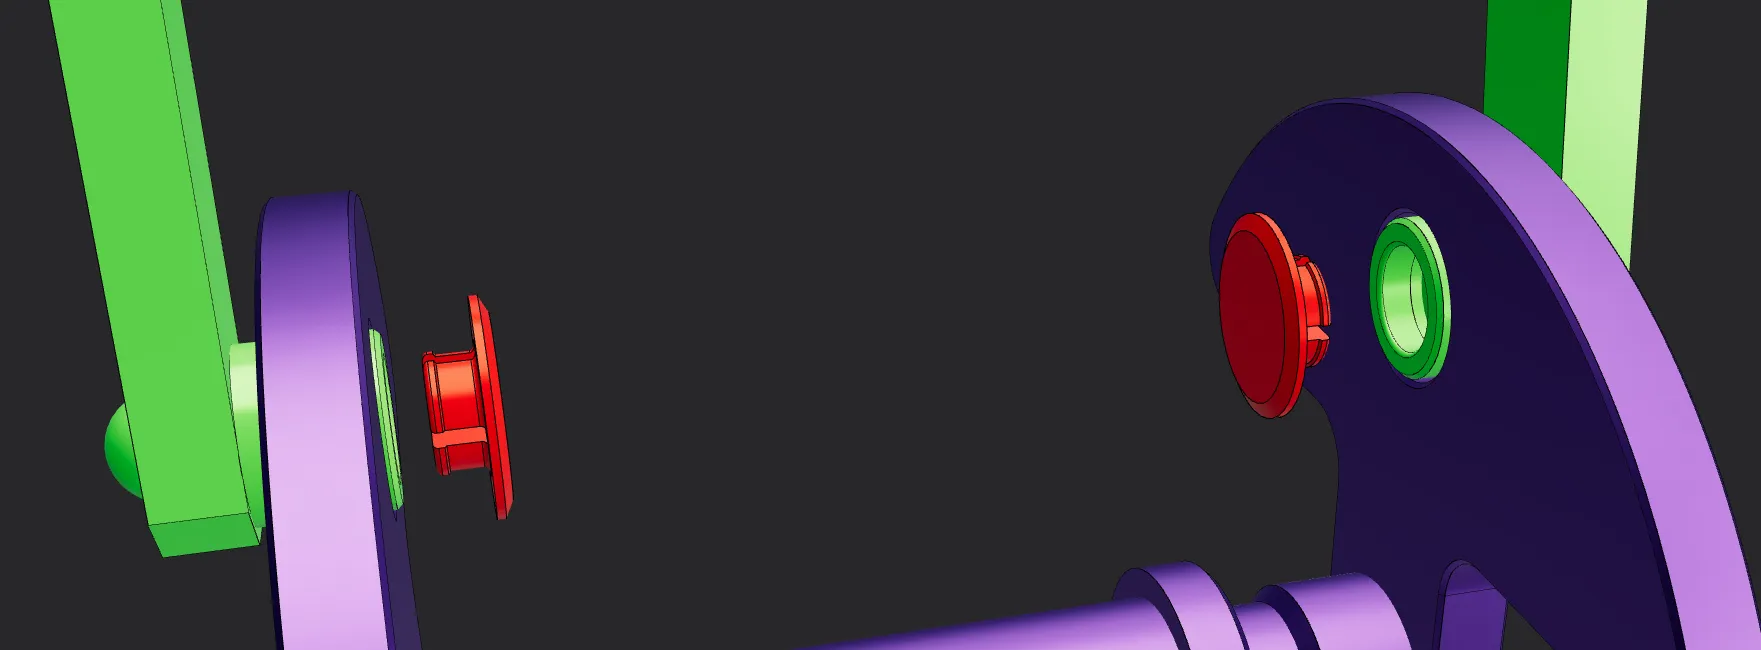
7. That's it.
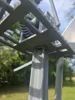
Optional: Mounting: Assemble the bearings like the image below, alternating the direction of each one. Then place the cap (purple) over the top.
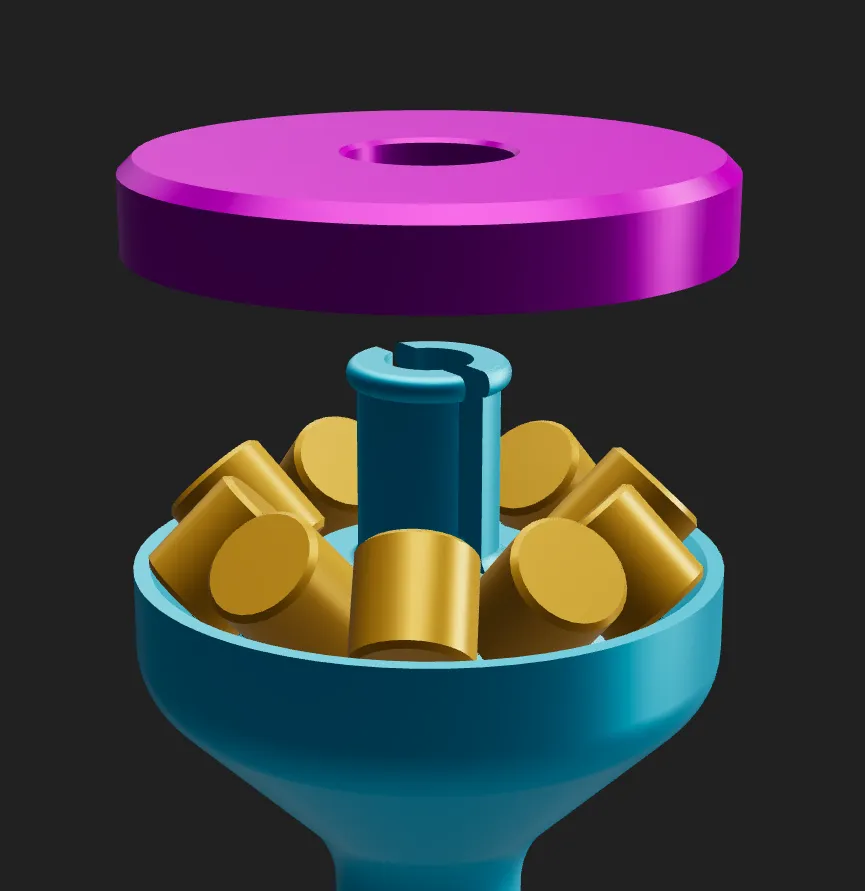
Then clip entire assembly into the base of the pumpjack where the hole is.
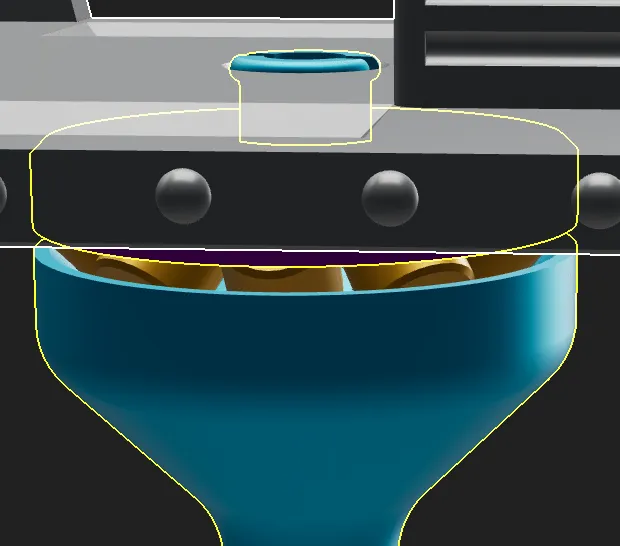
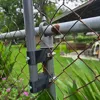
Then you can drill the base into a wooden fence-post or something .
-Optionally you can tie a string to the back of the horsehead, and thread it through the stuffing box (pipe in the front) and tie a counter weight to the other end of the string.
-You may want to grease it the joints from time to time to keep it spinning nicely.
*I didnt have any wind when I made the video
Membership
Want to sell my stuff? Become a member!
Membership
You want to sell printed objects from my designs or just support my work? Now you can subscribe on Makerworld! Thank you!
License

You shall not share, sub-license, sell, rent, host, transfer, or distribute in any way the digital or 3D printed versions of this object, nor any other derivative work of this object in its digital or physical format (including - but not limited to - remixes of this object, and hosting on other digital platforms). The objects may not be used without permission in any way whatsoever in which you charge money, or collect fees.


Comment & Rating (127)