
AI Cyberdeck Q
Print Profile(1)
Description
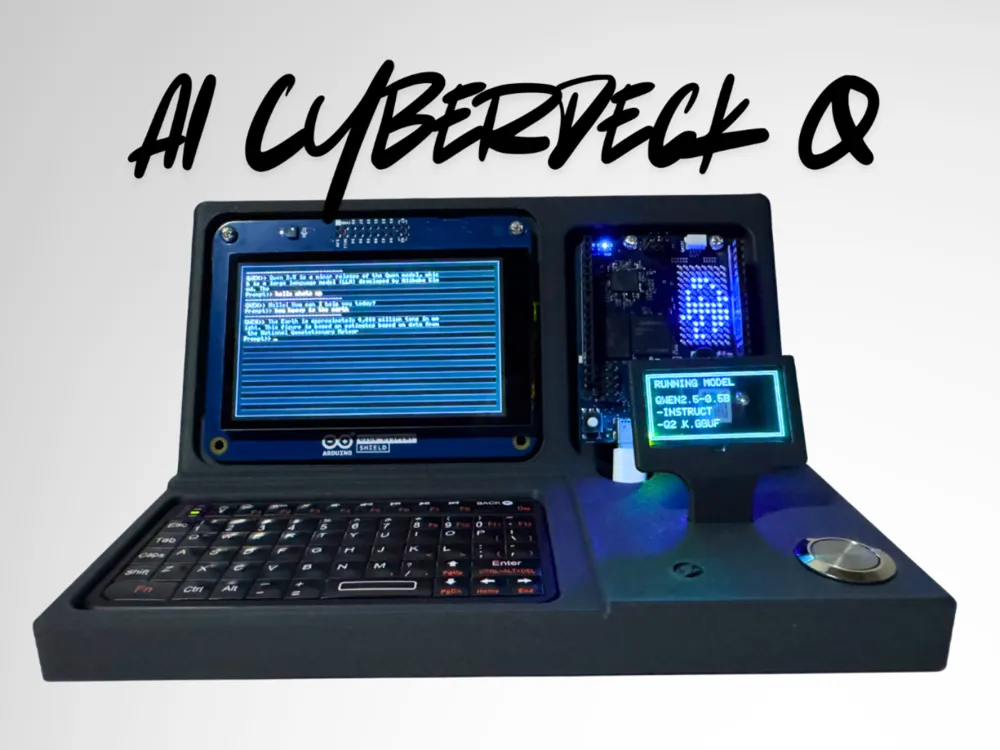
Arduino AI Cyberdeck Station – UNO Q + GIGA Display Shield + Transparent OLED
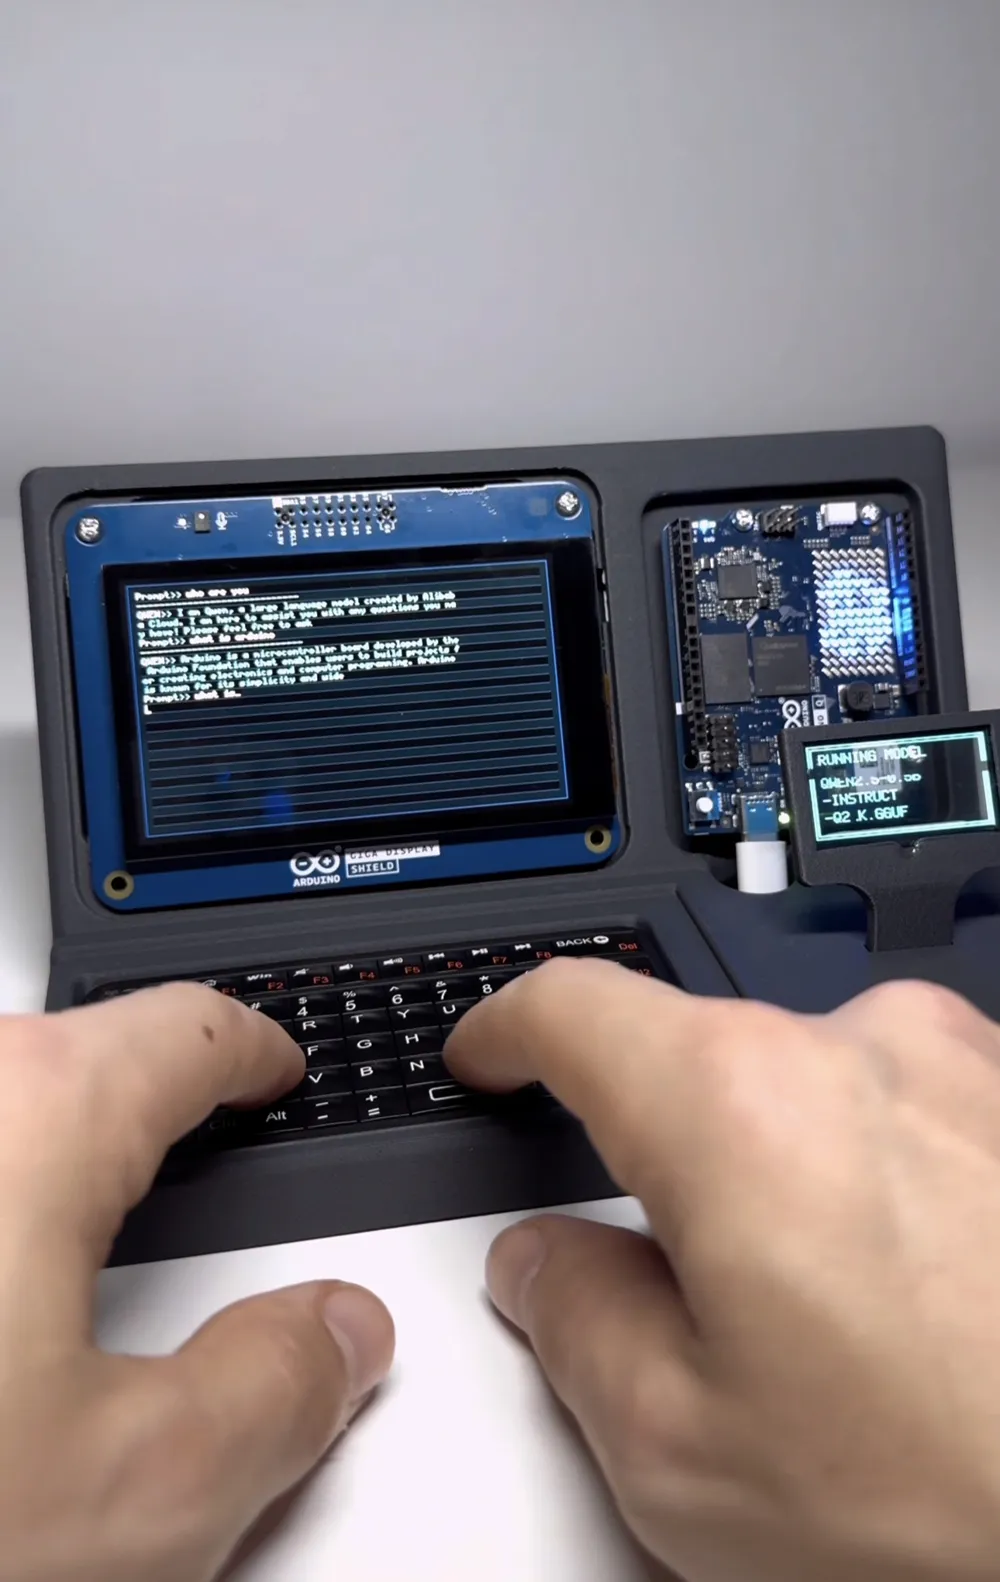
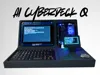
This project is a tiny offline AI cyberdeck built entirely with Arduino hardware. The main idea was to build the kind of cyberdeck people usually make with a Raspberry Pi, but using the new Arduino UNO Q instead.
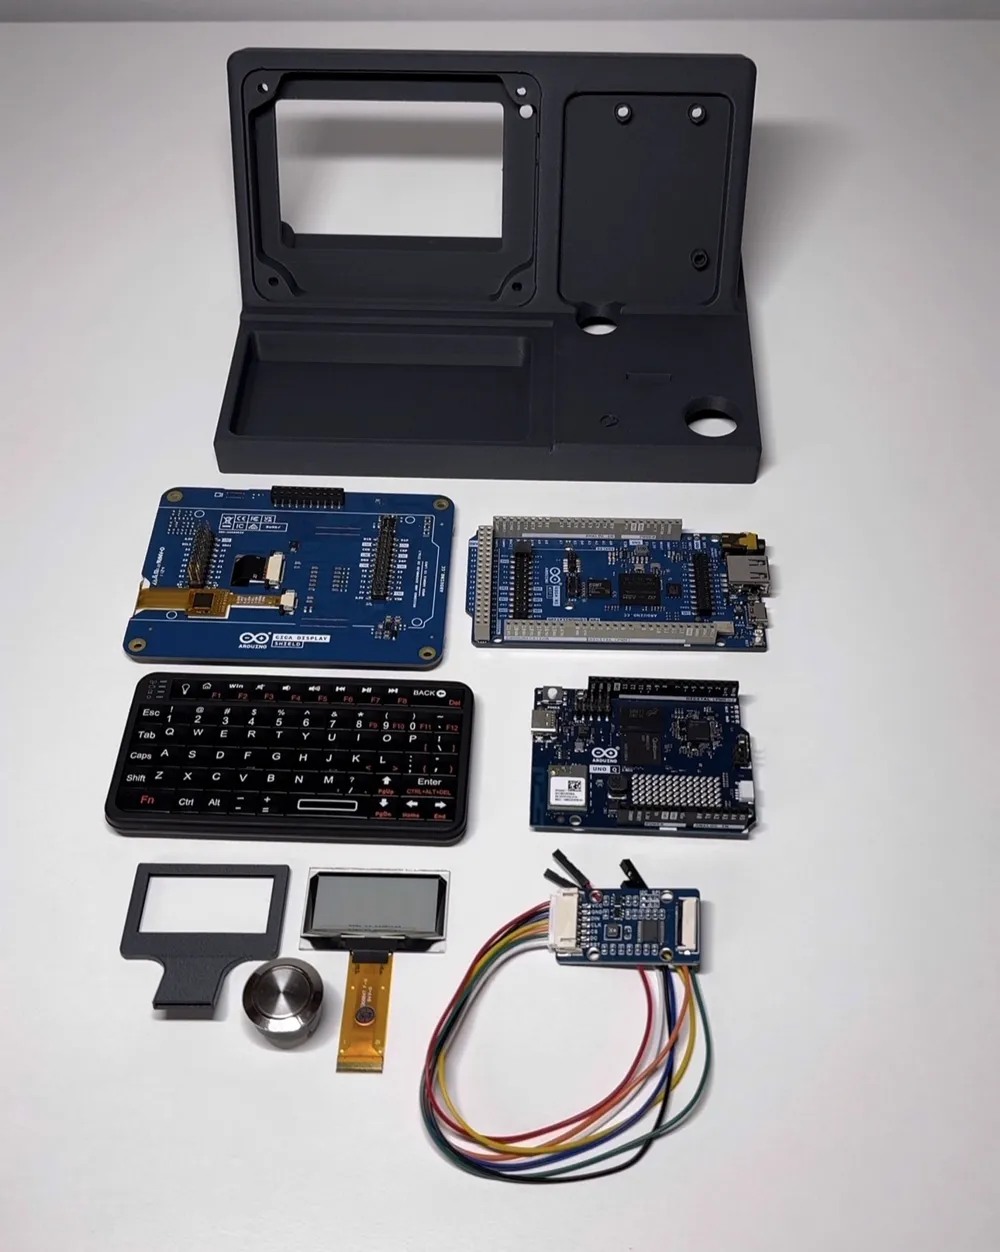
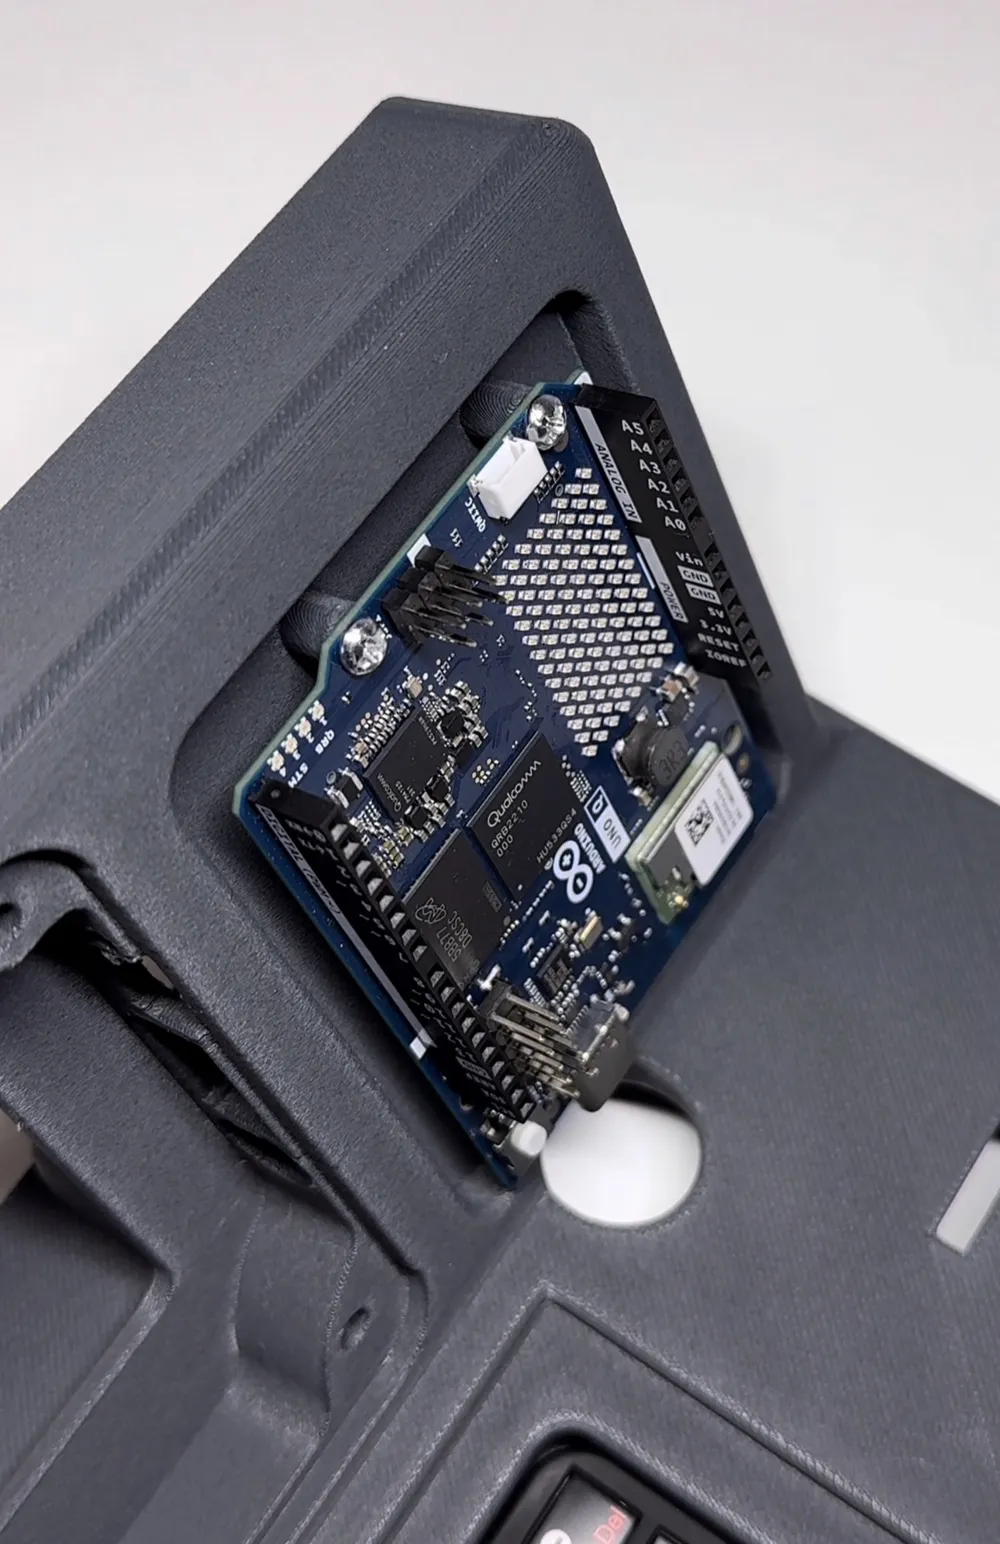
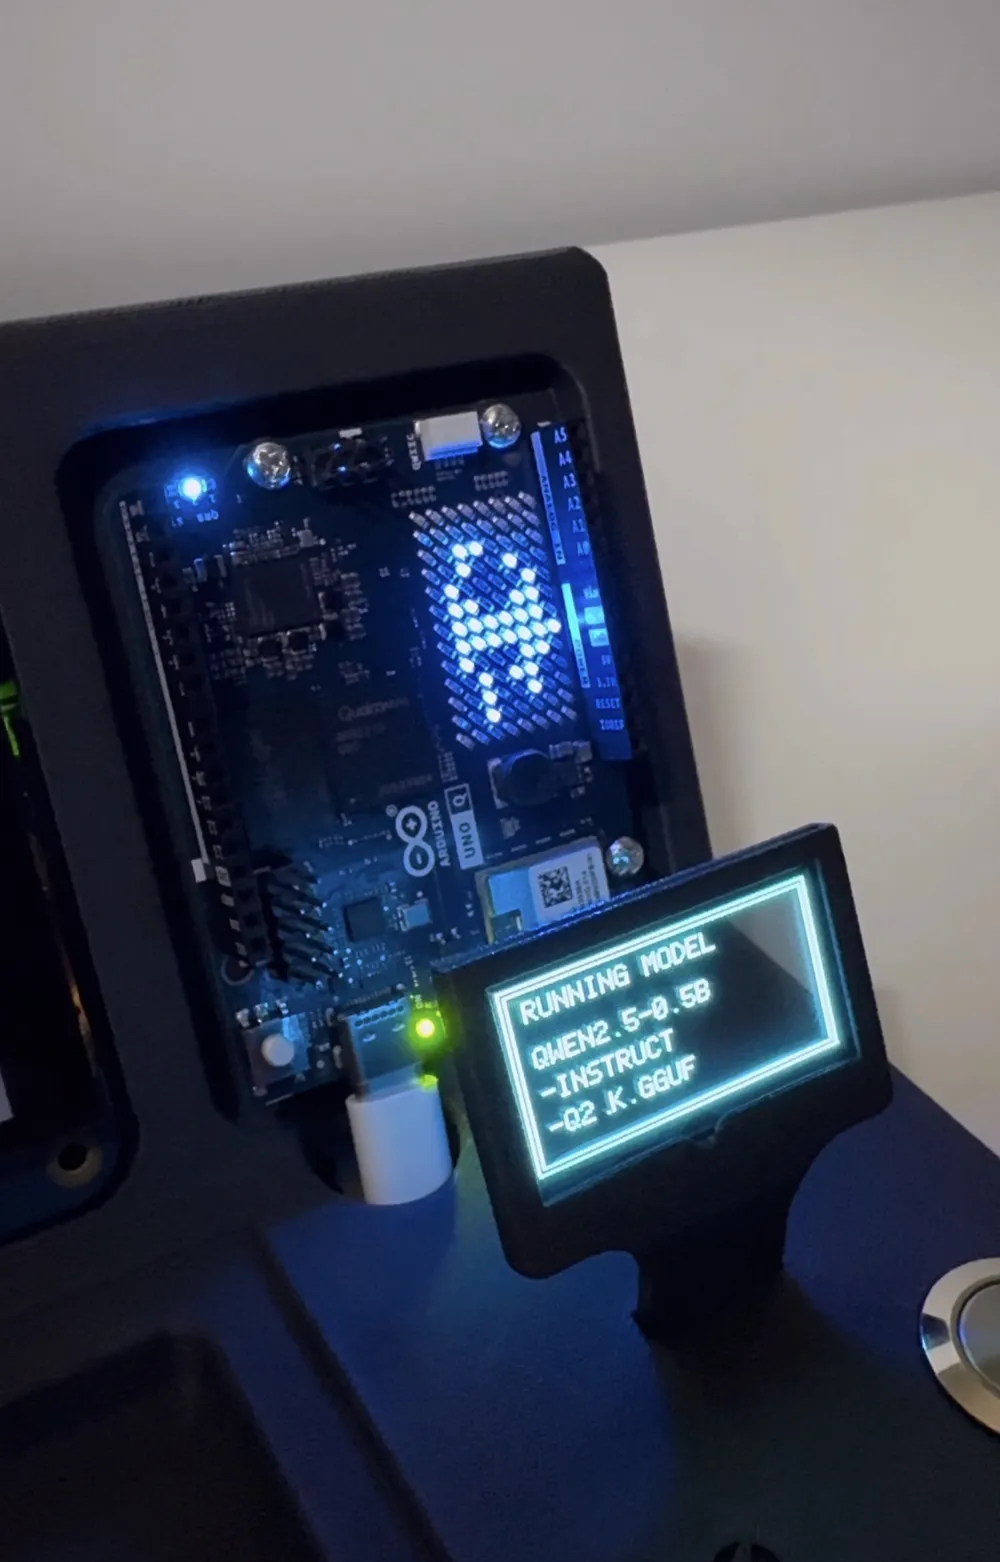
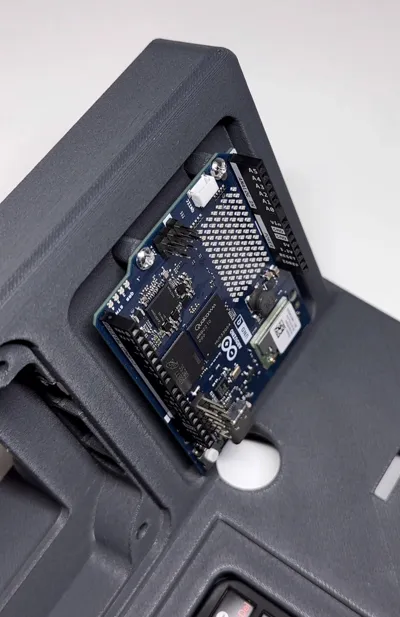
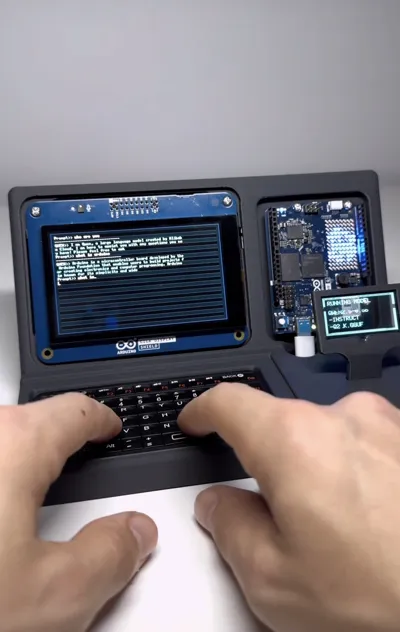
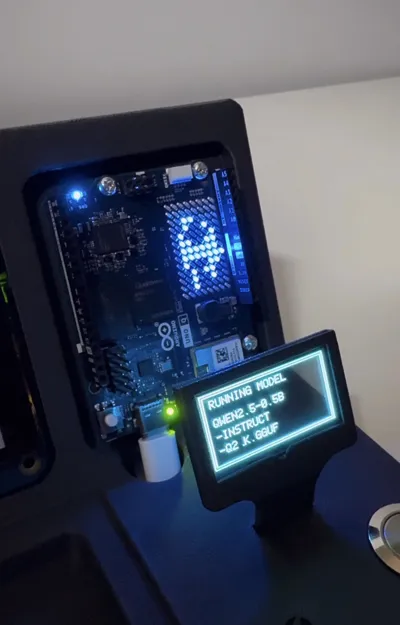
The system is split into two parts. The Arduino UNO Q (2GB RAM) runs Linux, handles the keyboard input, and runs a small local LLM with llama.cpp. The Arduino GIGA R1 WiFi with the Arduino GIGA Display Shield acts as the visual frontend and renders the terminal-style user interface. On top of that, a Waveshare 1.51-inch Transparent OLED is used as a small status display for the active model.
A tiny Rii Bluetooth keyboard is paired directly to the UNO Q. That means the UNO Q becomes the actual terminal host: it receives the prompt, runs the model locally, cleans up the output, and prepares the terminal screen for the frontend. The GIGA then polls the UNO Q over WiFi and redraws the screen on the display.
The local model running on the UNO Q is Qwen 2.5 0.5B, more specifically a heavily quantized GGUF version so it can fit on the 2GB board. The runtime is based on llama.cpp with lightweight settings that the UNO Q can actually handle. This is not meant to be a huge desktop AI setup. It is a compact embedded AI terminal that really runs locally.
I also added the transparent OLED because it just looks amazing and makes the whole build feel much more futuristic.
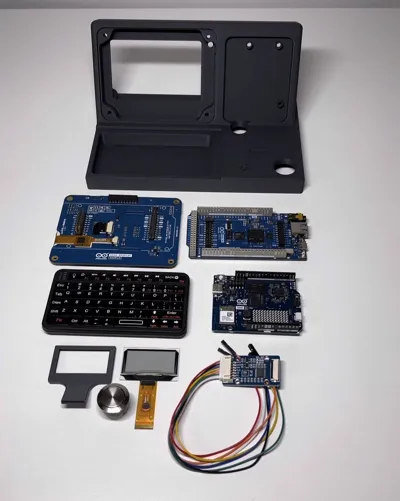
Main components
- Arduino UNO Q (2GB)
- Arduino GIGA R1 WiFi
- Arduino GIGA Display Shield
- Waveshare 1.51-inch Transparent OLED
- Rii Bluetooth keyboard
- Pushbutton for display blanking
- 3D-printed cyberdeck-style case
- USB-C power for the boards
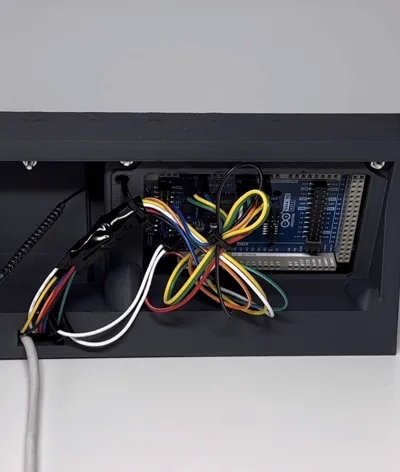
- Jumper wires and mounting hardware
What the project does
- Runs a local LLM on the Arduino UNO Q
- Takes input from a Bluetooth keyboard
- Displays prompts and responses on the GIGA Display Shield
- Shows model status on a transparent OLED
- Works as a tiny offline AI terminal
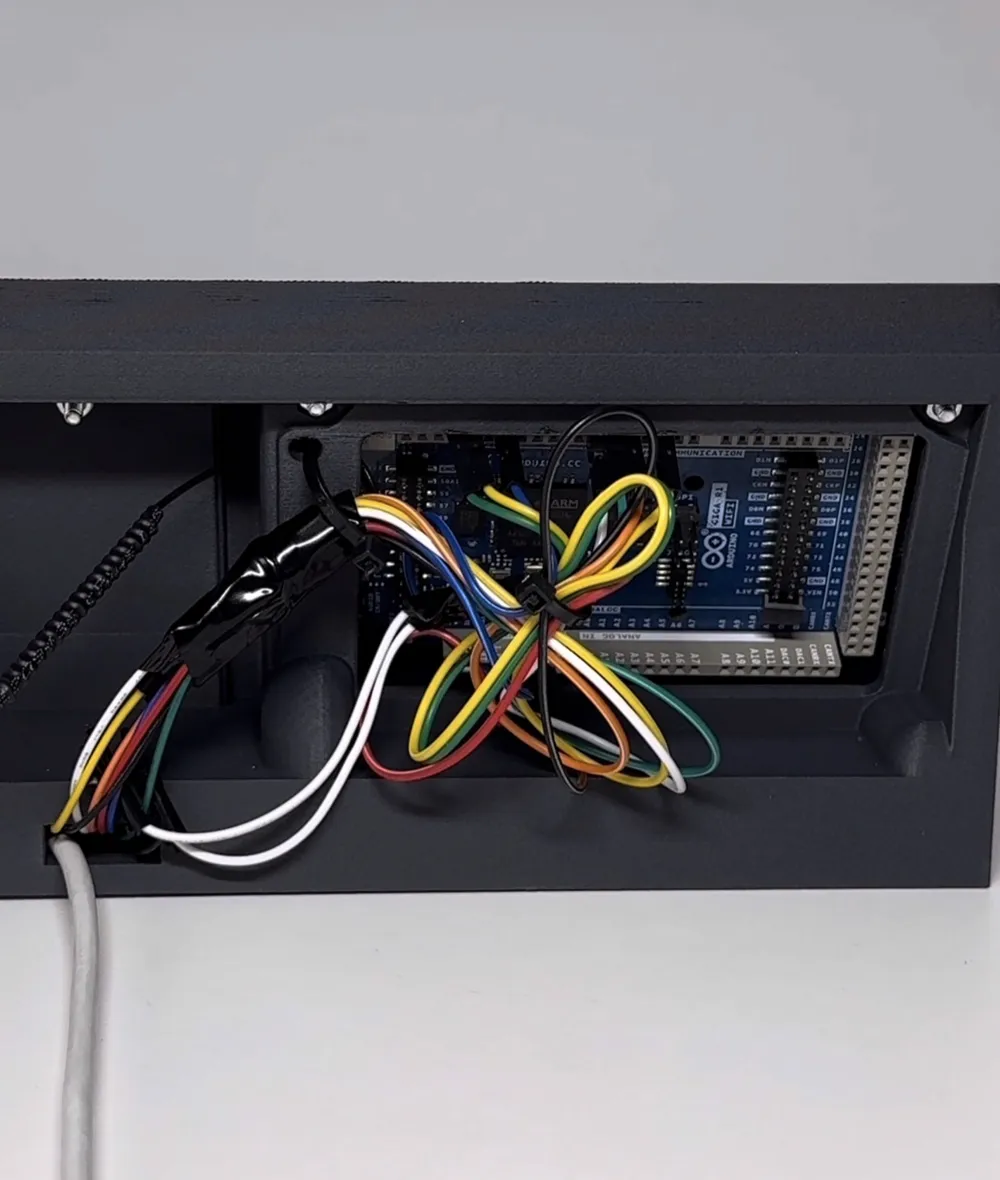
OLED wiring on the GIGA
- VCC → 3V3
- GND → GND
- DIN → D11
- CLK → D13
- CS → D4
- DC → D5
- RST → D6
Display toggle button
- GIGA D2 → one side of pushbutton
- other side of pushbutton → GND
This is version 1.0 of the case and overall build, so it is not perfect yet, but it already works really well as a compact Arduino AI cyberdeck.
License



Comment & Rating (55)