IQOS Car Cup Holder – Adjustable Fit(65mm - 85mm)


Print Profile(2)


Description
Hi!
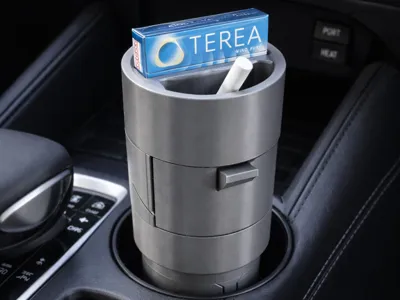
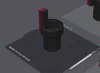
I designed this IQOS cup holder to fit in any car cup holder of any size. I was tired of the cigarettes lying around and designed the parts in order to organize my cigarettes and give my also a bin in one compact format
FEATURES:
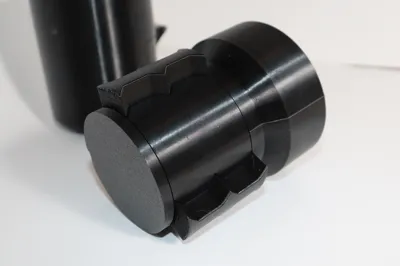
- Adjustable size(65mm - 85mm). JUST TWIST the lower assembly and it changes it's diameter
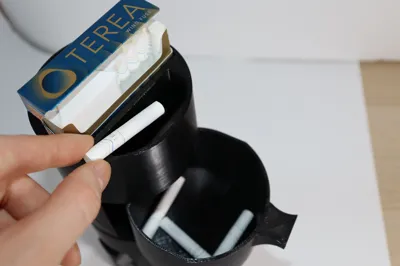
- Secret chamber
- Closed garbage bin with special cuttout to throw the cigarettes
- IQOS device holder
- TEREA cigarette package holder - the fit allows it to open without pulling the carton out of the holder
PRINT INSTRUCTIONS (ATTENTION!!!!!)
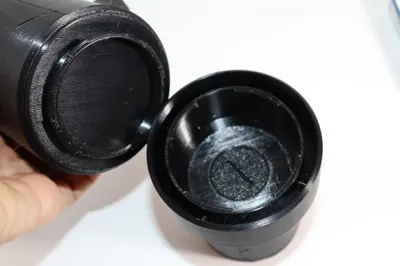
- Print the object with PETG and interface out of PLA or vise versa. The tolerence is designed with clean supports in mind.
- Make sure the purging volumes for the interfaces are at 900(BOTH OF THEM). Otherwise at every change the material will get contaminated with support material and become brittle and break very easily. Trust me… don't ask me how I know.
- If you keep the settings in the project you should be fine
- I printed it on a H2S but I would recommend a dual nozzle setup if you have a printer that supports it
Boost Me (for free)
You like the design? Consider boosting me!
Psssst…. Don't feel like following long instructions?
You are in luck!
There is a second print profile with a SIMPLE ADAPTOR for a 65 mm cup holder with NO ADJUSTUBLE size
ASSEMBLY INSTRUCTIONS FOR ADJUSTUBLE SIZE SETUP:
STEP 1 (Note: Make shure the numbers match for all 3 parts)

STEP 2

STEP 3 (Note: Make sure it on the right side. See video down below)

STEP 4 (Note: The cuttout is designed for a 1 EURO Coin)

STEP 5 (Note: Twist and CLICK. Same design as the bambu spools)

STEP 6 (Note: Push the bin until you hear it CLICK)

License
You shall not share, sub-license, sell, rent, host, transfer, or distribute in any way the digital or 3D printed versions of this object, nor any other derivative work of this object in its digital or physical format (including - but not limited to - remixes of this object, and hosting on other digital platforms). The objects may not be used without permission in any way whatsoever in which you charge money, or collect fees.
Comment & Rating (3)