
Plug and Play Switch2 ns2 Negative Pressure Exhaust Cooler
Print Profile(2)
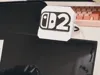
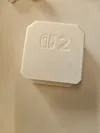
Description
I released an ns2 cooling base last yearswitch2 ns2 Enhanced Cooling Base (Active&Passive Cooling) - Free 3D Printed Model - MakerWorld
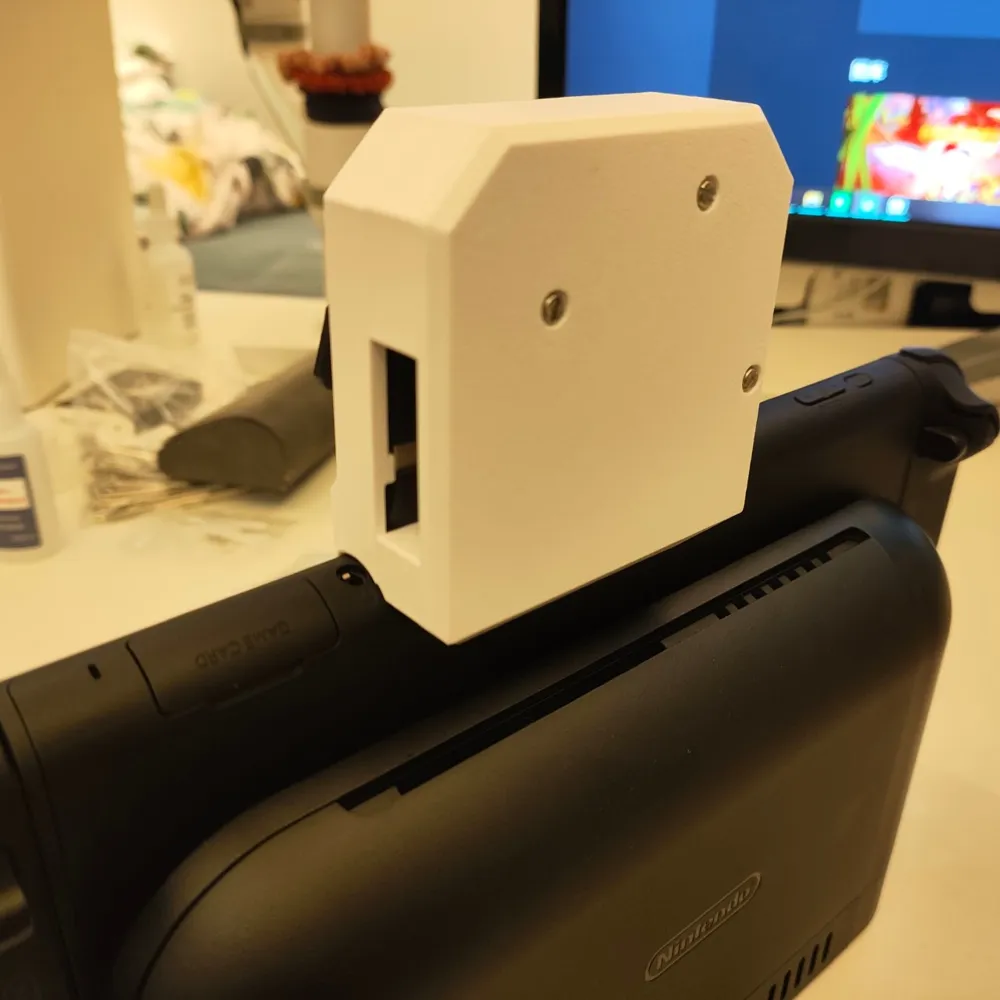
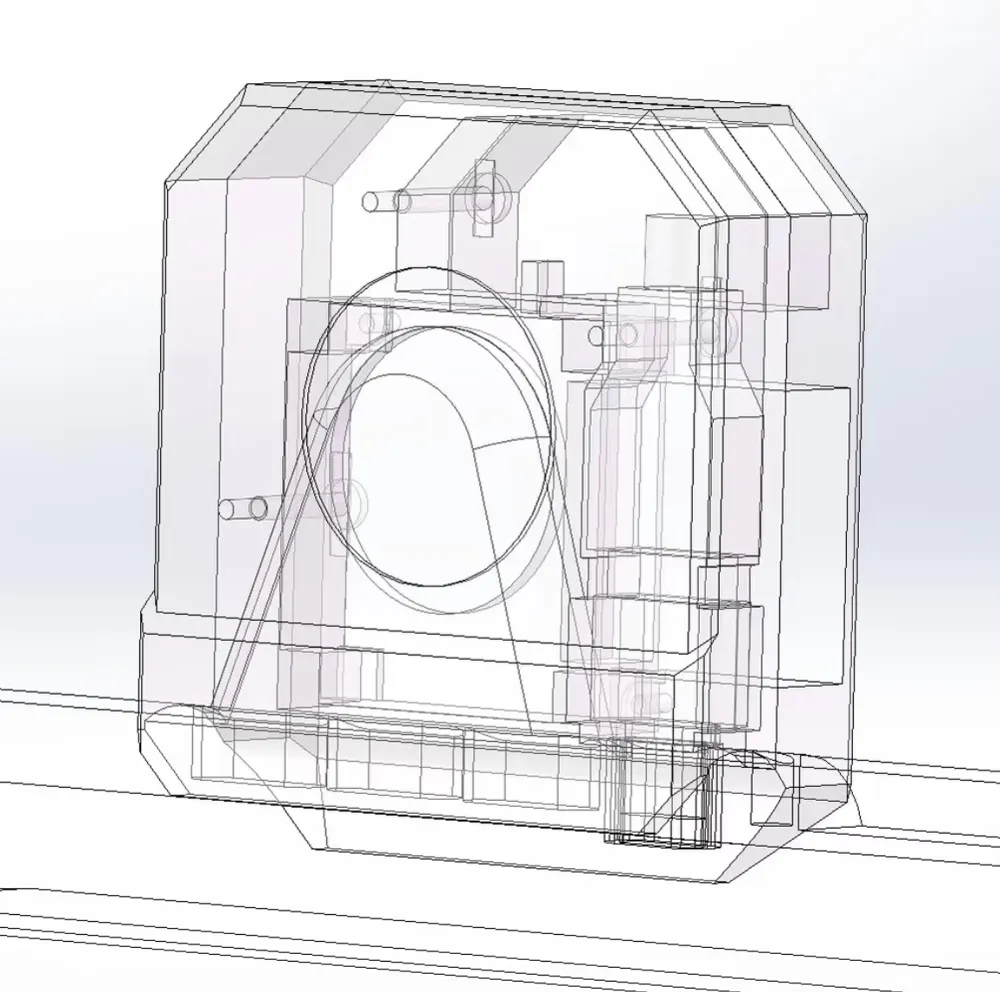
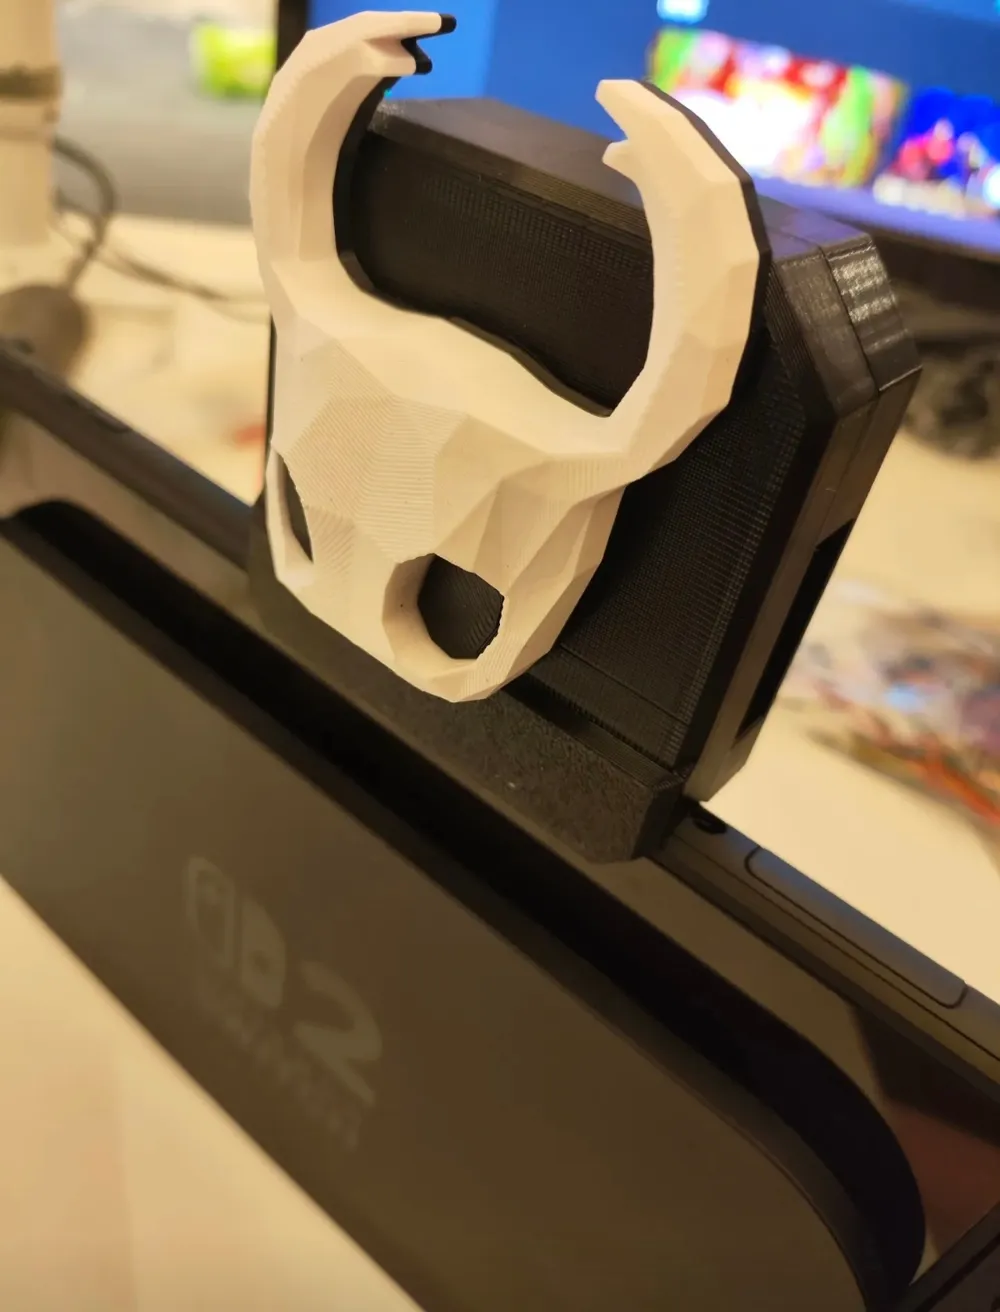
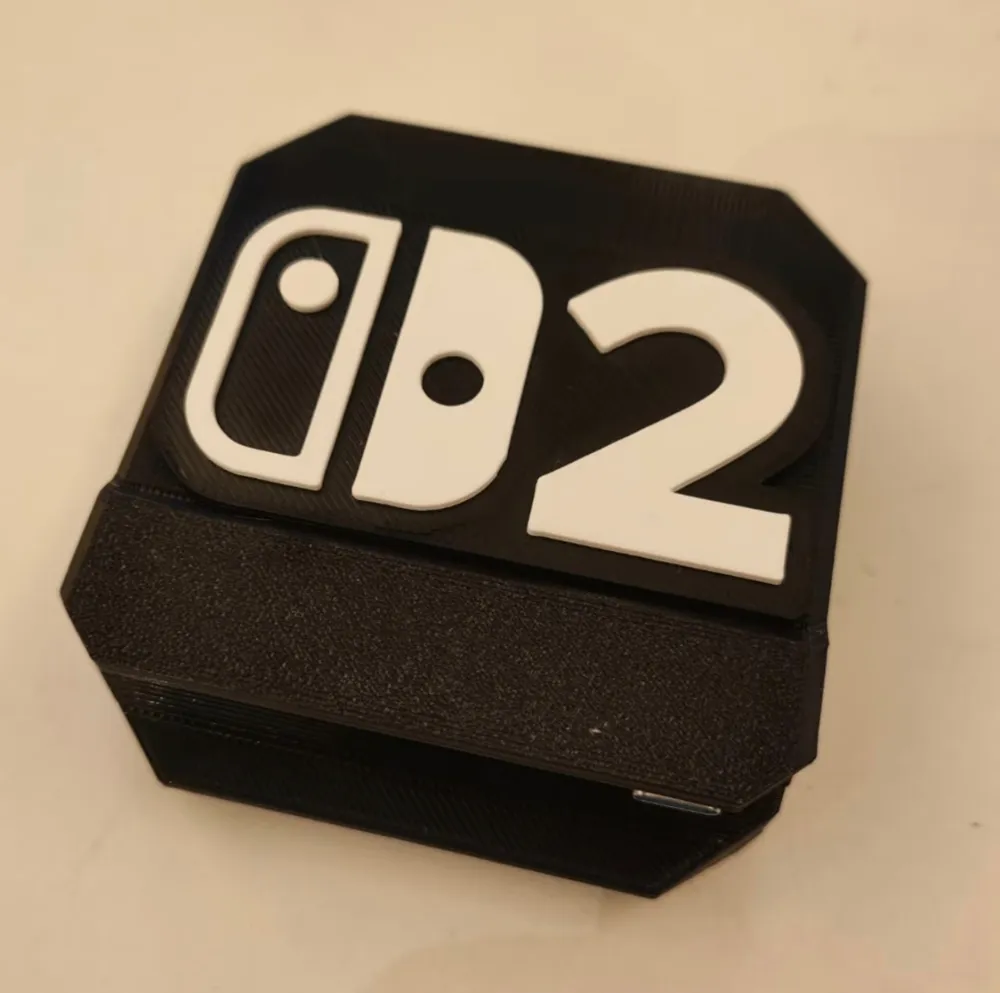
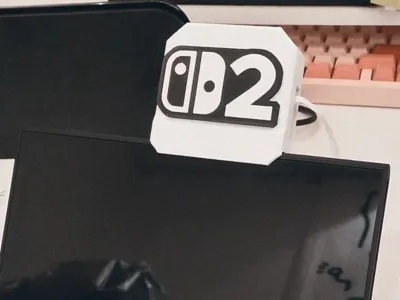
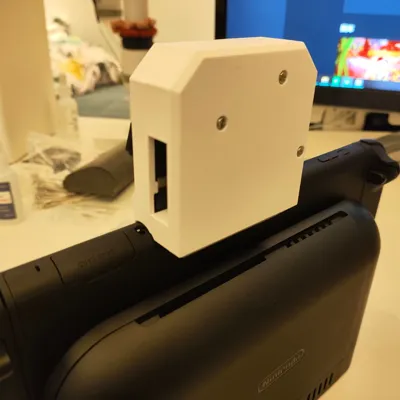
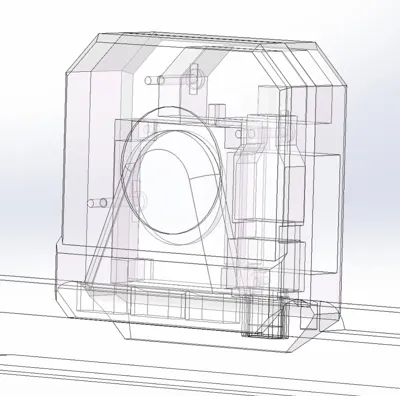
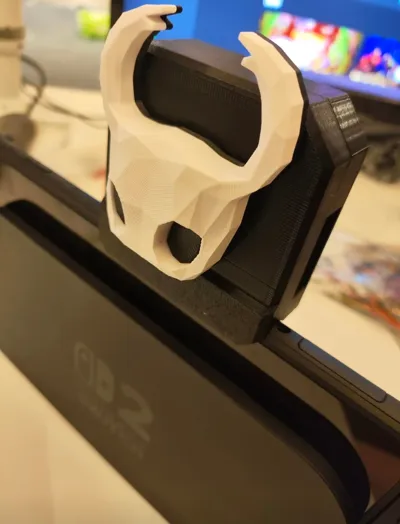
However, later I designed a better solution, which is to directly extract heat from the ns2's air outlet using negative pressure, taking heat away from the ns's own airflow channel, achieving better results. At the same time, the fan is powered by the Type-C port on the top of the ns, enabling automatic start/stop with the device, providing a permanent solution in dock mode without any other operations.
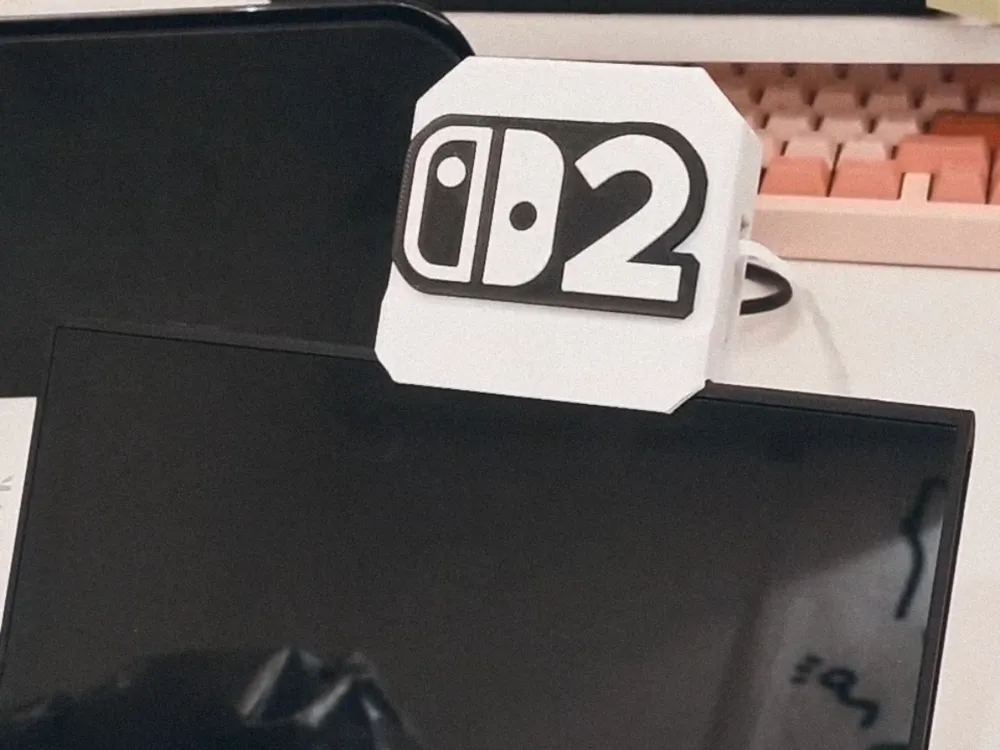
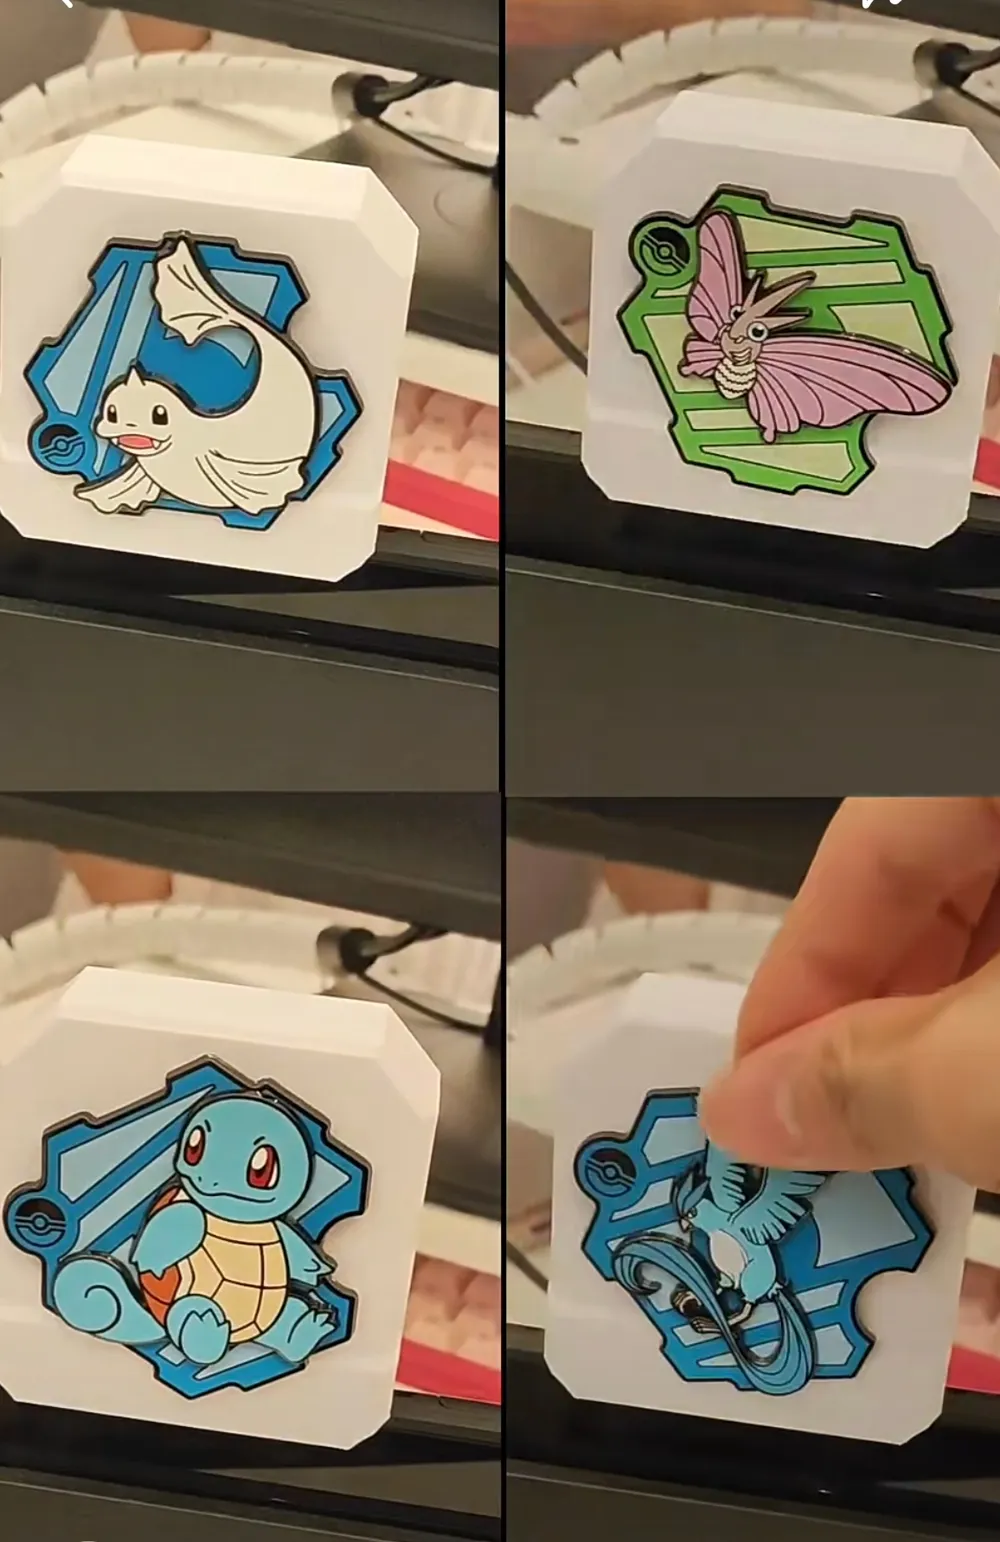
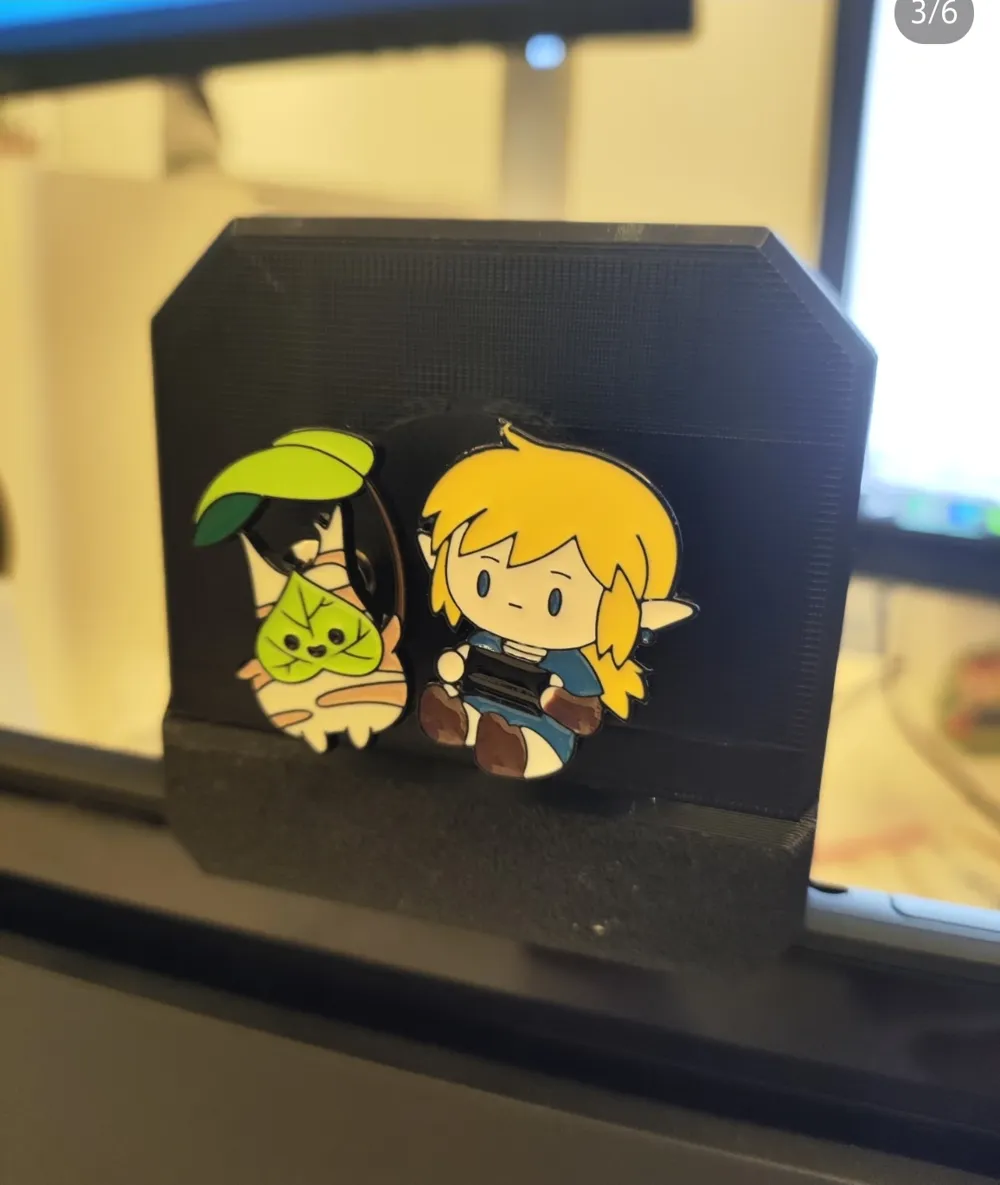
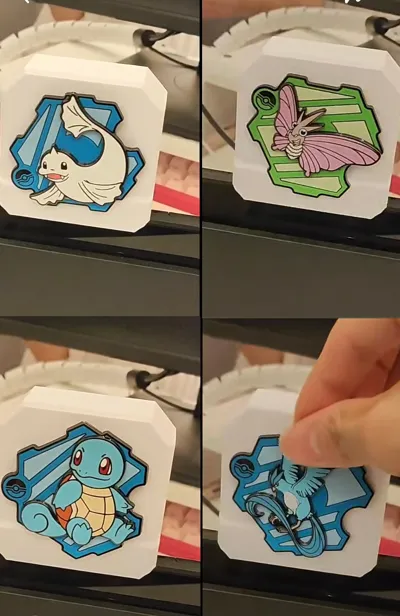
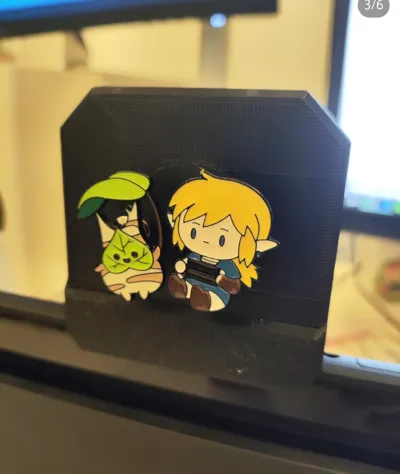
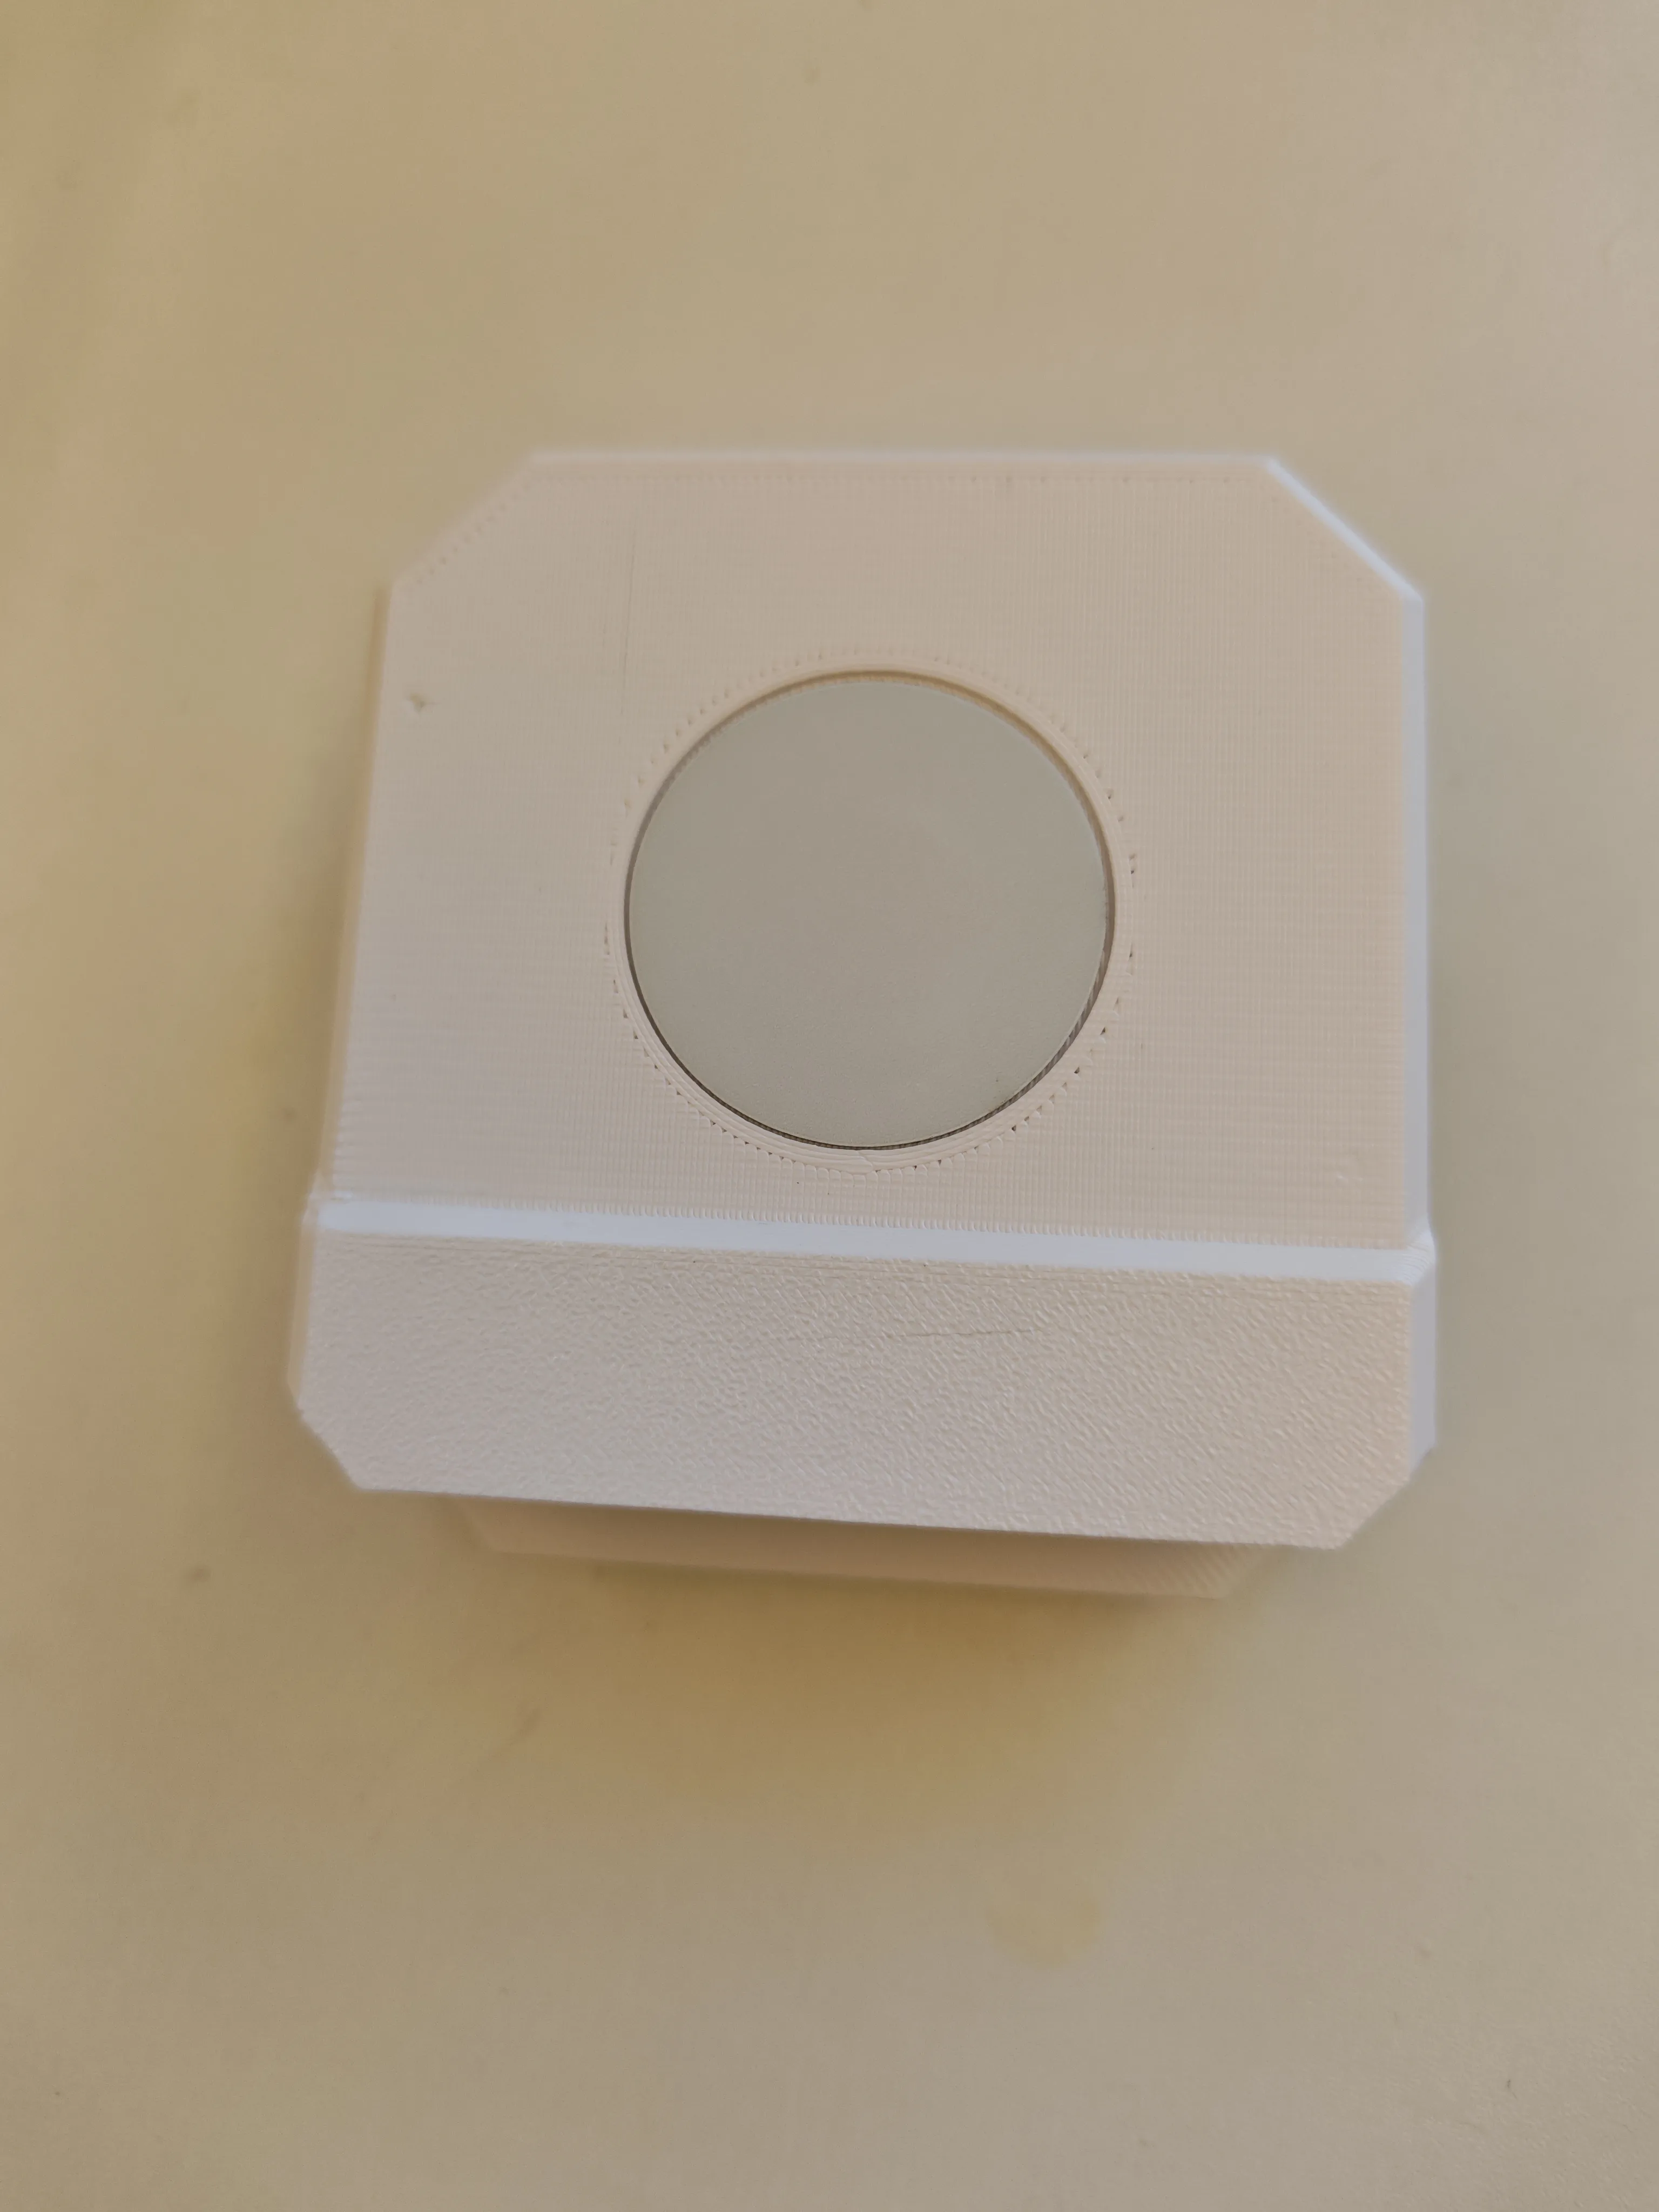
I also designed a magnet sticker slot where you can attach your favorite fridge magnets. Perfectly compatible with the Pokemon 151 series fridge magnets!
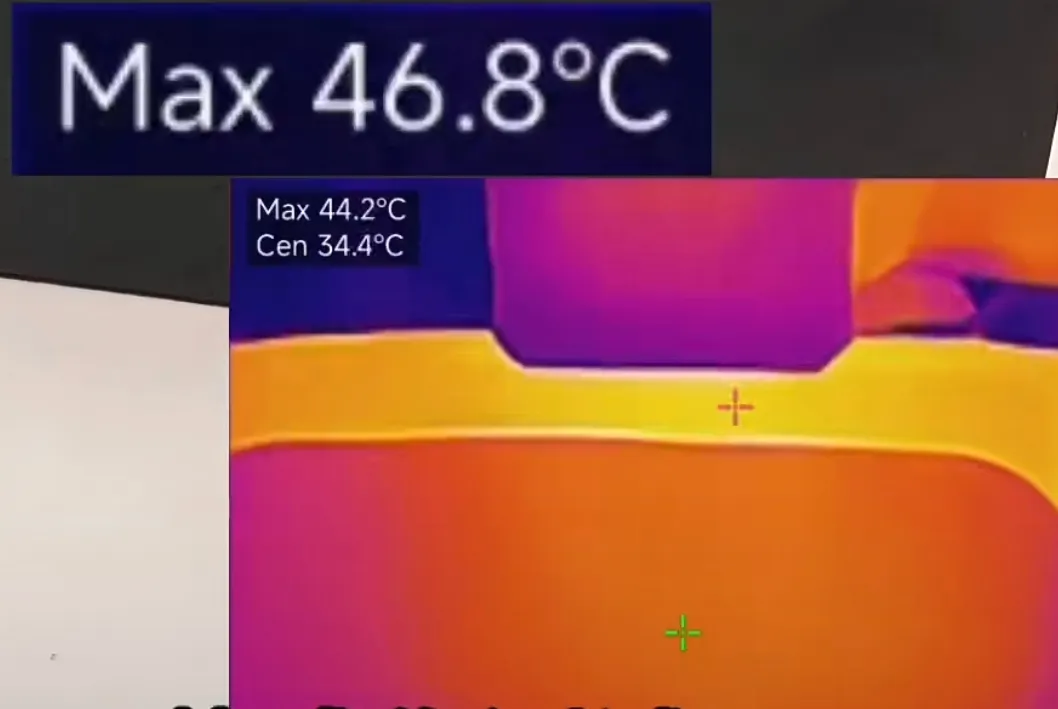 Before installing the cooler
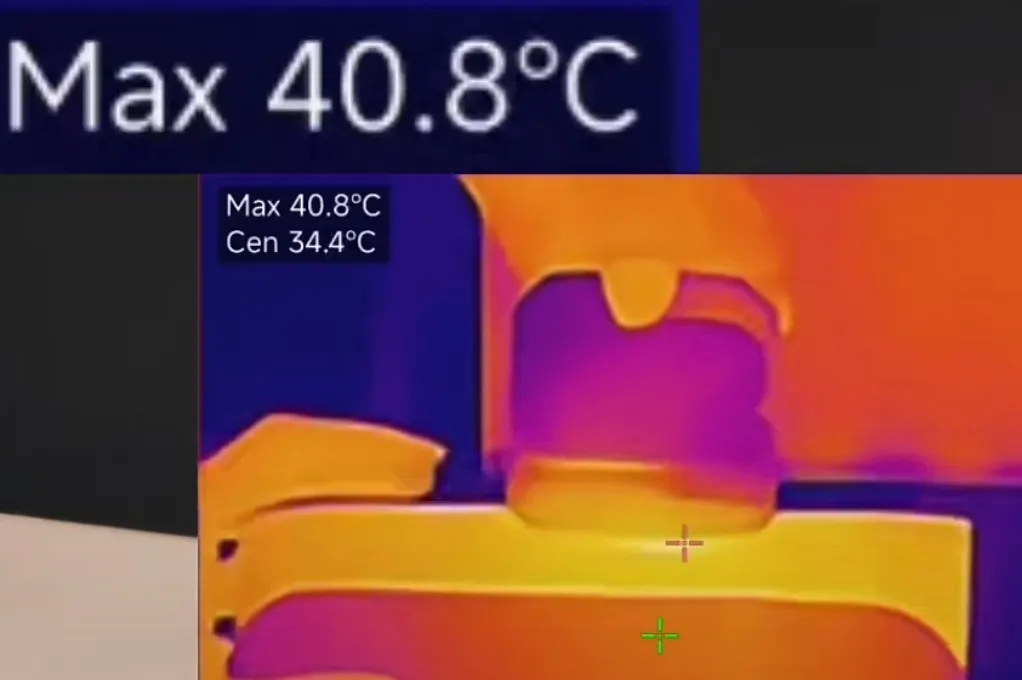 After the cooler has been working for 5 minutes
===============================================
Precautions
- Due to inconsistent thickness and size of ns2 protective cases from different manufacturers, the dimensions are designed for the bare device only, and the case needs to be removed for use.
- Considering the air outlet temperature, it is recommended to print with PETG first (PLA can be used for testing, but long-term deformation is not guaranteed).
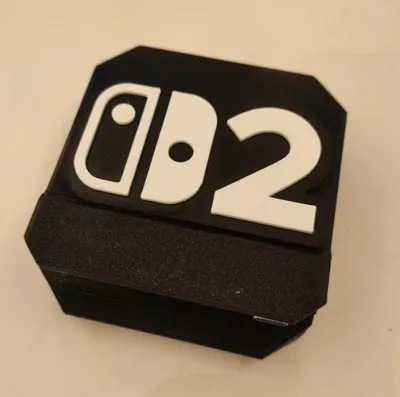
- The front cover of the default fridge magnet version requires PLA support for PETG; for specific settings, seePLA Basic and PETG HF, PETG Basic Mutual Support printing Guide | Bambu Lab Wiki
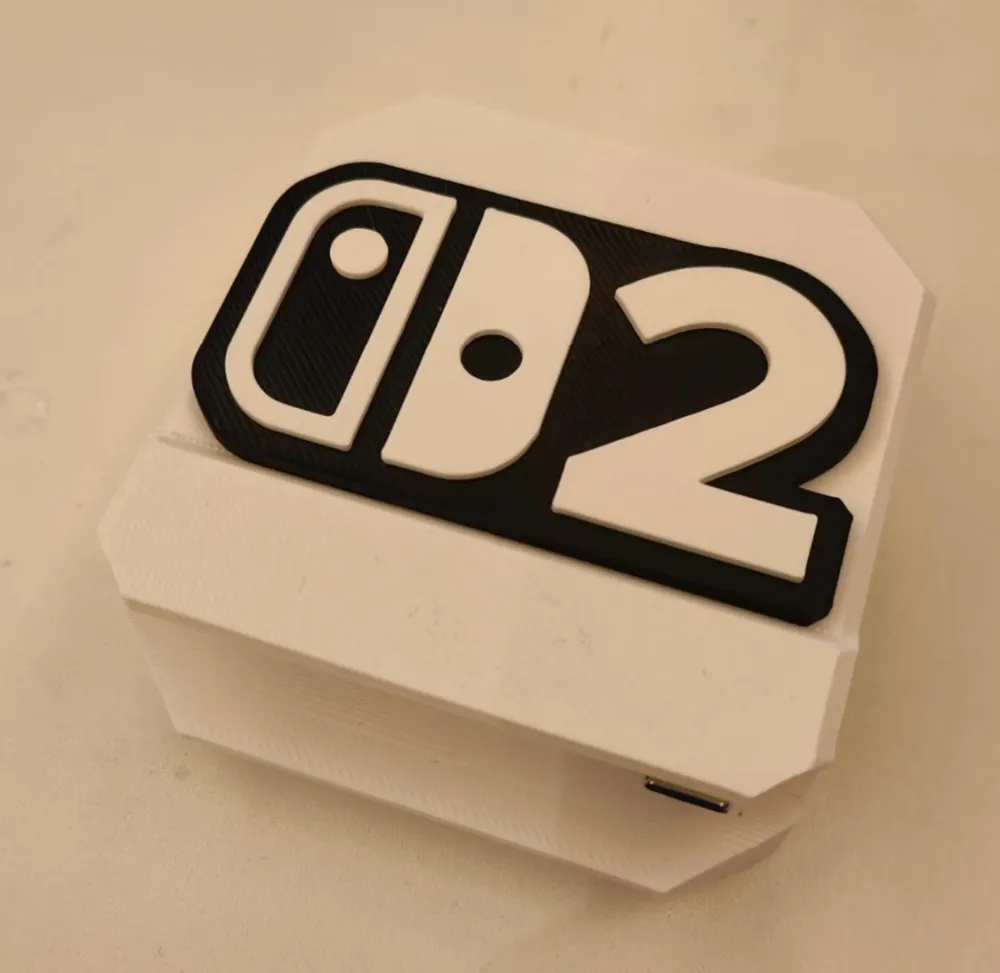
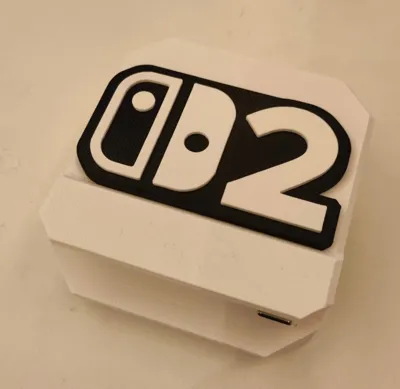
- If the machine does not have AMS or a beginner does not know how to change filament support, you can use the monochrome print profile, but note that the monochrome version does not have a design for fridge magnet placement.
- The magnetism of the fridge magnet should not be too strong, as a strong magnetic field may affect fan rotation.
- Commercial use is prohibited and not authorized to any vendor. If vendors still steal my model, please boost it first.
- If you find it too troublesome and need a finished product, I have a small quantity for sale. Search for"兴趣使然的电锯使" on xhs.
===============================================
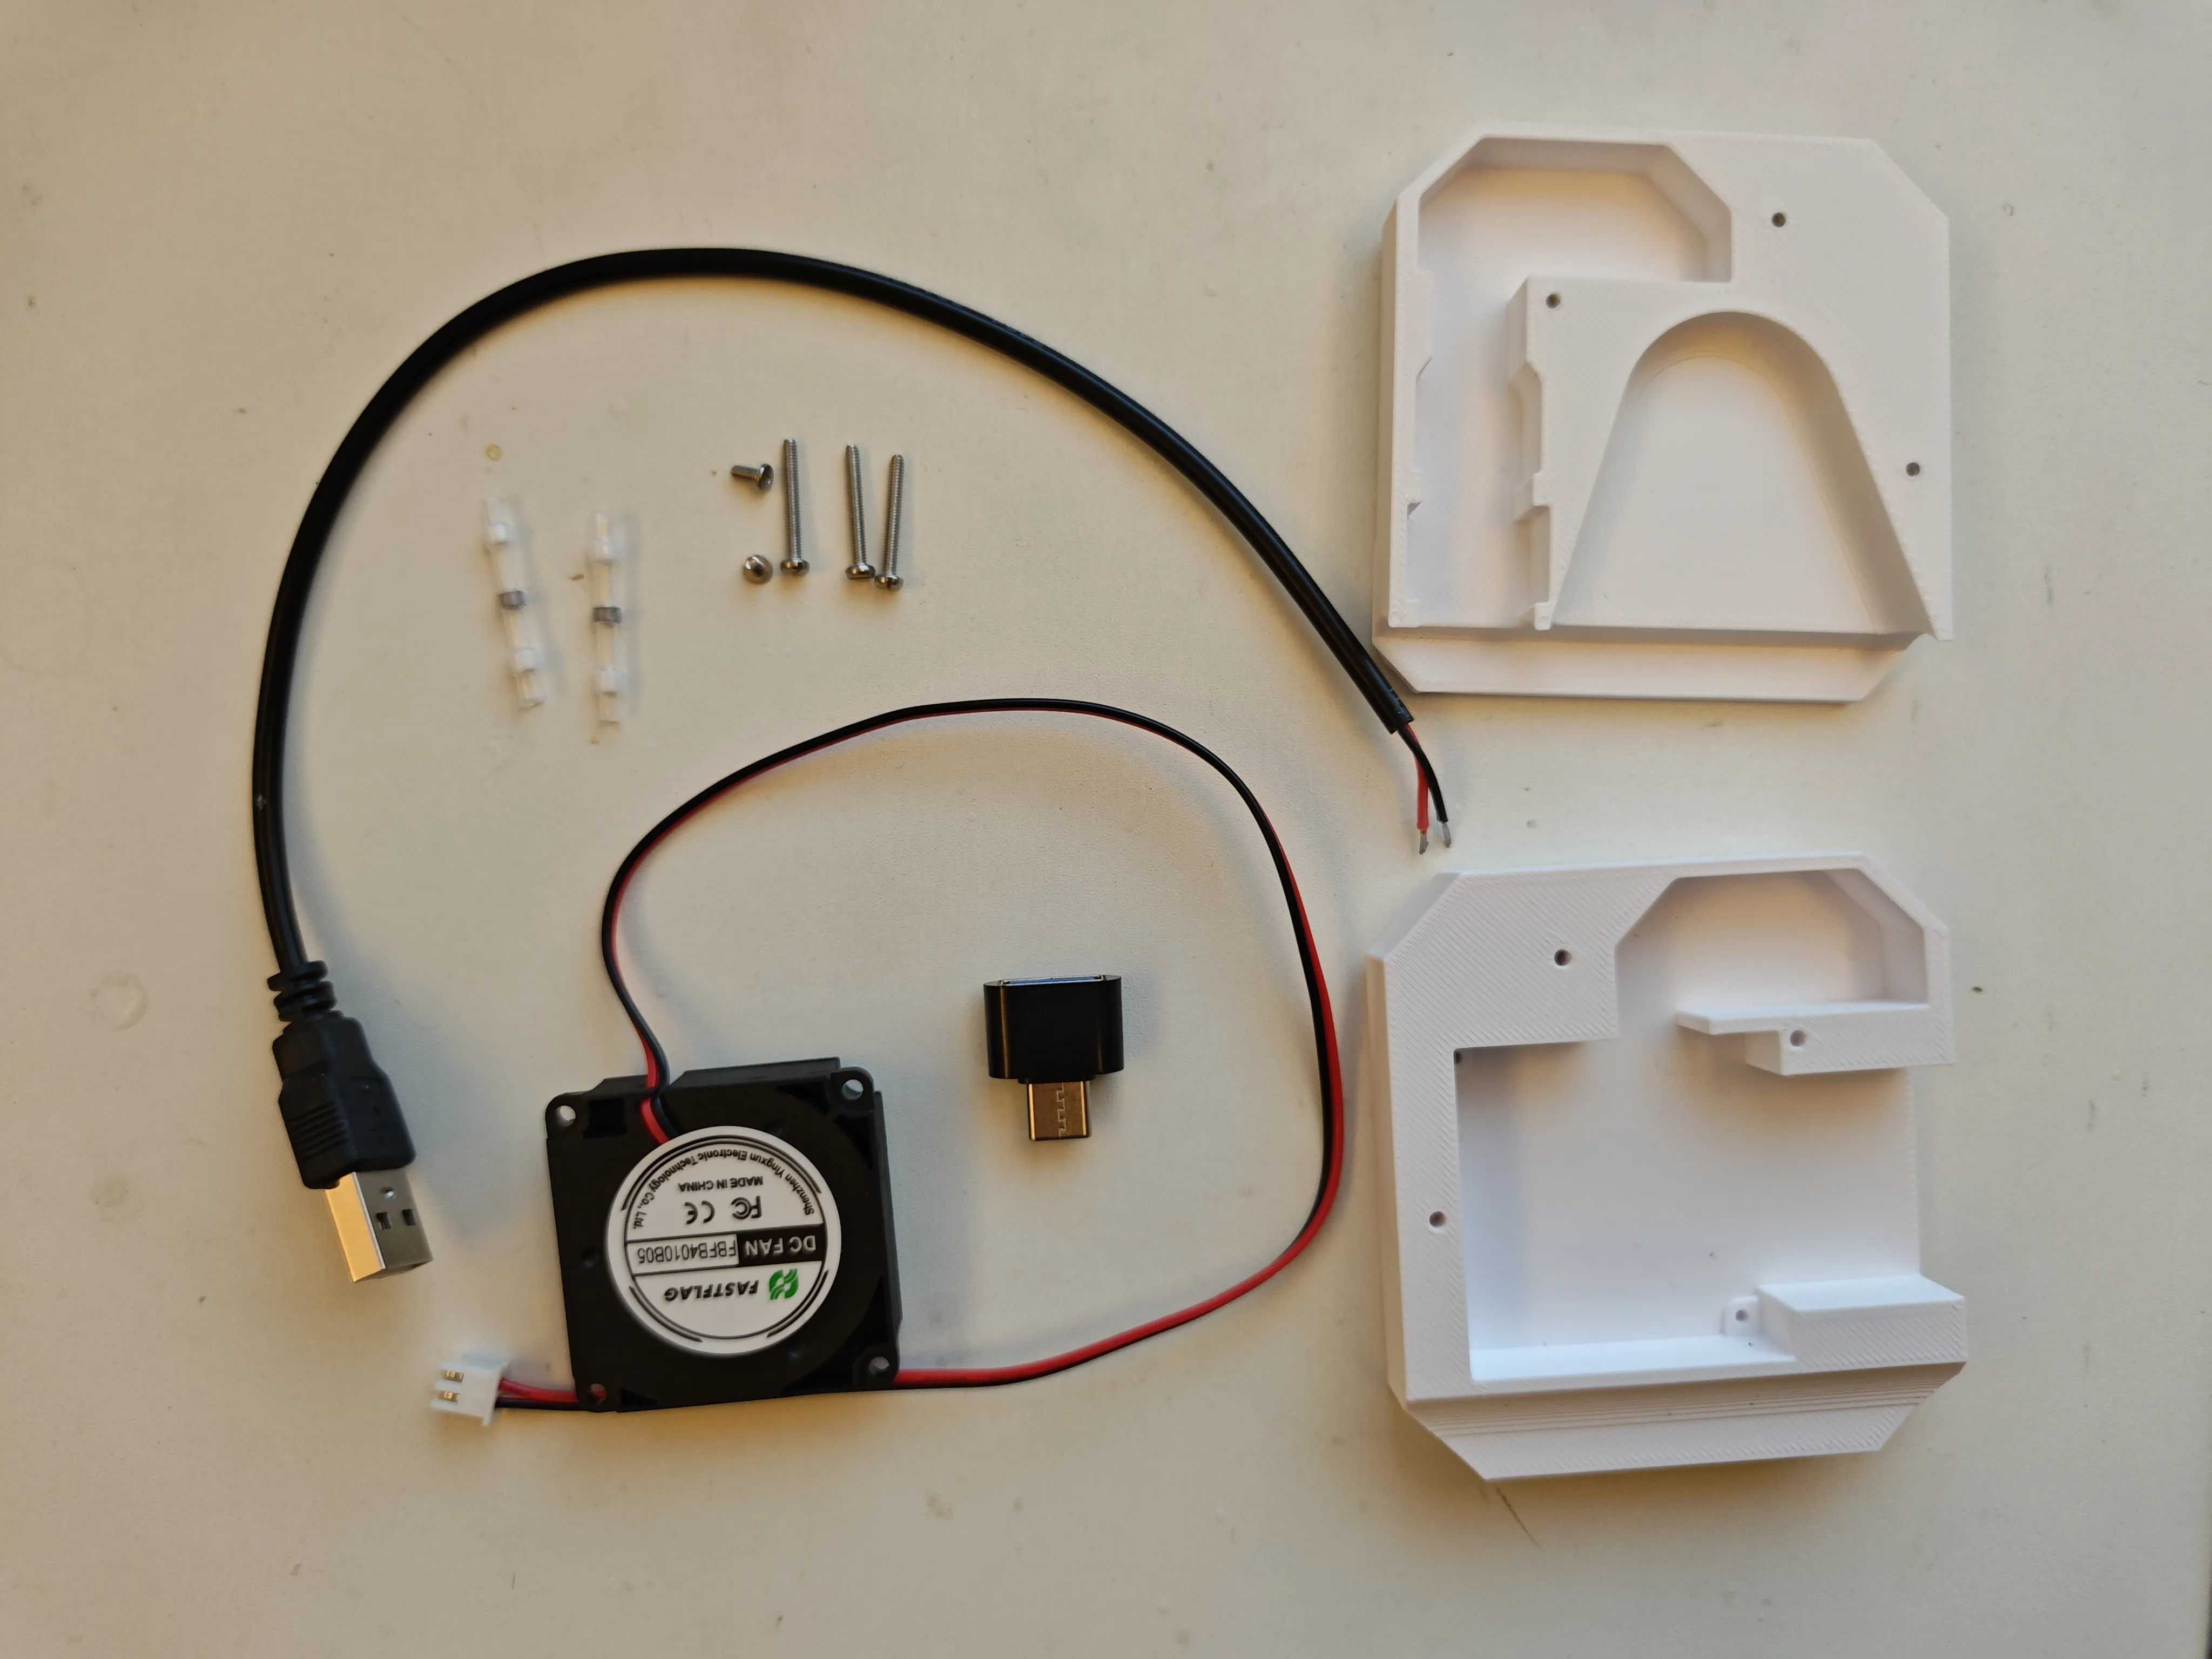
Below are the accessories links and assembly tutorial. Tools and some DIY skills are required!!
Accessories List
- M2*16 flat head screws 3 pieces Black 304 Stainless Steel Cross Flat Head Screws Thin Head Large Flat Head CM Computer Screws MM3M4M5M6-tmall.com Tmall
- M2*4 flat head screws 2 pieces Black 304 Stainless Steel Cross Flat Head Screws Thin Head Large Flat Head CM Computer Screws MM3M4M5M6-tmall.com Tmall
- Cooling Blower 【Ball Bearing 5V 6300 RPM (XH2.54 Plug) FBFB4010B05】4010 Dual Ball 4CM/cm 5V/12V/24V 3D Printer Centrifugal Turbine Blower Cooling Fan-tmall.com Tmall
- Solder Seal Heat Shrink Tubing 2 pieces 【0.26-0.34 sq mm】 Lüyun Solder Seal Heat Shrink Tubing Insulated Waterproof Soft Sleeve Connector Wire Terminal Crimp-Free Transparent Hot Melt Shrink Sleeve-tmall.com Tmall
- USB Male Connector with Cable 【0.3 sq mm USB Male 30CM】 USB 2.0 Data Cable Power Cable USB Male Single Head Two-Core Full Copper Red and Black Wire 30cm long-Taobao.com
- Type-C to USB 【Type-C Reversible Plug 【Plastic Model】Compatible with Huawei Phone OTG Adapter Type-C to USB3.0 U Disk Card Reader Compatible with Vivo Honor OPPO-Taobao.com
- This converter is not only for converting the power port model but also for tricking the Type-C power handshake, it is indispensable.
- Magnetic Attraction Plate 【3 cm, choose black or white】Magnetic Attraction Plate Car Phone Holder Navigation Magnetic Sticker Black White Red Gold Silver Solid Color Universal Adhesive Iron Plate Ultra-Thin-Taobao.com
- (Optional) ns2 logo fridge magnet 【Diameter 15mm, thickness 1mm】N52 Round Neodymium Iron Boron Super Strong Magnet Nickel Plated Mini Small Magnet High Strength Ultra-Thin Strong Magnetic Patch-Taobao.com
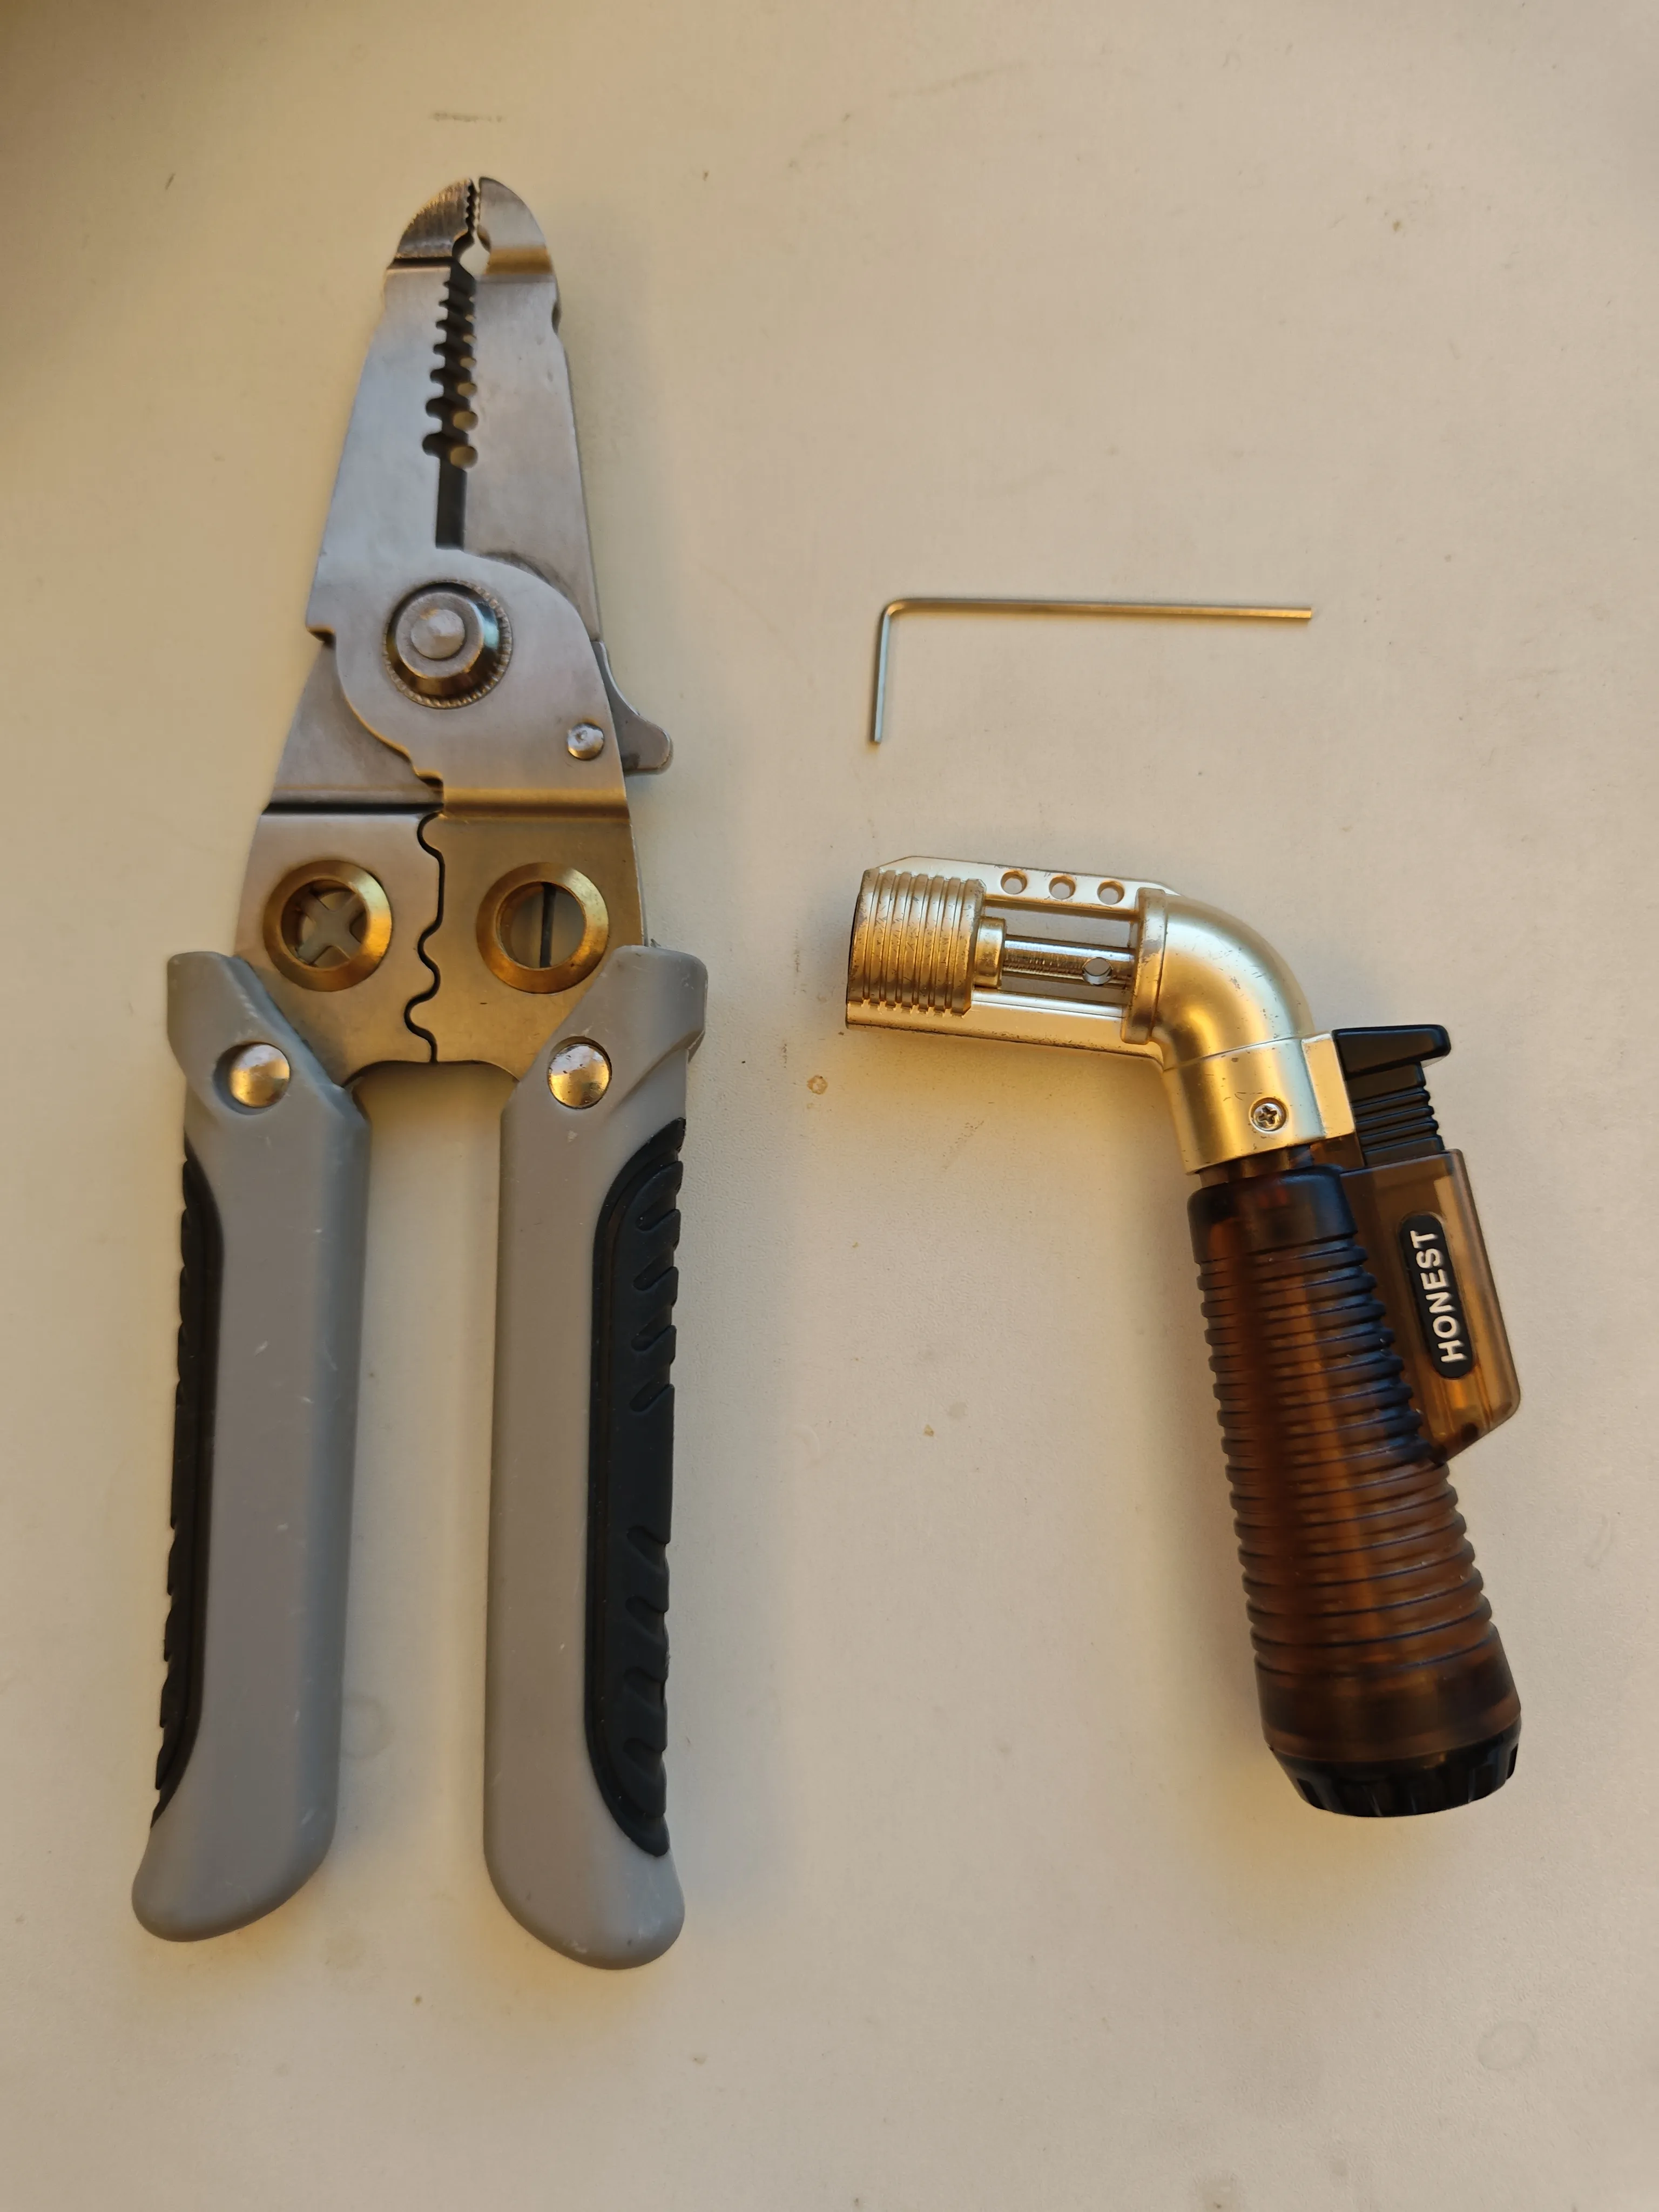
- Required tools: wire strippers, windproof lighter, and screwdriver matching m2 screws
Assembly Process:
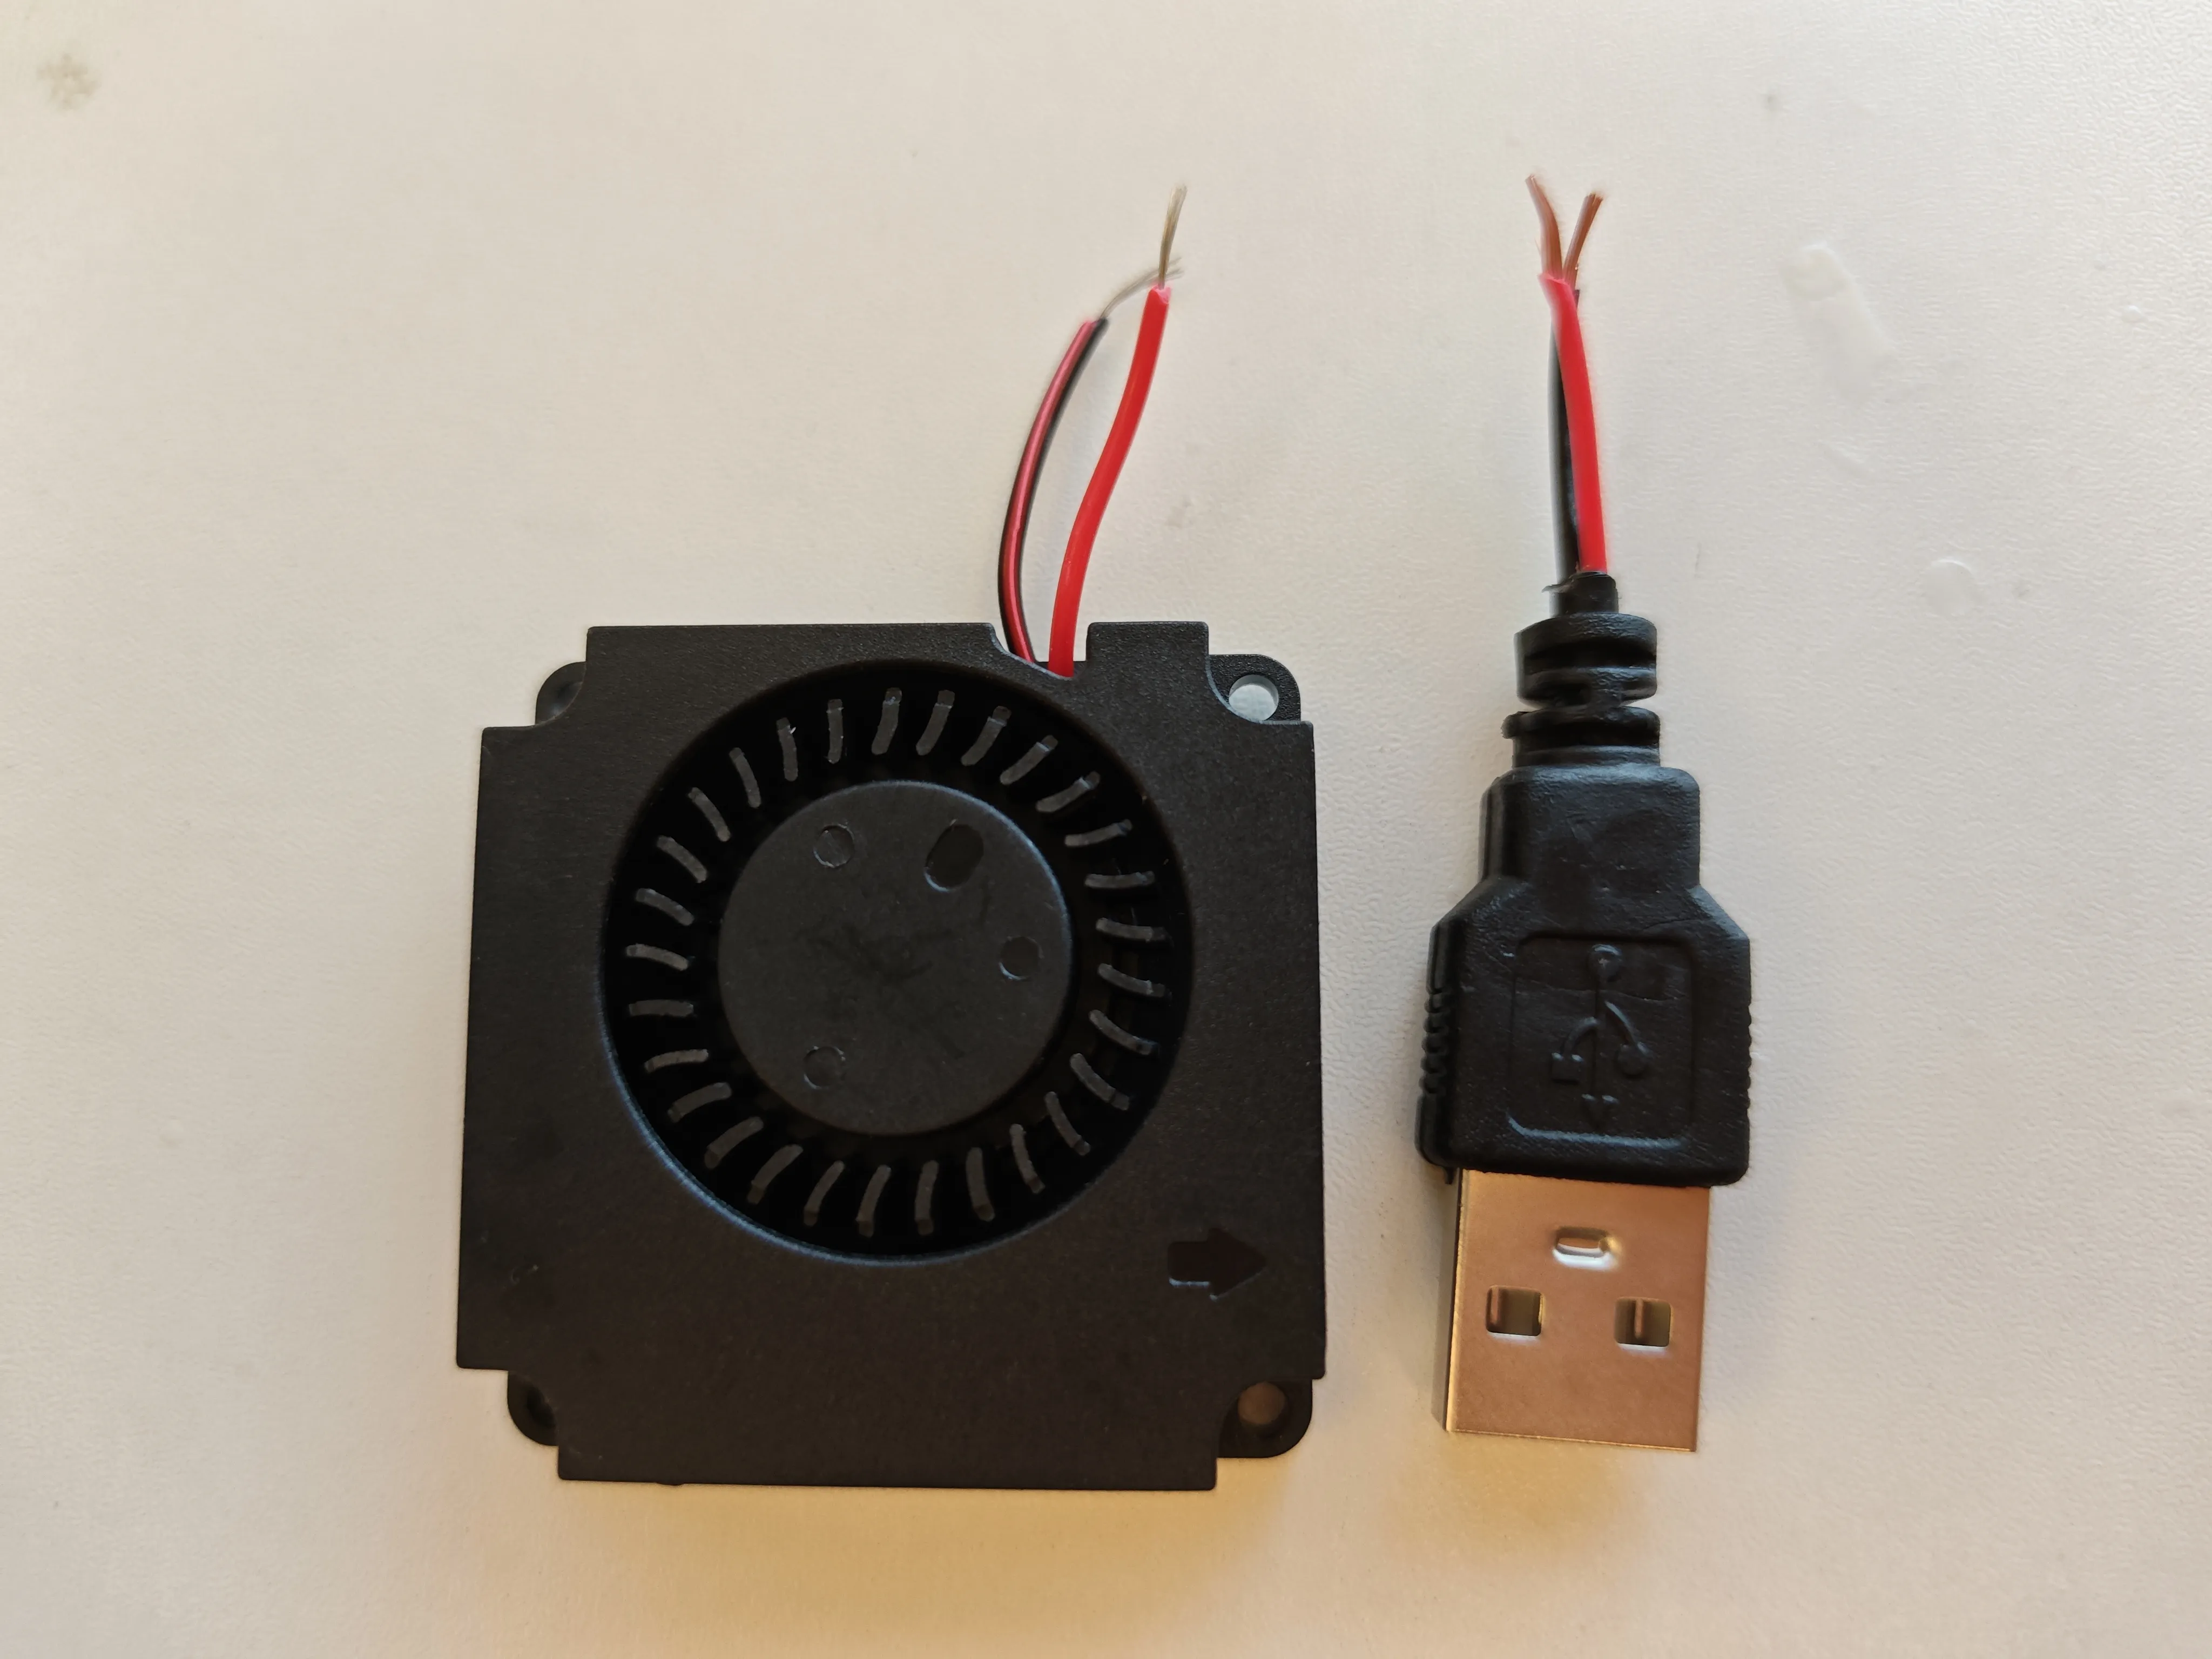
- Shorten the fan and USB male connector wires to about 2cm
Use wire strippers to strip off the black outer sheath of the USB cable from the root, exposing about 5mm of copper wire for the red and black wires; also strip about 5mm of copper wire for the fan's red and black wires
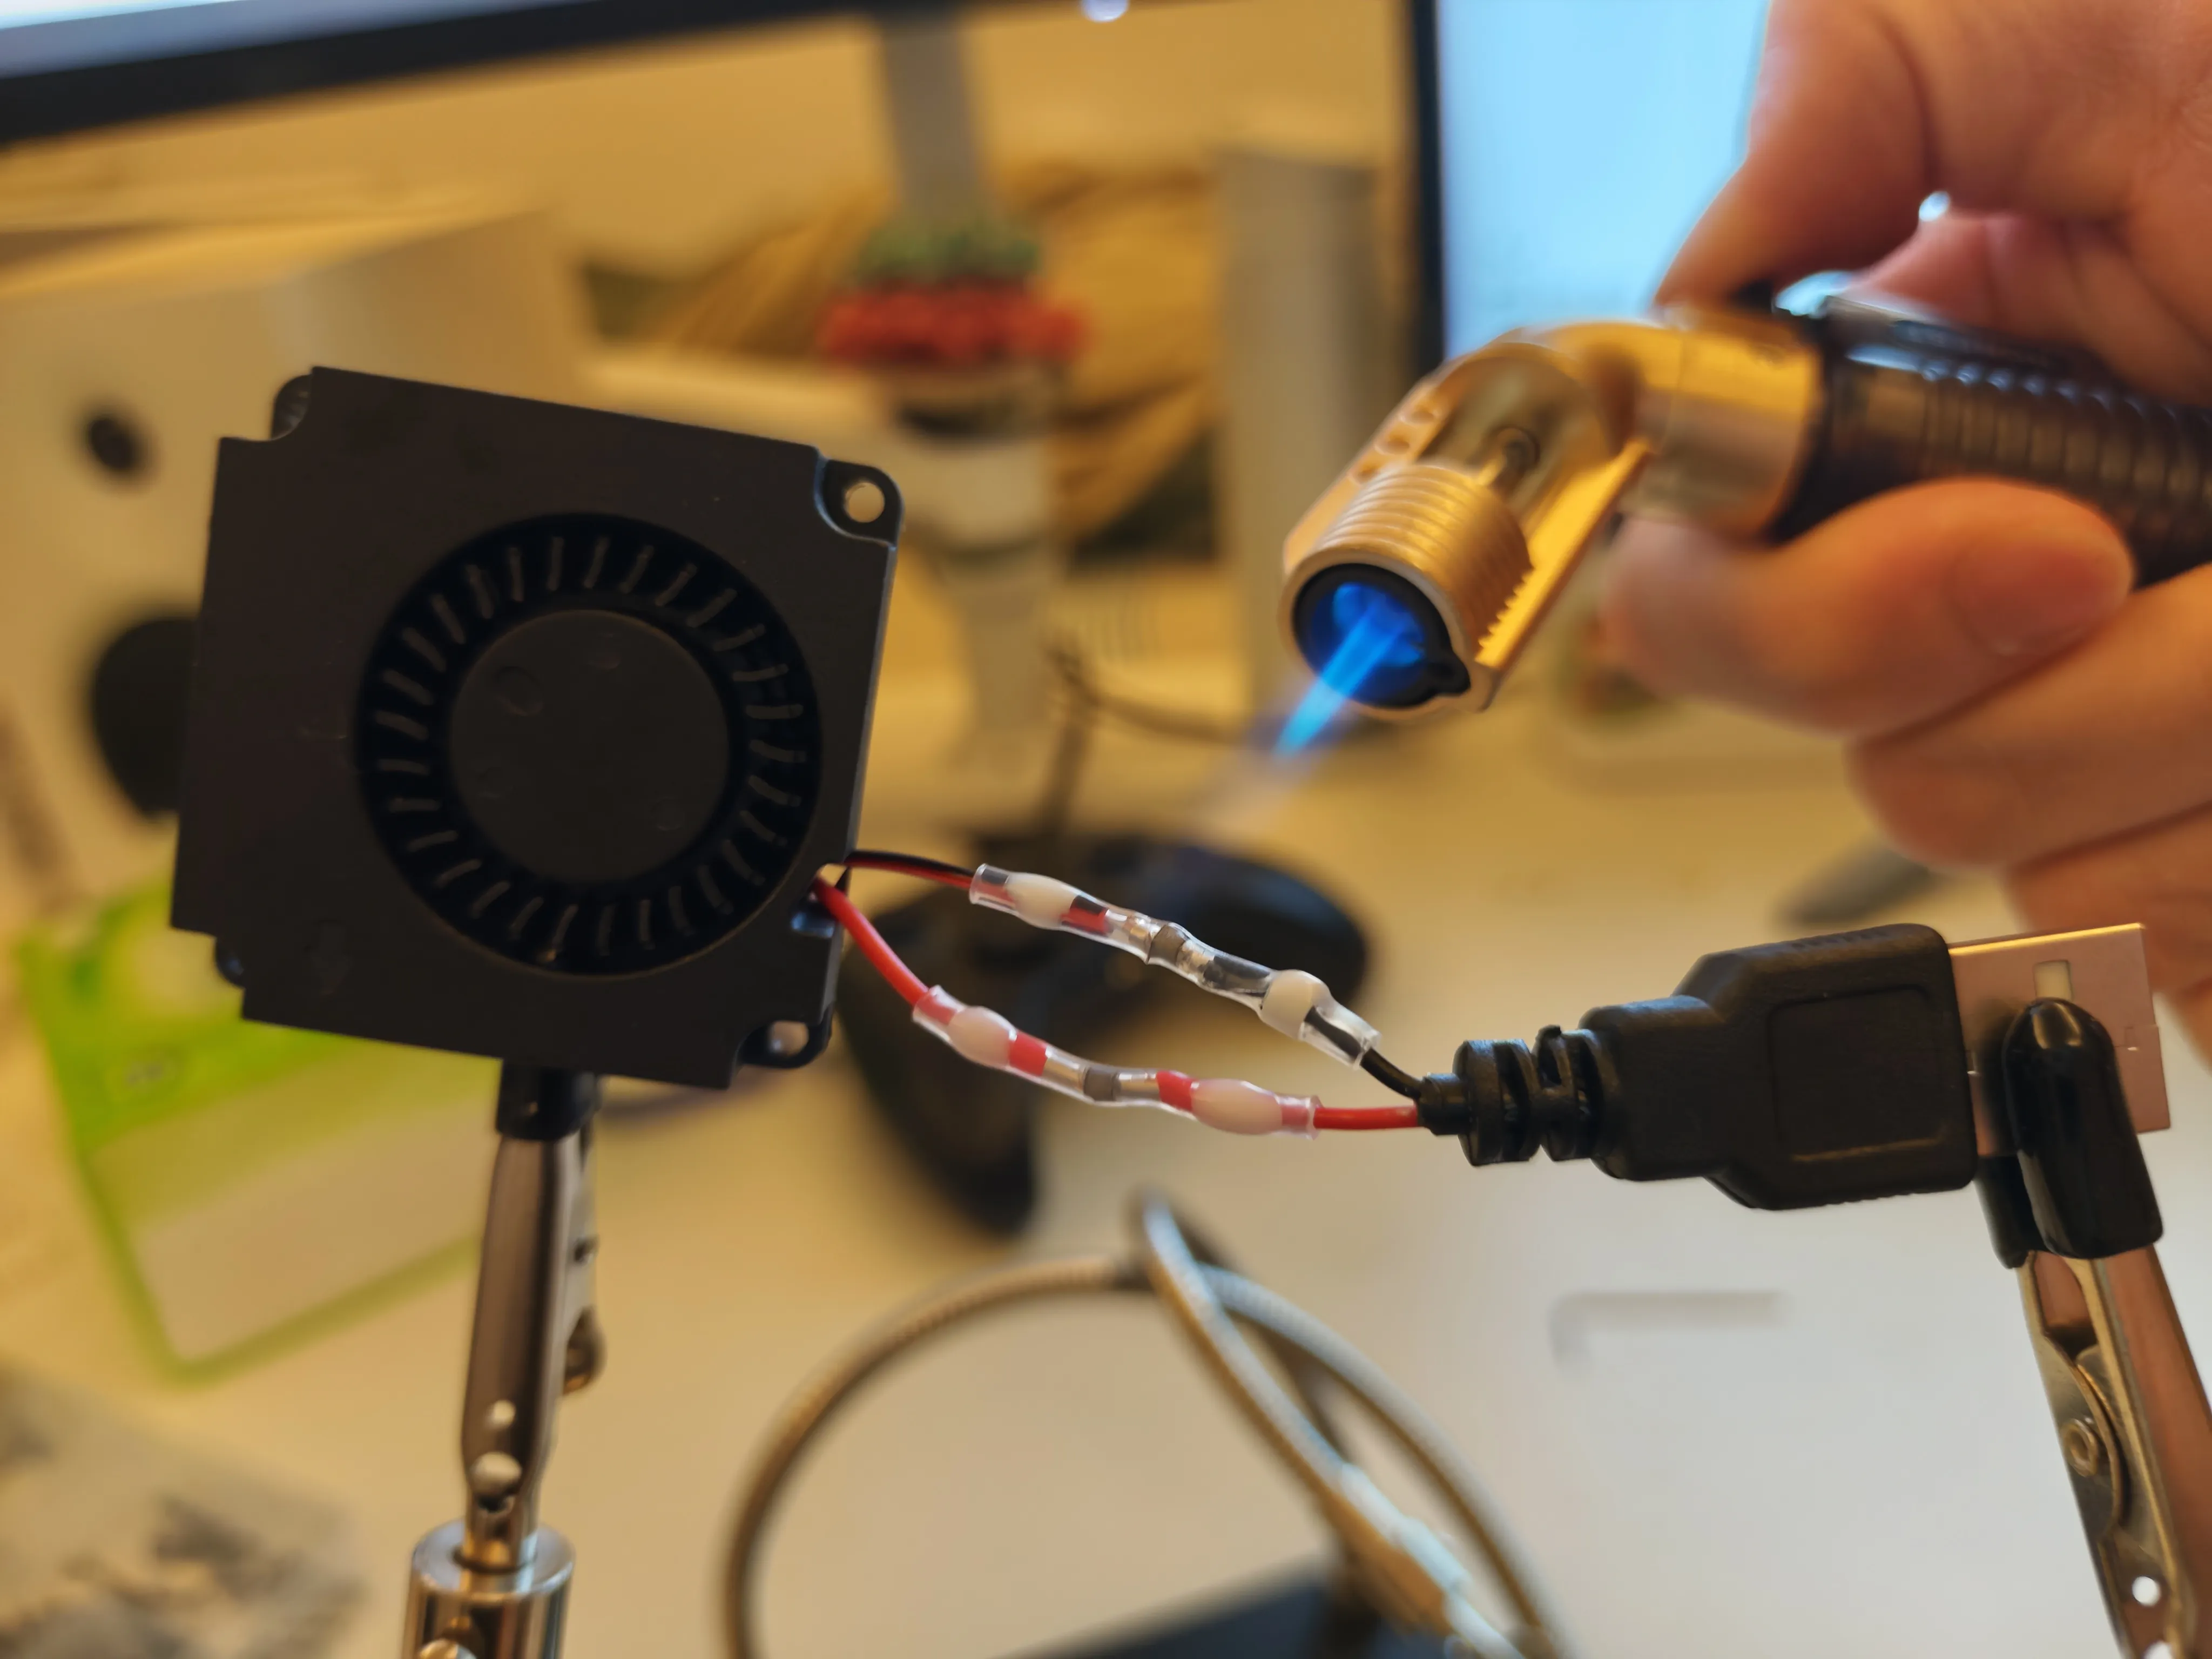
Insert the two red wires end-to-end into the heat shrink tubing, with the copper wire ends overlapping at the central solder ring position
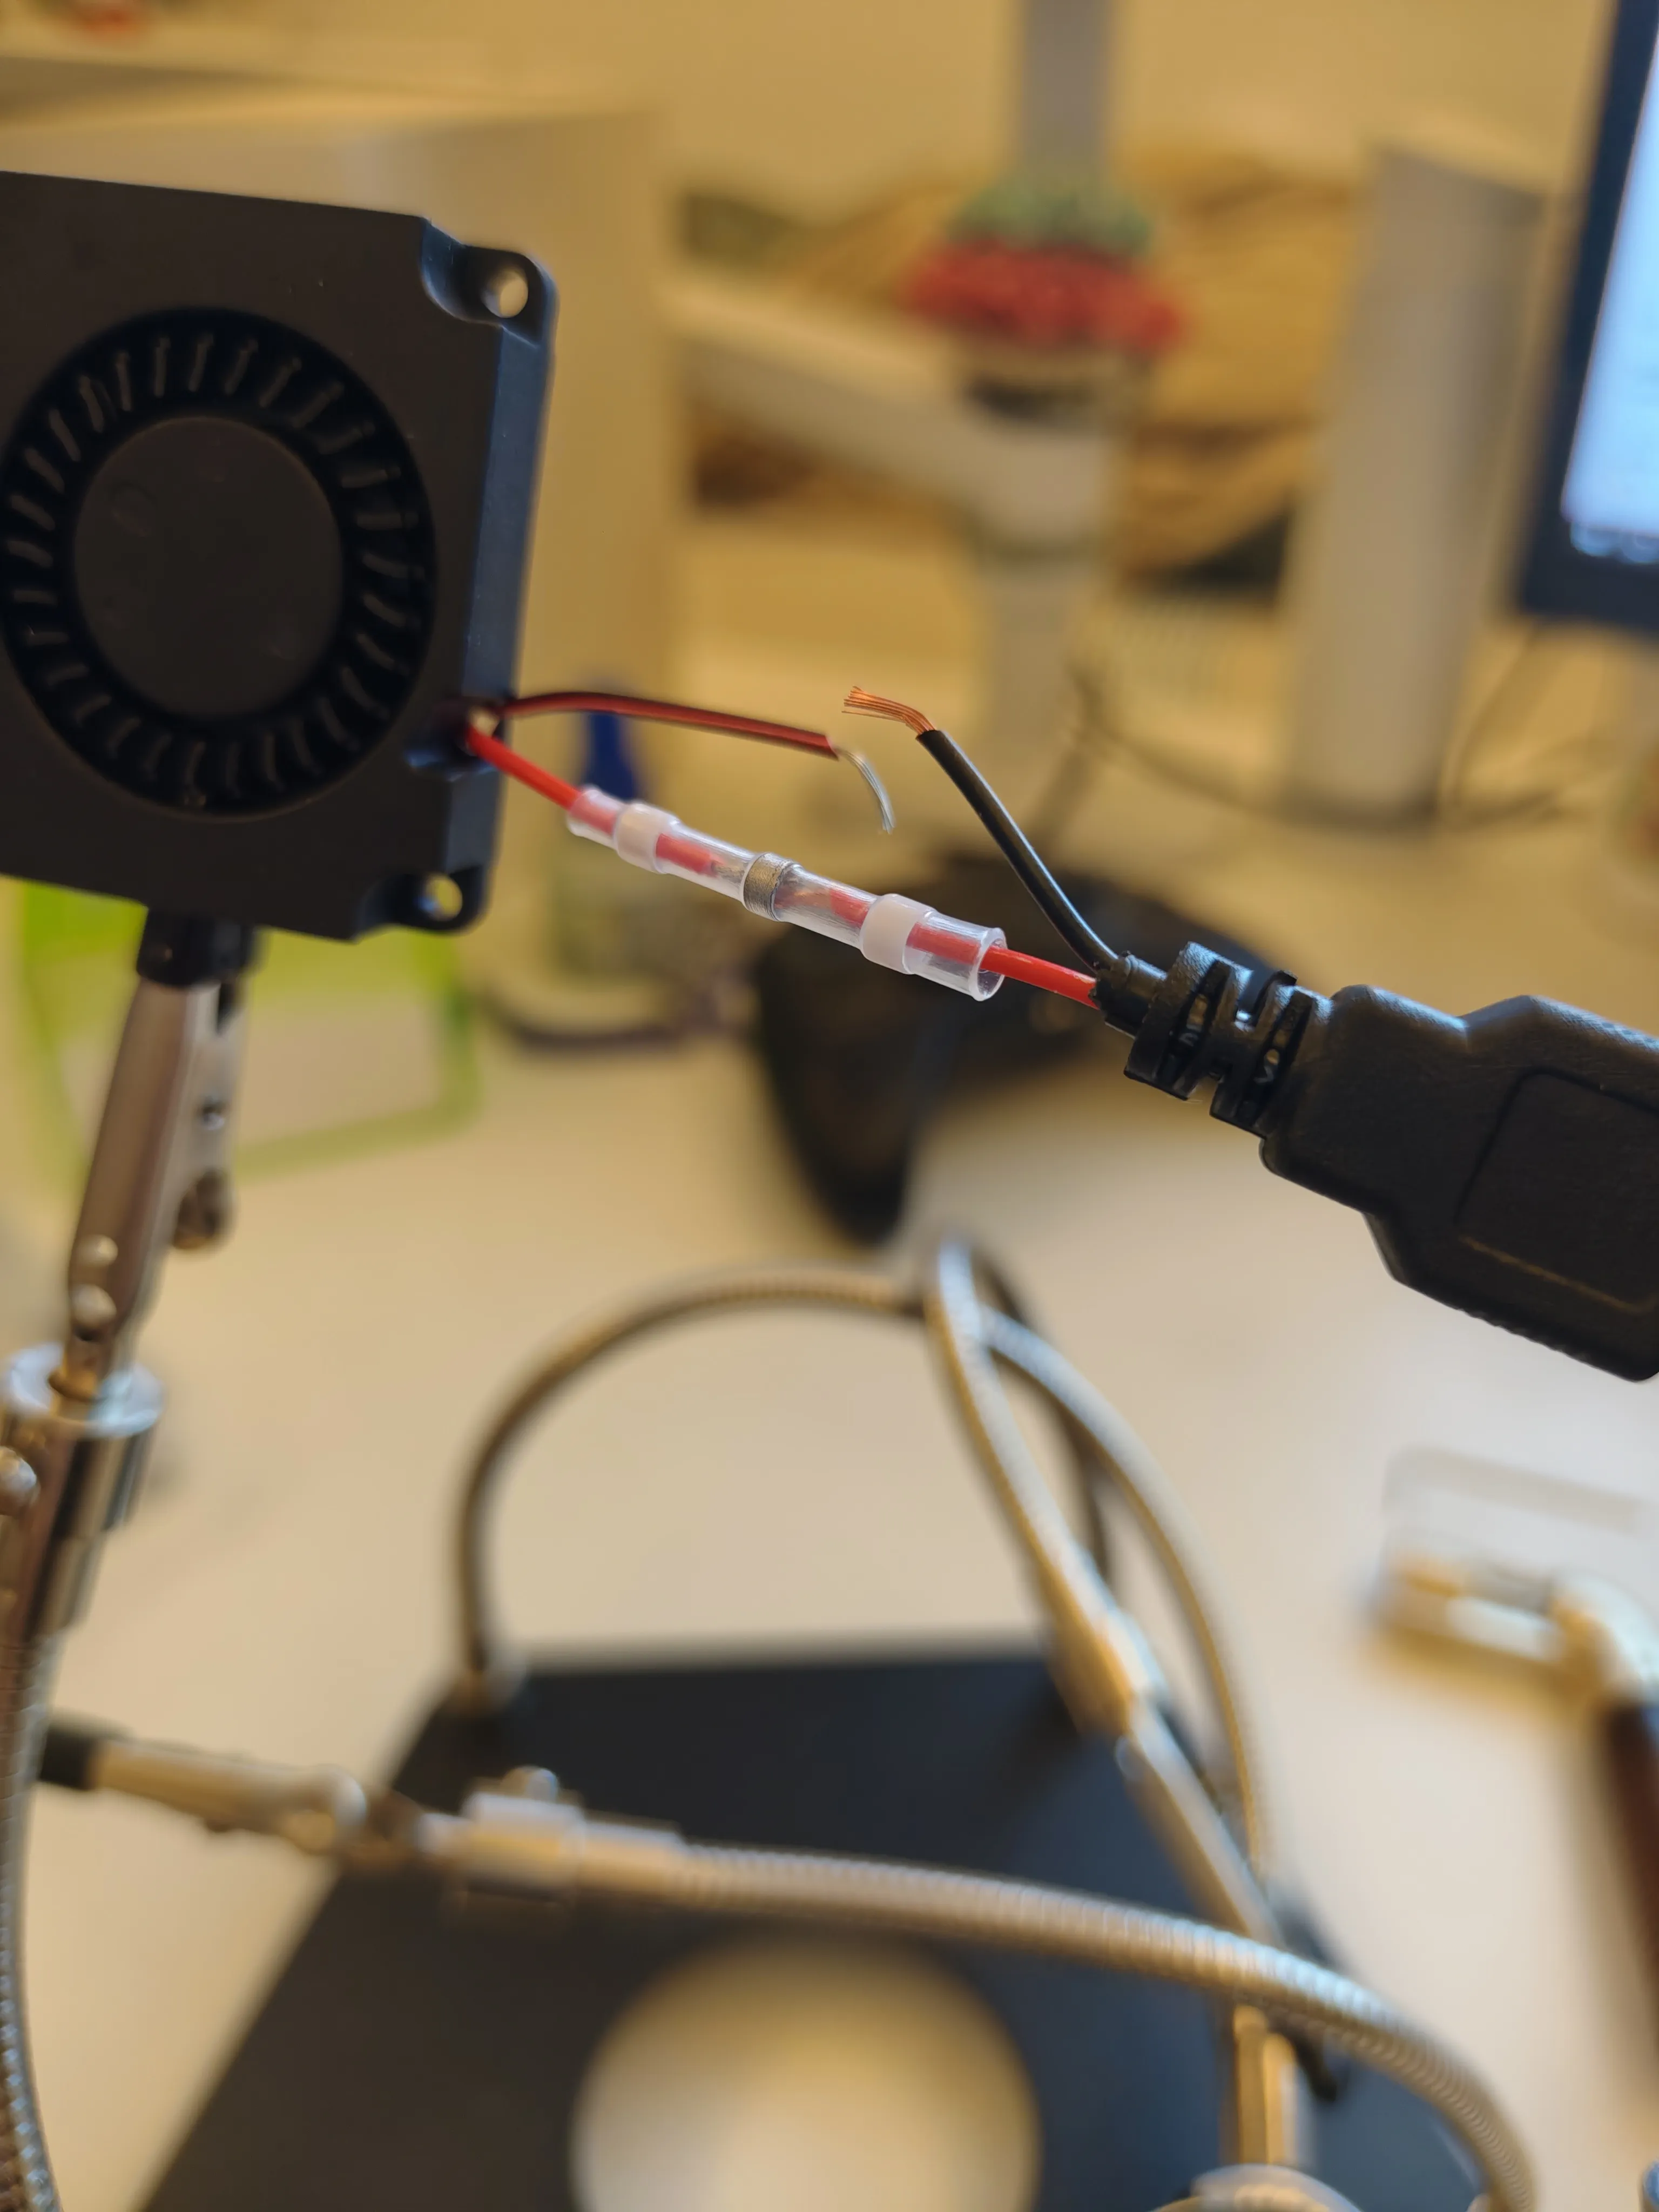
The same applies to the two black wires. After aligning the positions, use a windproof lighter to heat the heat shrink tubing sparingly and repeatedly until the solder melts and wraps around the wires, then the soldering is complete.
- I used a clamp workbench to fix these two accessories. If you don't have one, you can find a convenient place for lighter heating, such as a concrete floor or suspension between two tables.
- The above steps are essentially just to obtain a USB DC powered fan with sufficiently short wires. If other tools can achieve this, that is also acceptable (e.g., soldering iron + electrical tape, or even directly asking a store to customize the length)
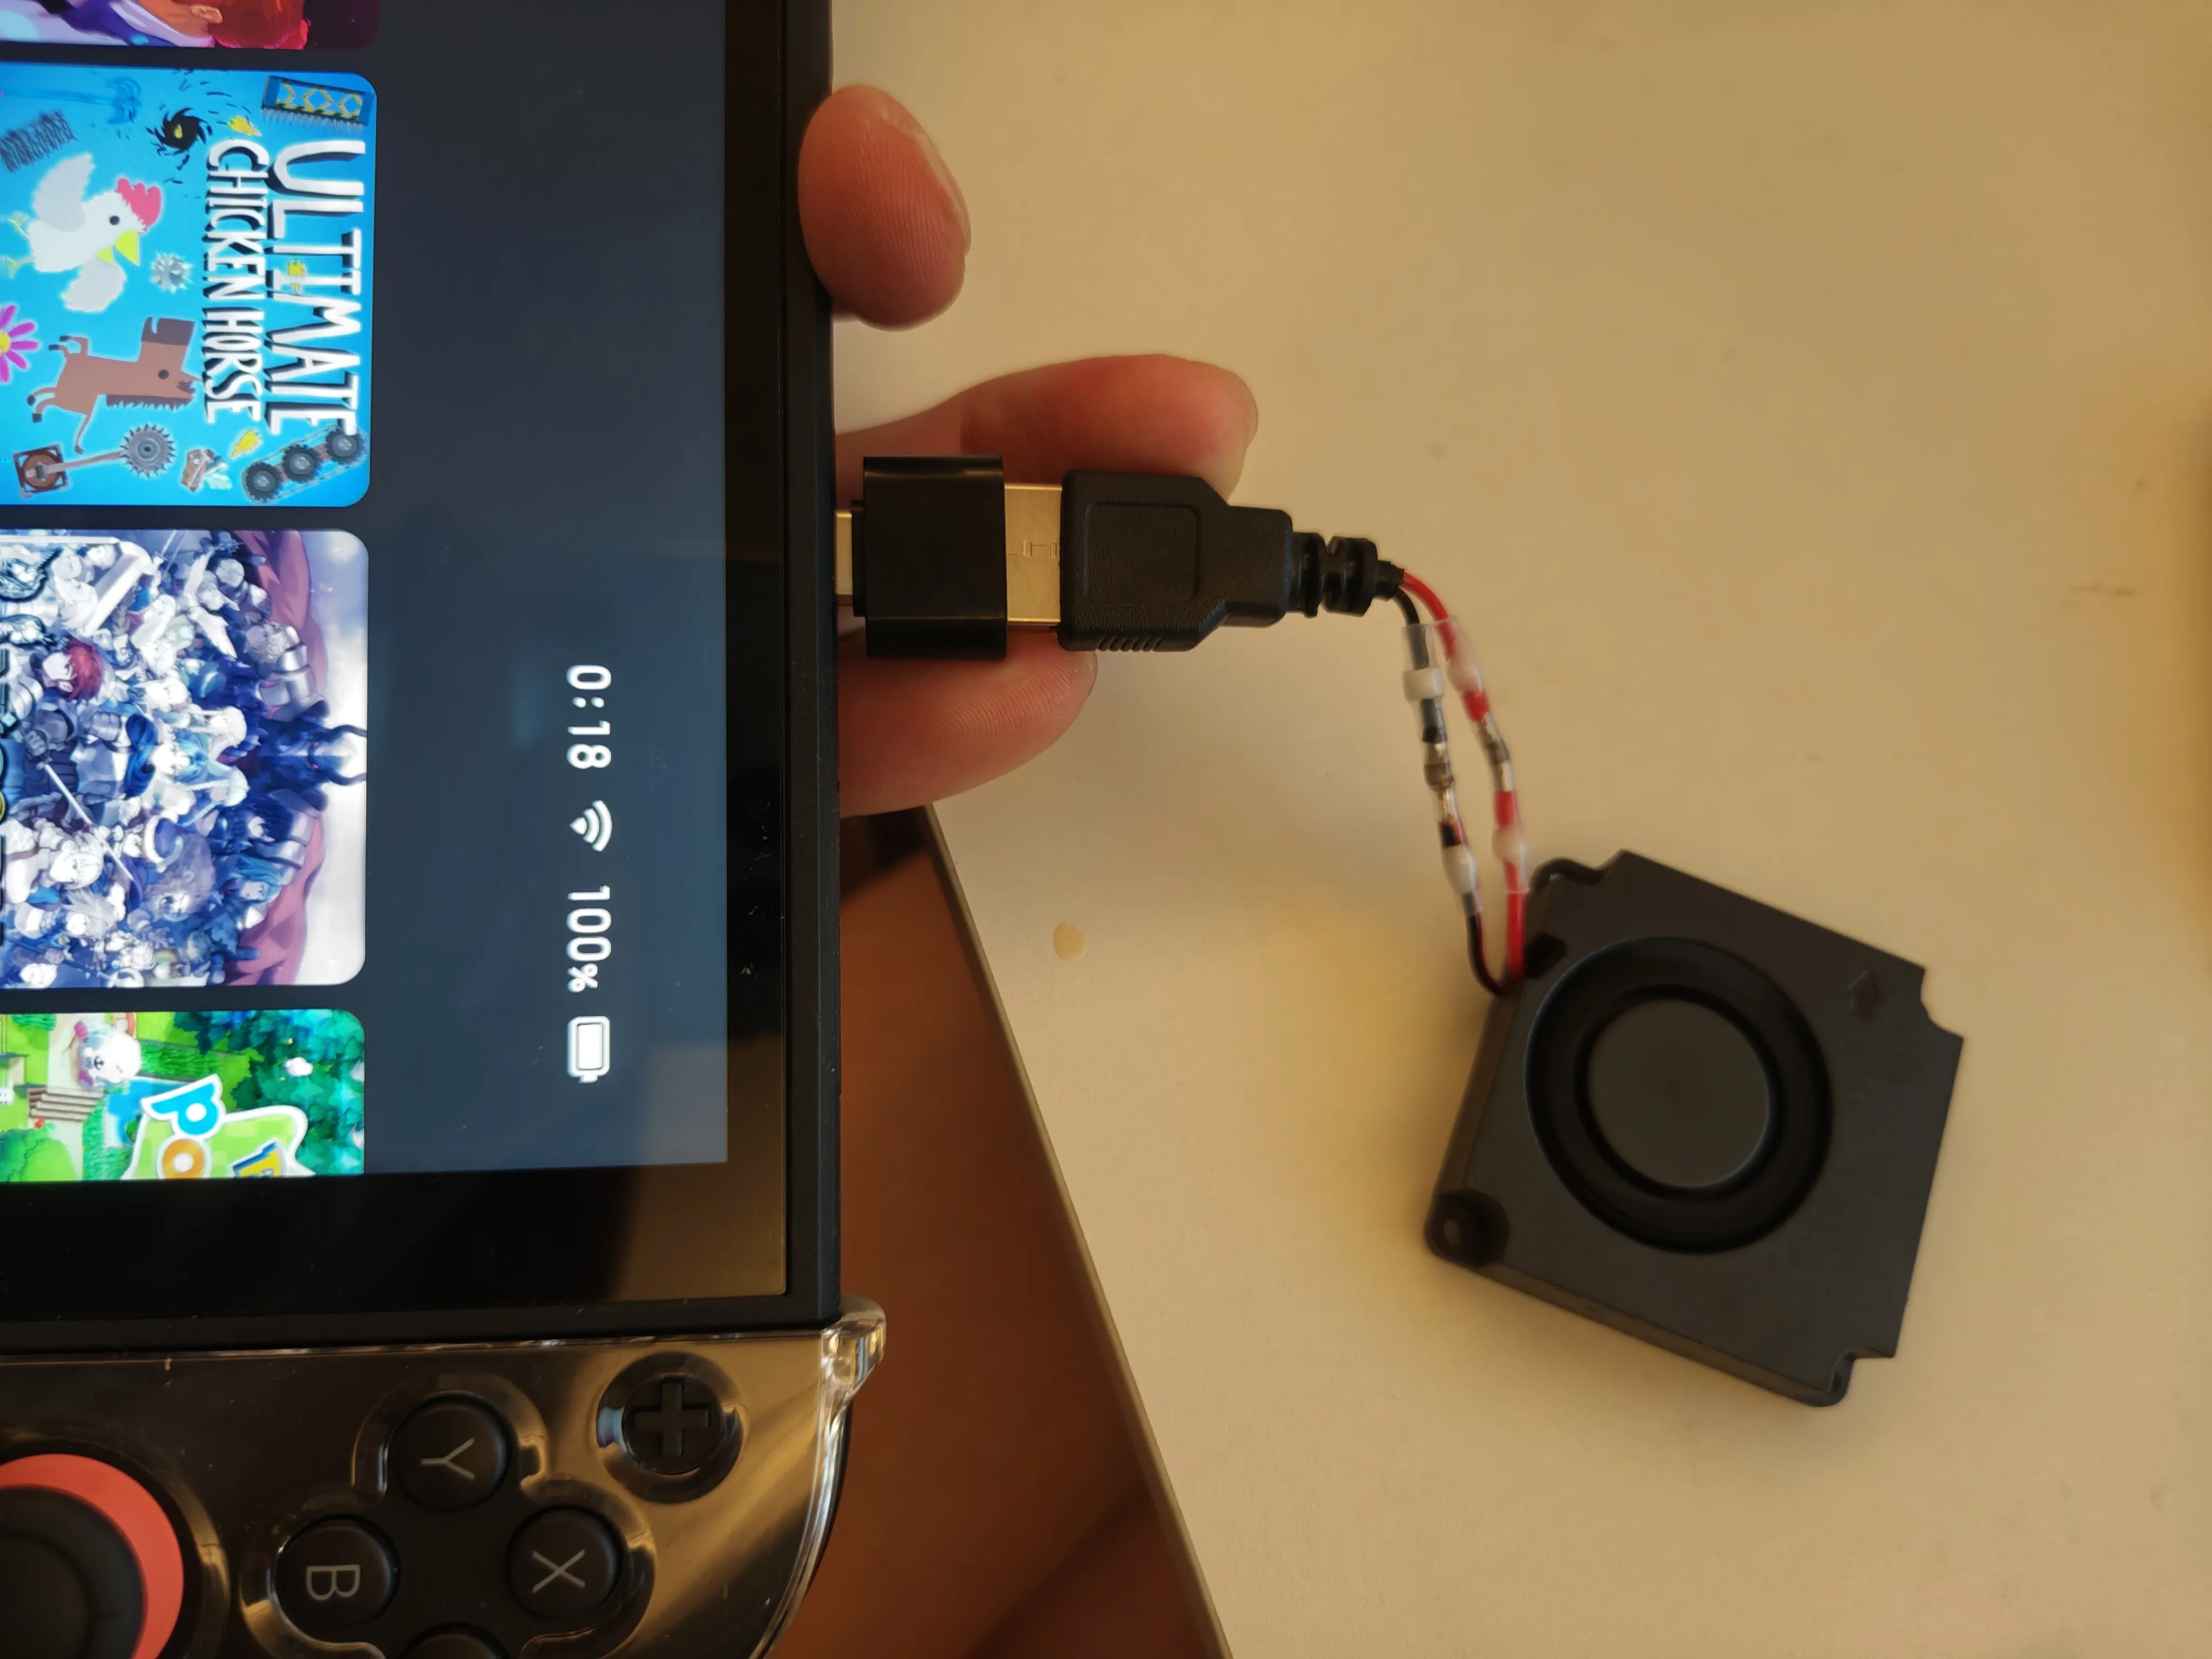
Insert the Type-C converter into the USB male connector, then plug the entire assembly into the ns2's Type-C port to test if the fan works properly
- During testing, ensure the USB is pressed firmly. It is normal for the fan to lose contact and stop if the connector is slightly loose; in the actual cooler slot, an interference fit will ensure tight contact.
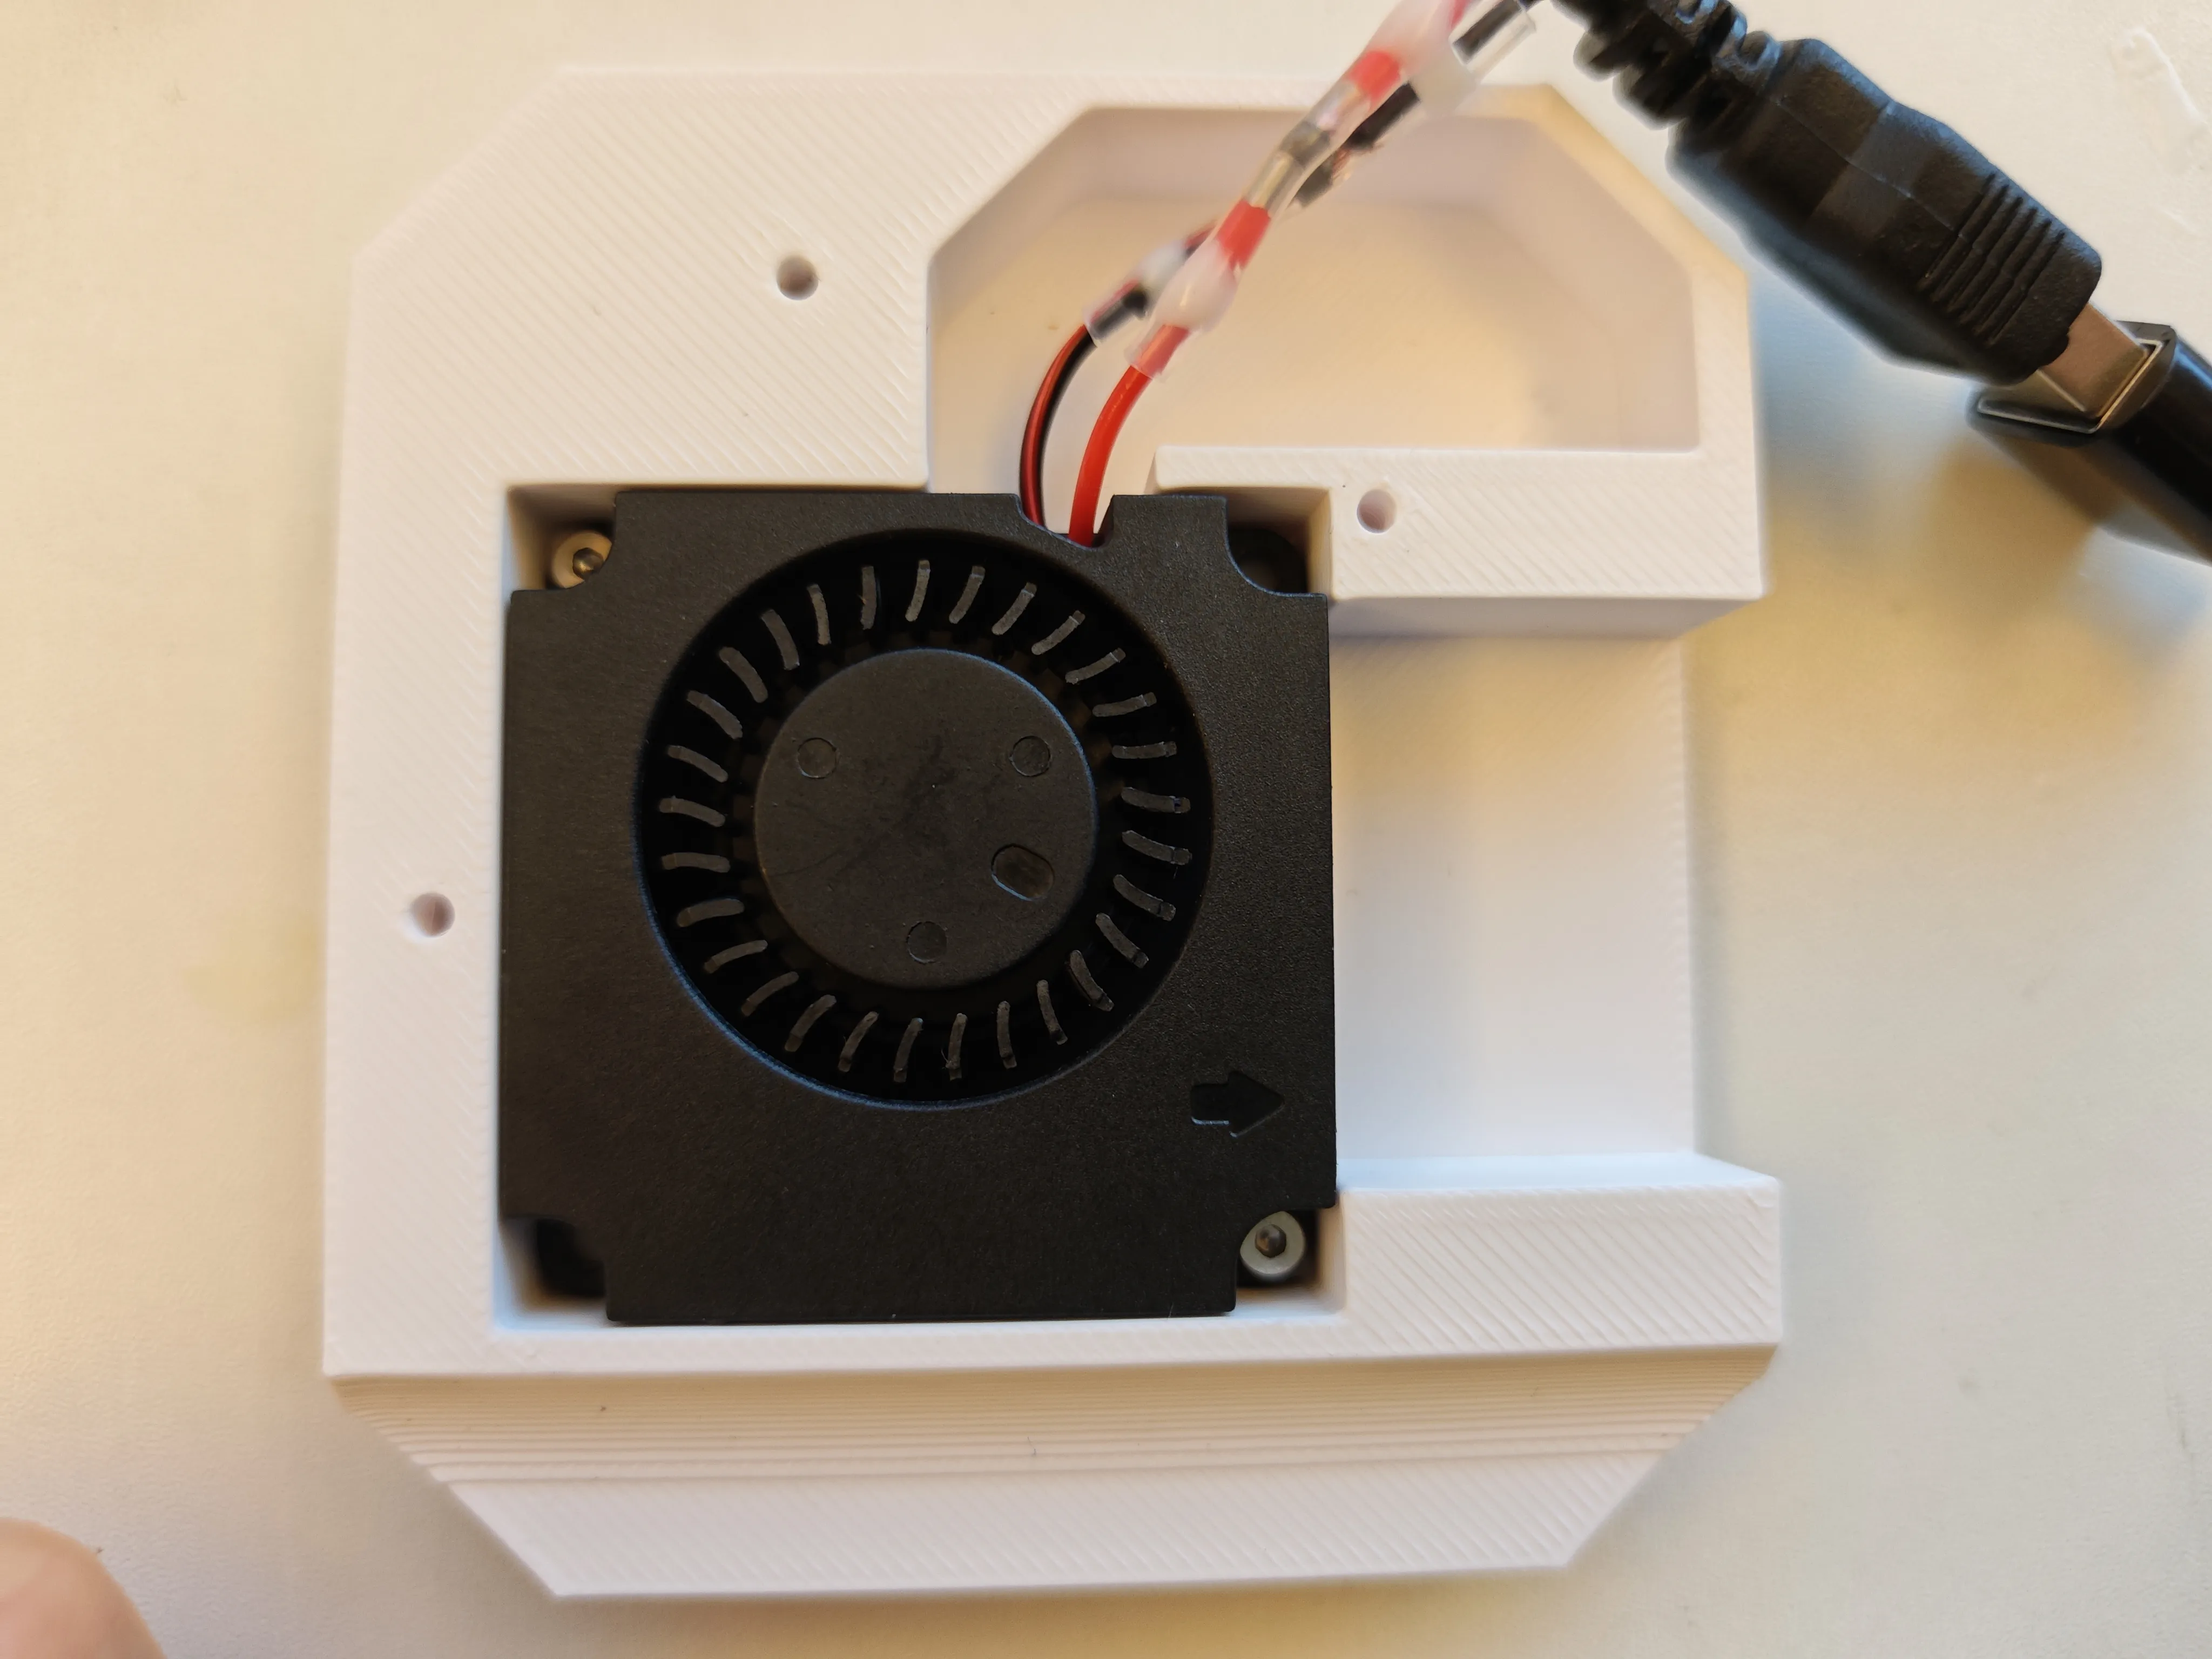
Fix the fan to the cooler's back cover with two m2*4 screws
Press the USB+Type-C connector into the cooler's front cover, ensuring a snug fit
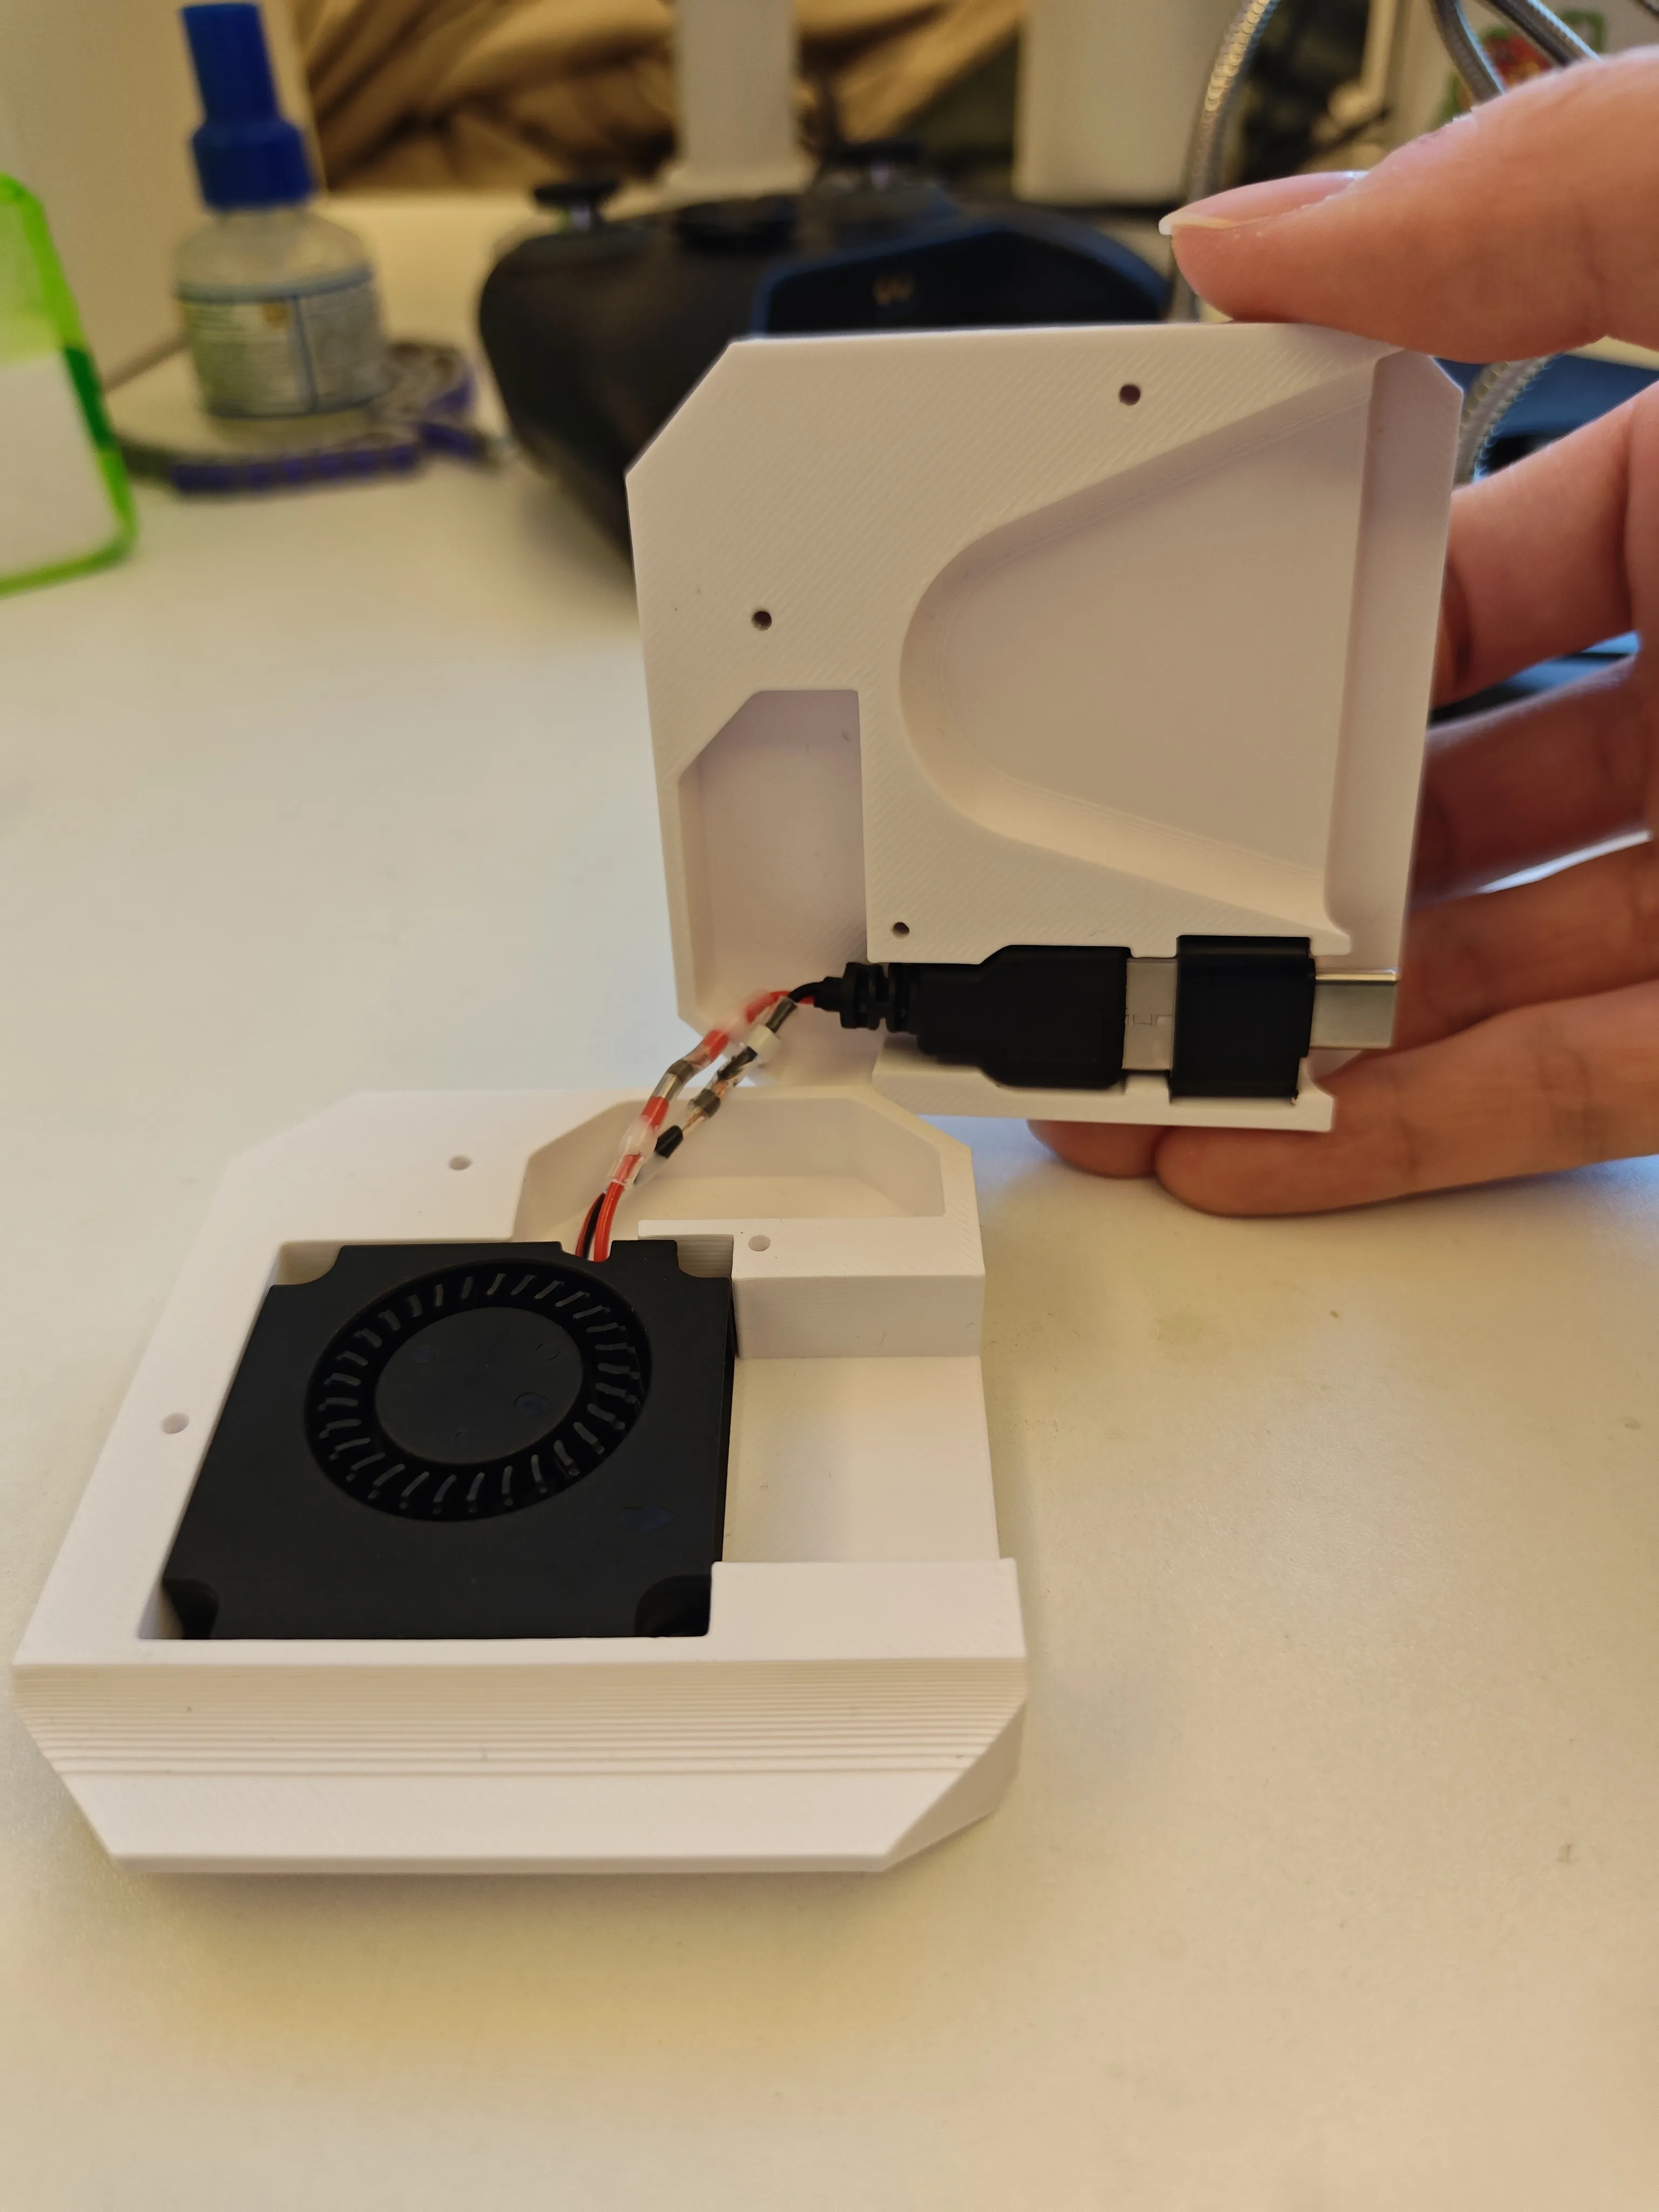
Close the front and back covers and secure with 3 m2*16 screws
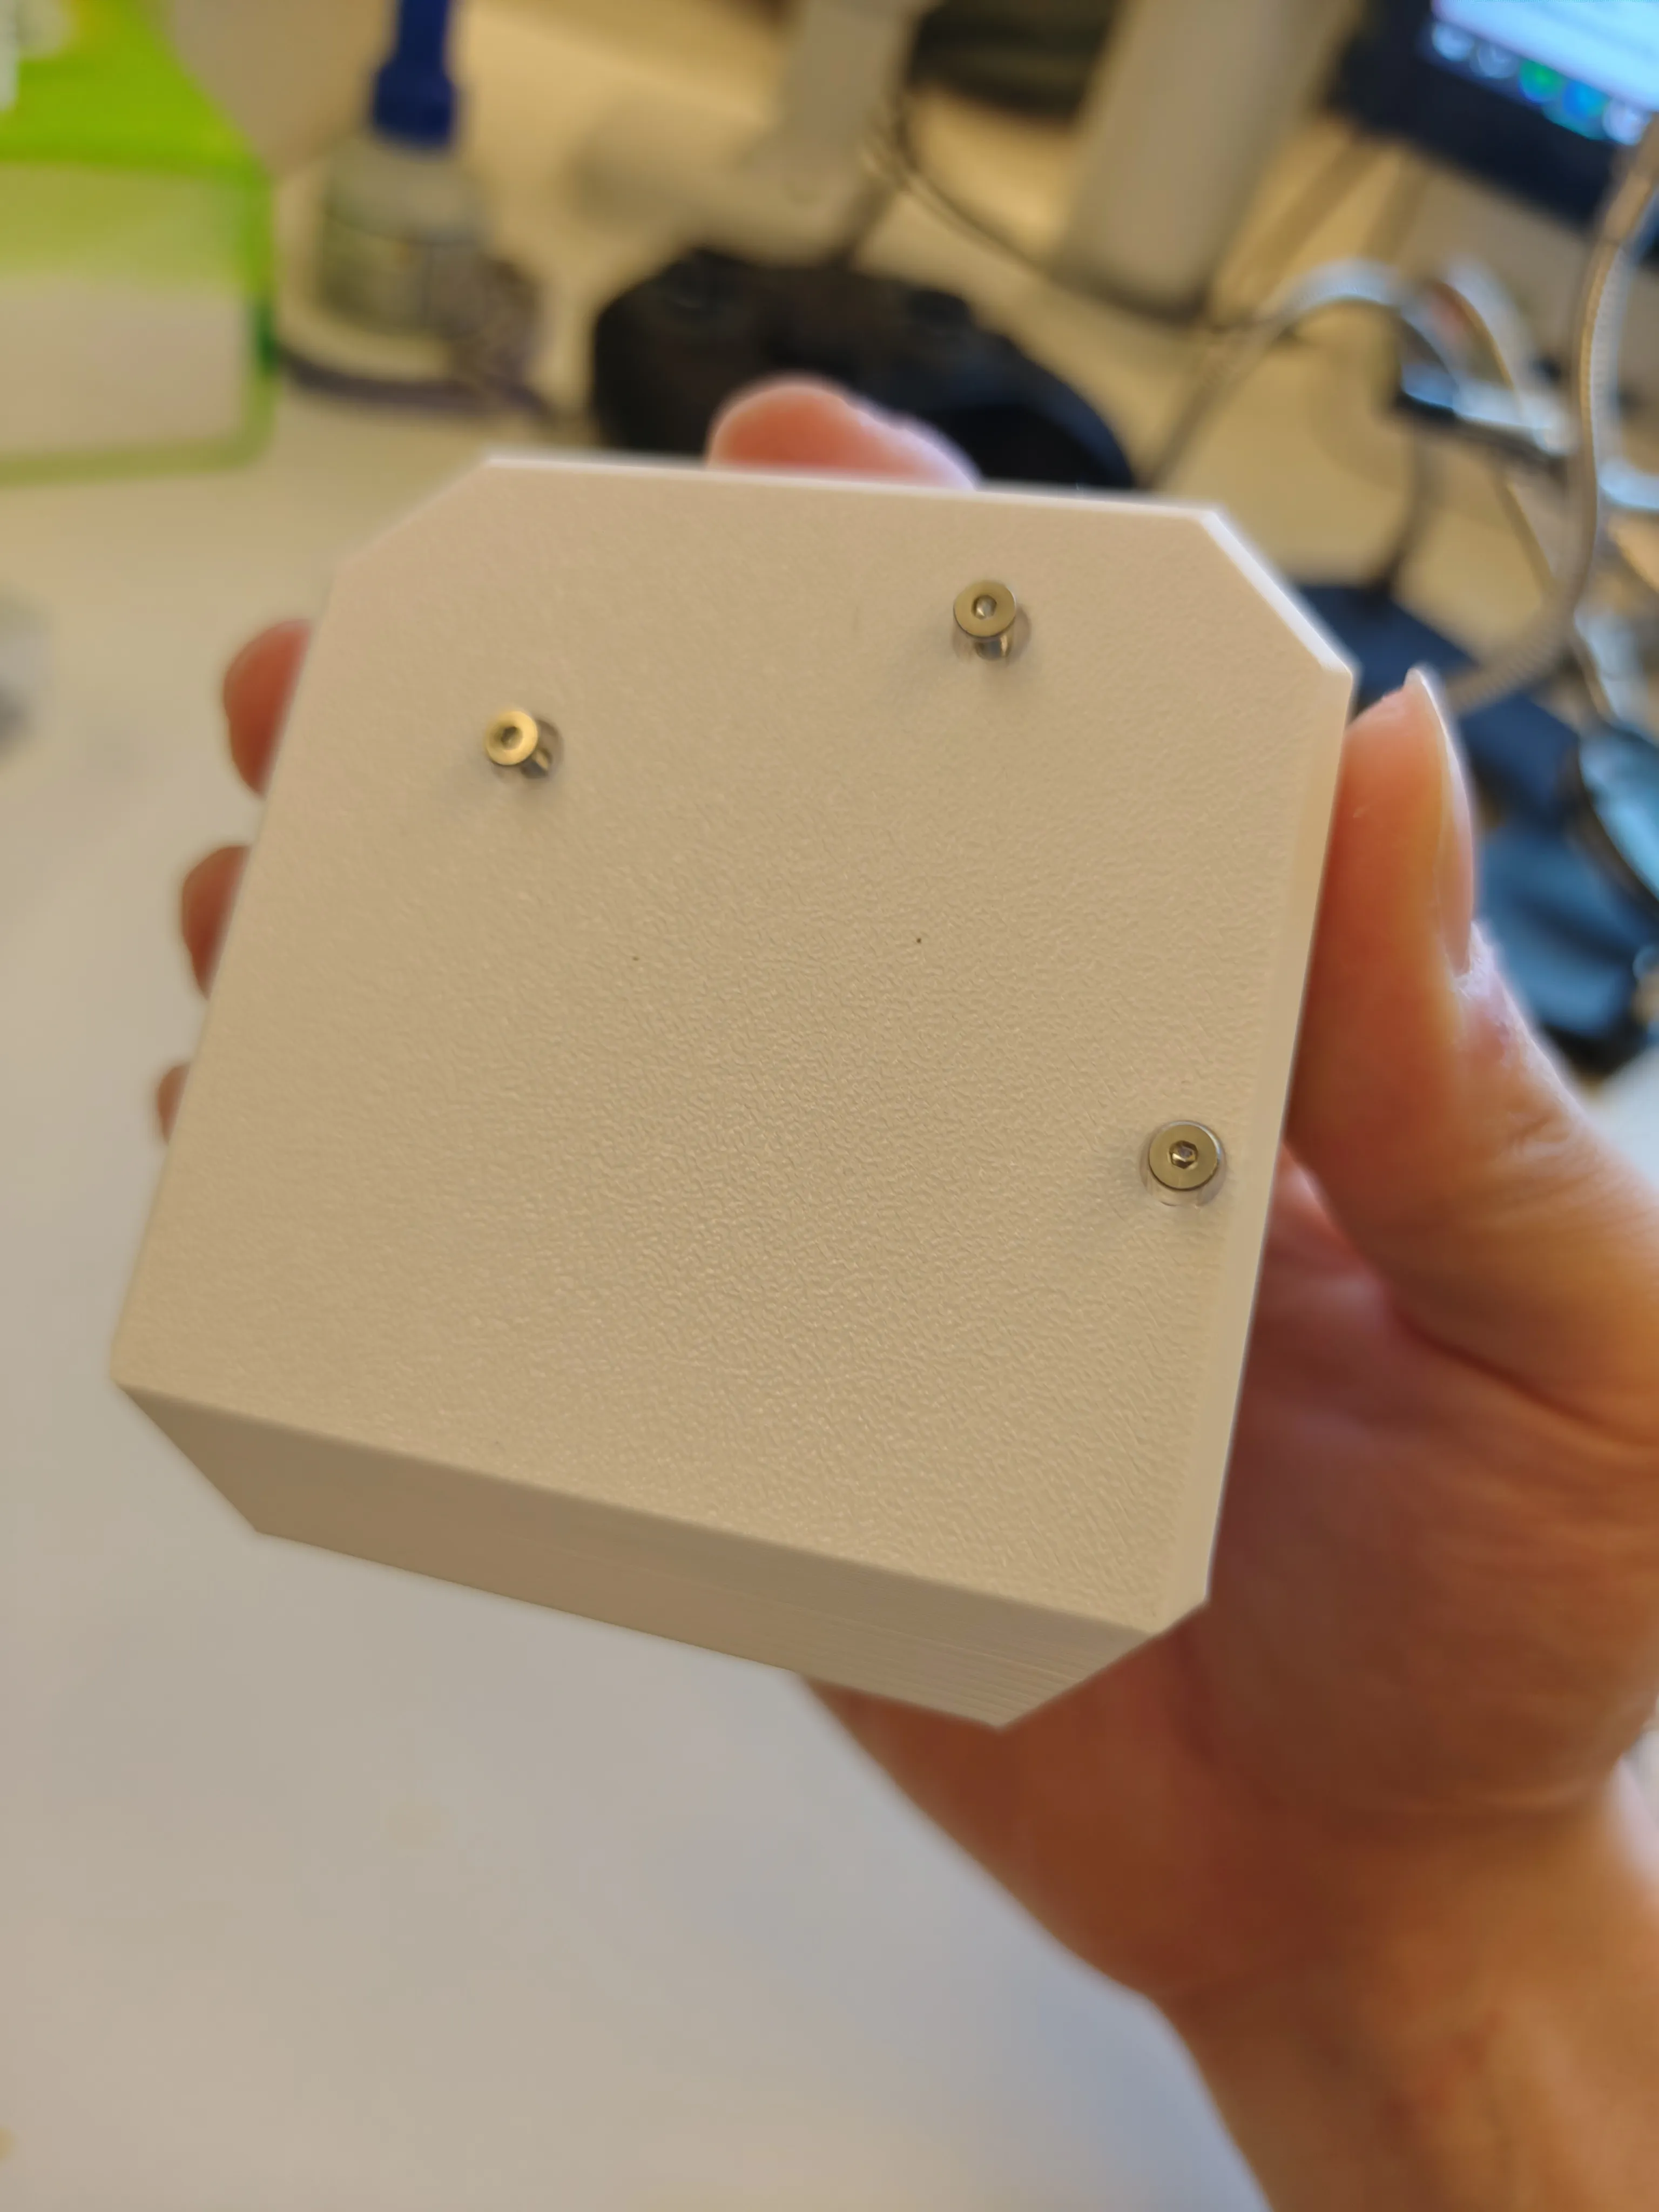
Place the magnetic attraction sticker into the groove on the front of the front cover (pre-apply super glue if you find the adhesion insufficient), then you are done.
License

You shall not share, sub-license, sell, rent, host, transfer, or distribute in any way the digital or 3D printed versions of this object, nor any other derivative work of this object in its digital or physical format (including - but not limited to - remixes of this object, and hosting on other digital platforms). The objects may not be used without permission in any way whatsoever in which you charge money, or collect fees.


Comment & Rating (0)