
1/10 Toyota Comp Crawler Body Extras
Print Profile(1)
Description
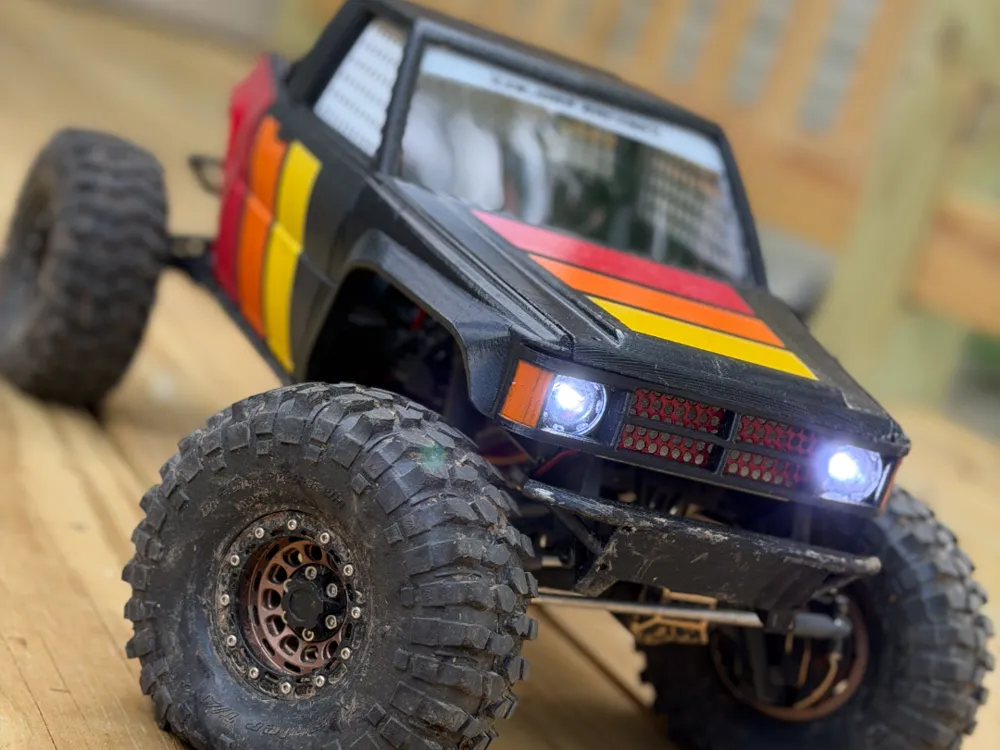
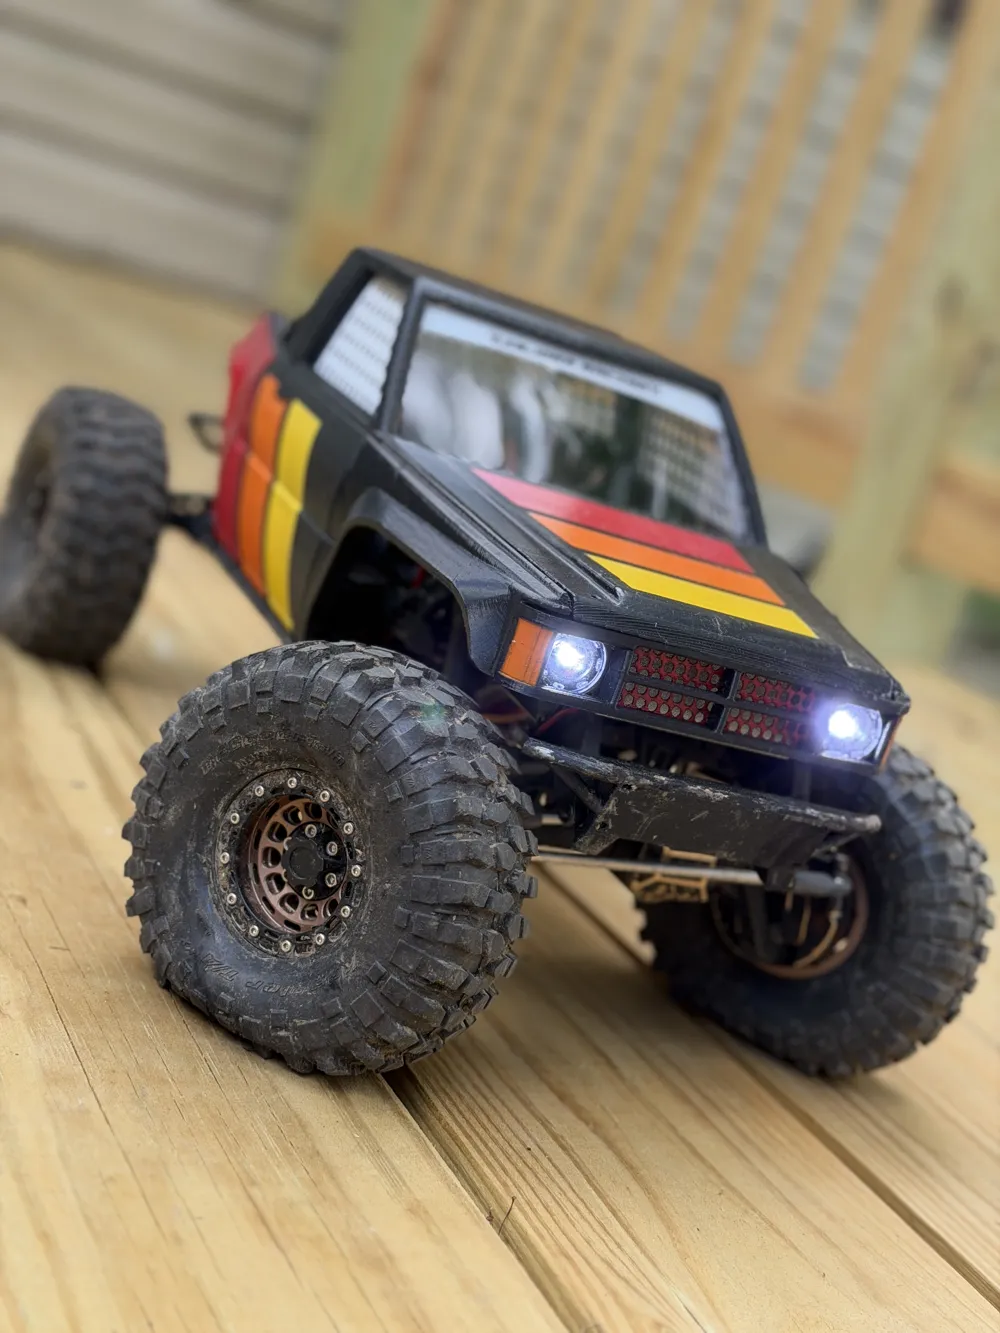
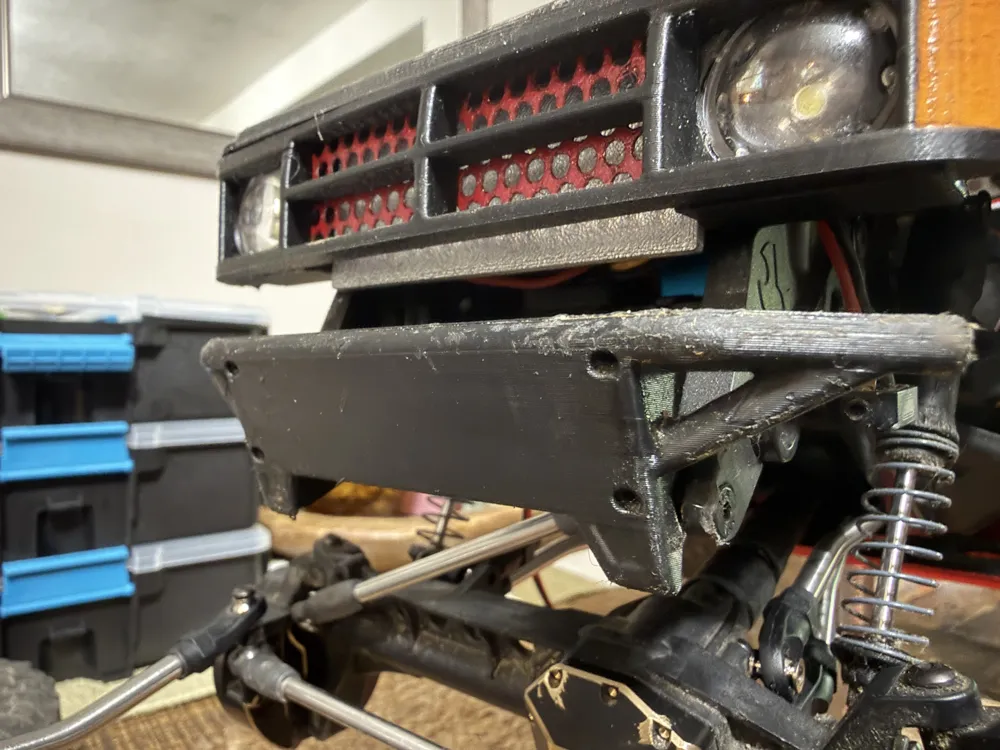
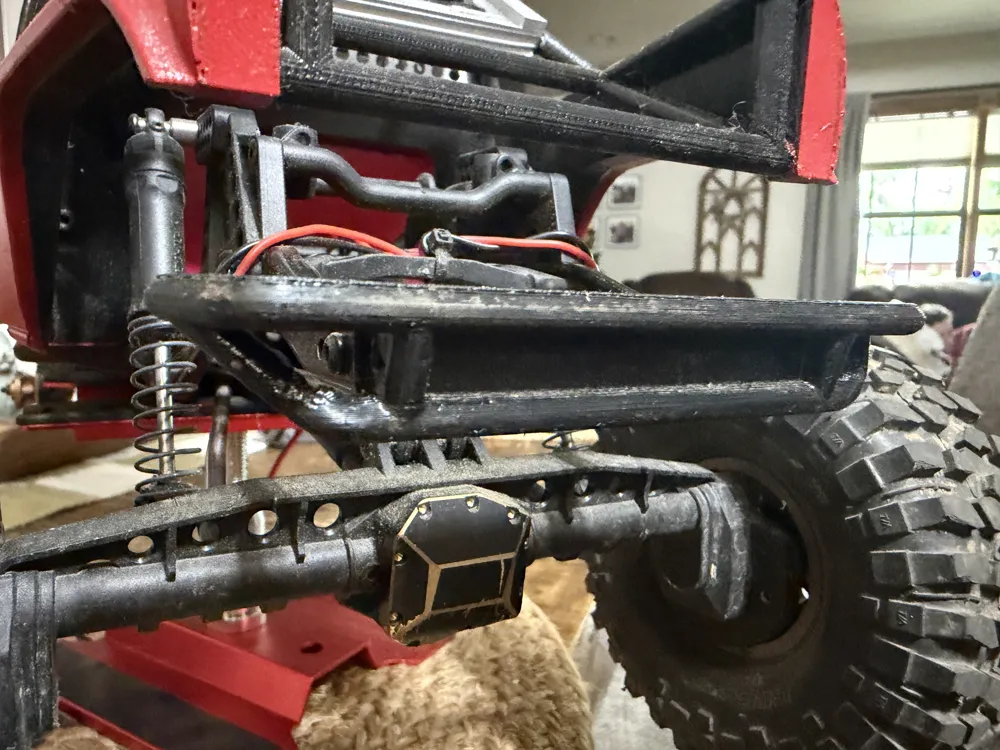
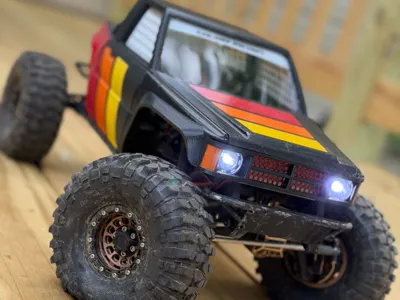
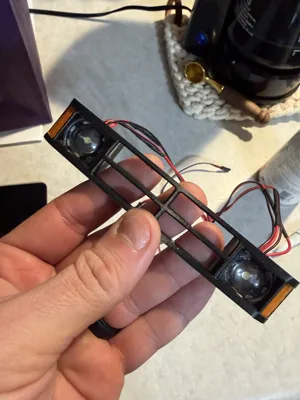
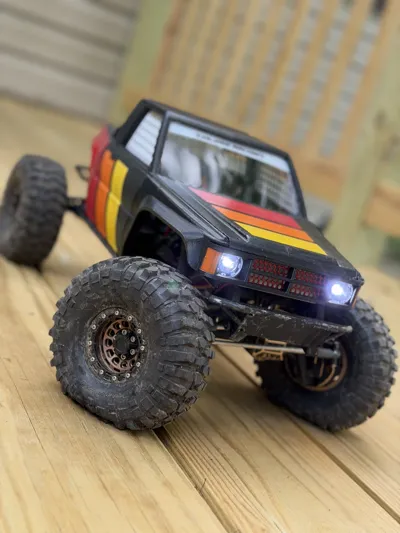
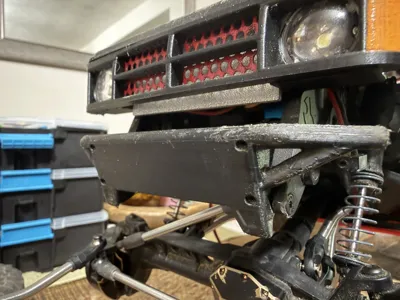
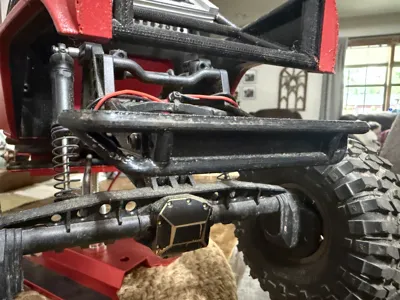
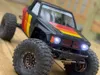
Okay so I fell in love with jasonboz56 1/10 Toyota Comp Crawler Body, but I felt that i need to tweak / modify some things to make it fit my needs. With that i share to you my “extras” that I have put together which contain magnet mounts, rear window gasket ( for Lexan or air gasket insert etc etc ), modified front and rear bumper remixed from and SCX6, and modified grill and retainer buckets built to fit headlights listed below.
The original shell i will link as well as the bed i chose to use as optional
Original Shell:
https://makerworld.com/en/models/430481-1-10-toyota-comp-crawler-body?from=search#profileId-334958
I used the bed from this model here as it was open with roll cage:
https://makerworld.com/en/models/1637394-1-10-toyota-crawler-bed-with-cage
INSTALL GUIDE:
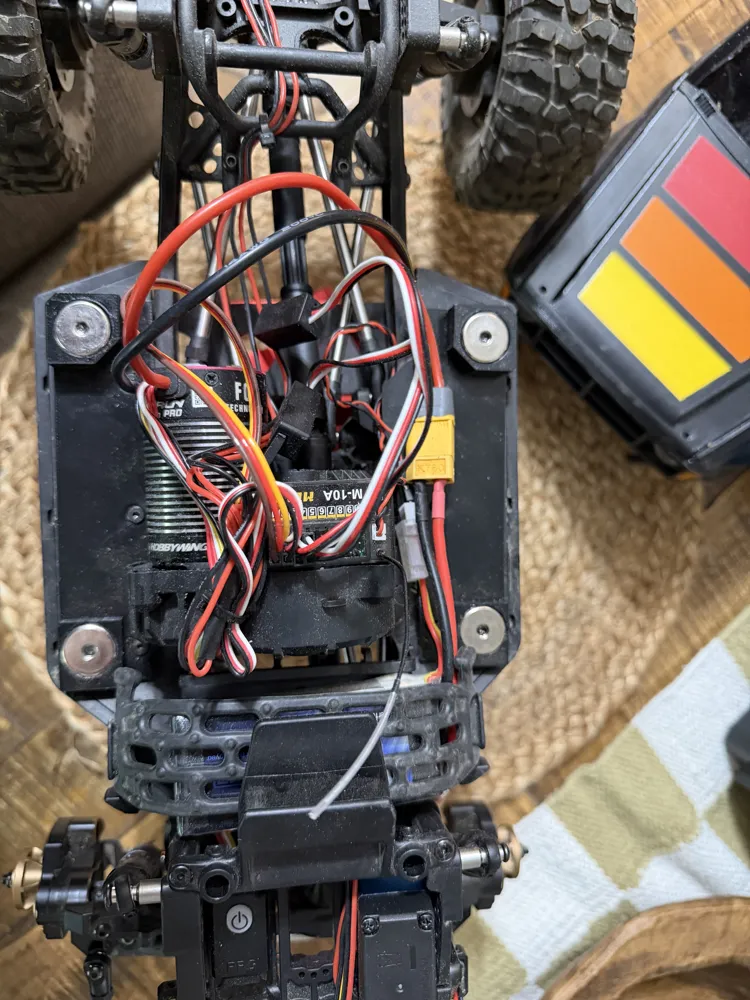
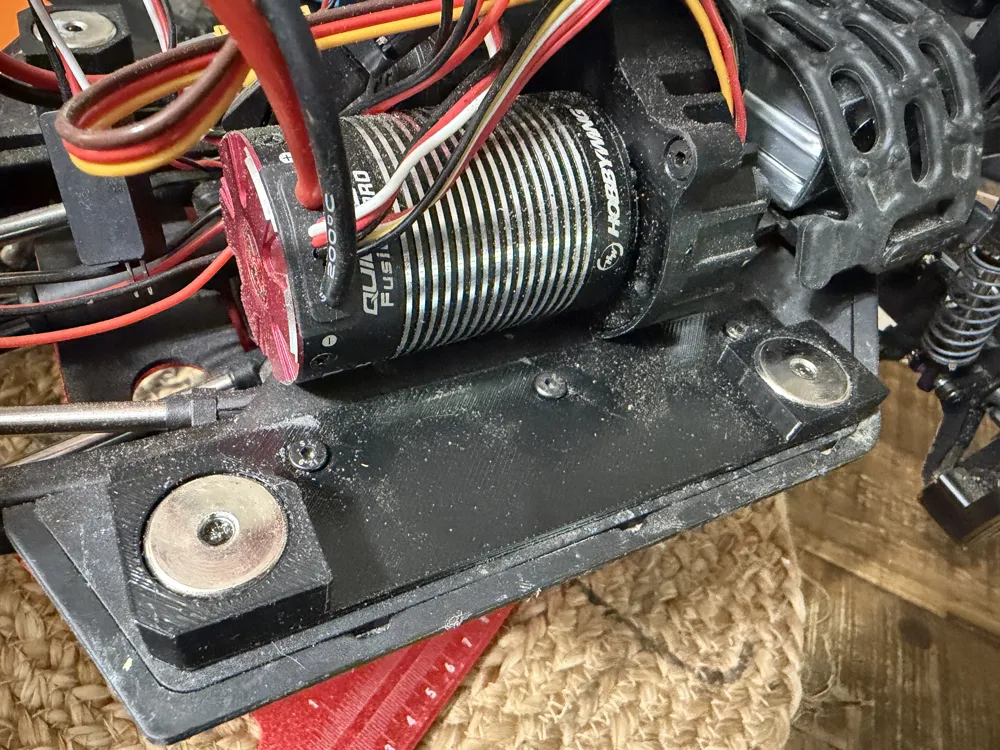
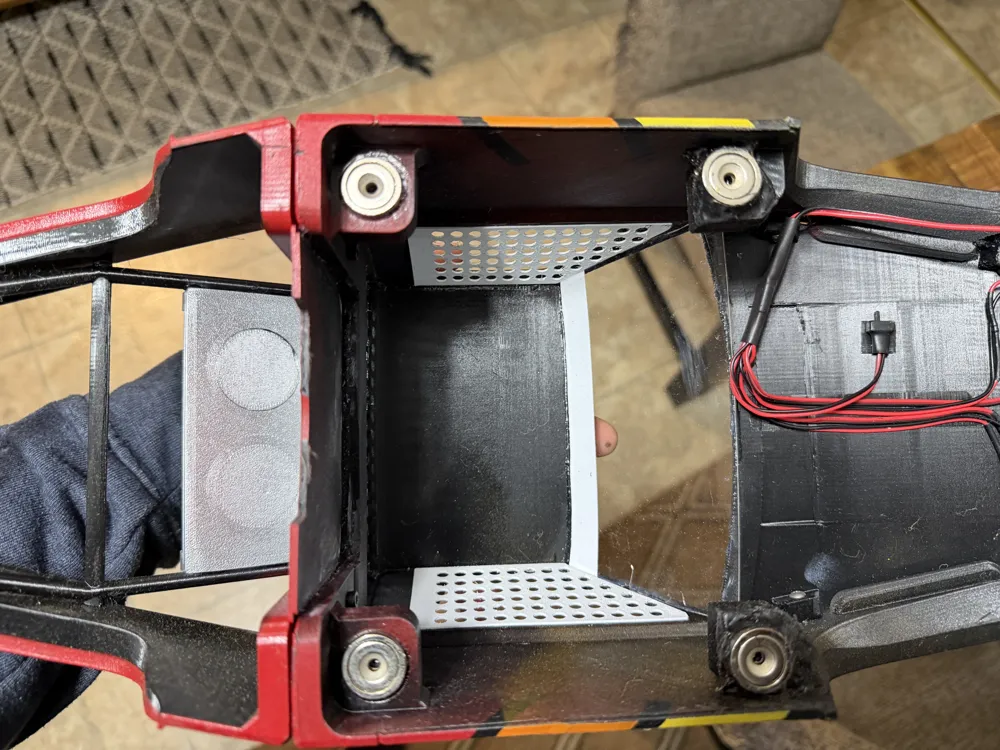
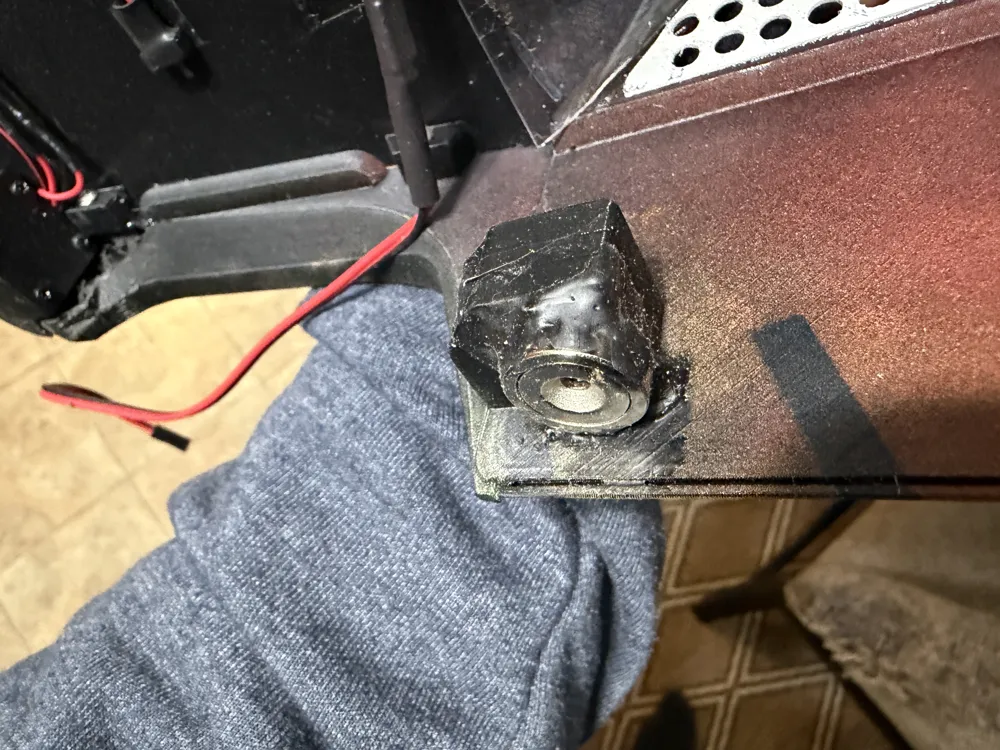
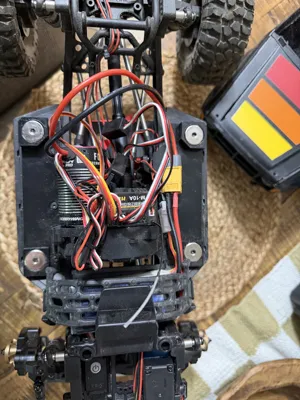
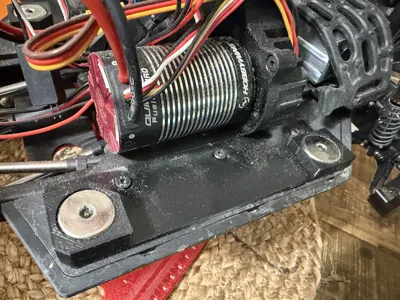
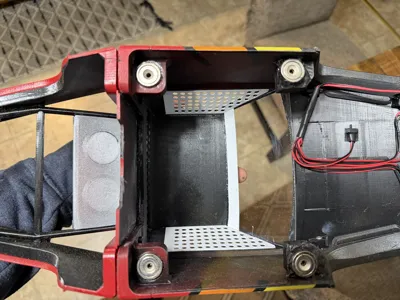
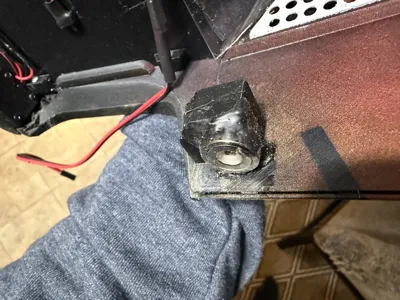
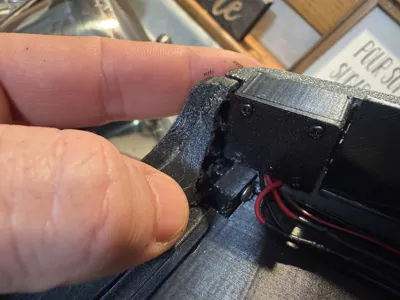
For the magnet mounts I first super glue the front top mounts to the small pegs giving you a bigger mounting place for the front magnets. Once set I then glue in the rear shell magnets ( ONLY ), then I glue in the front and rear magnets on the body mounts. At this point i use the then place the front magnet for the shell onto the body making it double stacked then i place glue on the front mounts then snap it together using the already set rear magnets as alignment then let the front upper shell cure. Once fully set I separate the body mounts form the shell and place place thin double sided tape along the entire bottom. You will need to remove the bottom section ONLY of the running boards as we will utilize the 3 factory mounting screws to help hold the body mount down. At this point I peel the double sided tape and again place the magnets on the shell so its fully aligned. Align the body how you want it to look side to side and front to back ( not much room but some play to align, then firmly press down to adhere the double sided tape. i will HIGHLY recommend that you reach in with one hand and hold down hard on the body mount when you pull one side at a time as these magnets are crazy strong and will peel the double sided tape up. Once the shell is removed your body mounts should still be stuck to the slide rails via the tape. You then flip your rig over and use a small drill bit to now drill holes in the factory hole slots. Now reassemble the slide rails as normal but now the factory screws go through the body mount through the rail holding everything down good and tight but still allowing you to remove in the event of change or accident etc etc.
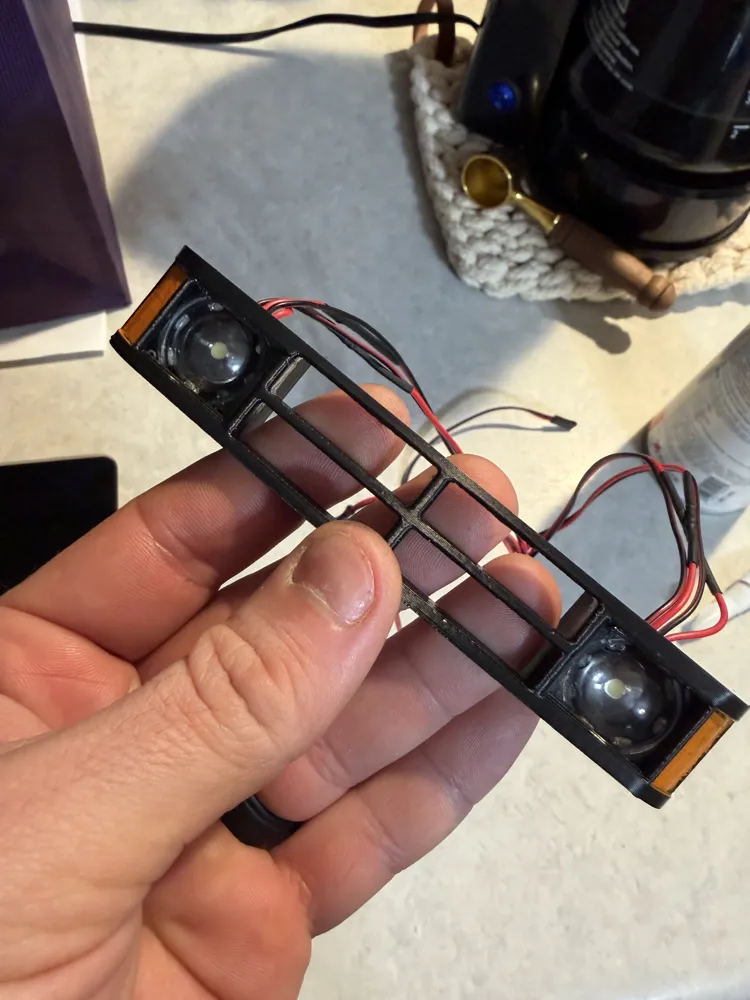
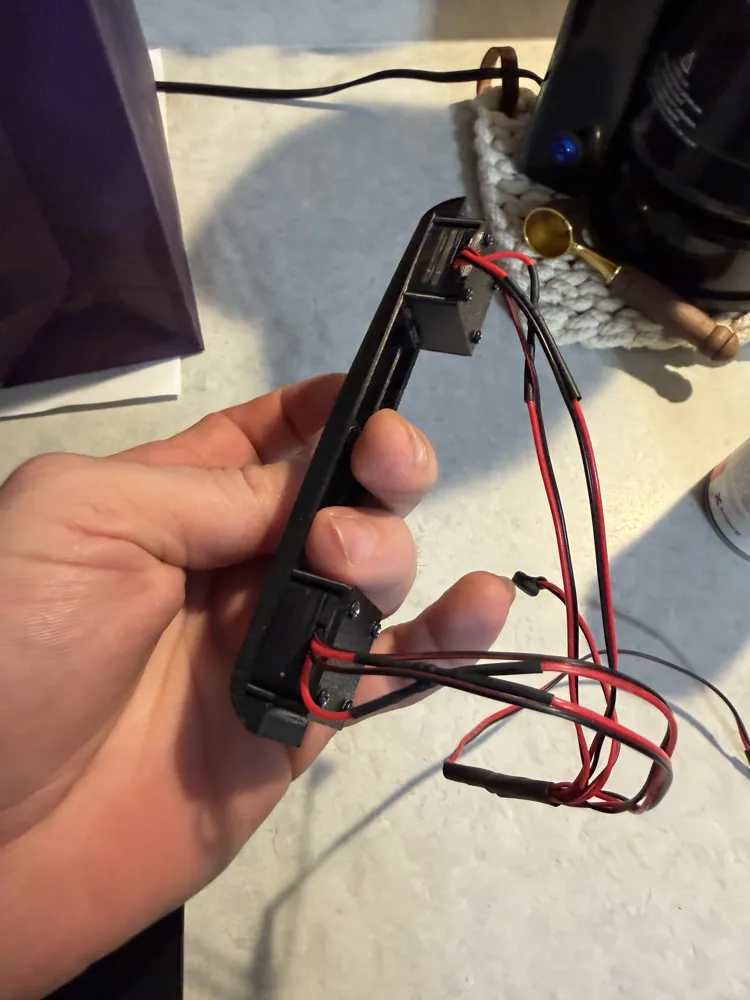
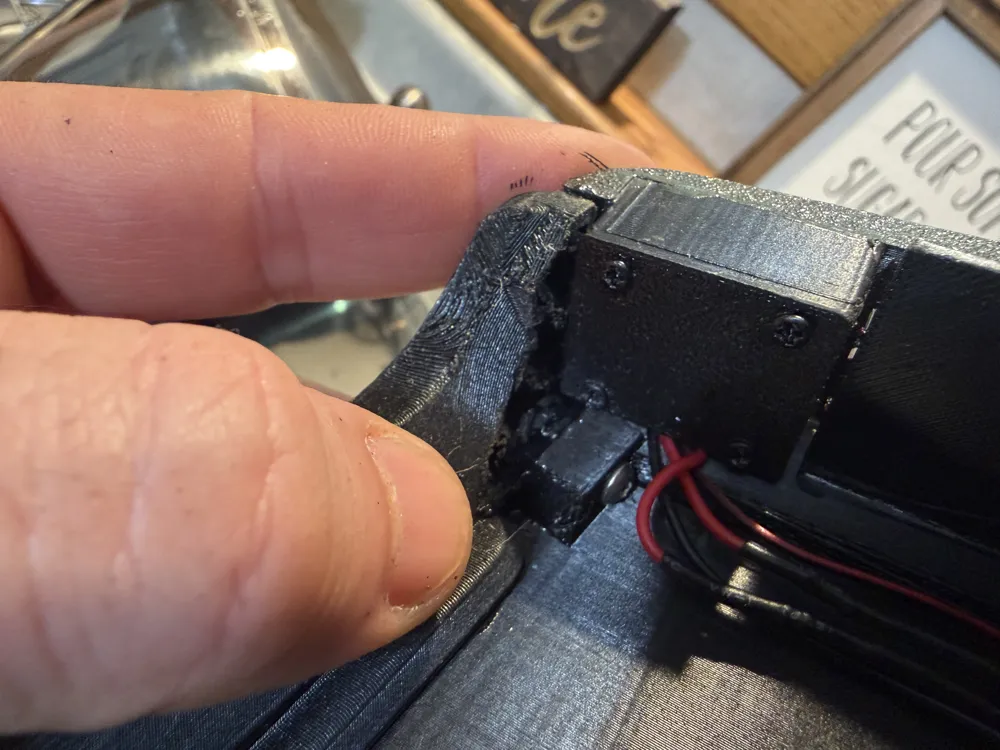
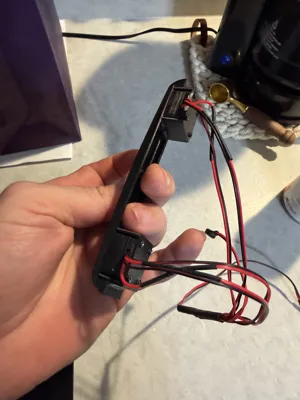
Few things to note. Due to the space needed to mount the headlights a few things have to happen. First you will need to notch the shell as shown in pic at the front where the grill mount. I just used a dremel cut off wheel worked perfect. Second the headlight buckets, you will need to removed the rear 4 screws that it comes with and put them back in with the buckets mounted on the backside again in pics. The buckets themselves get held in place against the side wall of the grill mainly with super glue. I recommend running the wires to the top and using something like glue or double sided tape as I did to wire manage but thats up to you.
Thats its folks ( I opted to added 5 minute epoxy to the front magnets to the landing pads for extra strength. I can tell you that this cab will NOT come off in the event of a roll over. You will have to grab a tire or frame rail with one hand and the wheel well with the other in order to peel this thing apart which is great. Heckin strong but still serviceable.
Here are the links to the headlights that the grill is designed specific for, and the magnets that this was designed around.
Parts List:
Magnets
https://amzn.to/3Oxtzev
Headlights
https://amzn.to/4e1BdbH
Epoxy
https://amzn.to/4coUEbG
Super Glue
https://amzn.to/3Q9jh53
Double Sided Tape
https://amzn.to/42gyR1i
This remix is based on


License



Comment & Rating (9)