Purge Line Brush | Upcycle Your 3D Printer Waste!


Print Profile(2)

Description
Boost Me (for free)
Thank you for your support!
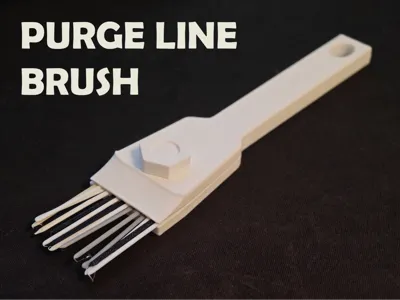
Tired of throwing away those little strips of filament every time you start a new print? Turn your 3D printer's waste into a handy new tool!
The Purge Line Brush is a clever, simple, and eco-friendly print that repurposes your leftover purge lines (prime lines) into the bristles of a functional cleaning brush. It’s the perfect meta-tool: use the waste from your printer to sweep off your print bed, dust your desk, or clean out your keyboard.
Features:
- Zero-Waste Philosophy: Gives a second life to filament strips that would otherwise end up in the trash.
- Customizable Bristles: Mix and match different filament colors and materials for a unique, multi-colored look.
- Quick & Easy Print: The handle prints fast, requires minimal filament, and needs absolutely no supports.
Assembly Instructions:
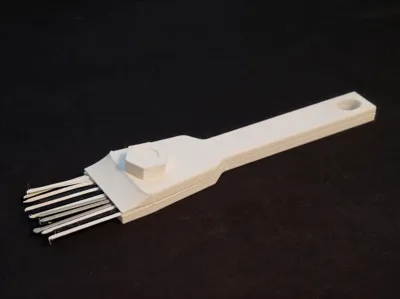
- Print the Handle: Print the handles + nut using your preferred material (PLA, PETG, or ABS all work great).
- Gather Your Purge Lines: Collect a handful of straight purge lines from your previous prints. Trim them to your desired length using flush cutters.
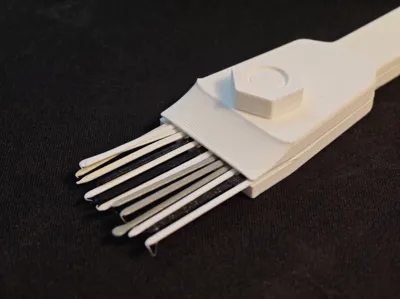
- Insert the Bristles: Align the purge lines next to each other on the base of the brush handle.
- Secure with Heat (Carefully!): To lock the bristles permanently in place, use a lighter to gently melt the internal ends of the purge lines together at the base of the handle. Note: Please be careful when using a lighter around plastic! Do this in a well-ventilated area and only apply enough heat to fuse the plastic, avoiding burning or charring.
- Put everything together: Put the top part of the handle on top of the base and the purge lines and secure everything with the nut.
- Get Cleaning: Once the plastic cools and hardens, your brush is ready for action!
License
You shall not share, sub-license, sell, rent, host, transfer, or distribute in any way the digital or 3D printed versions of this object, nor any other derivative work of this object in its digital or physical format (including - but not limited to - remixes of this object, and hosting on other digital platforms). The objects may not be used without permission in any way whatsoever in which you charge money, or collect fees.
Comment & Rating (0)