
Print Profile(2)
Bill of Materials

Description
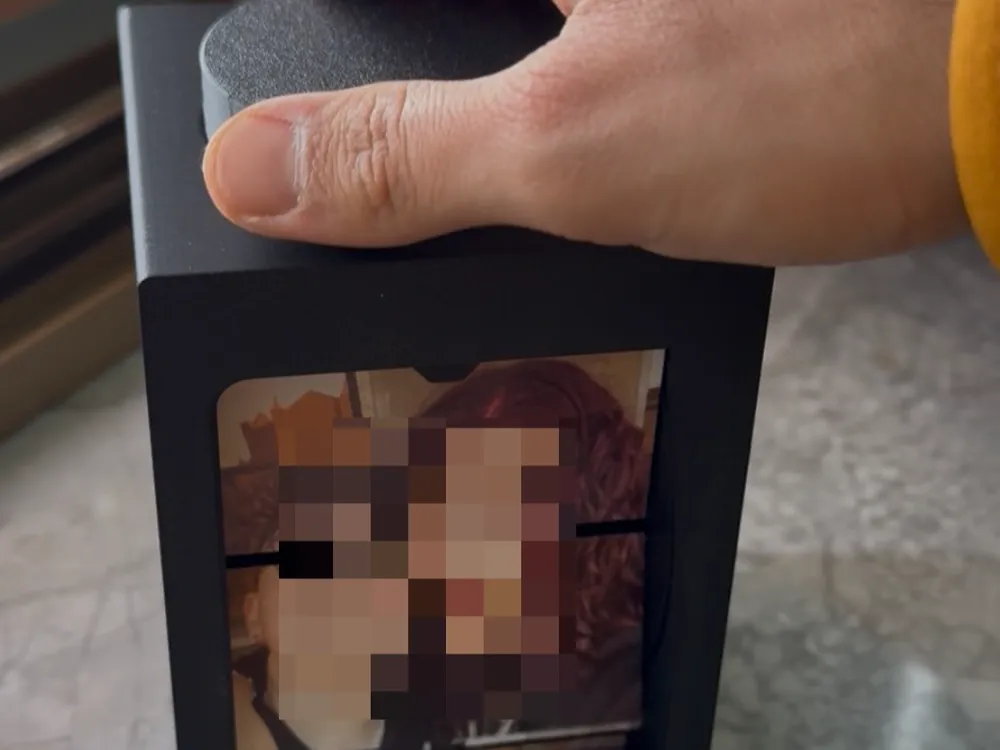
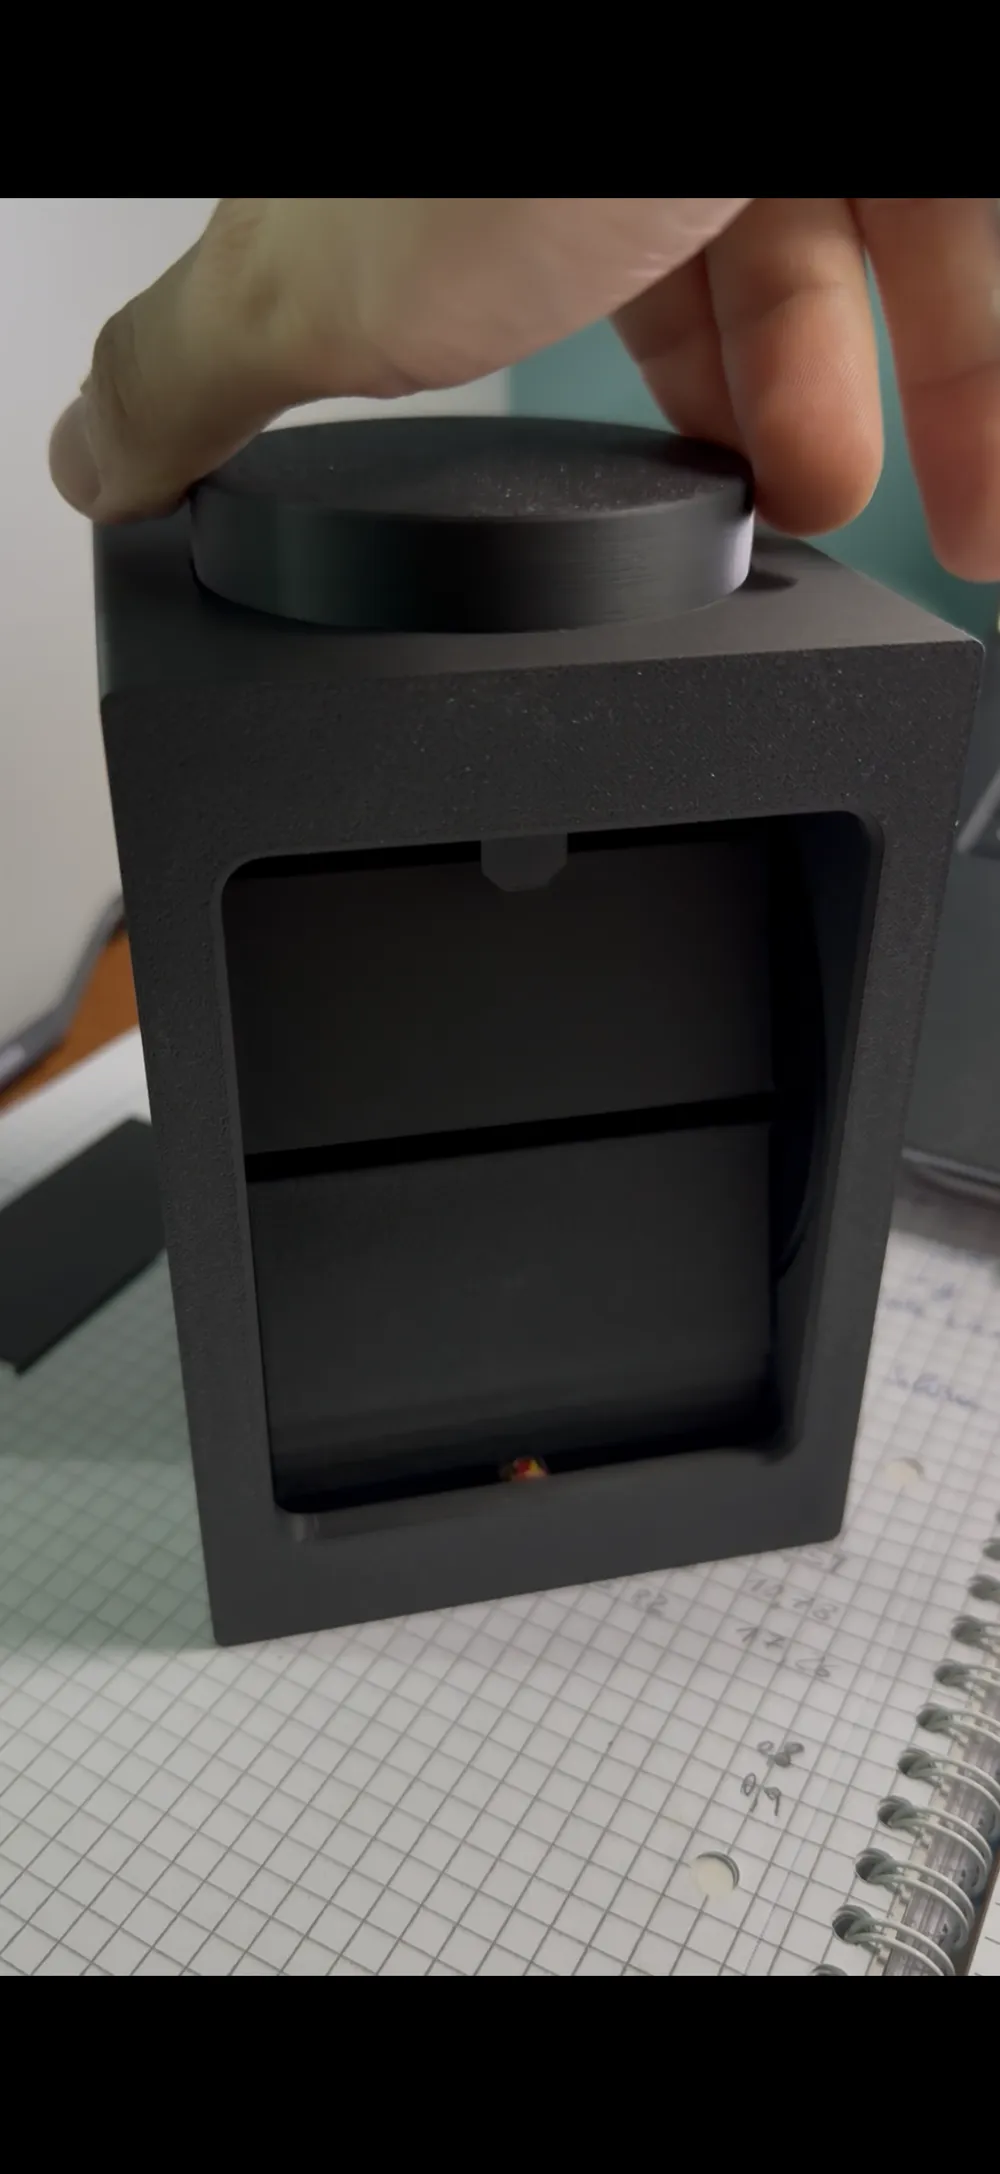
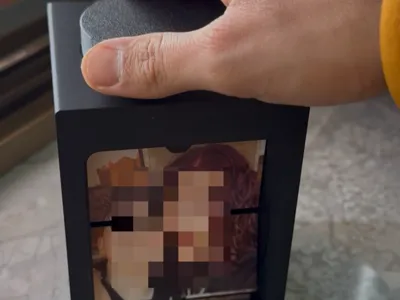
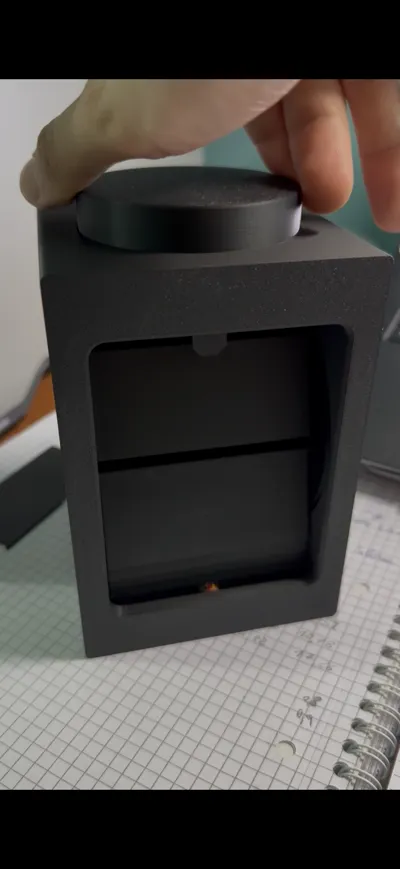
An object designed to transform simple photos into a physical and interactive experience

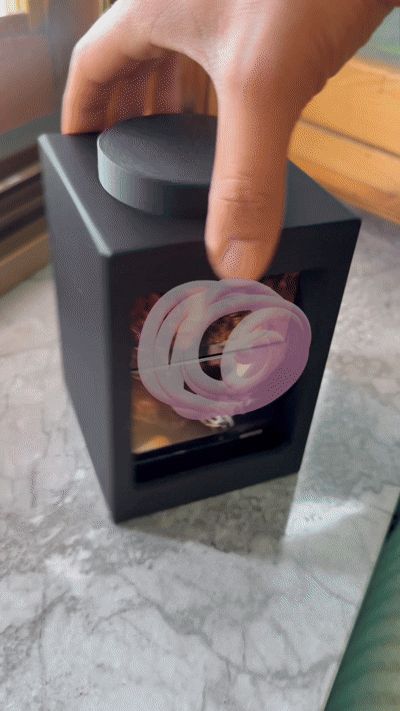
By rotating the knob, images scroll in sequence, creating a dynamic and engaging effect, similar to a small analog presentation
The project originated with the idea of preserving memories in a unique way, transforming them into something to experience with your hands
⚙️ How it works
Photos are glued onto specific paddles that rotate around a central cylinder
By operating the knob:
- the internal system sets the cylinder in motion
- the paddles slide, displaying images one after another
Total capacity: 32 photos
🧩 Components
The model consists of:
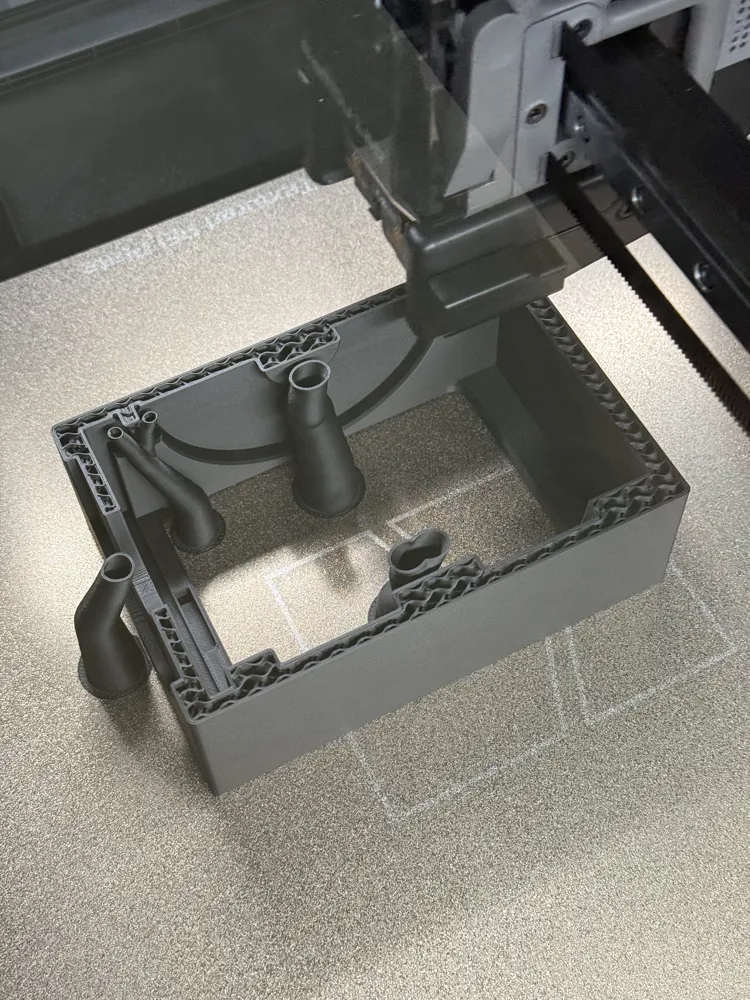
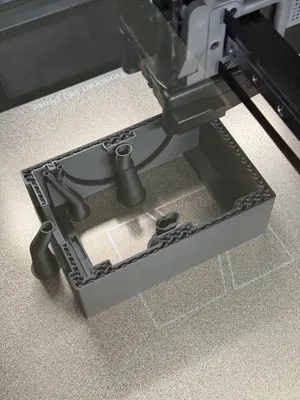
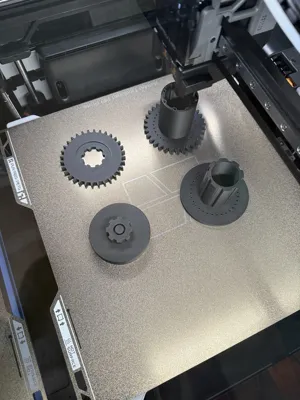
- Case / container (Photo1)
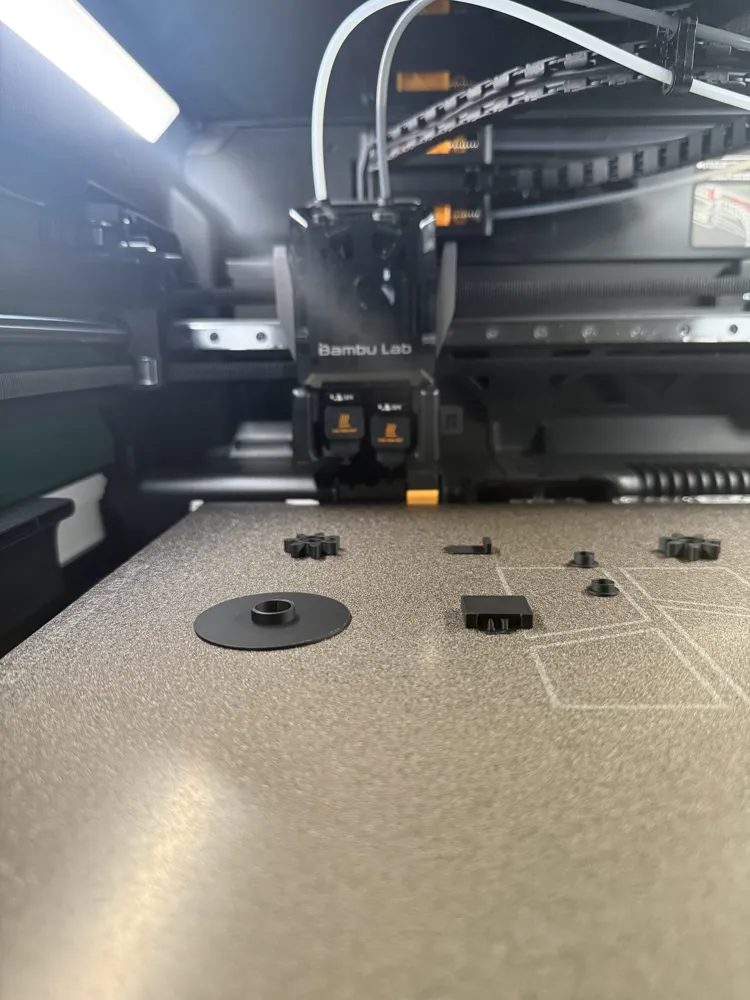
- Main Cylinder (part + counterpart) (Photo2)
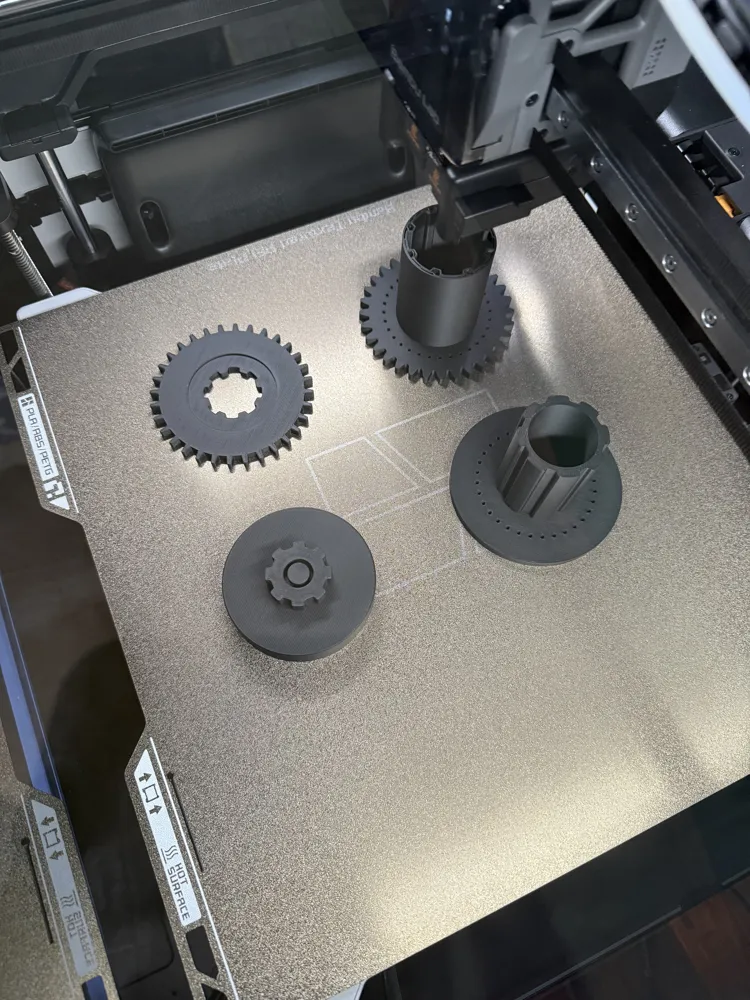
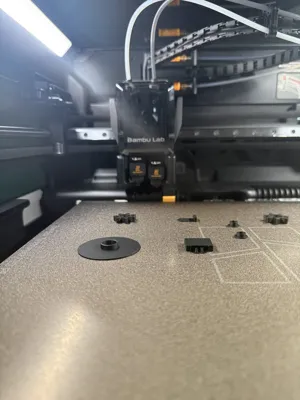
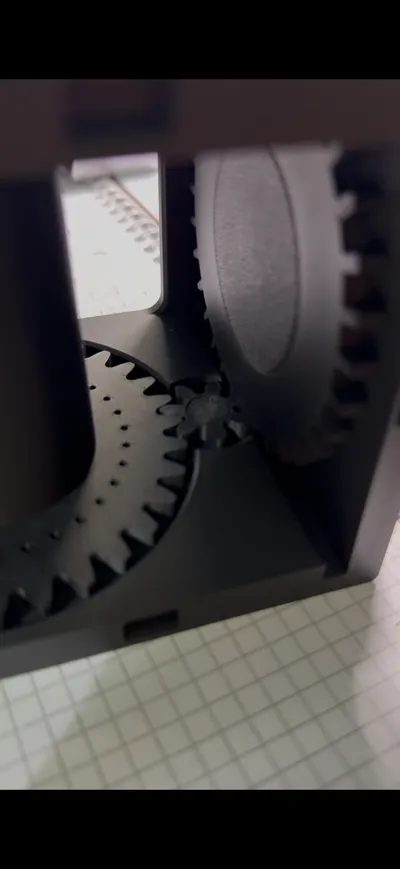
- Drive Wheel (small) (Photo3)
- Drive Wheel Cap (Photo3)
- Knob (Photo1)
- Knob Wheel (Photo1)
- Knob Wheel Cap (Photo3)
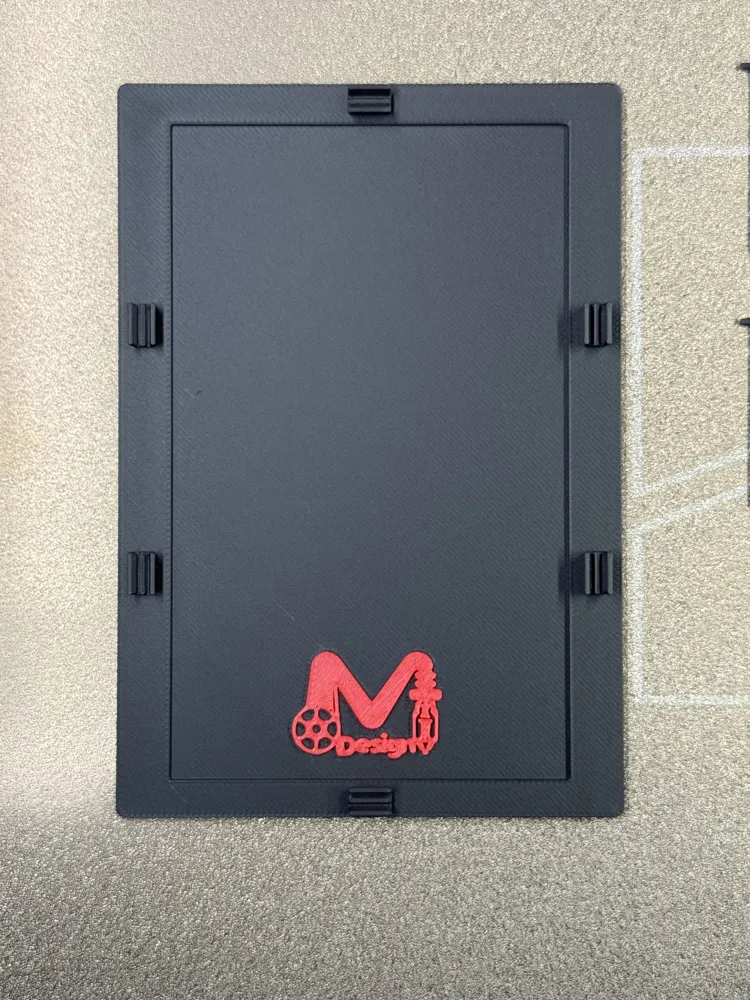
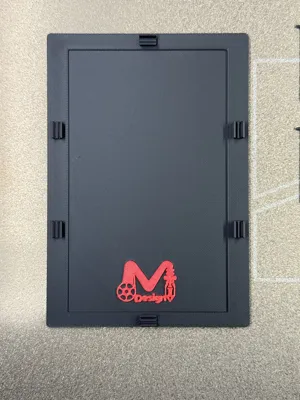
- Lid (Photo5)
- Tab Holder (Photo3)
- Tab (Photo3)
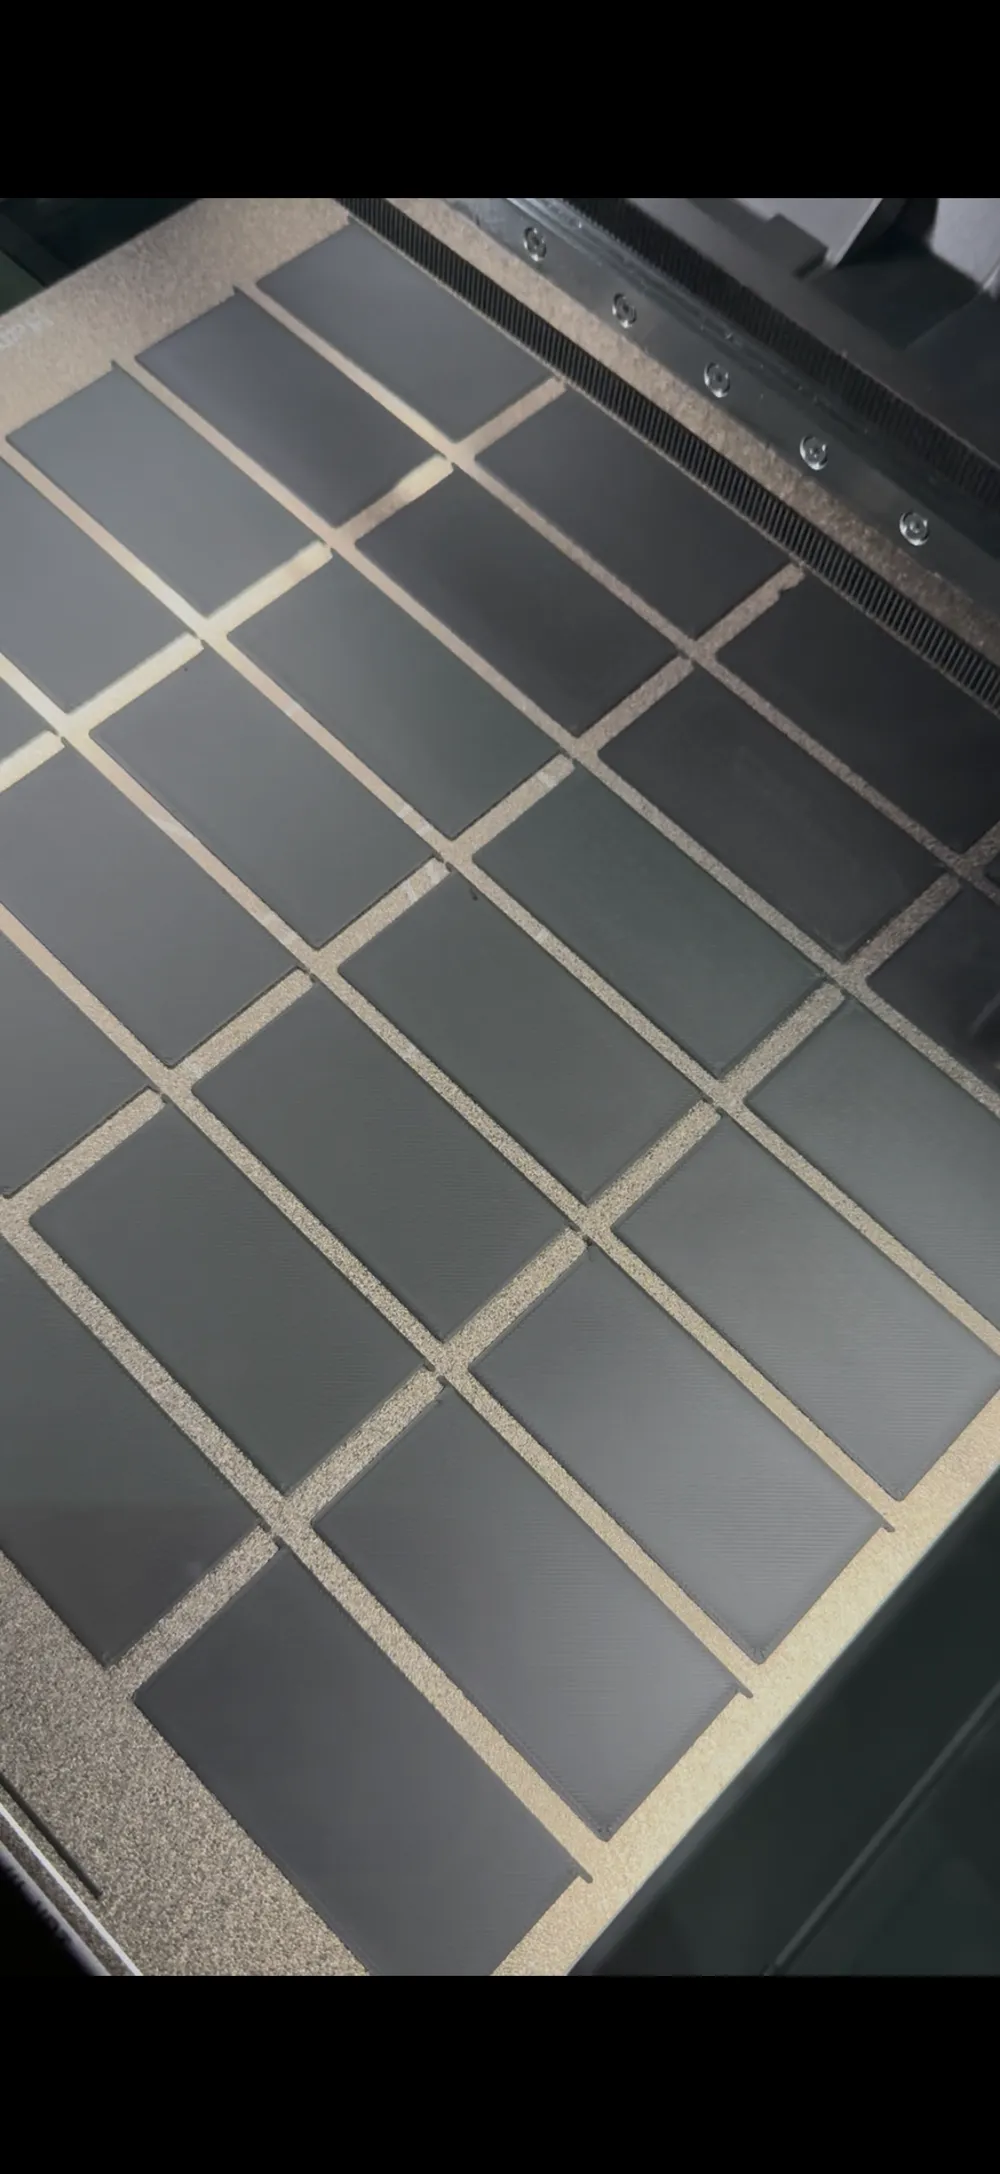
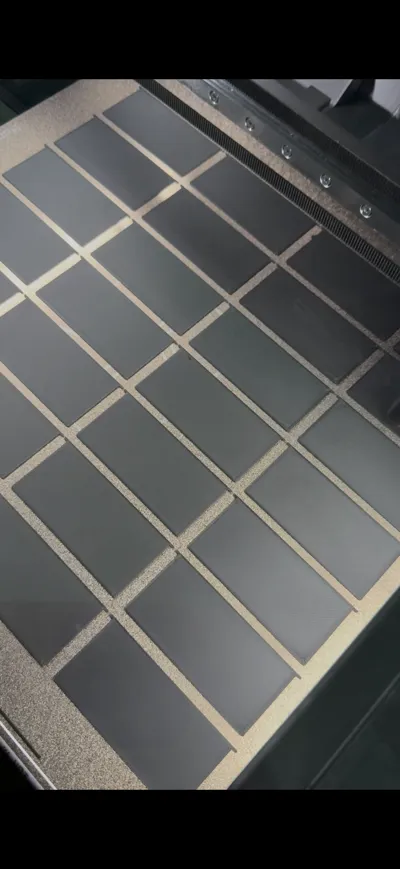
- Paddles (Photo4)
Note: the photos are representative of the plates present in the file to be intuitive. I have included a taller knob in Plate1 for those who want a better grip
🔧 Assembly
- Simple and intuitive assembly
- The wheels must be secured with their respective "caps"
- A small amount of glue is recommended to secure the components
- Allow to dry completely before use
⚠️ Note:
Lightly sand:
- Main Cylinder wheel housing
- Knob housing
- Knob insertion
to achieve smooth movement
Assembly:
- Assemble the Part and Counterpart of the Main Cylinder (Photo2) and insert it into the Case (Photo1)
- Position the Drive Wheel (small) in the Case and secure it with its cap (Photo3) using a little glue
- Insert the Knob Wheel, Knob (Photo2) and secure with the (large) cap (Photo3) using a little glue
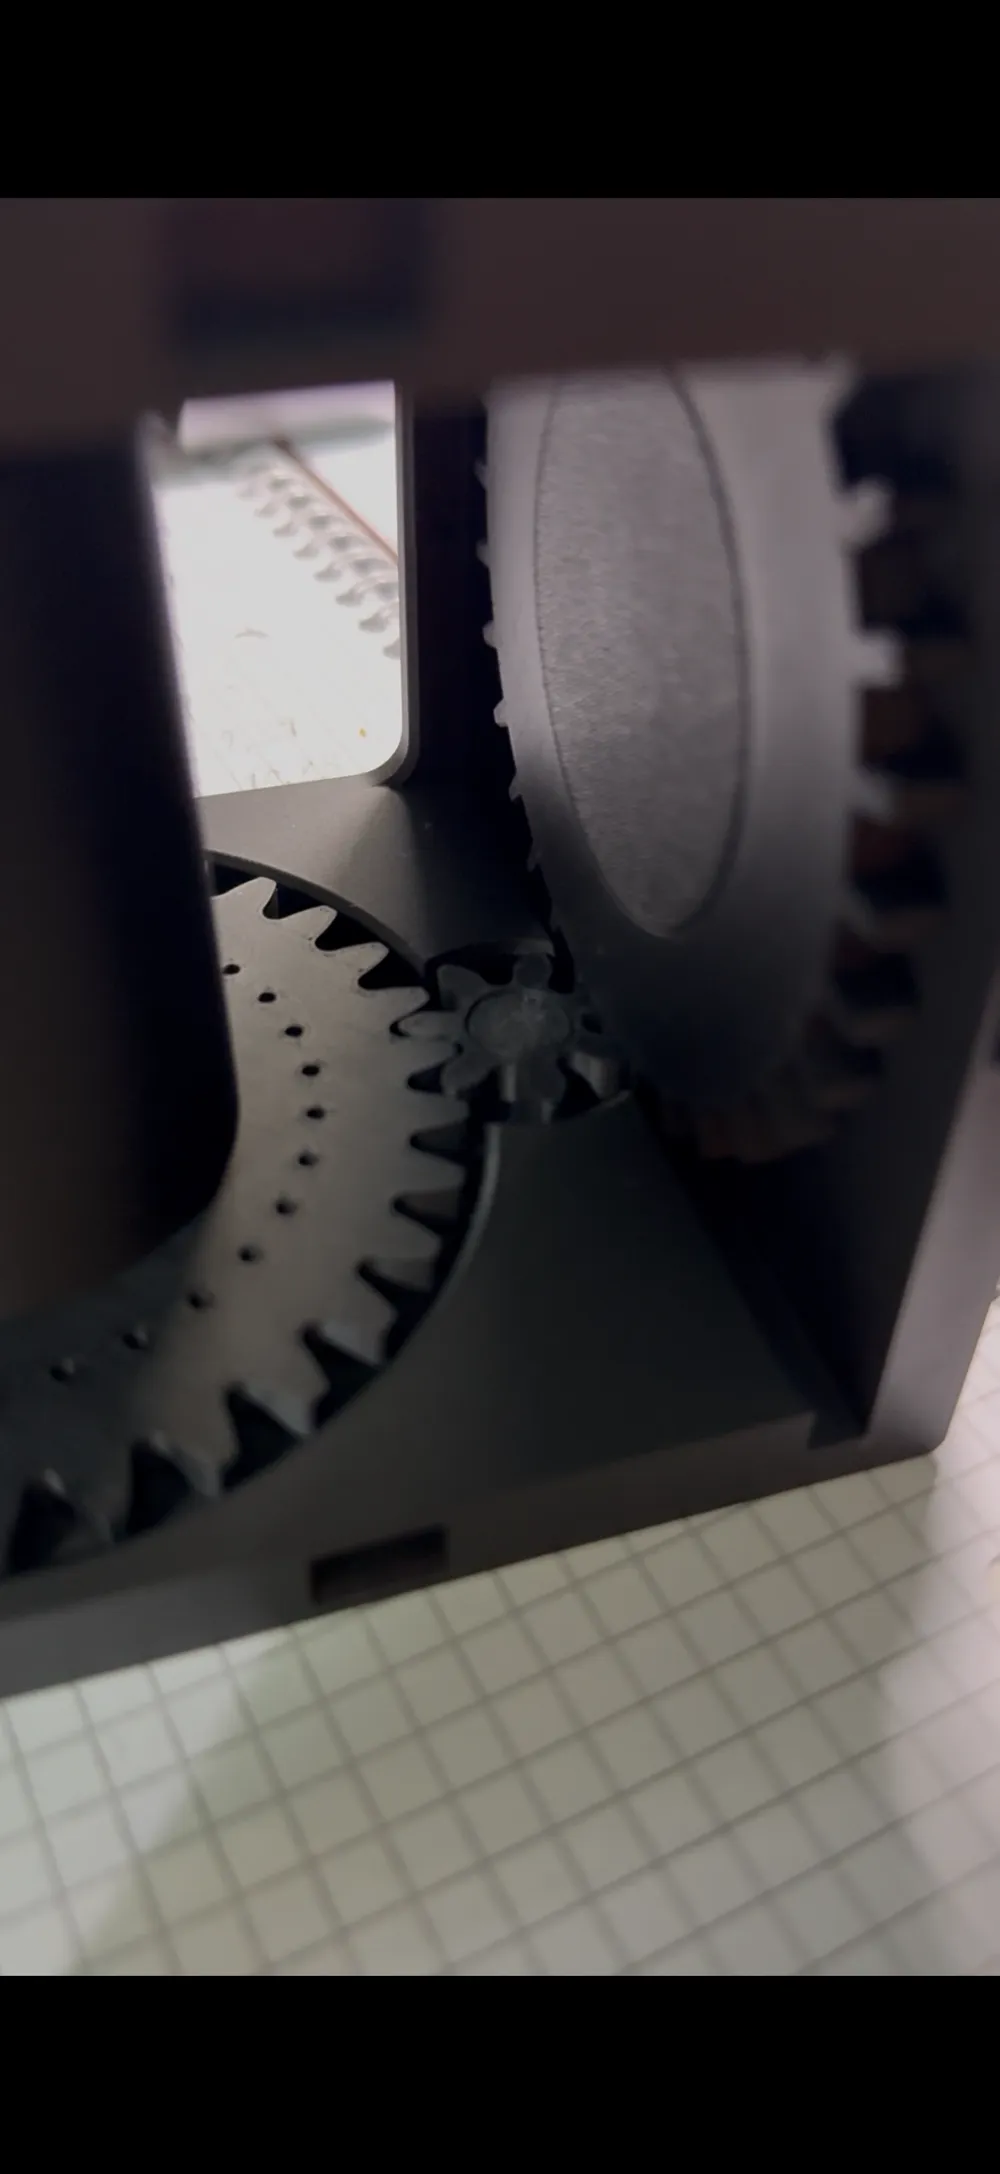
- Photo6 shows the coupling between the various wheels
- Glue the half-cut photos onto the paddles (Photo4), paying attention to the sliding direction. Keep the half-photo aligned with the outer edge of the paddle and recess it by 1 mm towards the inner edge (I thought of having it extend beyond the inner edge to reduce the space between the half-photos)
- Insert the Tab Holder (Photo3) into the upper pocket of the case located on the inside of the Front face, secure it with a little glue
- Insert the Tab (Photo3) into the newly inserted Tab Holder (No glue is needed here, it should not come out)
- Insert the paddles from the back of the Case by flexing the paddle so that its pins enter the holes of the Main Cylinder
- Insert the rear Lid (Photo5), being careful, at least the first time, to guide the various interlocking parts of the lid into the pockets on the rear face of the Case
🖨️ Print settings
- Material: PLA (tested with PLA Matte Bambu Lab) (I dried it well)
- Supports: for the Case only
- tree supports recommended (already set)
- Post-processing:
- easy support removal
- light sanding recommended
⚠️ Important tips
- The photo paddles can be delicate
👉 avoid flexing them too much during insertion
✔️ Recommended to print 2–3 extra paddles
📸 Photo specifications
- Recommended format: 1:1 (square)
- Size: approximately 73x73 mm Whole (73x36.5 mm Half)
Tip: precise cutting of photos should be done by the photographer
🔁 Photo replacement
The paddles can be replaced, but:
- the first ones can be difficult to remove as there is very little space to flex the paddle
- there is a risk of breakage when trying to extract the pins from the holes when all photos are on the Cylinder
👉 recommended to reprint new paddles to update photos
📏 Dimensions
- Object: approximately 95 x 95 x 138 mm
- Photo: approximately 73 x 73 mm - 74x74 mm max
License

You shall not share, sub-license, sell, rent, host, transfer, or distribute in any way the digital or 3D printed versions of this object, nor any other derivative work of this object in its digital or physical format (including - but not limited to - remixes of this object, and hosting on other digital platforms). The objects may not be used without permission in any way whatsoever in which you charge money, or collect fees.


Comment & Rating (4)