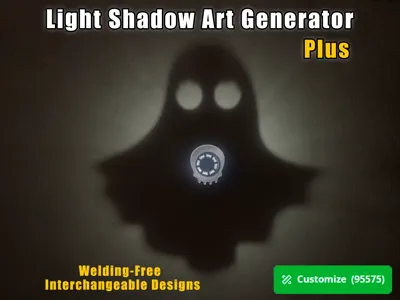
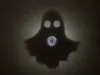
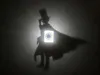
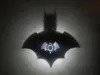
Light Shadow Art Generator (Plus)


Print Profile(6)
Description
This is a light and shadow art generator (upgraded version) that helps you quickly create custom SVG patterns
Upgraded features:
1. No welding required, uses an integrated light source that can be purchased directly
2. Replaceable light and shadow patterns, allowing you to change different light and shadow patterns freely with one light source
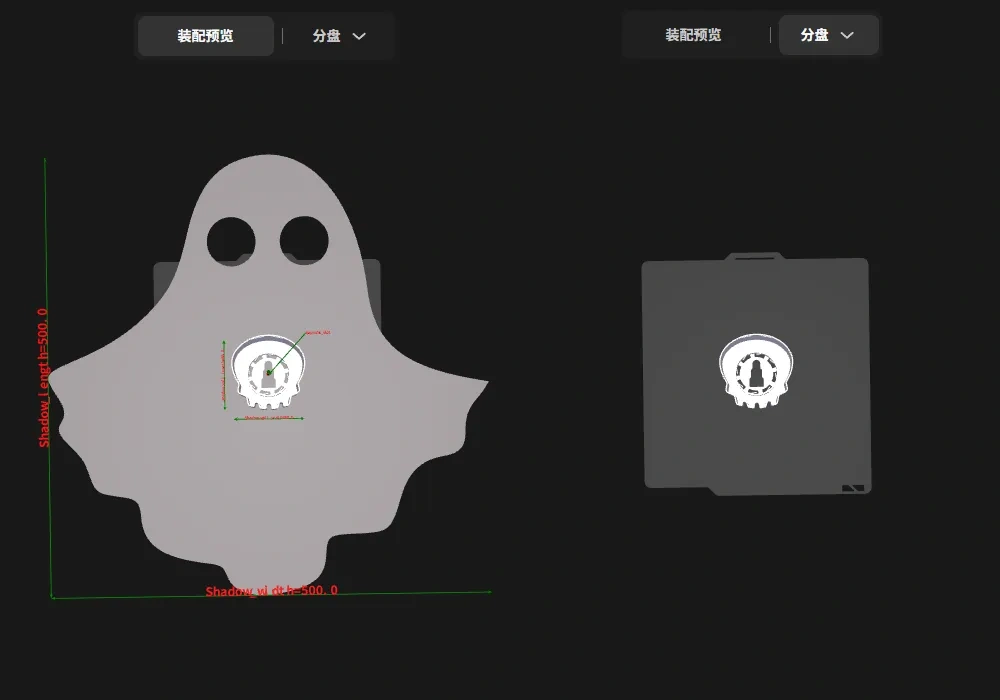
3. Intuitive parameter settings, with dimensioning added to the model assembly view, making your parameter settings clear at a glance
4. Added a rectangular shadow wall that can be split and printed flat, which avoids supports and allows the shadow pattern to display more accurately
5. When there are independent overhangs in the shadow pattern, a solution is provided to add a 0.2mm thin layer, which can be printed as a grid by setting it in the slicing software
Operation instructions:
I. Designing the model
Click the "Customize" button to open the "Light and Shadow Art Generator", adjust the settings according to the parameter descriptions, and finally click the "Generate" button to create the model
The setup interface is as follows:
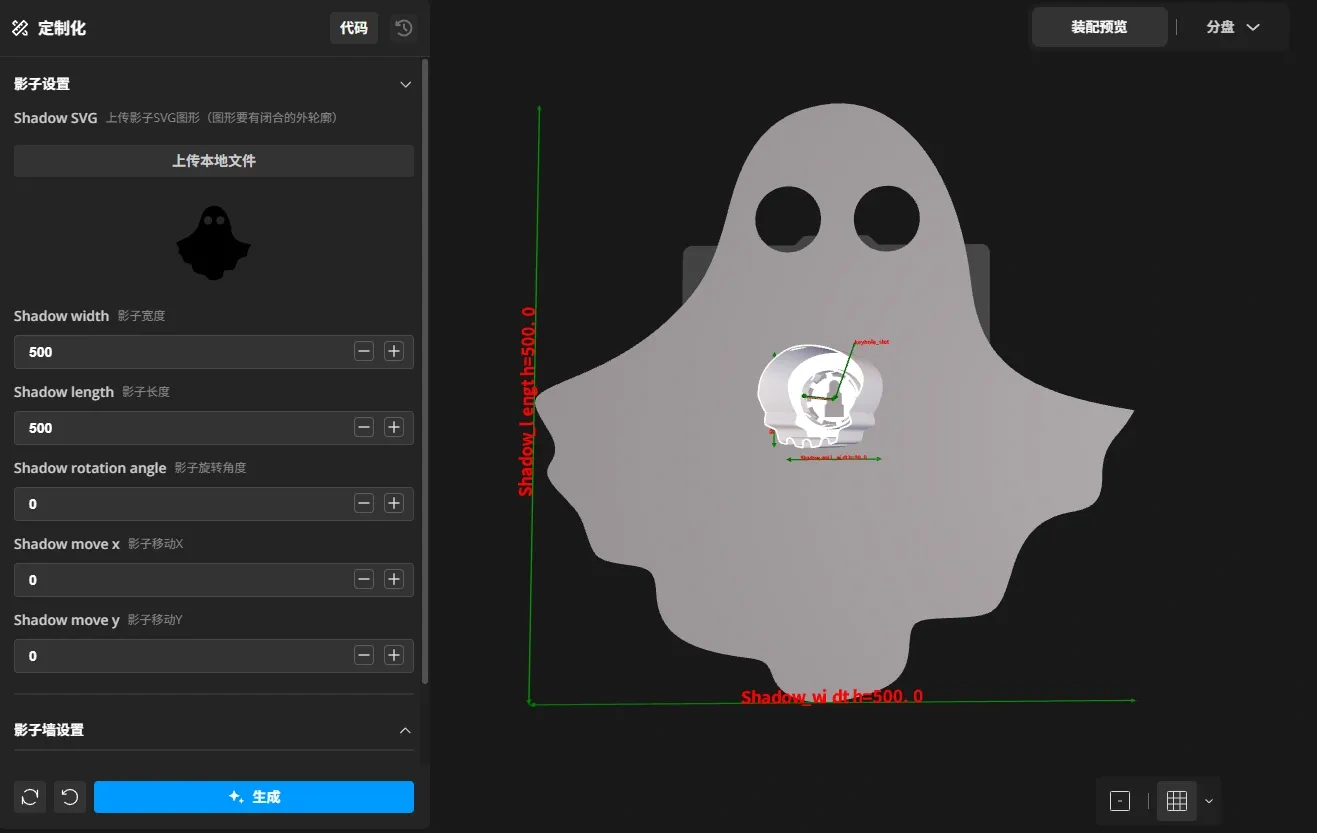
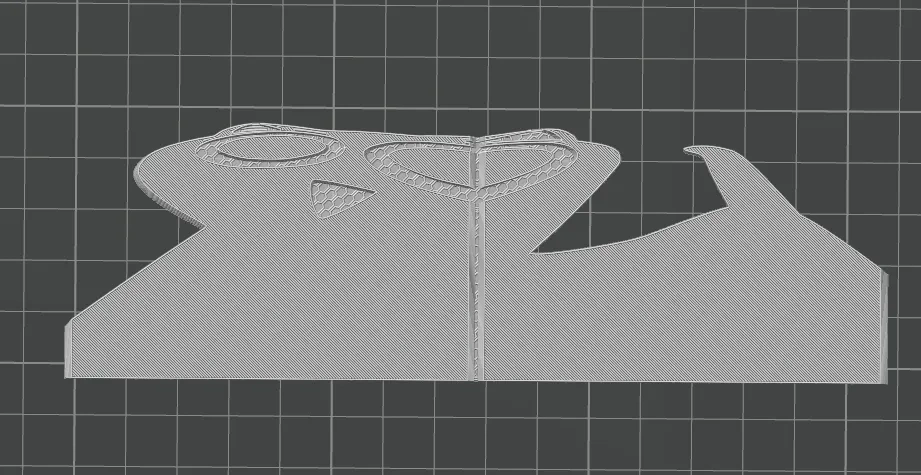
The model preview is as follows:
Parameter details:
| Parameter variable name | Description | Options/Notes |
|---|---|---|
| Shadow settings | ||
| Shadow_SVG | Upload shadow SVG graphic | The graphic must be monochrome and have a closed outline |
| Shadow_width | Shadow width | Left-right width of the uploaded shadow pattern |
| Shadow_length | Shadow length | Top-bottom length of the uploaded shadow pattern |
| Shadow_rotation_angle | Shadow rotation angle | Allows rotation of the shadow pattern |
| Shadow_move_x | Shadow X-axis movement | Moves the shadow pattern left and right, positive moves right, negative moves left |
| Shadow_move_y | Shadow Y-axis movement | Moves the shadow pattern up and down, positive moves up, negative moves down |
| Shadow wall settings | ||
| Shadow_wall_width | Shadow wall width | Width of the thin wall forming the shadow |
| Shadow_wall_length | Shadow wall length | Length of the thin wall forming the shadow |
| Shadow_wall_move_x | Shadow wall X-axis movement | Moves the shadow wall left and right, positive moves right, negative moves left |
| Shadow_wall_move_y | Shadow wall Y-axis movement | Moves the shadow wall up and down, positive moves up, negative moves down |
| Shadow_wall_type | Shadow wall type selection | Elliptical: The shadow wall is circular or elliptical Rectangular: The shadow wall is rectangular Custom SVG: The shadow wall graphic is a custom SVG graphic |
| SVG_shadow_wall | Upload shadow wall SVG graphic | Only valid when shadow wall type is "Custom SVG", the SVG graphic must be monochrome and have a closed outline, The shadow wall graphic only uses the outer outline of the uploaded graphic |
| Rectangular wall settings | ||
| Rectangle_wall_generation_mode | Rectangular wall generation mode | Standing: The rectangular shadow wall is printed as a standing Print in Place Flat: The rectangular shadow wall will be unfolded and laid flat on the build plate Overhang: The rectangular shadow wall will be unfolded and laid flat on the build plate, with an additional 0.2mm thin layer at the bottom |
| Rectangle_wall_split_count | Number of rectangular wall segments | Valid when "Flat" or "Overhang" is selected for rectangular wall generation mode 1 segment: The rectangular shadow wall is fully unfolded and laid flat on the build plate |
| First_cut_position | First cut position | When the rectangular shadow wall is unfolded and printed flat, the position of the first cut can be defined |
| Second_cut_position | Second cut position | Valid when "2 segments" is selected for rectangular wall splitting; if the same as the first cut position, only one cut is actually made |
| Rectangle_wall_overhang_Handling | Overhang mode handling method | Valid when "Overhang" is selected for rectangular wall generation mode. The graphic unfolded at the first cut position is filled or wrapped Fill: The generated 0.2mm thin layer only covers the inside of the shadow pattern, addressing cases where there are independent overhangs inside the shadow pattern Wrap: The generated 0.2mm thin layer will maximally wrap the shadow pattern, addressing cases where there are independent overhangs outside the shadow pattern |
| Rectangle_rounding | Rectangular wall corner radius | Valid when "Standing" is selected for rectangular wall generation mode, sets the corner radius of the rectangular shadow wall |
| Advanced settings | ||
| Is_keyhole_slot | Add hanging hole | Effective when checked |
| Light_source_height | Light source height | Distance from the light source to the bottom plate of the shadow wall. Minimum: 56.5, corresponding to a clear cylindrical tube height of 70mm |
| Shadow_wall_thickness | Shadow wall thickness | Thickness of the shadow wall |
| Cylindrical_height | Transparent cylindrical tube height | This is the height parameter of the purchased transparent cylindrical tube. Supports outer diameter 42-43.5mm, inner diameter 39mm and above |
II. Exporting the model
Due to the use of an assembly view, after design completion, it can only be exported as a 3MF file format, then loaded into Bambu Studio slicing software for settings
III. Print settings
1. Supports need to be enabled for elliptical walls, custom SVG walls, and standing rectangular walls
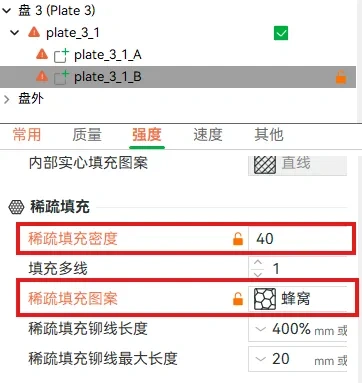
2. Print profile settings for the "Overhang" option in "Rectangular wall generation mode"
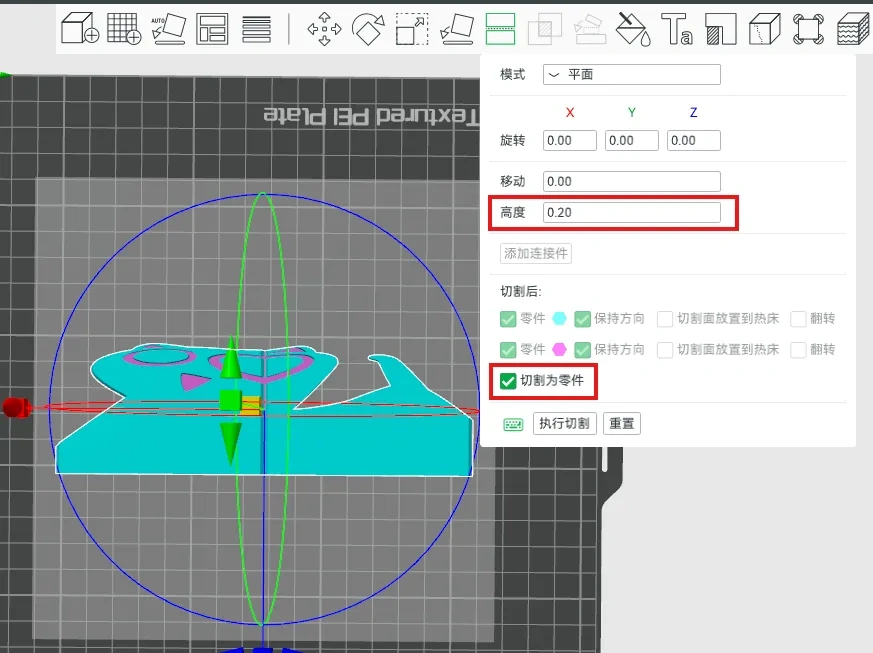
a. Select the file, cut it, set the height to 0.2, check "cut into parts", click "execute cut", and if prompted to repair non-manifold edges, select "No"
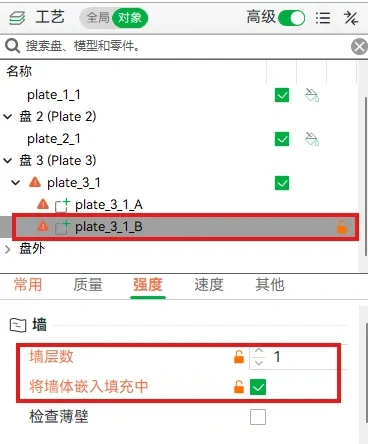
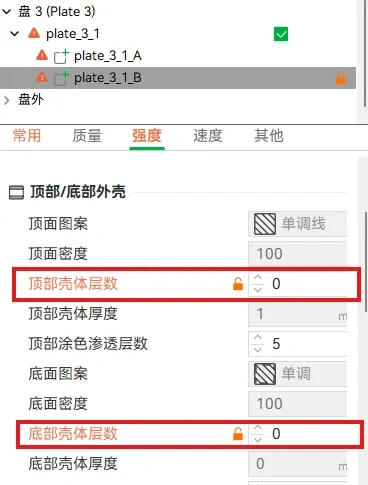
b. Select the bottom part of the model after cutting, apply the following settings, and if the slicing preview is fine, you can print
Bill of Materials:
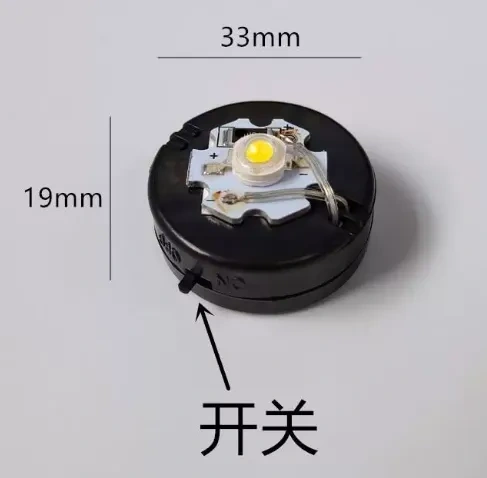
1. Button lamp bead, white with battery, 1 pieceTaobao link for China region
For international regions, self-assembly is required. AliExpress links are provided: housing link, LED bead link, CR2032 button cell battery link
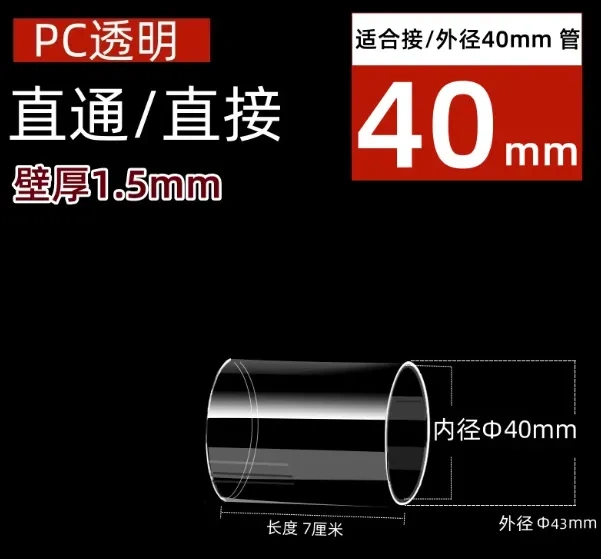
2. PC clear plastic straight tube, 40mm inner diameter, 1.5mm wall thickness, 70mm length, 1 piece Taobao link
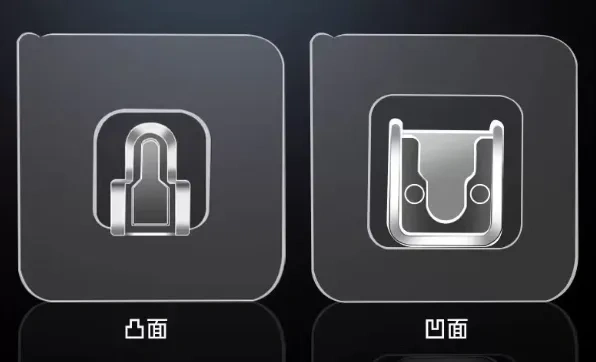
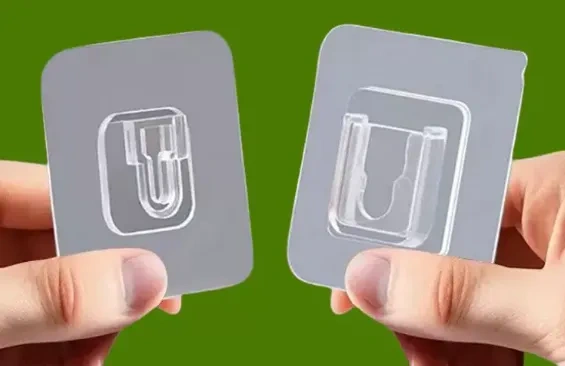
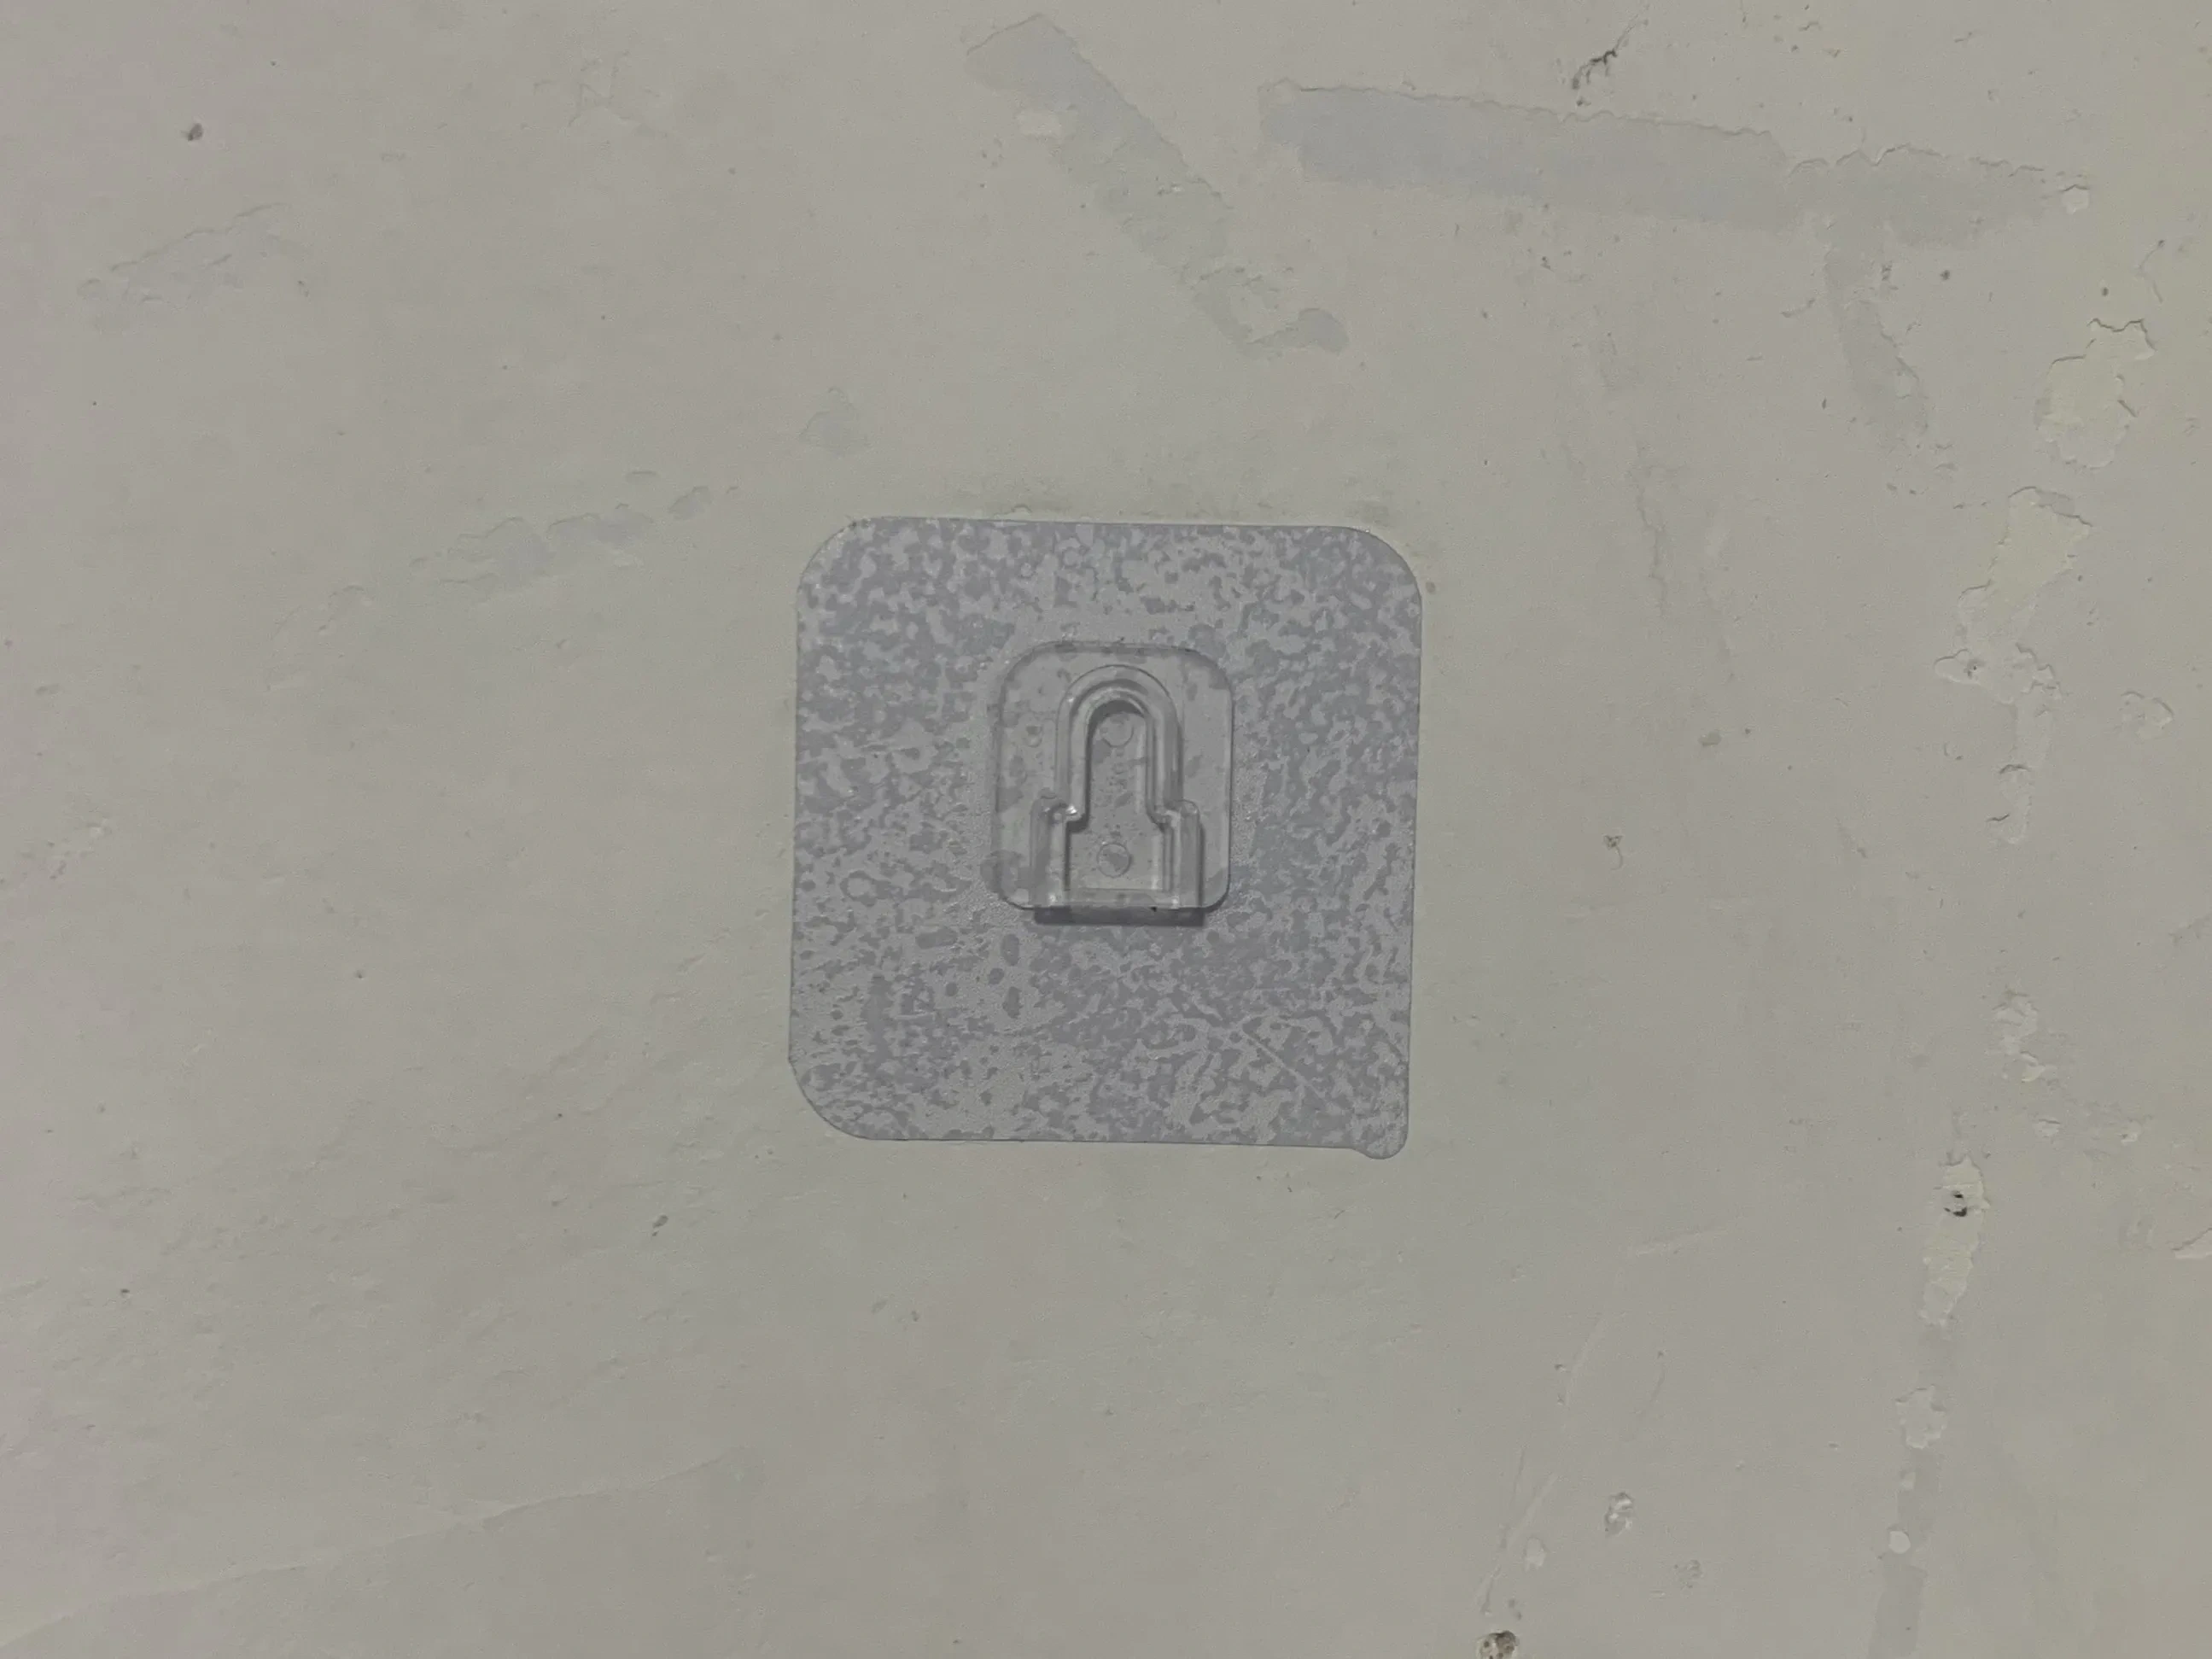
3. No-drill male-female buckle, only 1 male buckle needed link for China region, AliExpress link for international region
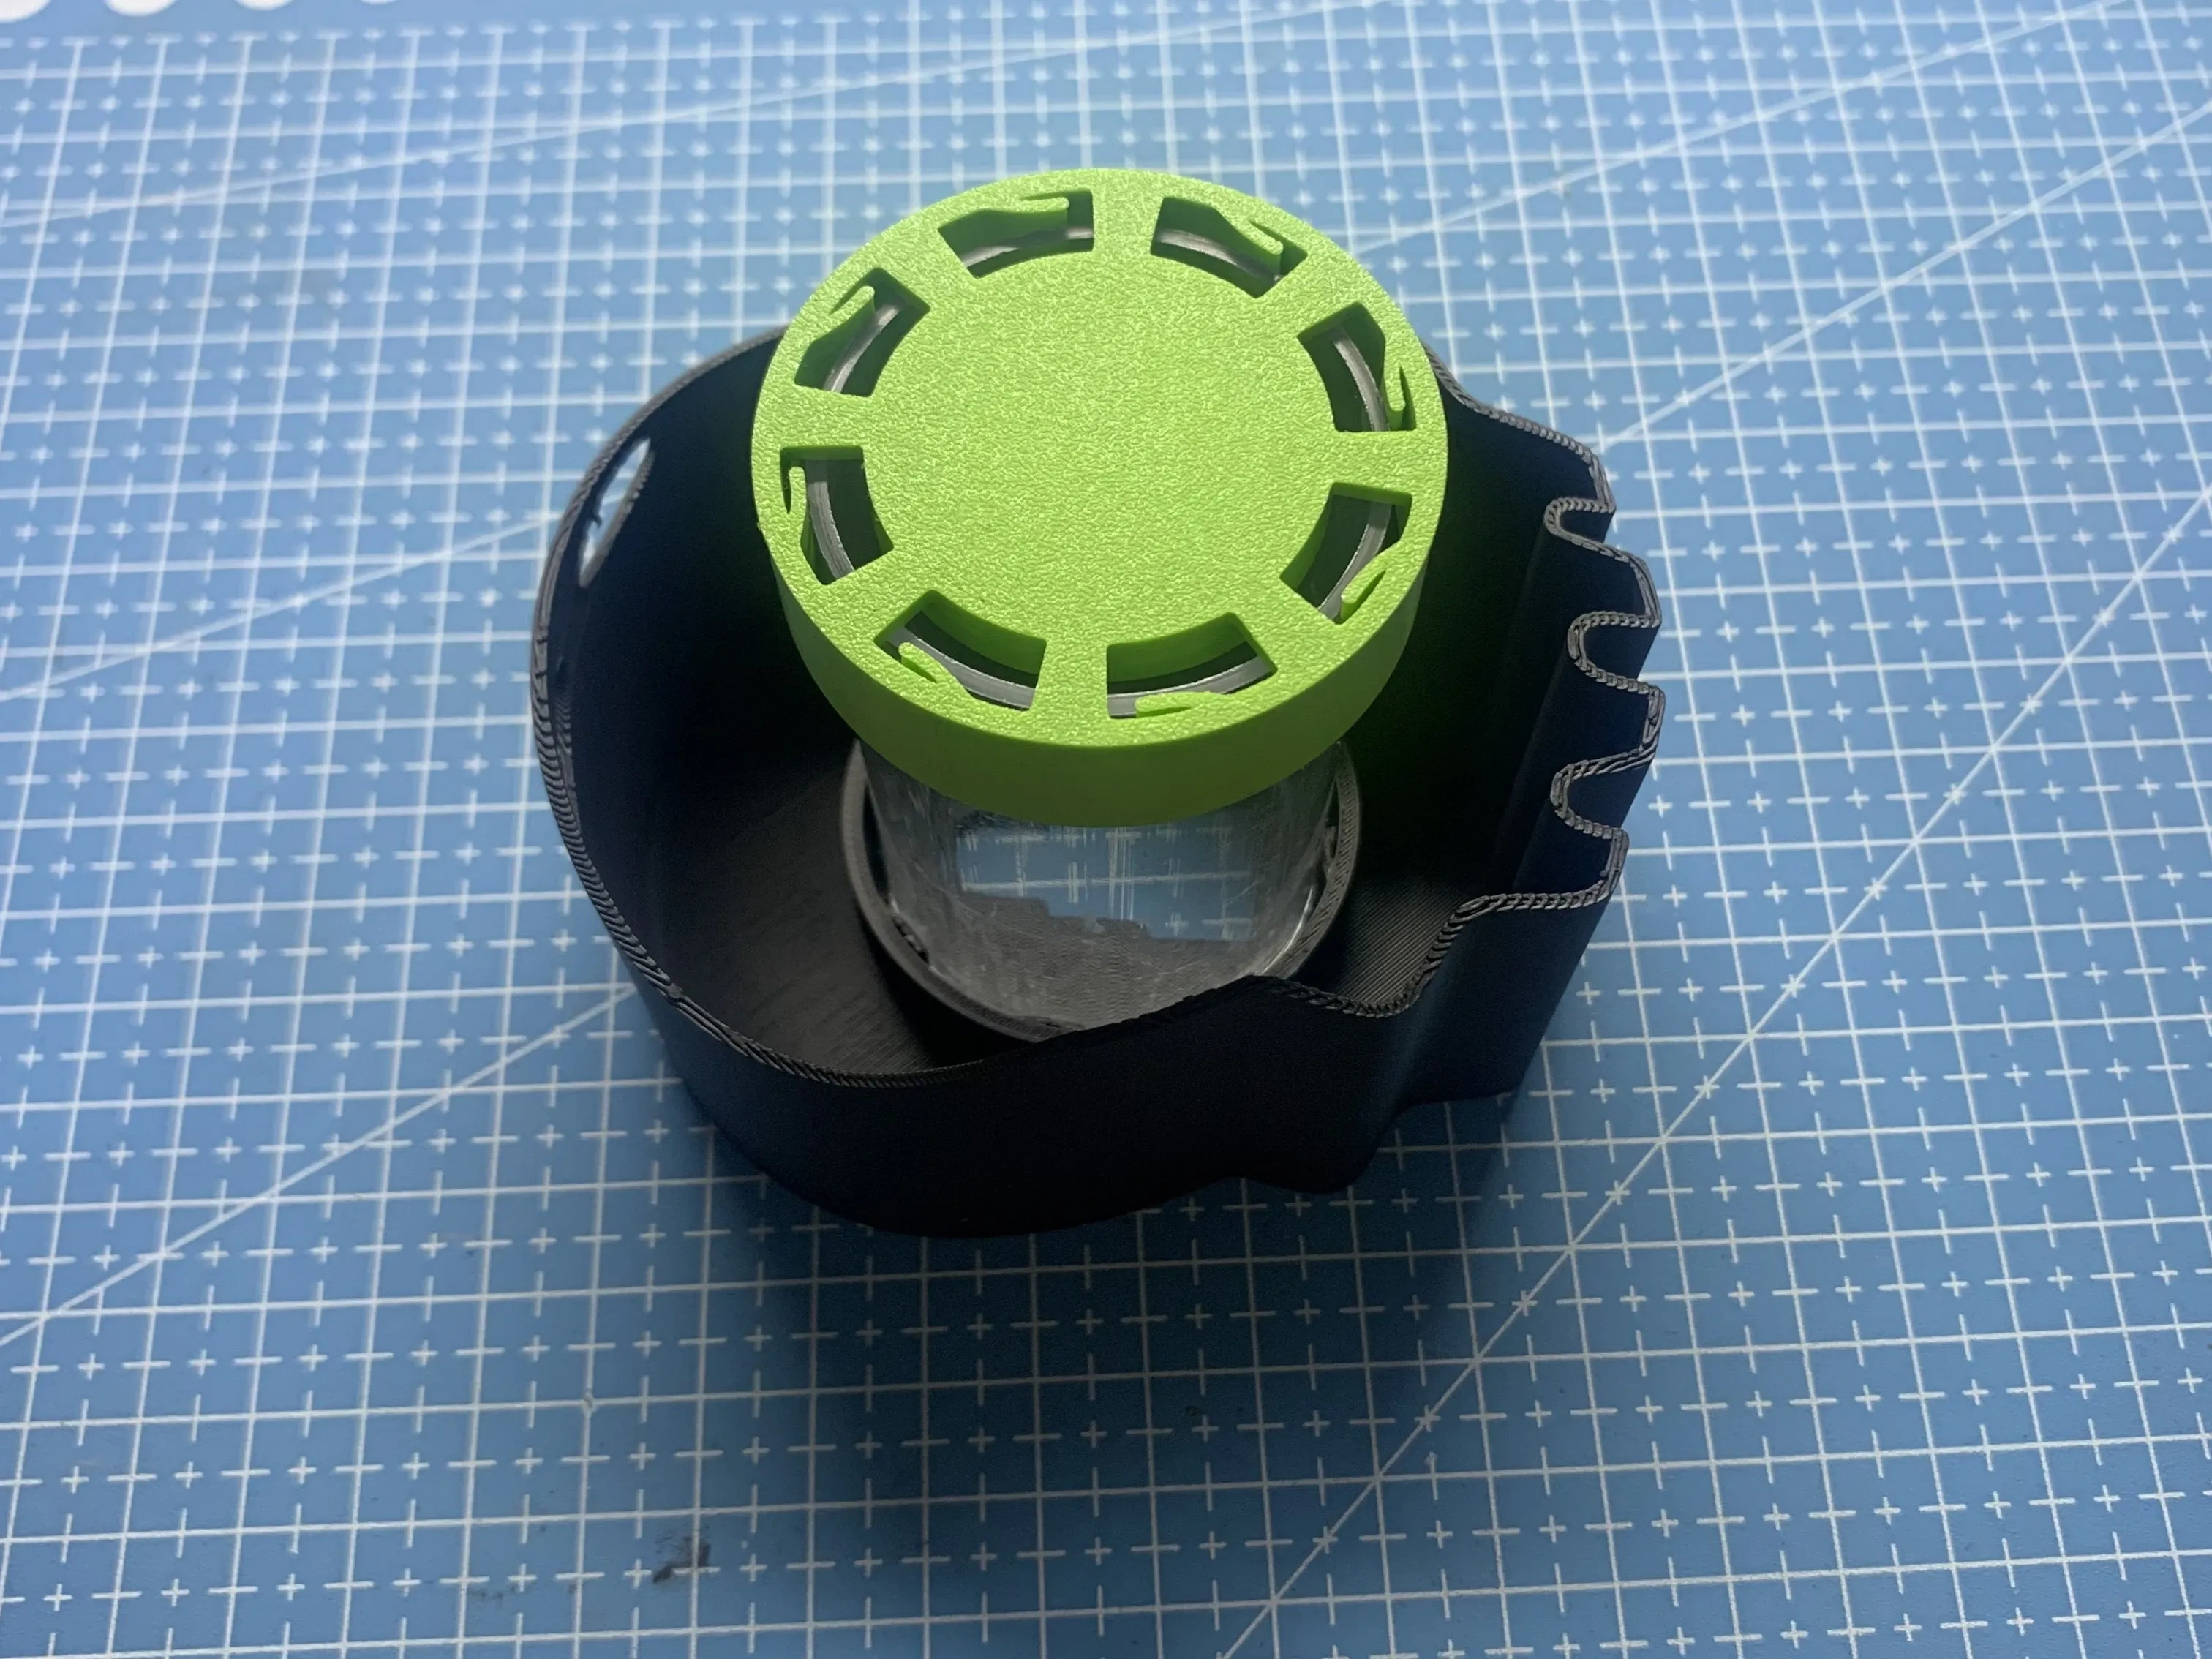
Assembly instructions:
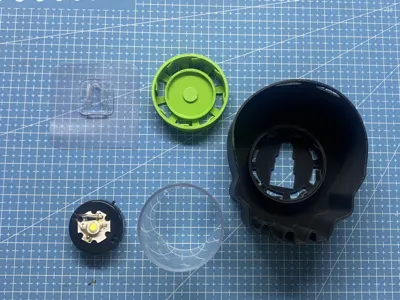
These are the required parts
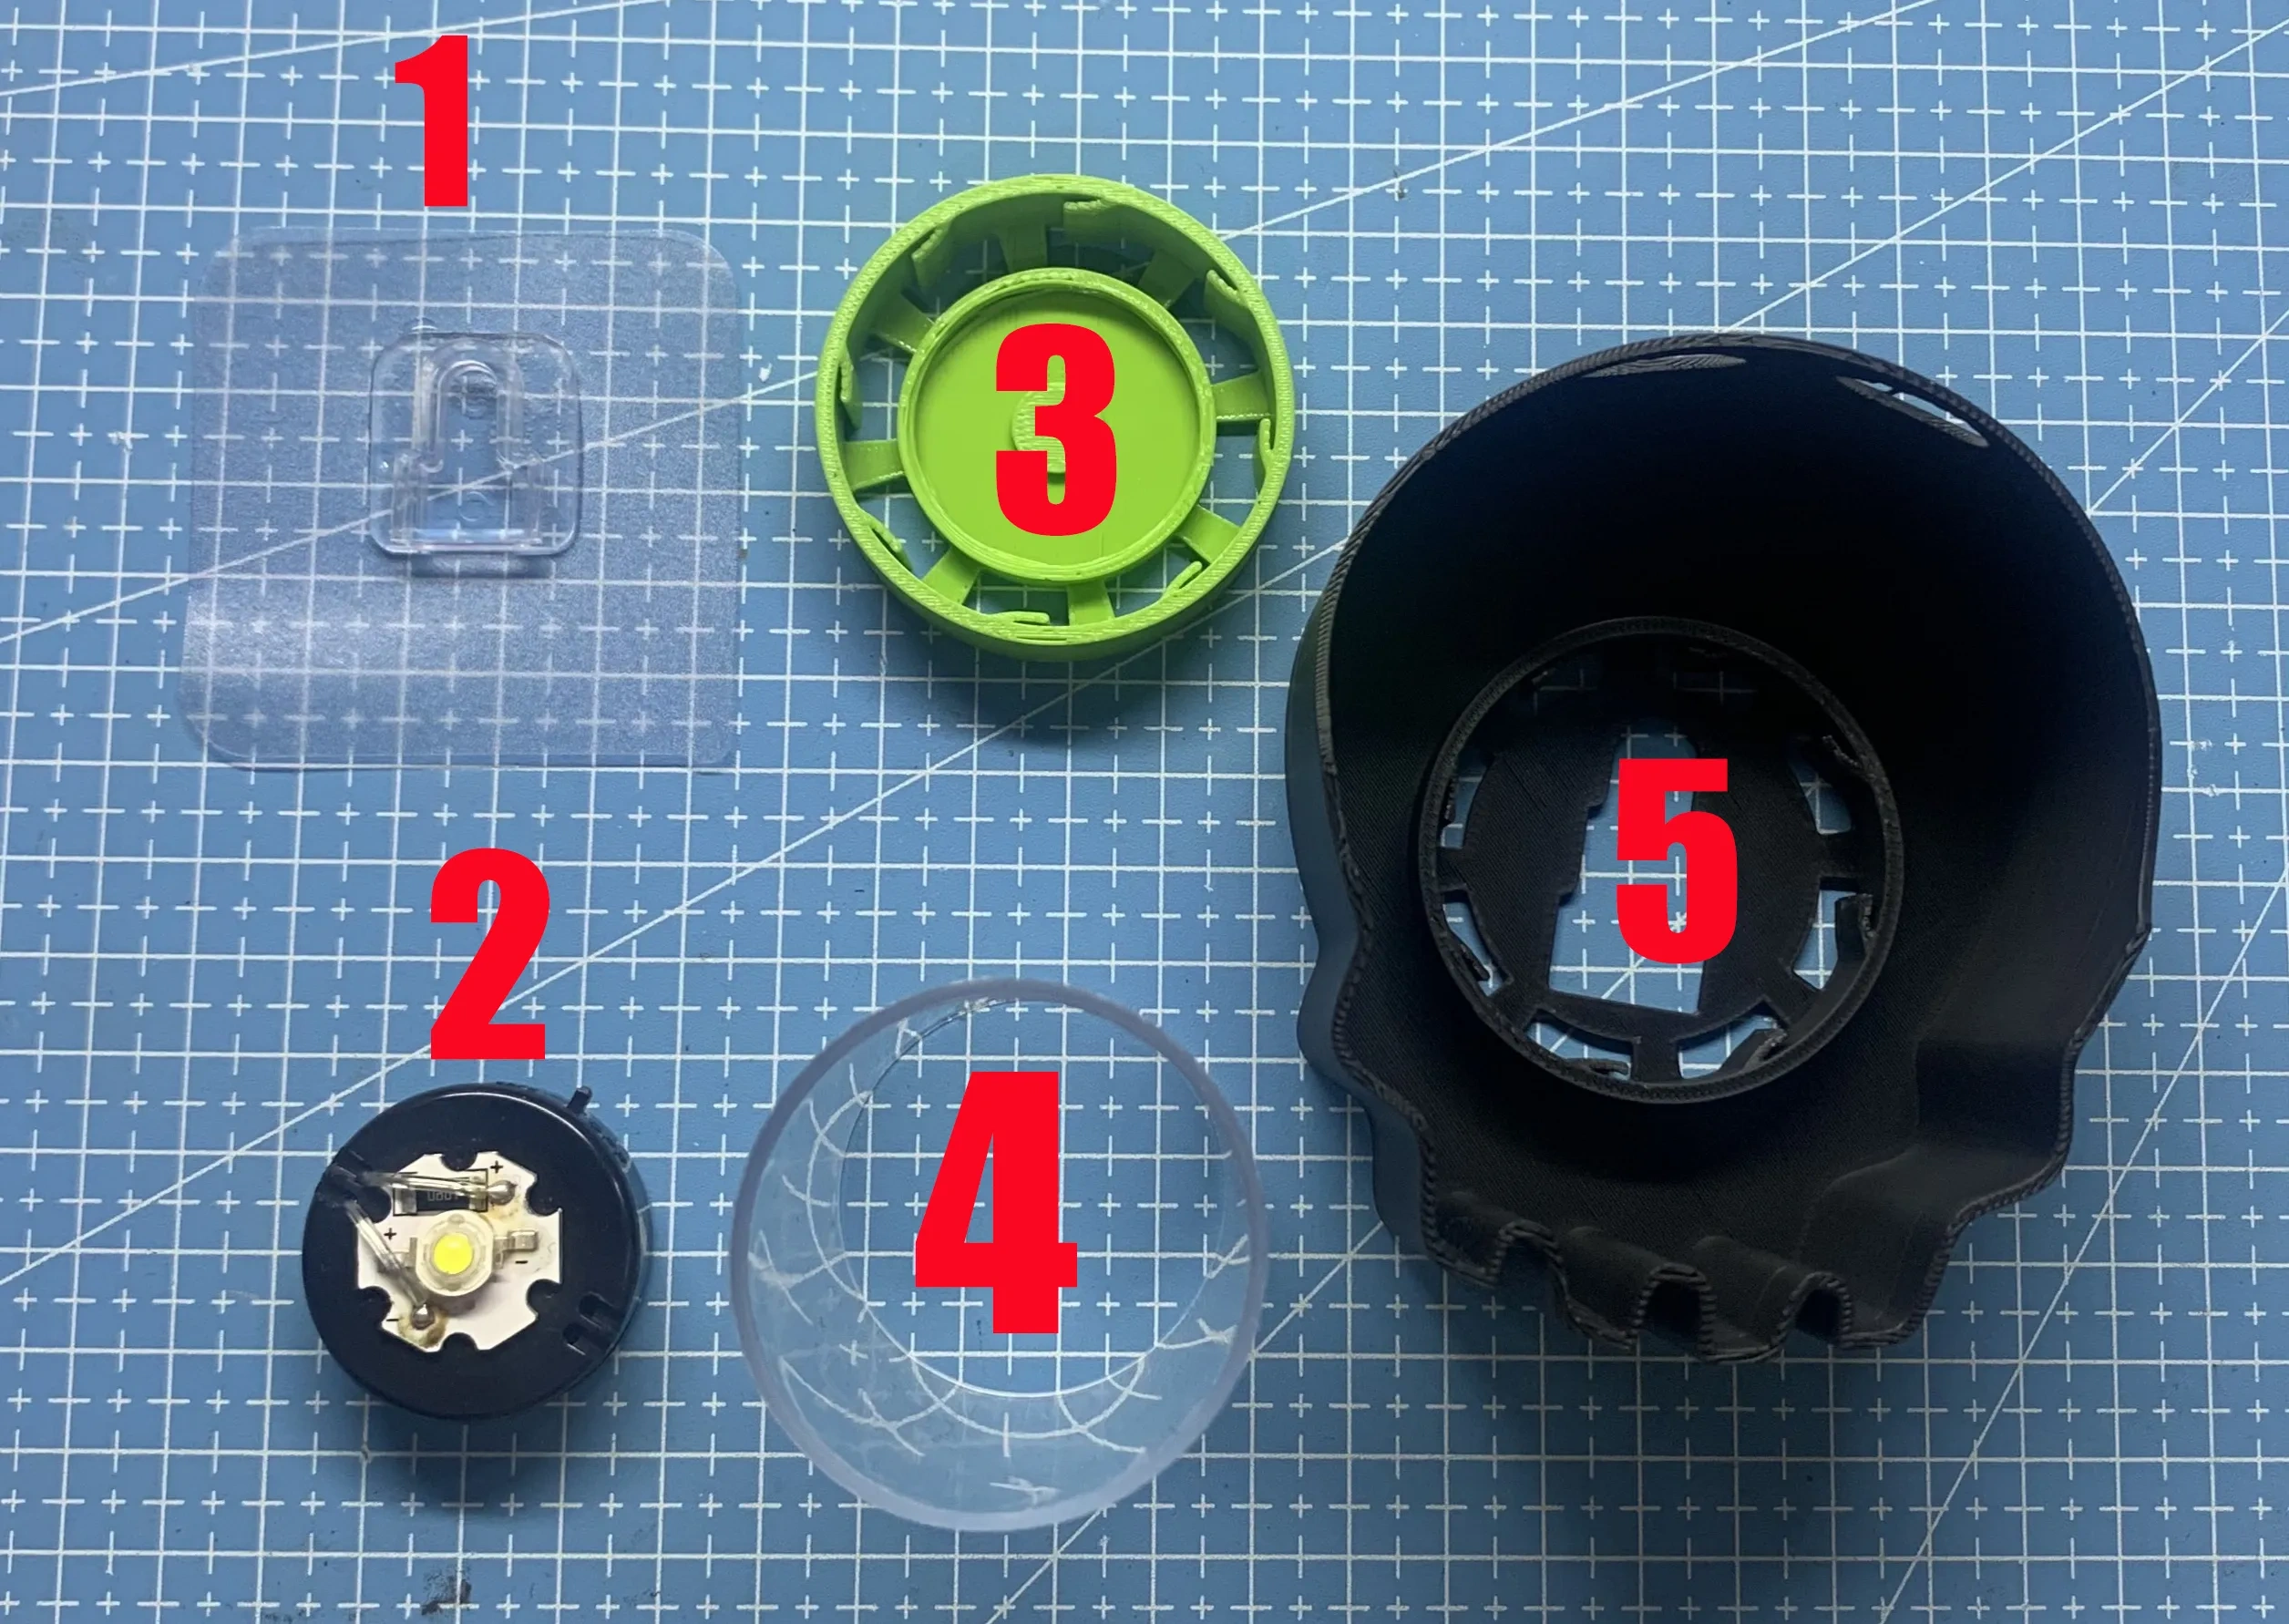
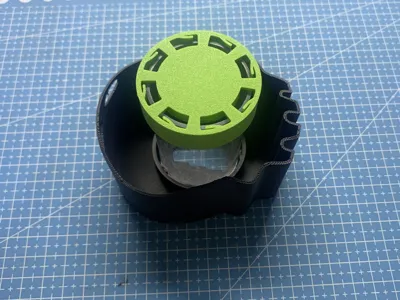
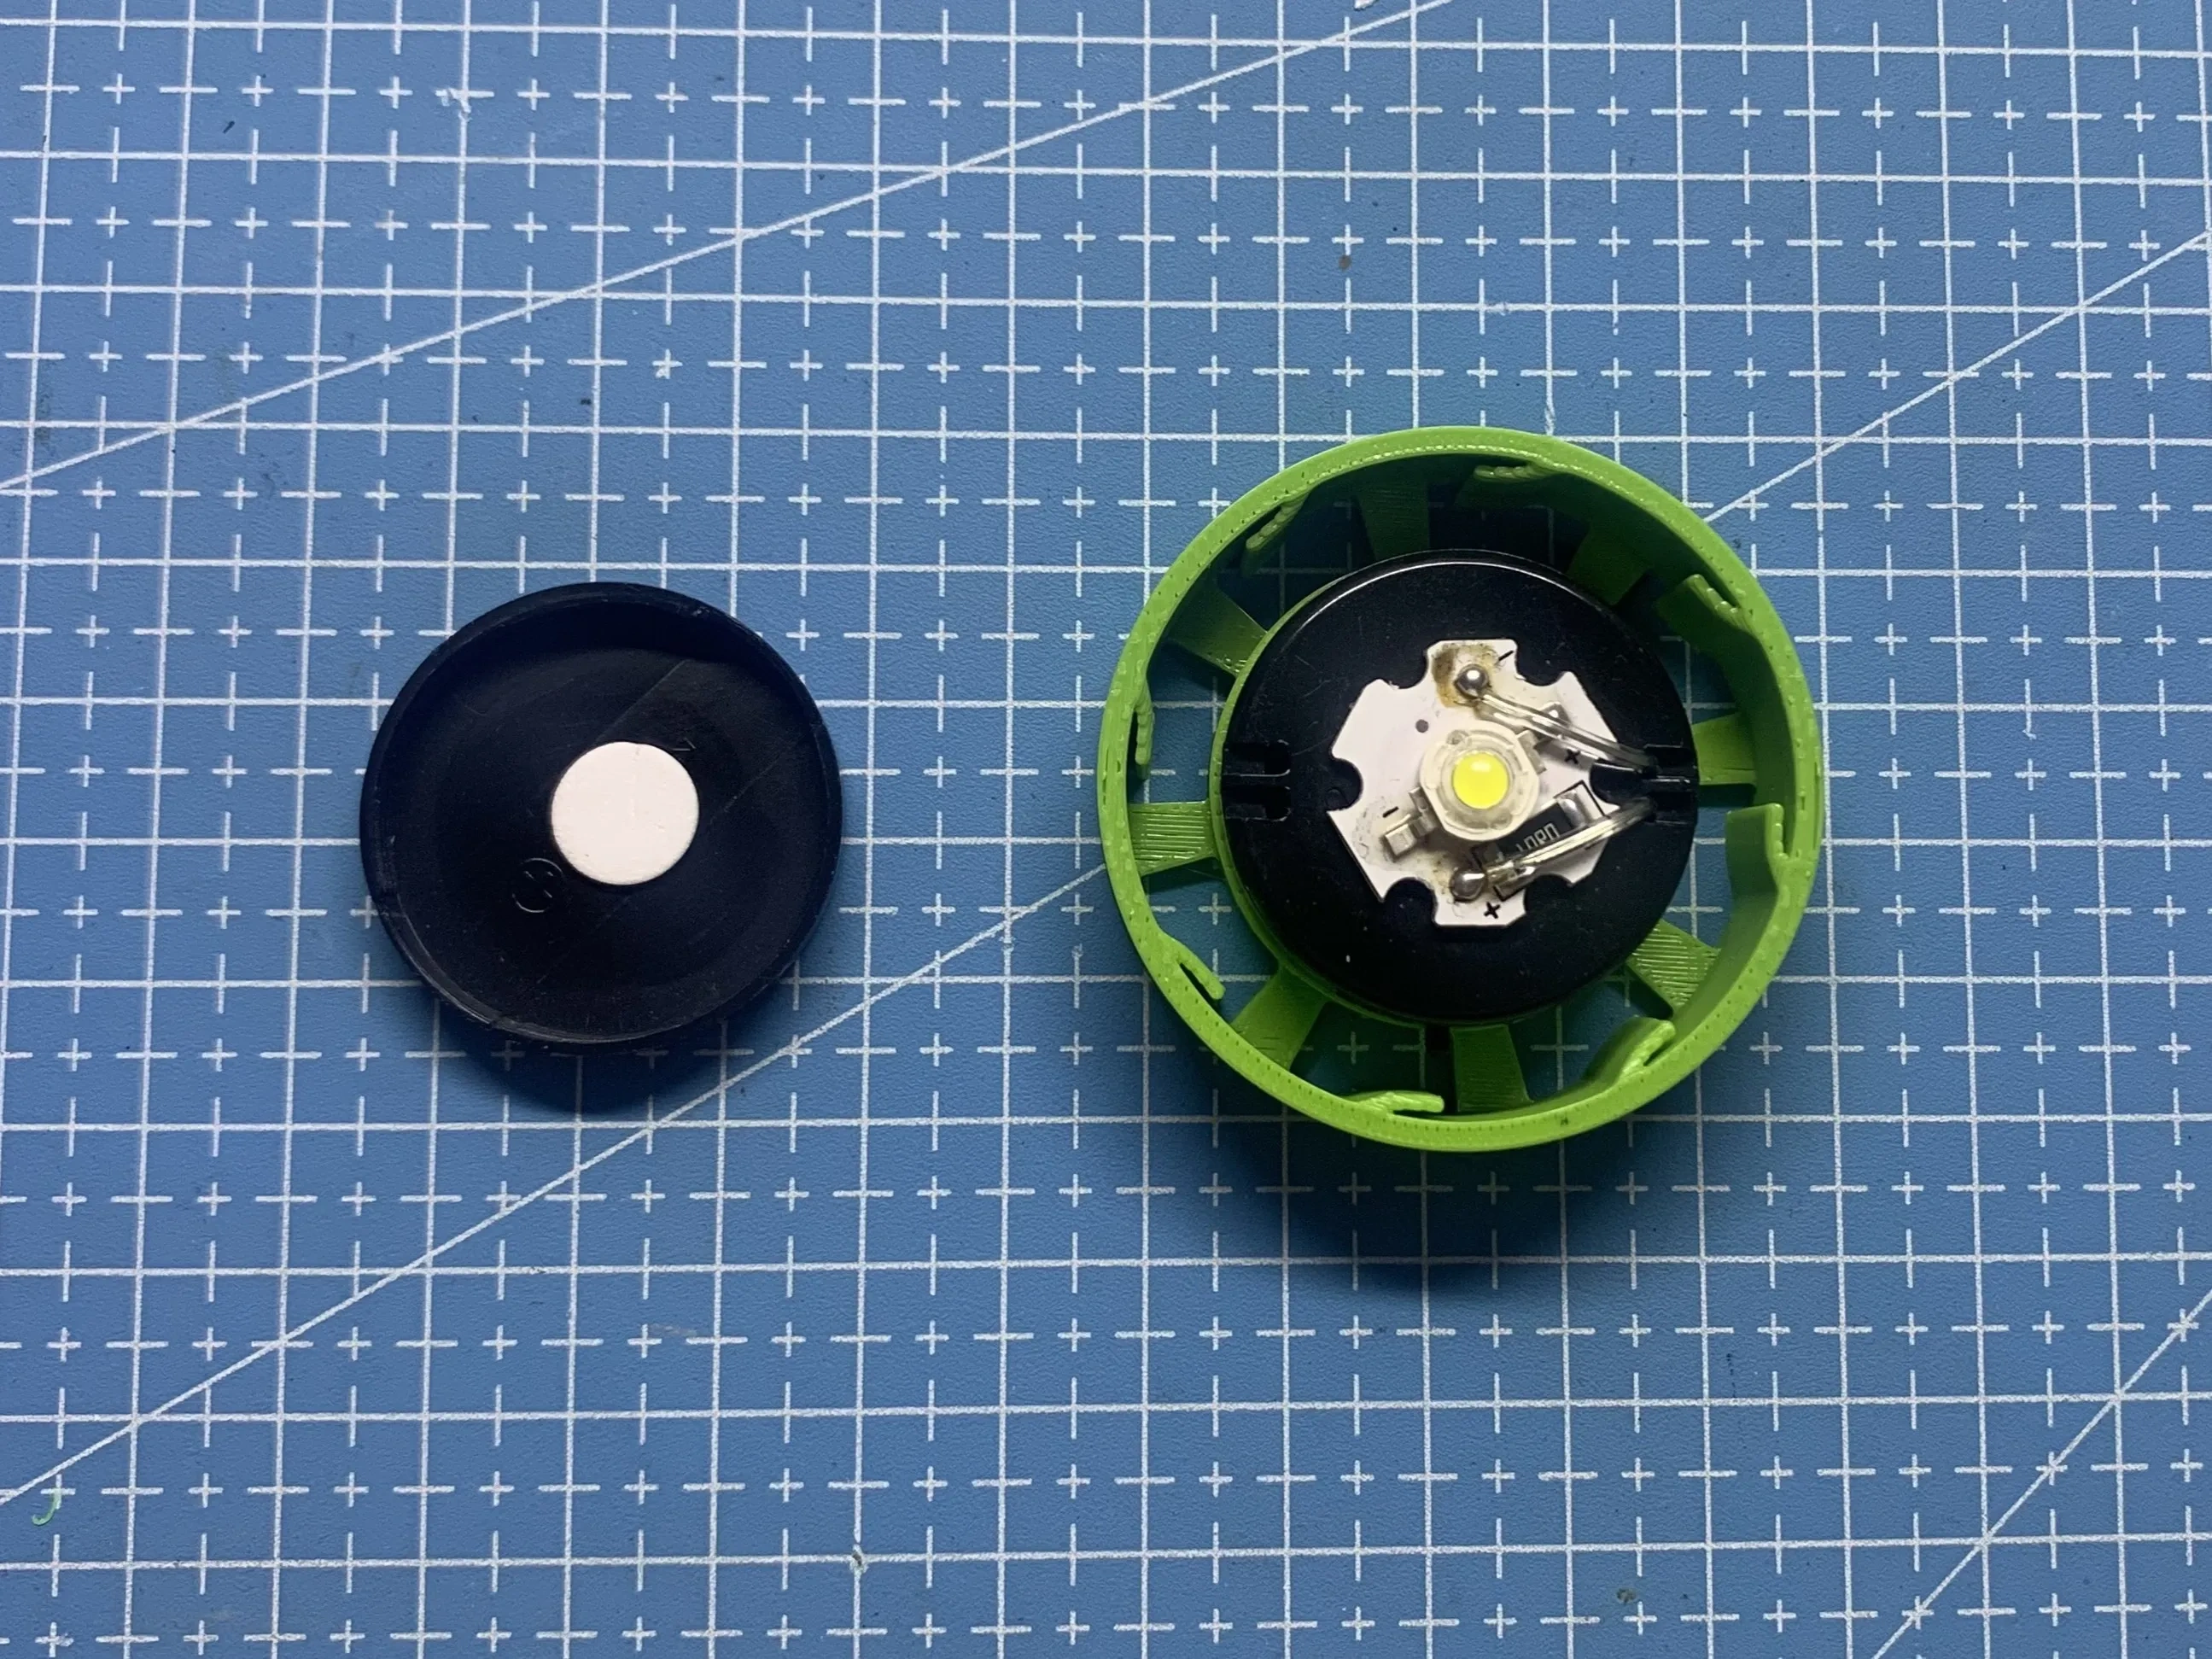
1. Remove the back cover of the No. 2 button LED bead, then rotate clockwise to install it on the No. 3 "light and shadow lamp holder"
2. Insert one end of the No. 4 transparent cylindrical tube into the No. 3 "light and shadow lamp holder", and the other end into the No. 5 shadow wall
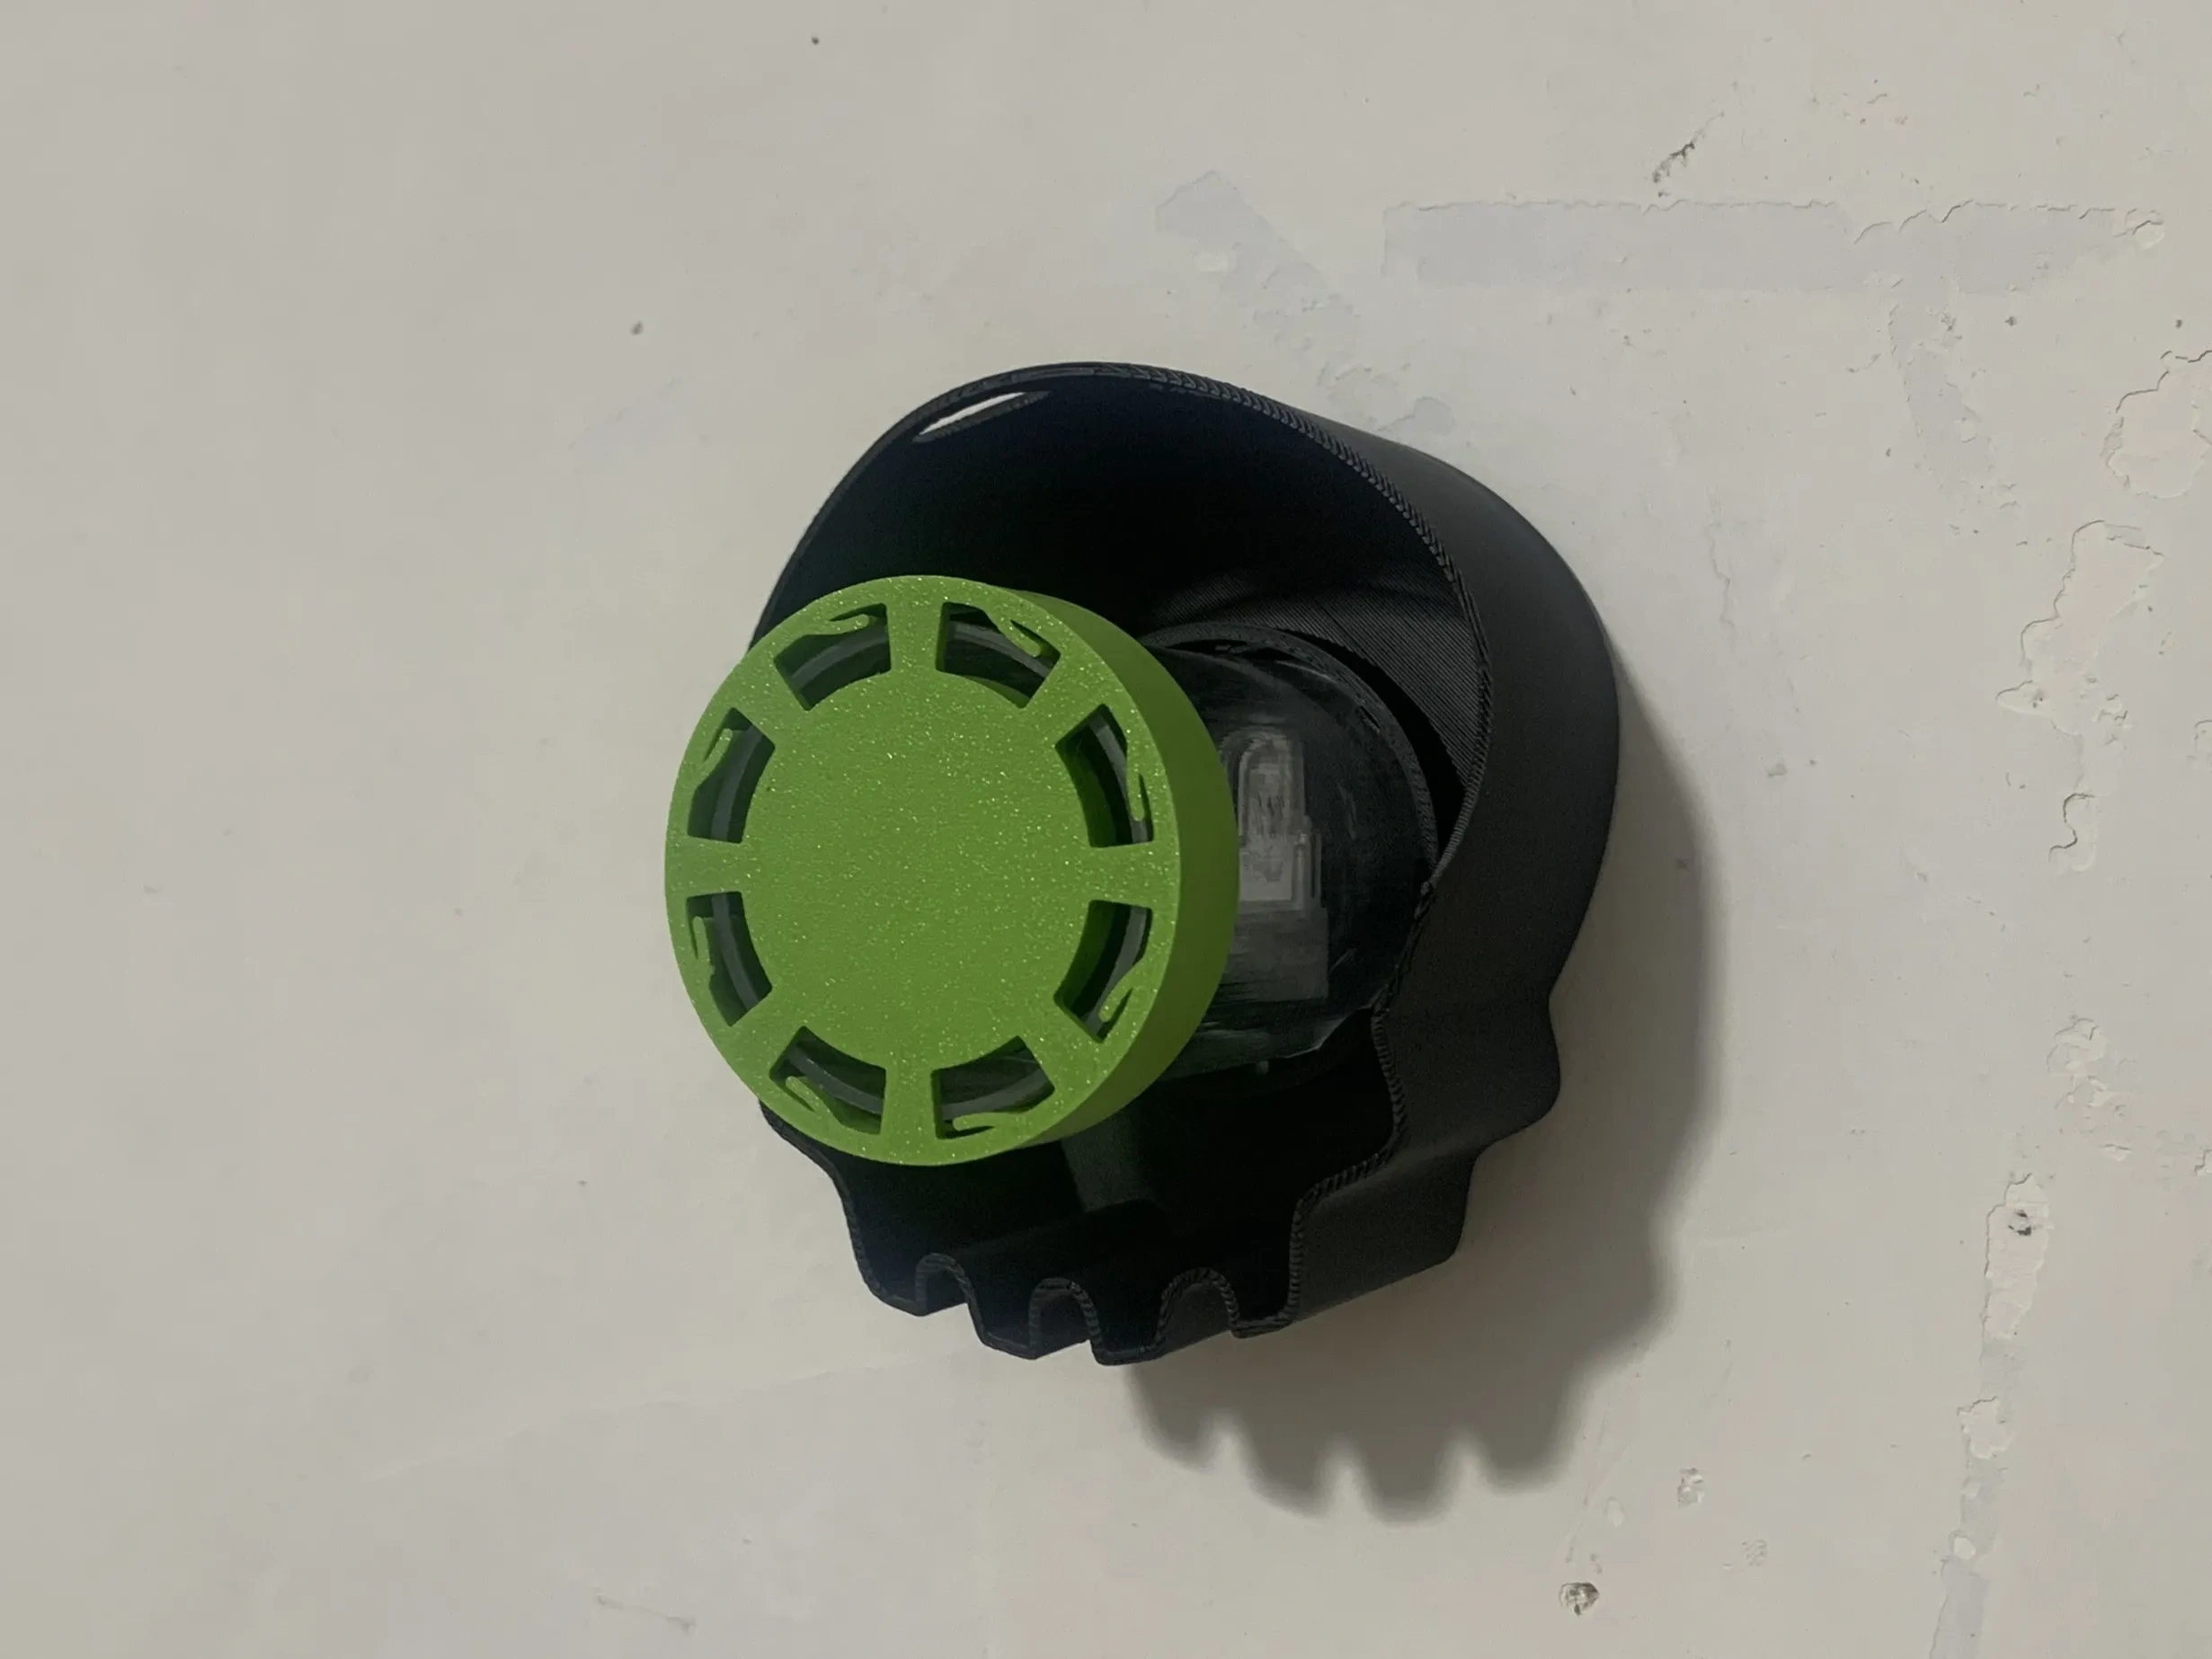
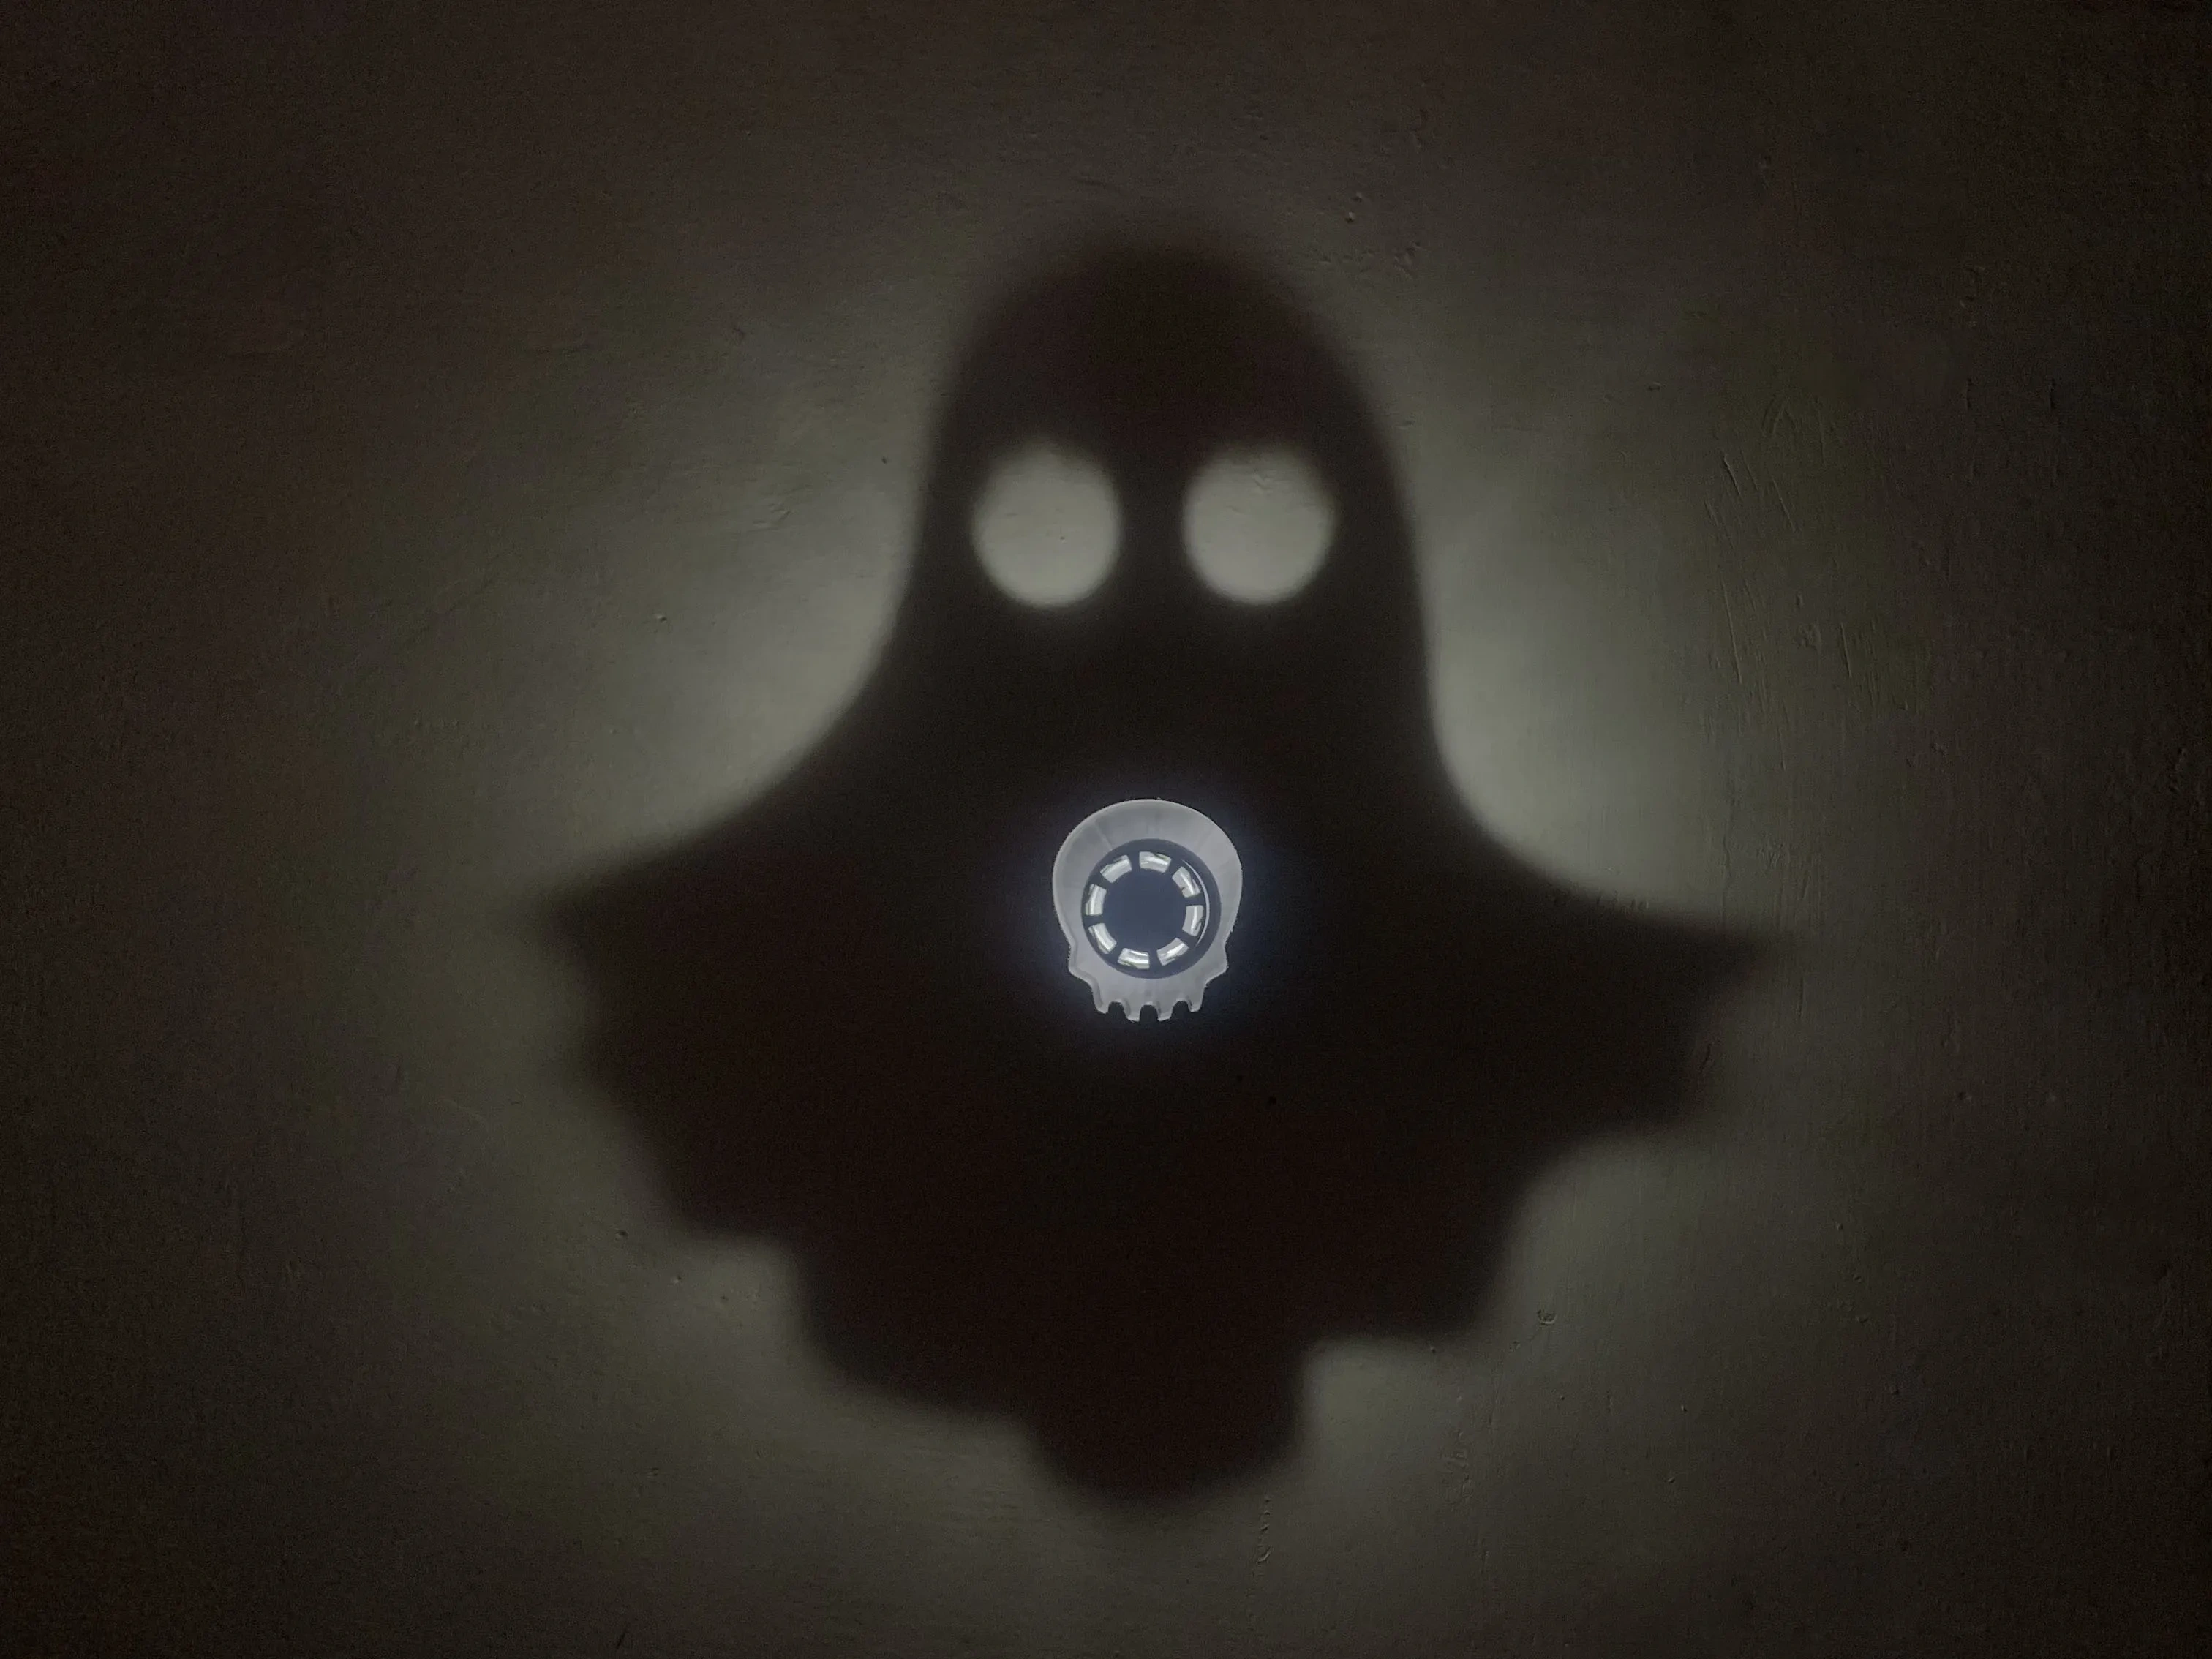
3. Stick the No. 1 no-drill male buckle on the wall, and attach the assembled light and shadow lamp to it
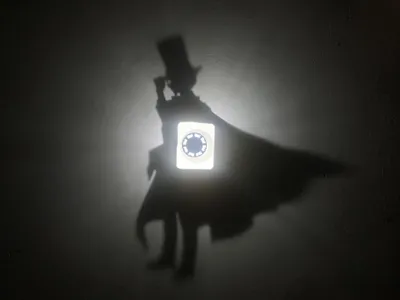
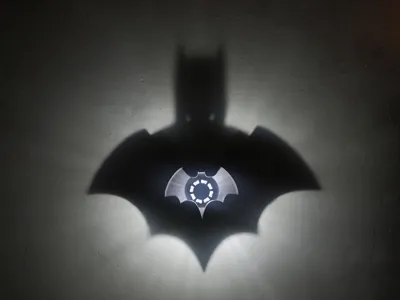
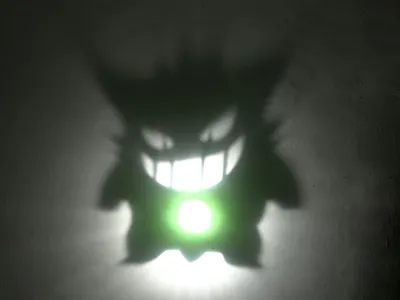
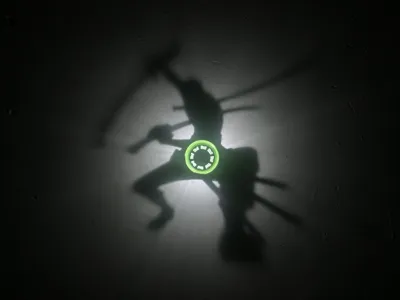
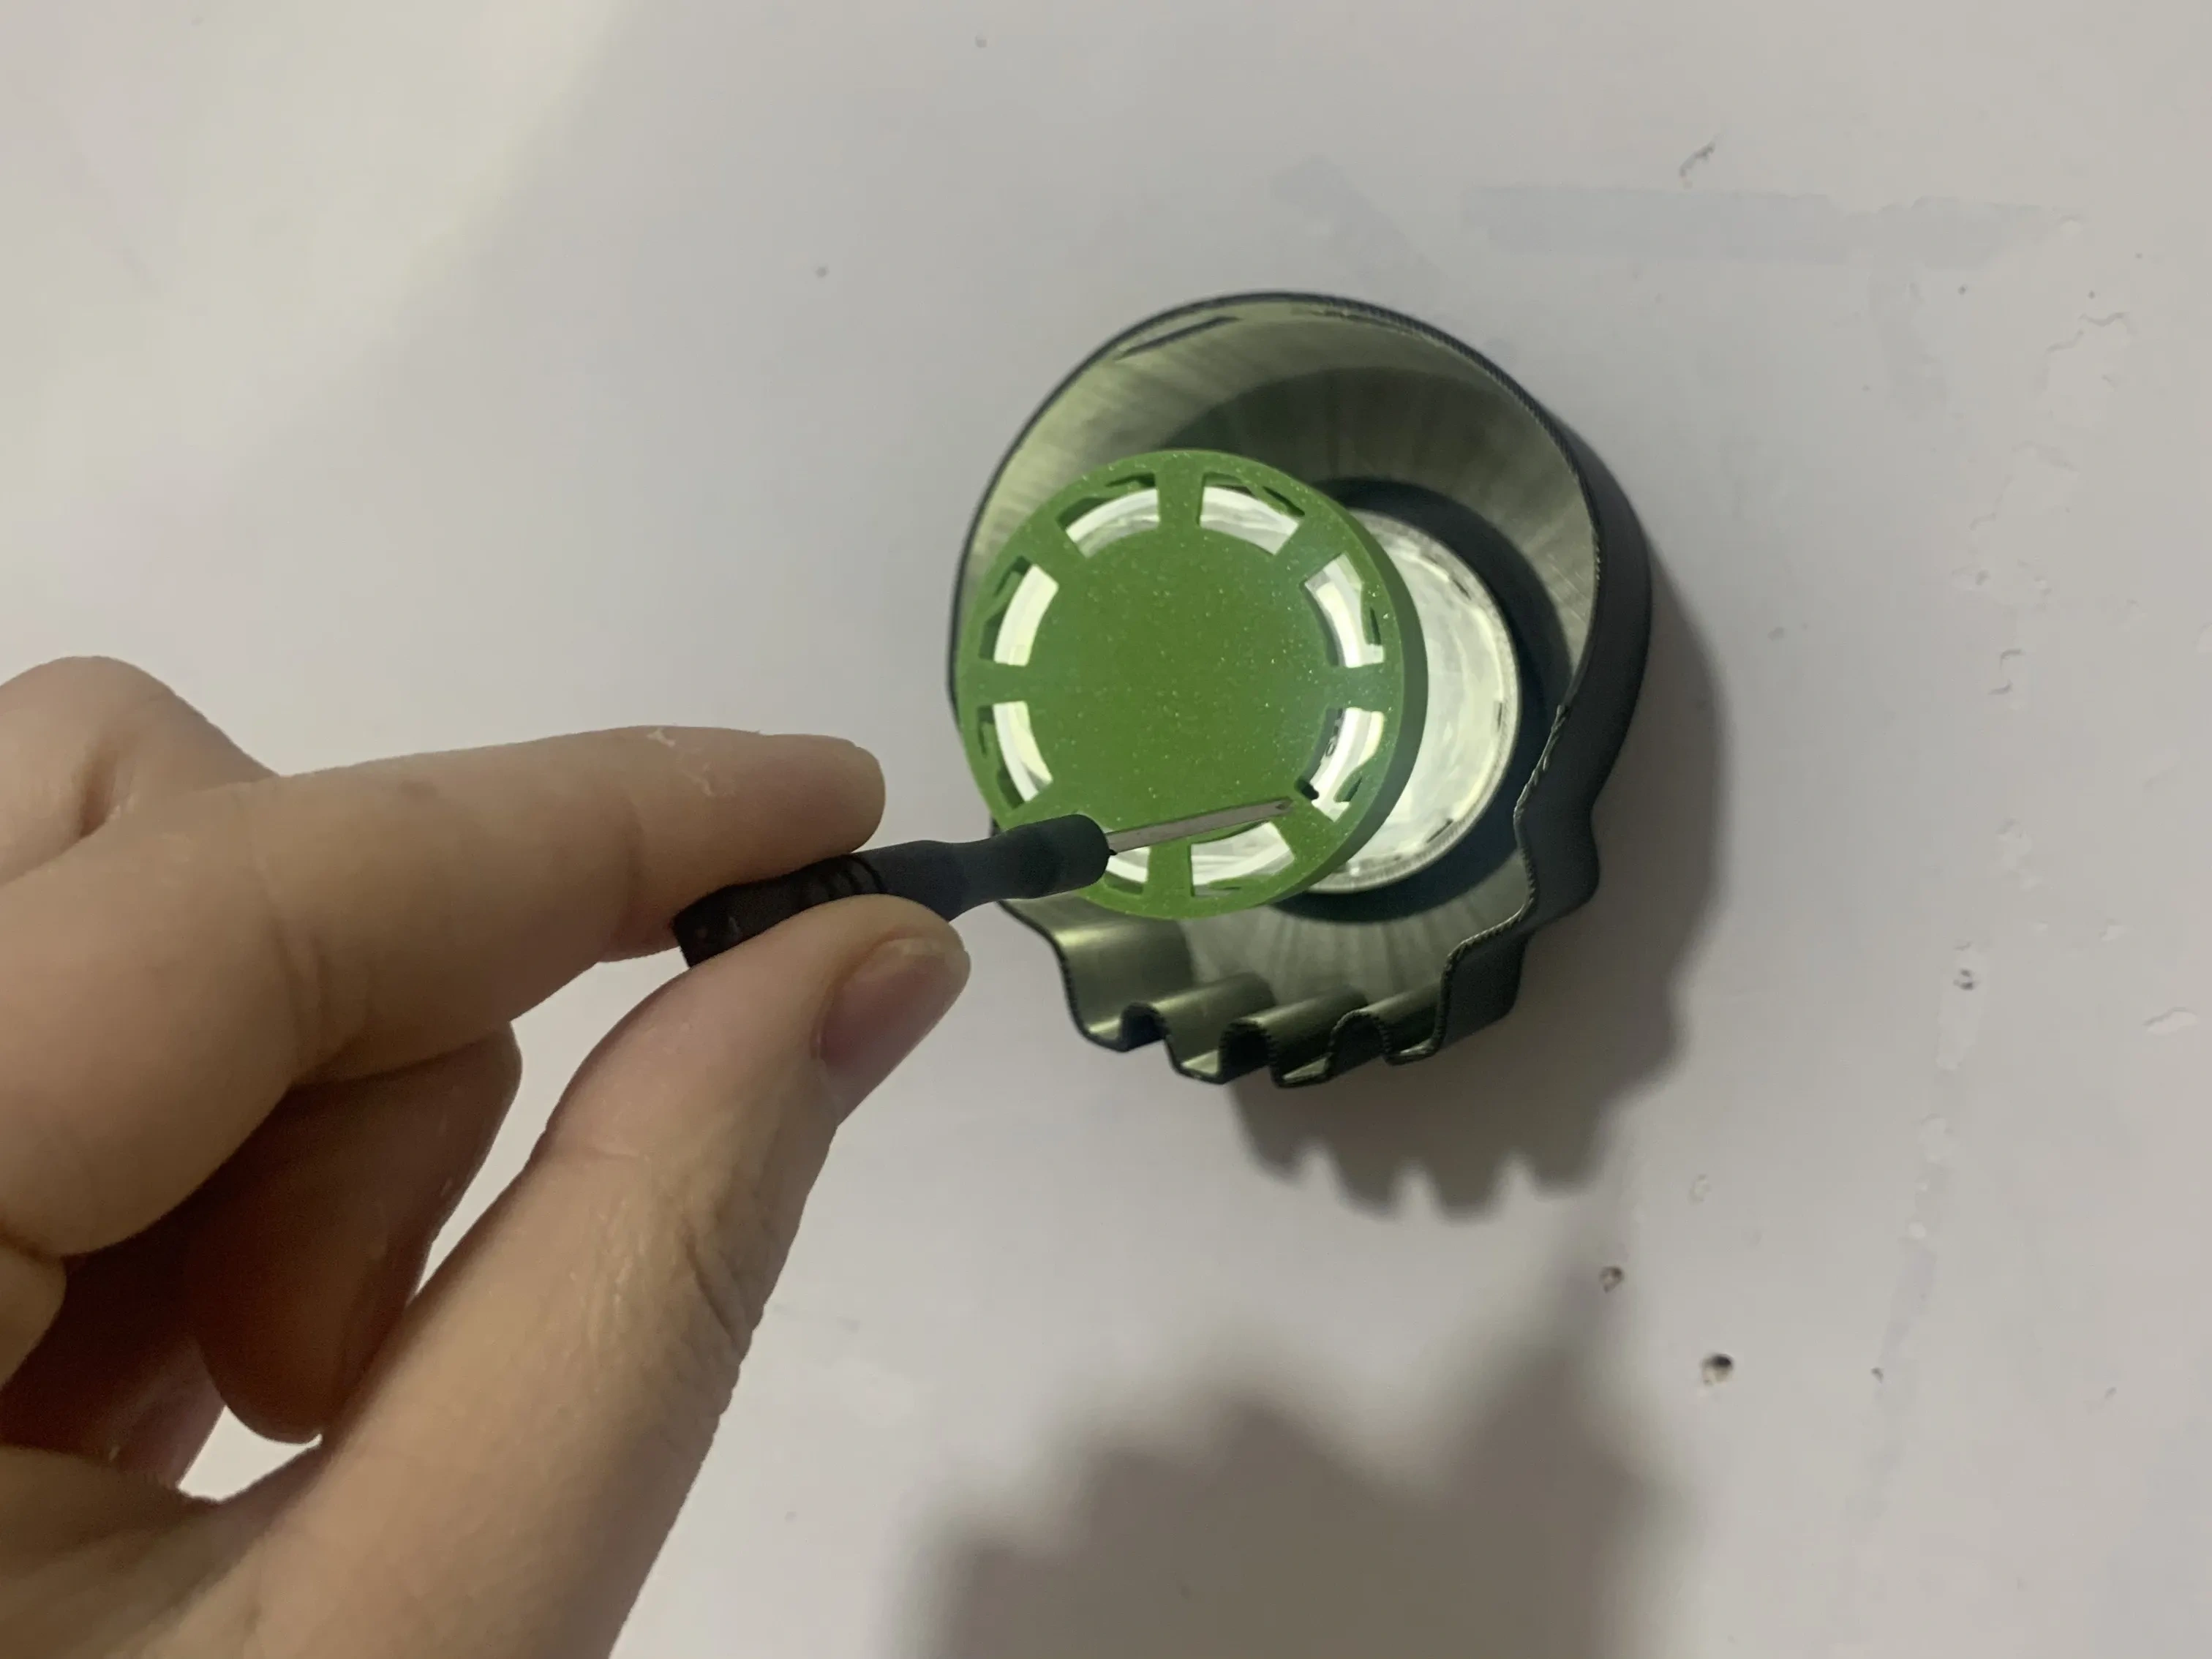
4. Use a small stick, like a toothpick, to toggle the switch to turn on the button LED bead, and turn off indoor lights to see the effect
Update notes:
2026.4.24
1. Optimized the fill or wrap method for rectangular shadow walls when printed flat
2. Added position parameters for splitting rectangular shadow walls when laid flat
Acknowledgements:
1. Thanks to "merlin" from the China region for suggesting the transparent cylindrical tube as a support solution
2. Thanks to "claudemit" from the China region for suggesting the solution of unfolding and printing the shadow wall
3. Thanks to "user_2370868655" from the China region for suggesting the top-mounted, solder-free LED bead solution
4. Thanks to the "Pleasant Goat Window Flower Generator" model from the China region for its solution of setting a grid pattern at the bottom
5. Thanks to "DDDP" from the international region for the dimensioning solution
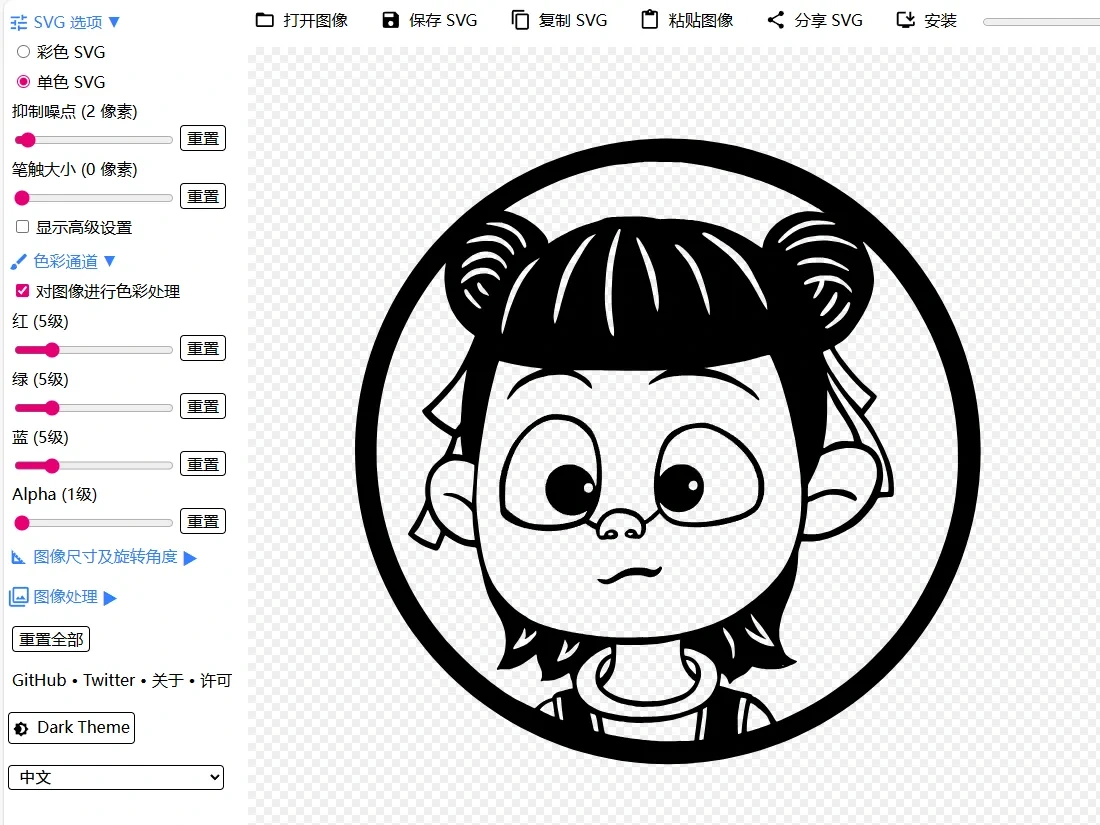
Recommended tool
SVG online editing website, where you can import images of various graphic formats, automatically convert them into vector graphics, and make simple settings. (Note: Be sure to select "Monochrome SVG")
Similar models recommended
Light and Shadow Art Generator (Version 4)

Light and Shadow Art Generator (Version 3)

Light and Shadow Art Generator

Model Recommendation


License
You may create derivative works based on this object, provided that all such derivative works are published exclusively on the MakerWorld platform and include proper attribution to the original creator. You may not share, upload, host, distribute, or publish this object—or any derivative work of this object—on any other digital platform, marketplace, or distribution channel. Commercial use of this object and any derivative works is strictly prohibited. This includes, but is not limited to, selling, renting, sublicensing, or using the object in any context in which you receive monetary compensation or other financial benefits.
Comment & Rating (10)