
(Cost under 100 RMB) DIY hot plate soldering station for PCB reflow soldering
Print Profile(1)
Description
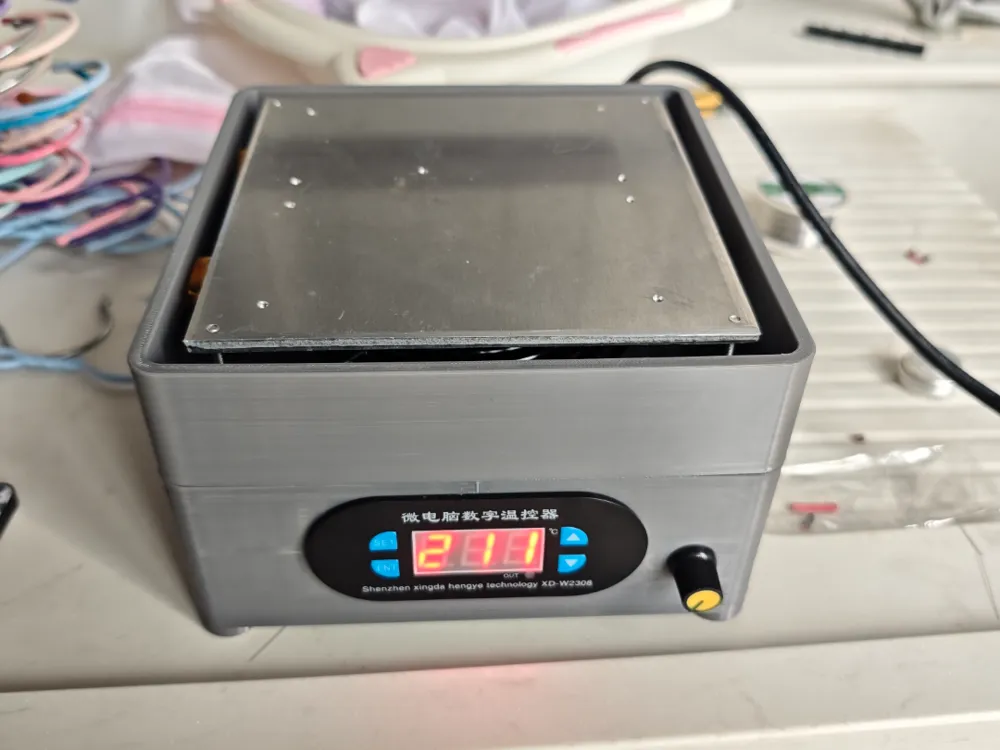
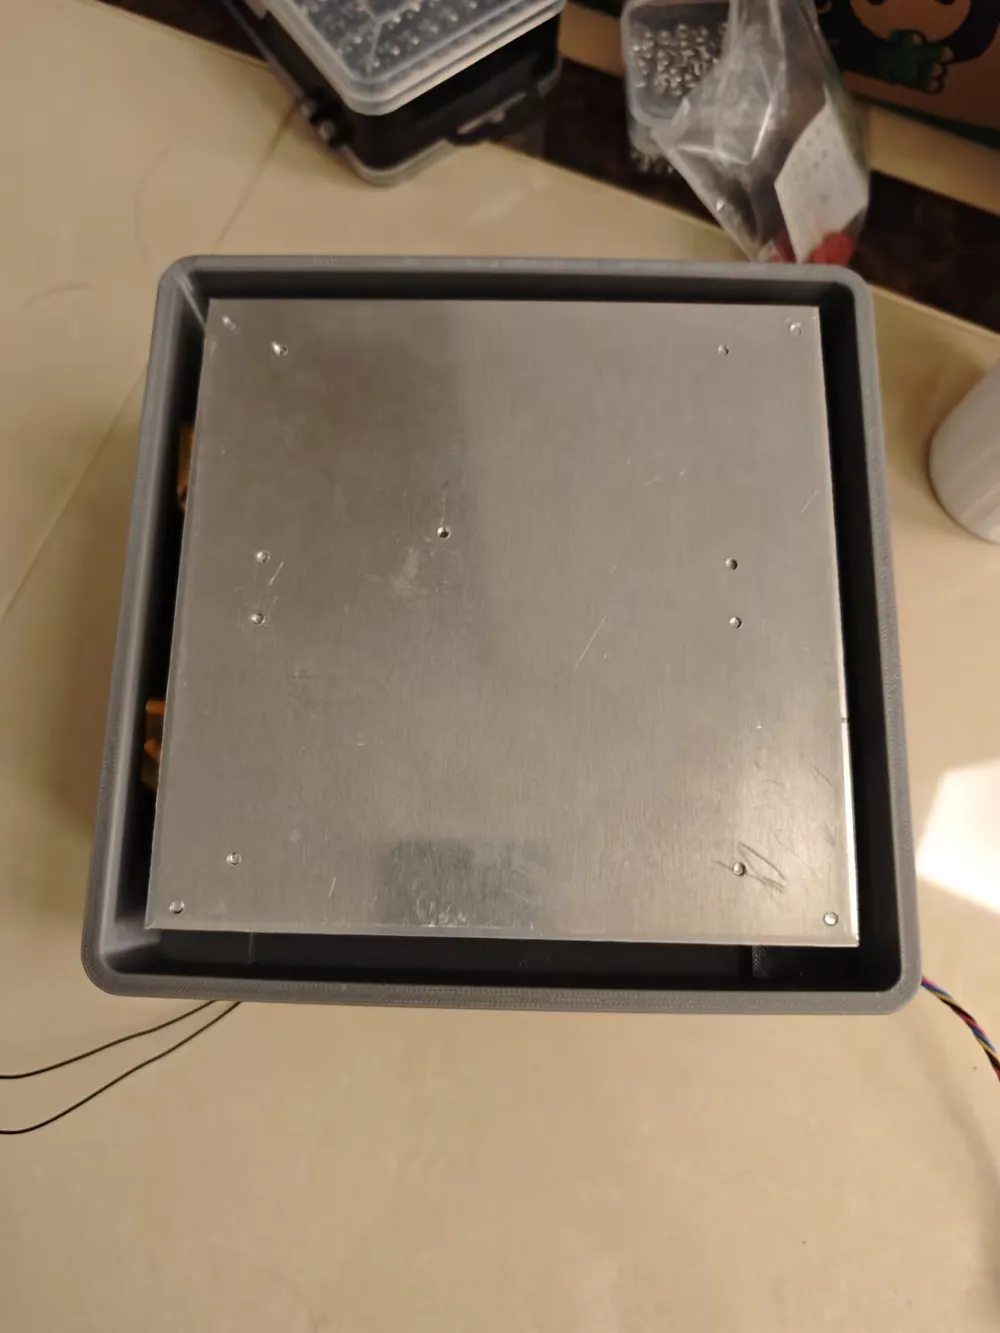
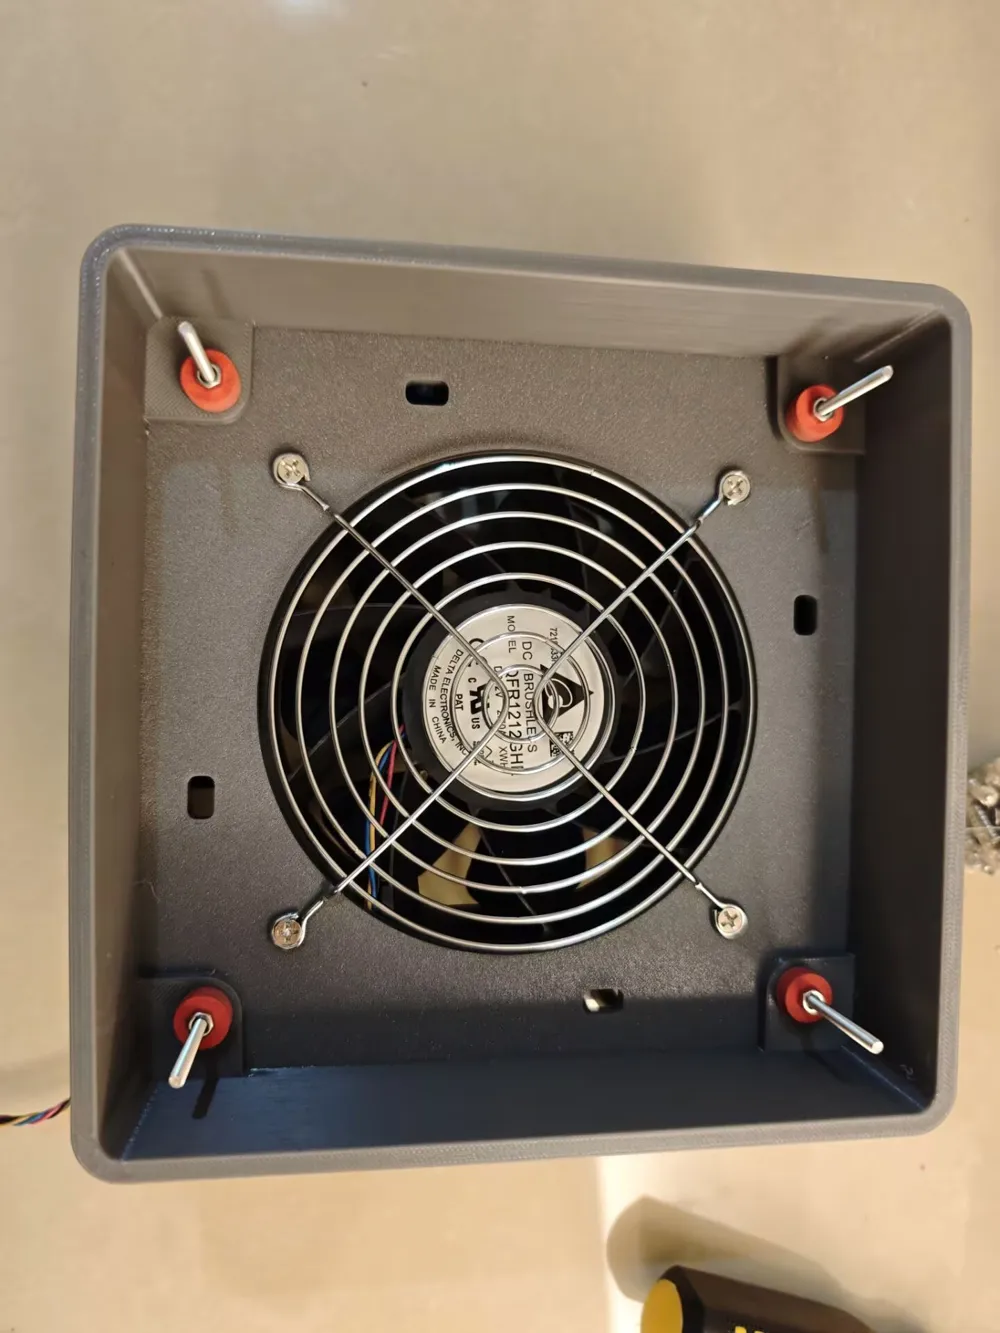
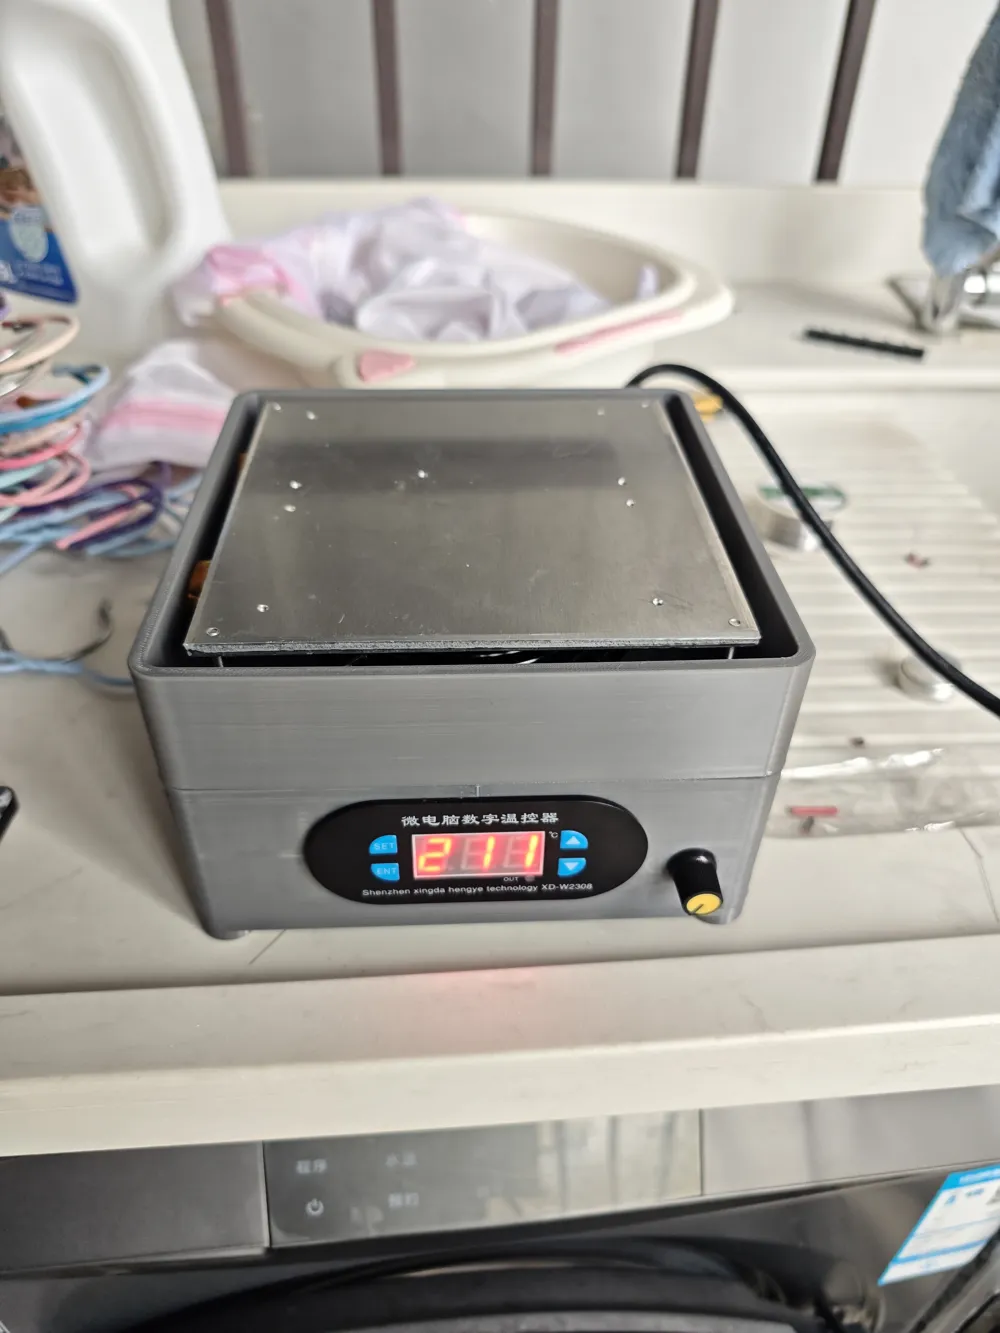
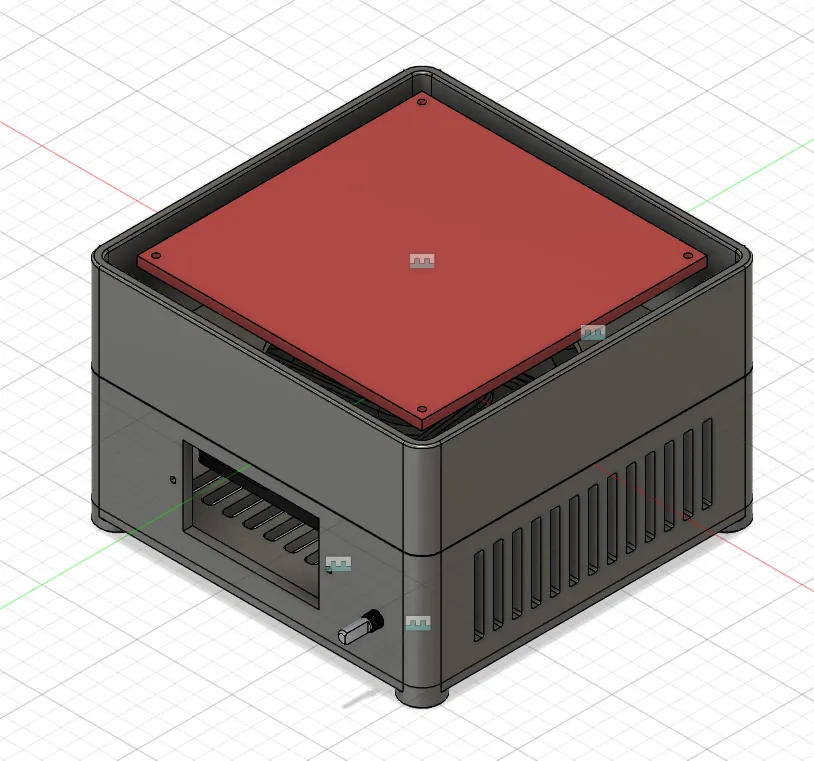
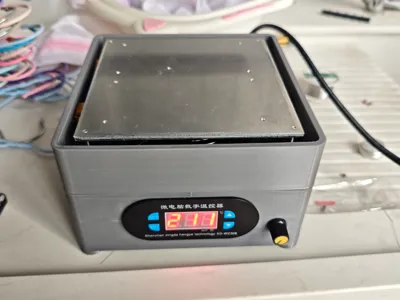
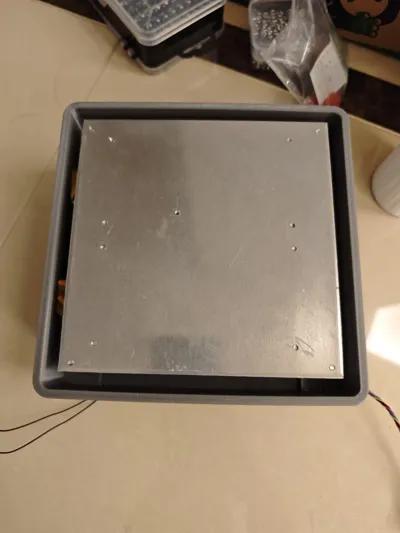
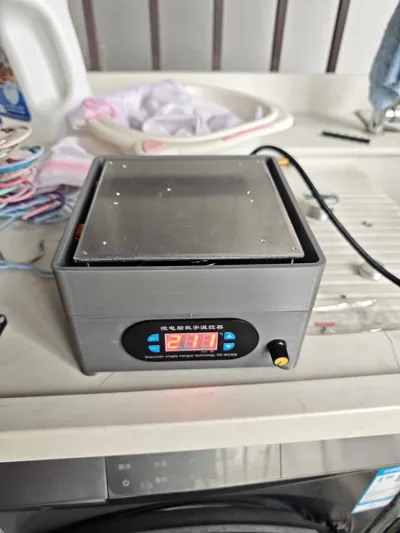
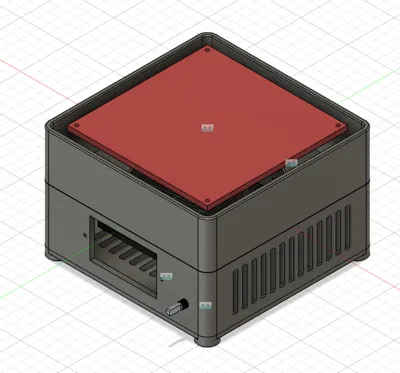
DIY a PCB soldering station with a heating area of 150mm*150mm. Apart from the 3D printed casing and custom aluminum plate, all other parts are standard. The BOM is as follows:
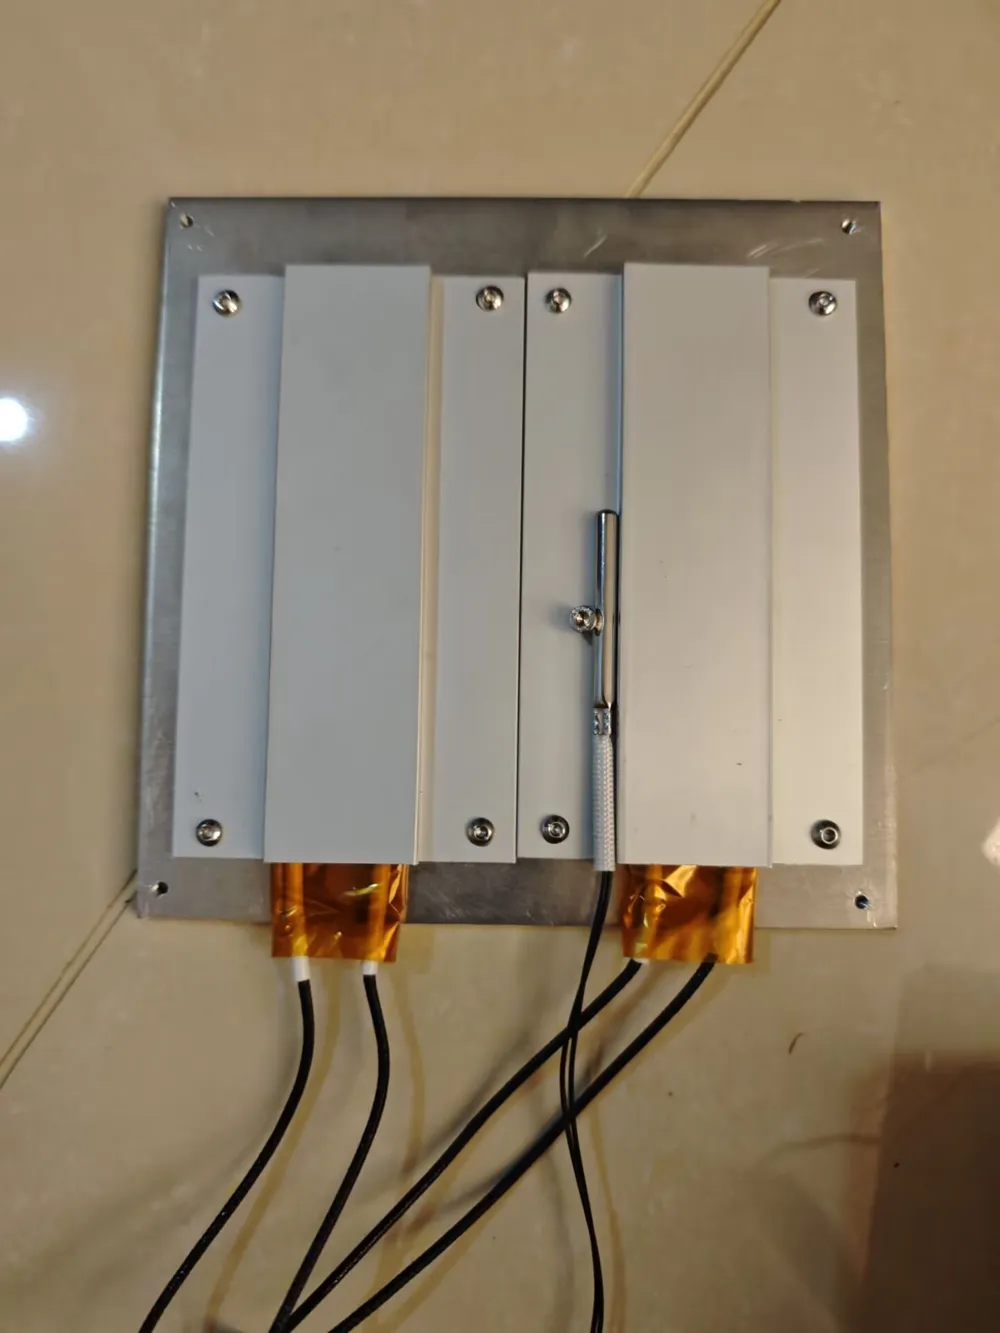
1. Flat aluminum plate 150*150*5MM, custom ordered from Taobao, price approximately 15 RMB
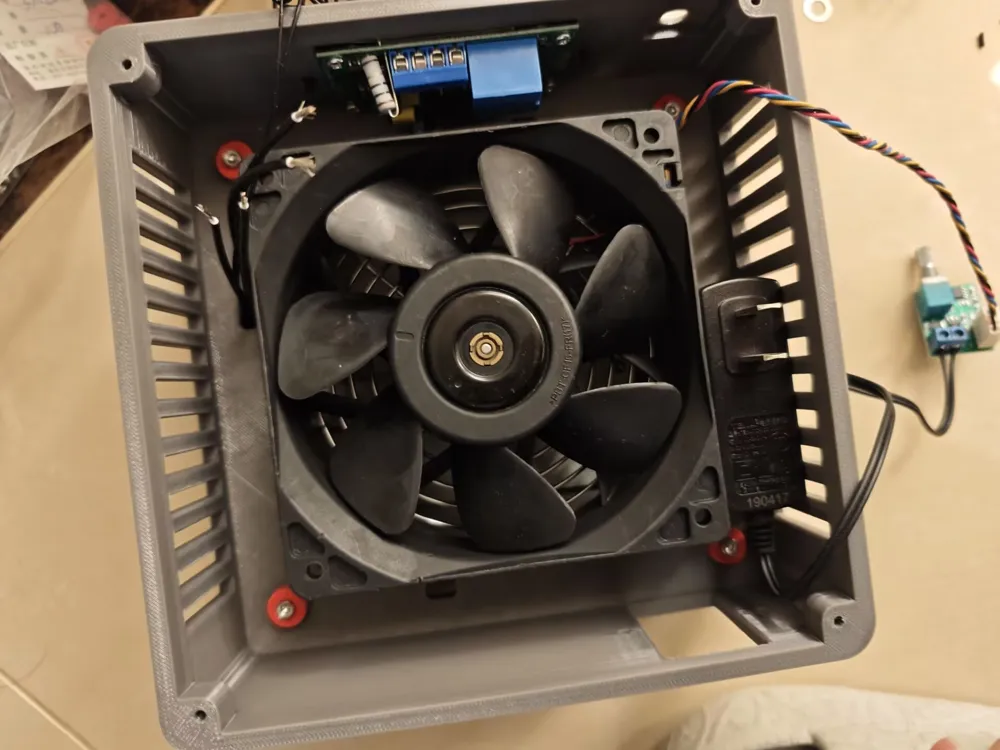
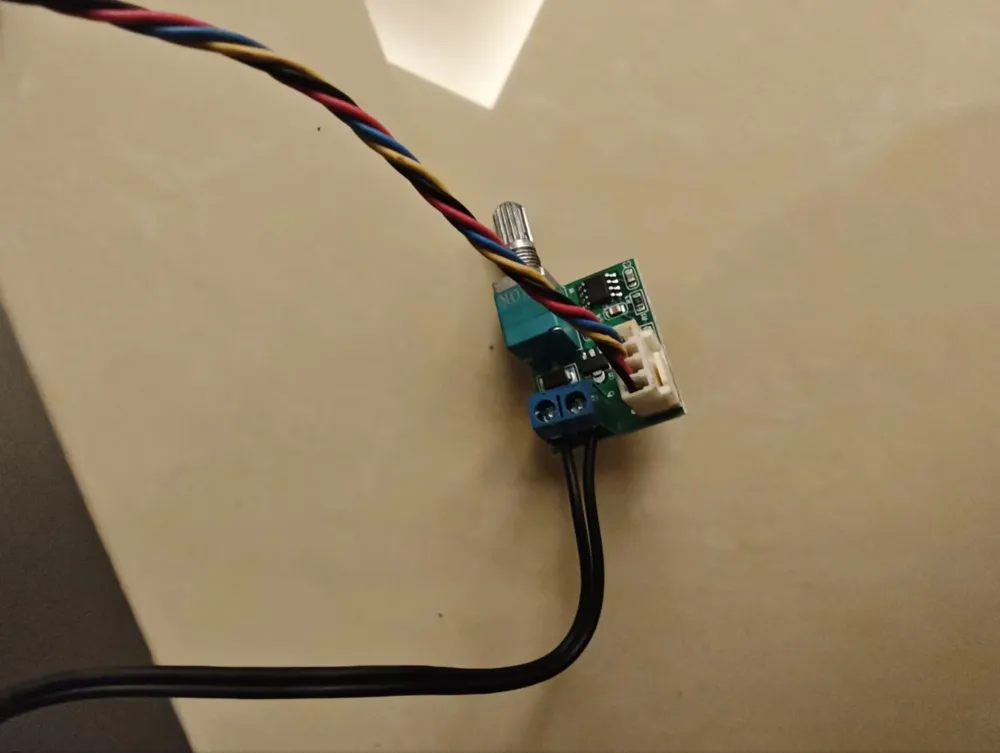
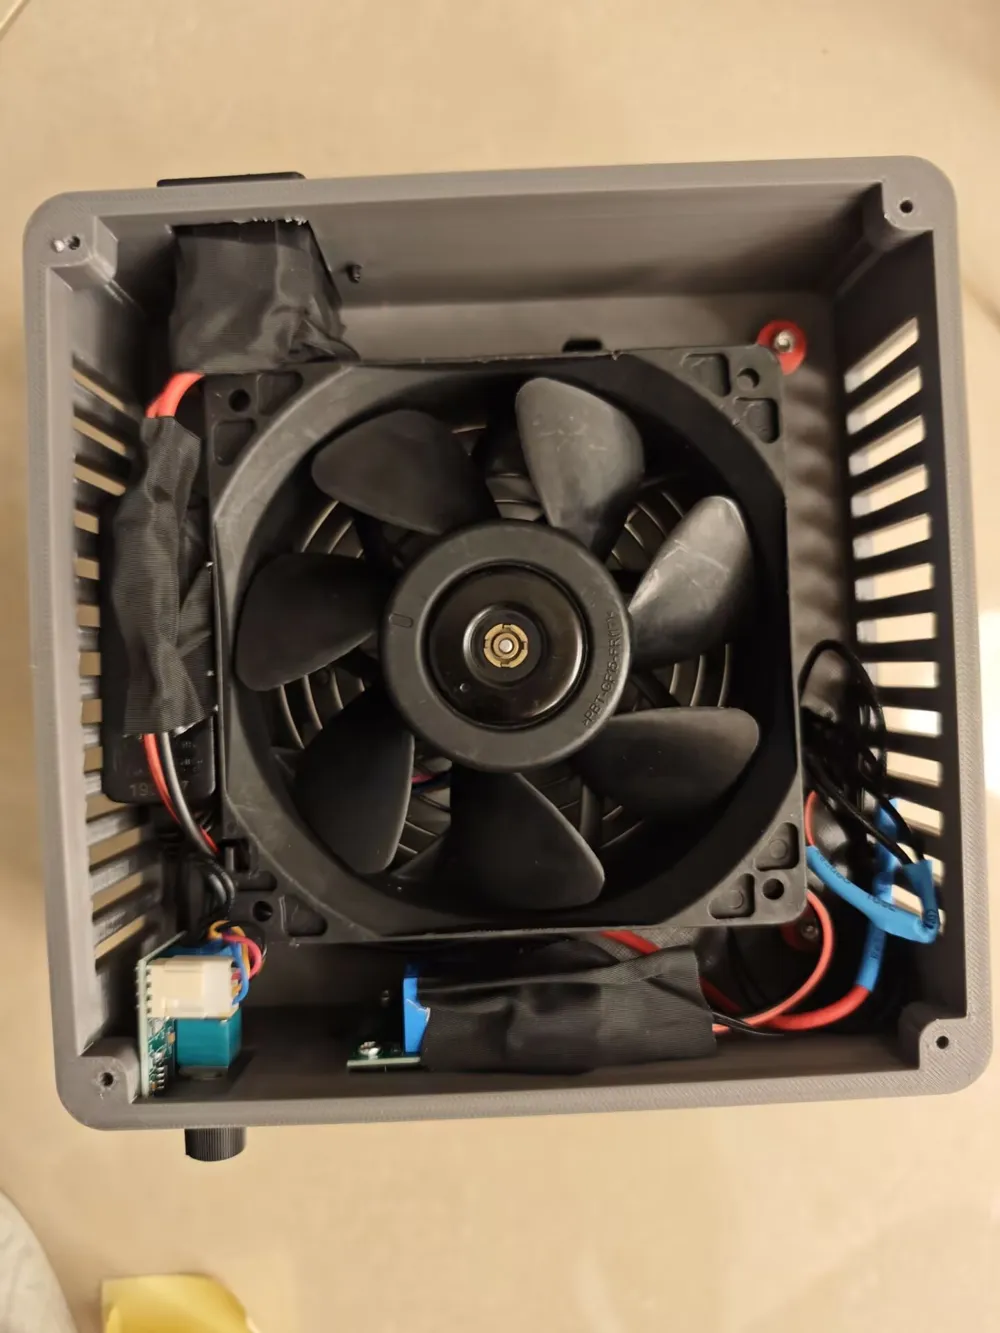
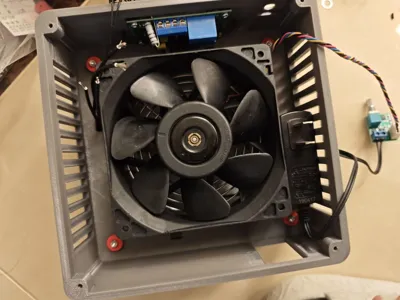
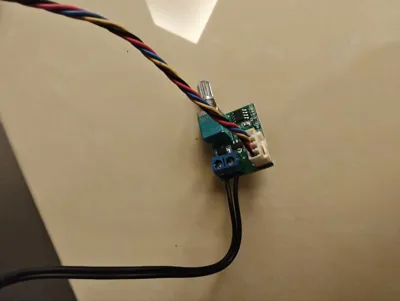
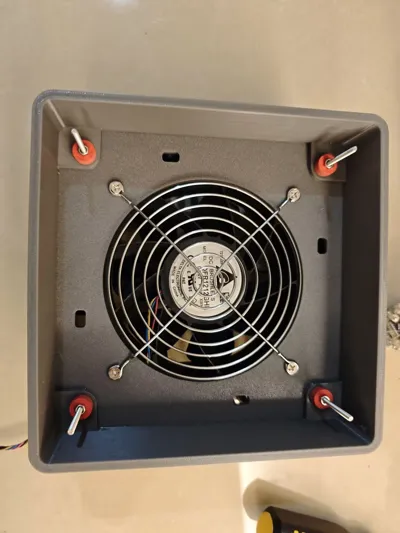
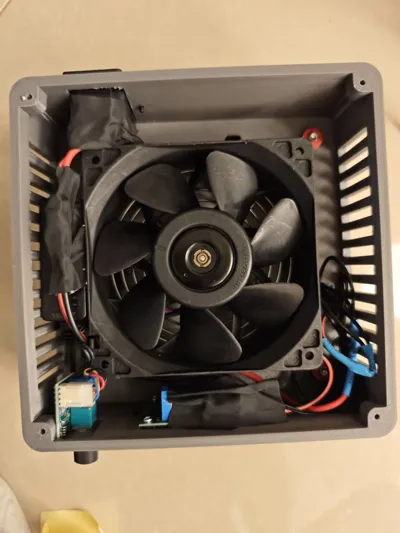
2. 12CM PWM fan, PWM adjustment switch, 220V to 12V power supply (no specific models recommended here, choose according to your needs). Fan cooling is optional, depending on personal preference.
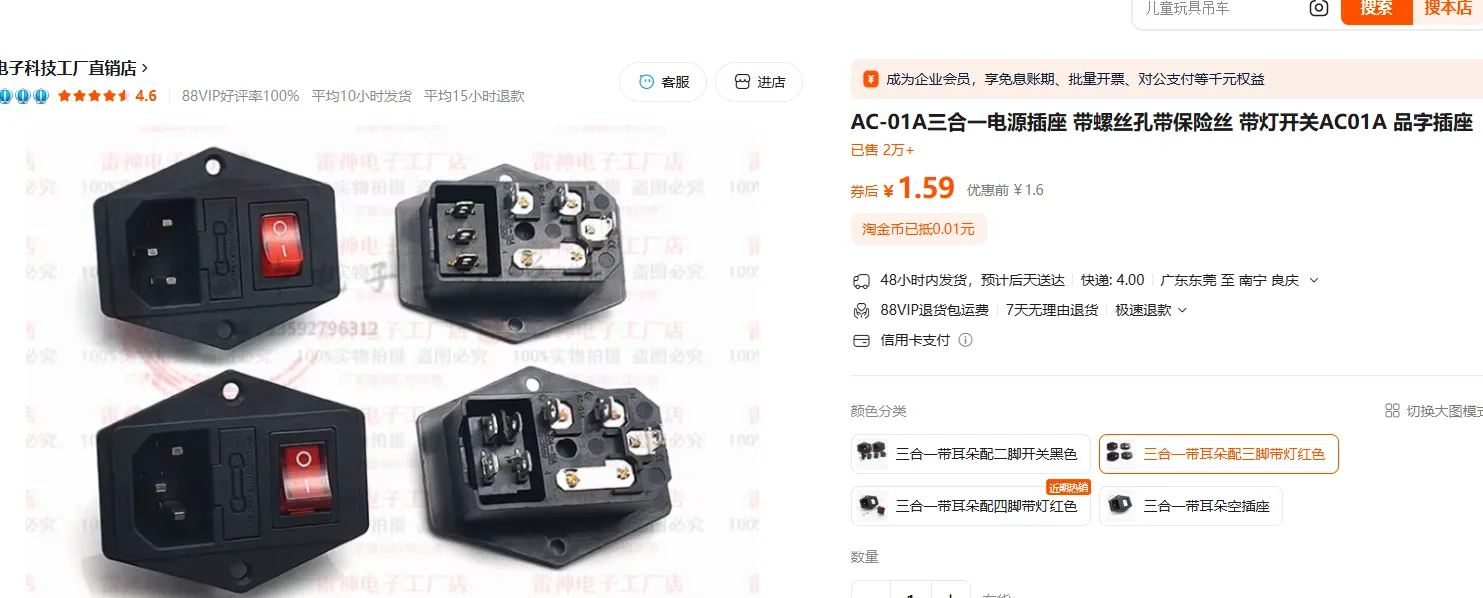
3. 220V "Pin-zi" type switch socket (with ears, see picture)
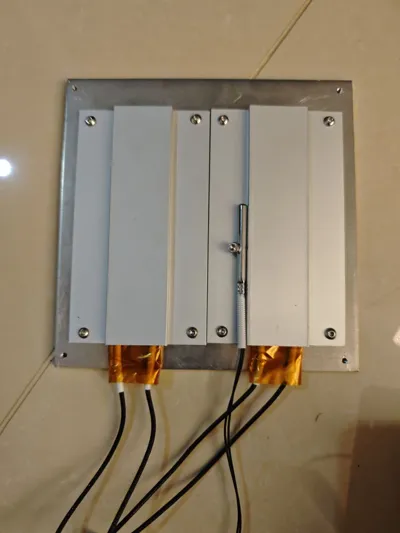
4. Heating plate (from desoldering station), I used two 120*70 ones, see picture, around 800W, which felt a bit insufficient, heating up slowly. You can choose other suitable ones.
5. Thermostatic control board, see picture. It needs to be able to control temperatures above 300 degrees; most on the market only go up to slightly over 100 degrees. Pay attention to selection.
6. Gasket paper (fiber paper gaskets), see picture, for insulation. Place several pieces above and below each screw post to prevent printed parts from deforming due to heat.
7. M3*10 screws X4 for bottom cover installation, M3*50 heating plate mounting posts X4, several M3 screws.
Function Description:
Heating: Set the target heating temperature via the control board, start heating, and once the temperature is reached, it will maintain constant temperature within tolerance.
Cooling: Turn off heating for natural cooling; turning on the fan can accelerate cooling.
Finished products are available on the market, with prices ranging from 100 to 300 RMB. The cost of this DIY soldering station will also be several tens of RMB, so just enjoy the DIY process.
Installation Instructions:
Only the 3D printed model is shared; you need to handle the rest yourself. There is no manual, so you must understand and DIY it yourself. The difficulty is moderate.
Circuit Wiring Instructions:
There are no wiring instructions; you need to understand and DIY it yourself based on the accessories you choose. The difficulty is moderate. When using 220V power, pay attention to electrical safety, and you are responsible for any risks.
Reiterate: Pay attention to electrical safety, prevent fire hazards, ensure someone is present, non-professionals should not attempt this, assess risks yourself!!!





License

You shall not share, sub-license, sell, rent, host, transfer, or distribute in any way the digital or 3D printed versions of this object, nor any other derivative work of this object in its digital or physical format (including - but not limited to - remixes of this object, and hosting on other digital platforms). The objects may not be used without permission in any way whatsoever in which you charge money, or collect fees.


Comment & Rating (0)