Search models, users, collections, and posts
P1S buffer shortened travel bracket
Remixed by
IP Report


Print Profile(1)

0.2mm layer, 2 walls, 15% infill
Designer
1.8 h
1 plate
Open in Bambu Studio
Boost
1
2
0
0
0
0
Released
Description
Content has been automatically translated.
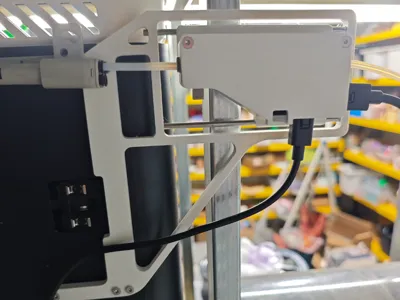
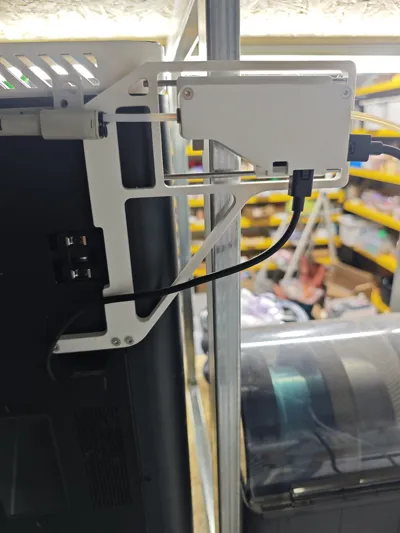
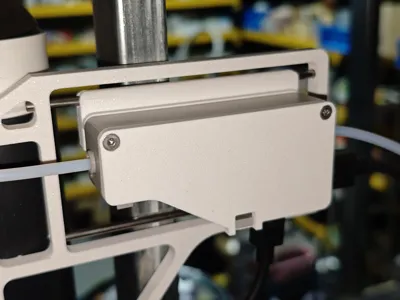
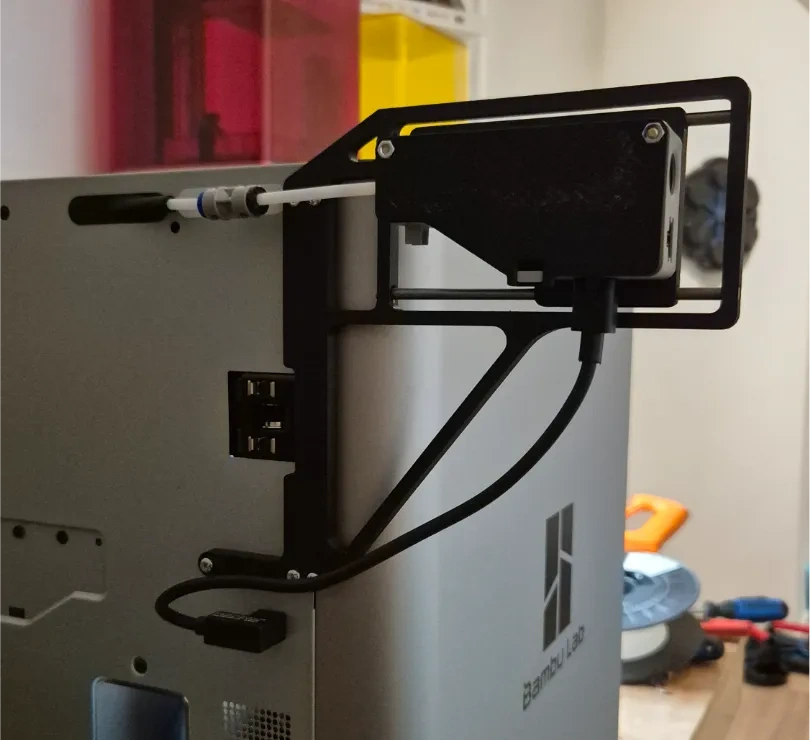
In this solution, the PTFE tube remains stationary, and the buffer moves left and right.
Since the 6-PIN cable connecting to the printer is relatively short, I shortened the entire bracket, and as I had readily available stainless steel rods, I changed the steel rods to 3.5mm, with a standard length of 120mm.
Materials needed:
- Two 120mm stainless steel rods (ensure they are straight) (I bought 4 rods of 3.5mm*1m with free shipping for about 5.8 yuan from a certain online store, you will need to cut them with an angle grinder)
- Five M3*12 or 14 countersunk screws (for fixing the bracket), two M3*25 countersunk screws (for fixing the buffer to the bracket)
- Lubricating oil, the one supplied with the printer is fine
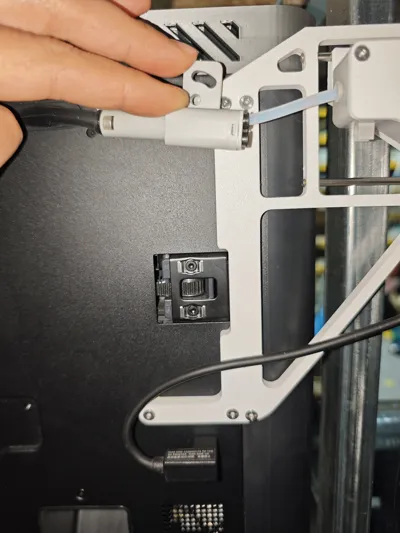
Since the screws on my P1S casing might have stripped, I am unsure if M3*14 screws are suitable for your machine; M3*12 might be sufficient. It is recommended to have both specifications available as they are commonly used.
After installation, lubrication is required, and the PTFE tube and buffer should be adjusted to avoid unnecessary friction.

This remix is based on
License
This user content is licensed under a
Creative Commons Attribution-Noncommercial-Share Alike
Comment & Rating (0)