Original AMS 1 HUB Unit Extruder Gear Cover Plate


Print Profile(1)
Bill of Materials

Description
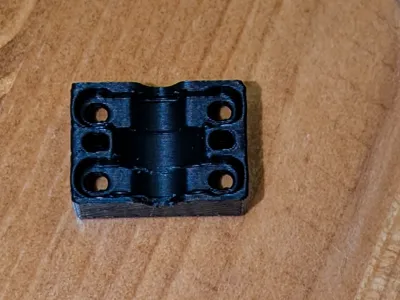
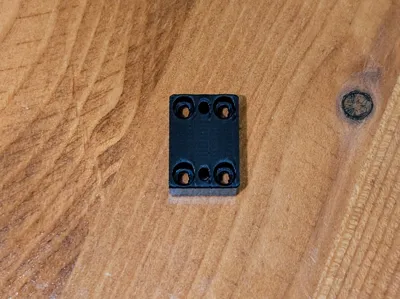
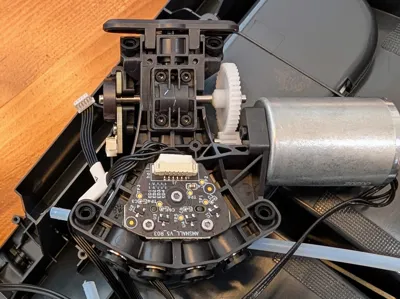
This is a replacement part for the Original AMS 1 HUB Unit Extruder Gear Cover Plate. This plate is located on the AMS Internal Hub Unit and is print-in-place with no supports required.
Boost Me (for free)
Did this repair help you?
Symptoms: My AMS would not load filament consistently and the error was:
Printing paused - Unable to feed filament into the extruder. This could be due to an entangled filament or stuck spool. If not, please check if the AMS PTFE tube is connected.
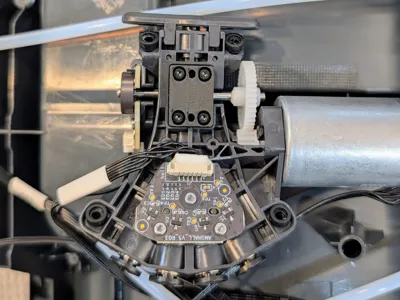
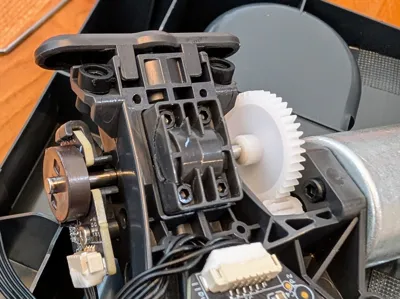
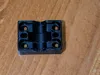
Cause: My cover plate was broken into 3 sections (see last 2 photos) and the filament would get stuck on one of the broken pieces resulting in the error.
Fix: Print a replacement cover and install. You can also purchase an entire hub unit from Bambu but you can't just purchase the cover.
*IMPORTANT: Please review the following steps carefully to ensure you are successful with the repair.
- Follow the official Bambulab repair wiki to access the internal hub unit, click here.
- Do not lose your screws when handling the hub unit, and you might want to print 2-3 of the plate covers just in case you break one (see step 5).
- When you remove the cover plate, you must remove all broken plastic and filament from the gears. You can rotate the gears to inspect all sides.
- When you install the printed cover plate, press it firmly into place as a test fit. It should be snug and even on all corners. The gear attached to the white plastic gear should be able to move and turn the smaller white plastic gear that it touches. If it doesn't turn, then you need to remove the plate and inspect for any remaining broken plastic pieces as well as the shape and print quality of the plate. Look for strings of filament or anything that would be blocking the gear from rotating once it's pressed into the hub.
- When screwing the plate on, start at one corner and turn the screw a few times, then go diagonal to the other corner and turn the screw a few times, then move to another corner and turn the screw a few times, then go diagonal to the other corner and turn the screw a few times. This helps ensure the plate is flush against the hub once it's tightened down. Do not overtighten the screws as it could cause the plate to crack apart. If that happens, you need to print another one.
License
You shall not share, sub-license, sell, rent, host, transfer, or distribute in any way the digital or 3D printed versions of this object, nor any other derivative work of this object in its digital or physical format (including - but not limited to - remixes of this object, and hosting on other digital platforms). The objects may not be used without permission in any way whatsoever in which you charge money, or collect fees.
Comment & Rating (0)