
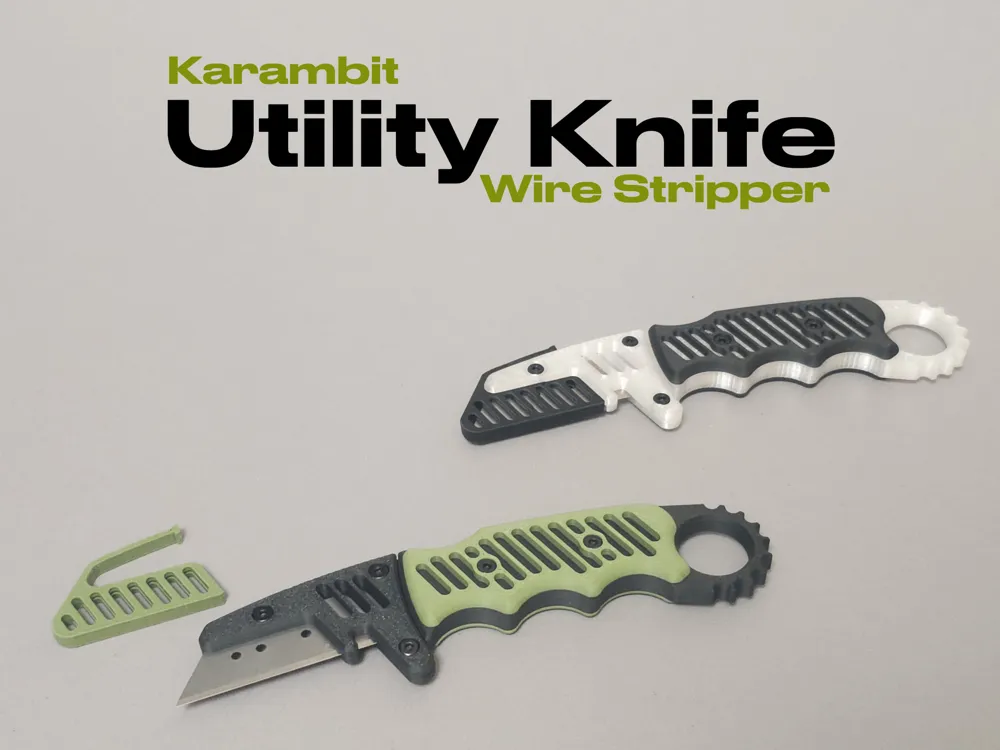
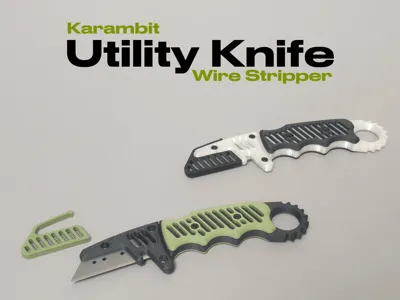
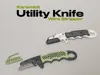
Utility Knife - Karambit & Wire Stripper
Print Profile(1)
Bill of Materials



Description
Boost Me (for free)
Enjoying this print? Give it a boost! 🚀 It’s a free way to support my work and help others find this design. Thanks a million!
🚀 Karambit Utility Knife – The Ultimate Precision Multi-Tool
Meet the evolution of the workspace essential. We’ve taken the sleek, ultra-slim design of our signature Utility Knife and injected it with the aggressive ergonomics and tactical aesthetics of a Karambit.
This isn't just a cutter; it’s a high-performance instrument. Whether you’re making precision cuts or stripping wires on the fly, this tool feels like an extension of your hand.
✨ Why you need to print this:
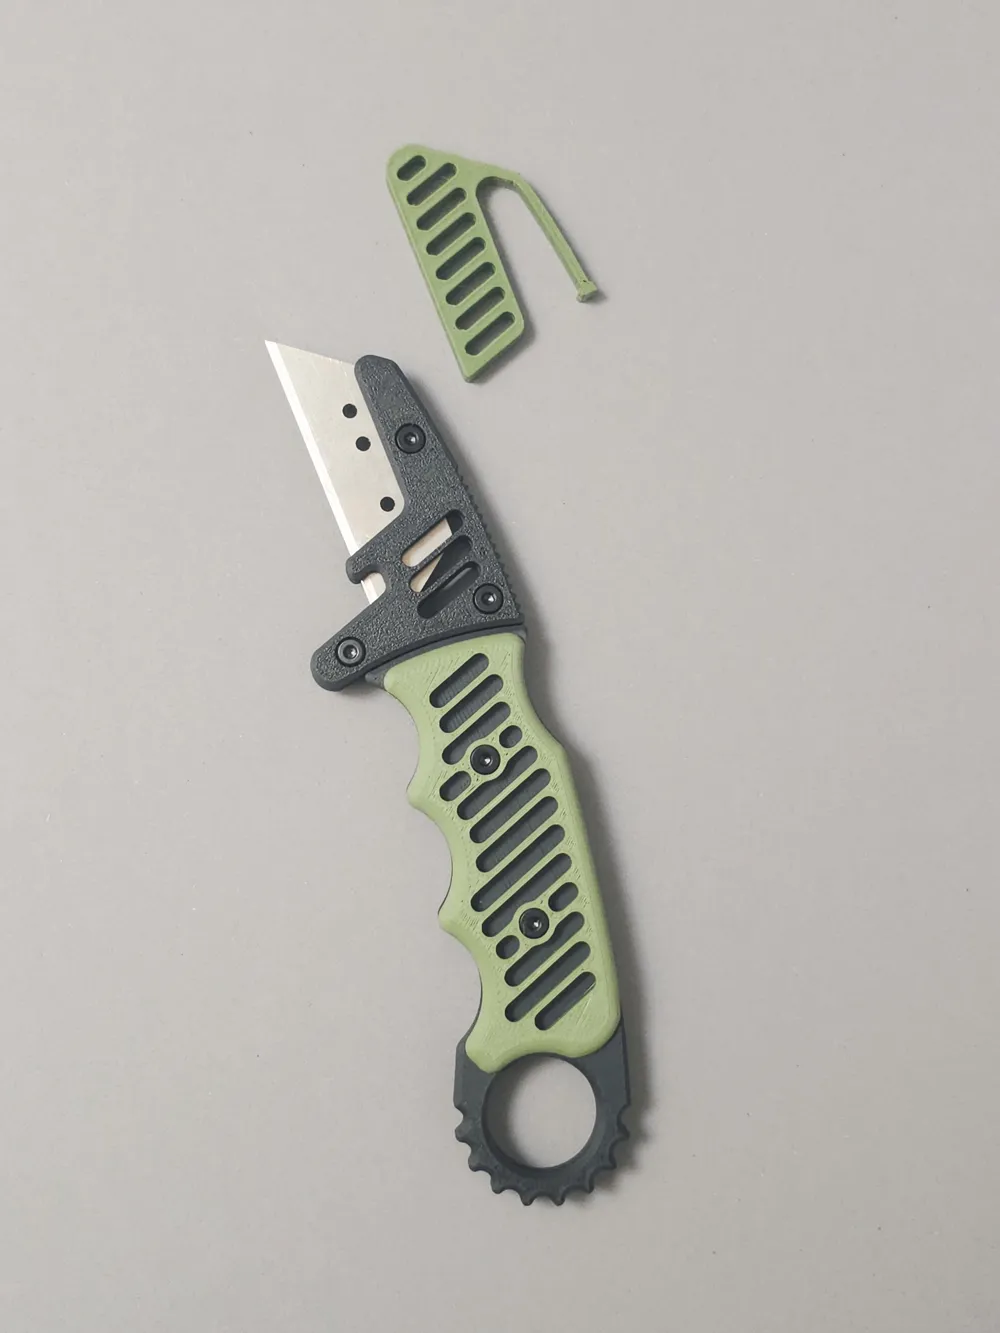
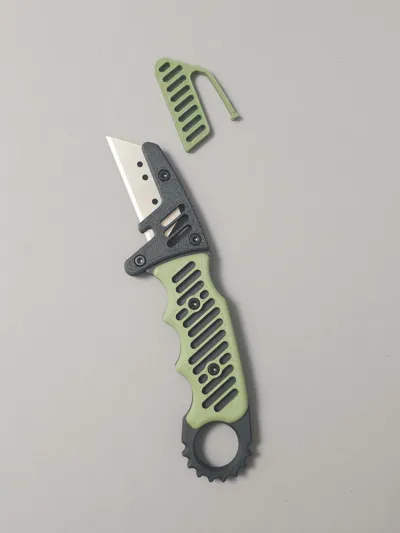
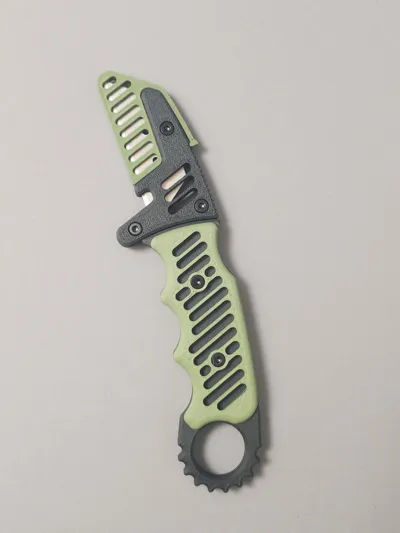
- Tactical Karambit Ergonomics: The iconic ring-handle design provides unparalleled grip and control, allowing for fluid, precise movements that standard utility knives just can't match.
- Integrated Wire Stripper: Built for the modern maker. The dedicated stripping notch is perfectly calibrated for quick, clean wire work, saving you from reaching for extra tools.
- Ultra-Slim & Rigid: At a refined 13mm thickness, it’s slim enough for any pocket but engineered for rock-solid stability.
- Zero-Wobble Blade Lock: We’ve completely overhauled the internal geometry. The blade sits fixed, secure, and ready for heavy-duty tasks with absolute confidence.
- Showstopper Aesthetics: Designed for high-contrast multi-material builds. This is the piece that will make your friends ask, "Where did you get that?"
🛠️ Hardware & Specs
- Hardware: Requires 7x BT3x5 self-tapping screws. Note: These are the exact same screws used for the Bambu Lab P1P DIY Shell and P1S panels. If you have spares from those builds, you are ready to go!
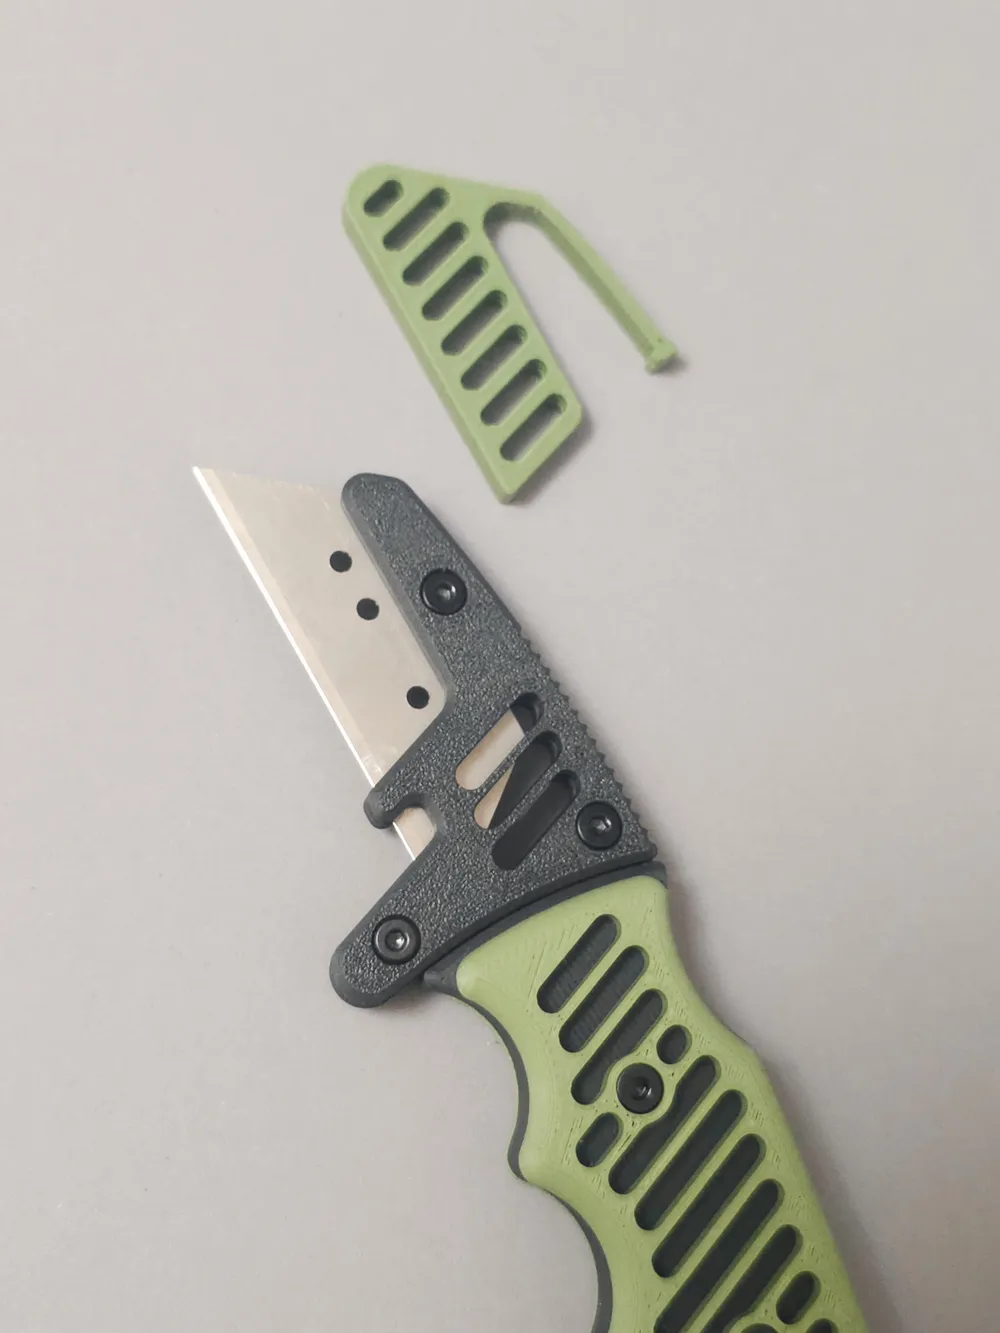
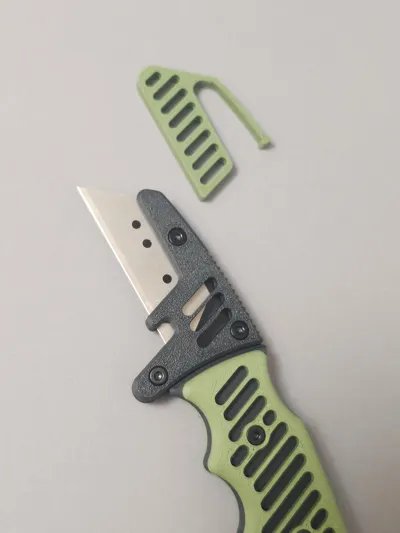
- Blade: Designed for standard trapezoid utility blades. The upgraded mounting geometry guarantees a secure, rigid fit.
- Print Optimized: Designed with smart orientation in mind, ensuring a sturdy build and a professional "factory" finish straight off the build plate
💡 Assembly Pro-Tips
- Pro Tip: For the best balance of rigidity and screw-hole durability, I recommend printing the main body with at least 3 walls and using PLA+ or PETG.
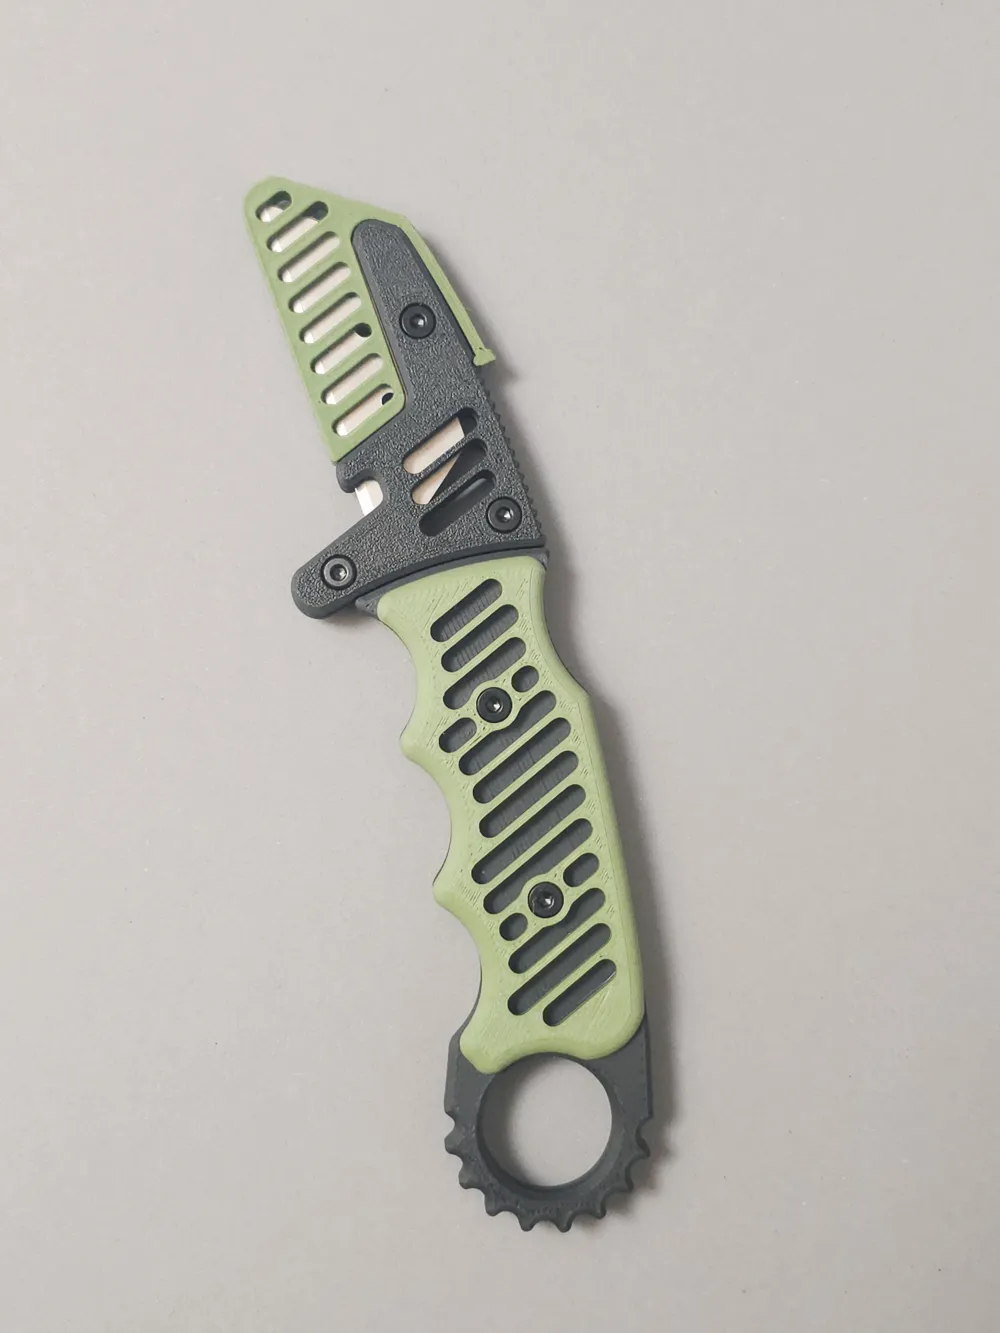
- Assembly: Place the blade into the main body first, then secure the blade clamp and the decorative grip plates using the self-tapping screws.
- Care: Do not overtighten the screws—snug is sufficient to keep the slim profile perfectly aligned.
License

You shall not share, sub-license, sell, rent, host, transfer, or distribute in any way the digital or 3D printed versions of this object, nor any other derivative work of this object in its digital or physical format (including - but not limited to - remixes of this object, and hosting on other digital platforms). The objects may not be used without permission in any way whatsoever in which you charge money, or collect fees.


Comment & Rating (9)