
Tonie Show Stage – 24 Freestanding Figures
Print Profile(1)
Description
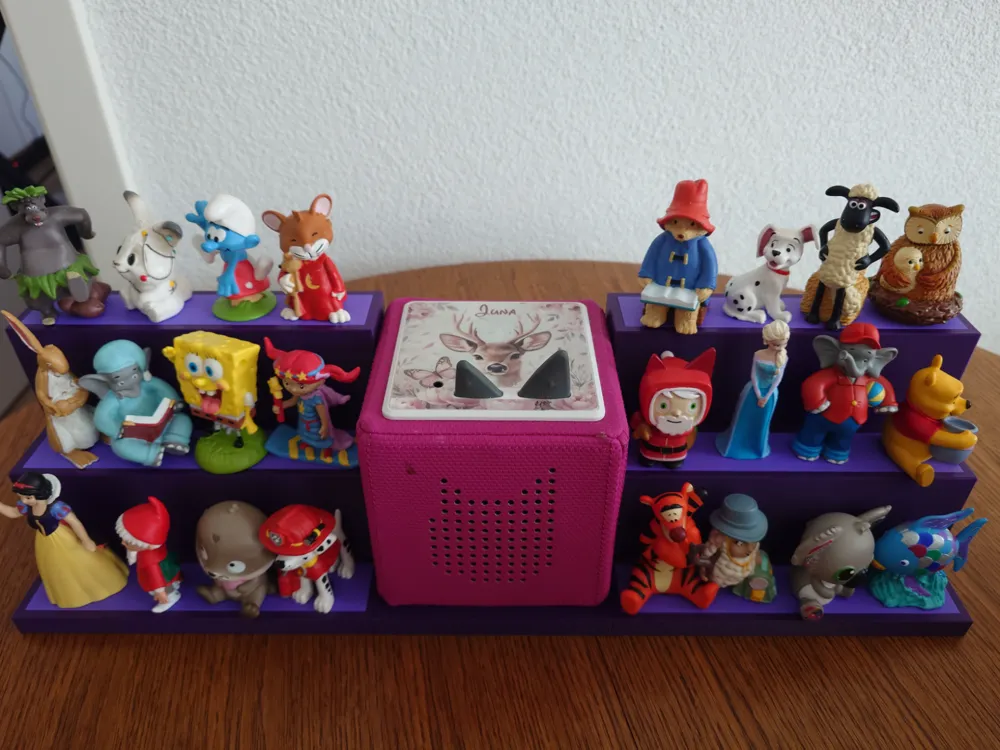
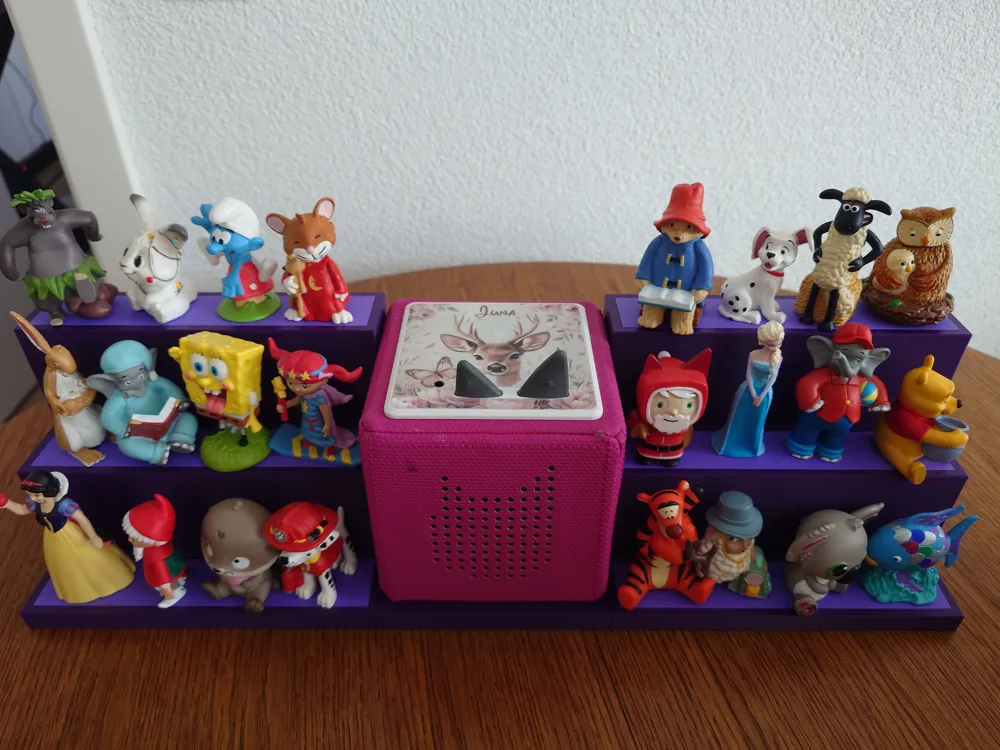
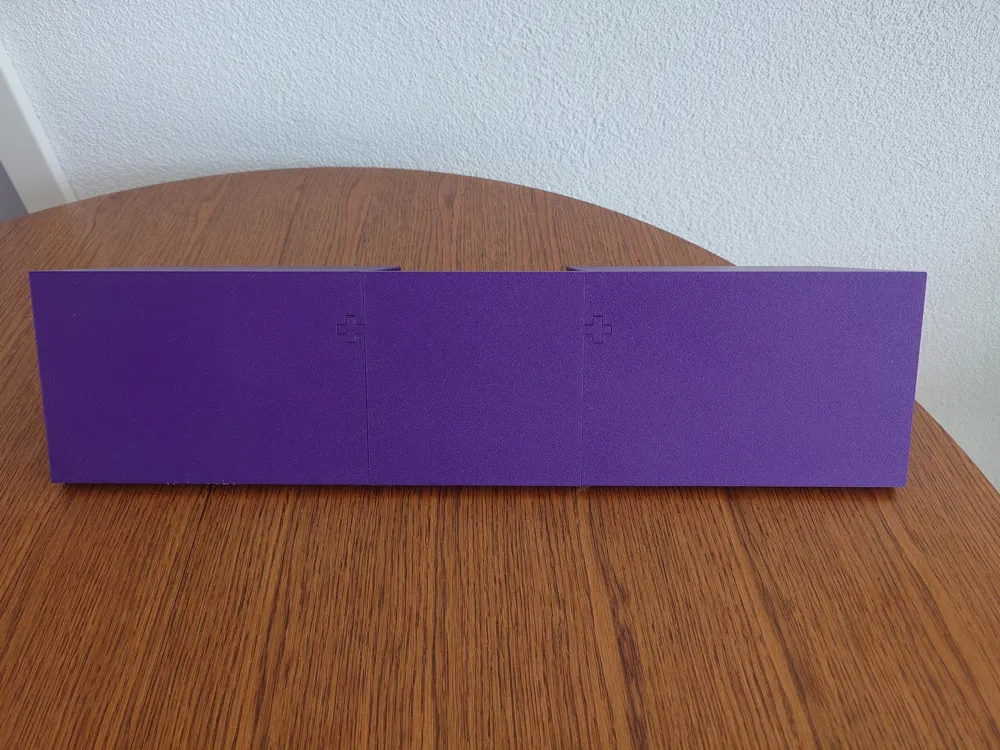
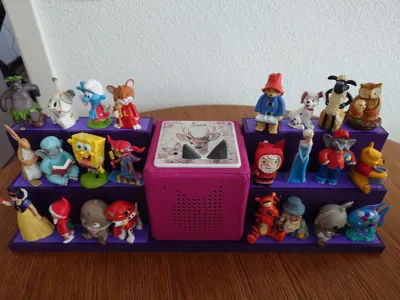
Tonie Stage – Modular Stand with Toniebox Holder
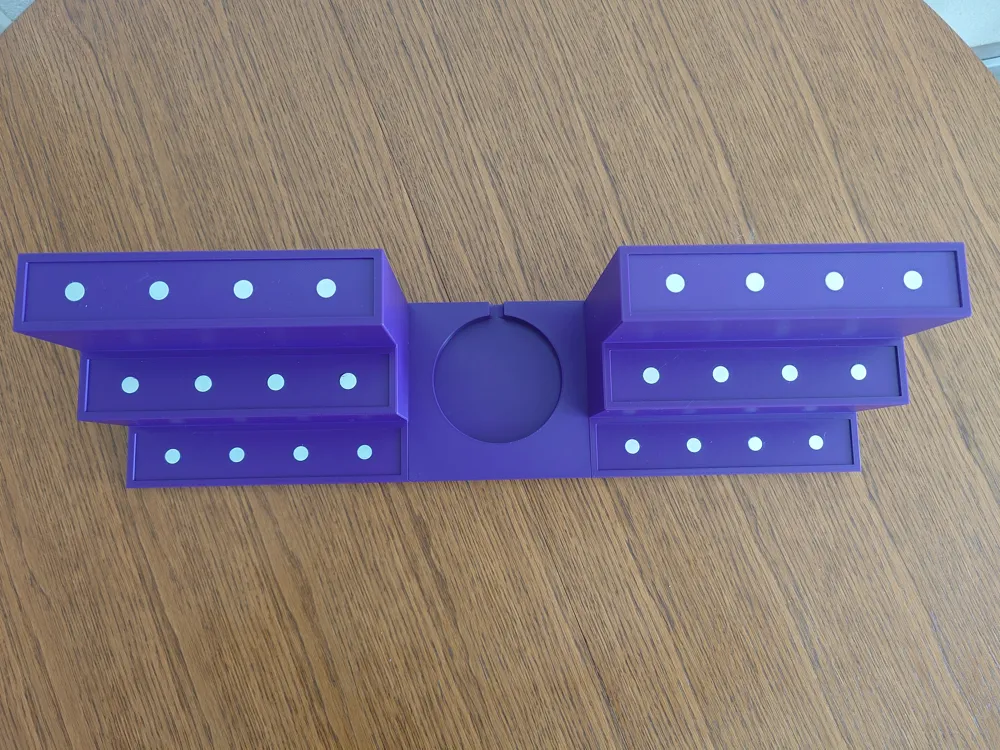
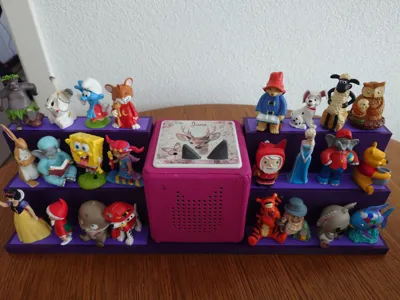
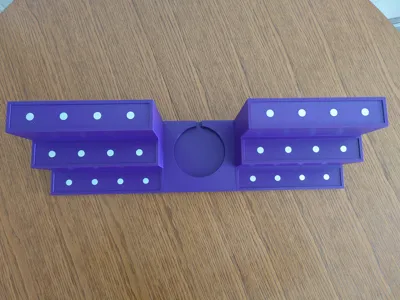
Finally, the Tonie collection makes its grand appearance! This modular stage offers space for up to 24 Tonie figures on three staggered tiers, neatly arranged, readily accessible, and always ready for the next audio story. The Toniebox proudly sits in the center on its own round pedestal, surrounded by the entire favorite crew.
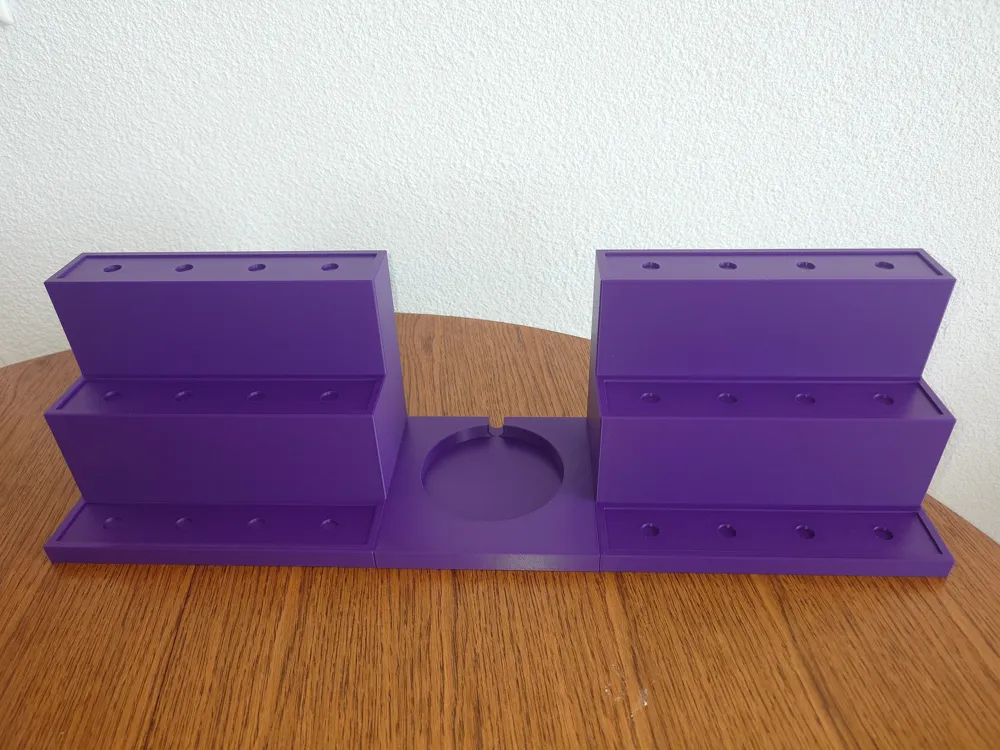
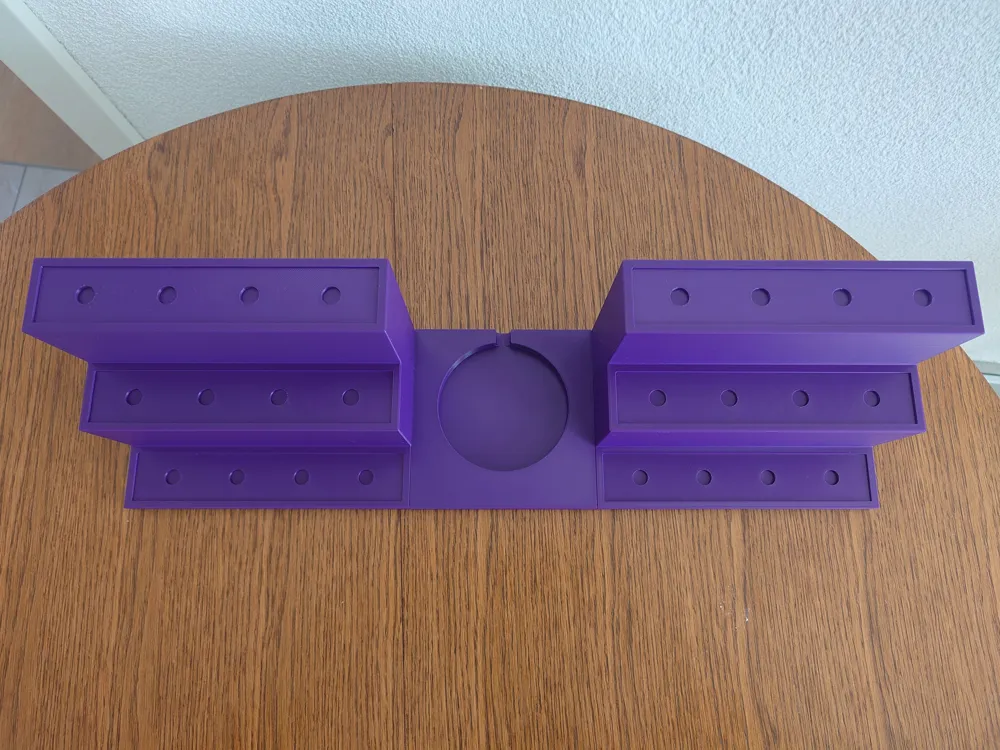
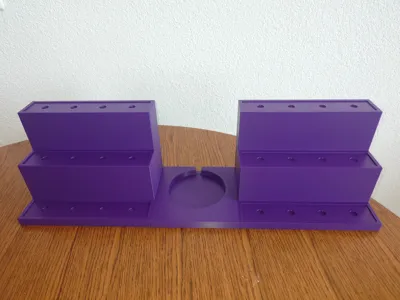
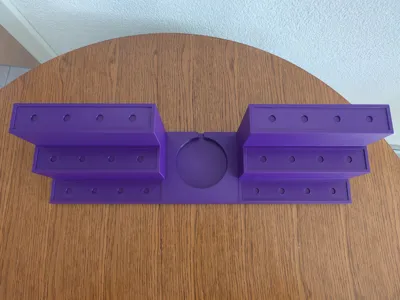
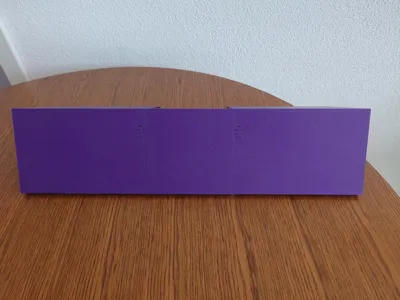
How does it work? The system consists of 4 parts that are simply plugged together; no glue, no screws, it holds by itself. The connection is made via precise cross-connectors that snap cleanly into place. The colored caps can be printed in a different color as desired; I secured the caps myself with a drop of superglue, so they are rock-solid.
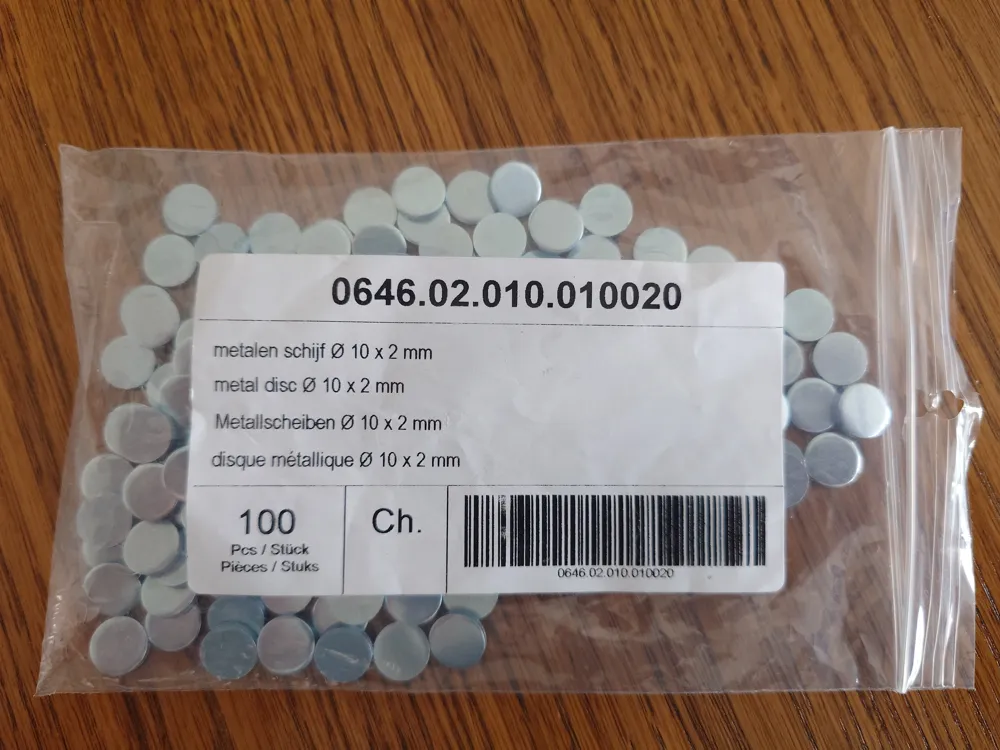
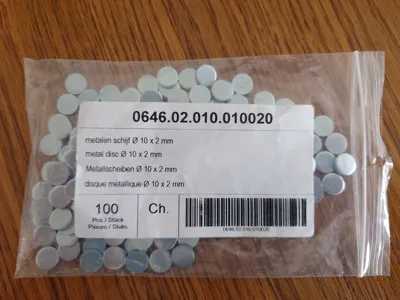
The Metal Discs (Ø 10 × 2 mm) and an Important Note! Metal discs are inserted into the round recesses. The suitable discs (Ø 10 × 2 mm) are available here: 👉 https://www.thesolutionshop.com/en/metal-disc-Ø-10-x-2-mm
On Amazon, often only 10 × 1 mm discs are available; these also work, simply use two stacked on top of each other. By the way, these discs can be perfectly reused for many other projects!
⚠️ Please do not use magnets! Even if magnets of the same size are easier to find, the Tonie figures themselves also contain magnets. Depending on the polarization, the figures may repel from the stand instead of adhering, leading to frustration and wobbly figures. Simple metal discs are the reliable and inexpensive solution here!
Print Recommendation: The print settings are stored directly in the project; simply use the included profiles, and the result should look exactly like mine in the photos. Experienced printers can, of course, optimize infill, speed, and other parameters to save filament, but I currently lack the experience and am grateful for any tips!
A Personal Final Word: This is my first big project that I am publishing, and I am truly proud of how it turned out. I would be thrilled about advice, suggestions for improvement, and of course, photos of your printed stages! Feel free to write in the comments, I look forward to exchanging ideas with you. 🎉
License

You shall not share, sub-license, sell, rent, host, transfer, or distribute in any way the digital or 3D printed versions of this object, nor any other derivative work of this object in its digital or physical format (including - but not limited to - remixes of this object, and hosting on other digital platforms). The objects may not be used without permission in any way whatsoever in which you charge money, or collect fees.


Comment & Rating (4)