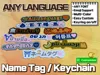
[Universal] Any Language Name Tag & Keychain


Print Profile(1)
Description
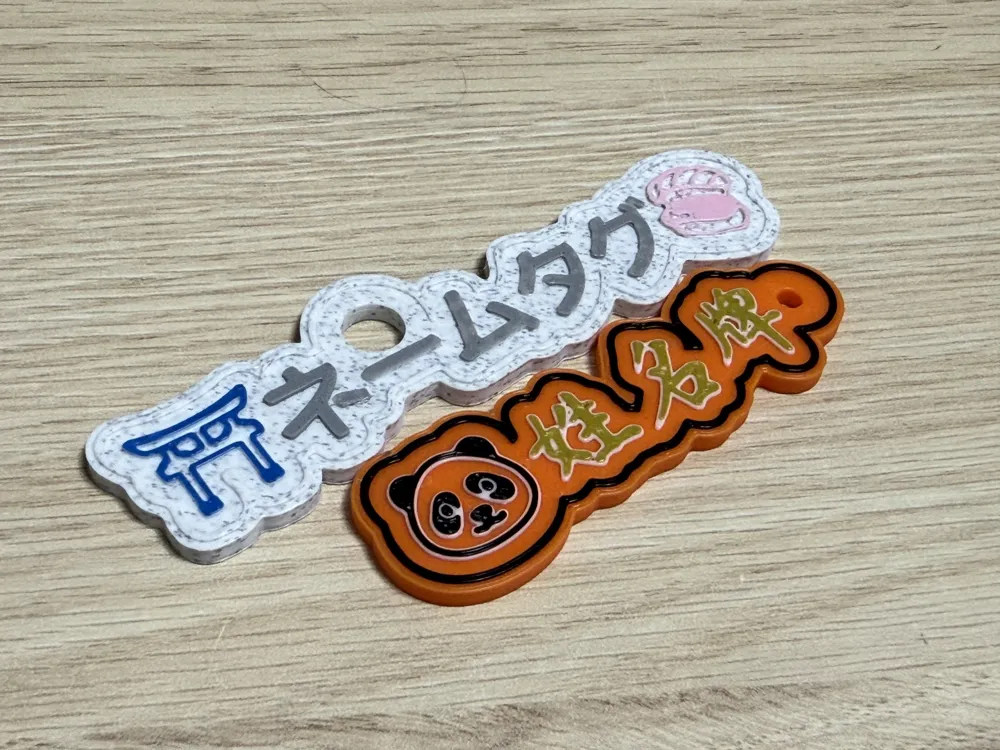
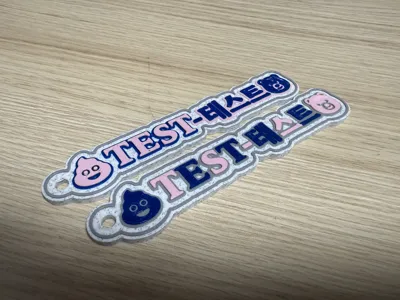
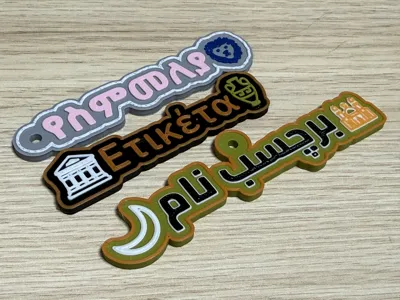
[Universal] Any Language Name Tag & Keychain (Supports All Fonts & Emojis)
This design is a fully customizable Name Tag/Keychain that supports every language and font provided by MakerWorld. While there are many name tag designs available, I created this one because I couldn't find a model that satisfies all the conditions below.
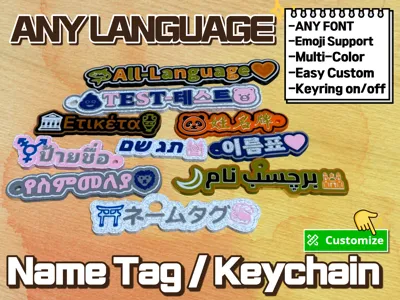
Key Features
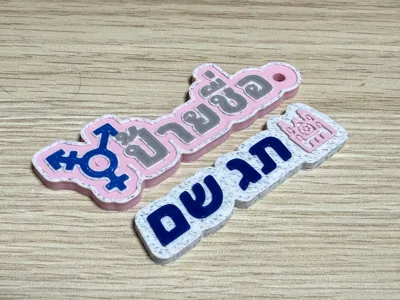
- Full Language Support: Works with any font or writing system.
- Emoji Integration: Easily add and customize emojis.
- Multi-Color Ready: Simple setup for multi-color printing.
- Design Control: Adjust text outlines and border thickness.
- Intuitive Customization: Real-time parametric modeling.
- Keychain Mode: Toggle the keyring hole on/off.
Step-by-Step Guide
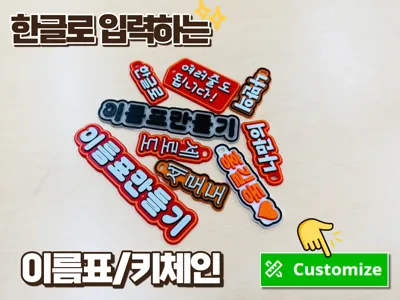
Step 1: Start Customizing
Click the 'Customize' button. When the popup appears, click 'Customize' again.
(Tip: If it doesn't load properly, please try again using the Google Chrome browser.)
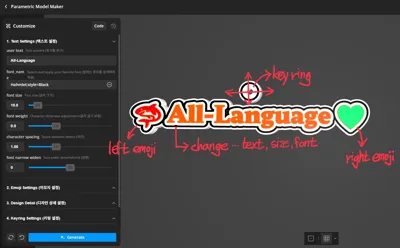
Step 2: Parametric Model Maker
You will see the base model. Adjust each part to create your own unique design.

- Change the text and choose your favorite font.
- Left/Right Emojis: Delete, change shapes, or adjust positions.
- Keyring Hole: Fine-tune the size and location.
Step 3: Fixing "Tofu" (Broken Text)
If the font doesn't support your language, the text will appear as broken squares (Tofu) in the preview.

- Click the three dots (⋯) next to font_name.
- To find the right font among 8,000+ options, use the filter: Filter → Language → Writing System.
- Select your language, and you’ll see about 100 compatible fonts. Pick the one you like!


Step 4: Customizing Emojis

After setting your text and font, the emoji positions might need some fine-tuning.
- You can use the Win + . shortcut to insert emojis, but for better compatibility, visit Noto Emoji Glyphs and copy/paste your desired emoji.

- Adjust the position using left_emoji_offset and right_emoji_offset.
- If you don't want an emoji, simply leave the field blank.

Step 5: Refining the Design
You can adjust the outline and base plate in the 'Design Detail' section.
If you see any "artifacts" or messy edges around the border, try adjusting font_outline_width or inner_margin slightly to clean it up.


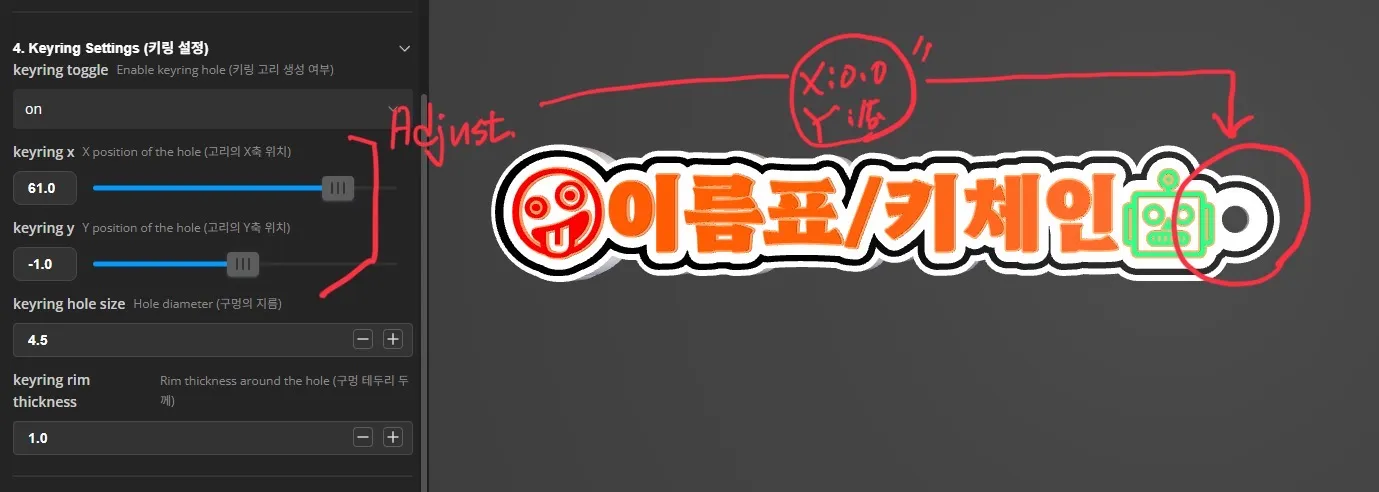
Step 6: Keyring Settings
Go to the 'Keyring Settings' menu to change the hole's position. You can also turn it off if you just want a name plate.
Step 7: Downloading the File
Click 'Download', select your printer model, and choose 'Download 3MF'.
(Note: You must download the 3MF format to preserve the multi-color settings.)

Step 8: Applying Colors (AMS Mapping)
To apply different colors to each part, use one of these three approaches:
- Approach 1: Use the 'Sync Info' tab in the Bamboo Studio 'Prepare' screen to map colors to your AMS.

- Approach 2: Map the AMS filaments during the connection process after clicking 'Print Plate'.

- Approach 3: Use the 'Paint' tool in the slicer for the most creative color combinations.

---------------------------
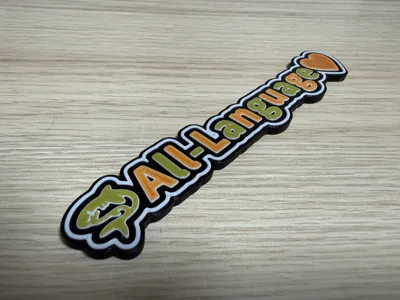
Now your custom name tag is ready to print!
Happy Printing!
Comment & Rating (0)